Hello and welcome to a new week! This week I’m getting back to sharing some of the projects that I did for baby Lucas. I hope to finish up by next week for the big room reveal. It’s crazy to think that he will be here in just a few short weeks!
Decorating walls can be expensive. When it comes to the boys I like to make wall art myself because I know that their rooms will undergo several makeovers as they grow older, which means that I don’t want to spend too much. Plus it’s really easy to customize colors and themes to get exactly what I want.
Today’s tutorial is probably one of the easiest DIY wall art ideas that you’ll ever see, no joke! And it’s cheap too!
Here is what I used to make 4 of these lovelies:
- 3 8ft 1x2s
- 1/2 yd fabric for each (so 2 yards total)
- Liquid nails
- Staple gun
I began by cutting down my 1x2s. I can’t remember the exact size I went with, but I wanted them to be just slightly smaller than the pictures I was hanging them next to which you’ll see in a bit!

Using liquid nails I assembles the frames and used bricks as they dried.
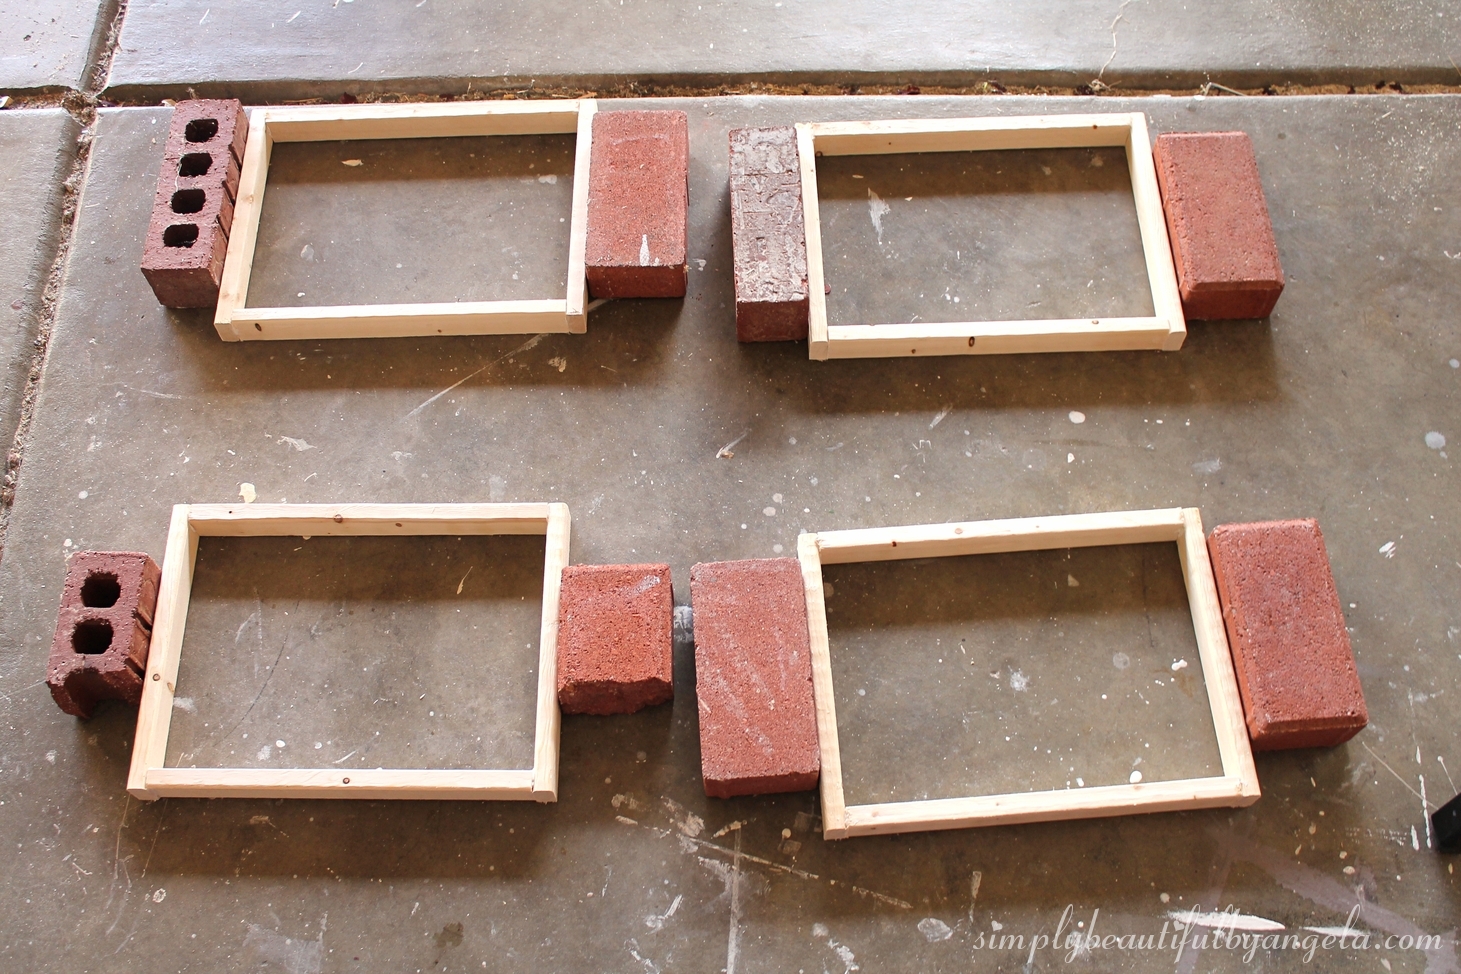
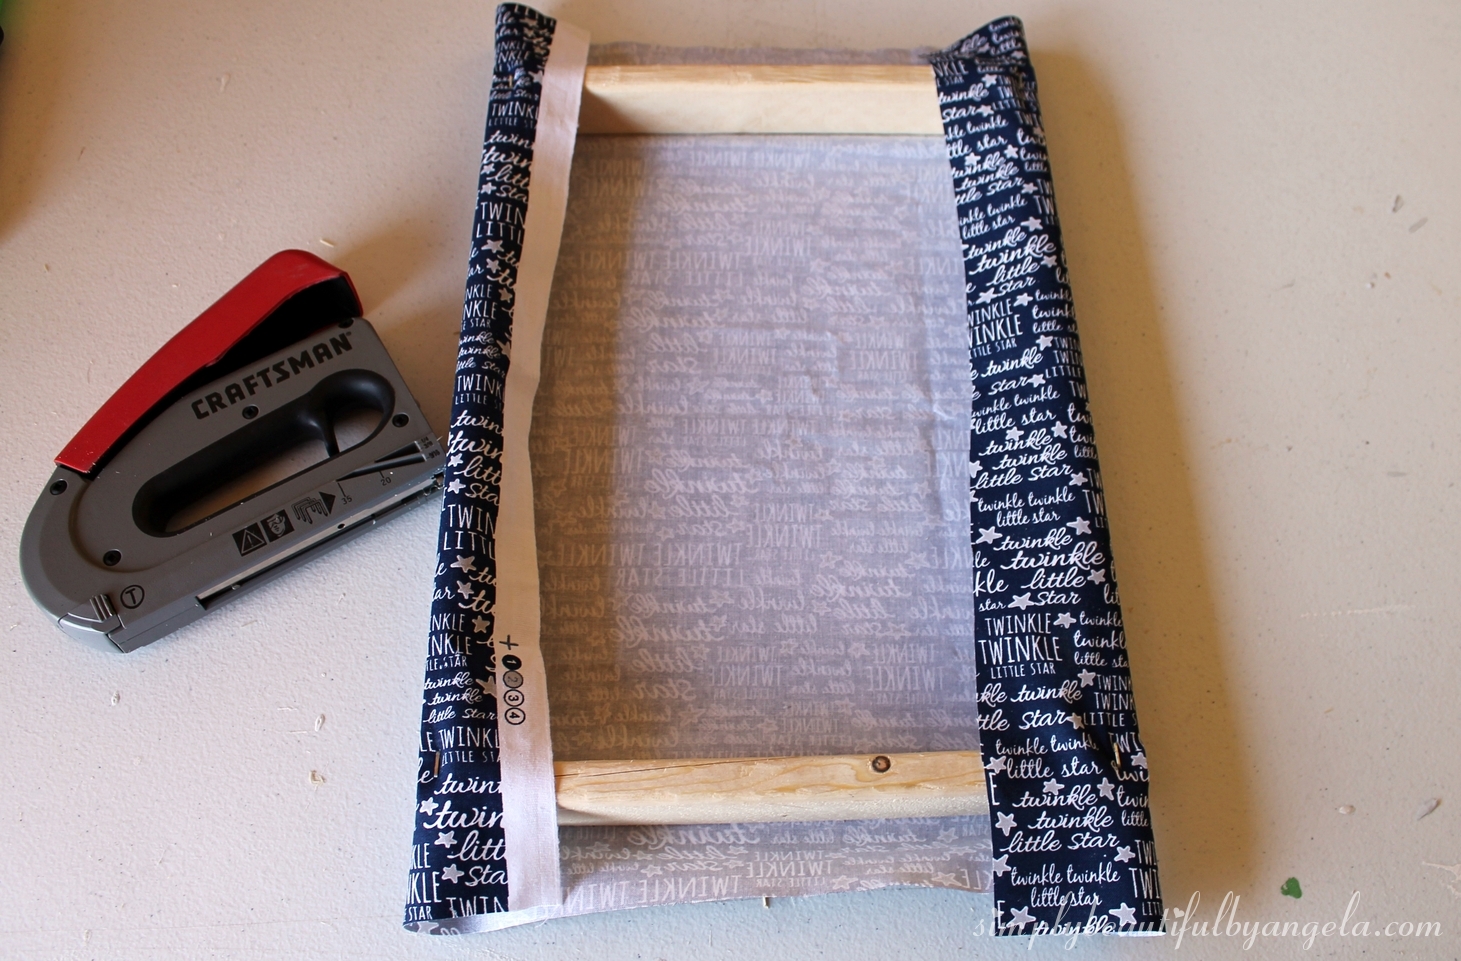
Once they were dry, I cut out my fabric and laid the frame down. Side note–you should probably iron your fabric before this step to get the creases out. This totally skipped by mind but I don’t think Lucas will mind too much 😉

Using a staple gun I attached the two long sides first, making sure to pull the fabric as tightly as possible. If the fabric has a specific design or wording, try to get it on as straight as possible. I trimmed the excess after each side was attached.
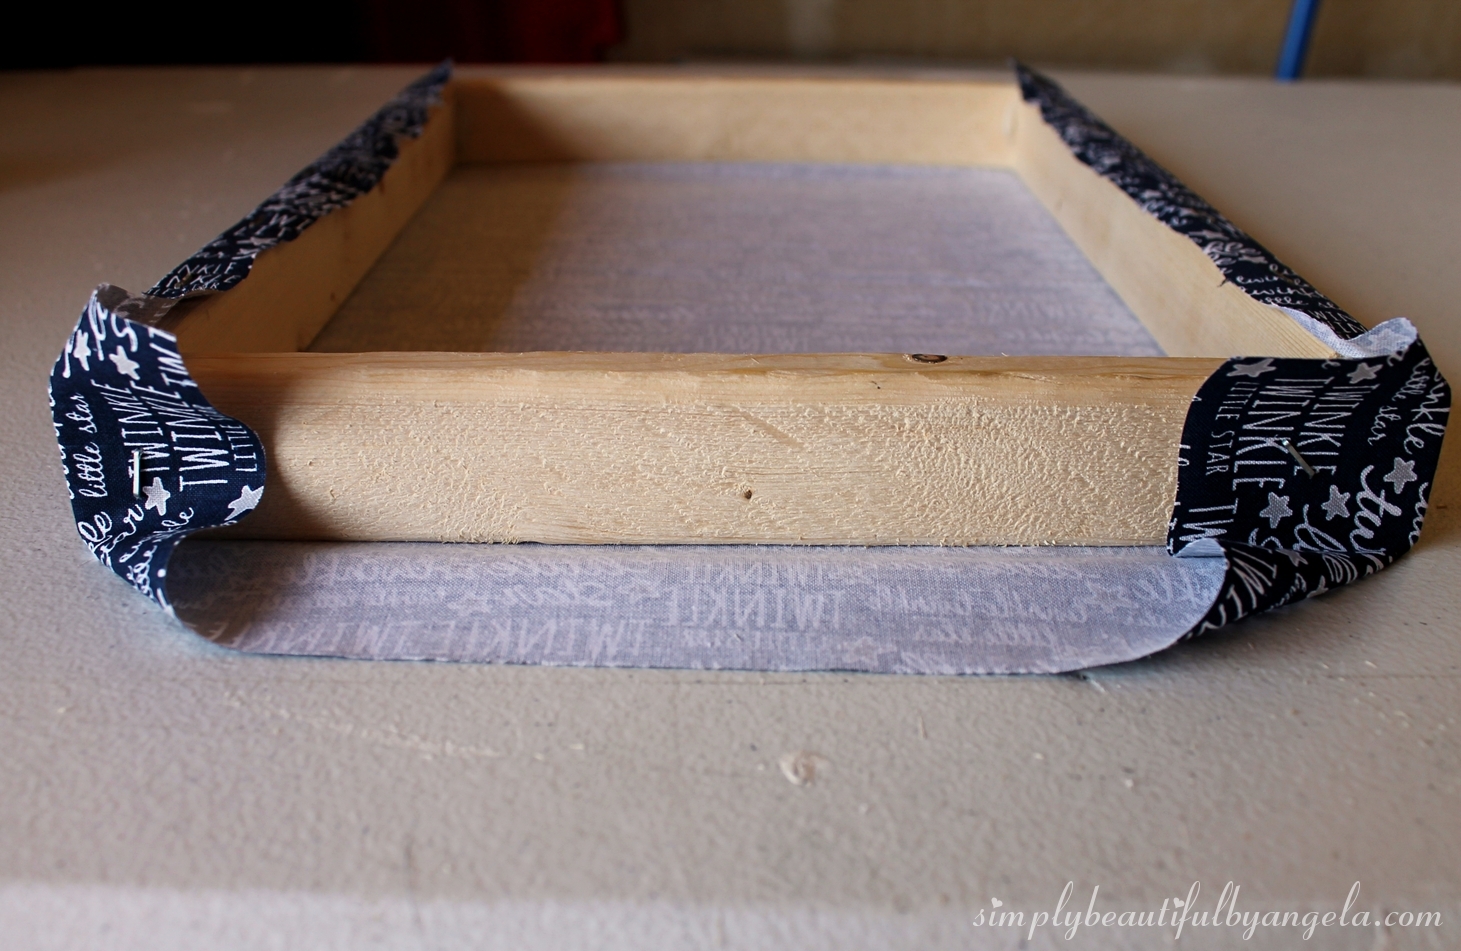
Then, I secured the two short ends just like I was folding a present. I put in a staple at each step to get tighter fit.
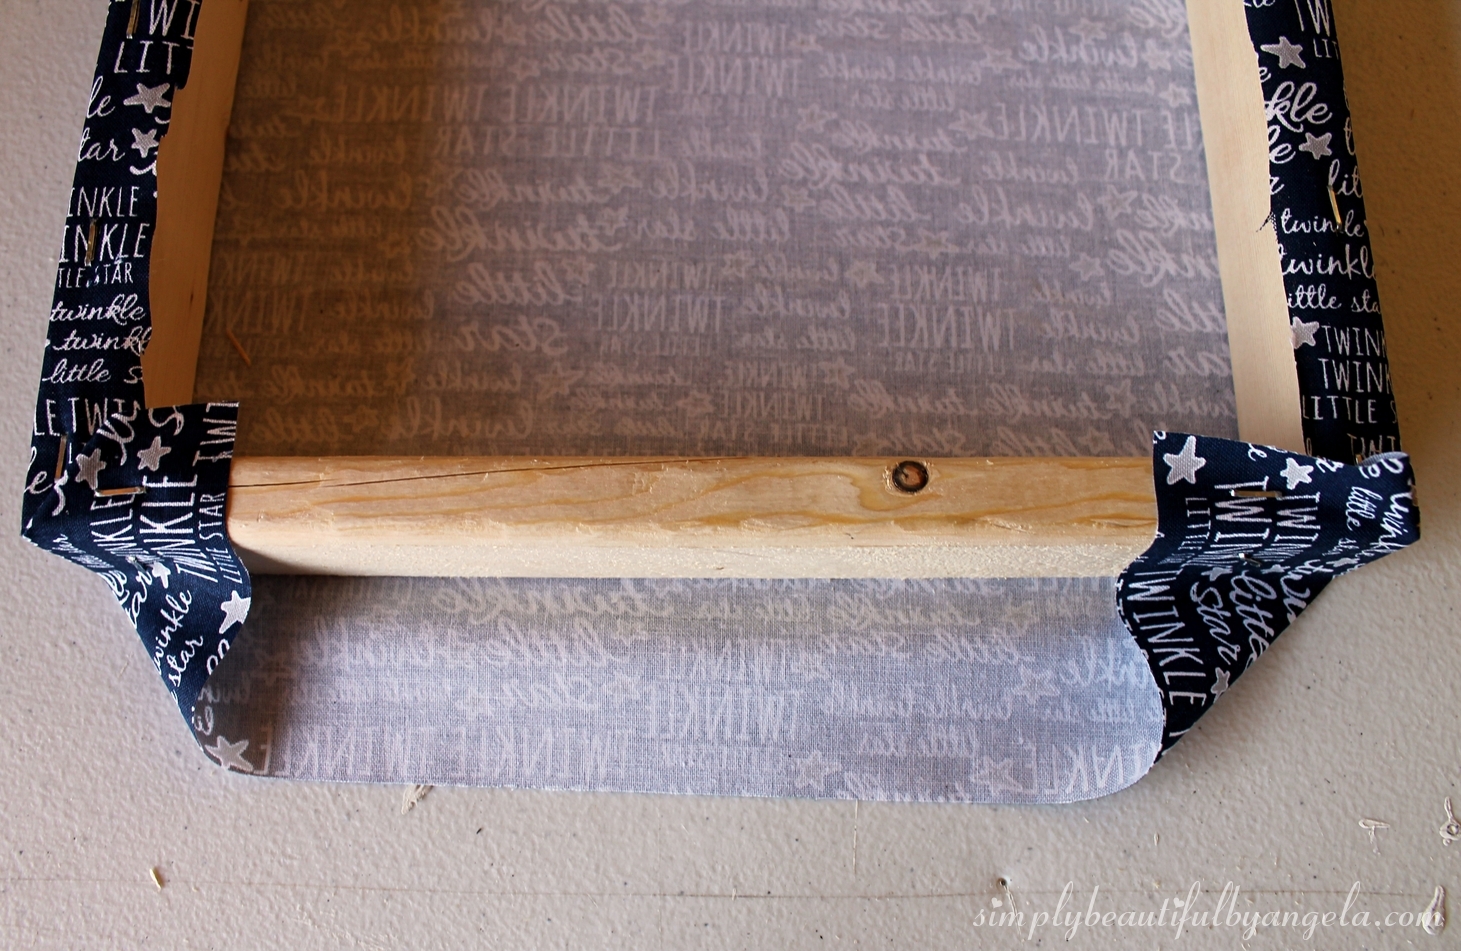

To hang them I just measured the distance between the two corners on the back and that’s where I put the nails on the wall.

They fit with my framed art perfectly. The framed art was created by me in my favorite program Canva. I printed them out and put them in some cheap IKEA frames and you would never guess I didn’t find them at some fancy store 🙂
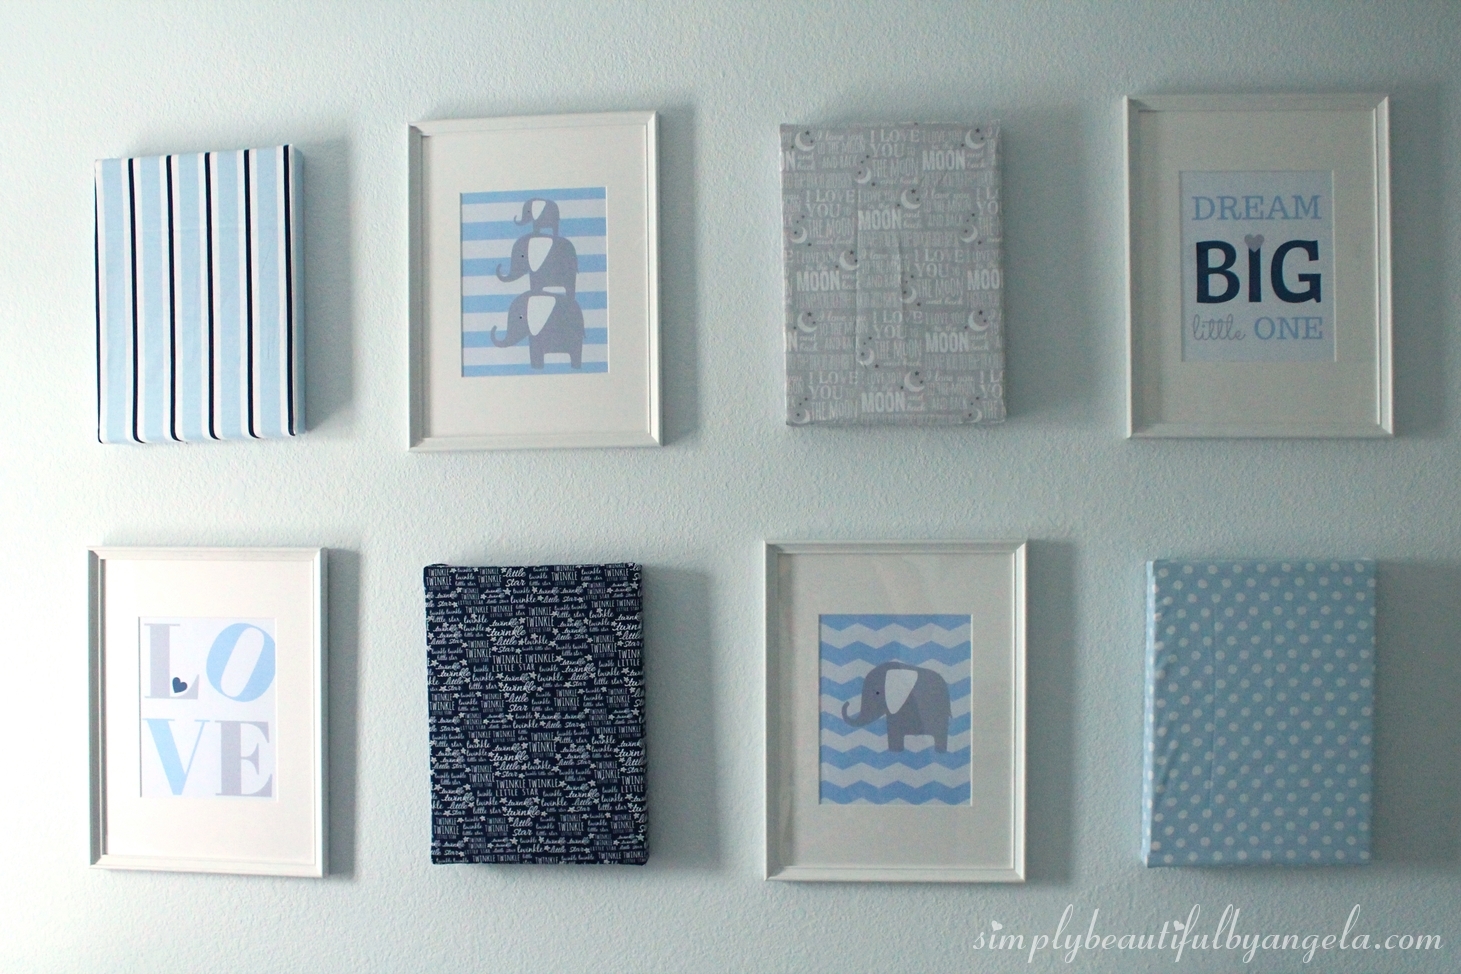
The fabric was all found in the nursey section at Joanns. They have such a great selection and it’s super affordable. I paid about $1.50 for each fabric so $6 total.


Since the fabric was really thin I actually had to go back over each with a second layer. Luckily, I only used about 1/4 yard on the first one so I didn’t have to buy more fabric.

These were so simple and affordable and I really feel like they make the wall. The total cost for all 4 was about $12. Not bad considering that’s usually the low end price of one framed art from the store.
Have a happy day everyone, I’ll be back on Wednesday!
Linking up to these awesome parties!