
Hello and welcome to a new week! I spent last week hanging out with my little guy and enjoying some quality time together before the new baby arrives. It was so nice and I’m already finding it hard to get back into my normal routine!
A couple of weeks ago I was trying to figure out what I could do with these two cheap cube units.

I wanted some extra storage for my step daughter to put her toys but I also wanted to keep Tristan from getting into them since a lot of them are choking hazards for him. So I came up with a way to turn them into a storage cabinet that I could add a lock to.
Here are the supplies that I used:
- Two Closetmaid cube organizers (I got mine awhile ago but this is the most similar that I could find online)
- 2 8ft 2x3s
- 1 8ft 2×2
- 2 8ft 1x4s
- 3/4″ MDF to create a bottom shelf
- 2′ x 4′ beadboard panel
- 2 8ft 1x3s
- 1 8ft piece of small trim molding for the top
- Wood screws
- Nails
- 2 cabinet hinges
- Cabinet pull
I began by cutting the legs out of 2x3s by taking the measurement of the unit plus 2.5″ for feet. I first attached them using liquid nails, and once they dried the hubby secured them with wood screws from the inside.

We cut a piece of 3/4″ MDF to create shelf for the bottom and this is also what attached the two units together. We just nailed it in from the bottom since we don’t plan on having a lot of weight on them.
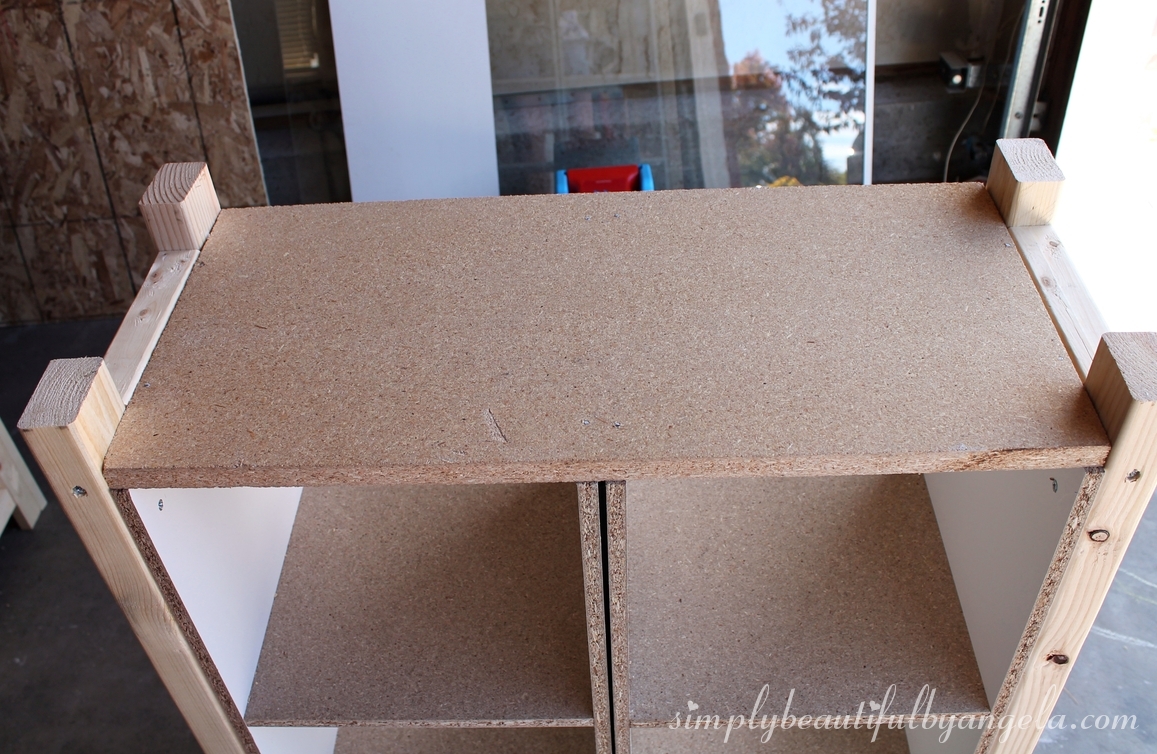
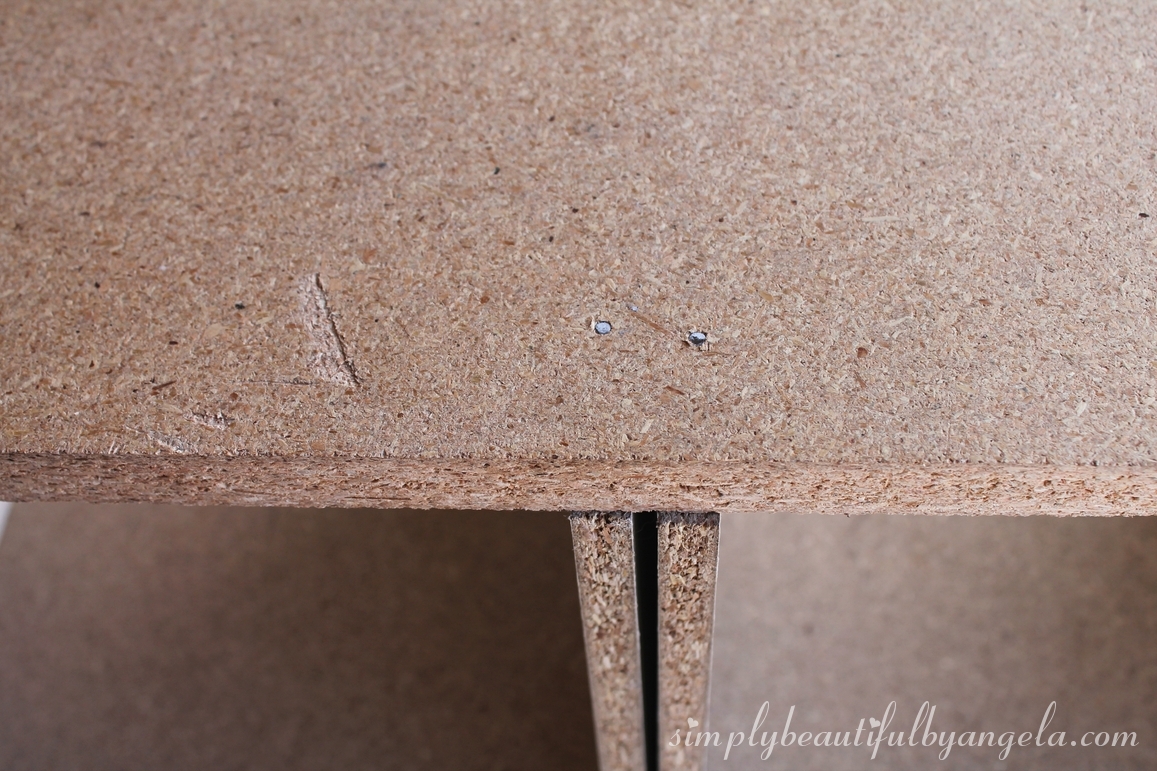
I also added a 2×2 with liquid nails to the top and bottom of each side to make it pretty and look more finished.

For the top, I cut 1×4 furring strips and attached them with liquid nails then went back over each with a nail.

I also nailed on some small molding around the edges to make it cleaner.

I went around and filled all of my nail holes with wood filler and started on the door while I was waiting for it to dry.
I measured out the door height and width on a piece of beadboard and the hubby cut it to size on the table saw. I then used liquid nails to attach some scrap 1x3s that I had laying around (hence the gray stain on some of them). Once they were dry, I flipped it over and secured each with a couple of nails from the back.

You can see that my measurements weren’t perfect (they rarely are!) and I eventually went back over the gaps with caulk.
After sanding and a couple coats of paint we attached the door using two cabinet hinges and added a cabinet pull.
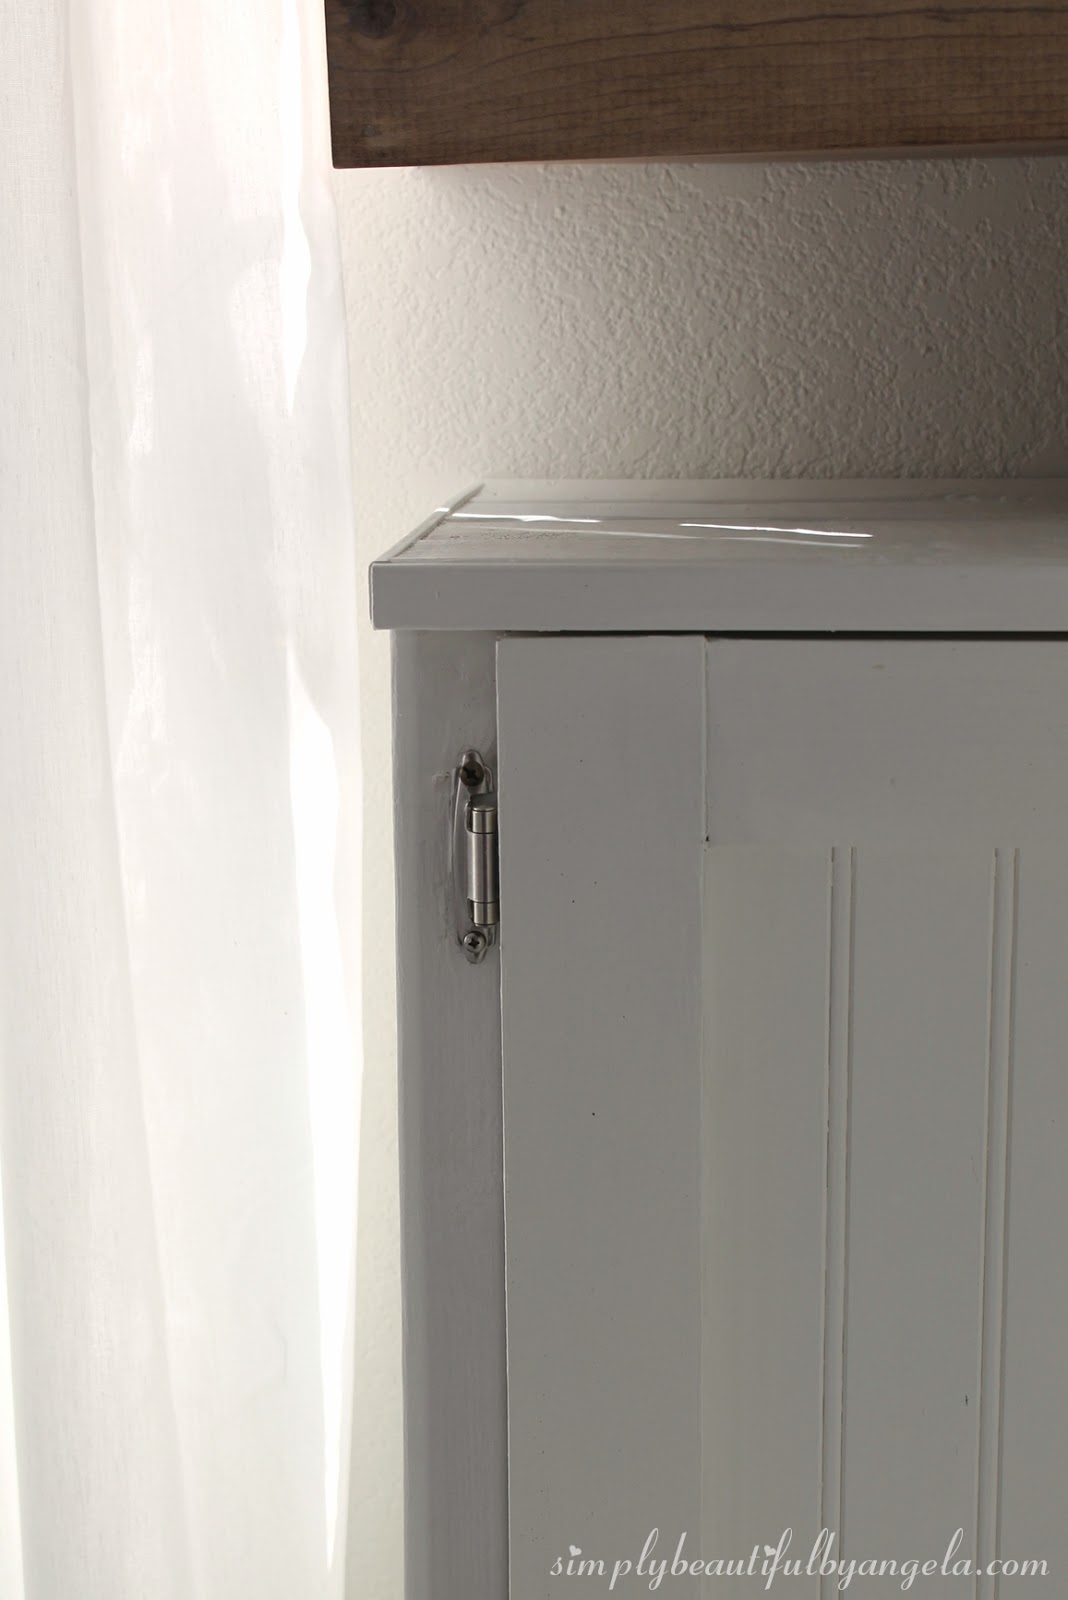
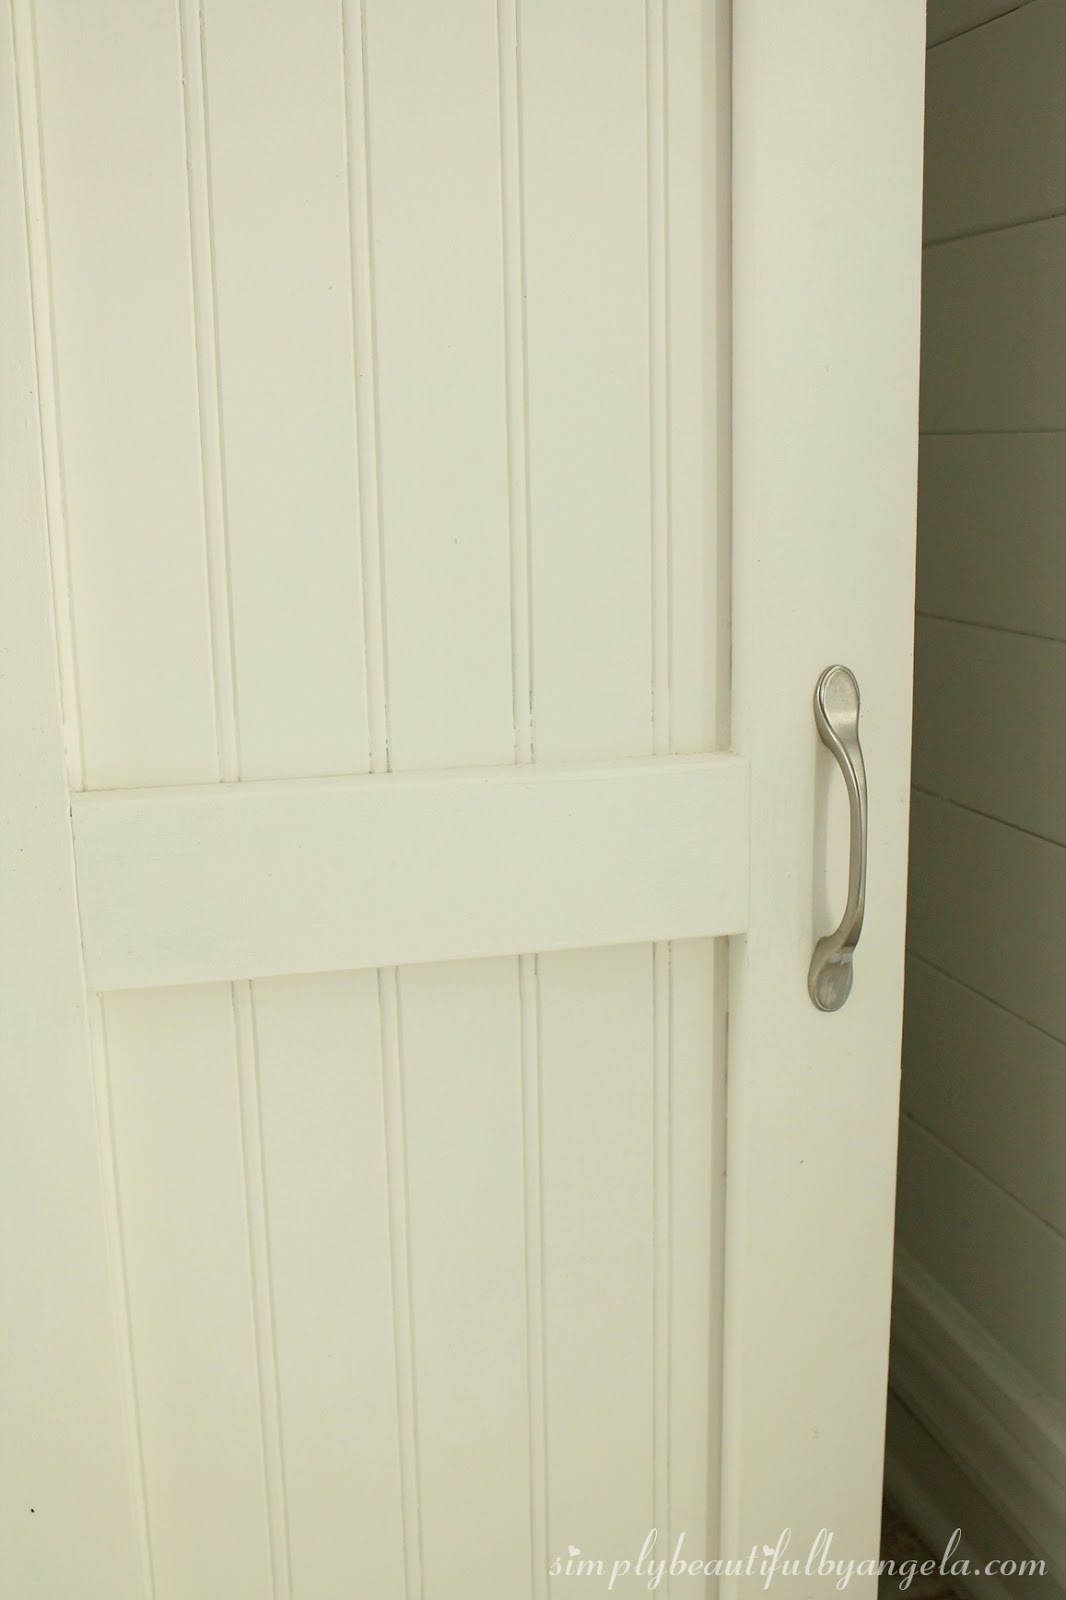
And this is how it turned out!
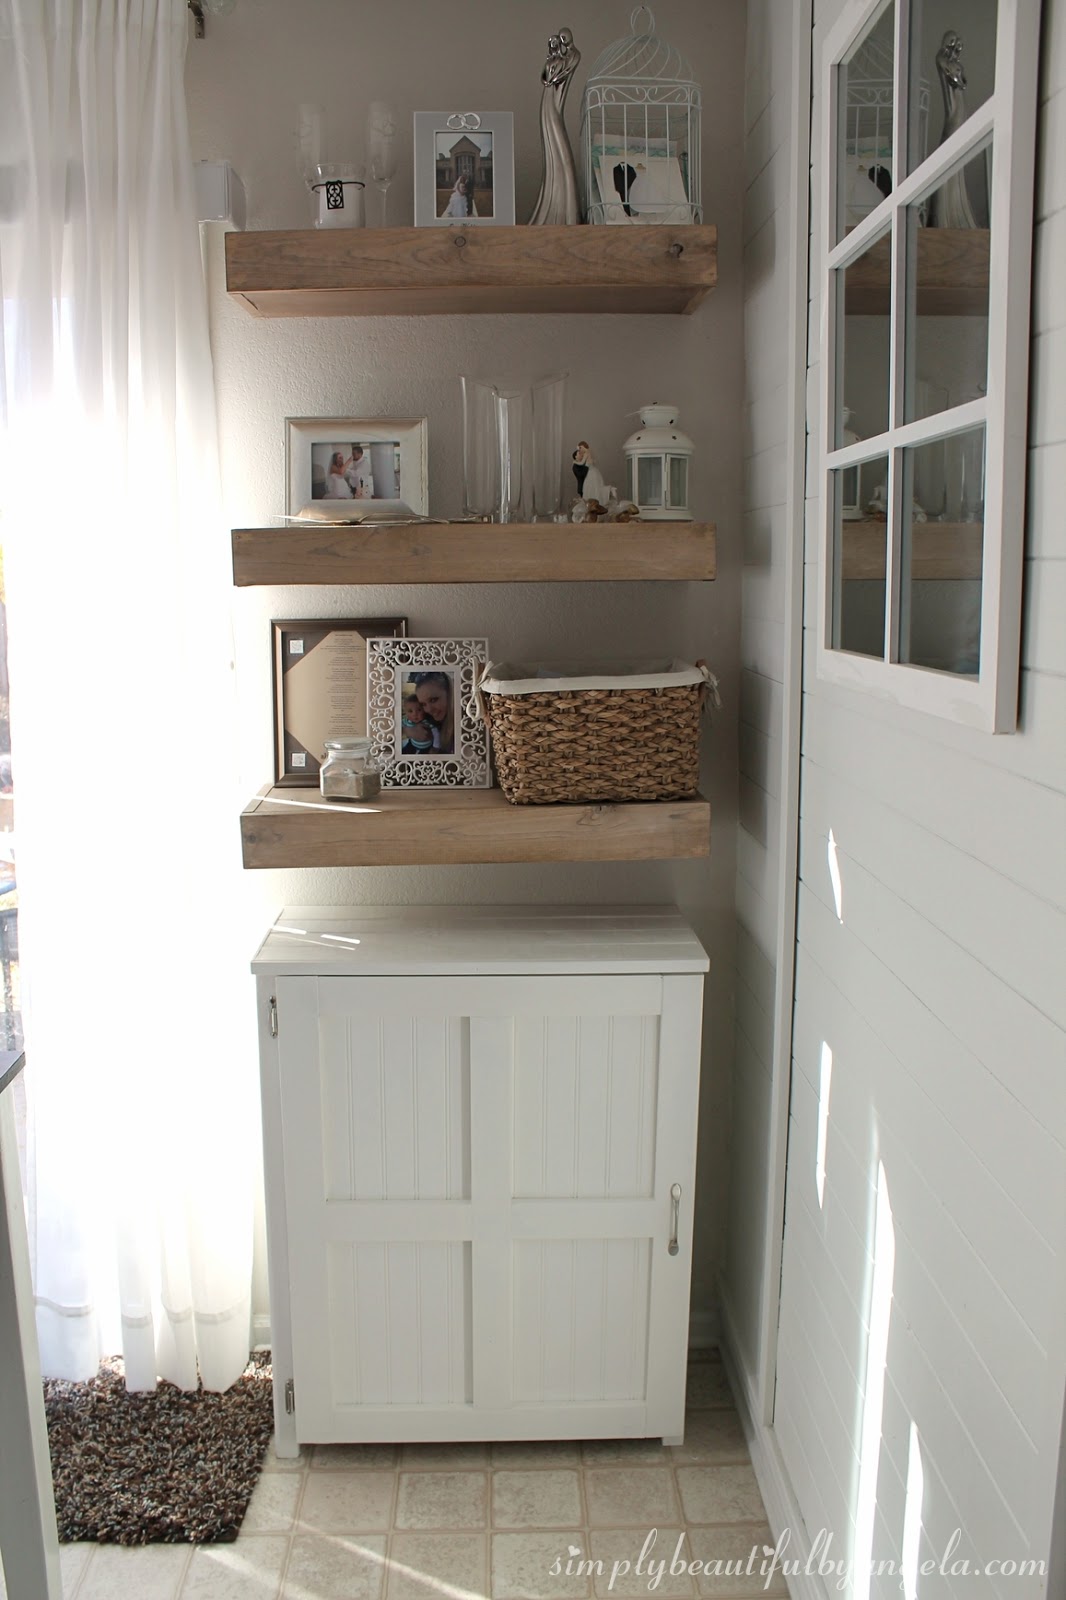
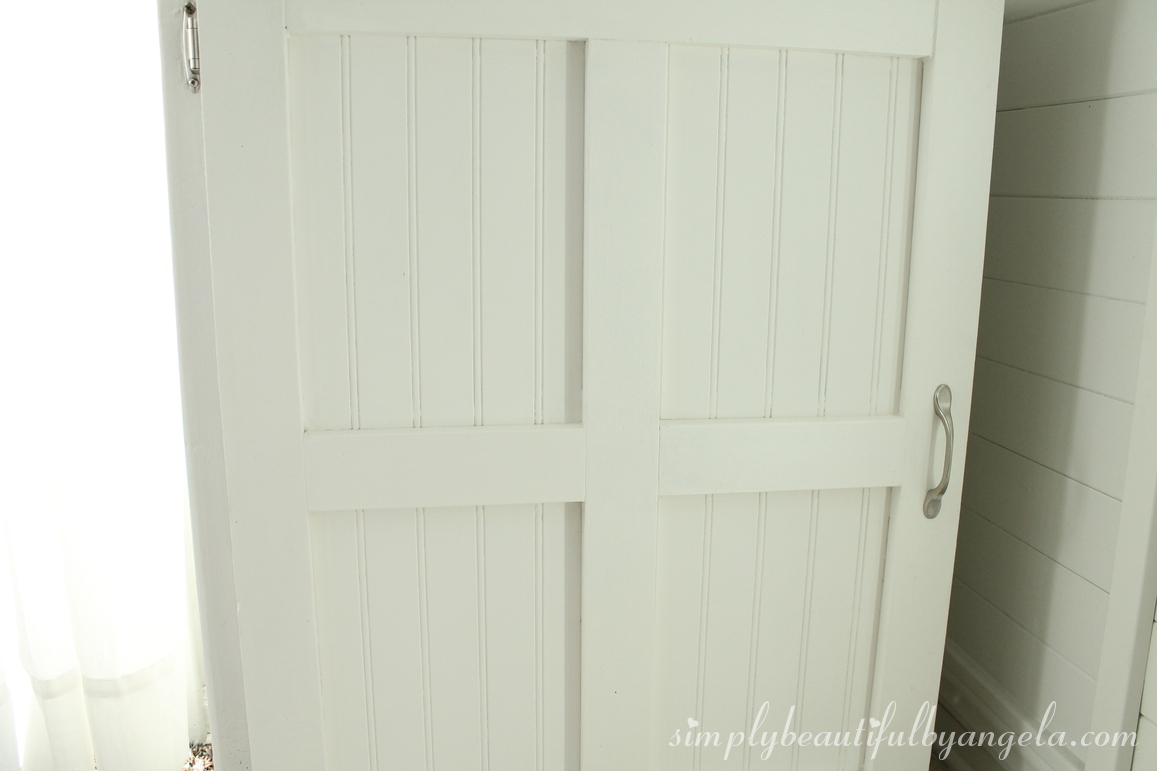
It’s been sitting here for a few weeks until I could find inexpensive baskets that fit. This weekend I figured out that I actually have boxes that are the perfect size! Of course I can’t just put boxes in here, I’ll pretty them up first. More to come on that soon 🙂

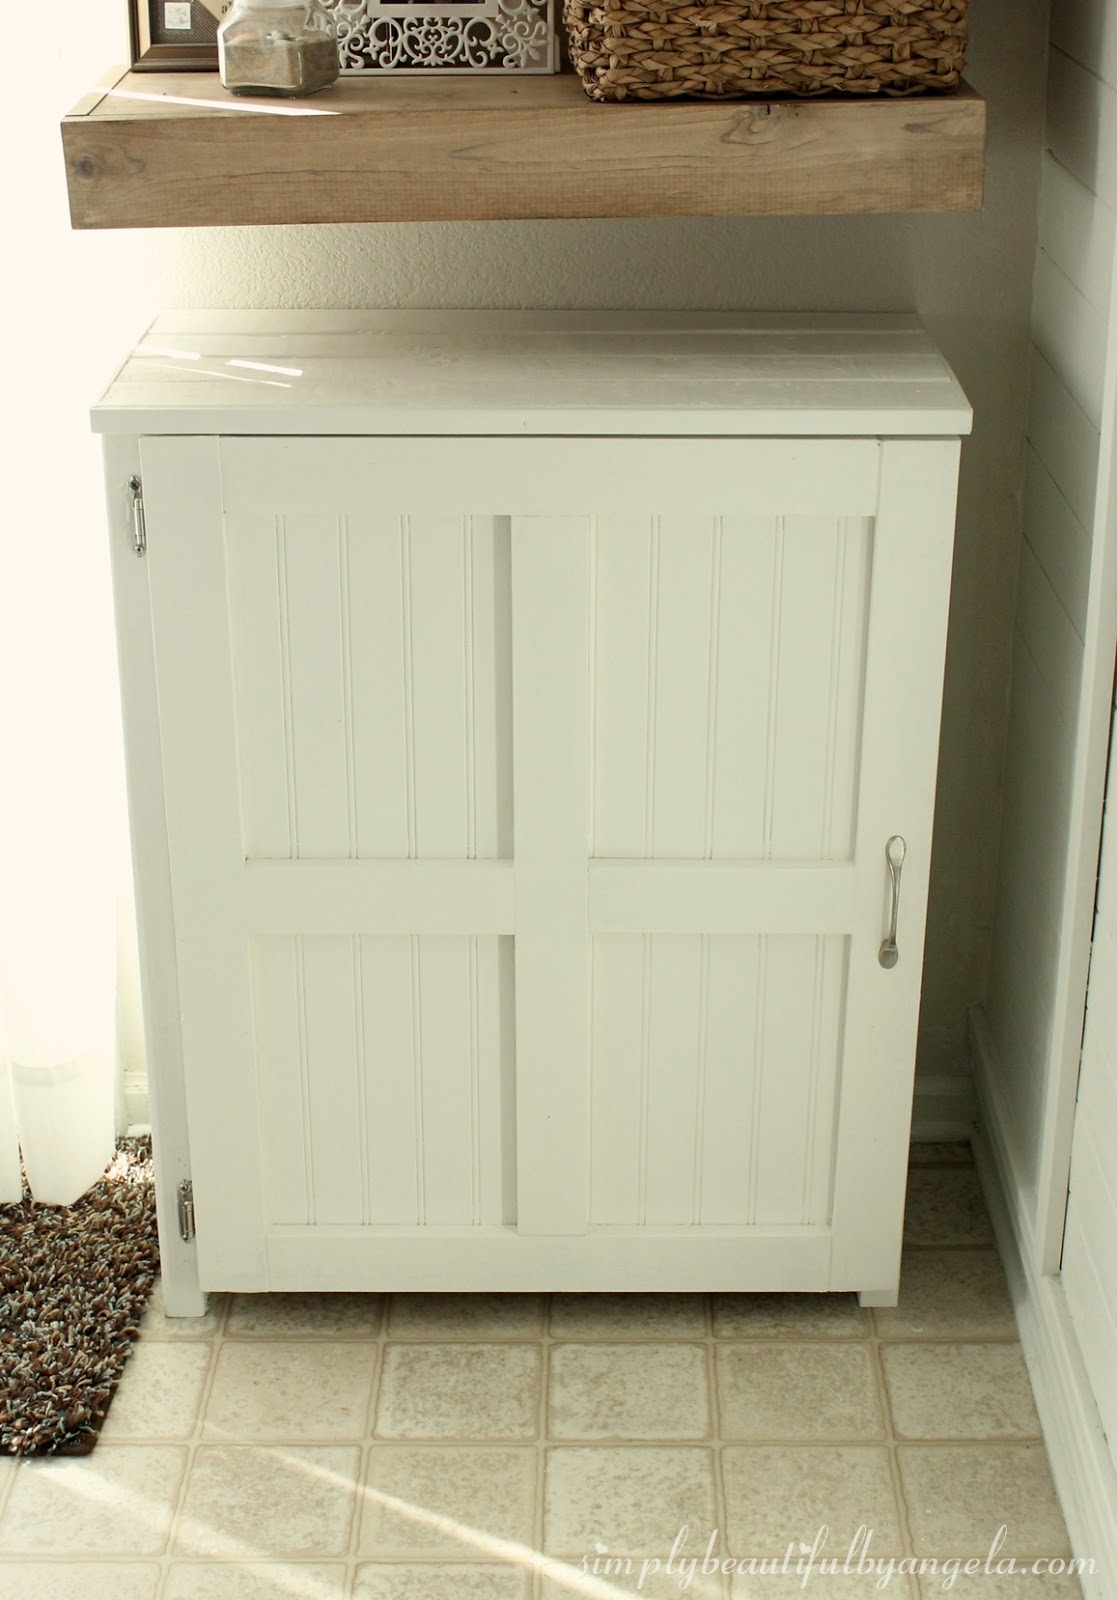
I can’t decide if I want to leave all of the pretty planked top showing or if I want to add some sort of decorative tray or candles. Hmmmm decisions decisions…


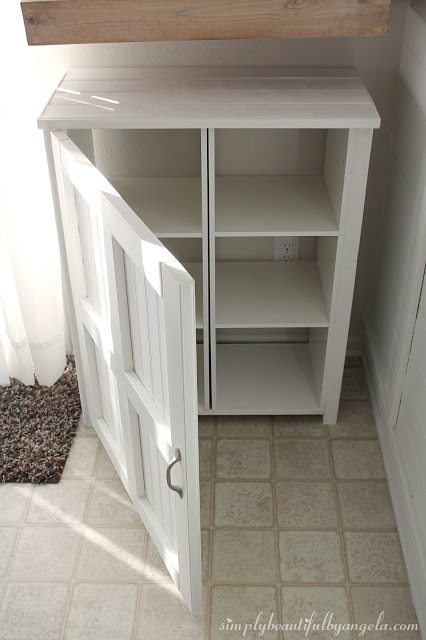
I spent roughly $30 on the lumber and hardware. We already had the MDF and the 1x3s laying round, I never throw away scraps because I almost always end up using them!
This was one of those projects that came out better than I expected it to. I really just wanted a cheap way to make these cubes functional but it turned out to be a beautiful addition to our dining area. 🙂
Linking up to these awesome parties!

This post was featured on Inspire Me Wednesday hosted by Adventures of Mel and the Alder Collection hosted by Winstead Wandering! Click on the images below to take you to the feature posts.
|

|
|