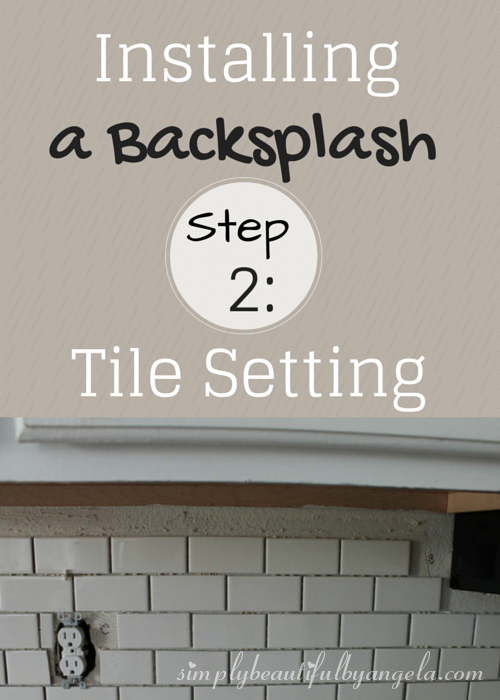
I’m back today to share the second step in our first tiling project journey, which is tile setting. In case you missed it, you can catch up by reading about prep work in this post. I’ll wait right here 🙂
This is definitely a time consuming process, and it takes a lot more thinking than I thought it would. However, it is pretty exciting to finally see tile up on what used to just be a blank wall!
Before I begin I must admit that I didn’t take fantastic pictures during this process because I was super nervous that I was going to mess up.
I began by applying a thin layer of tile adhesive (MAPEI Type 1 from Lowes) using the flat edge of my trowel.
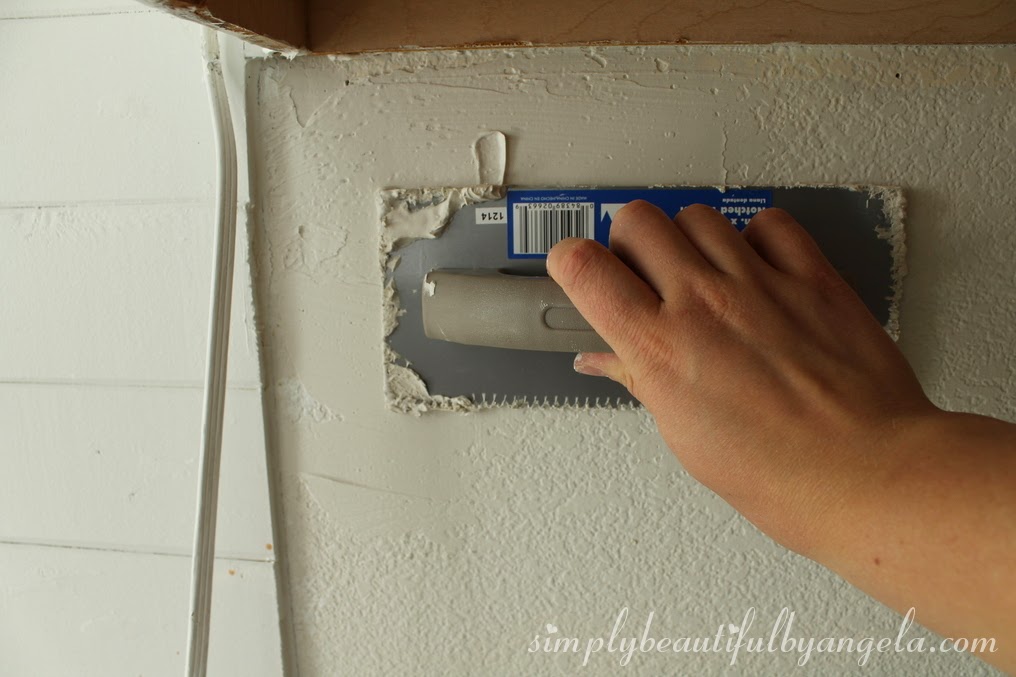
Next, I applied another layer using the notched edge of my trowel.
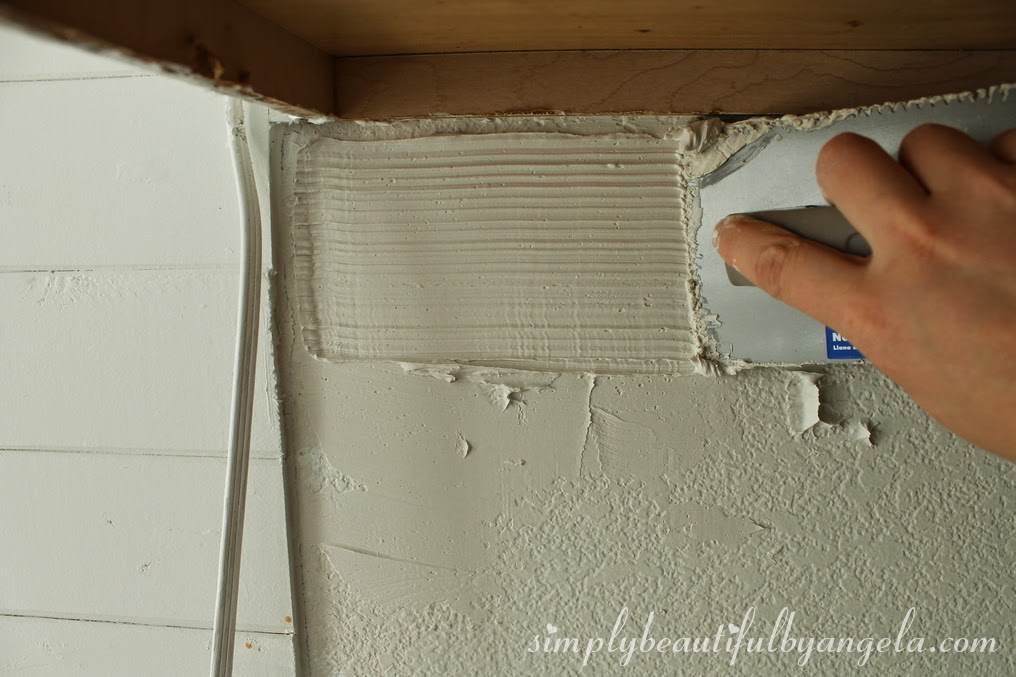
The adhesive that I was using stayed wet for a while, so once I was more comfortable I was able to apply about 2 square feet of adhesive at a time.
You’ll want to apply enough adhesive so that it sticks, but not so much that it gushes through the spaces. If it does, you can just use a paring knife to get it out (while it’s wet!).
I began my edges with bullnose tiles. Once you stick your tile on, you’ll want to wiggle it a little in a direction perpendicular to the adhesive ridges.
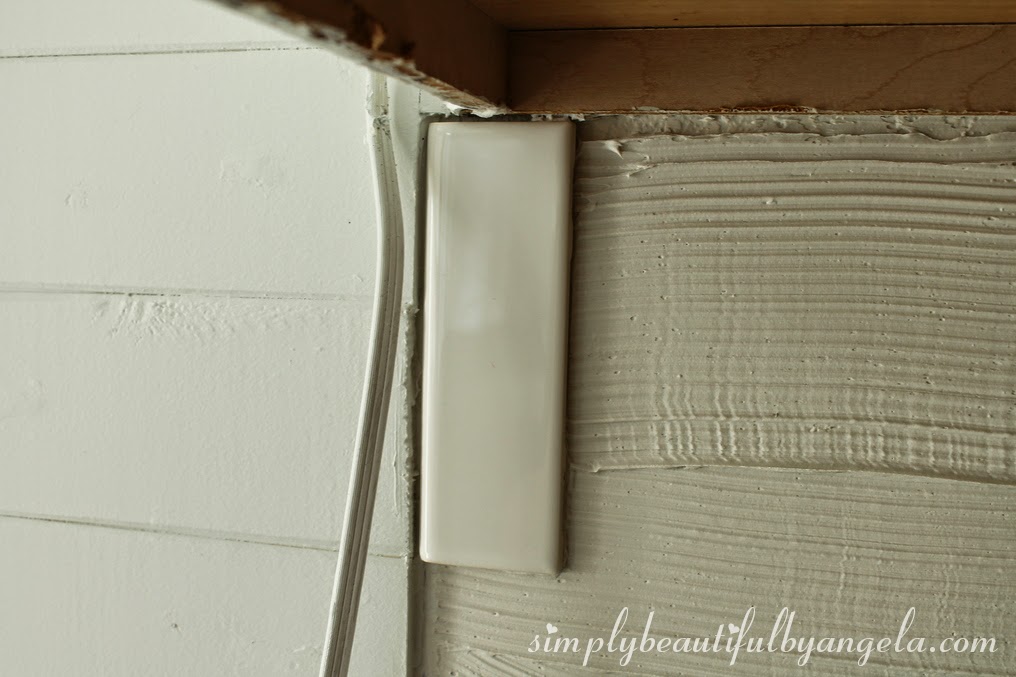
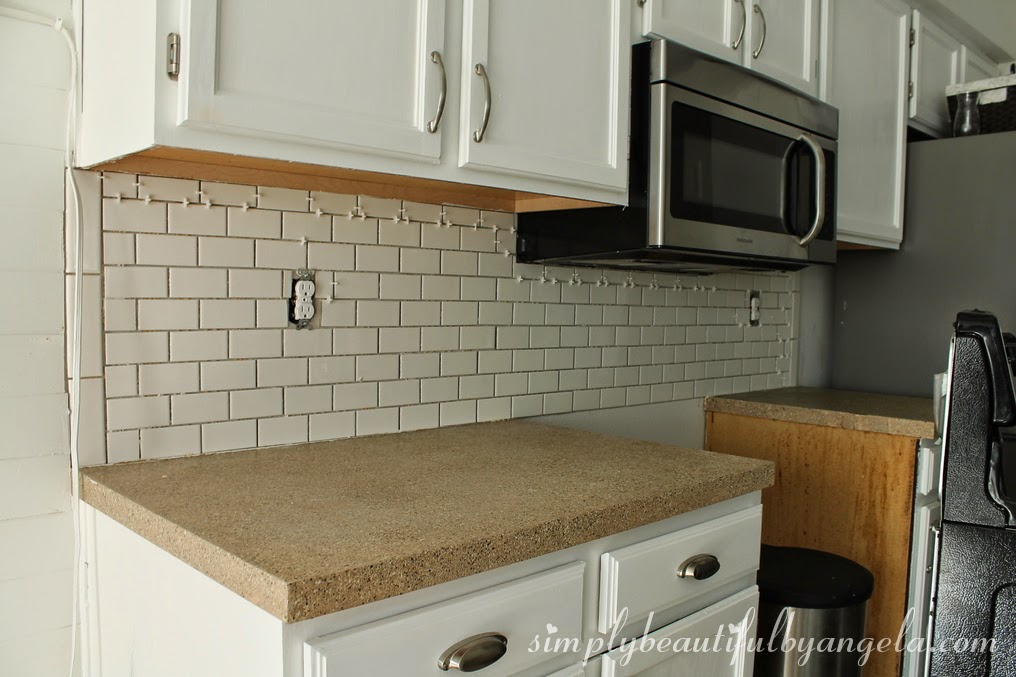
After I applied my next tile, I inserted a 1/8″ spacer.
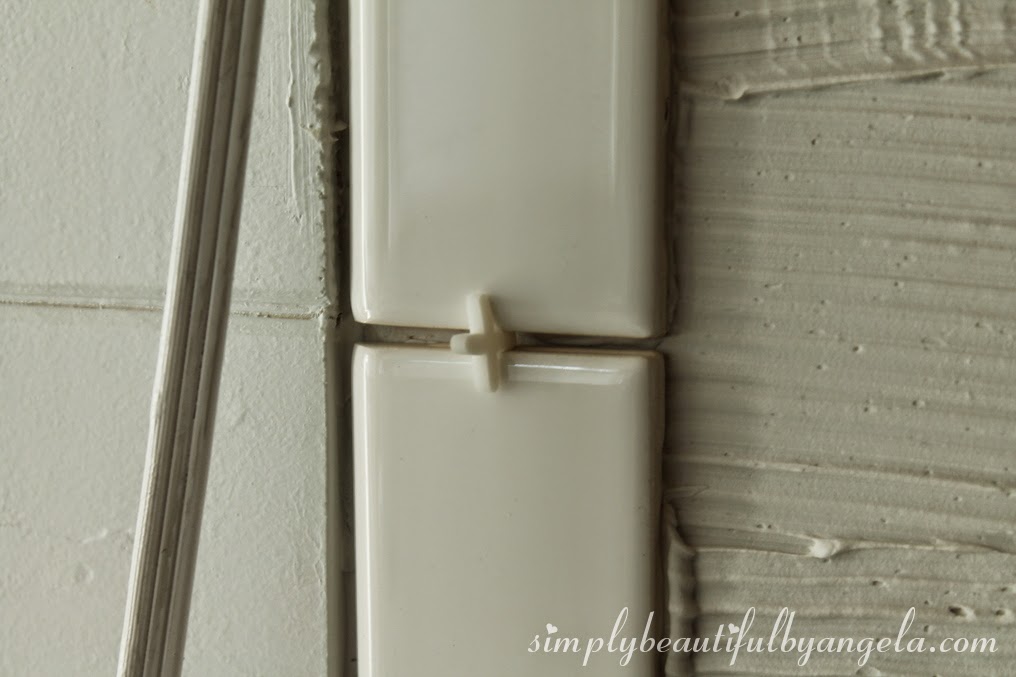
Okay, a couple of things here. You actually want to start at the bottom and work your way up. This way, if you end up needing to cut tiles they will end up at the top as opposed to being more visible at the bottom. Also, you don’t have to worry about the tiles sliding down.
After I took the above pictures, I remembered this and actually removed these two tiles. Luckily the adhesive stays wet long enough to make corrections!
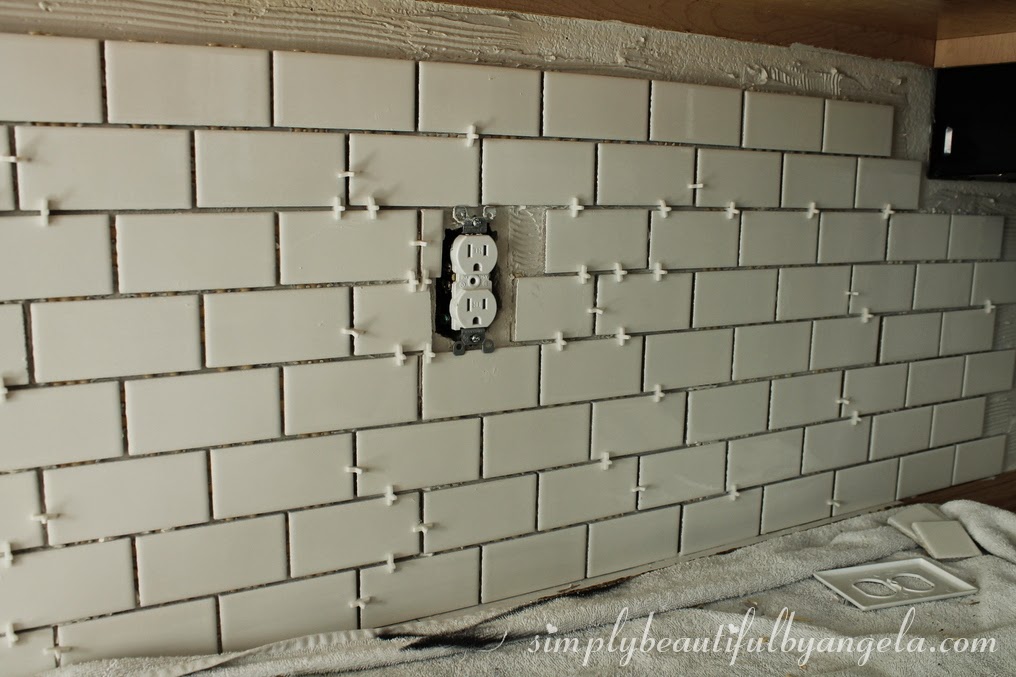
As you keep moving across the wall, remember to pay close attention to keeping a brick pattern. It sounds easy enough, but when I was actually in the thick of it there were times that I would lose focus and came close to getting off track.
Also make sure you don’t skimp on using the spacers! They will be your best friend in ensuring that you are creating straight lines.
I was really glad that we chose the mini subway tiles that came on a sheet as opposed to having to put up each tile individually. I think it made the process go much quicker.
Oh and another note. Remember I mentioned in the last post that there were going to be a lot of things that would make professionals cringe? Well, the first row of tile should actually be separated from the counter using spacers.
At the end you’re supposed to run a bead of silicone caulk along this gap. Why? Because as the house shifts this will prevent the tiles from cracking. Whoops. I read about that a million times, but it totally spaced my mind when I started setting the tiles. There’s still a tiny little space at the bottom so I’ll at least be able to get a little bit of caulk in. Do as I say, not as I do! 🙂
By the end of Saturday I had laid all of the tiles that didn’t need to be cut and called it a day. Sunday morning we started the real tedious part, which was making the special cuts.
Even though our tiles came in sheets, they could be cut out using a utility knife.
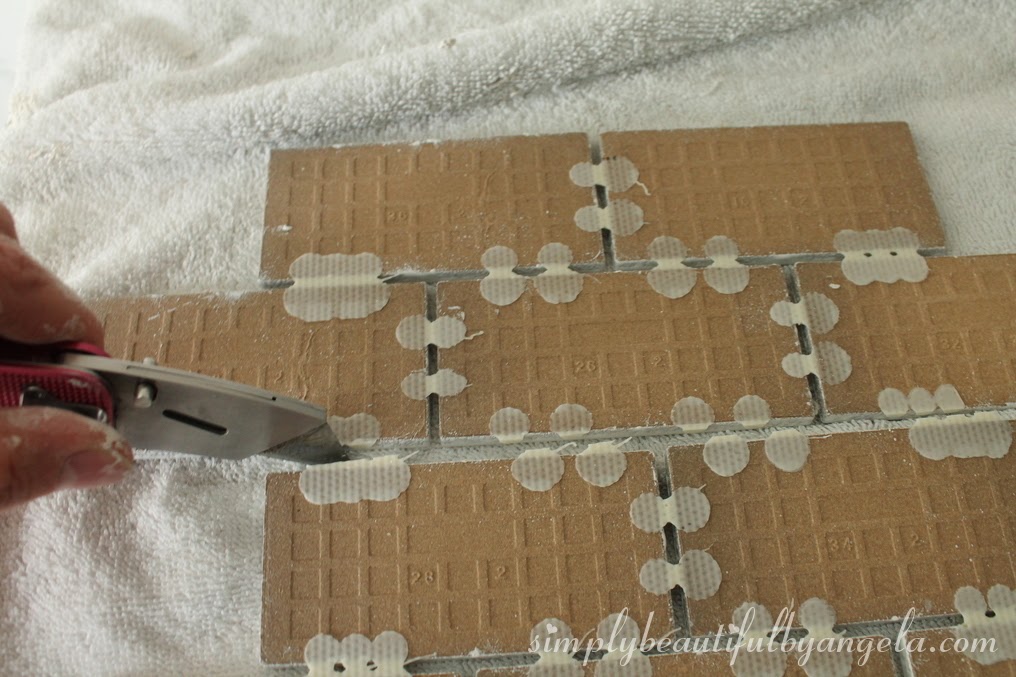
We created a system where I measured out the cuts and the hubby cut them all on the wet saw. In order to remember where they all went, I wrote a letter on each that corresponded to a row.
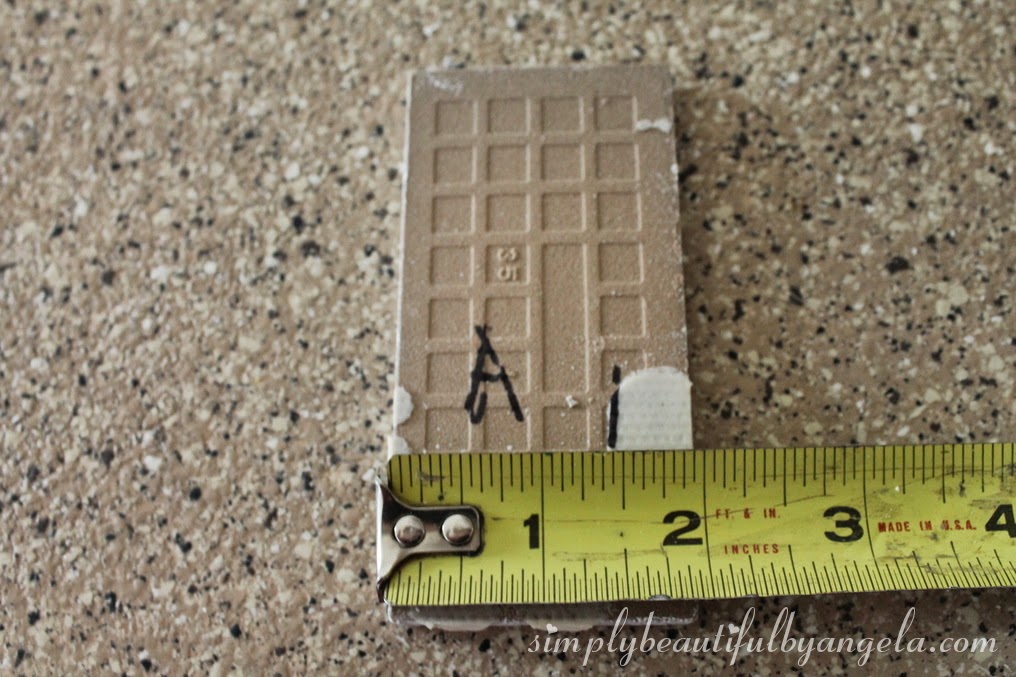
You’ll notice in the picture below, that there was some dried adhesive from Saturday. Before applying more adhesive, I used a screwdriver to chip it off. A putty knife would be much more efficient, but I couldn’t find the dang thing so I improvised haha.
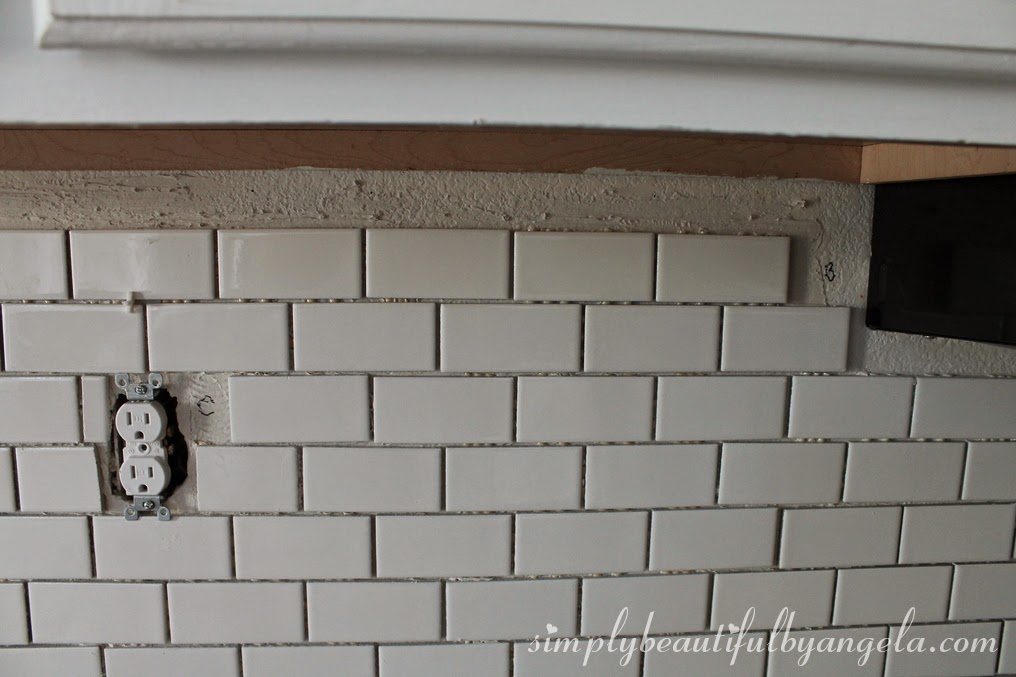
After cutting out all of the “puzzle pieces” I back buttered them (which means applied the adhesive directly to the back of each tile).
And here is where we are at today!
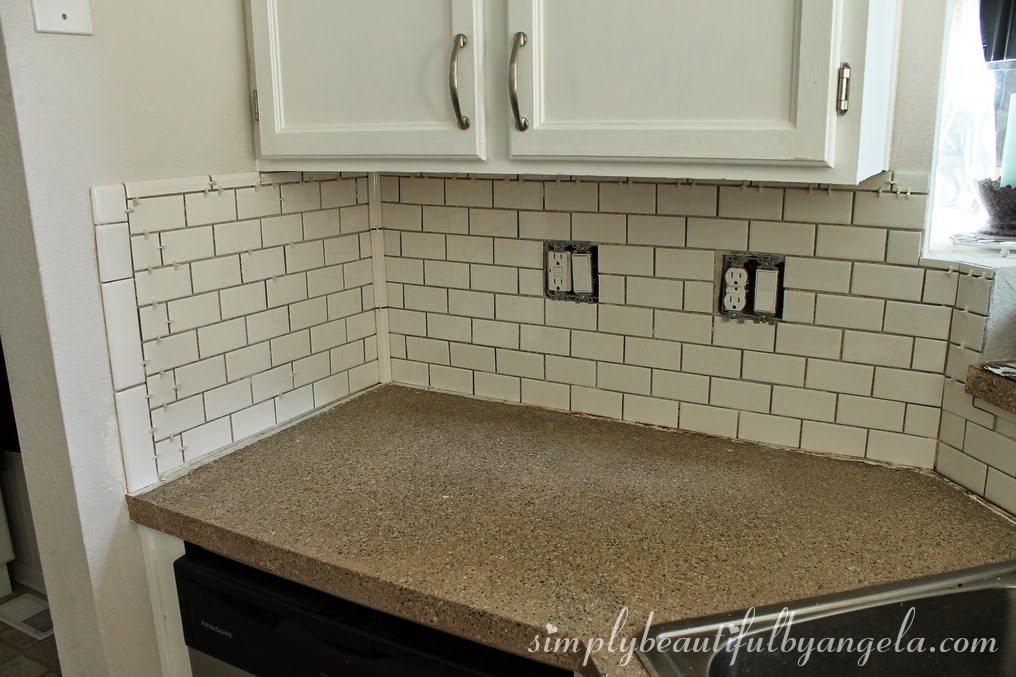
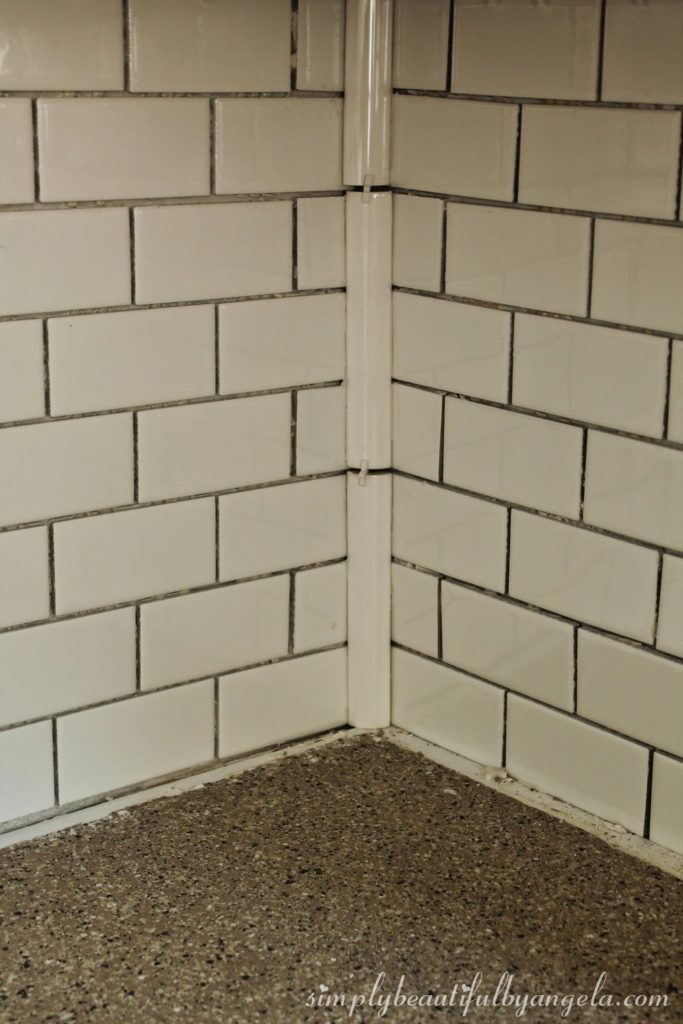
This corner was a kind of a pain. We were left with about half an inch on both sides, so instead of creating little tiles I just applied some coordinating trim.
Remember in the last post I mentioned that it’s important to pull the outlet boxes out a little so that you can tile behind them?
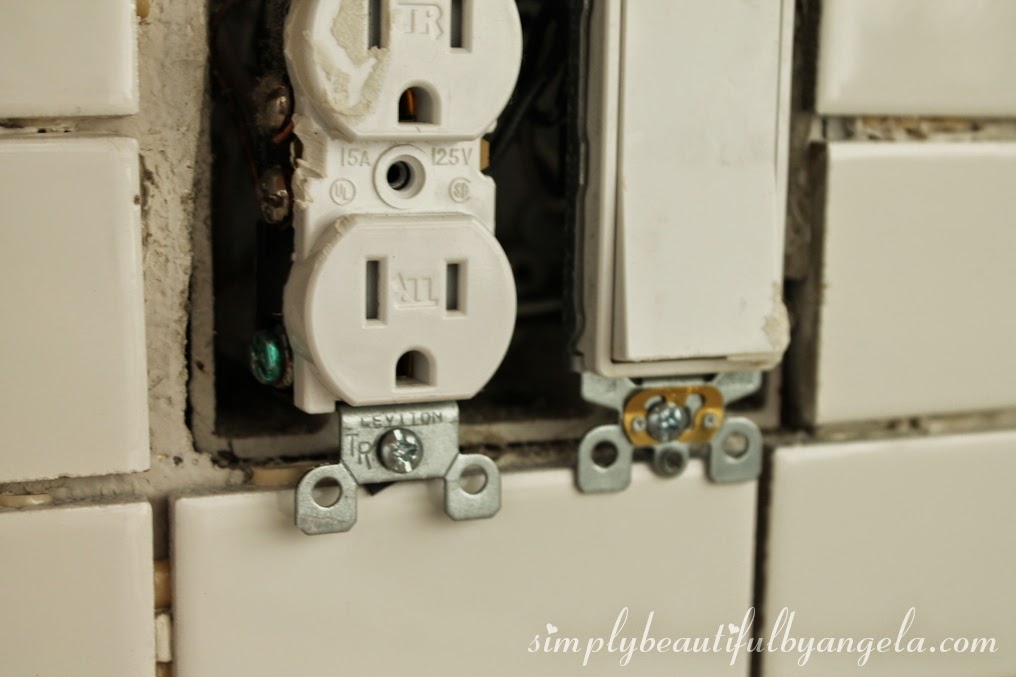
Ignore the fact that I got adhesive all over that outlet haha! The hubby will probably have to replace that one, much to his dismay.
It’s finally starting to come to life. Exciting!
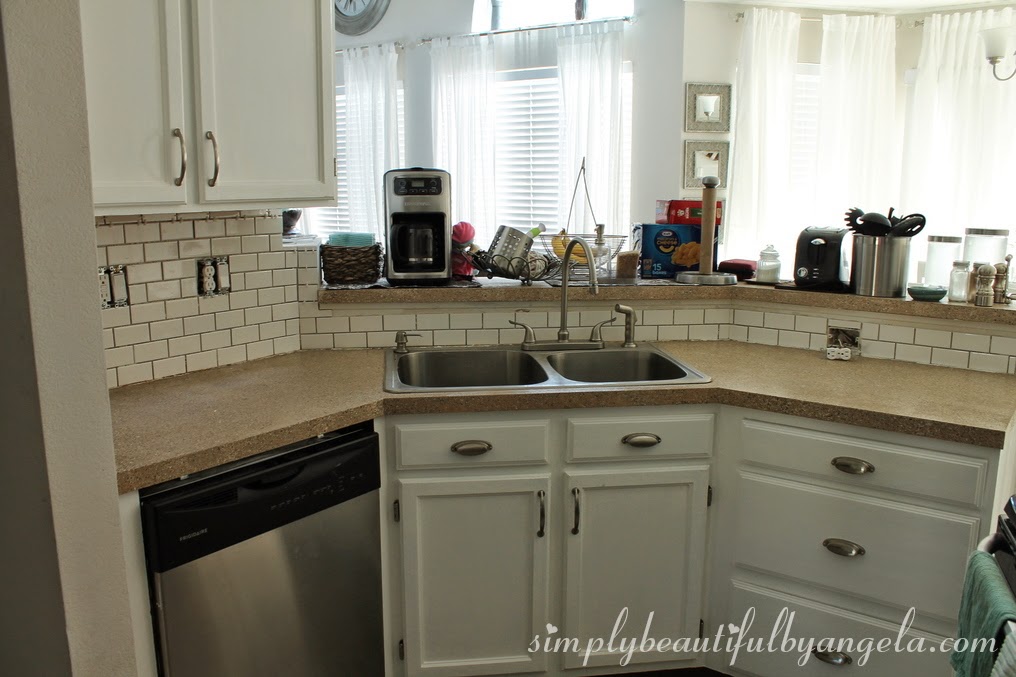
Here’s one thing I could really use some opinions on. Behind the sink there’s a piece of shoe molding right below the counter so we can either remove it and put a row of half tiles along there, or we can attach some pretty molding (PVC of course because of the water).
Feel free to chime in with your opinion because I’m totally stuck!
Linking up to these awesome parties!