Hello and Happy Monday! If you’ve been following along on the blog, you’ll remember that I decided to finally take the plunge and attempt installing a tile backsplash in the kitchen. You may also remember that I have been absolutely terrified about messing it up!
I’m going to break this project up and share it in parts since there are a lot of details involved. Today I am going to share the first part, which is the prep work.
Keep in mind, we are total novices when it comes to tiling so a lot of the things that we did would probably would make professionals totally cringe haha. I’m going to share what we learned as beginners, even the mistakes so that you can hopefully avoid them!
Before I start, I want to remind you what the kitchen looked like when we first bought the house. It was very outdated, but it was also a total blank slate which meant that I could have fun personalizing it.
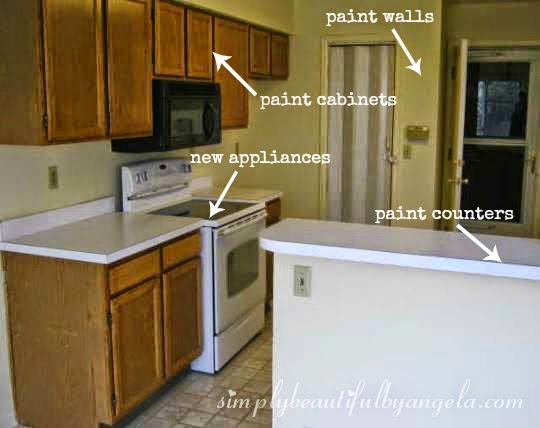
We painted the walls, cabinets, counters and even replaced the old sink and appliances with shiny new ones. This was the result (sorry for the angle switch-up, I didn’t take a good picture from the other side!):

Then I decided that I regretting going so dark on the cabinets. So I painted the cabinets again (you can read about that in this post), and ended up here:
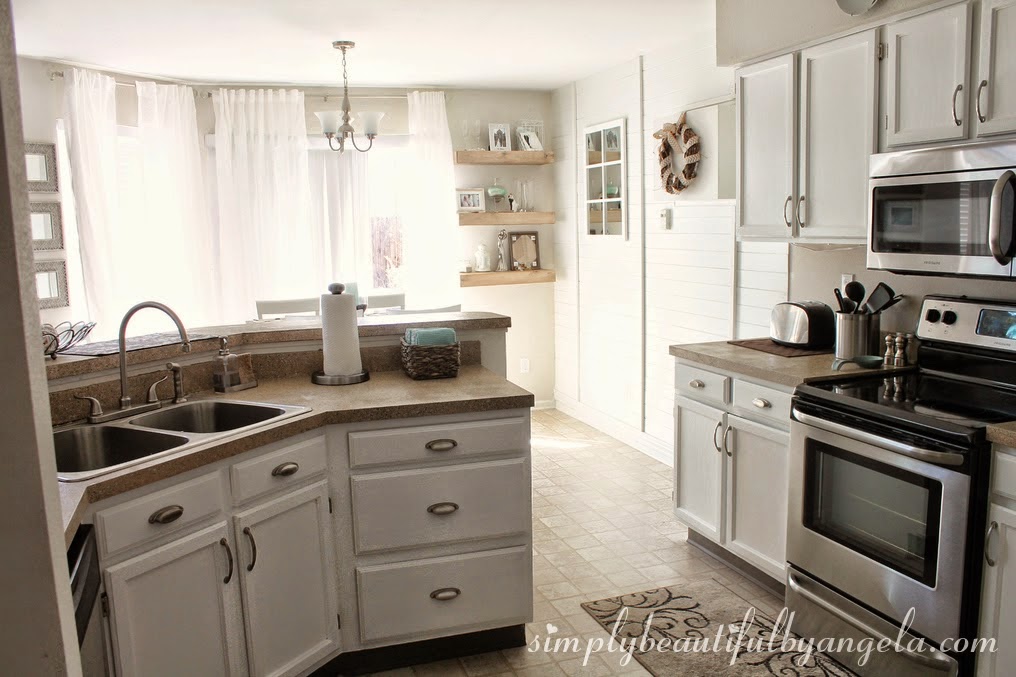
The only thing that was really missing was a nice backsplash. I’ve wanted to put in a backsplash before we began anything else, but I kept putting it off.
However I’m really glad that I did put it off, because originally I was going to do a glass mosaic tile. I now realize that it would have looked way too busy in here.
After browsing inspiration photos online I decided that I am absolutely, postively smitten with white subway tile 🙂
So this weekend we finally made the exciting trip to Lowes to purchase what we needed for this project:
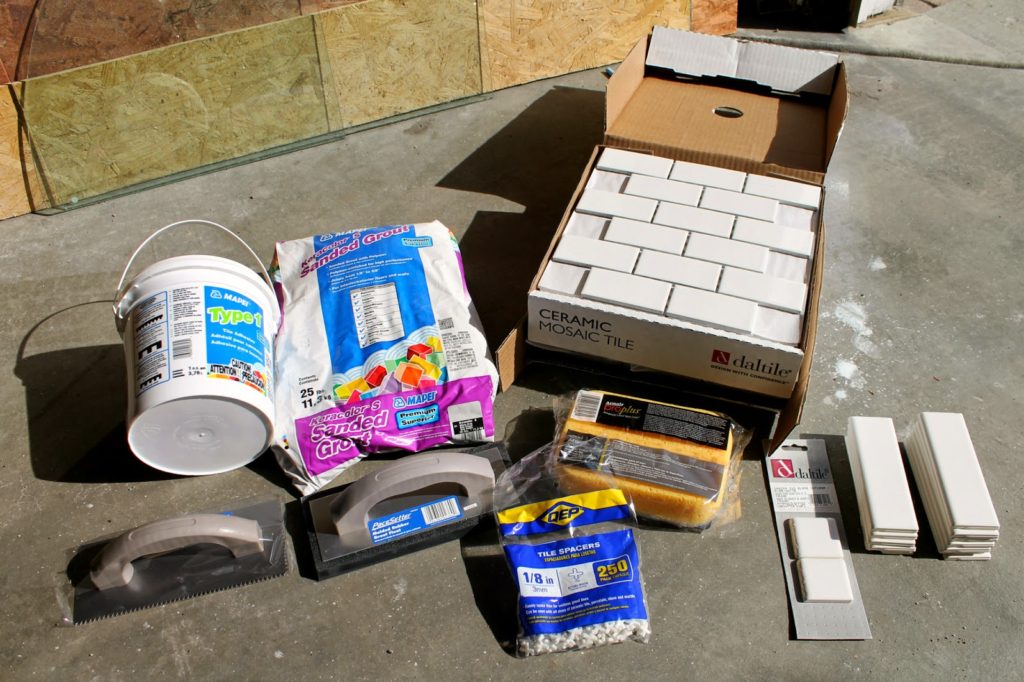
- MAPEI 1-Gallon Trowel Tile Adhesive
- MAPEI 25-lbs Warm Gray Sanded Powder Grout
- Notched Trowel
- Rubber Grout Float
- 1/8″ Spacers
- Sponge
- 25 Sqare Feet of Mini Subway Tile (2″ x 4″)
- Matching Bullnose (for edges)
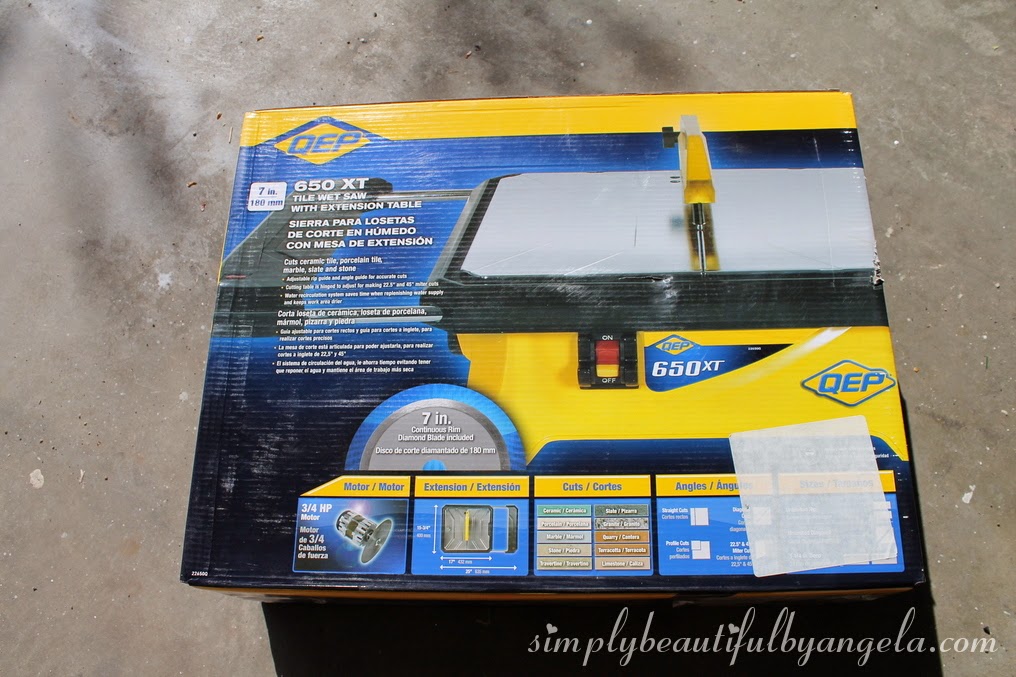
We also invested in an inexpensive wet saw that we found at Home Depot. You can always just use a tile cutter, but from what I read online you end up with a lot of cracked tiles using this route.
We wanted to avoid the frustration and I’m glad we did, because we didn’t end up with a single cracked tile. Not to mention, it made all of the cuts super quick and easy.
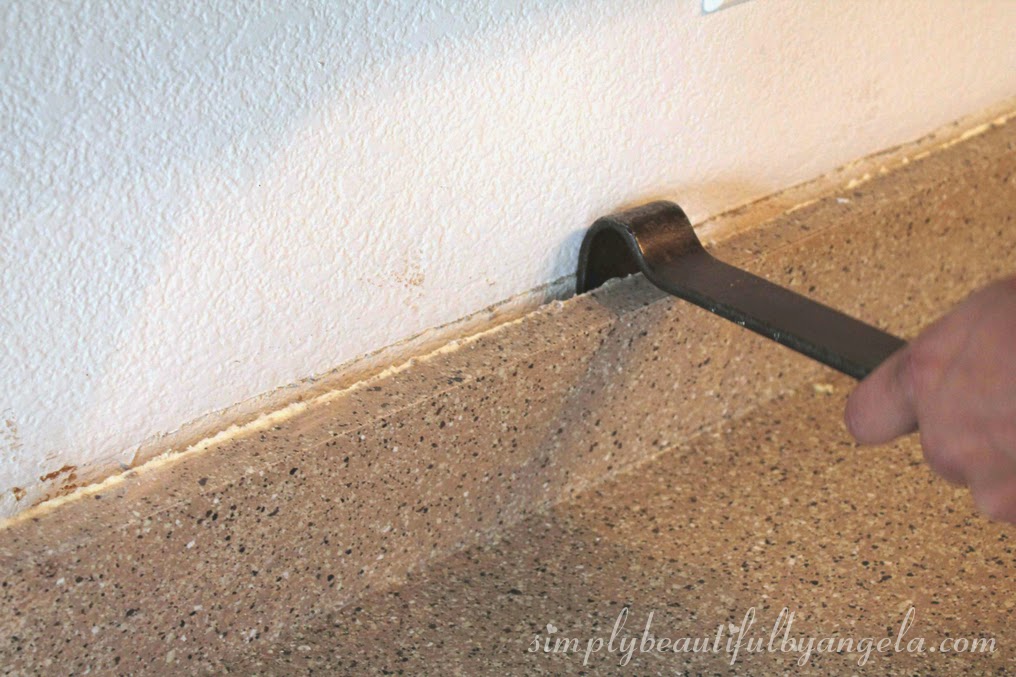
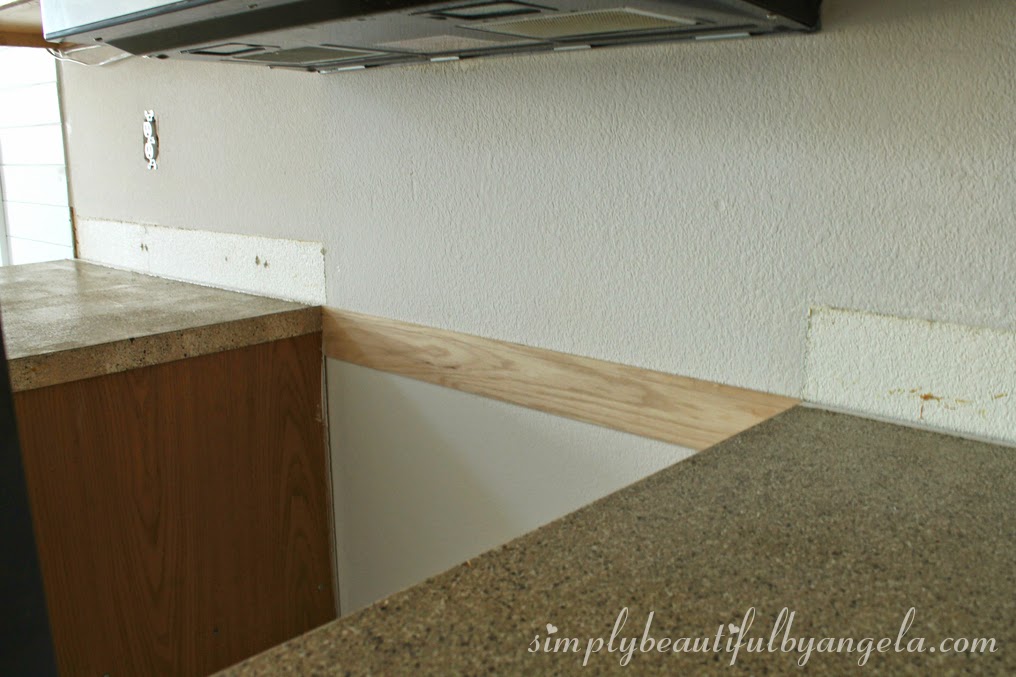
The first thing we did was remove the existing 4″ laminate backsplash. It just sits on the countertop nailed to the wall, so it was easily taken off using a crowbar.
If you end up damaging the drywall (we did in a few small areas), you can just patch it up using a little joint compound.
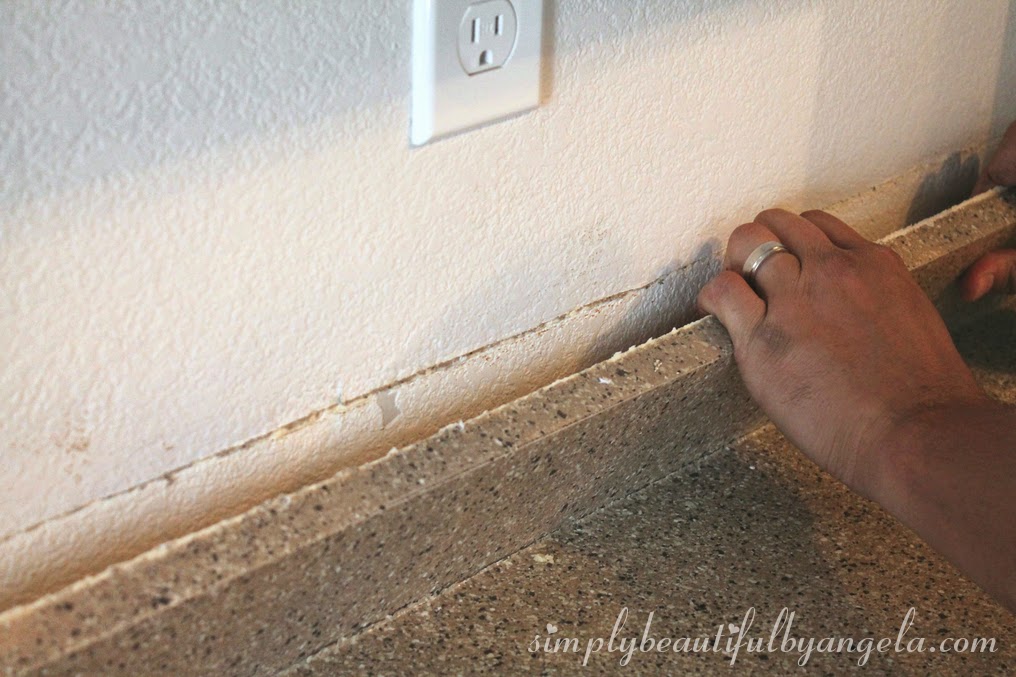
I was so excited to get that thing off! It was also kind of gross to see all the stuff that was built up behind it.
You may notice that since I previously painted the countertops, we are now left with a strip of the old countertop showing. I was super stressed out about it all weekend, but I think I finally found the perfect solution. Stay tuned for that!
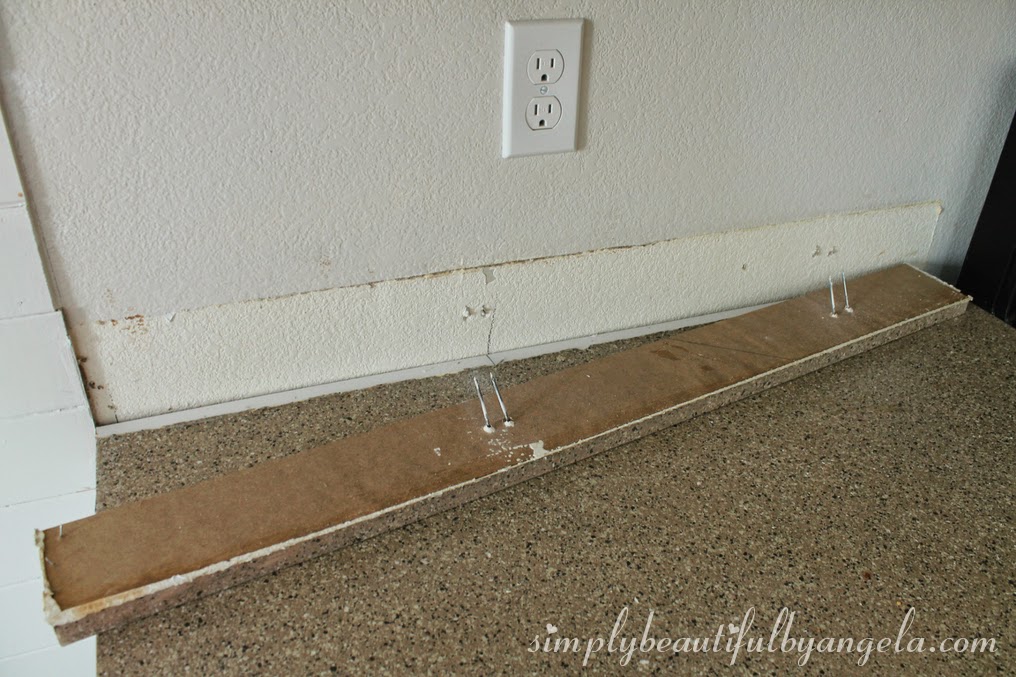
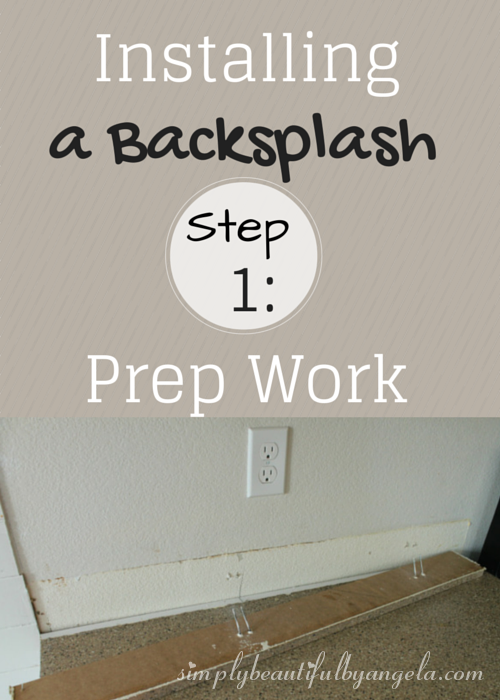
Next, we pulled out the stove (my goodness that thing is heavy!) and attached a piece of scrap wood so that we would be able to tile a level line.
My cut was so perfect that it squeezed in here without needing to nail it to the wall, so we didn’t.
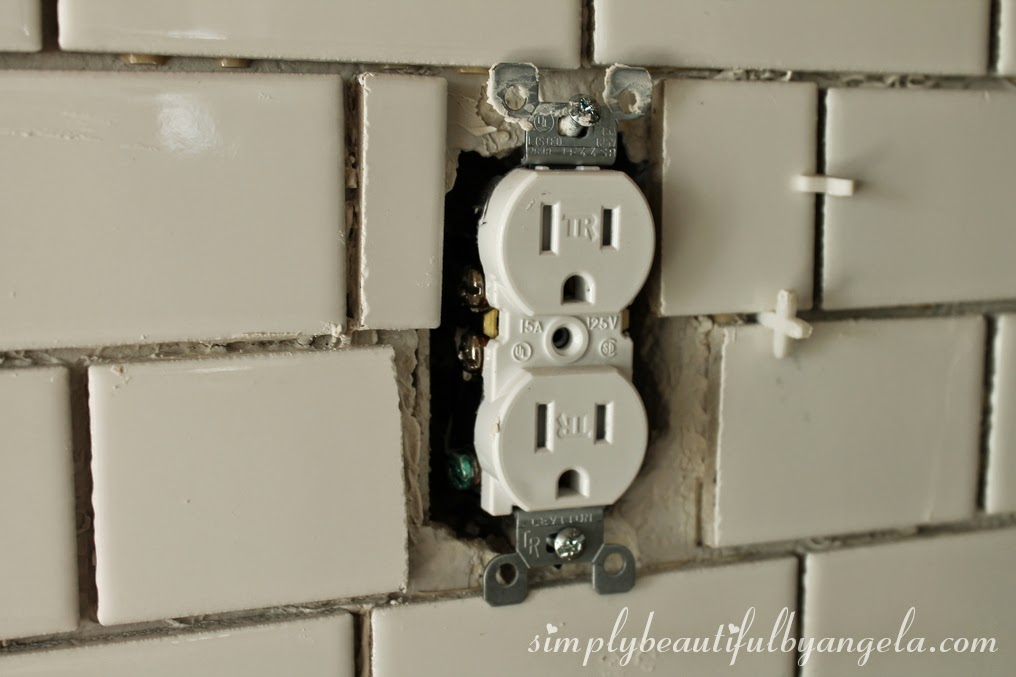
The last step was prepping the outlets. After removing the cover, we slightly loosened the outlets by unscrewing the top and bottom just enough so that the tile could fit behind. This way, the outlet cover will sit on top of tile.
Here is a picture (and a sneak peek of our progress so far!) of what the outlets should look like.
I’ll be back on Wednesday to share the real fun stuff–tile setting! Have a great day everyone 🙂
Click here to see the next post in this series.
Linking up to these awesome parties!