
Welcome to week 1 of the One Room Challenge— I am so excited to participate in this challenge once again! This time I’ll be giving our master bedroom a much needed refresh. Over the next eight weeks I am going to take the space from a bright farmhouse style to a more dramatic boho vibe.
Today I am going to share the plans for this space, but first a recap! When we moved in to this house this is how our room looked.
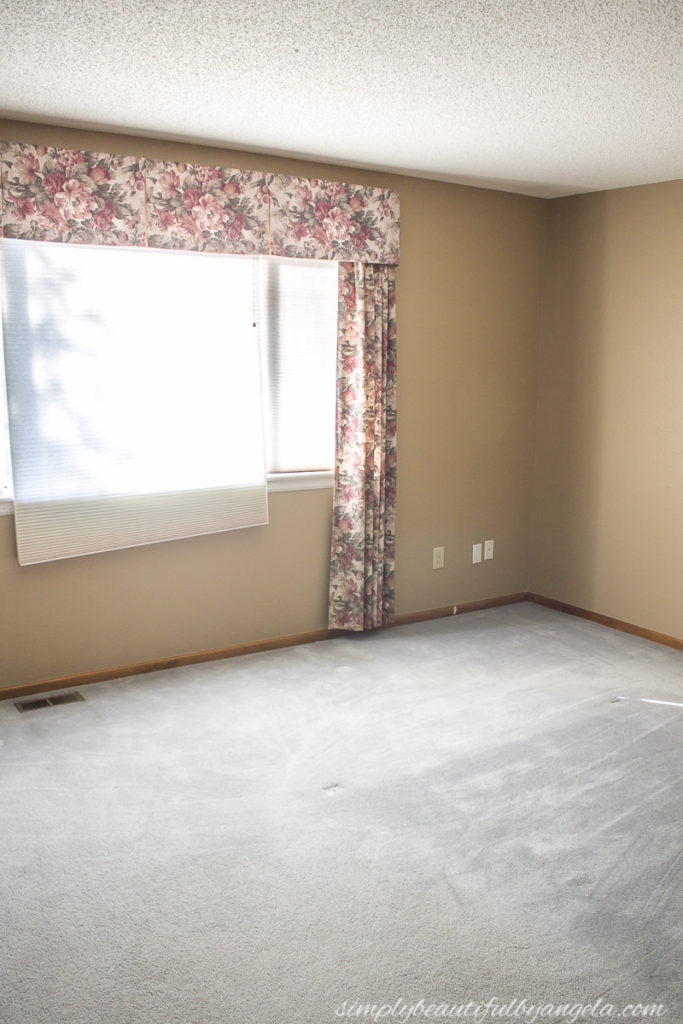
The first thing that we did was scrape the popcorn ceiling and painted the walls with SW Basalt Powder. I also added a board and batten grid wall along the back and painted it white.
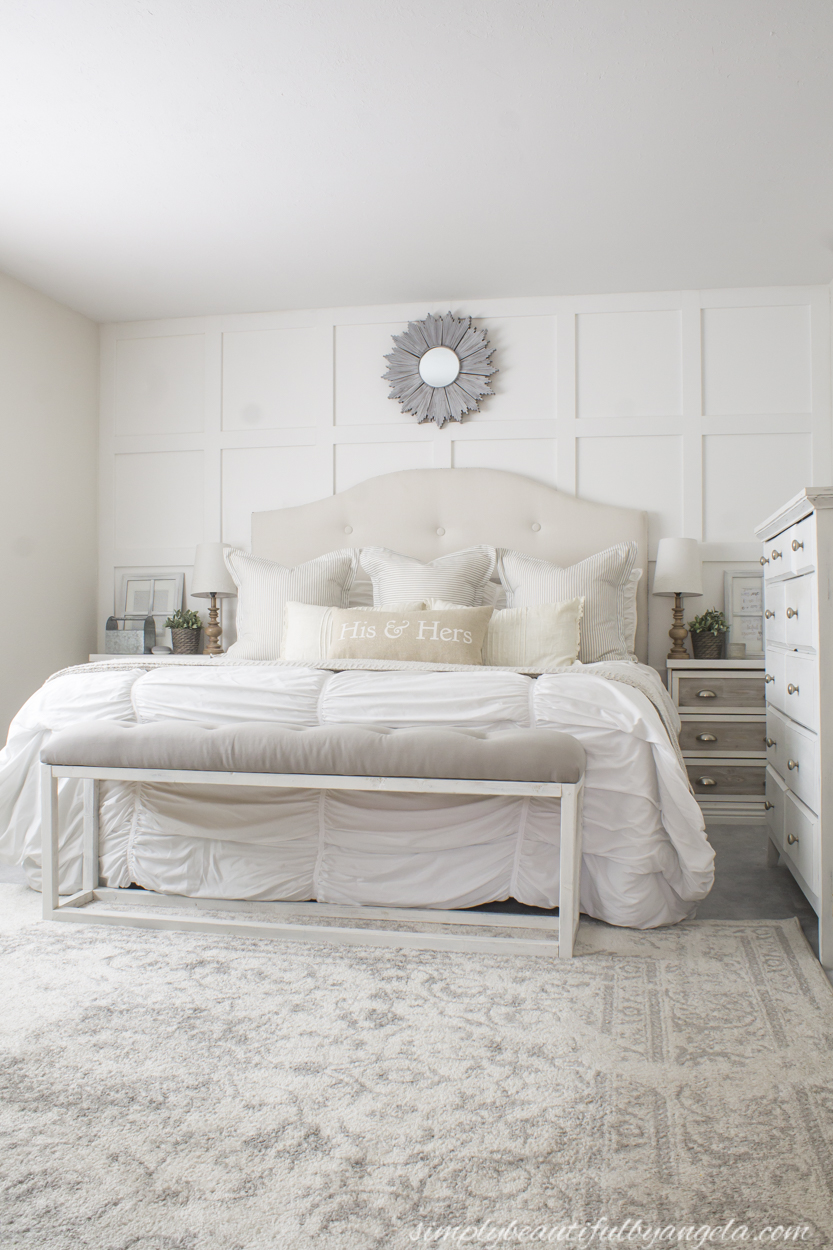
I brought the same pieces over from our old house which was mostly comprised of white and more white!
A couple years later we finally replaced the dated carpet with hardwood flooring and I painted the accent wall SW Alpaca to make it more interesting.
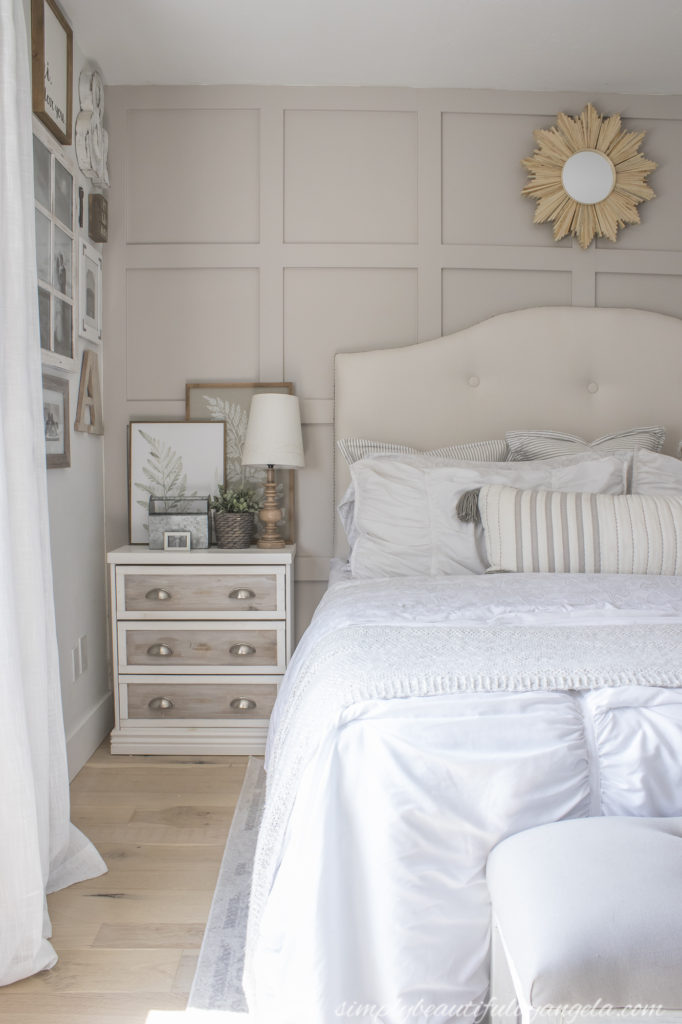
That pretty much brings us today! I have been considering giving our room a whole overhaul because I’ve started to grow pretty tired of it.
Lately I have been transitioning out of farmhouse style and into more of a soft bohemian style. I’ve also been enjoying deeper colors other than white, as well as more wood tones. And with that, this is the inspiration board that I’ve come up with!
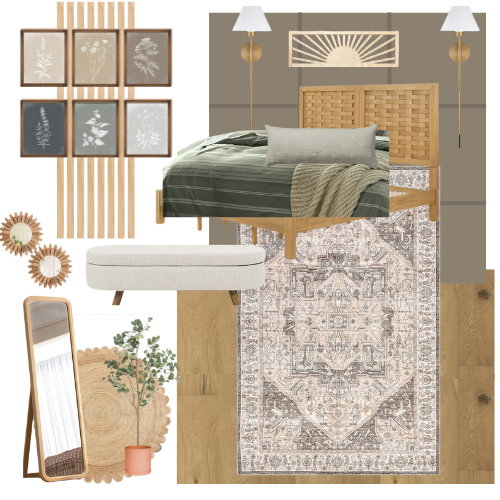
For those of you that have followed me for a while, you may be quite shocked with how different this feels from my norm! I would be lying if I said I wasn’t hesitant or scared for the change, but I am more excited! I’d say it’s like 20:80!
Walls
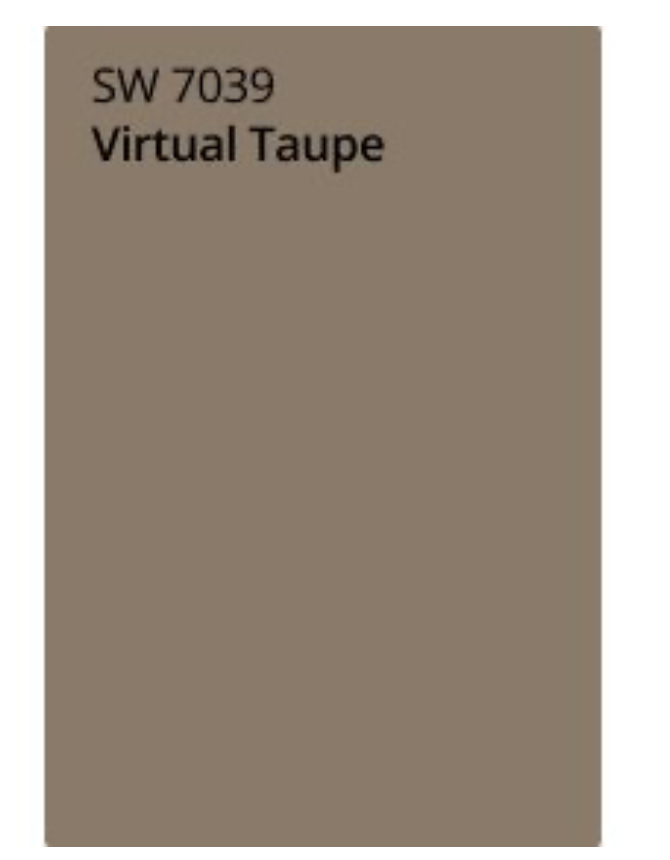
The first thing that I’ll be doing is painting the accent wall a moody brown. I haven’t decided on color yet but SW Virtual Taupe is one of my top contenders!
Since this will be my third time painting this wall I know what a pain it is, so I’m going to attempt using my sprayer which should be interesting. It’s either going to be a total game changer or create a total mess!
I also want to add some vertical wood trim to accent one of the walls, although I’m not yet sure which one!
Bed & Bedding
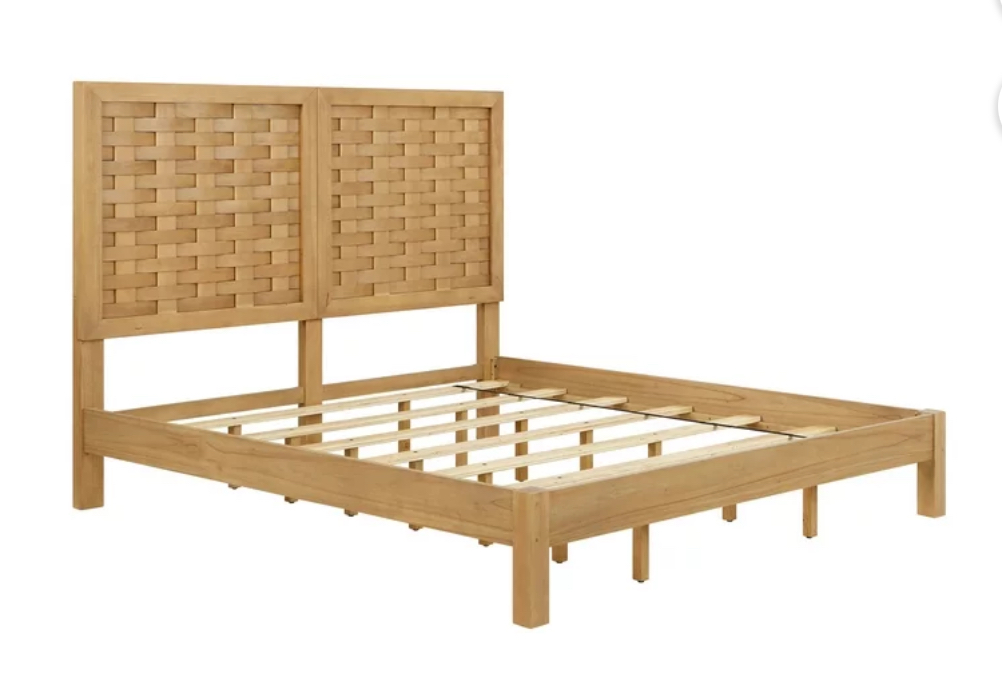
Next we will be replacing my DIY upholstered headboard and cheap Amazon bed frame with a REAL bed frame which I’m beyond pumped about!
The one that I’m loving the most right now is this beauty.
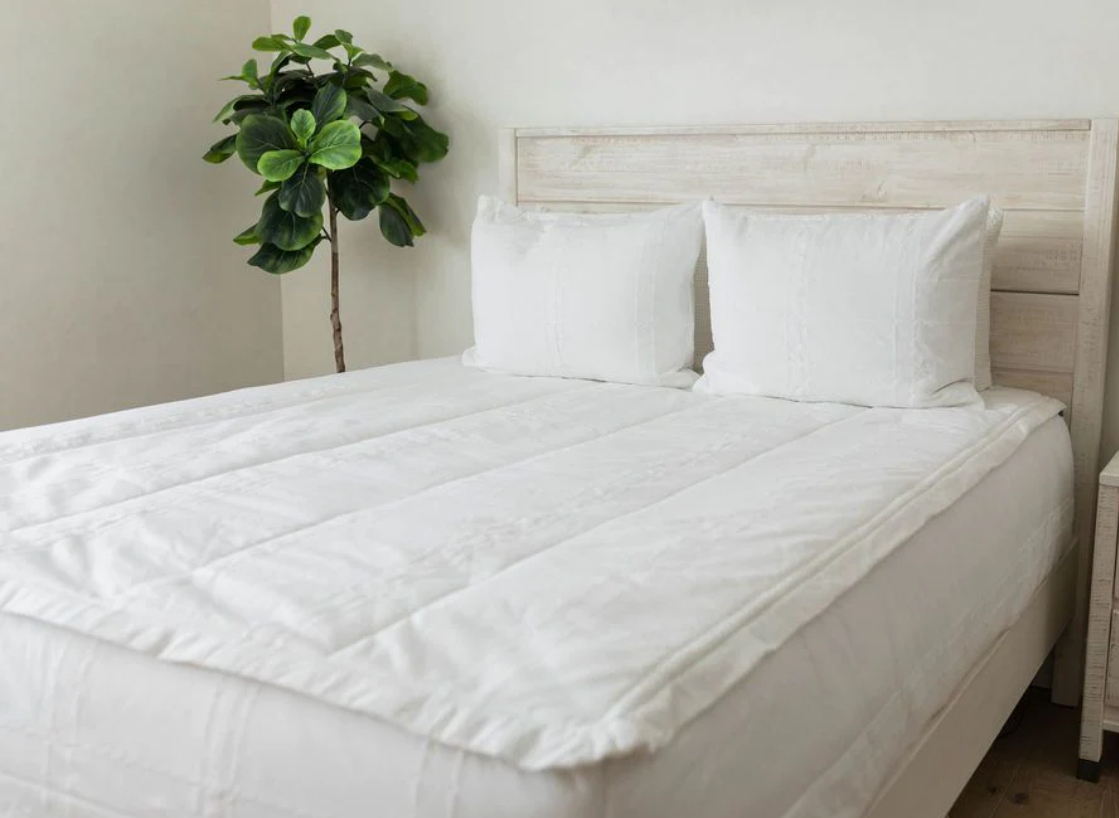
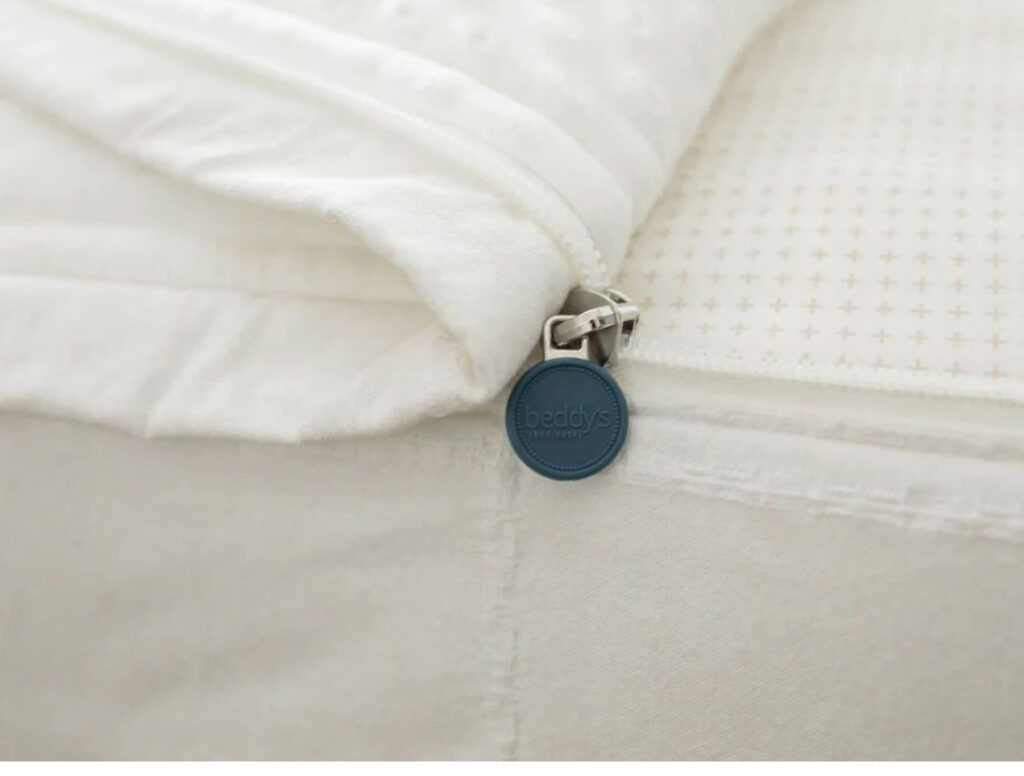
For bedding, I am wanting to switch over to a Beddy which is an amazing bedding system that zips up and makes a perfectly polished bed every day! I am leaning towards sticking with white so that I can coordinate pillows and blankets to it, so the Charleston pattern is my favorite so far.
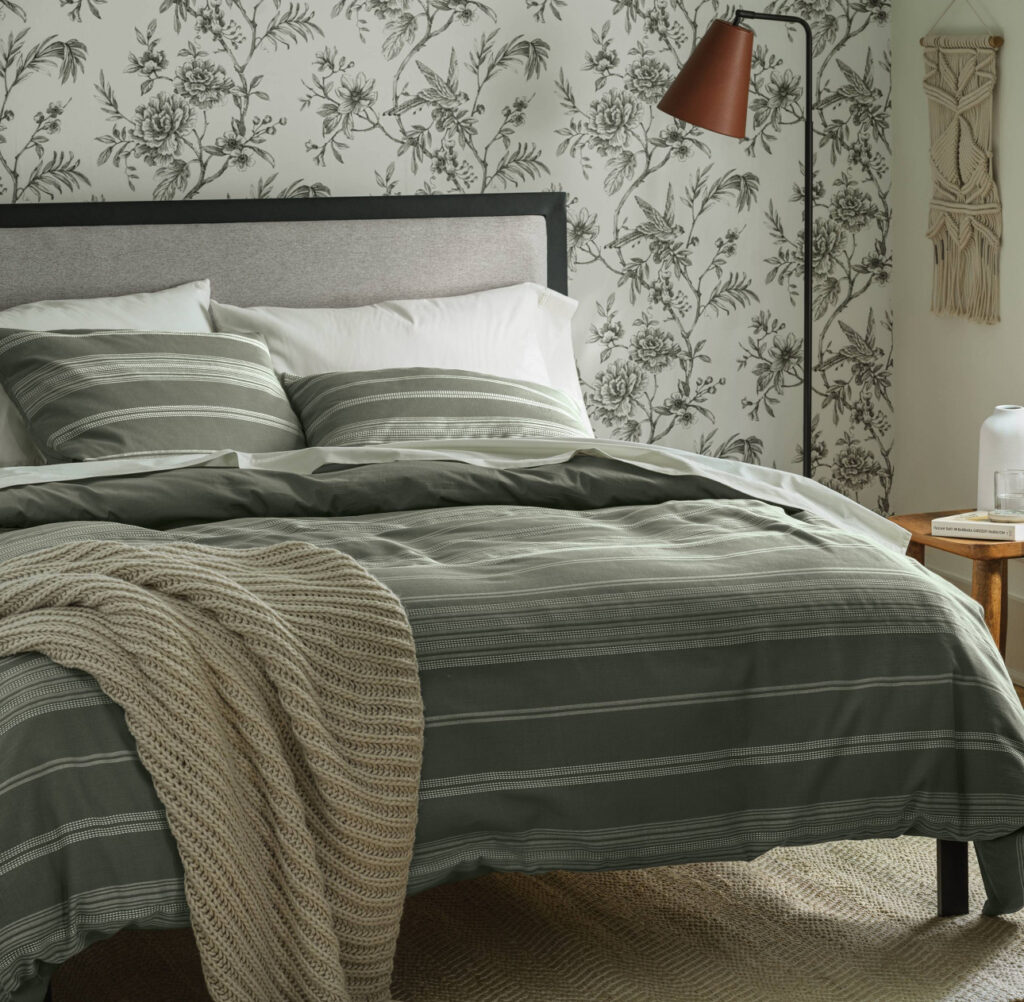
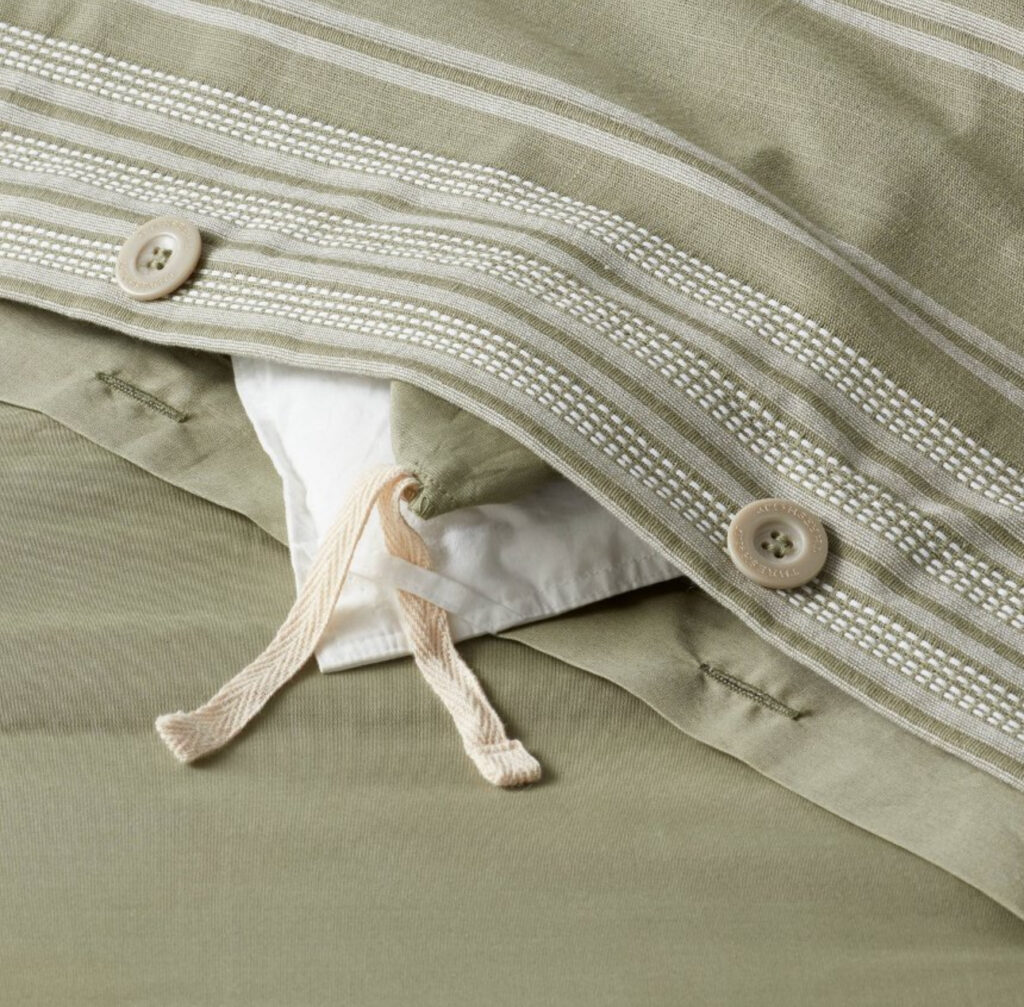
Although I typically stick to neutrals, I think want to add a fun duvet like this moss green one.
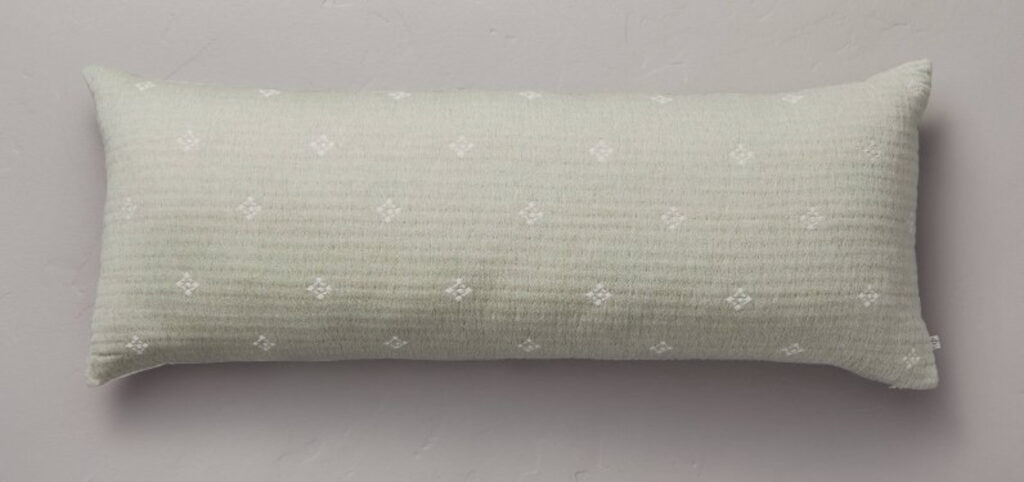
I also plan to keep the green going with beautiful lumbar pillow!
Furniture
I’ve already flipped two dressers for our room recently, but I also have a nightstand set that I plan on doing.
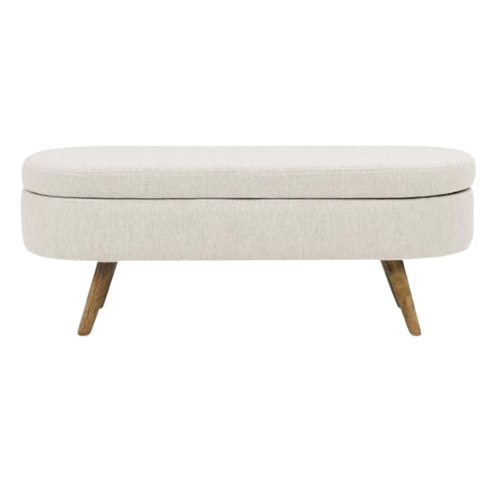
I want to replace the DIY bench at the end of the bed with something that has storage like this one.
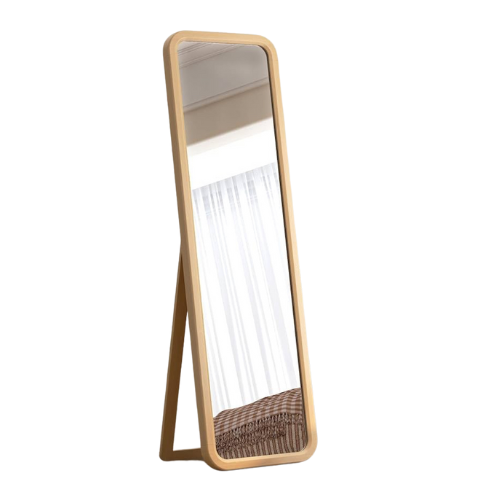
I also want to replace our floor mirror with something more modern like this beauty.
Decor
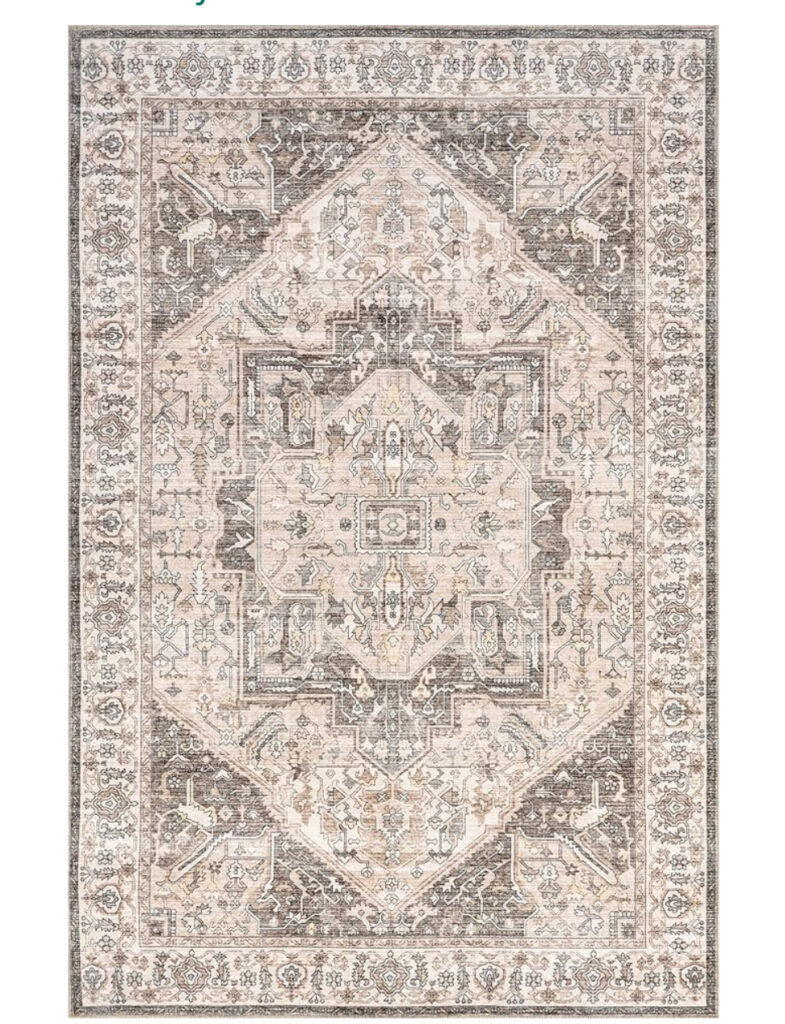
Last but certainly not least, I am looking forward to putting in some new decor! Like ditching our old dirty rug with a pretty washable version.
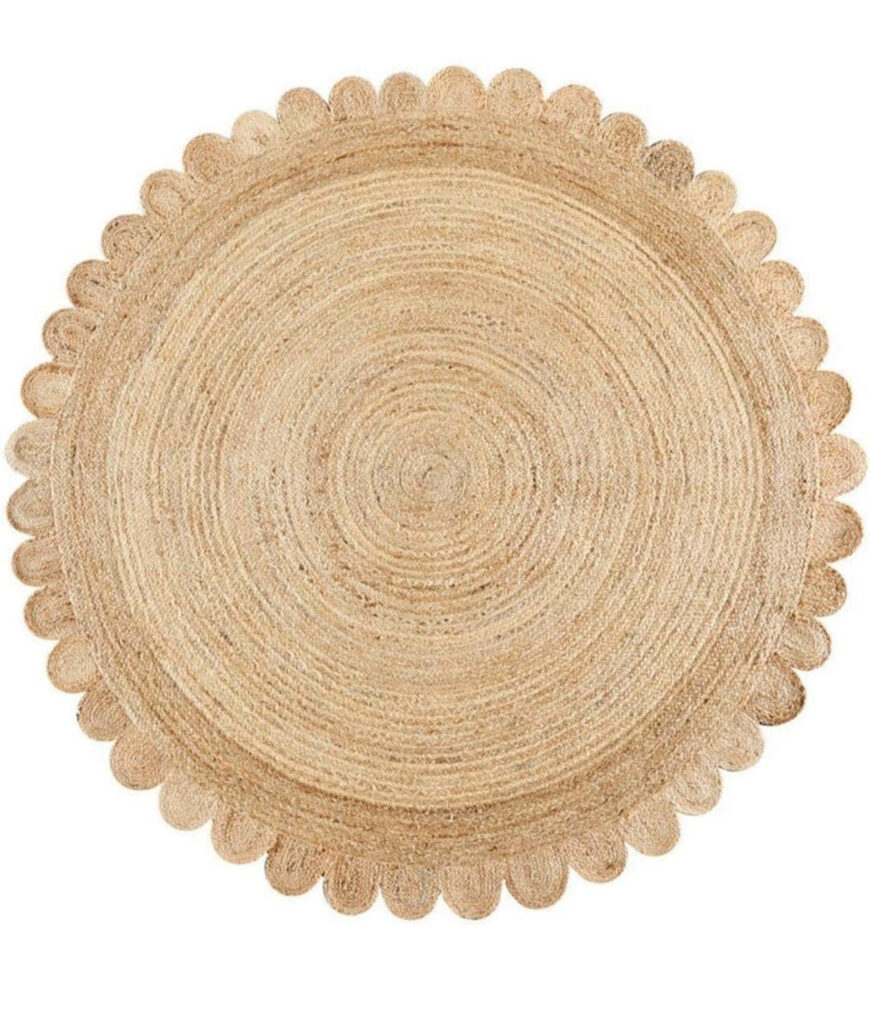
And tucking a cute circle one under the floor mirror.
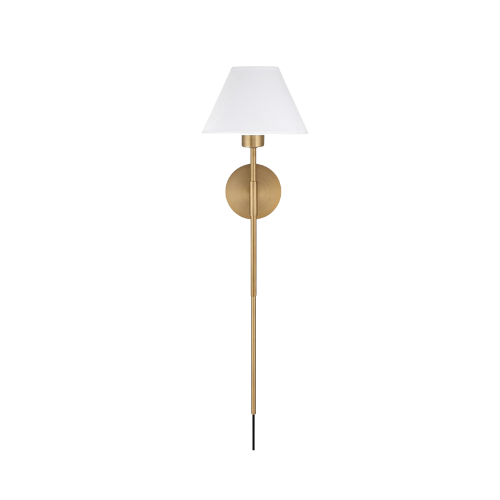
I also want to get rid of the bedside lamps and install wall sconces for a more streamlined look.
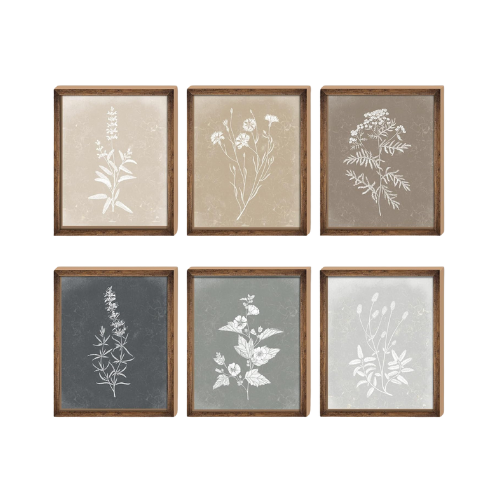
For the walls I really like the idea of adding some muted colored prints.
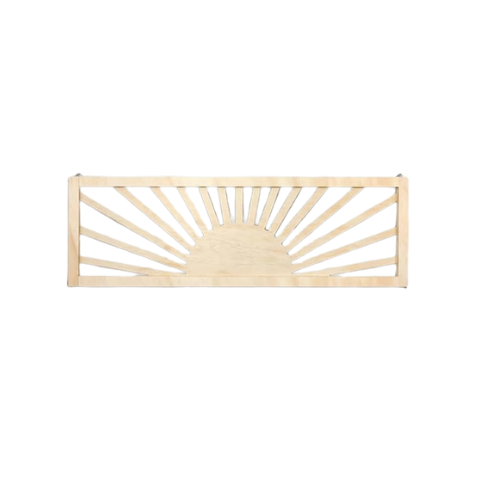
And I would like a big statement piece above the bed like this wooden sun.
You can see what the other participants are up to here.
See you back here next with an update on the painted accent wall!
(Affiliate links may be provided for convenience. For more info, see my full disclosure here.)
Linking up to these awesome parties!