But they are just as crazy expensive as the dang stockings! Even at my beloved IKEA. This one is gorgeous but it’s $19.99. That’s just too much for me to spend on a throw pillow, no matter how wonderful it is. Yes, I’m that cheap 🙂
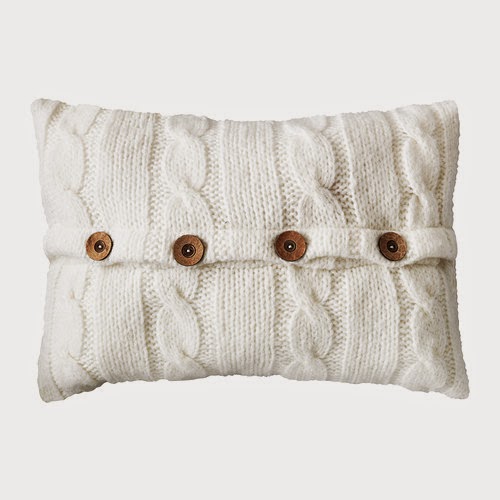
But, it turns out that with an old sweater these are so easy to make!
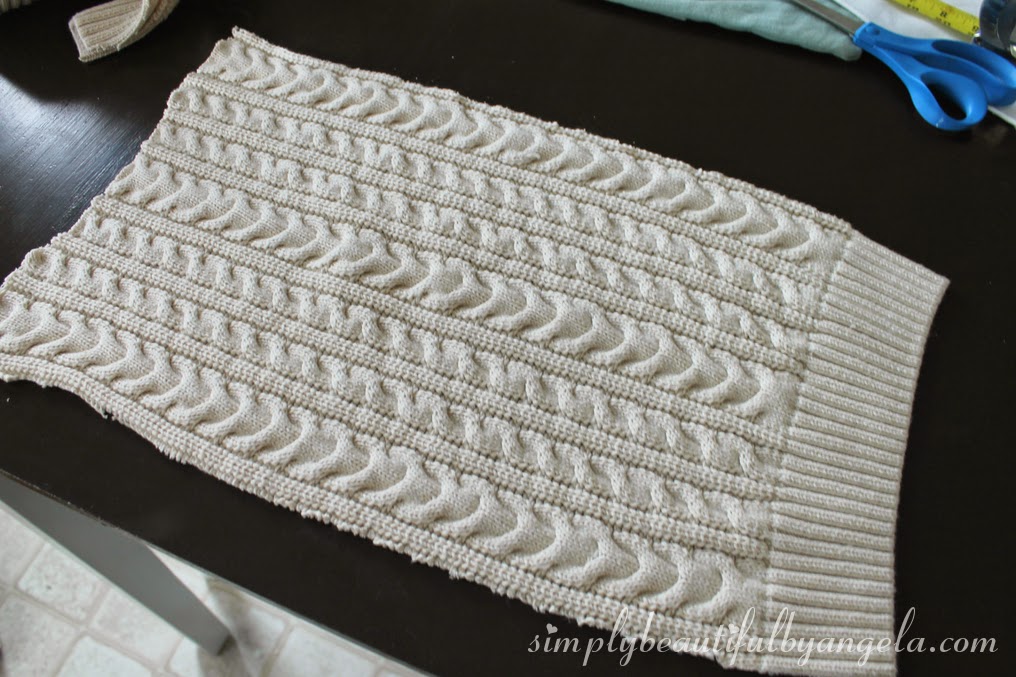
When I found a pretty oatmeal colored cable knit sweater at Goodwill for $5, I instantly knew that it would be perfect for this project. I wanted two pillows though, so I used the front of the sweater for one and the back for the other and I just used some white duck canvas for the backs.
I used my Easy Envelope Pillow technique. As I’ve said before, these are the easiest types of pillows to whip up and I love them because the pillow can be removed and be thrown in the washing machine.
The first step is to cut out the back. You will need the same height as your pillow form (plus 1″ seam allowance) and the width plus 10″. I was using an old pillow so I used the cover as a guide. Since my pillow was 12″ x 19″ I cut 13″ x 29″

You will then cut that piece in half. Eventually these will overlap to create the “envelope” back.
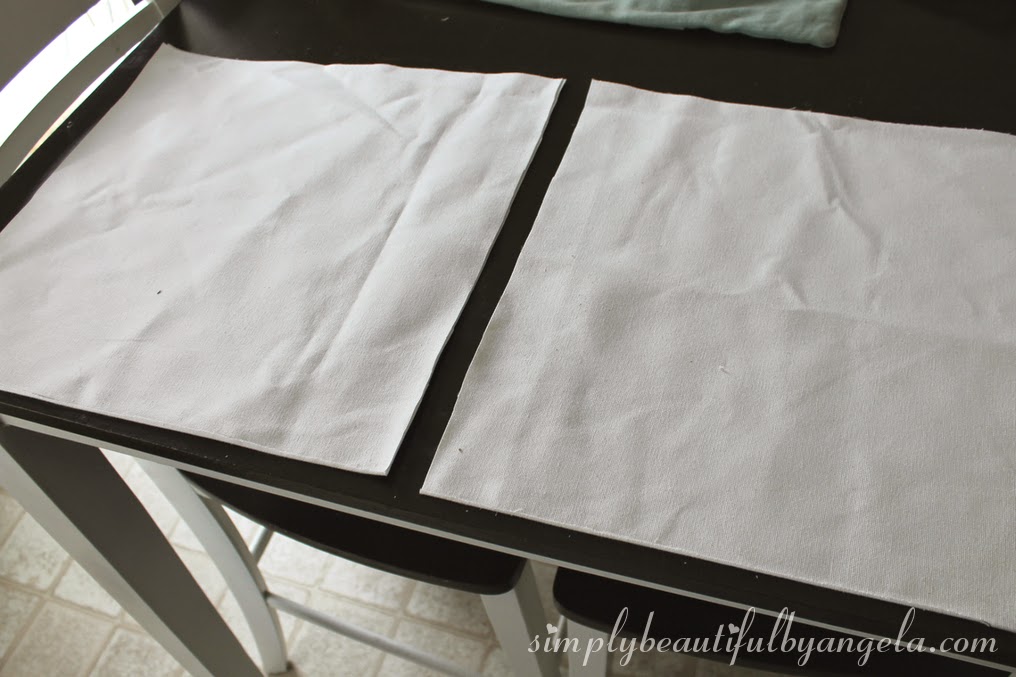
Next, sew a hem along the edge of each one. You now have your back pieces.

For the front, I measured out the same height and width of my pillow and added 1″ for a seam allowance ( 13″ x 20″). As you can see I just barely had enough sweater so it worked perfectly. I used the waist as the edge of the pillow which I think turned out to look super cute.

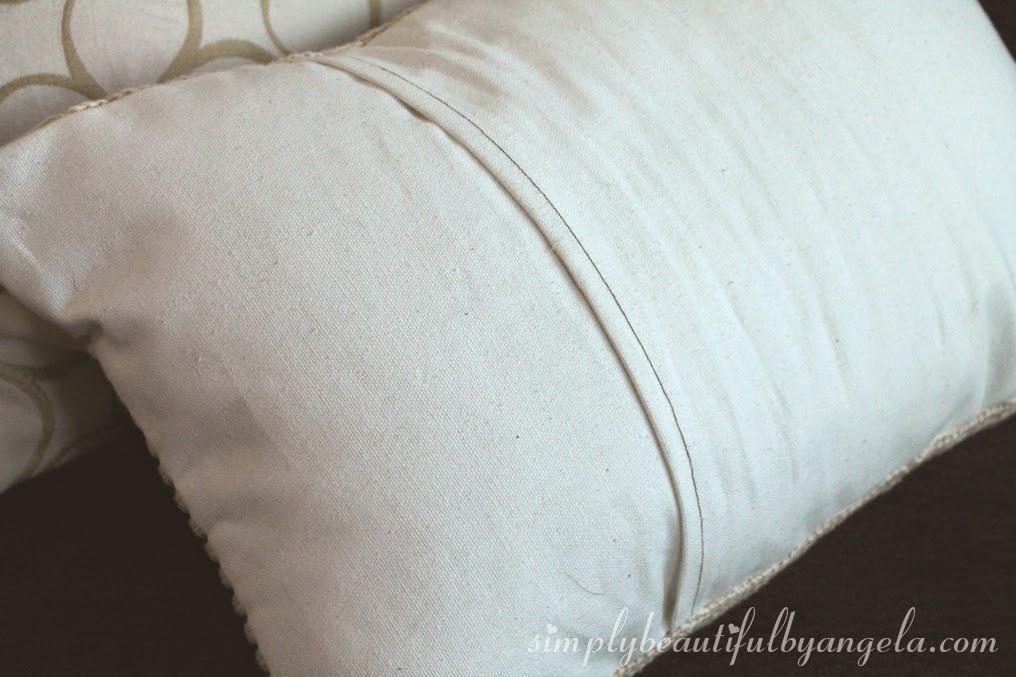
Once you have your back pieces and your front, lay the front piece face up, and then both back pieces face down. Pop in a few pins to hold the pieces together.

When you flip it over you may notice that parts of the sweater are stretchy so will need to stretch it and pin the edges like this.

Now you are ready to sew it all together! You’ll run all four sides through the sewing machine. As I mentioned in my sweater stocking post, it can be a little hard to push the first stitches through because of the thickness. After a hard careful push it should glide right through.

Once that is done you can turn the cover right-side-out. Ahhh it’s so pretty! I was almost jumping with glee at this point…so close to having my very own sweater pillow! Yep I’m strange.

Pop in your pillow form. Mine was a super tight fit since I didn’t have very big seam allowance, but it turned out nice and plump once I finally got it in there.
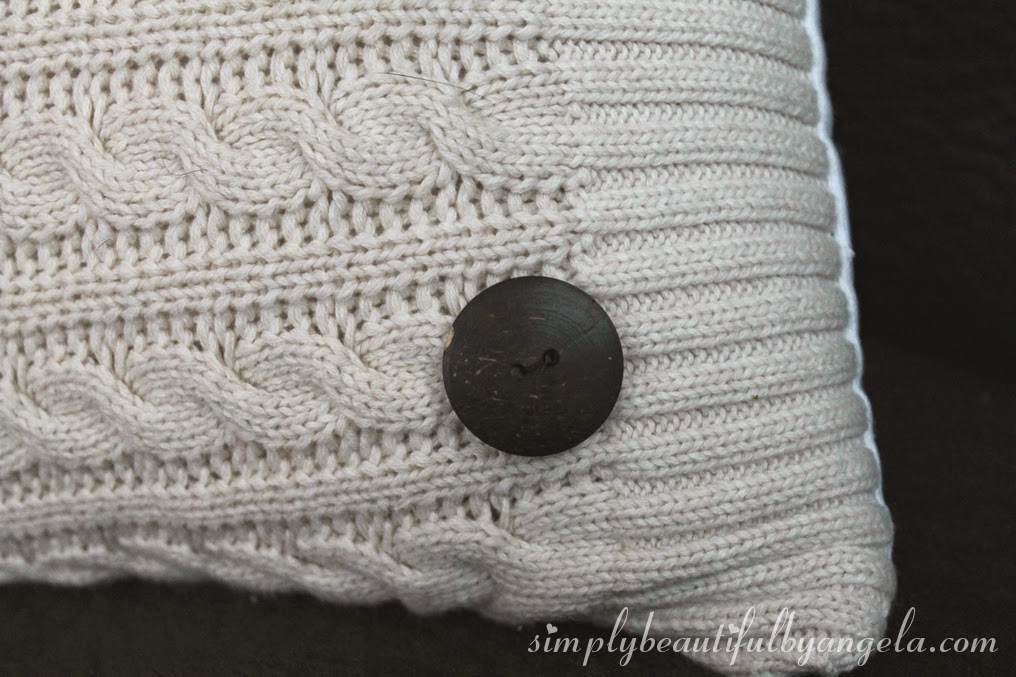
I sewed on some buttons to finish it up.

Oh how much I adore these cozy little things. I’ll be sad when I put them up in the spring!

This post was featured on Your Turn to Shine! Click on the image below to take you to the feature post.
|