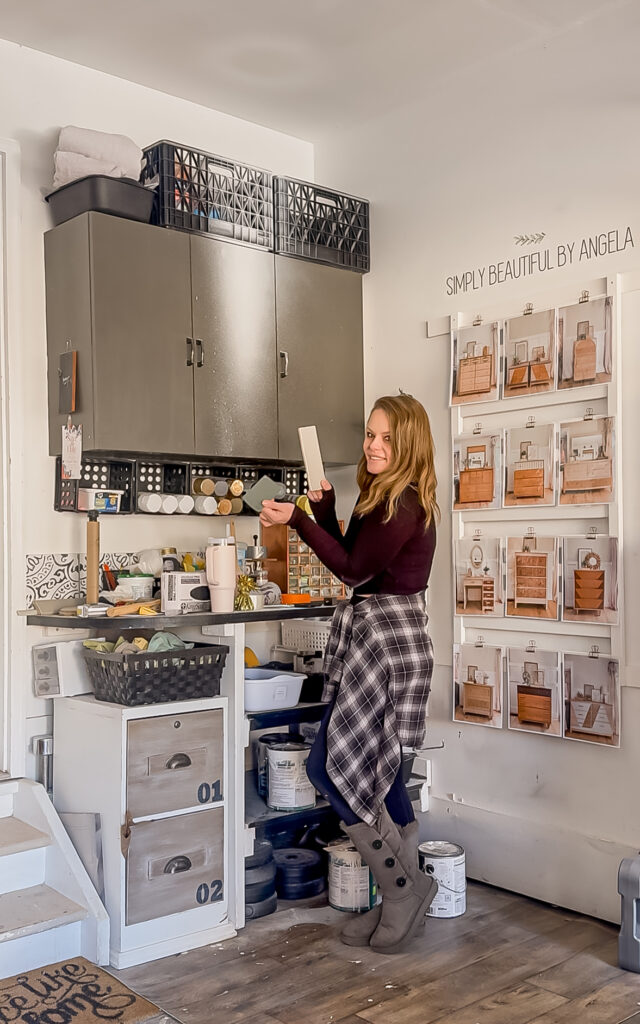
Hello friends! A couple weeks ago I took a small break from furniture to work on a corner of the garage that has been an absolute thorn in my side!
I had a can of spray primer that had gotten clogged and I asked Anthony if he could take a look at it. It was decided that it couldn’t be saved, but instead of throwing it away we set it on the workbench and walked away. About a hour later, I came back out to find that it had exploded EVERYWHERE!
I had been wanting to repaint the cabinets for awhile so I took it as a sign that it was time! But of course I couldn’t stop there…
Supplies Used:(Affiliate links may be provided for convenience. For more info, see my full disclosure here.)
- Wood
Sander - Bondo
- Paint
- Polyacrylic
- Paint Sprayer
- Pulls
- Contact Paper
- Tile
- Tile Liner
- Pine Veneer
- Spray Paint
- Medium Wood Crate
- Narrow Wood Crate
- Black Tote
- Turntable
- Pencil Cup
- Wood Medallion
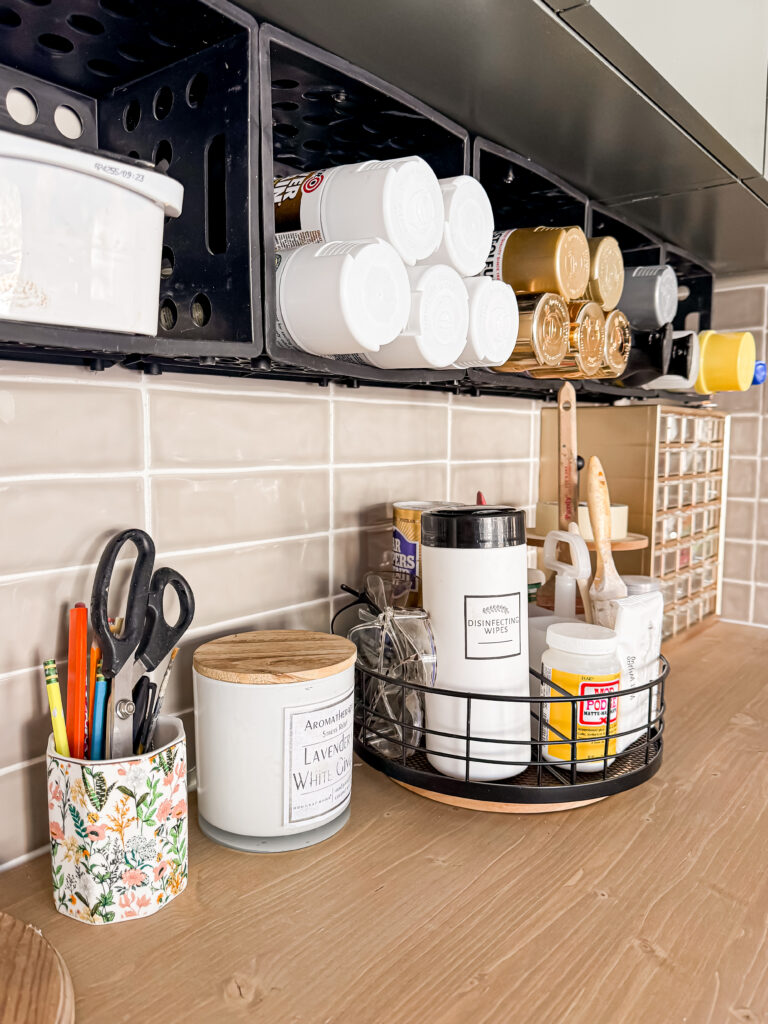
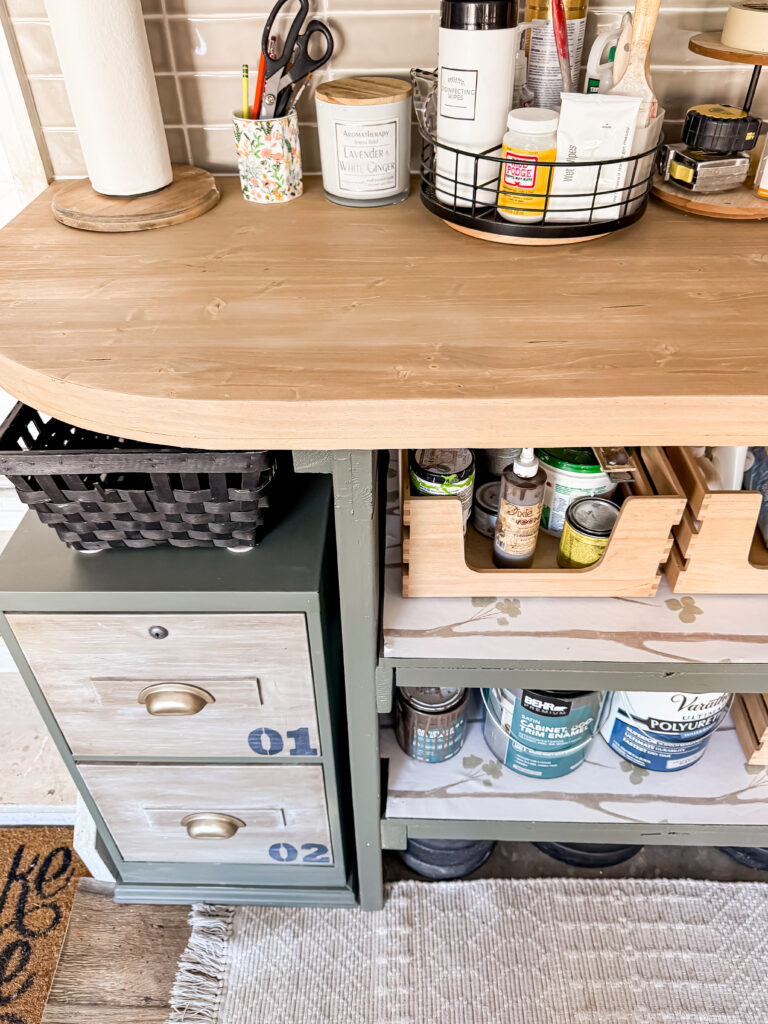
The first thing we did was create a wood surface for the workbench. Using a project panel, we traced the existing surface as a template and then cut it out using the circular saw.
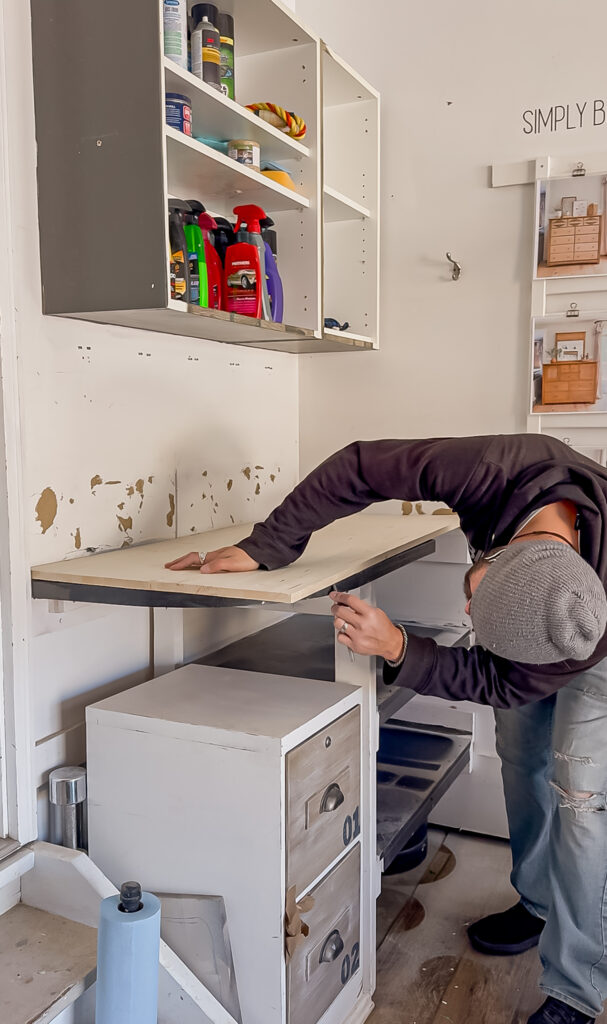
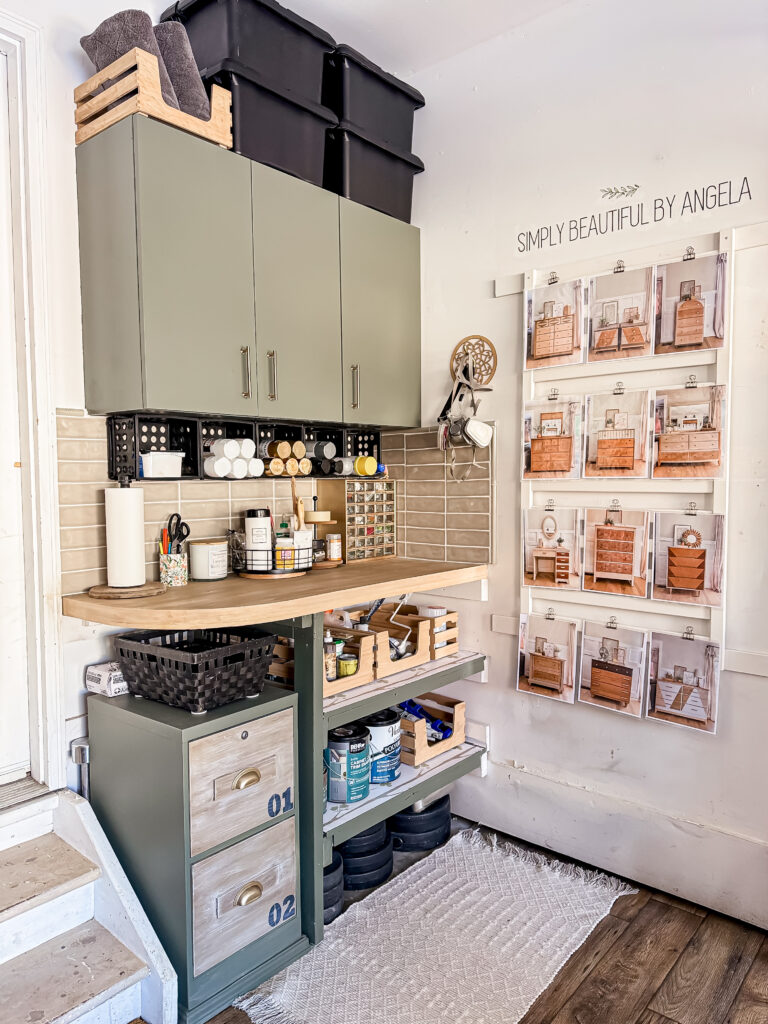
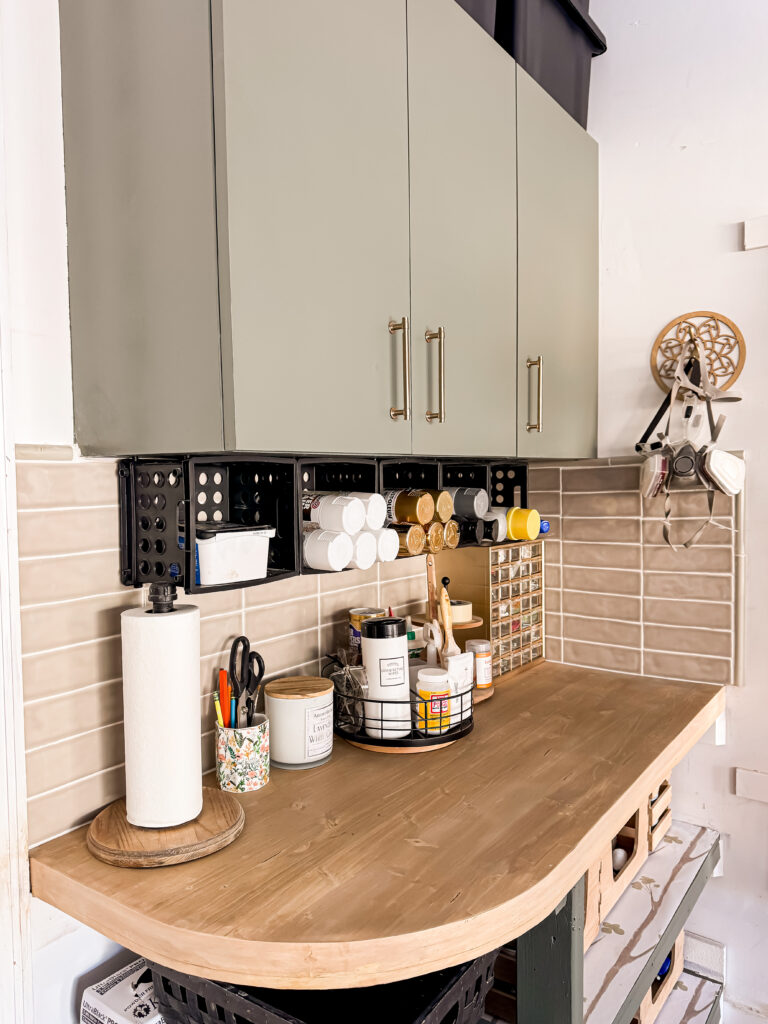
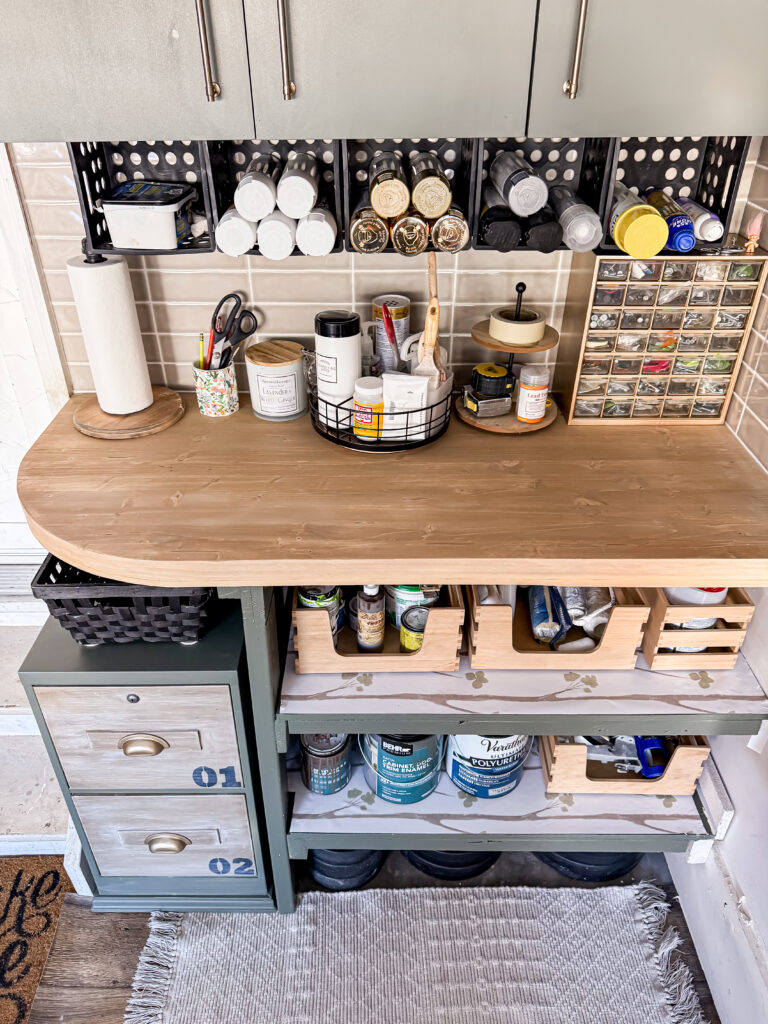
We attached it using countersunk screws, then filled the holes and sanded it smooth. I applied a couple coats of paint wash to warm it up a bit.

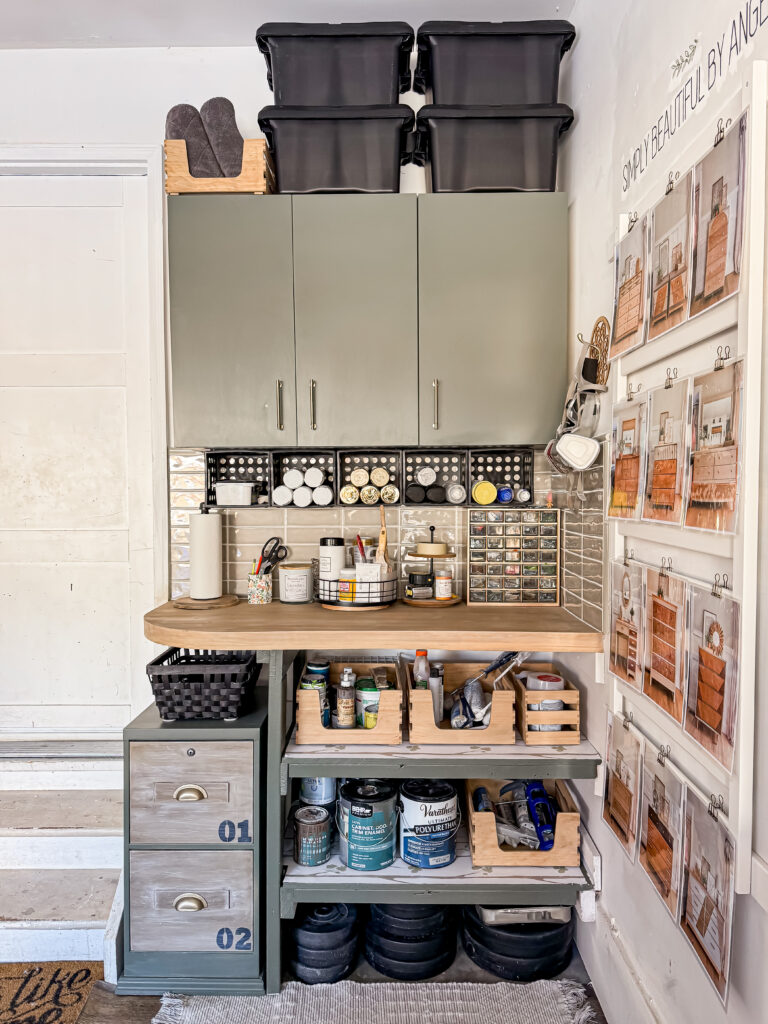
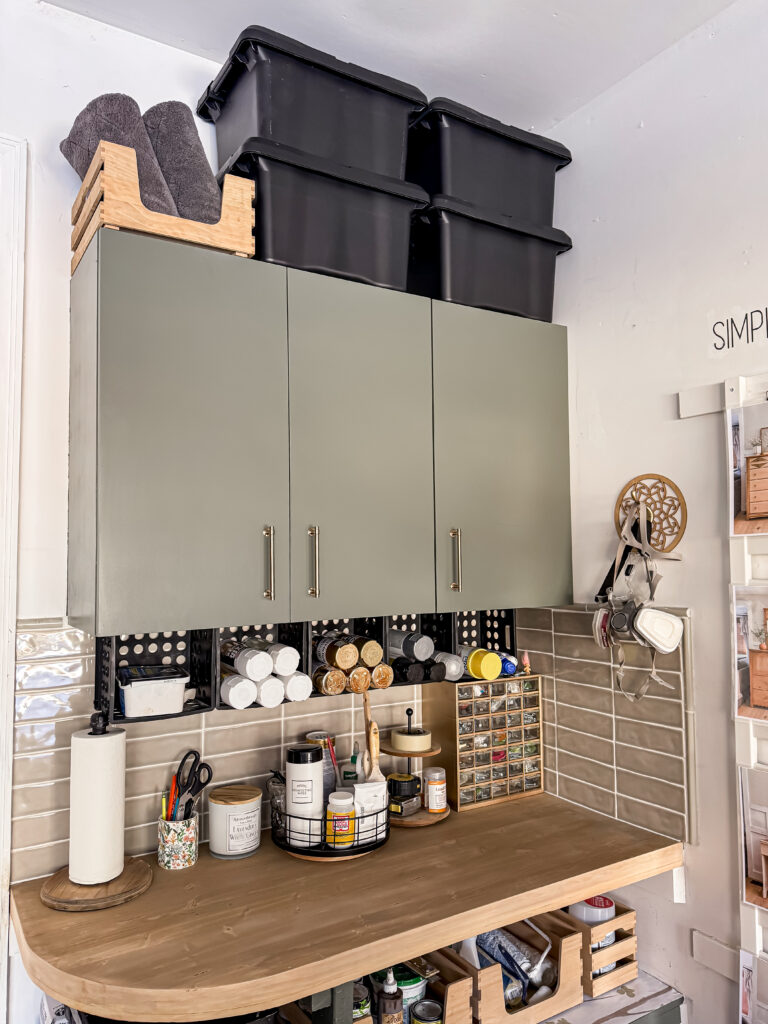
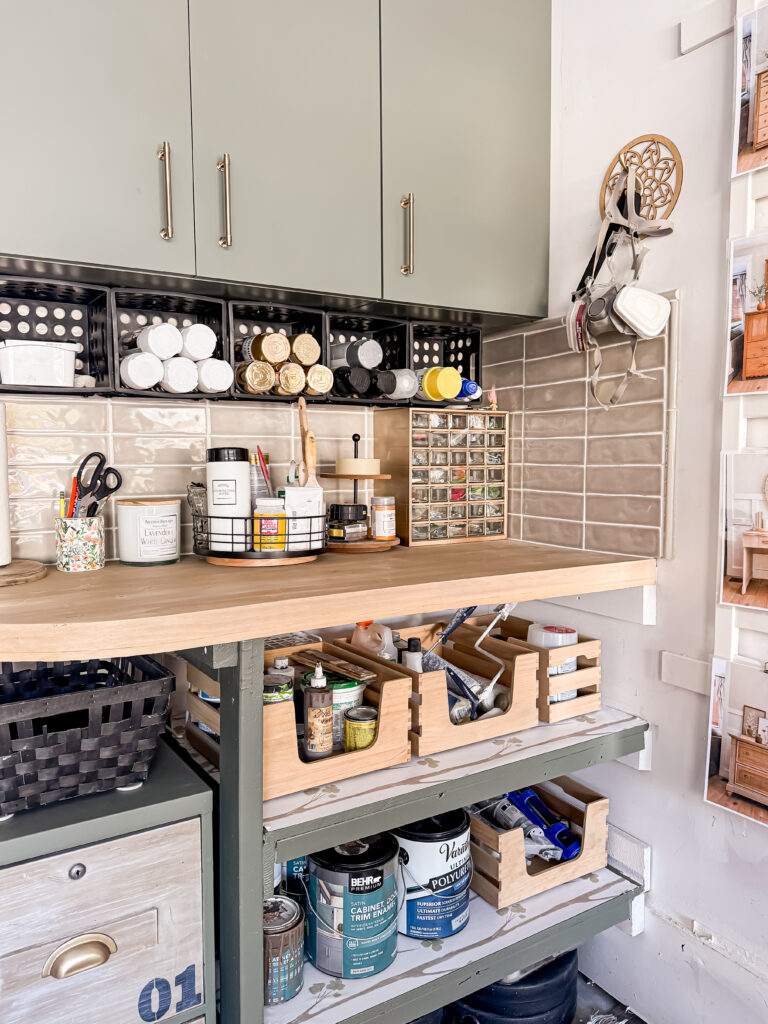
Next up was the cabinets. Even though I’m a neutral loving girl, I decided that I wanted to add a fun pop of color in this space— surprising, right?
I chose the color Bonsai Trunk by Behr which is a very rich sage color. To be fair, it is probably considered the most neutral green I could find!
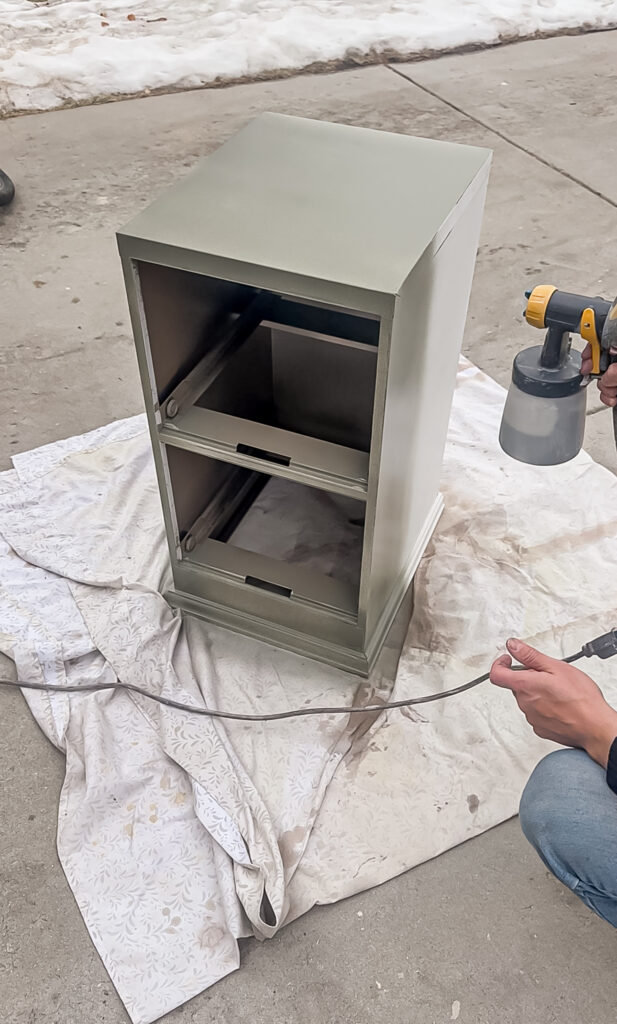
I scuffed sanded everything, wiped it down and then applied a coat of primer, followed by three coats of paint.
I also decided to paint the filing cabinet to match.
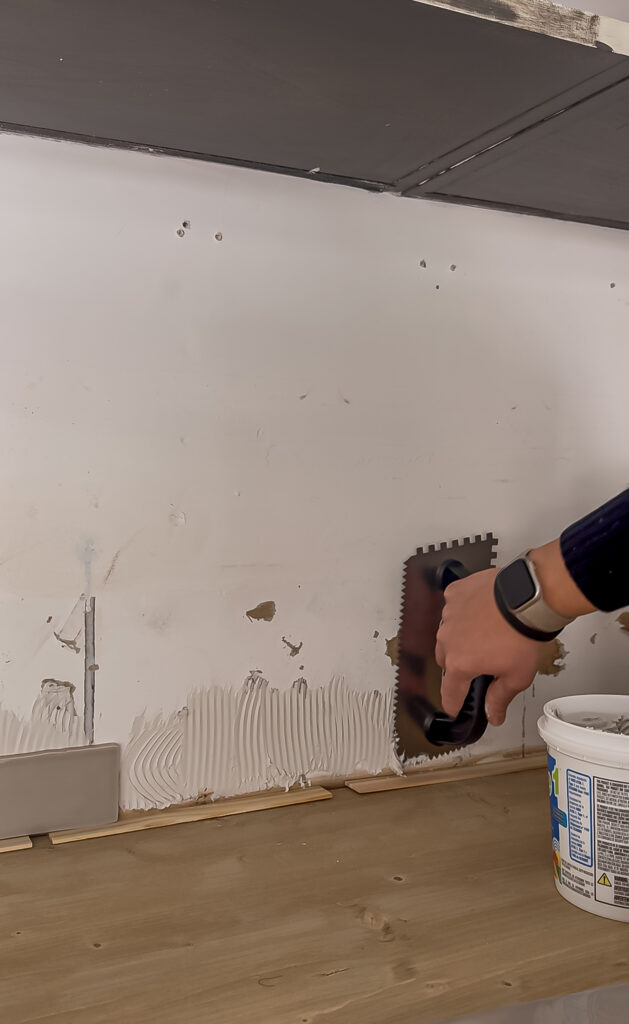
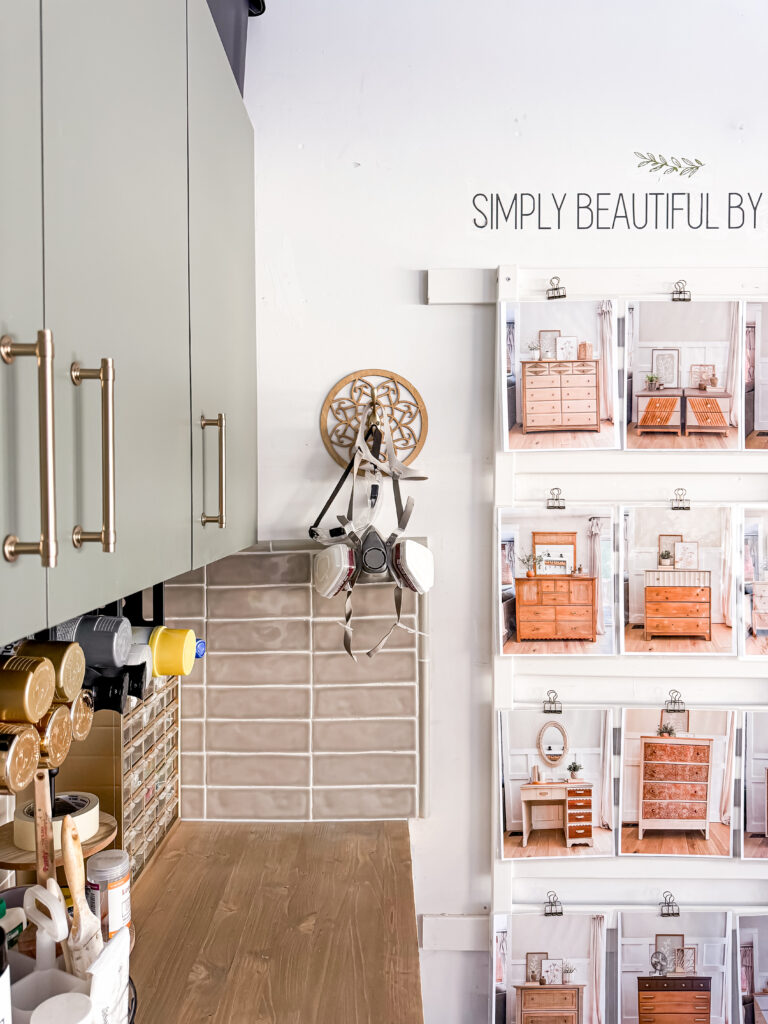
In between coats, I began on the backsplash. I started by laying down paint sticks to create a small gap at the bottom that would be caulked later on. This allows for expansion and contraction. I also made sure that the surface was level and did not need to have the spacers adjusted.
I applied the adhesive in small areas at a time using a notched trowel.
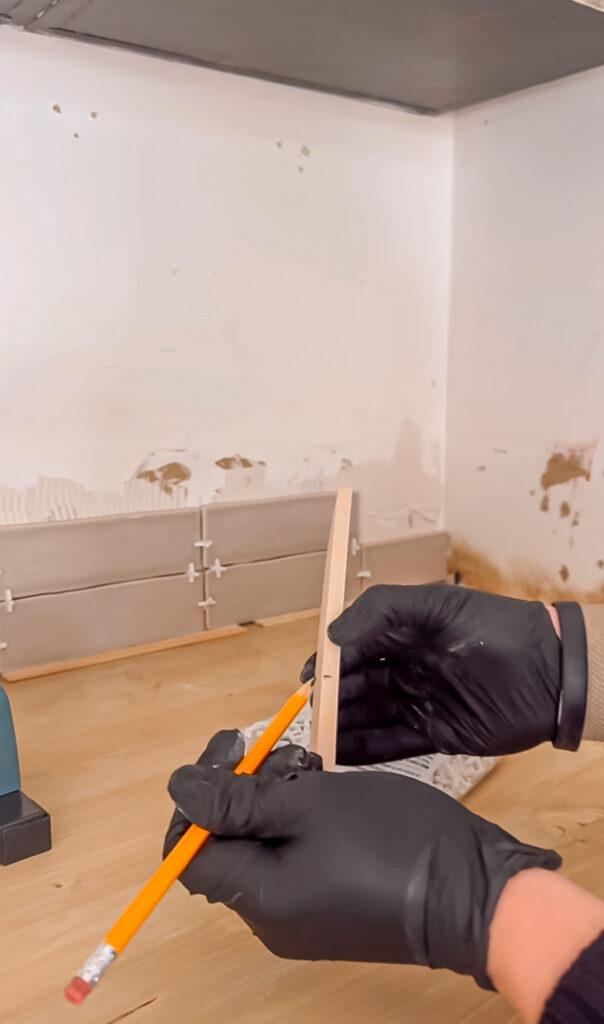
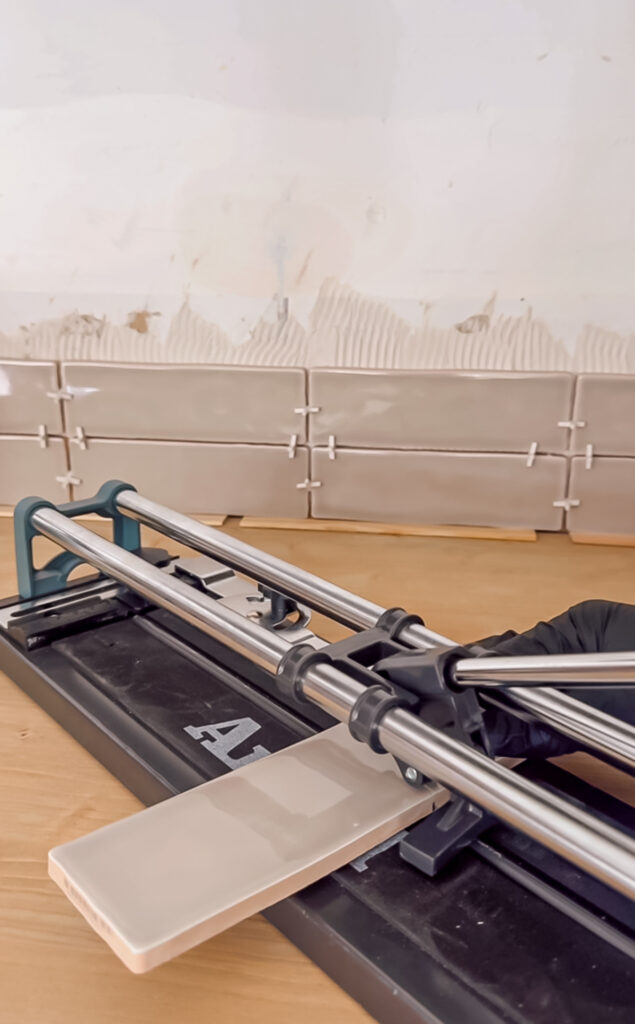
I kept going until I got to the end where a cut needed to be made.
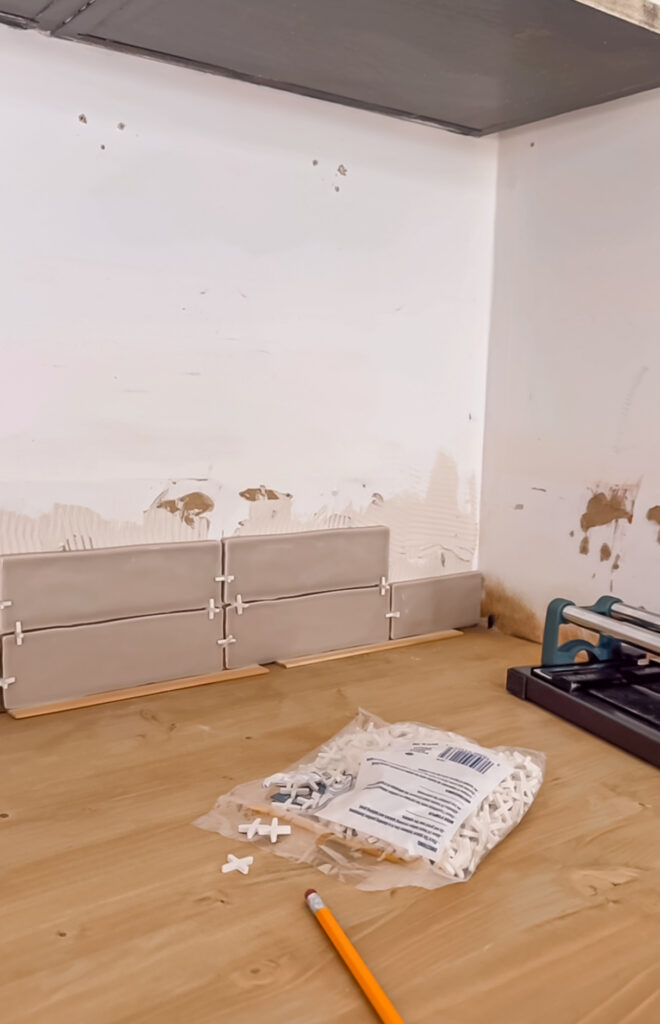
I marked where I needed to cut and then using a simple tile cutter I scored, then snapped with the breaker bar.

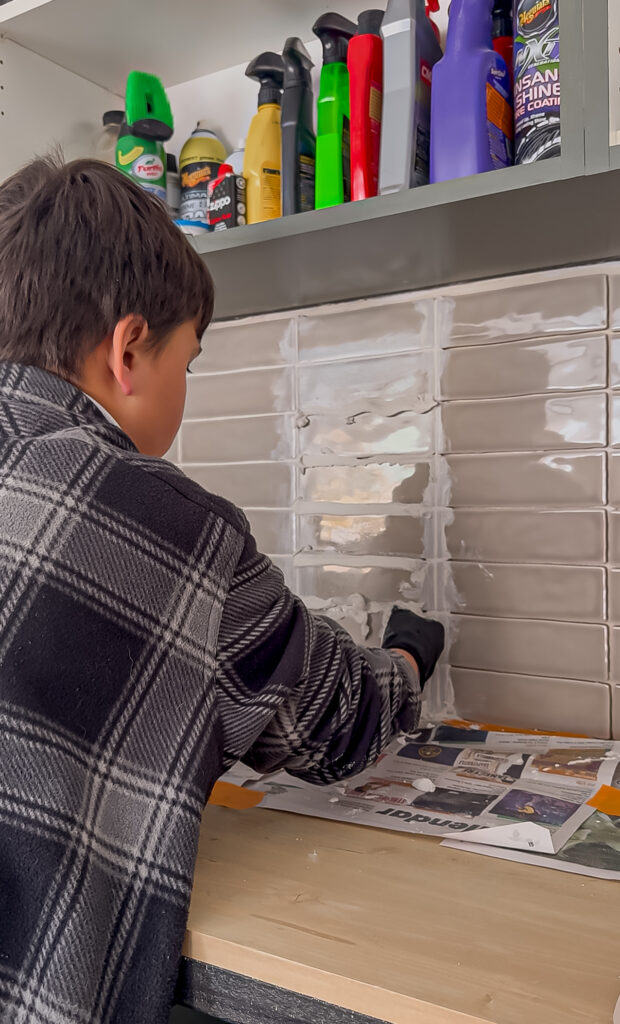
The next day we were ready to grout and I recruited a little helper! He began by taking out the spacers.
I like using premixed grout since it takes the thinking out of it.
We forgot to buy a float so we improvised using a plastic bag and essentially piped it in like frosting. A little messer, but got the job done!
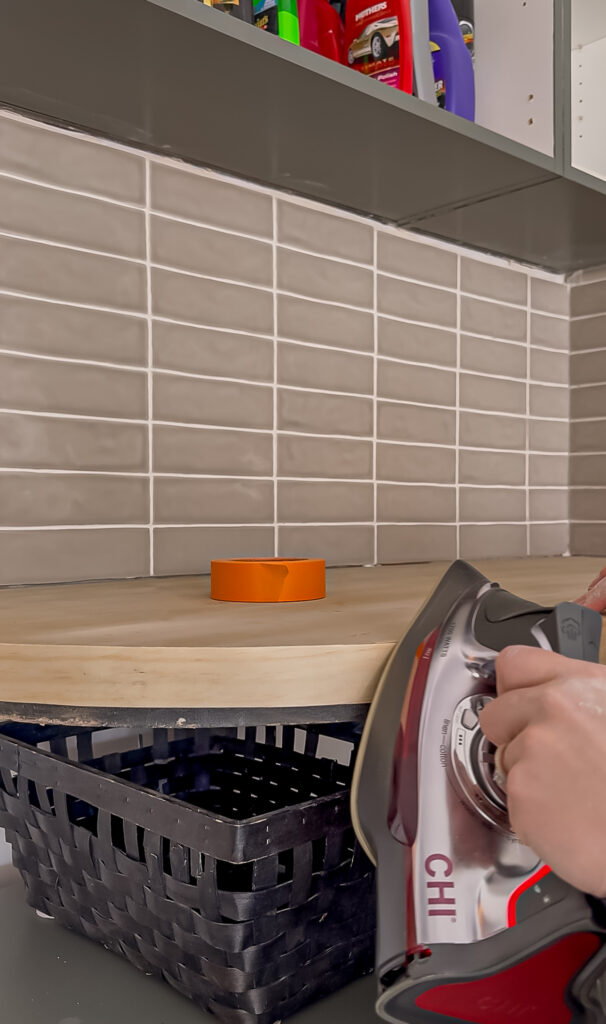
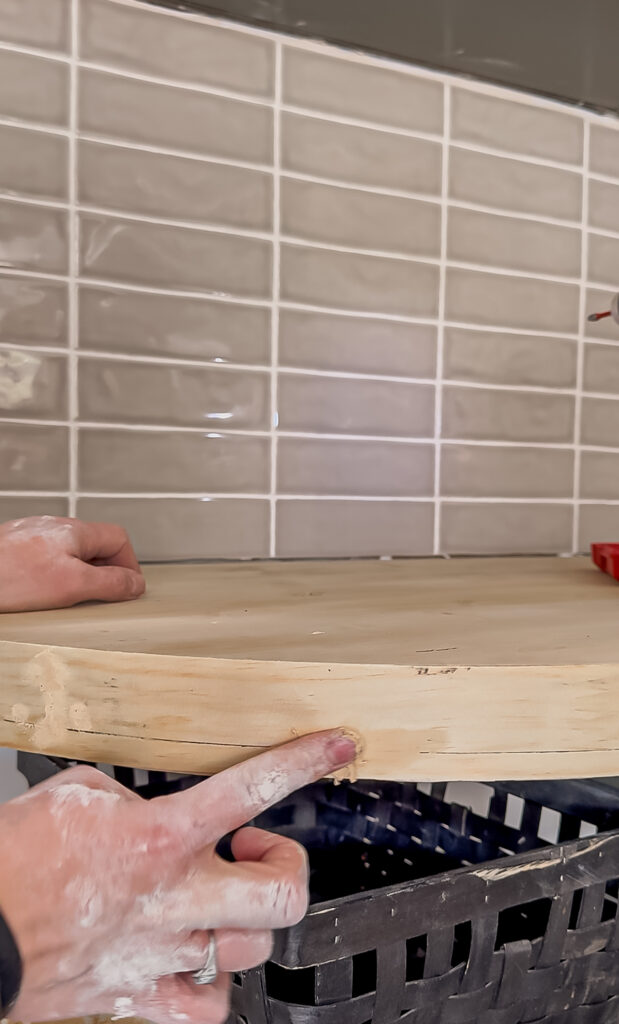
After wiping the grout clean, it was time to move on to the finishing touches. I first applied some pine veneer around the edge of the counter to make it look like one solid piece.

This was my first time using it but it was quite easy!
Next I added new handles to the cabinet doors and spray painted the filing cabinet pulls to match.
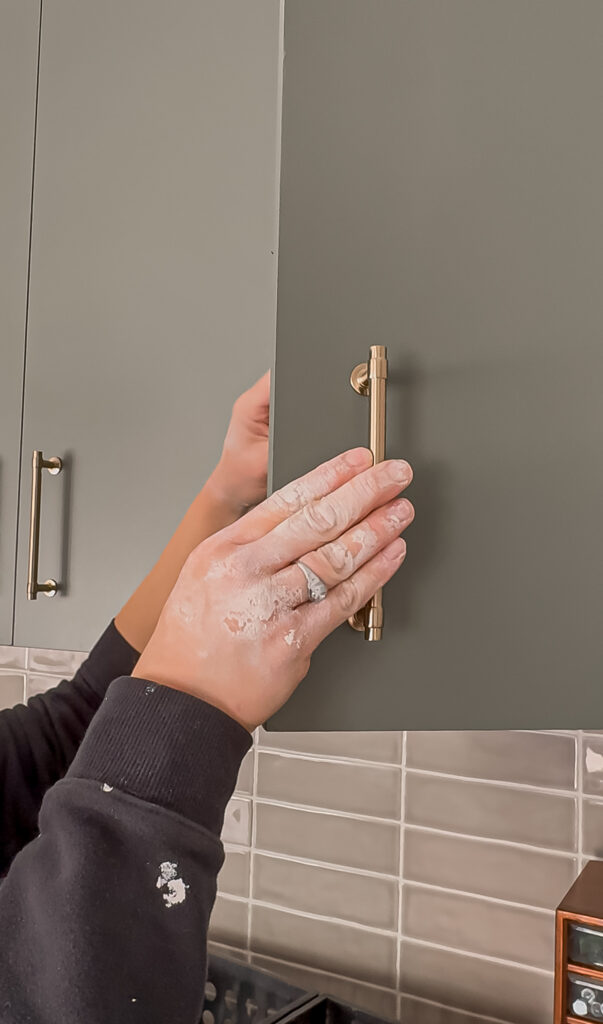
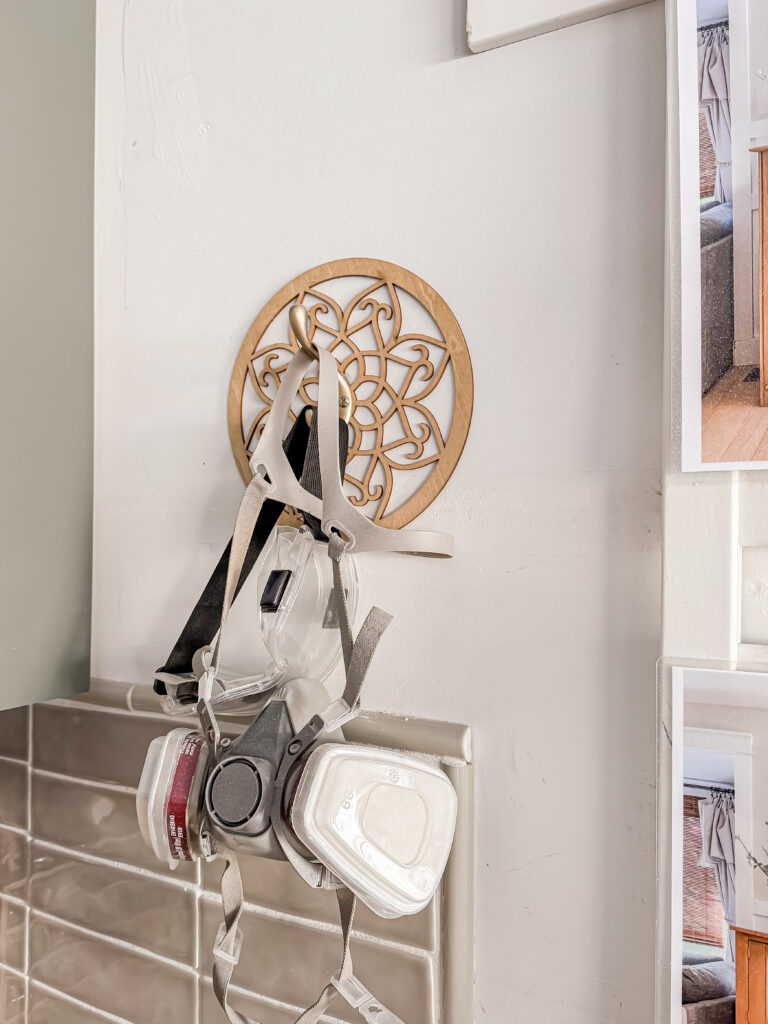
I also painted my mask hook and added a wood medallion behind it.
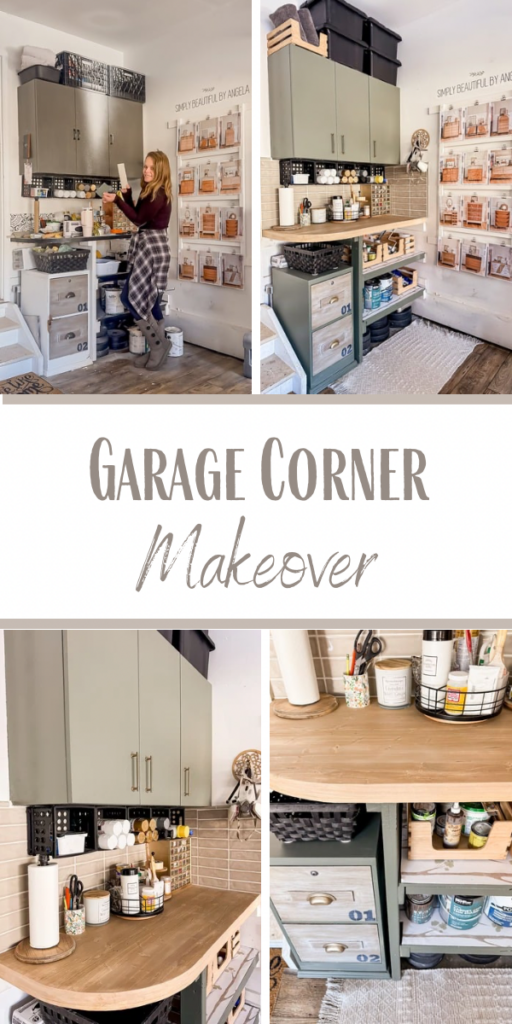
Here is how it all came together!
I know most people wouldn’t be too excited about making a corner of their garage “pretty” but since this is basically my office, I’m so happy!
Having this space the way I have always envisioned it really helps keep my creativity boosted out here!
Have a great rest of the week, catch up with you all next week!
PIN FOR LATER!