Hello friends! We just got back from our annual trip to the Great Wolf Lodge and it was fun times as always!

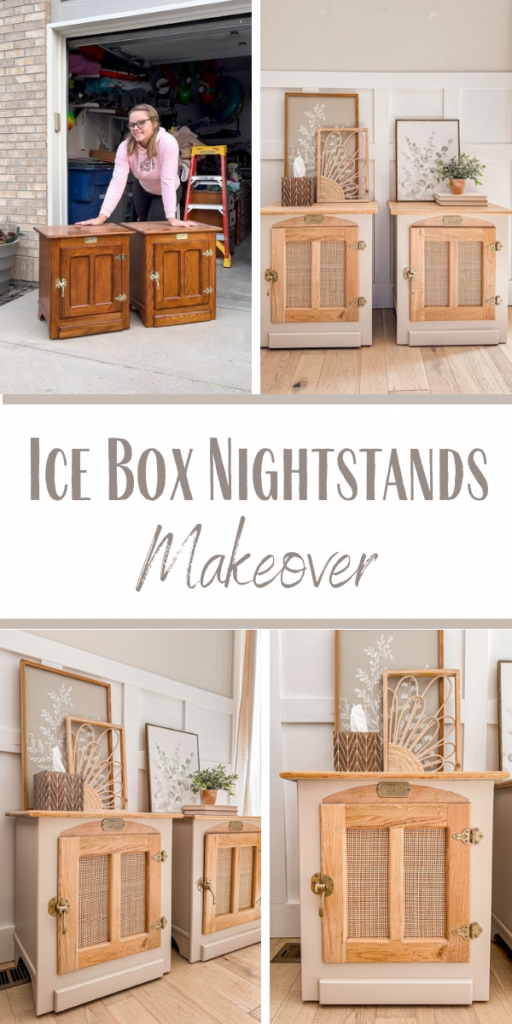
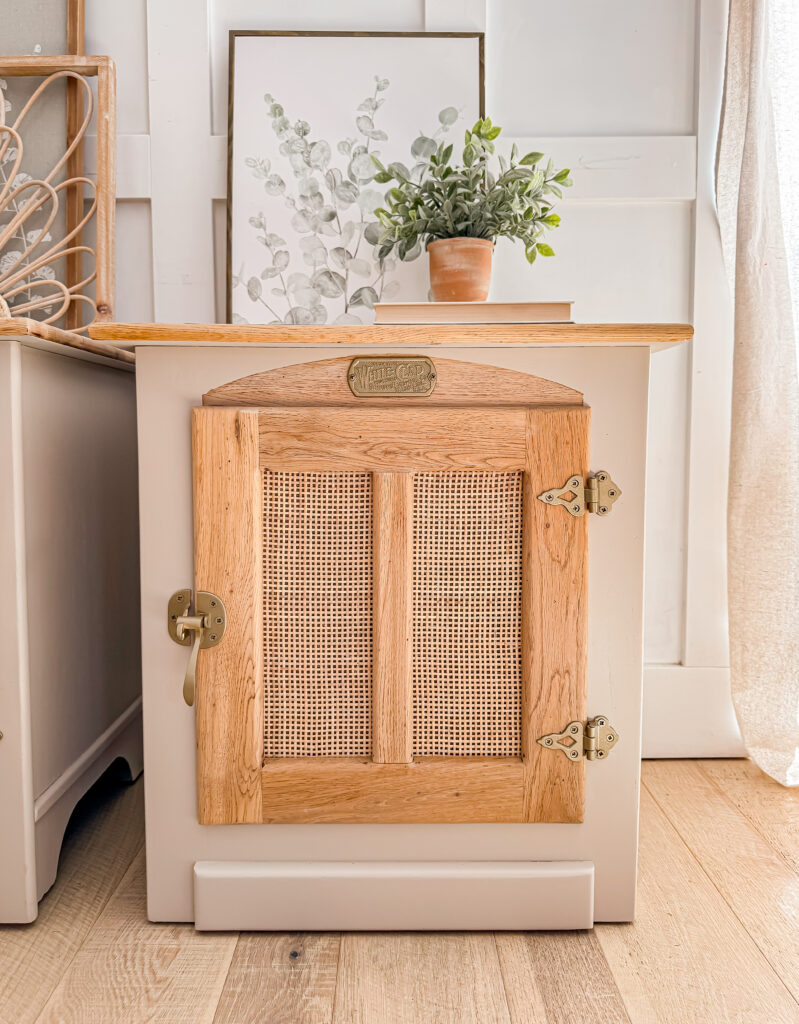
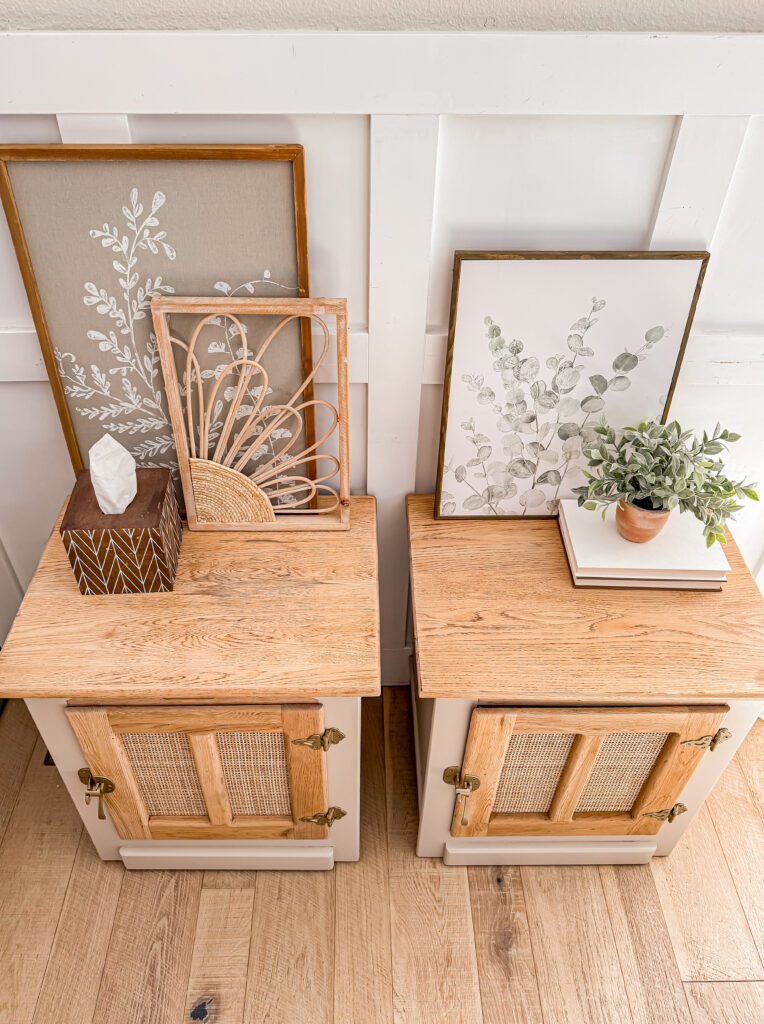
Today I am sharing how I updated these fun vintage ice box style nightstands that I found on Marketplace!

Supplies Used:(Affiliate links may be provided for convenience. For more info, see my full disclosure here.)
I honestly had never heard of ice box replica furniture, but after reading up on them I think that the concept is so cool!
I started removing the doors and giving them a nice good scrub.
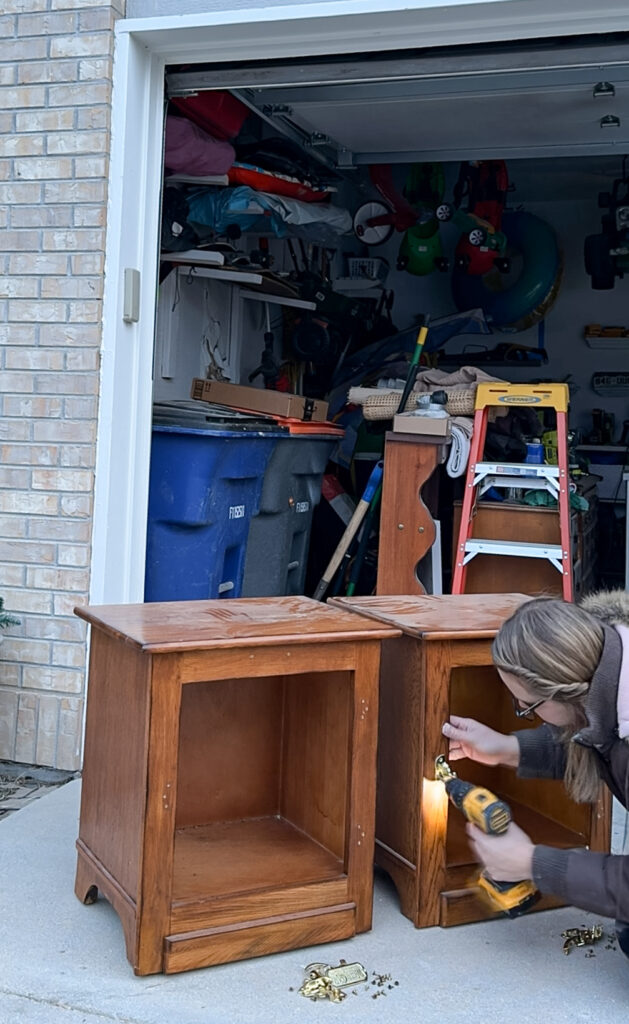
I struggled with how to remove the existing backing inside the doors, but luckily Anthony was able to figure it out for me!
Once they were out, I sanded the doors all the way down to raw wood and then stapled some cane webbing to the backs.
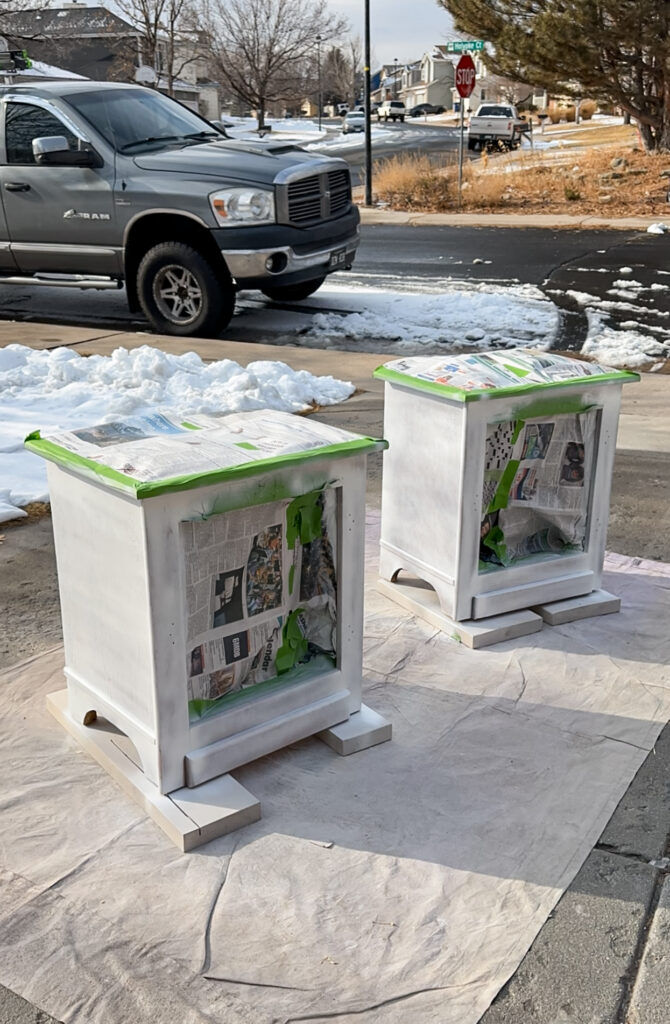
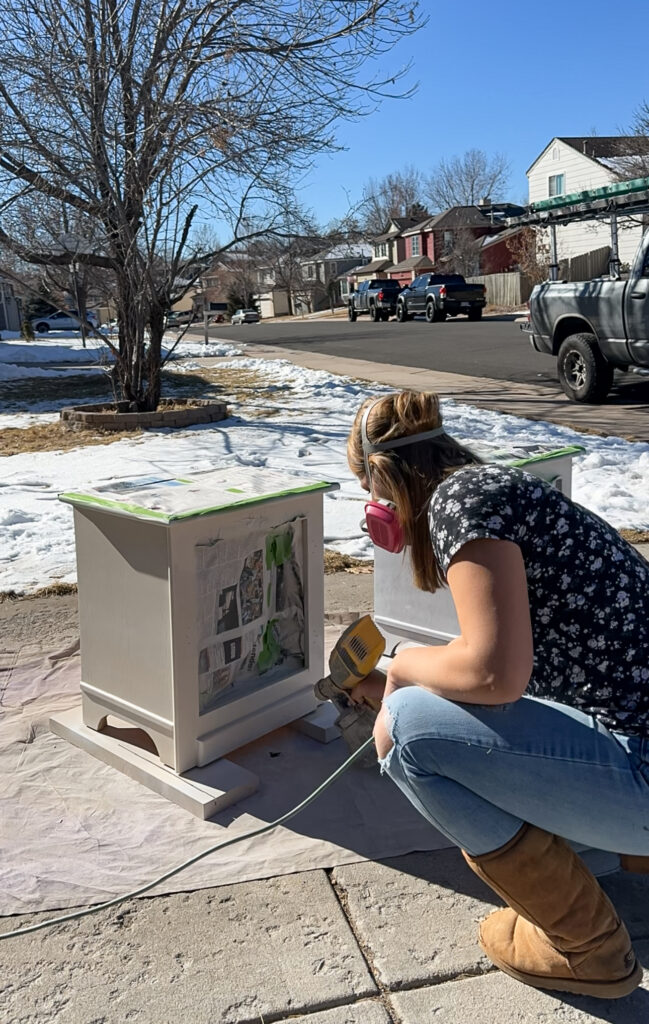
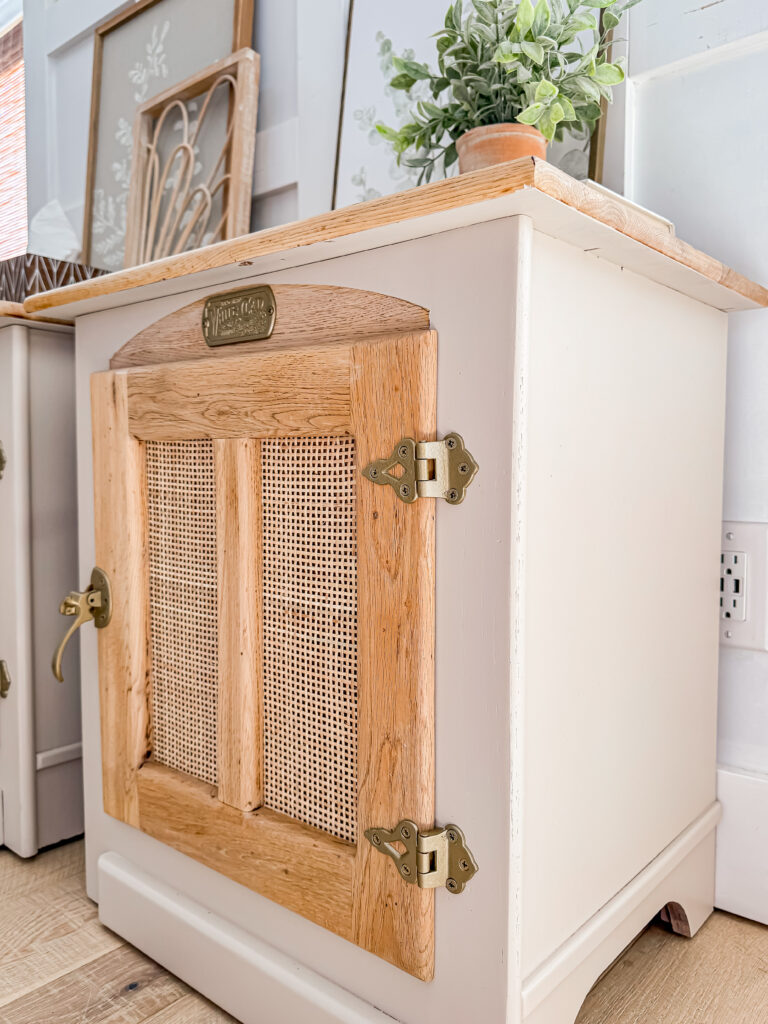
I also sanded the tops and a small arch above each door down to raw wood and taped those portions off. I scuff sanded everything else and applied a coat of primer.
Once it was dry I sanded it smooth and began applying paint in the color Creamy Mushroom by Behr.
I lightly paint washed the wood portions, cleaned and spray painted the hardware and sealed them all up with a couple coats of polyacrylic.
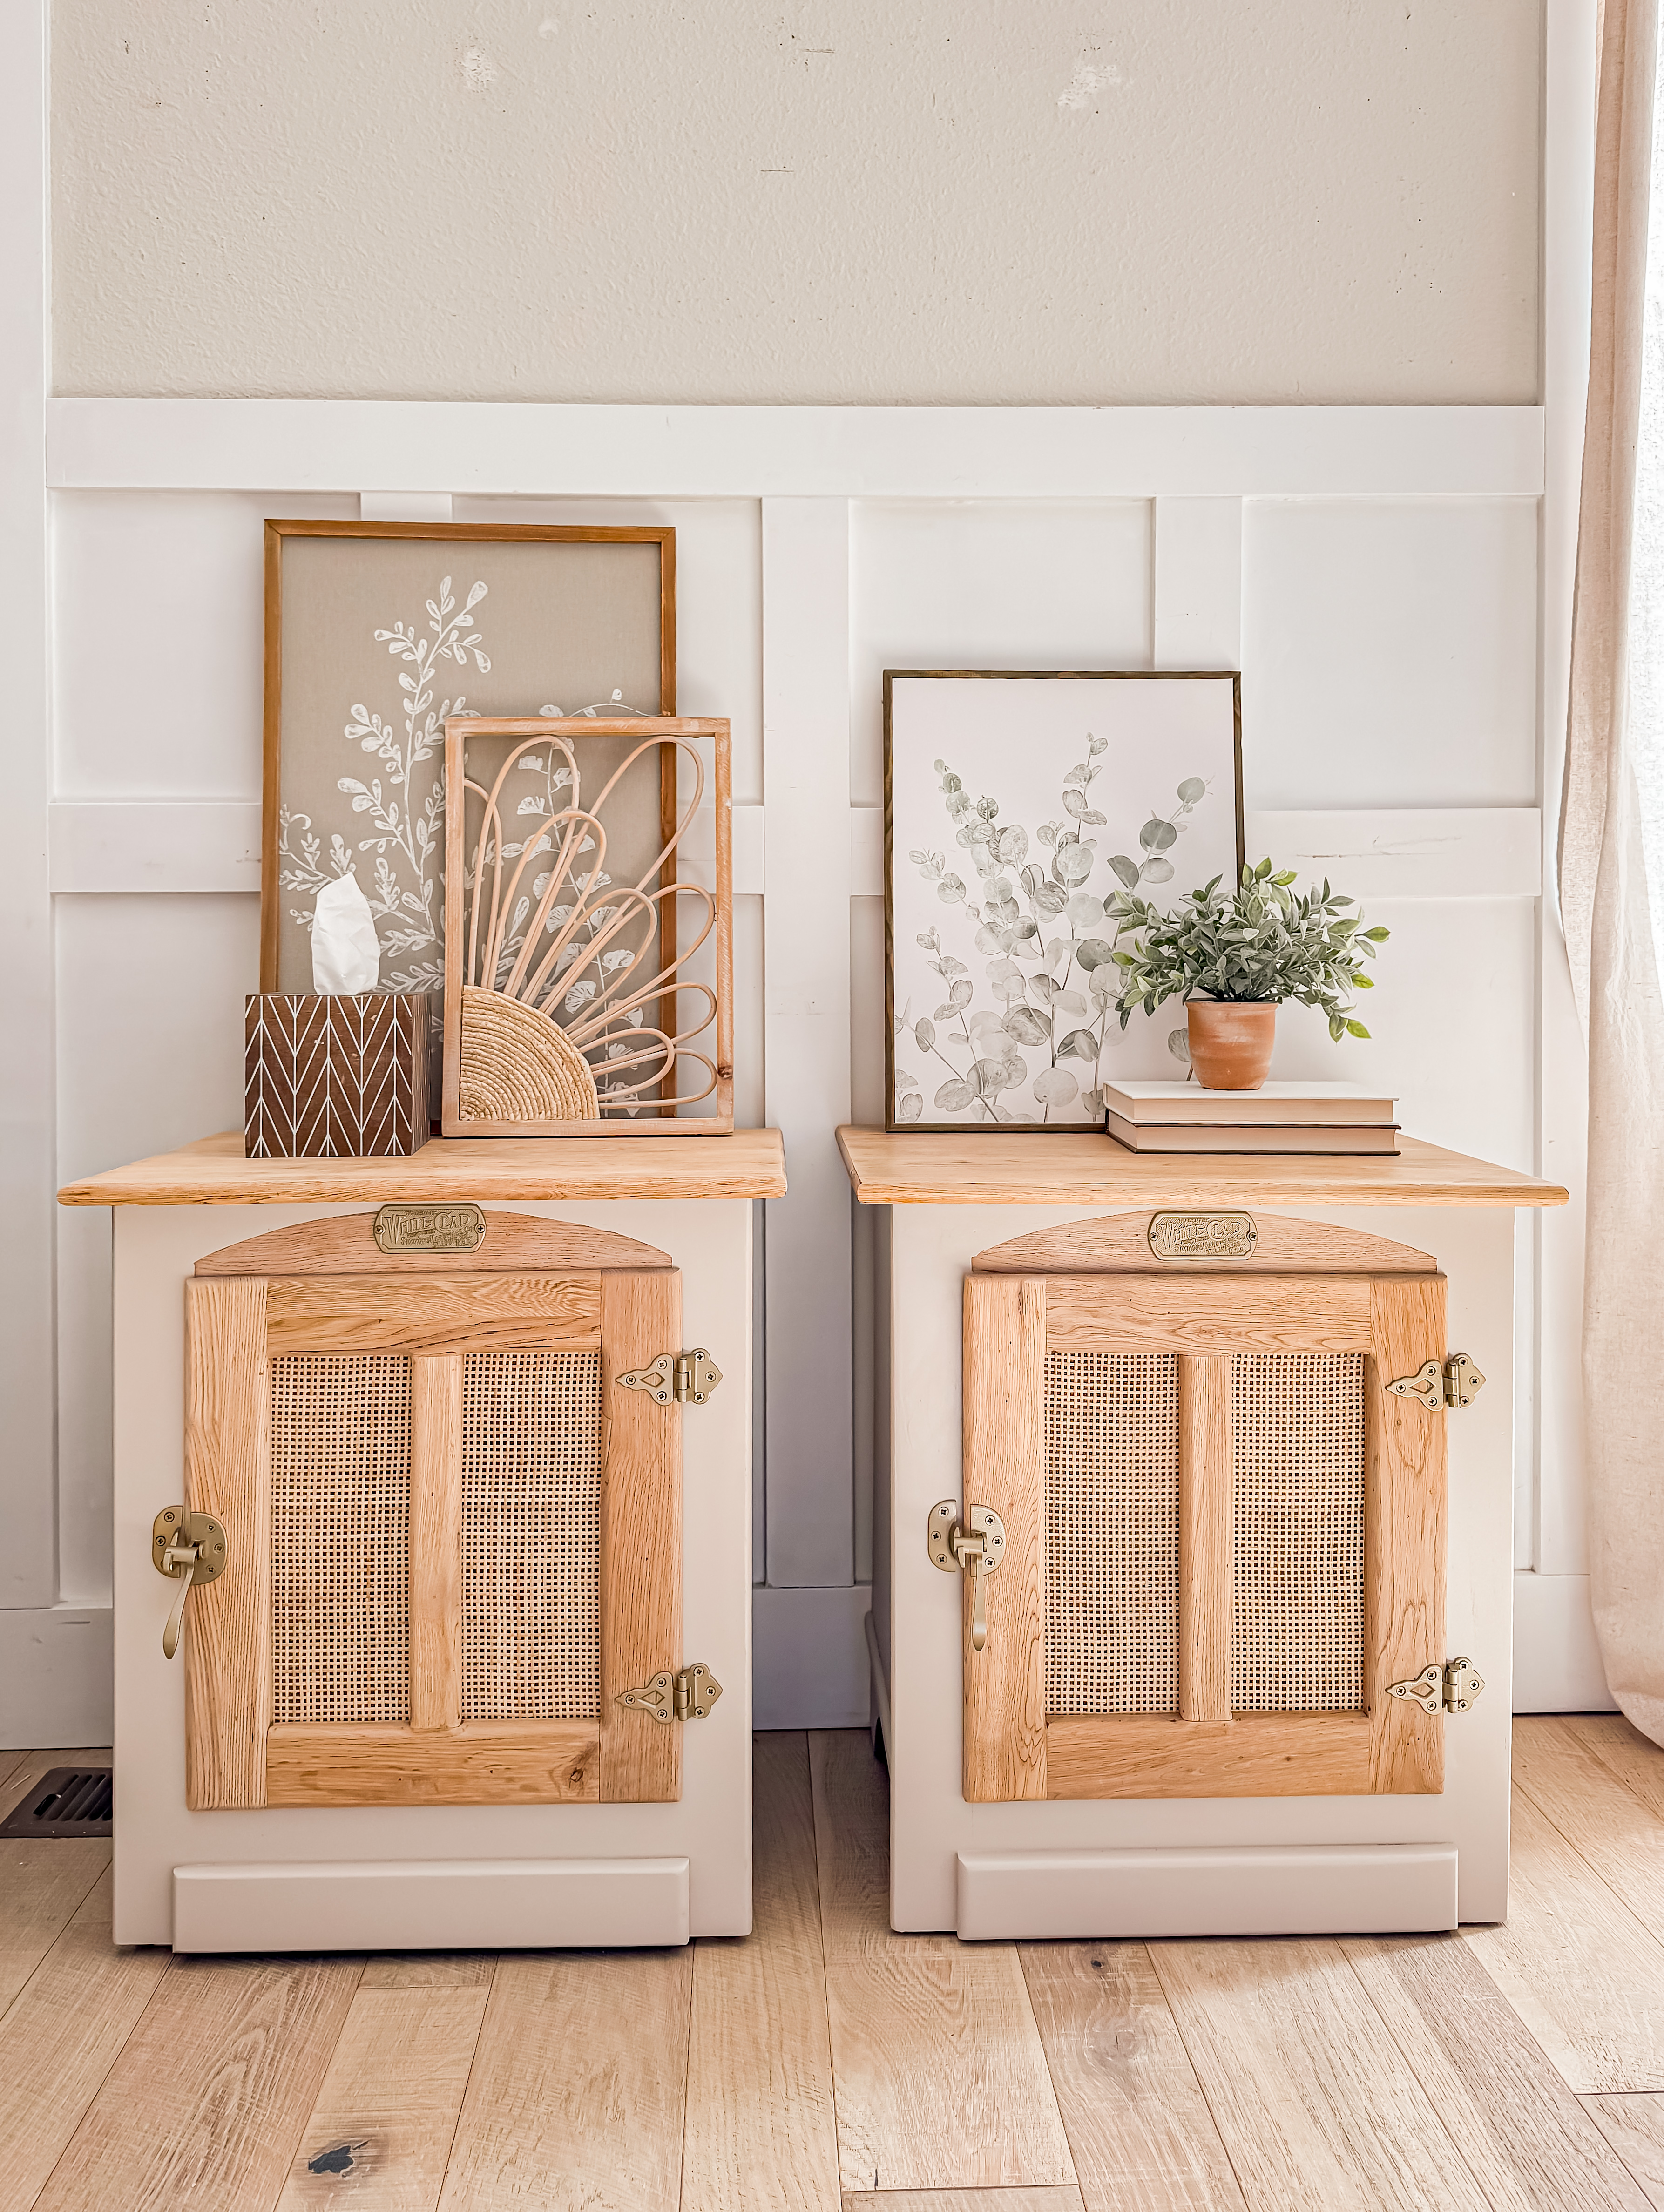
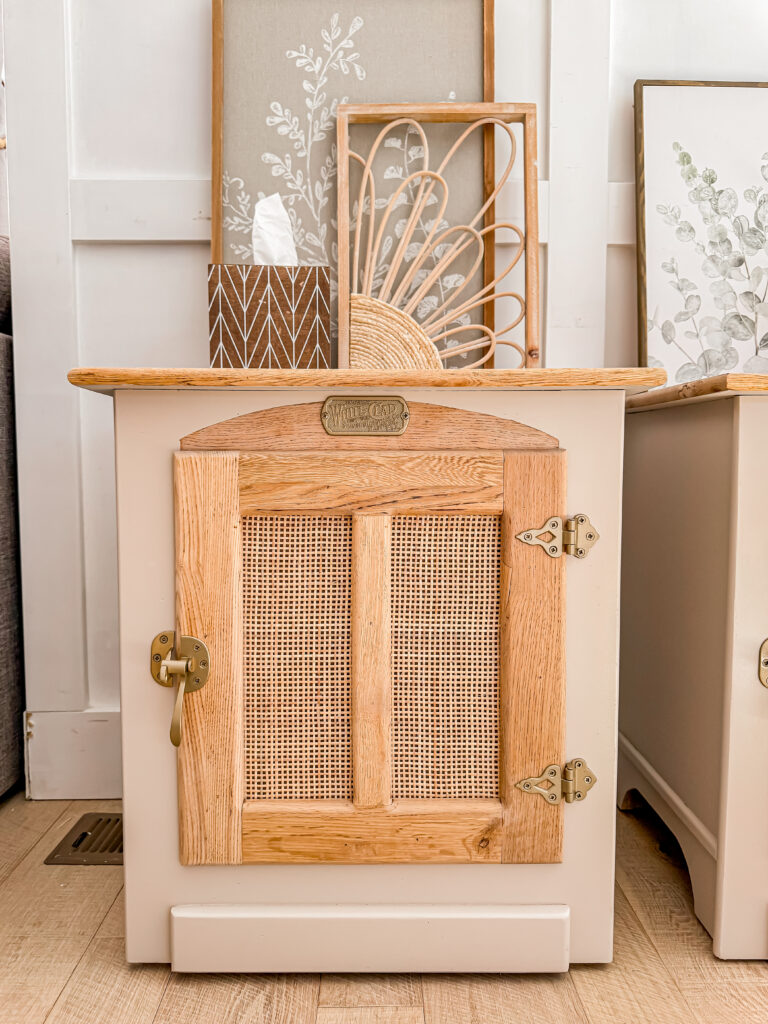
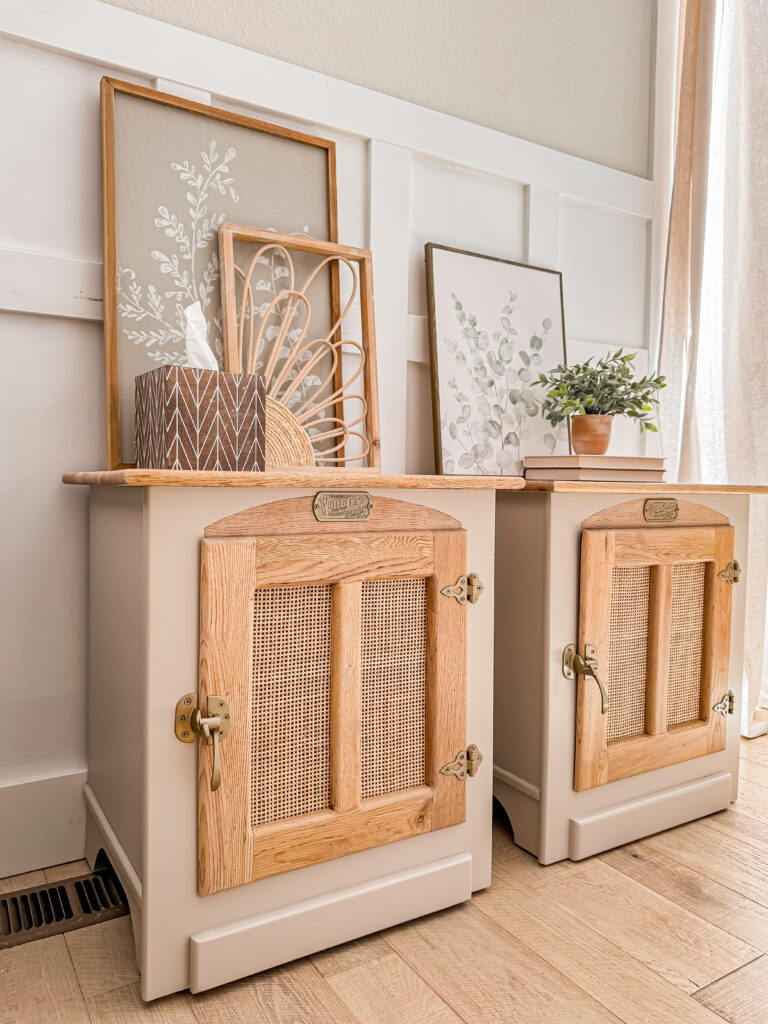
I love how different and unique these guys are!
Have a great rest of the week everyone!
PIN FOR LATER!