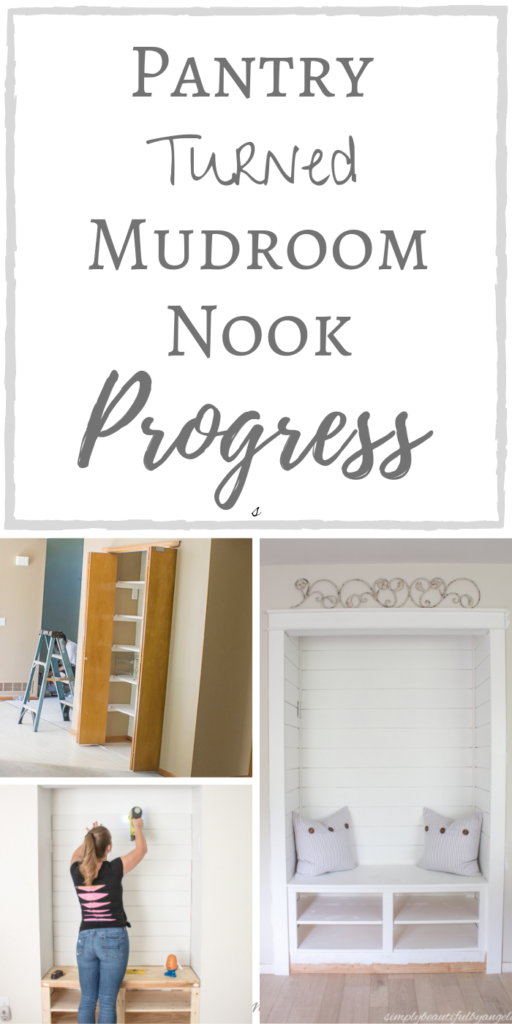
Slowly but surely our little mudroom nook is starting to come together! When we first purchased our new fixer upper we immediately knew that the pantry wasn’t going to work for us. It was oddly placed super far away from the kitchen.
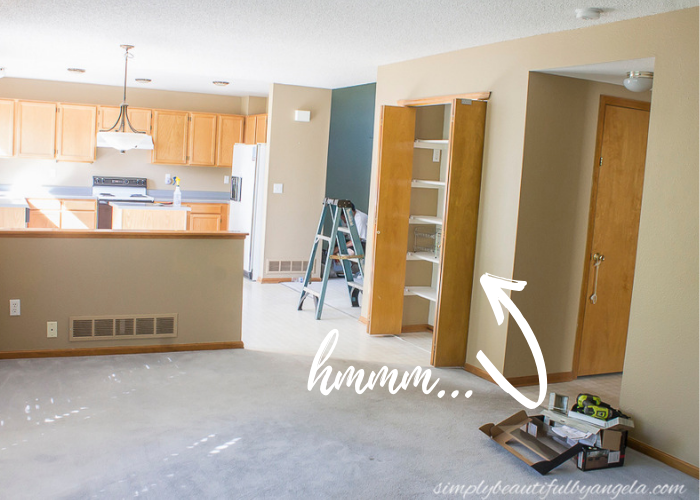
Luckily we ended up with more kitchen cabinet space then we knew what to do with, so we decided to use the two corner sets of cabinets as pantry storage. But then we were left wondering what to do with the old pantry space.
We had a couple of contractors price out how much it would be to open it up to the basement staircase, but it came out much higher than we thought it would, so we quickly nixed that idea.
Then I remembered this seating nook that Sarah at Sara Joy Blog created from an empty nook that she had in her house and I had a total light bulb moment!
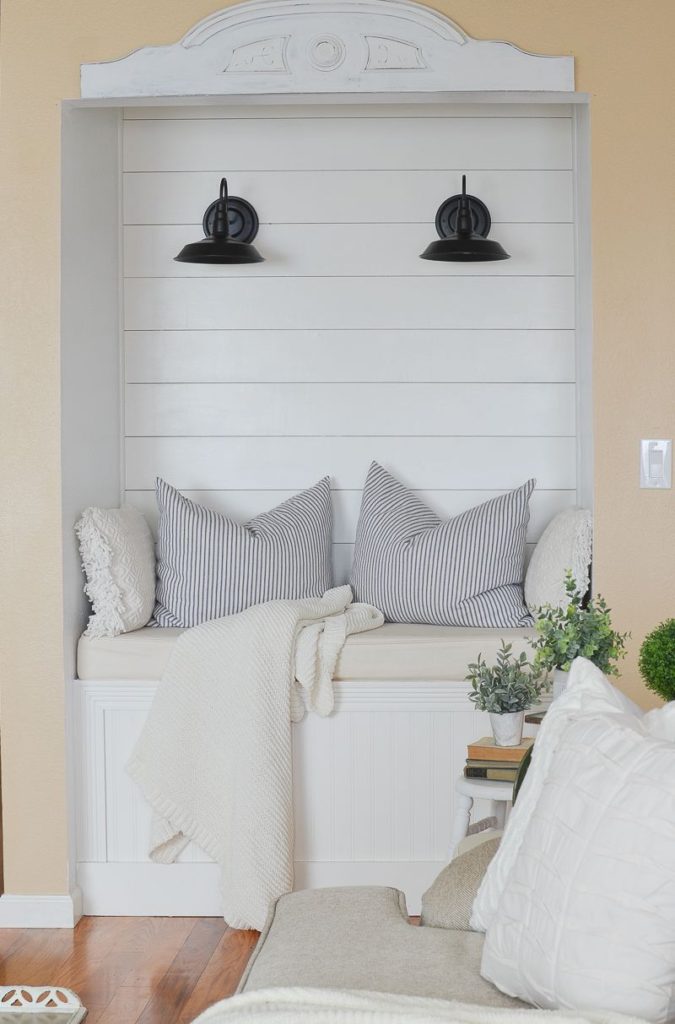
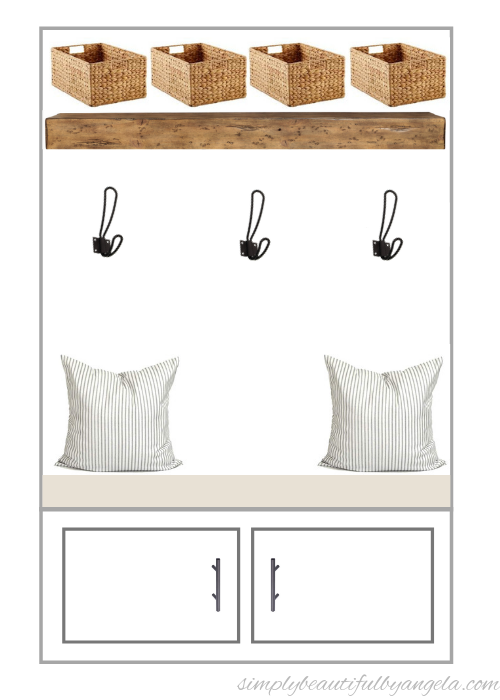
I knew that this would be the perfect spot to create something similar, so I started brainstorming and came up with this design.
Having extra seating is always a big plus, but I decided that I would make it even more functional by adding hooks, a shelf and cabinets so that it could serve as a designated “mudroom” for us.
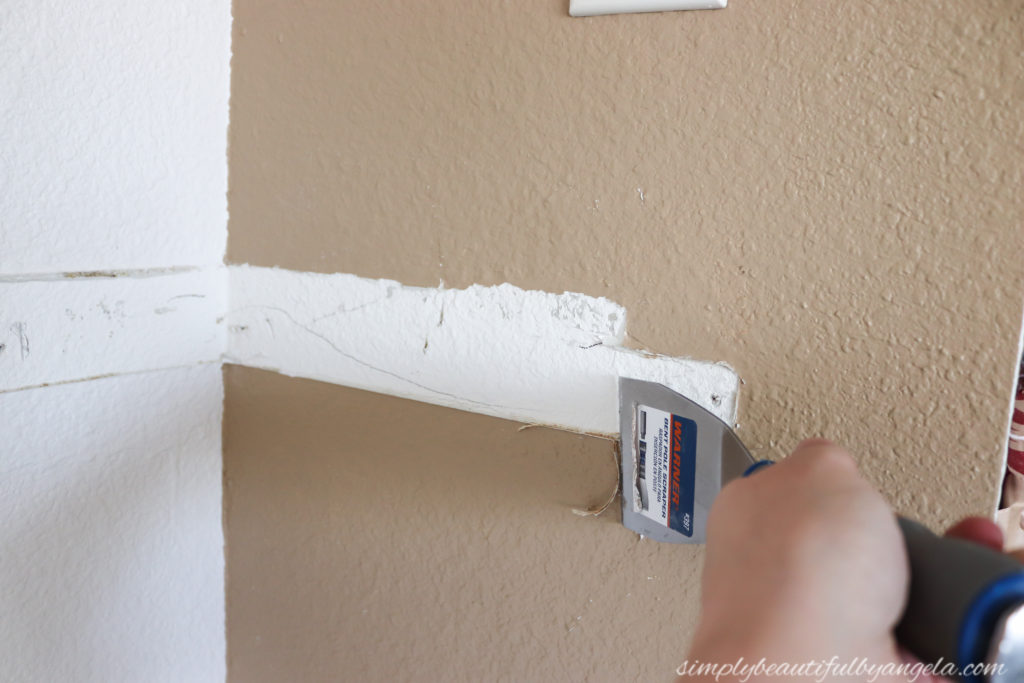
I ripped out the shelves last summer shortly after we moved in. Honestly it was quite a bit of fun! I hammered them upward until they popped out. Then I scored the caulk around the side supports where they met the wall and used a pry bar to remove them. I used some VISE-GRIP pliers to pull out any remaining nails and then a bent chisel scraper to remove the left over caulking.
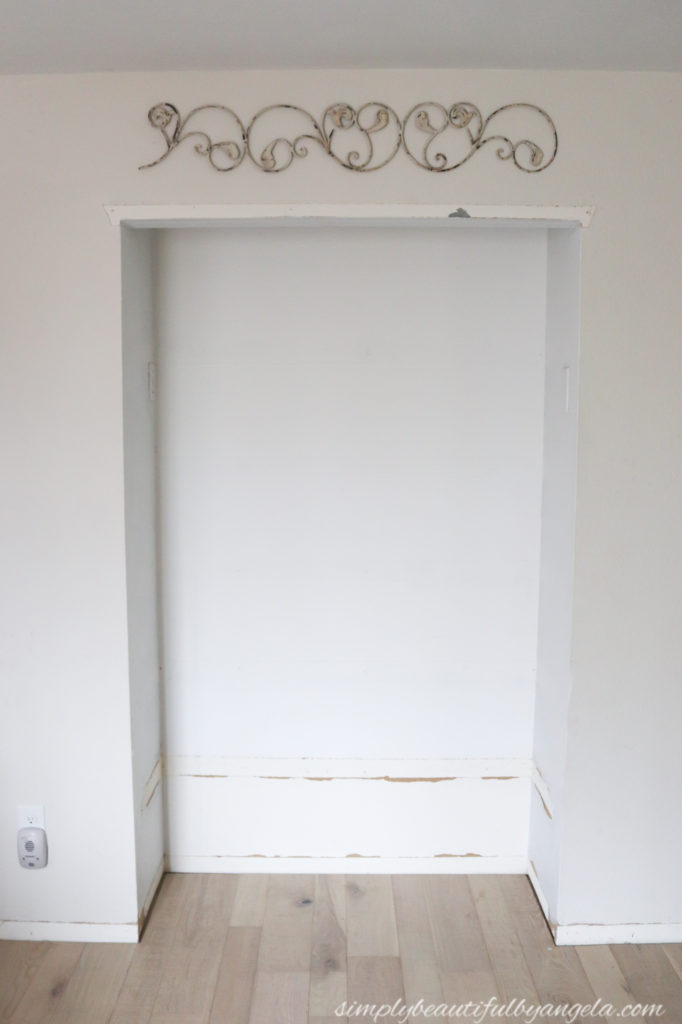
I left the bottom shelf for us to place our bags and I painted the walls white since I knew that it was going to be on the back burner of our priority list for awhile. I thought that I took a picture, but I can’t find my old SD card at the moment! So this one is the best I could do– you can kind of get a glimpse of it in the background.
Earlier this spring I decided that I had finally enough of looking at stuff piling up on the remaining shelf, so I ripped it out and decided that it was officially time to start building the bench.
We began by cutting pieces of 2×6 down to the size of the nook and secured them together with screws.
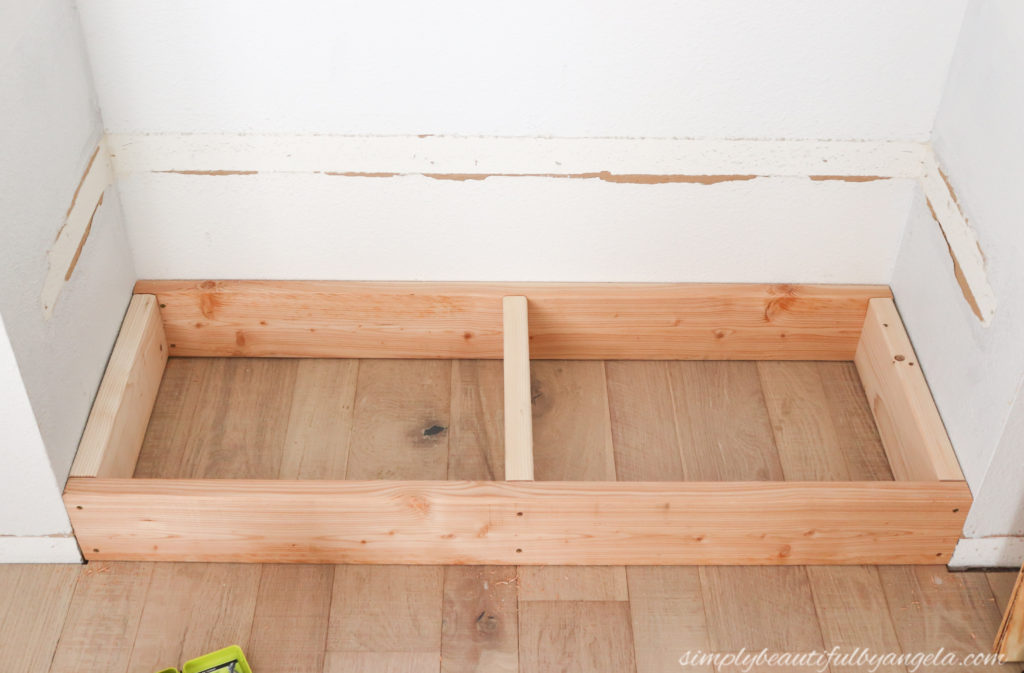
We then measured where we wanted the top of the bench to sit and used a level to draw a line at that point. We measured down 2-1/4″ from this line to determine how tall the 2×3 supports should be. (2-1/4″ because of the 2×3 that would be added along with the board for the top).

We still don’t have a Kreg Jig Pocket Hole System (one day!!) so we secured the 2x3s to the 2x6s by drilling them in at an angle.
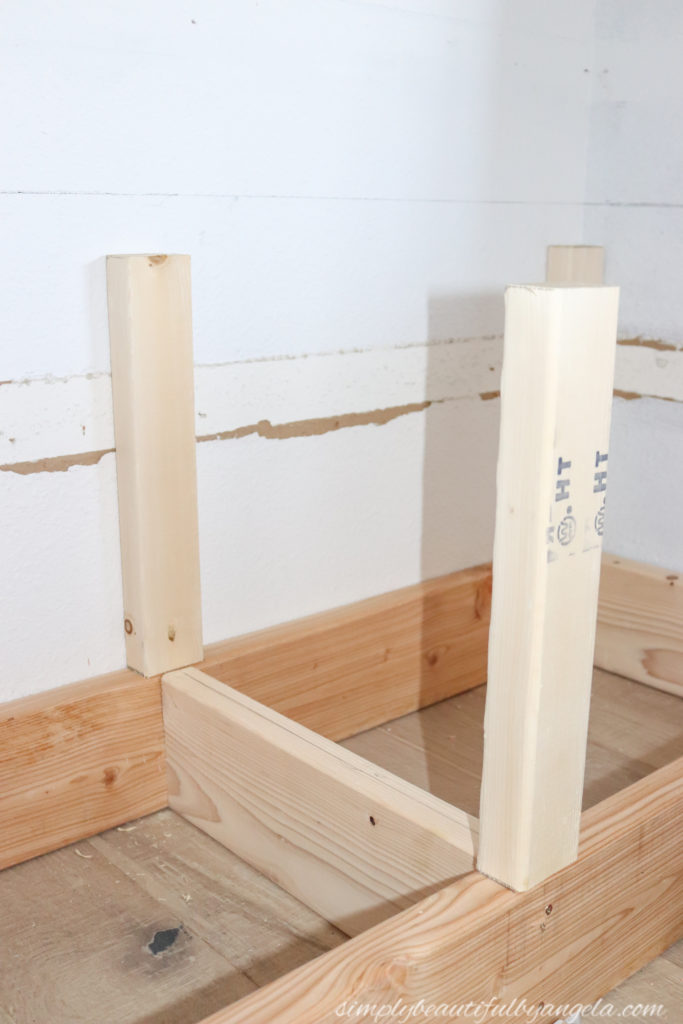
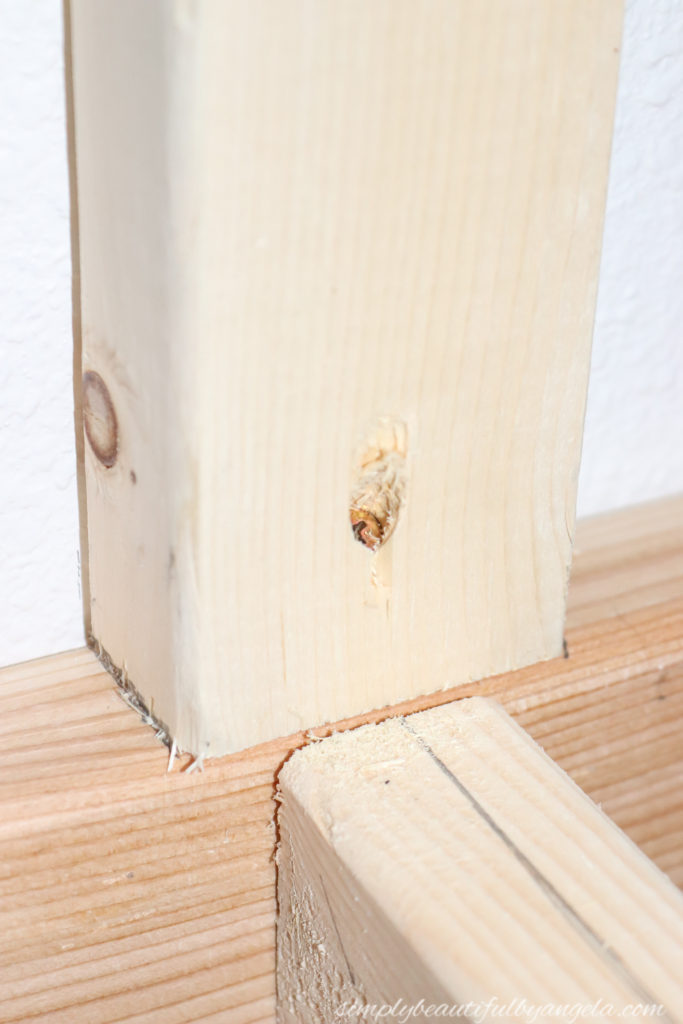
We cut a piece of 3/4″ plywood to size, held it on top of the 2x3s and used a pencil to mark where to jigsaw cut so that it could slide in.
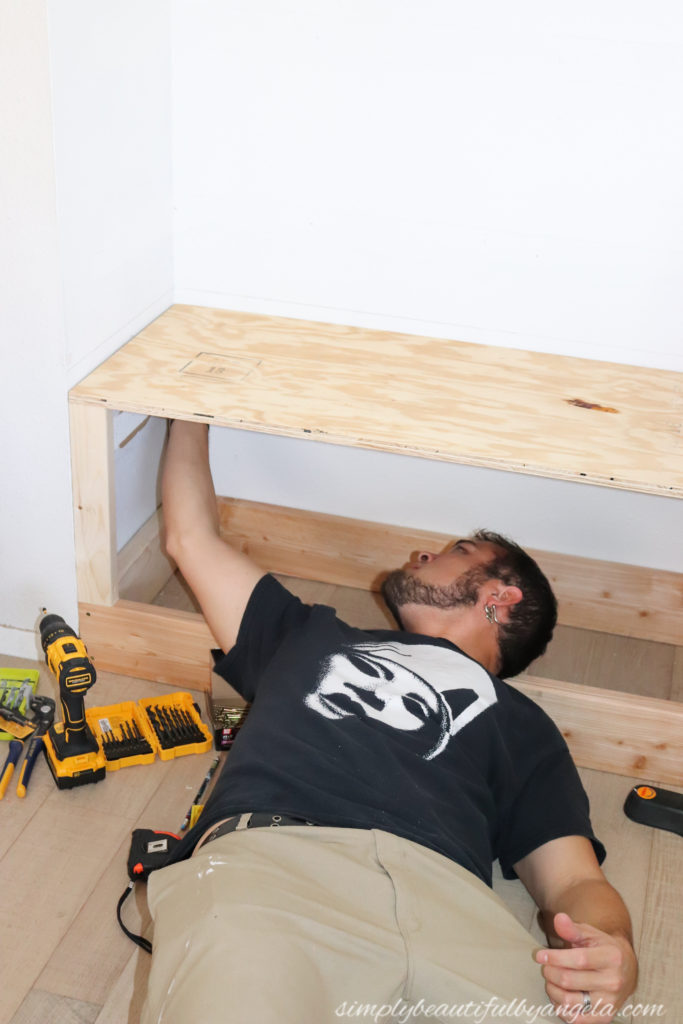
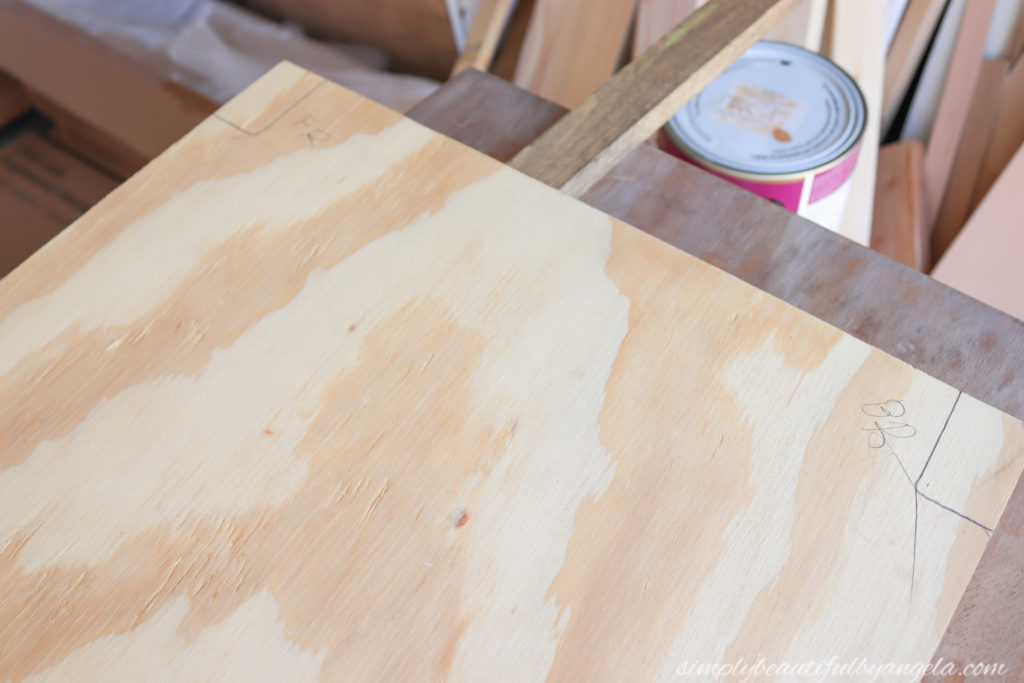
The hubby made sure to label the corners to make it easier to put in!
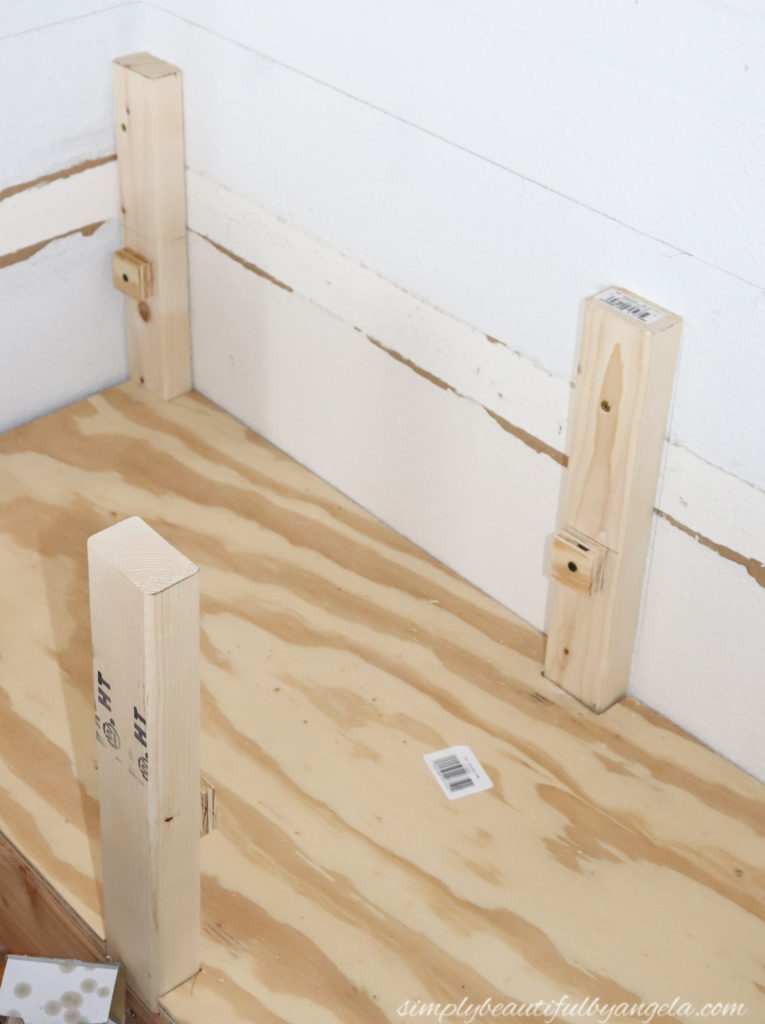
Once it was in place we cut small scrap pieces of plywood and secured them to the side of each 2×3 (level of course!) to support the center shelf.
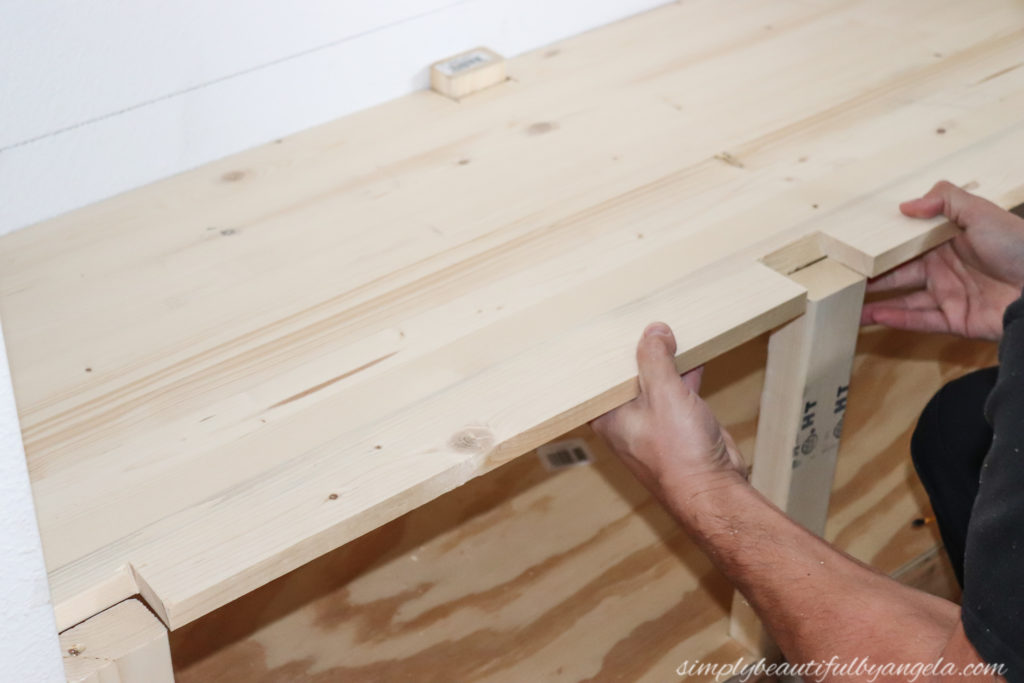
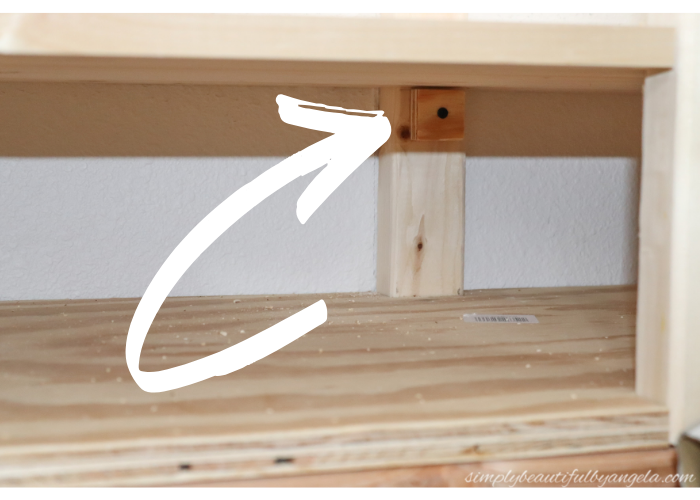
Since we only plan on keeping shoes on the shelf this should be plenty of support.
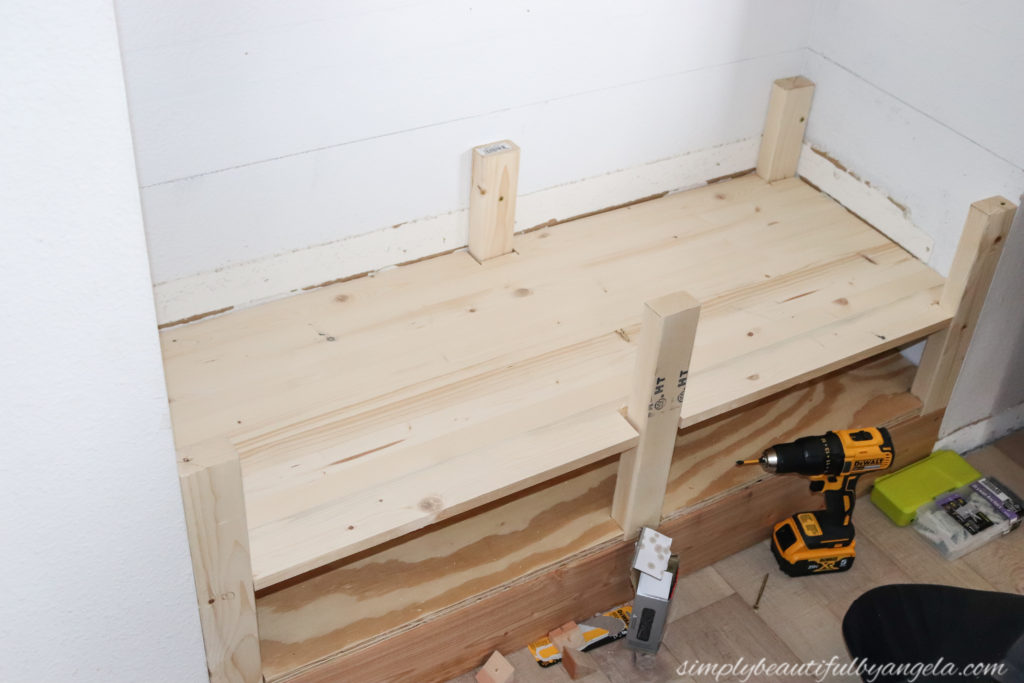
We cut down some more 2x3s and created a frame for the top to sit on.
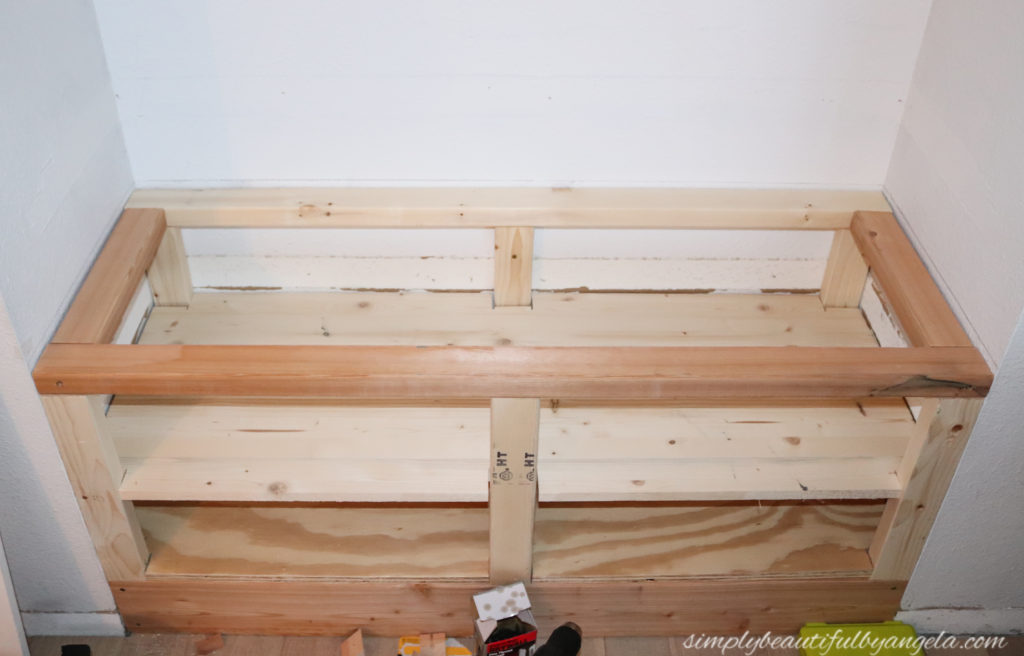
And up until recently, that’s where it sat for while I worked on our master bathroom budget makeover for the One Room Challenge!
After taking a little hiatus to recover from that six week madness, I was starting to feel motivated to get the ball rolling again, so I began installing shiplap on the walls.
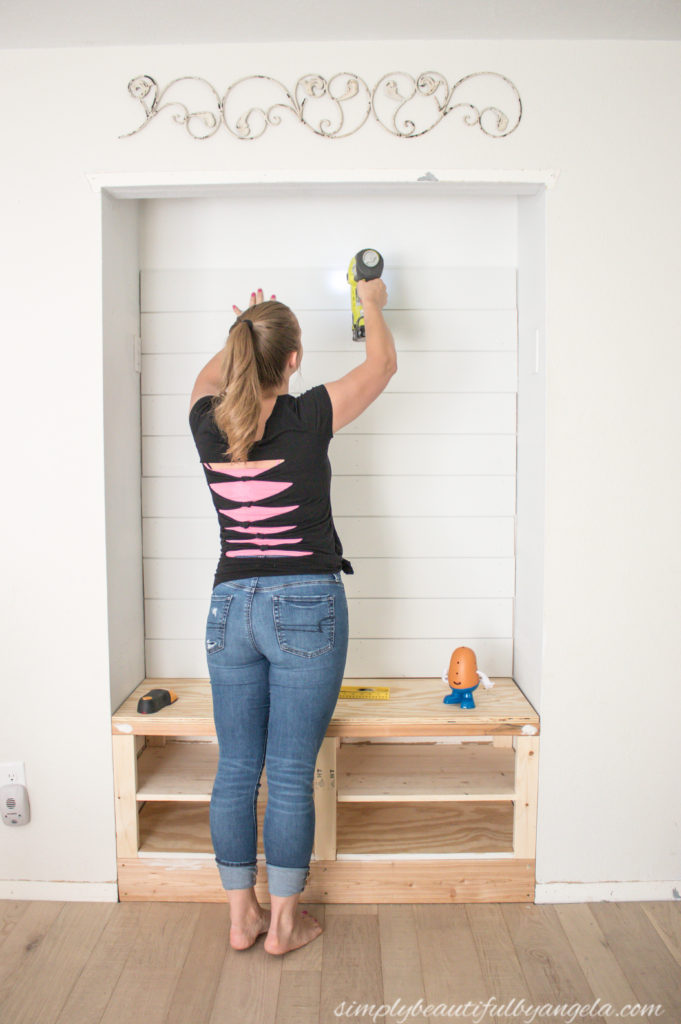
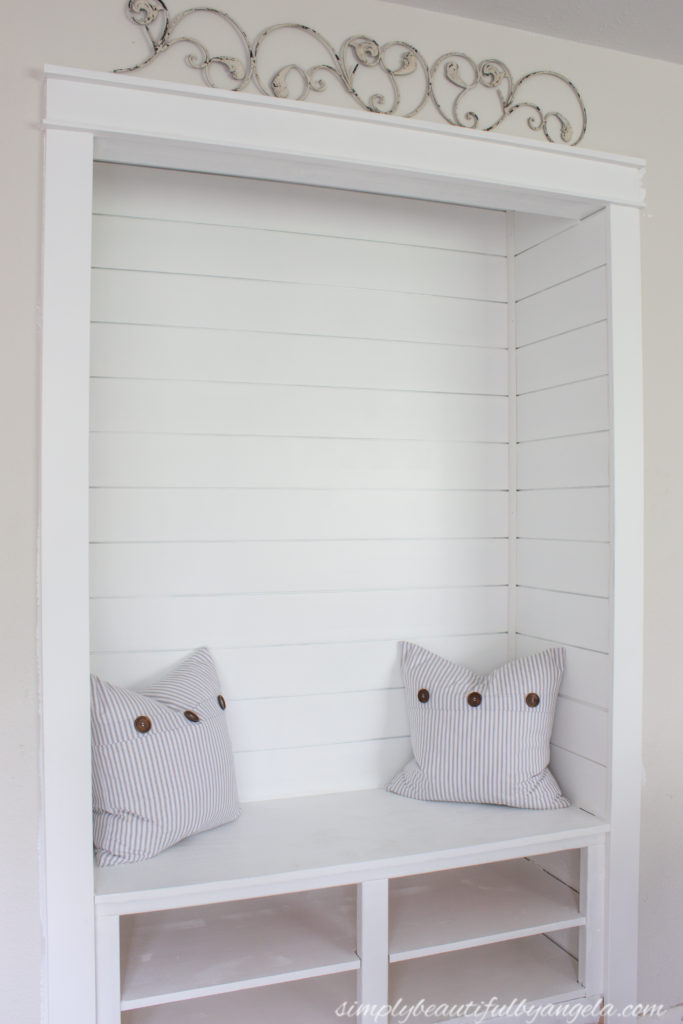
Once the shiplap was installed, I framed it with the same craftsman style trim that I’ve been doing throughout the house.
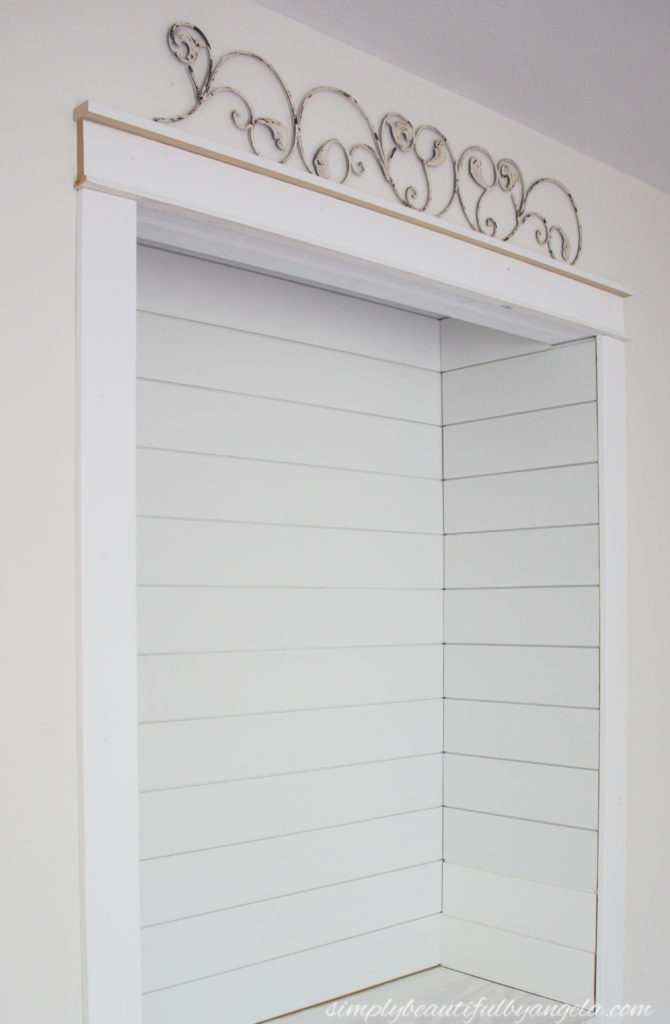
Then it was time to paint! I began by using a brush to get in between the shiplap boards.
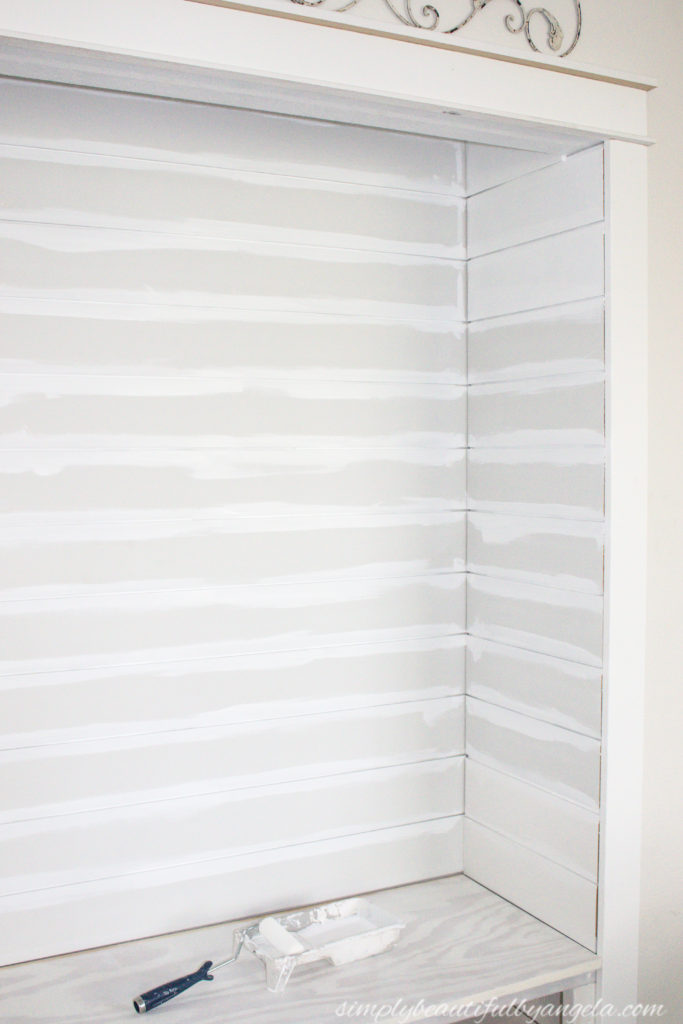
You would think that since I bought primed shiplap boards that I would only need one, maybe two coats of paint–right? Nope. Since I ended up going with such a bright white I ended up needing 3 for full coverage. However it was so worth it because the bright white has made this dark little nook look super happy!
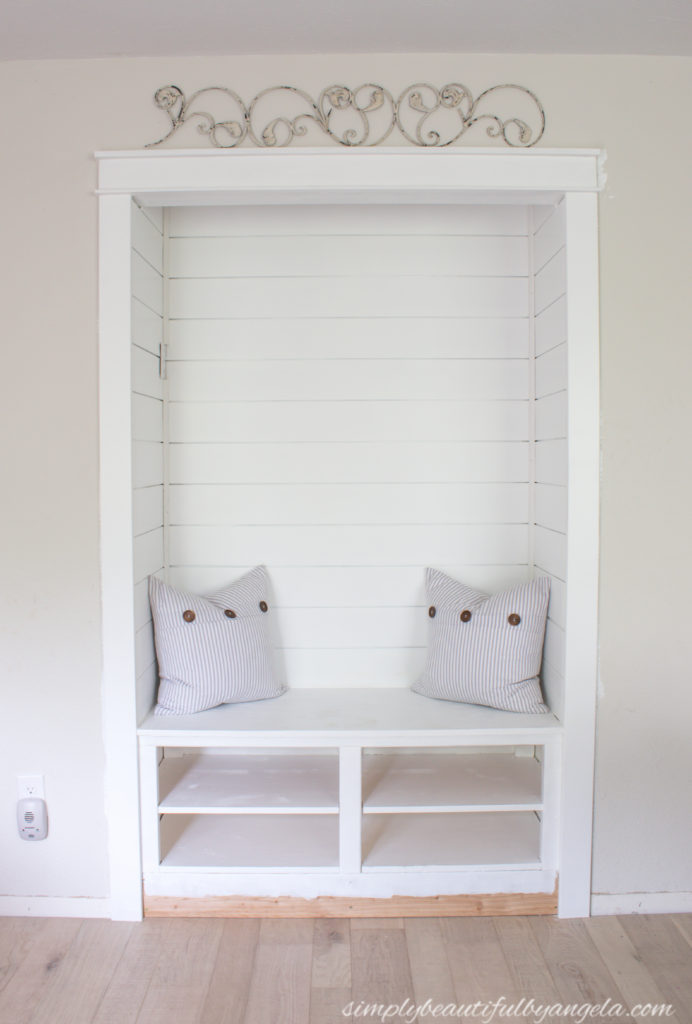
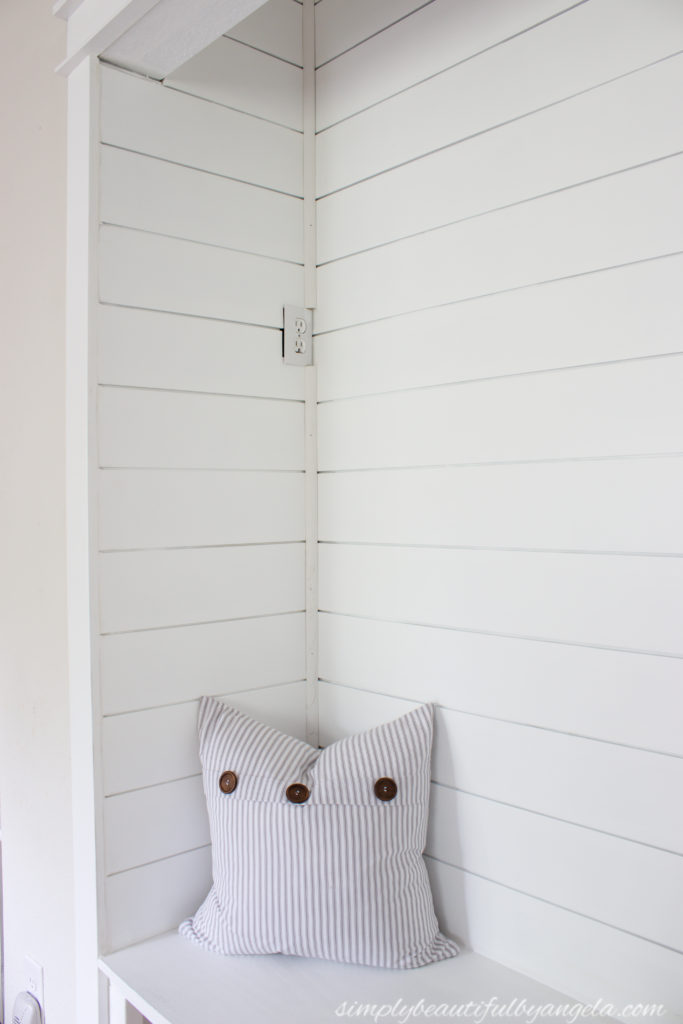
I added some quarter round to the corners, although I had to work around the outlet that the hubby insisted that we keep. I’m hoping that it looks a little less awkward once I caulk the little gap to the left of it.
The next item on the list will be building a floating wooden shelf at the top to hold a few baskets.
The custom cabinet doors that I ordered last week are expected to ship this Friday and I’m so eager to see them installed. Also a little nervous because I’ve never had to measure for cabinet doors before–fingers crossed that I got it right!
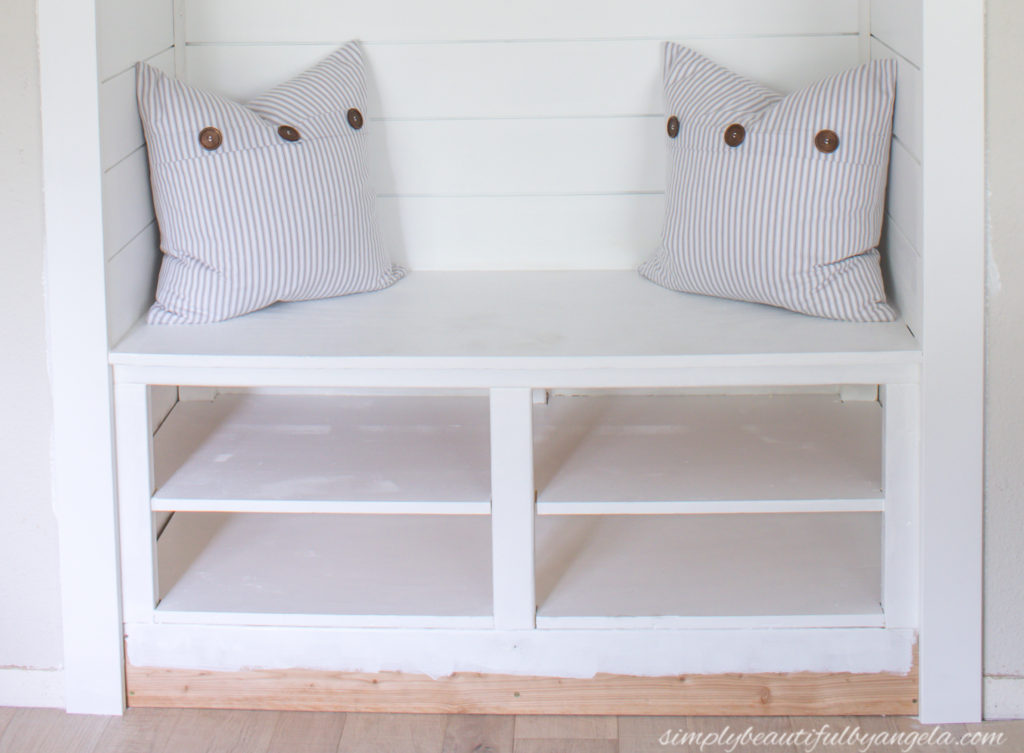
I’ve been going back and forth on what to do with the bottom. I originally planned to run a 1×6 baseboard across it, however now I’m wondering if it would just look better painted. Decisions, decisions!
I was sloppy while painting the trim so I have to go back and touch up the walls.
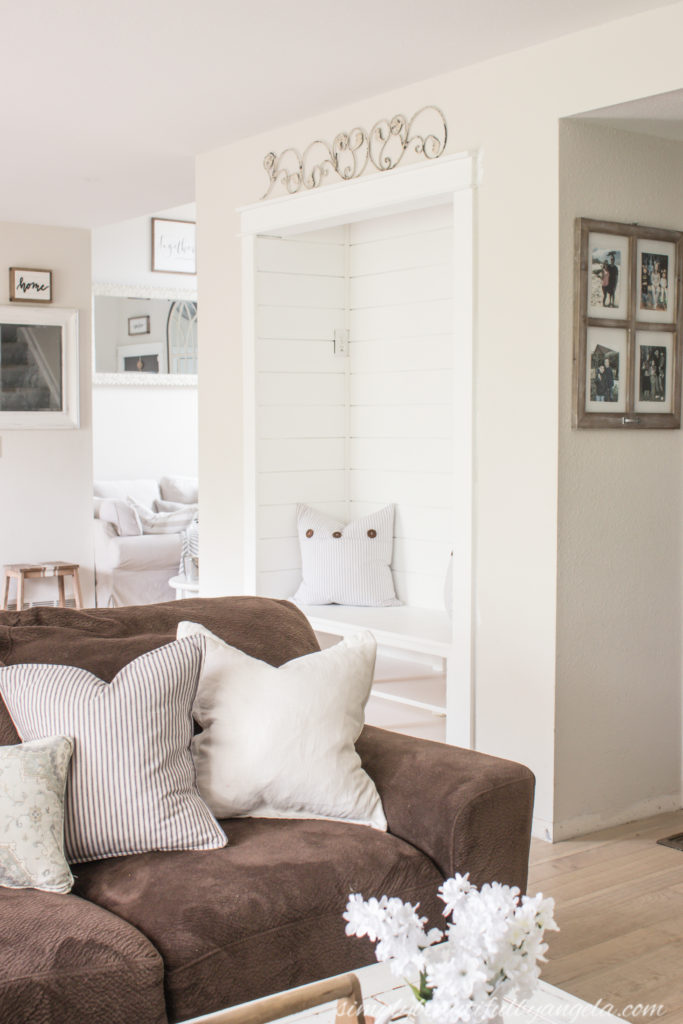
It’s feeling mighty bare right now, but once the shelf and hooks are up it should be much better. I’m also going to make a bench cushion that will not only make it more comfortable, but will also add some nice color and texture.
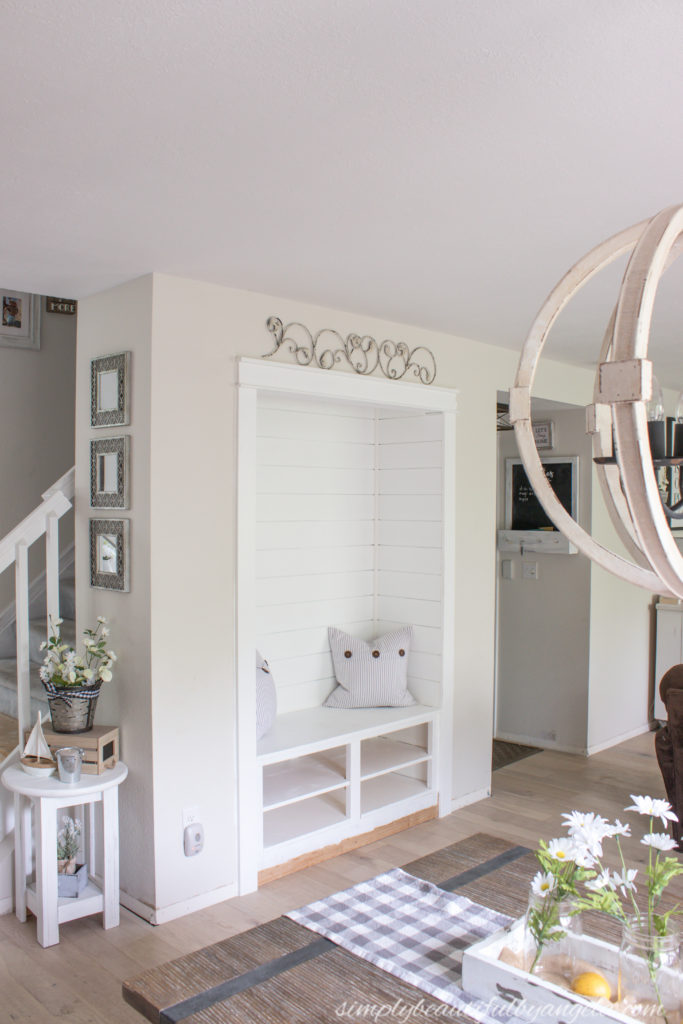
After dreaming about making this happen for over a year now, I am thrilled to finally see my vision coming together. I can’t wait to share the reveal with you guys, hopefully in the next couple of weeks!
Thanks for stopping by today guys! I’m off to enjoy an extra long weekend with the boys. There will be a lot of adventures, playing in the water and ice cream dates and I’m so excited for it! See you all next week 🙂
(Affiliate links may be provided for convenience. For more info, see my full disclosure here.)
Linking up to these awesome parties!
