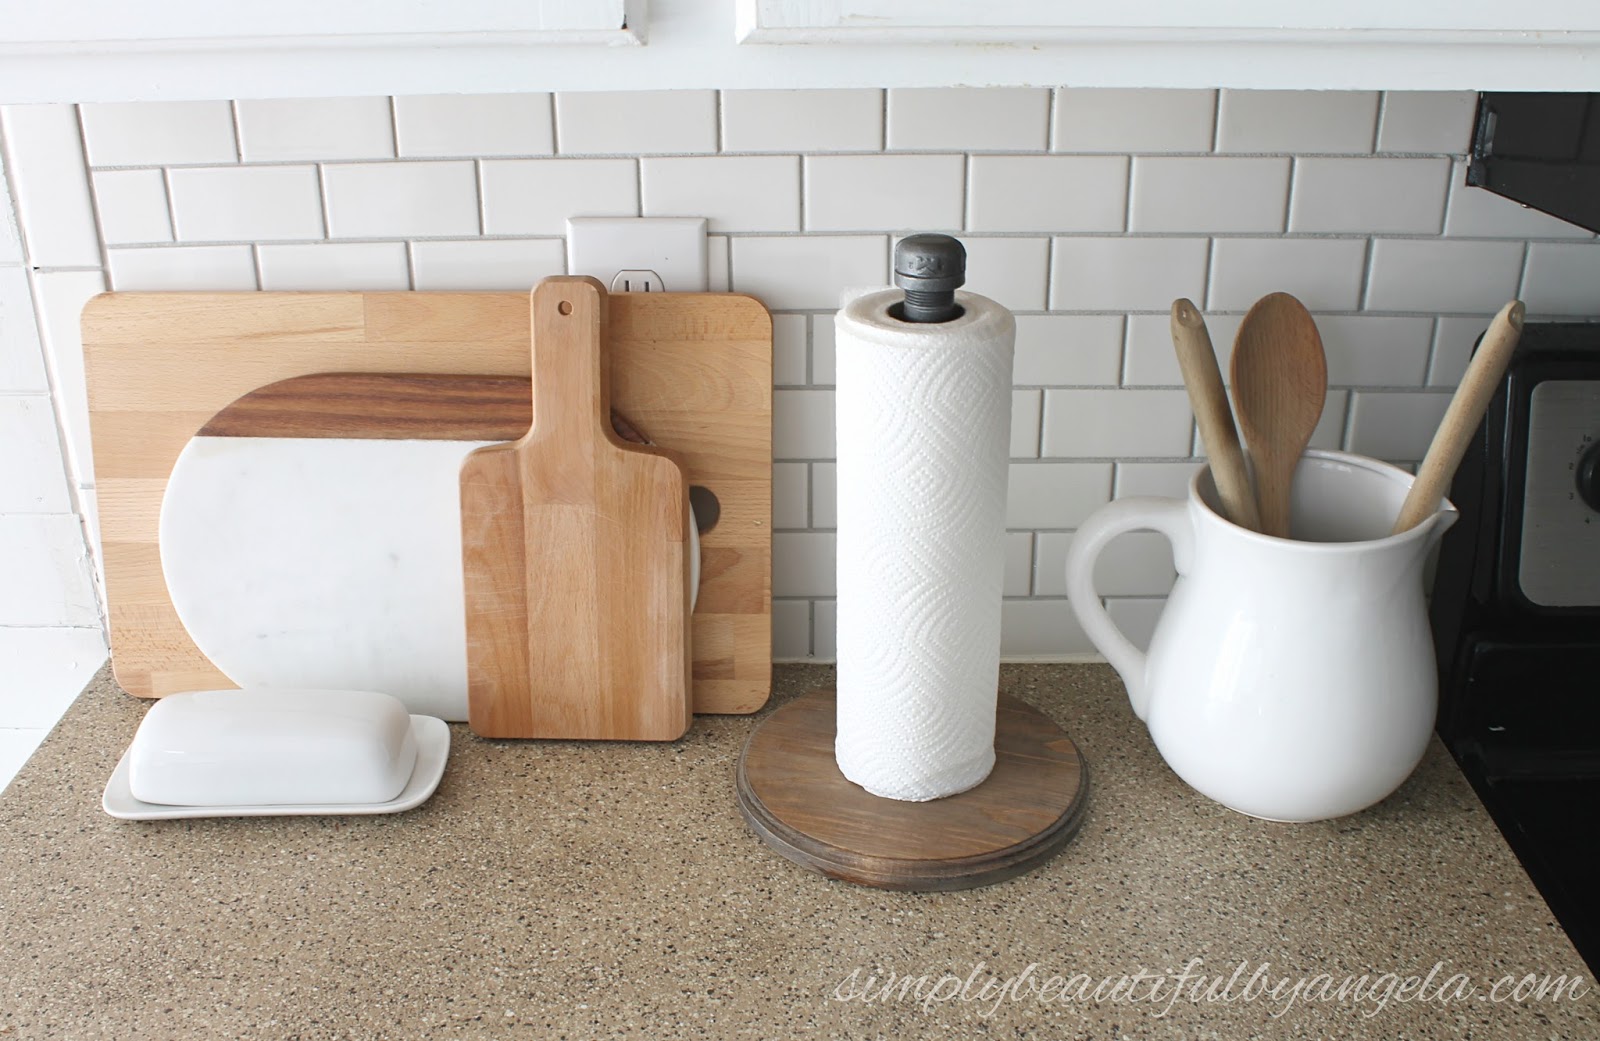
A few months ago I shared how I was slowly adding farmhouse accents to our kitchen. There was still one thing left that was just a big old thorn in my side–our paper towel holder.
I don’t actually have a picture of it because I took it out of every photo I’ve taken of our kitchen–it was that bad people!
But since a paper towel holder is a major kitchen essential, there it sat staring at me day after day.
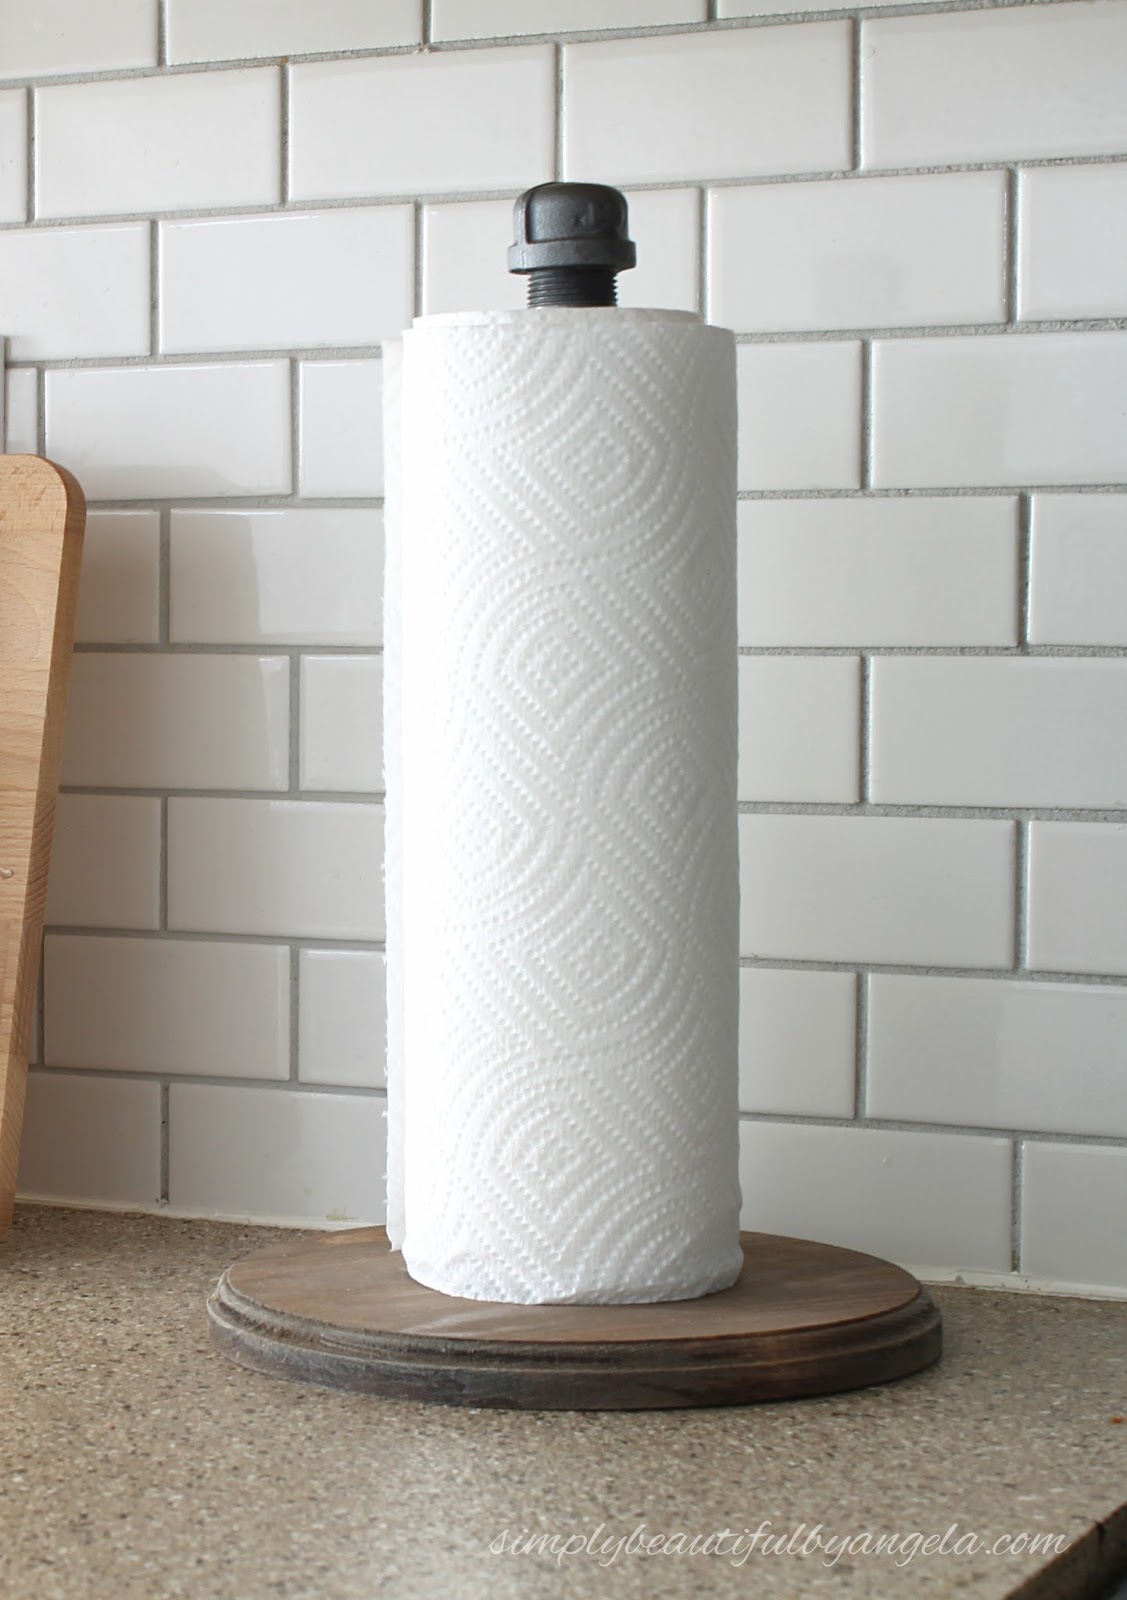
At last, I ran across this way awesome one that Taryn from Design, Dining and Diapers had made and was instantly inspired to create my own with just a couple of minor changes!
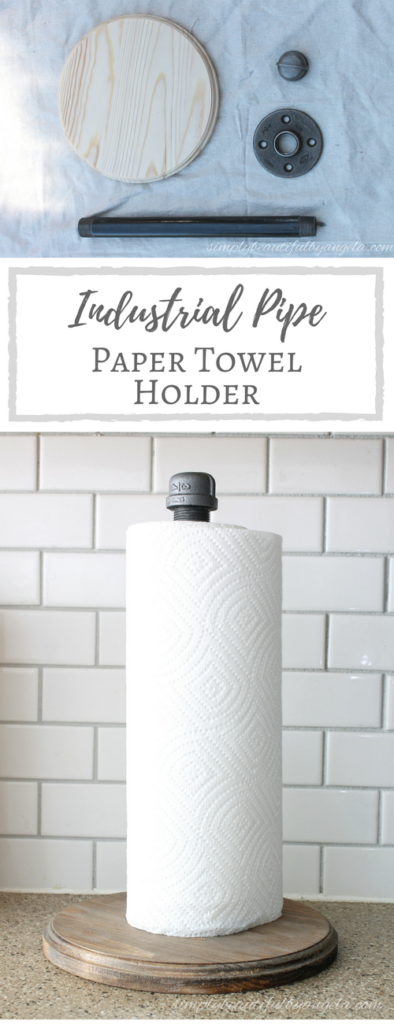
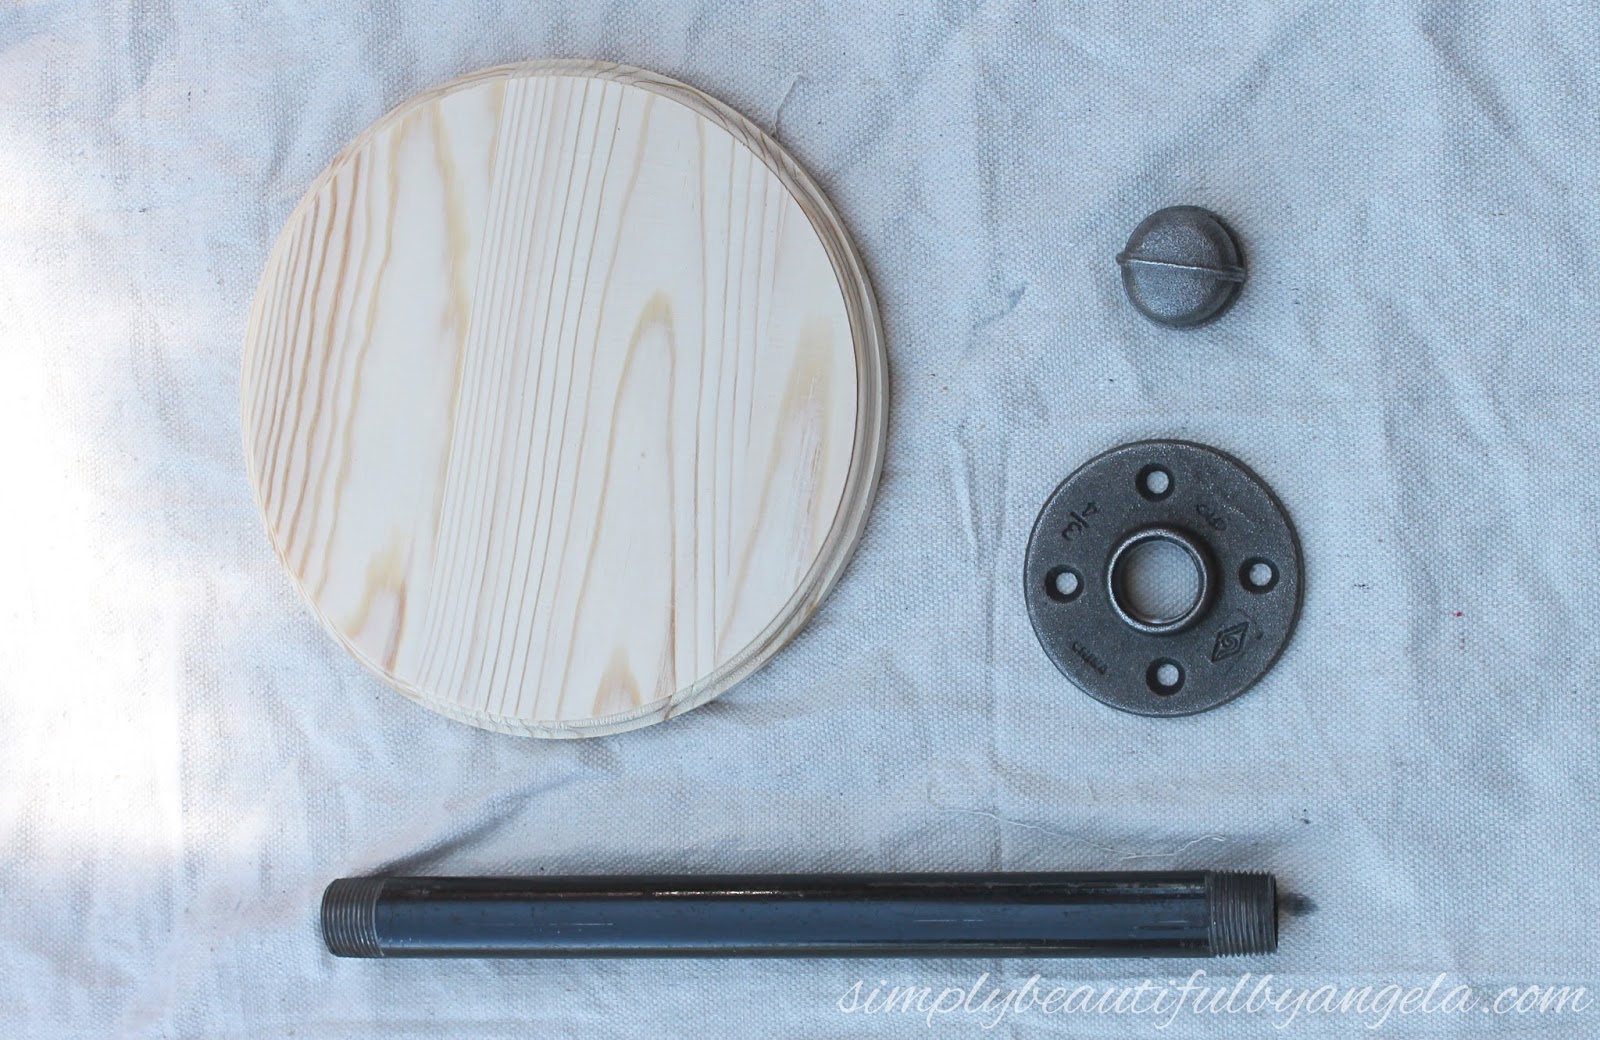
Supplies Used: (Affiliate links may be provided for convenience. For more info, see my full disclosure here.)
- 12-in 3/4″ Nipple Fitting
- 3/4″ Floor Flange Fitting
- 3/4″ Cap Fitting
- Rust-Oleum Spray Paint in Weathered Steel
- Krylon Crystal Clear Acrylic Spray
- 8″ Pine Circle
- Minwax Wood Stain in Provincial
- White Paint
- Minwax Helmsman Spar Urethane Semi-Gloss
- Screws
If you don’t have a Lowes nearby you can also find pipe parts on Amazon!
The first thing that I did was wash my pipe parts since they were SUPER dirty! I scrubbed them down with some dish soap and then dried them off.
I found it easiest to spray paint while the pipes were assembled because I could get all of the angles at once. The pieces are so easy to put together that a 3 year old can do it. Literally!
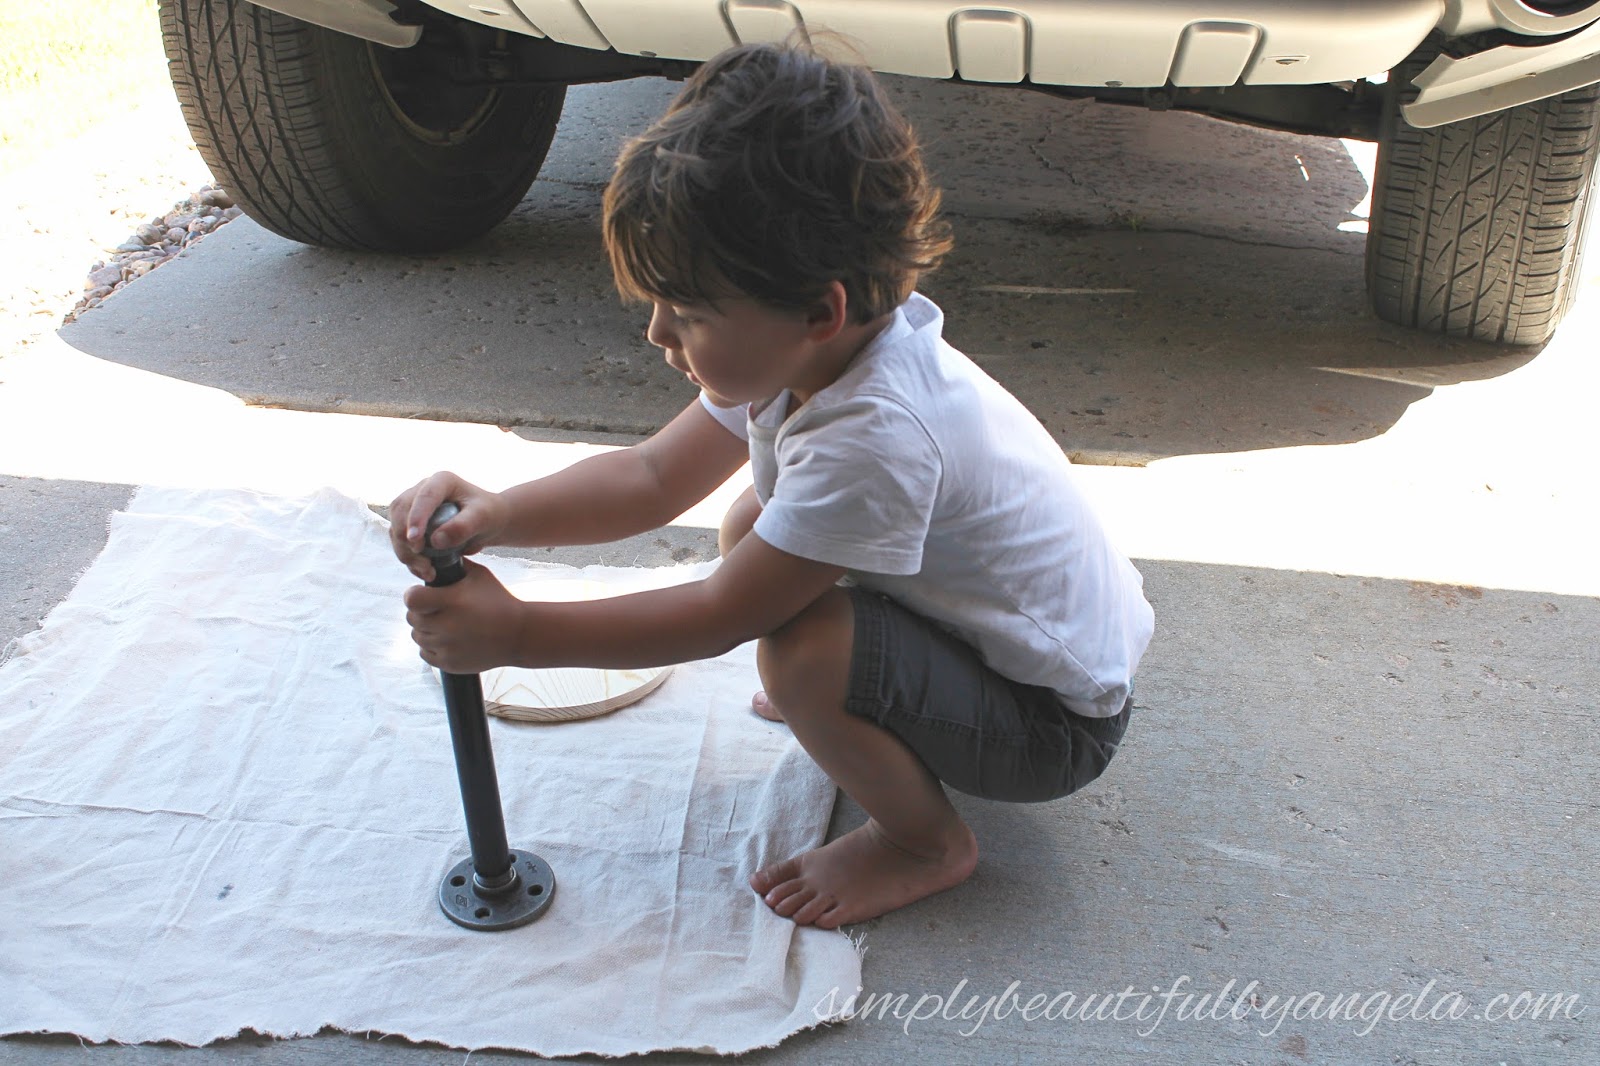
My little cutie had so much fun working on this project with me.
I gave the whole thing a coat of Rust-Oleum Spray Paint in Weathered Steelwhich is one of my favorite go-to spray paints.
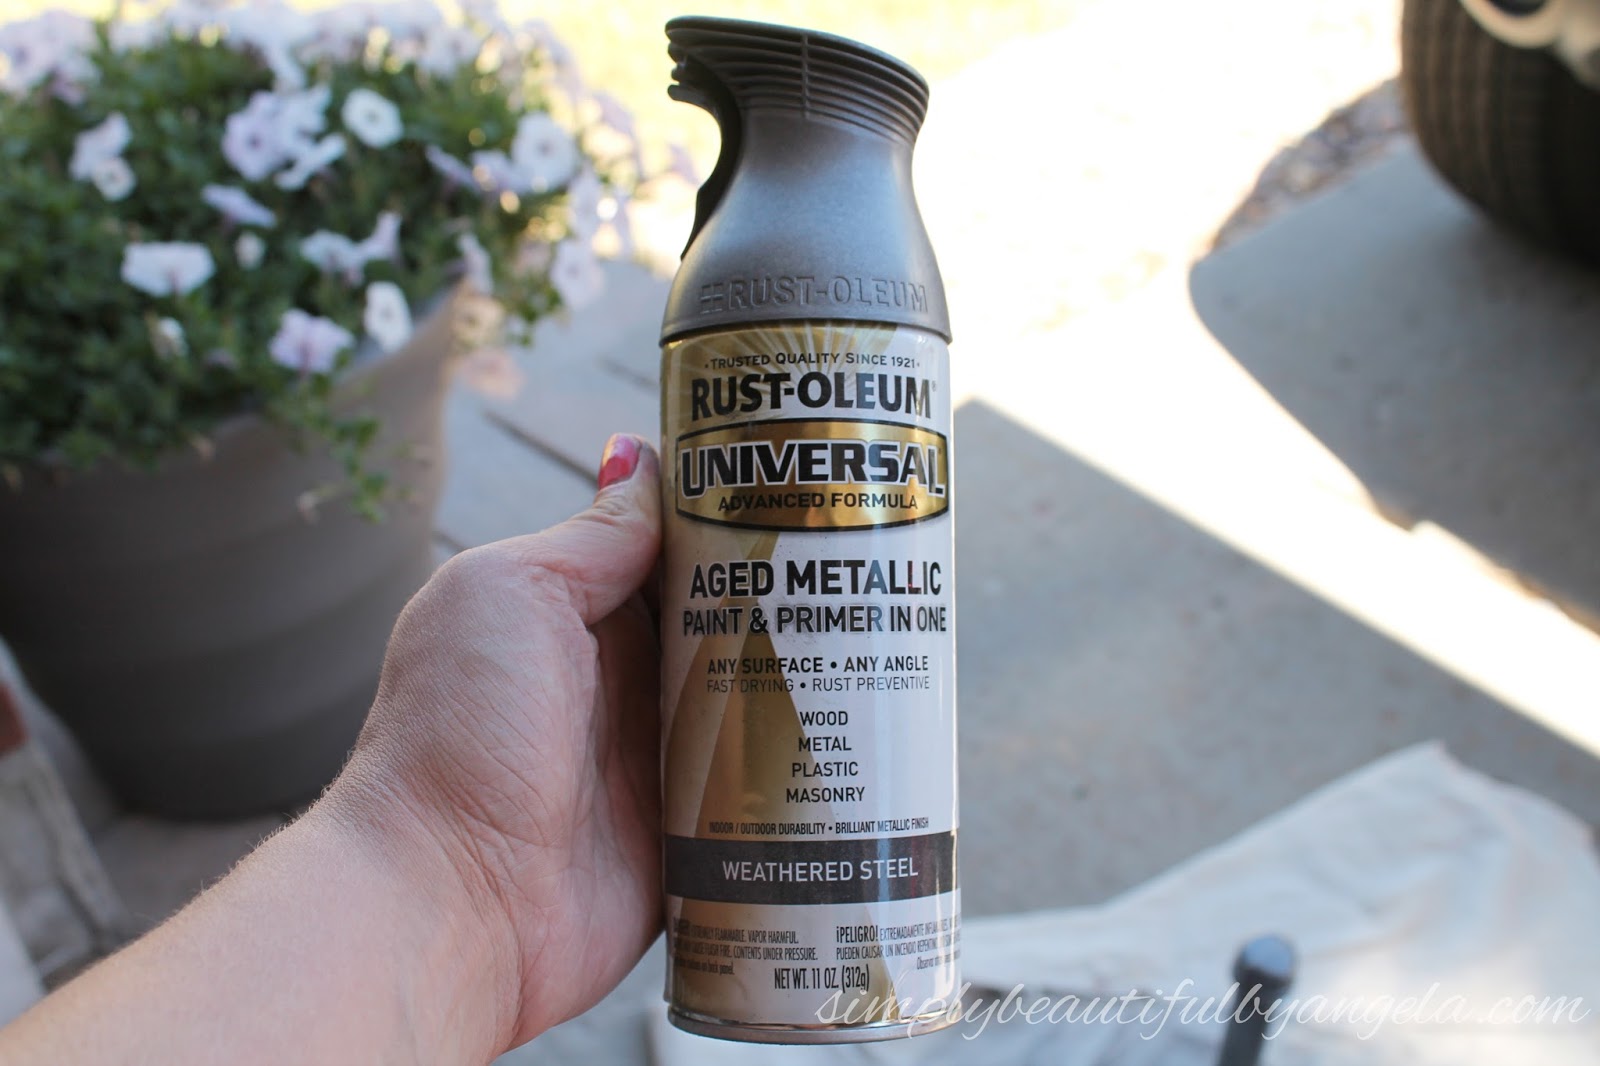
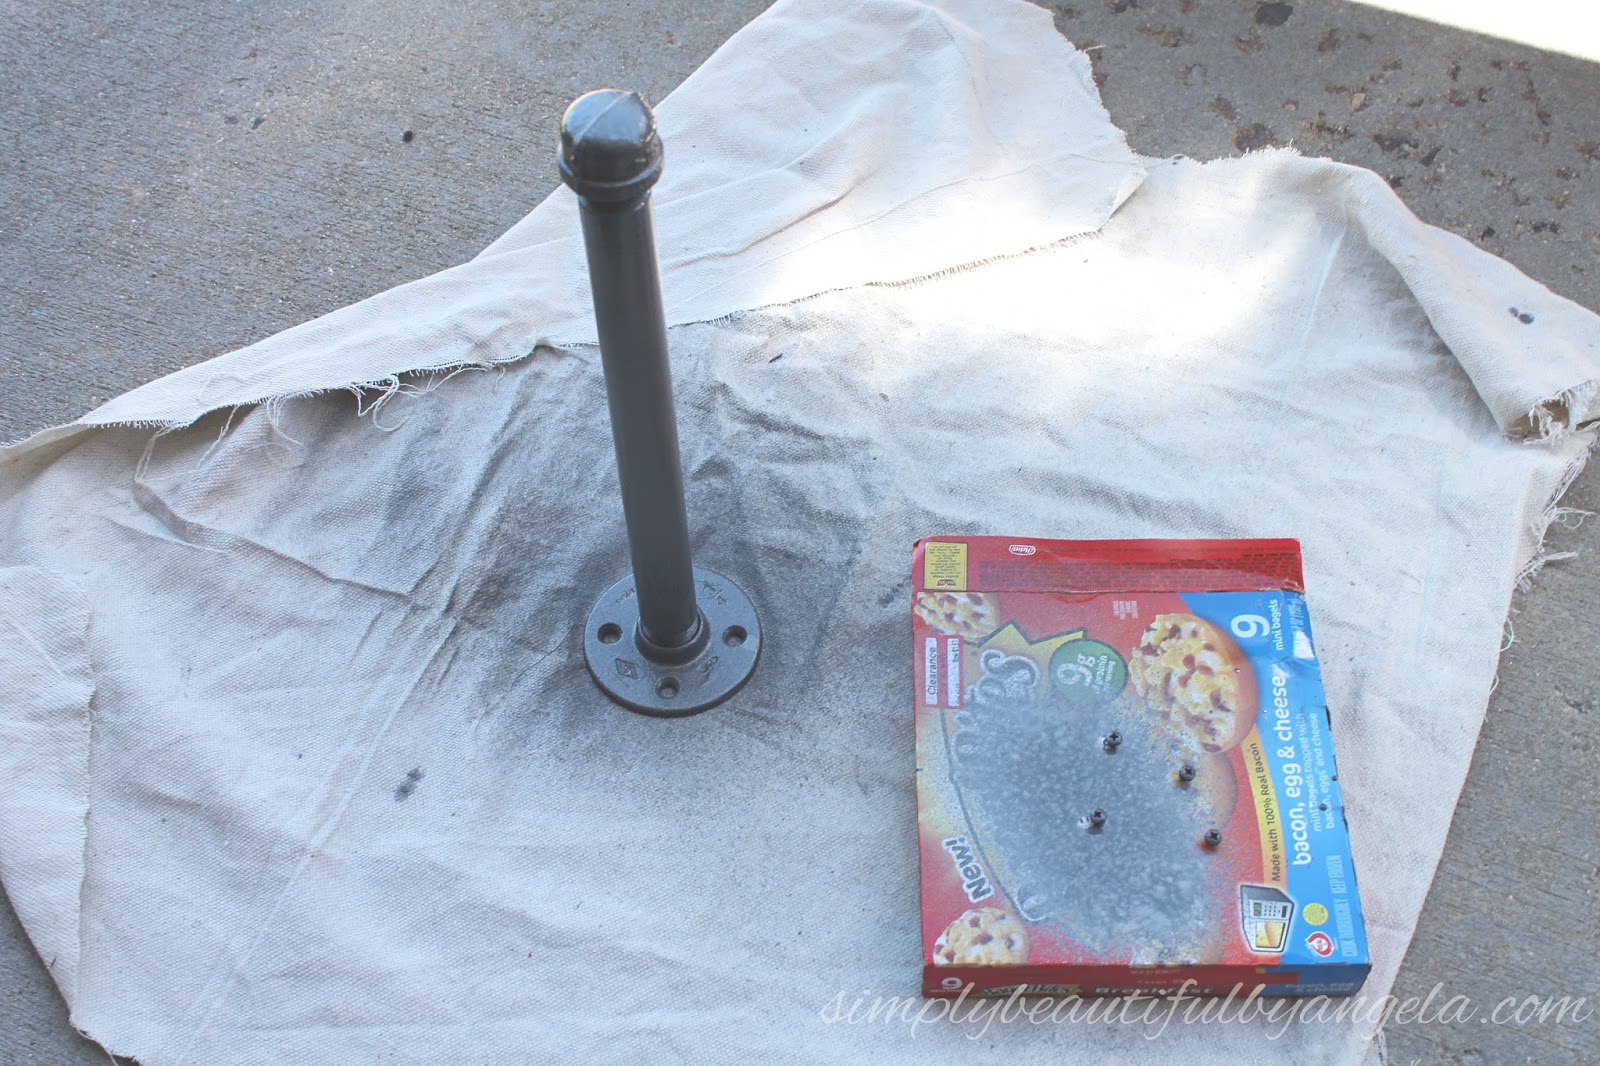
I also spray painted 4 screws for the flange even though they are hidden once the paper towels are on. The perfectionist in me couldn’t resist!
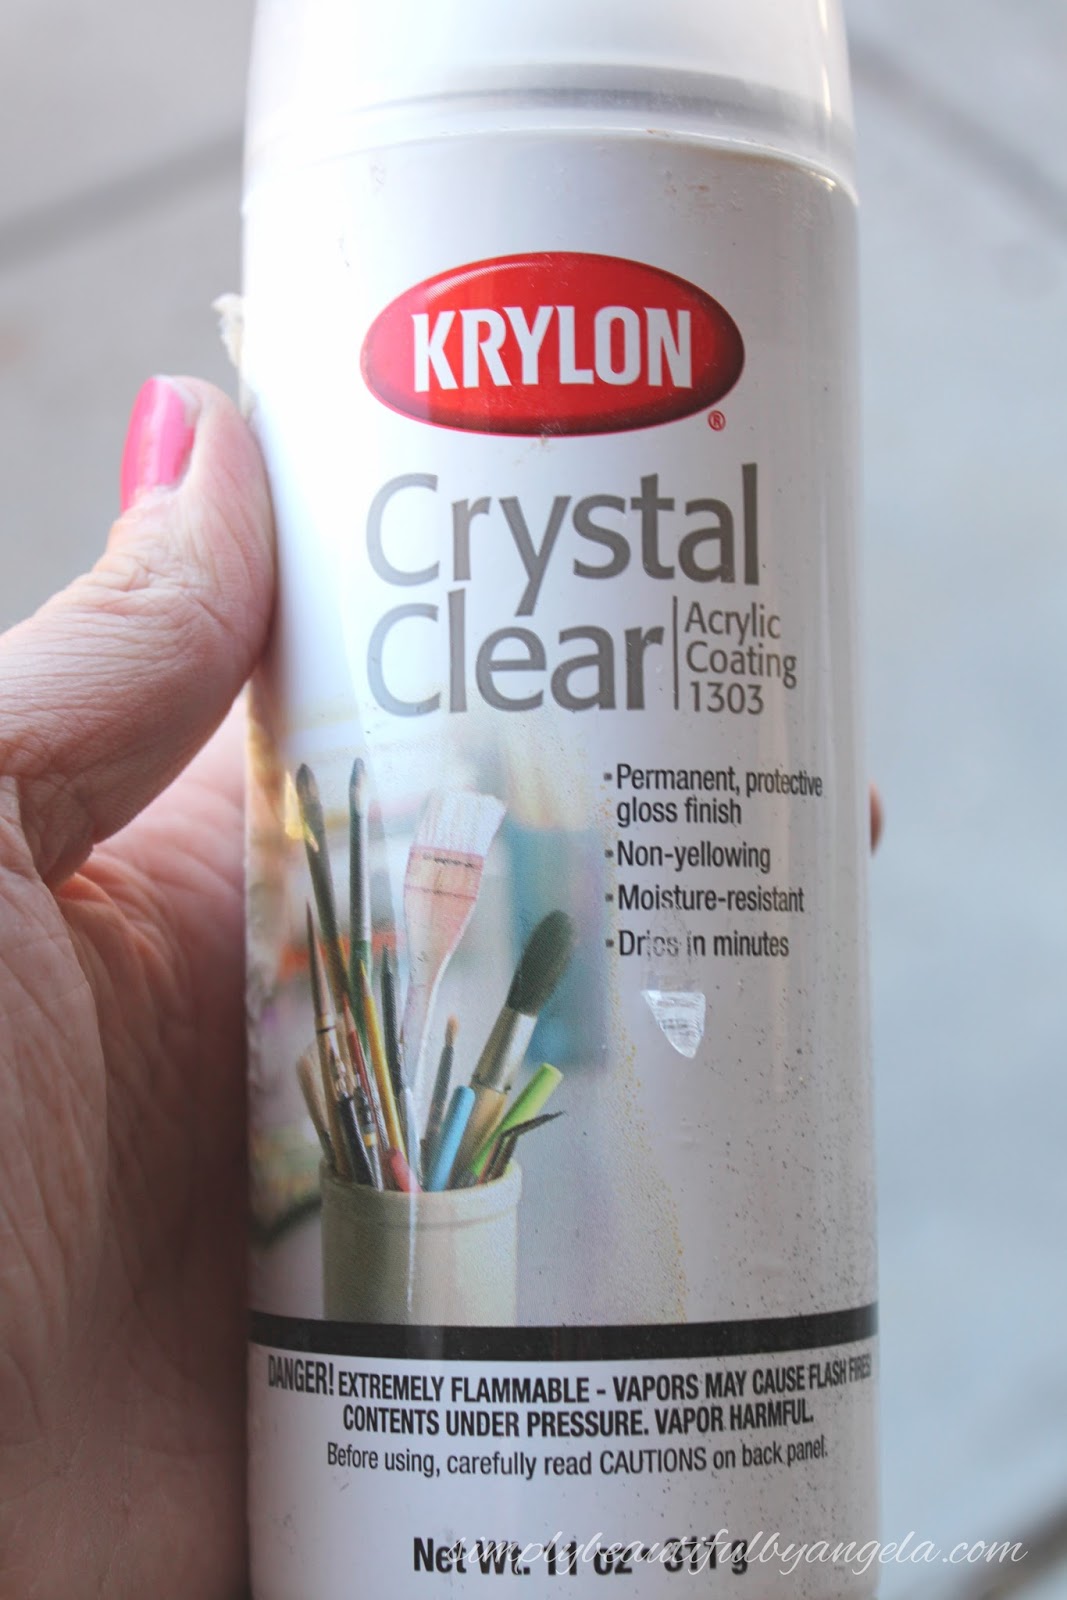
I then sealed it with a coat of Krylon Crystal Clear Acrylic Spray once it was dry.
While that was drying I stained my wood circle.
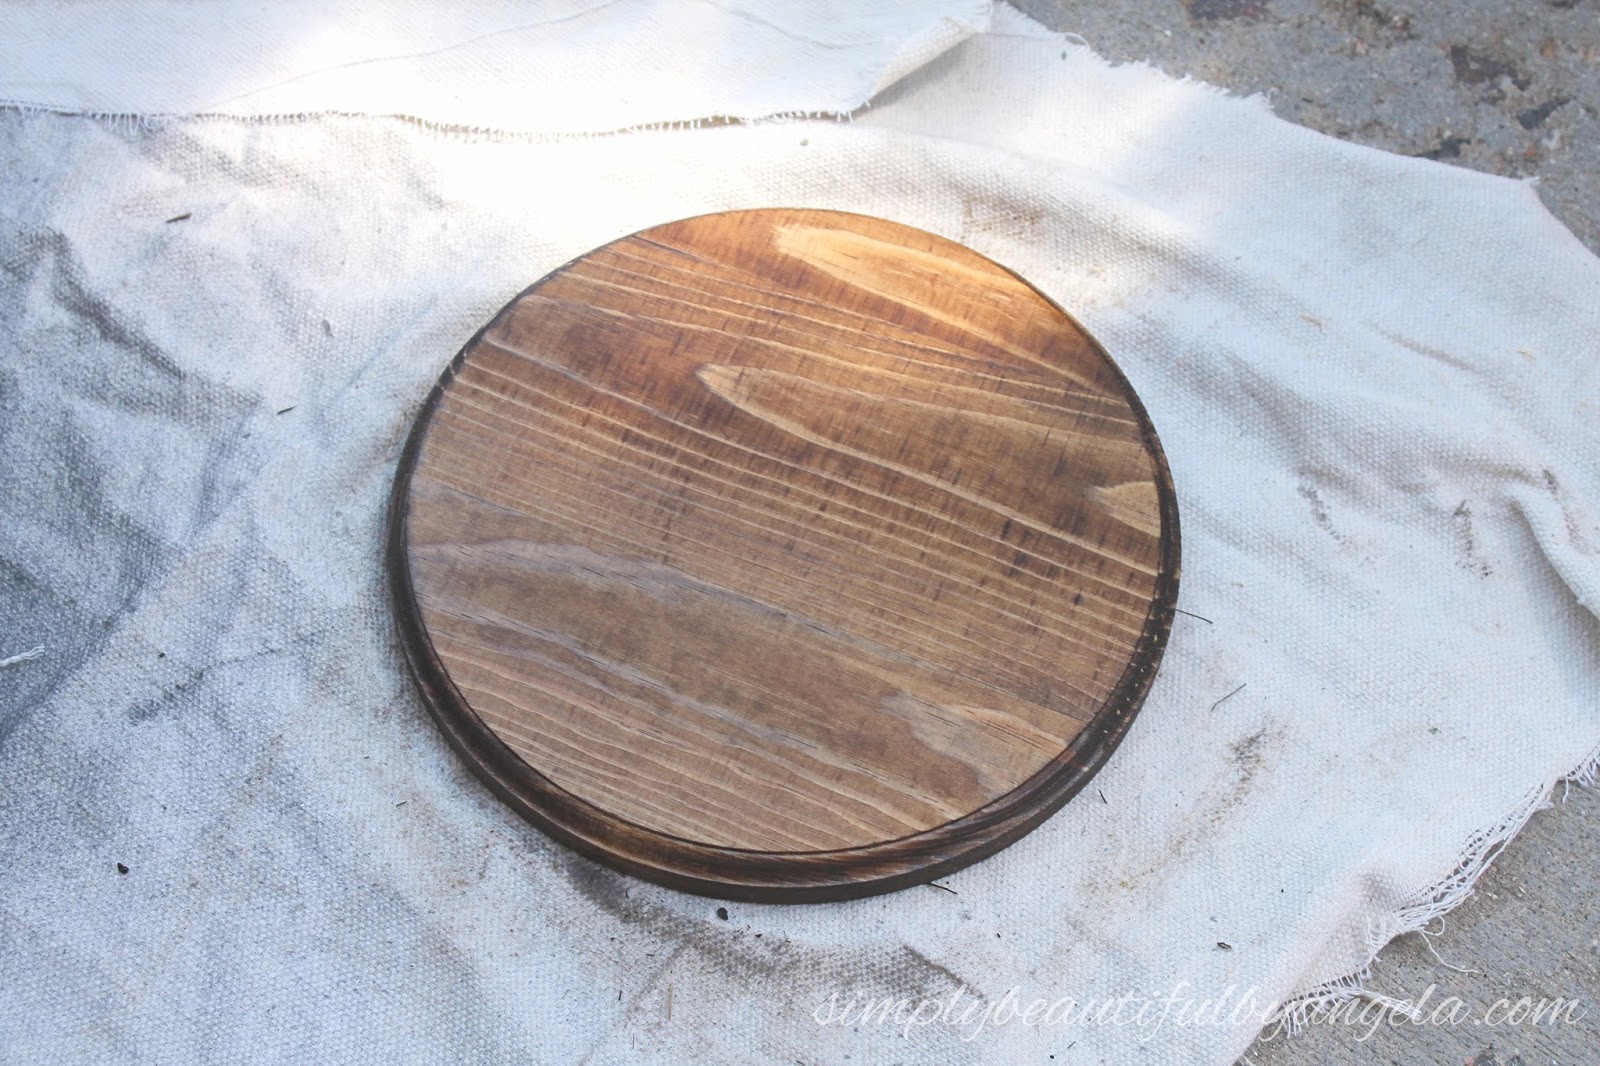
I wanted the wood to have an aged effect so I applied a couple coats of white wash (watered down paint) once the stain was dry.

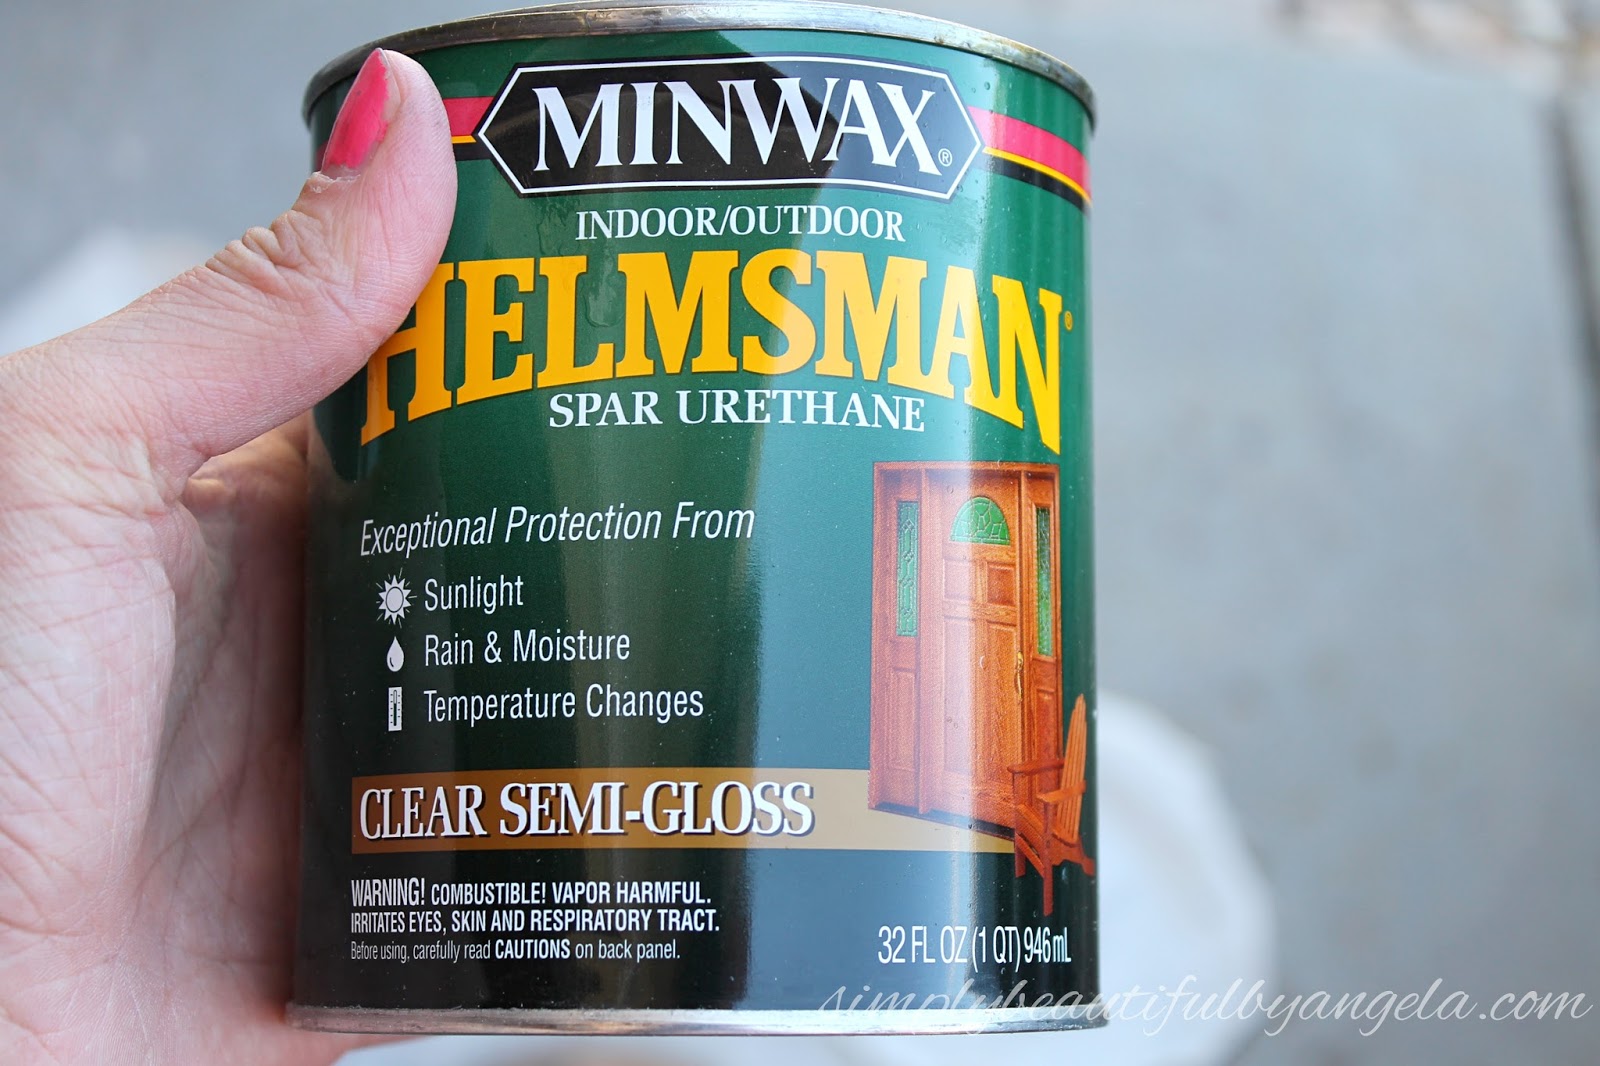
Since this is going near the sink I protected the wood with some Minwax Helmsman Spar Urethane. You could also use polyutherane or polycryclic, this is just what I had on hand!
Once everything was dry I was ready to assemble! I measured and marked the center of the wood circle and then lined up the flange in this spot before screwing it on.

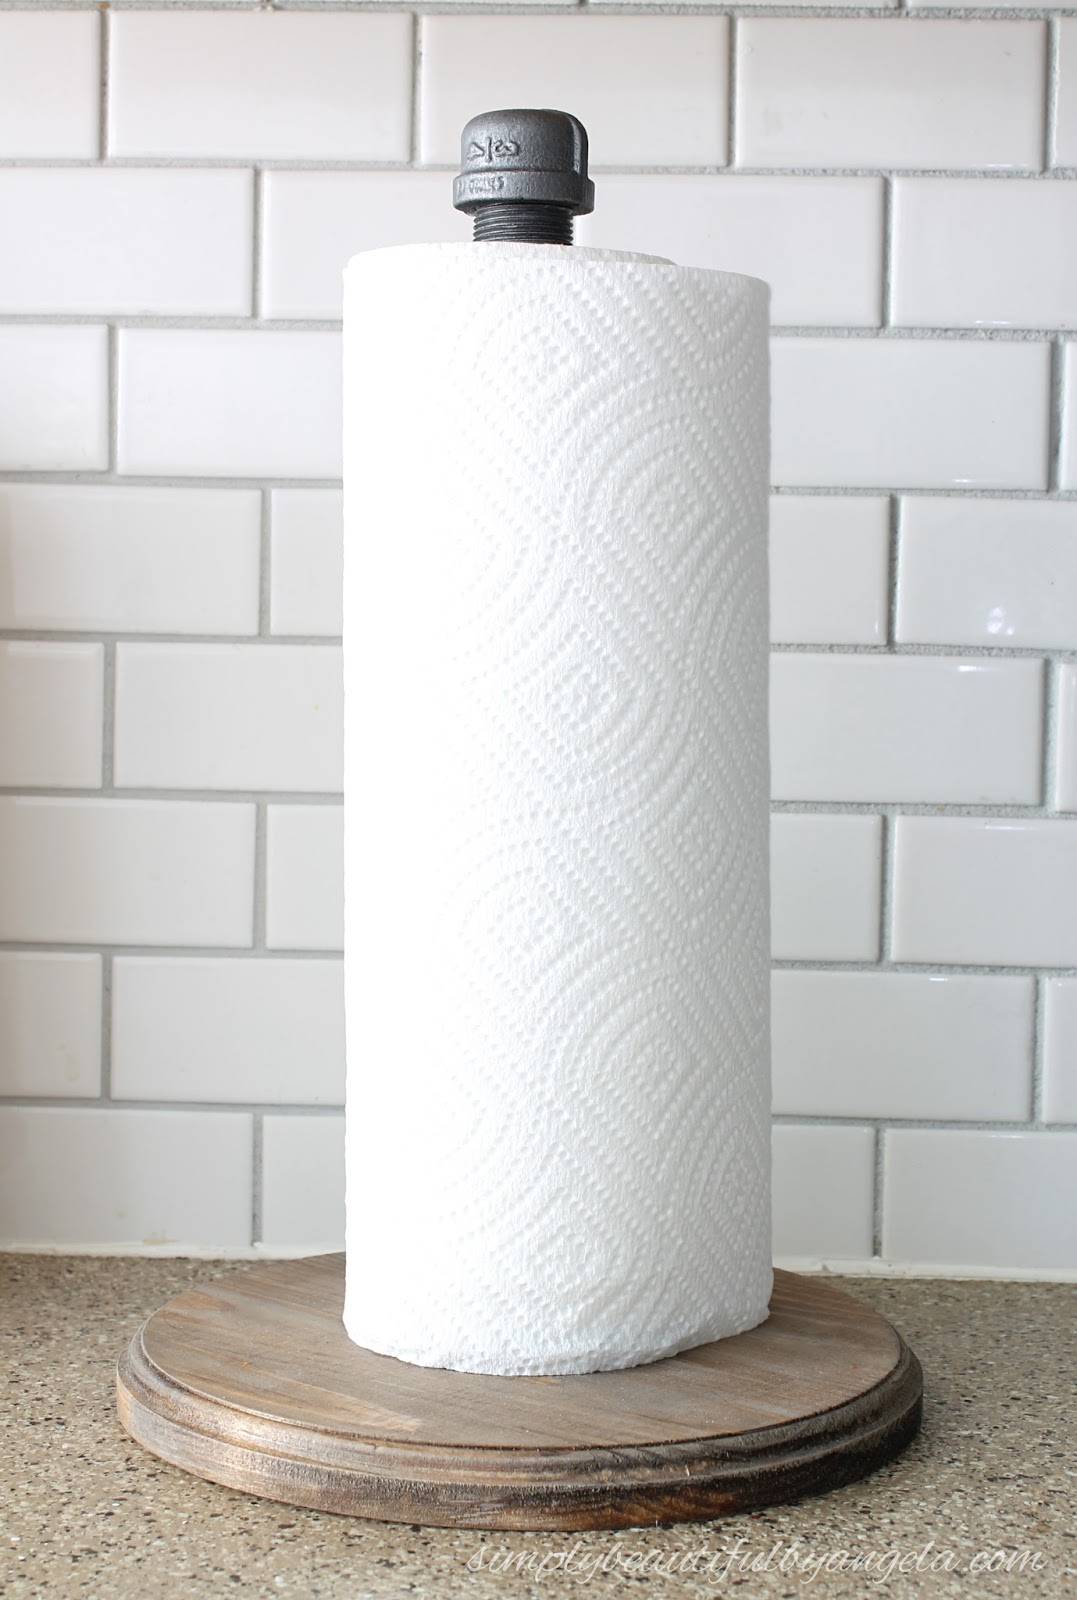
After screwing on the pipe and cap I was done!
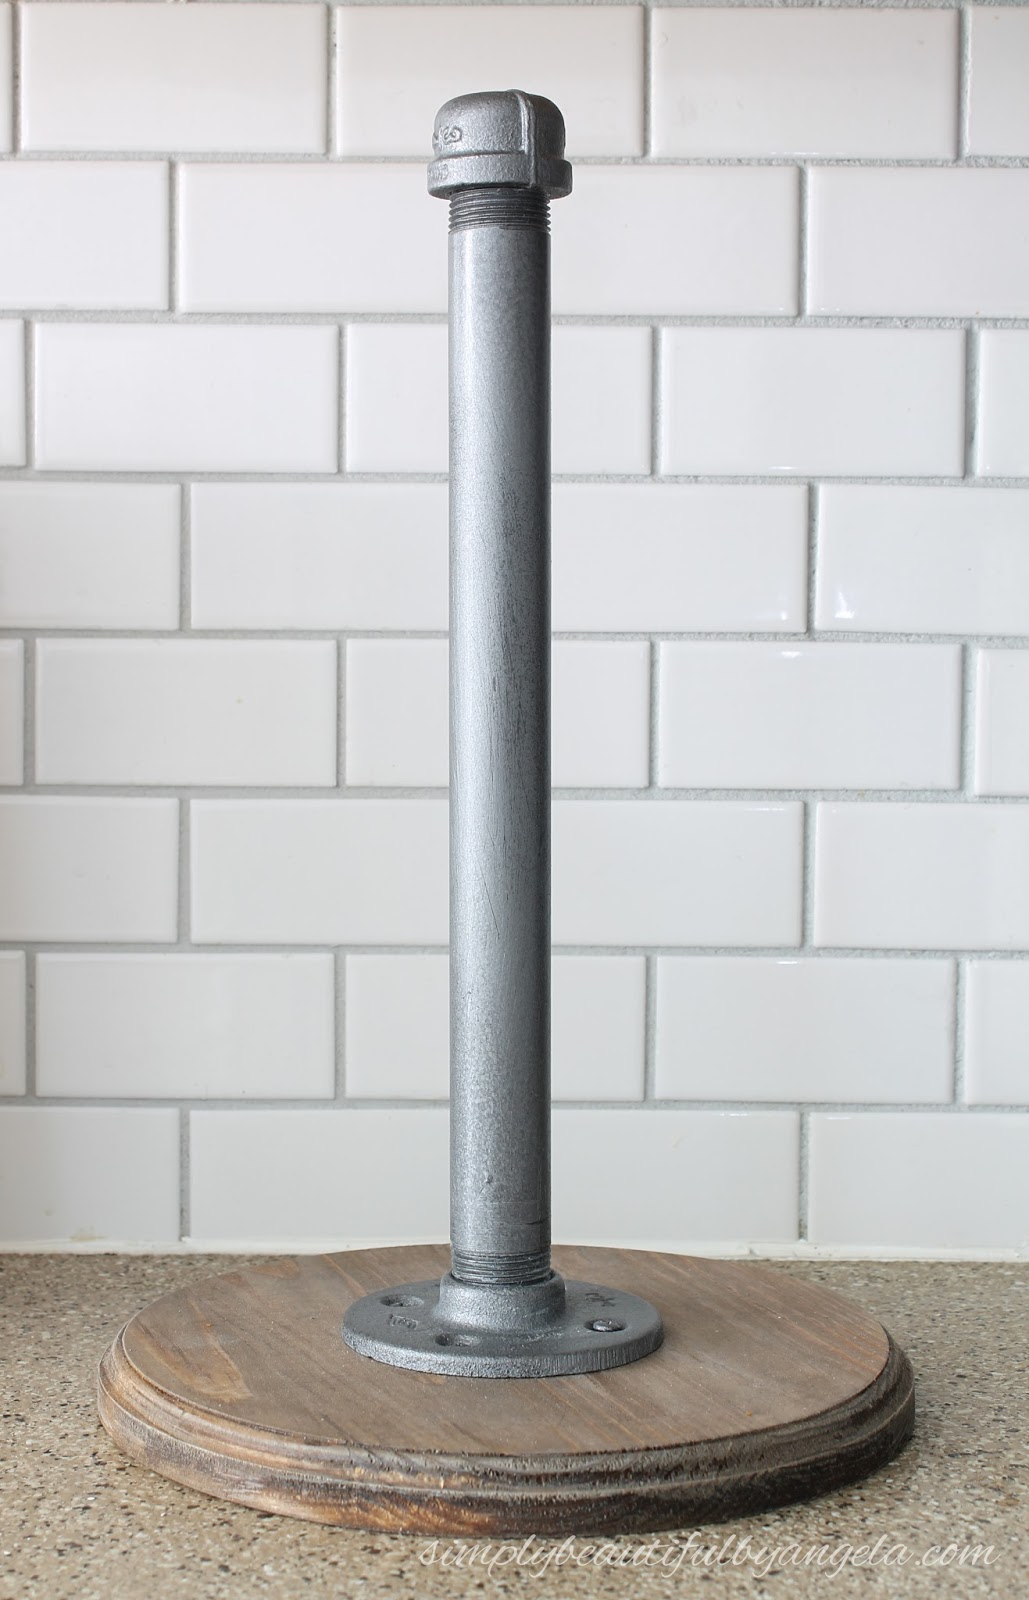
Although I loved how the other version looked I decided that I didn’t want to have to take anything off each time I refill the paper towels so I opted for a cap fitting on top instead of the tee fitting. The roll just slides right on and it’s so convenient!
Since pipe parts aren’t exactly cheap this wasn’t the most inexpensive project ever, but for a little under $20 I’m super happy with how it looks in our kitchen.
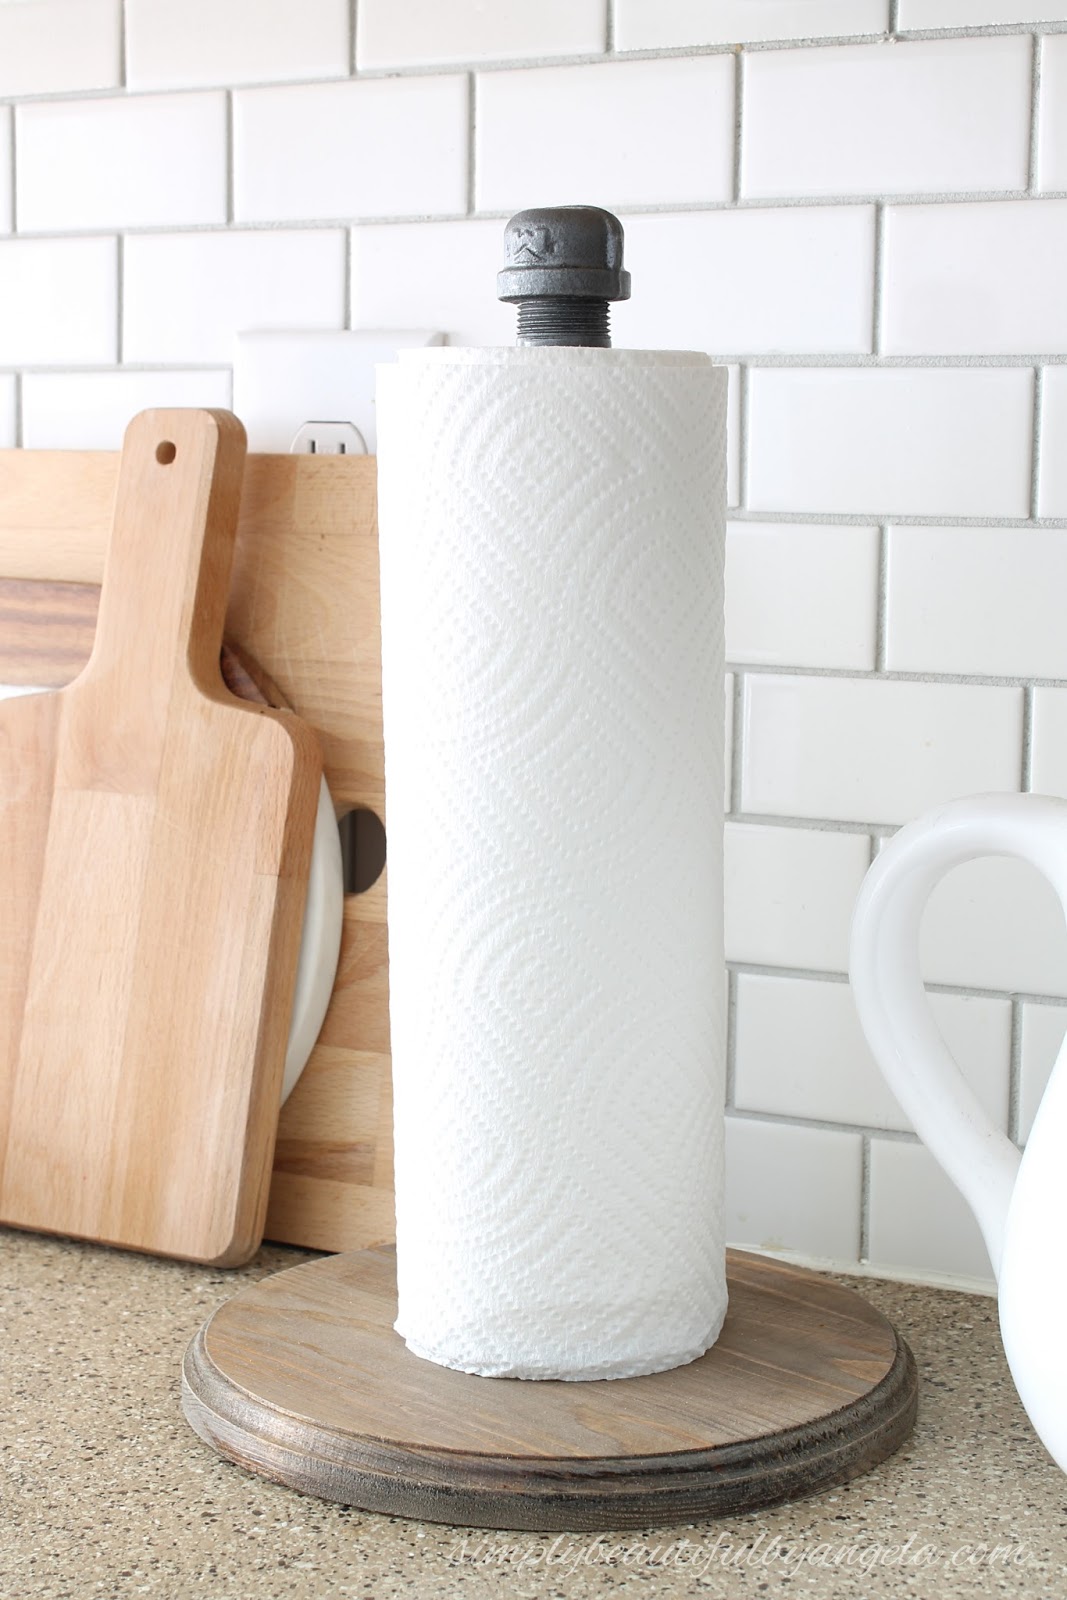
The industrial feel that it has fits in perfectly with the rest of the farmhouse kitchen accents.
If you like how this turned out be sure to check out my other pipe projects!


I’ll be back on Thursday to share a fun flip project for this month’s Thrift Store Décor Upcycle Challenge! See you all then 🙂
