Hello friends and happy Friday!
You guys, I am SO excited to share today’s post. Let me tell you why.
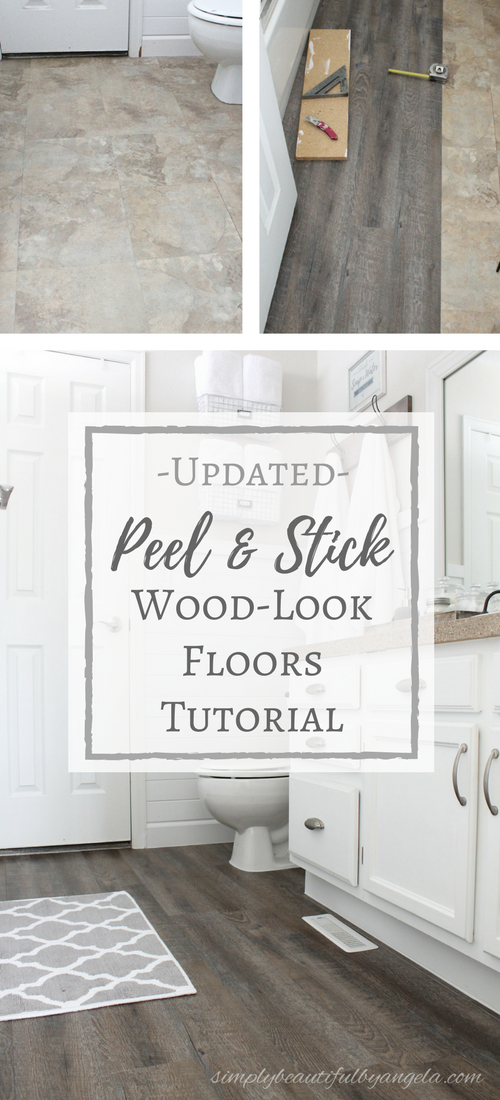
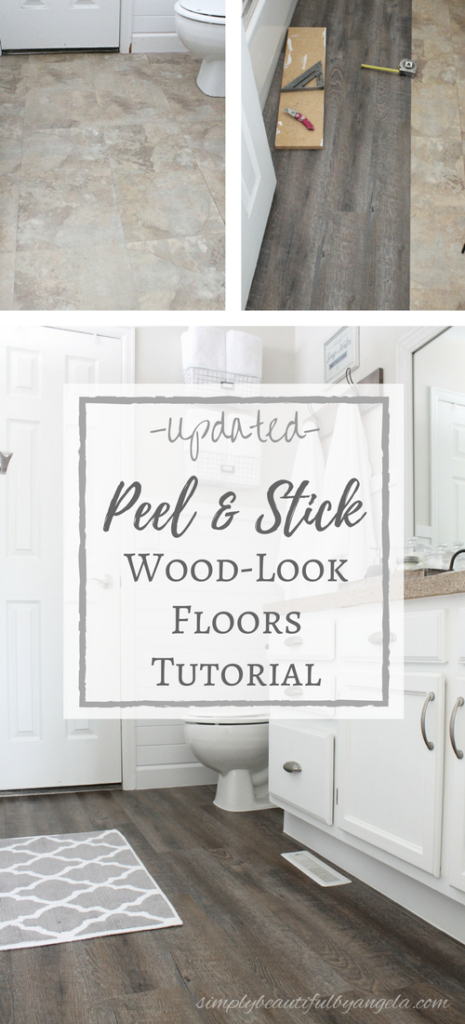
You may remember how I covered up our old guest bathroom flooring awhile back with these super awesome peel and stick planks that look like weathered wood.

Since sharing that post I have gotten a bunch of super sweet comments on them. I’ve also received several questions about the install process.
When I put them in our master bathroom this past spring I took the opportunity to take more (and better!) pictures so that I could do a more in depth tutorial for you all.
Today I am finally going to share it!
Before we get started, there are just a couple of things that I want to address. I know, I know too much talking on a blog post gets boring REAL quick but these are really important questions that I’ve come across so I want to answer for everyone.
1. What can they be installed over?
This question comes up a lot and although I am no expert I think that the existing surface needs to be pretty flat.
Our old flooring was another peel and stick type of flooring that the old owners had put down. They do have a slight raised texture to them that hasn’t been a problem. HOWEVER. There were several of them that were peeling up so I had to use liquid nails to glue them down before laying my new floors down.

The planks are pretty thin which is awesome when it comes to the ease of cutting but not so awesome if you try to put them over tile that has deep grout lines because I am almost positive that they would show through. They are an excellent solution for covering up existing vinyl or linoleum but probably not tile.
2. How well have they held up?
Excellently! I am happy to report that they still look as great as the day we installed them. And that is despite having these two routinely splash bath water (among other liquids…) on them!


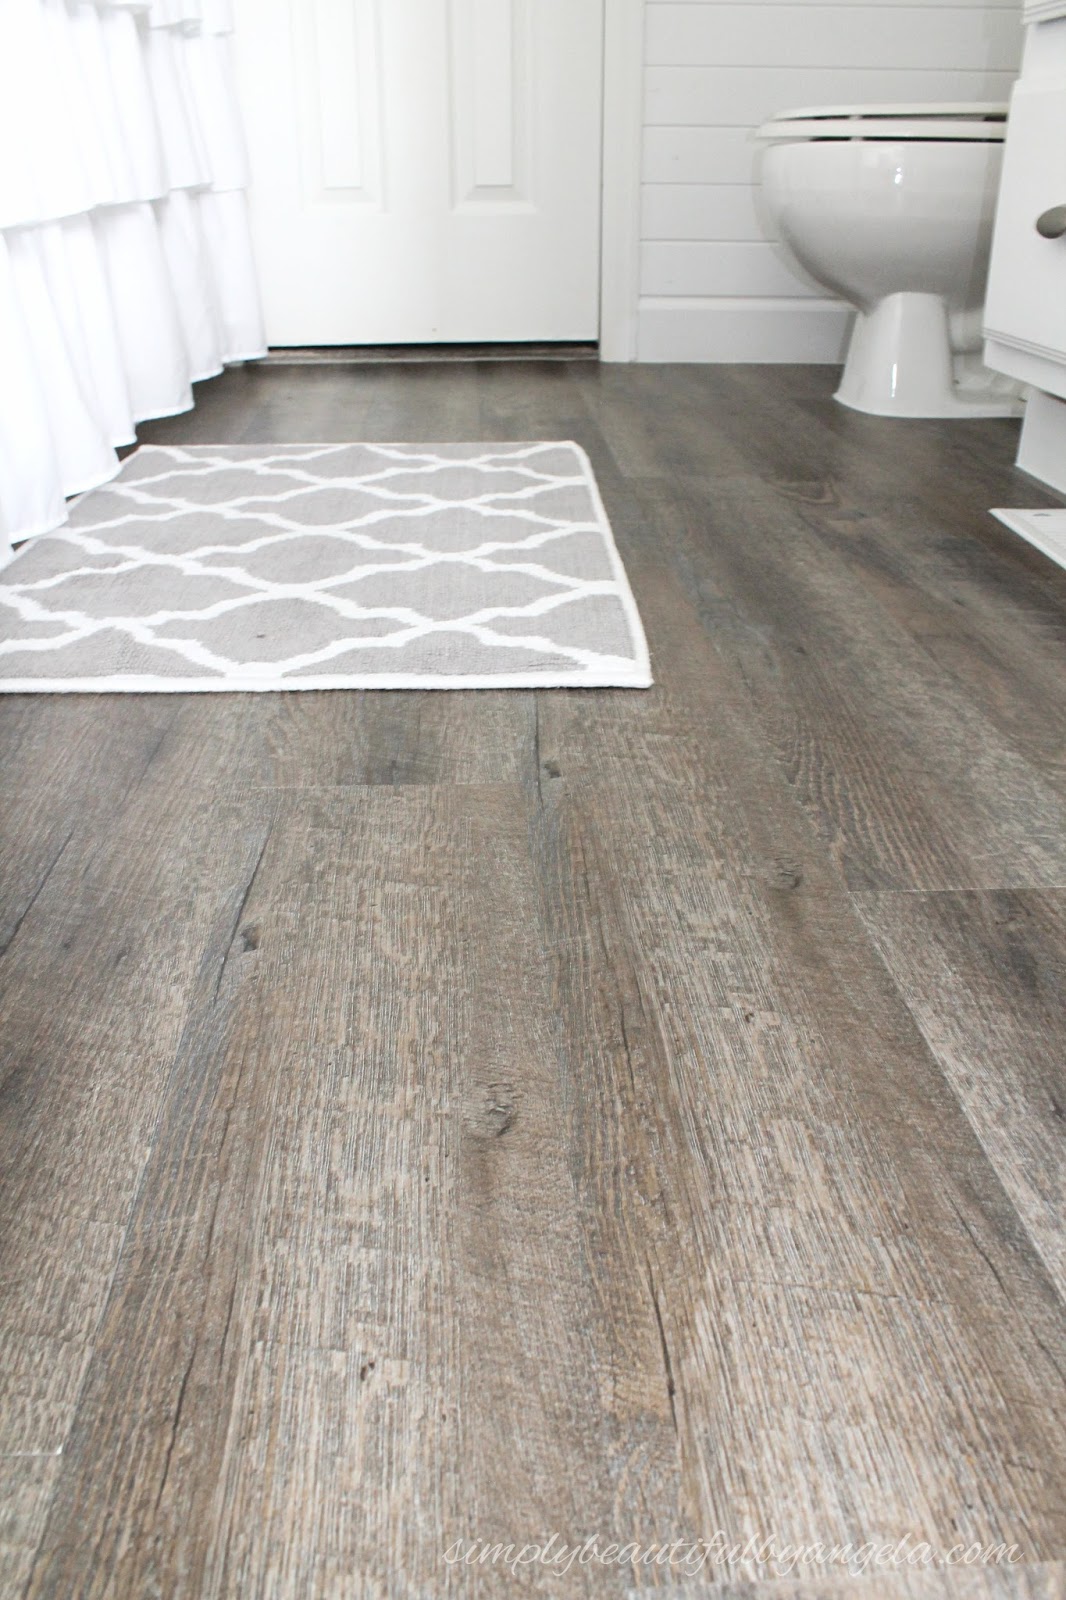
3. How realistic do they look?
At first glance it’s honestly hard to tell that they aren’t real wood. They also have a raised wood texture so they feel super neat on the feet!
Okay now that those questions are out of the way, let’s get started with the real fun!
Supplies Used: (Affiliate links may be provided for convenience. For more info, see my full disclosure here.)
- Style Selections Floor Planks from Lowes (similar on Amazon here
)
- Simple Green
- Sponge
- Rag
- Contour Gauge
- Utility Knife
- Tape Measure
- Carpenters Triangle
(for cutting straight edges)
- Wood Rolling Pin
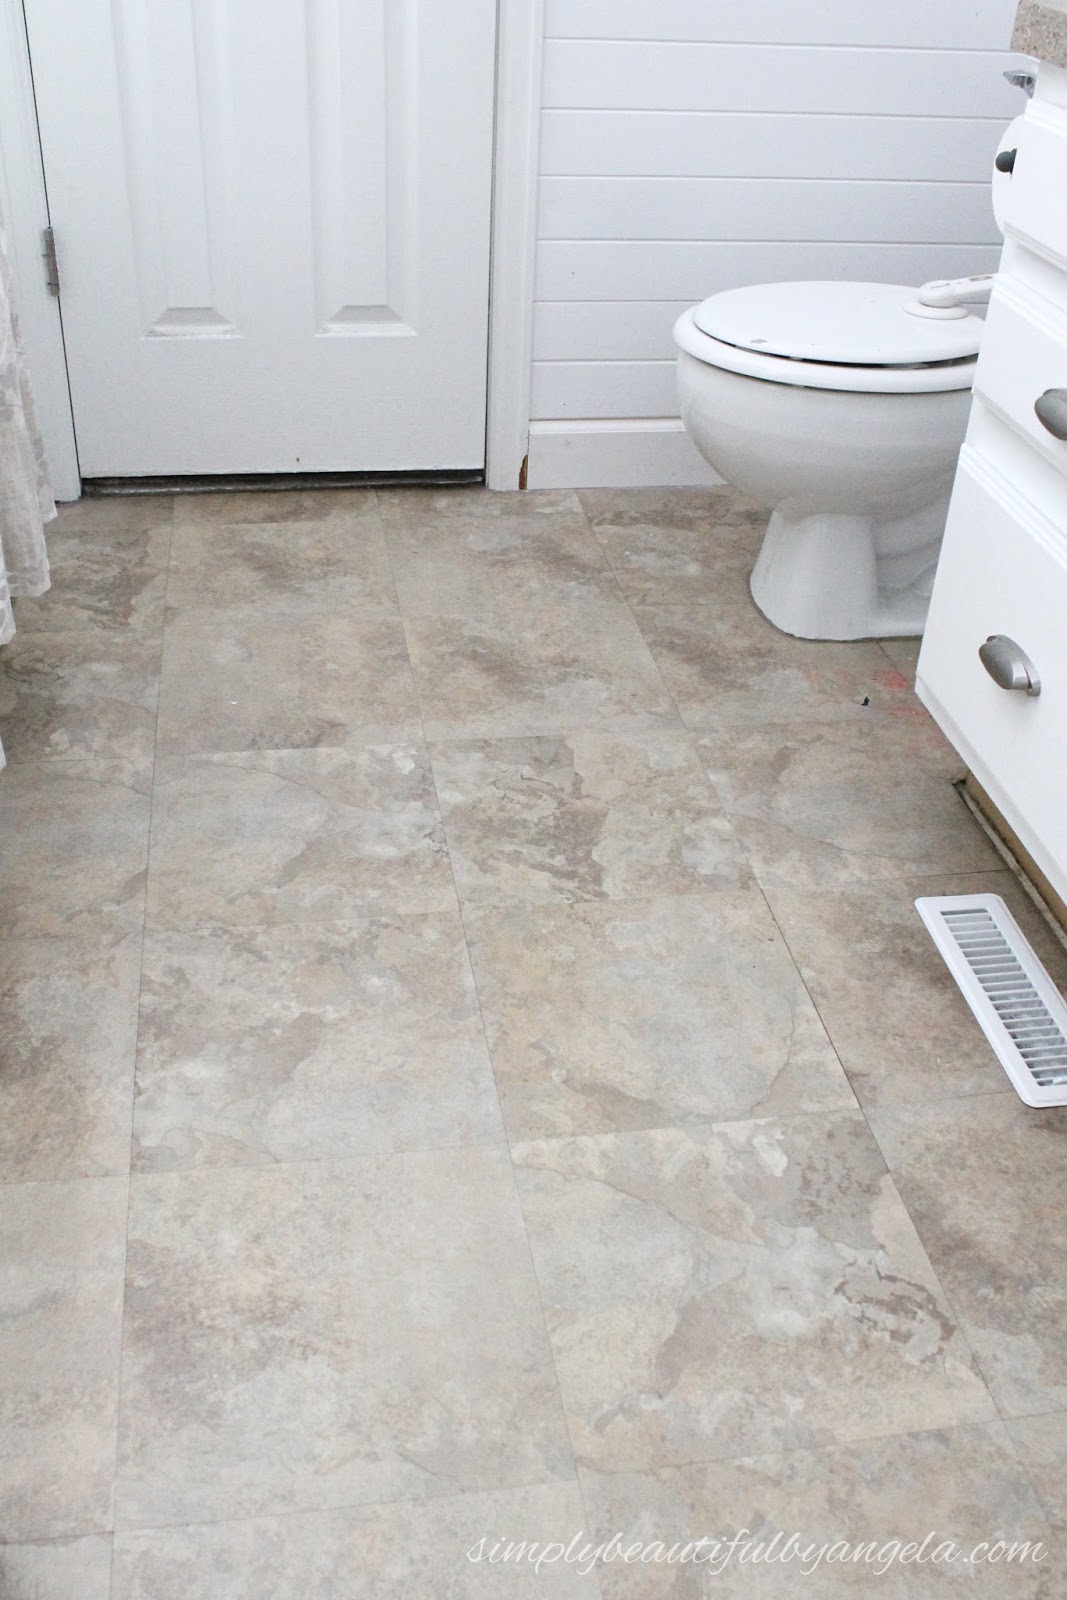
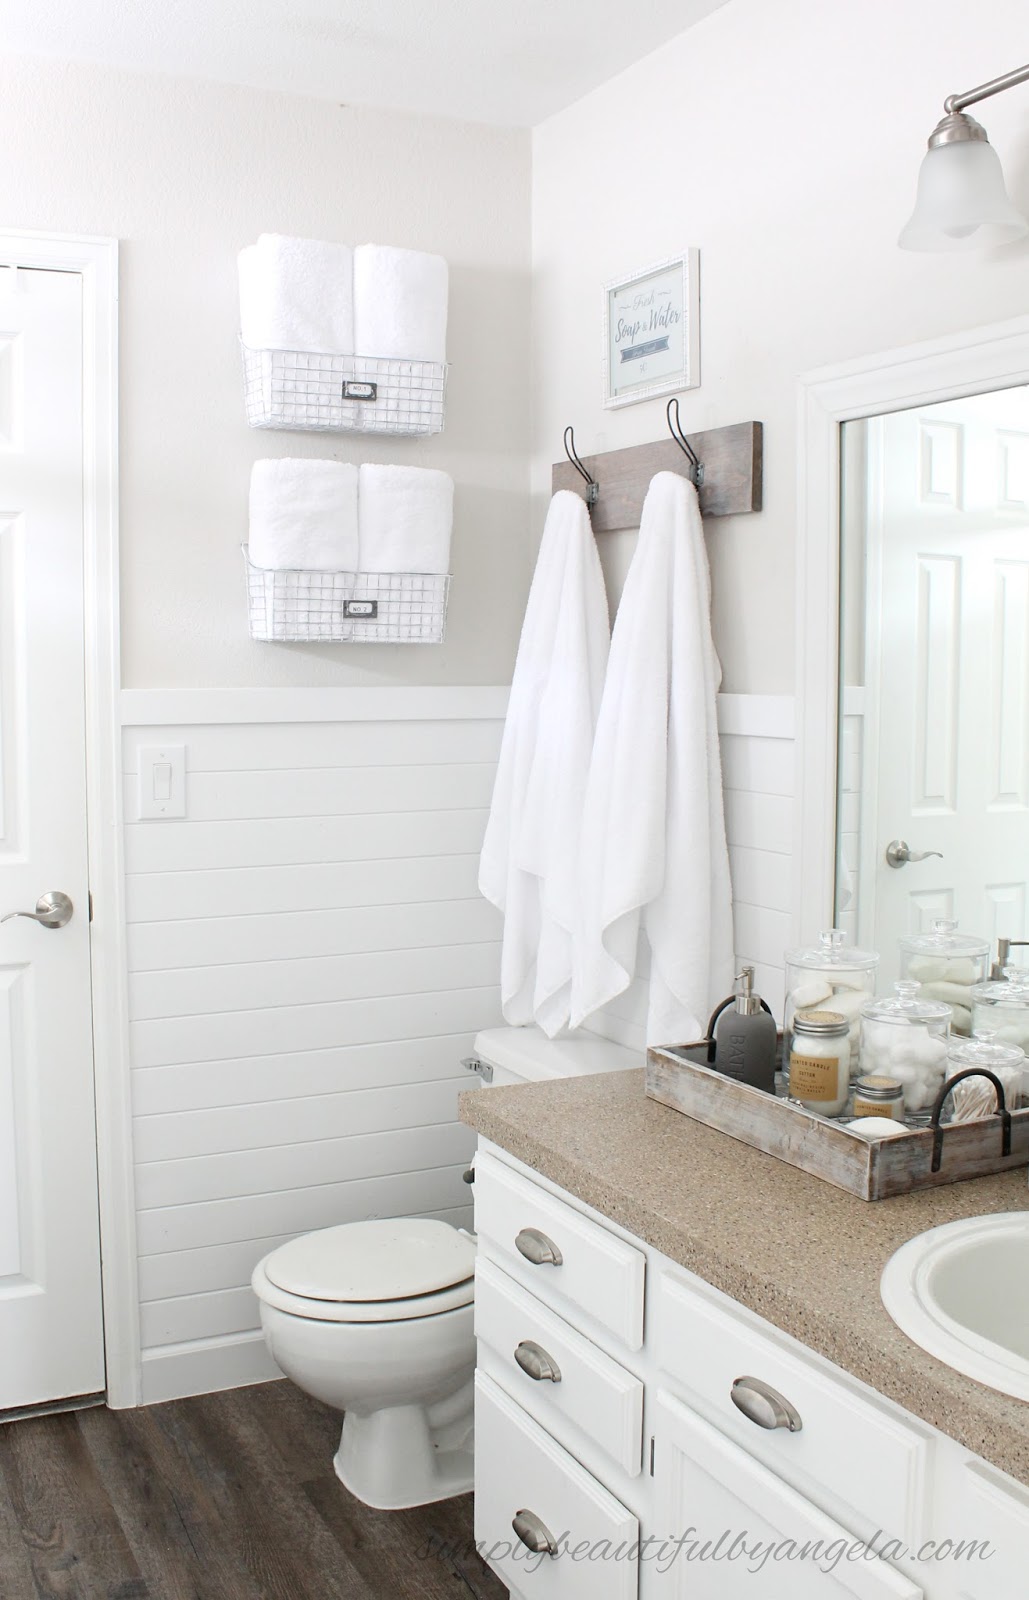
This is what the master bathroom flooring looked like originally.

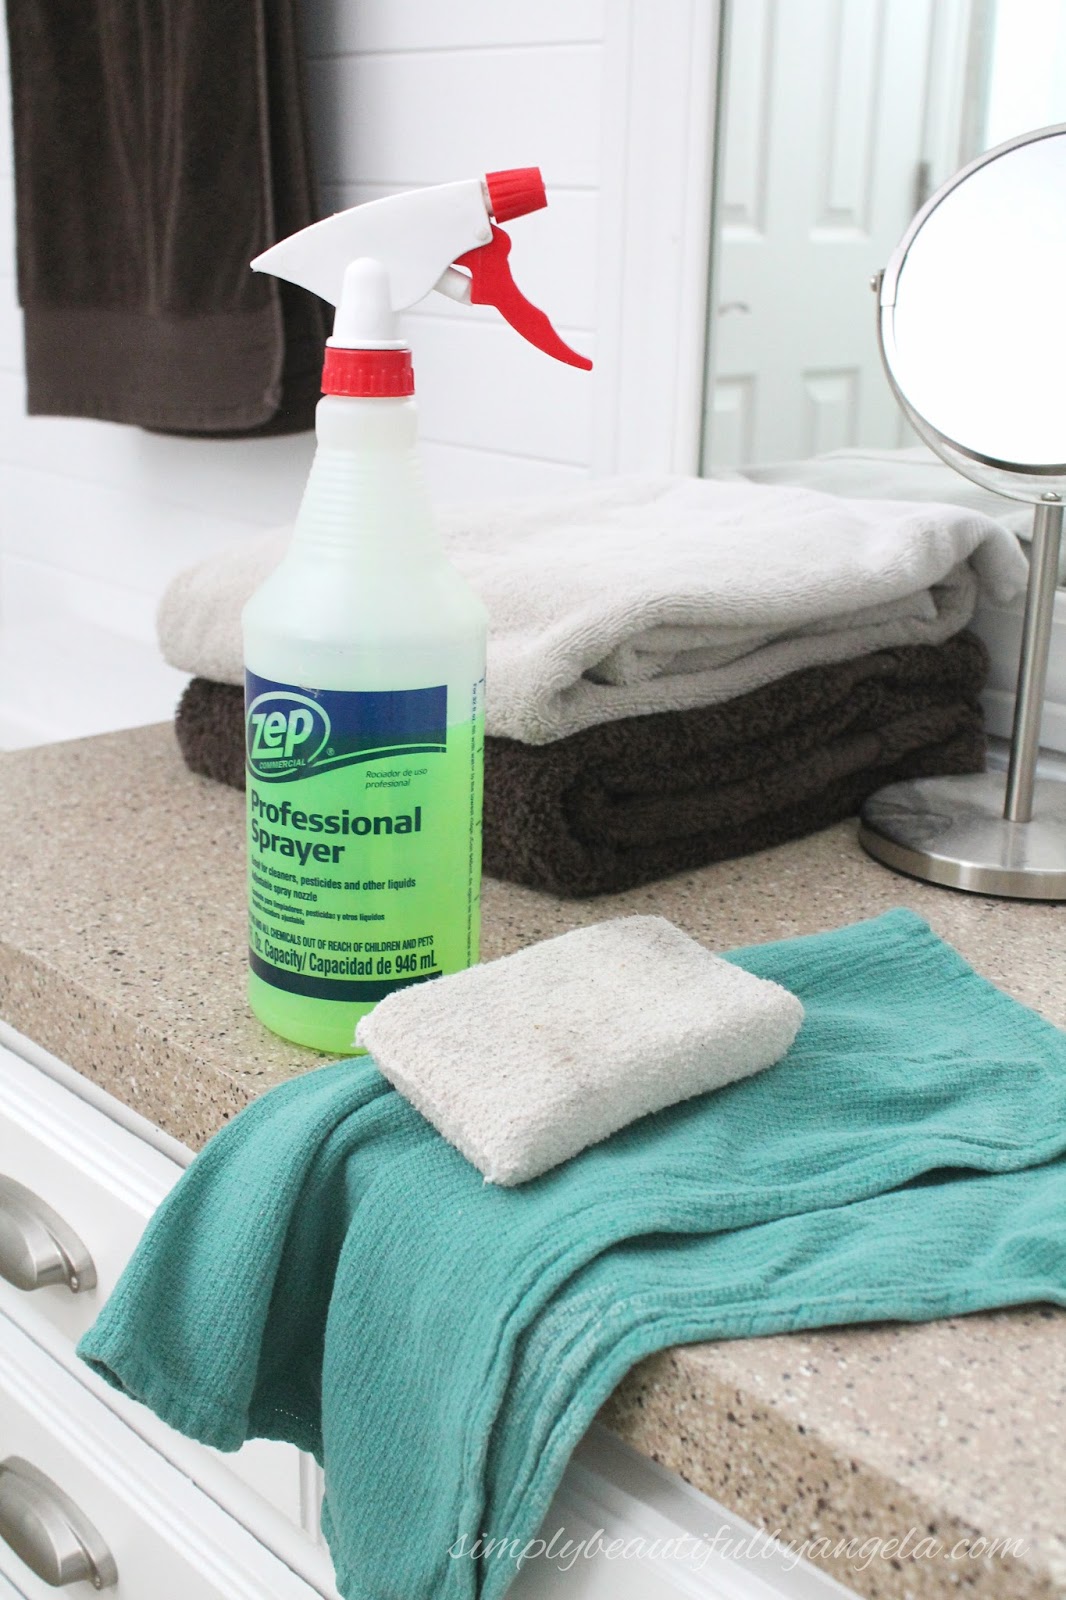
I began by doing a thorough sweep with a broom. I then sprayed the Simple Green on the floor and used my sponge to scrub every square inch. I rinsed the sponge and went over it again with a clean sponge before drying it with a rag.
Clean floors are the key to making sure that these stick! Any crumbs, pebbles or grease will cause the glue on the back to not adhere properly. So even though I hate prep work, a good job on this step is totally necessary.
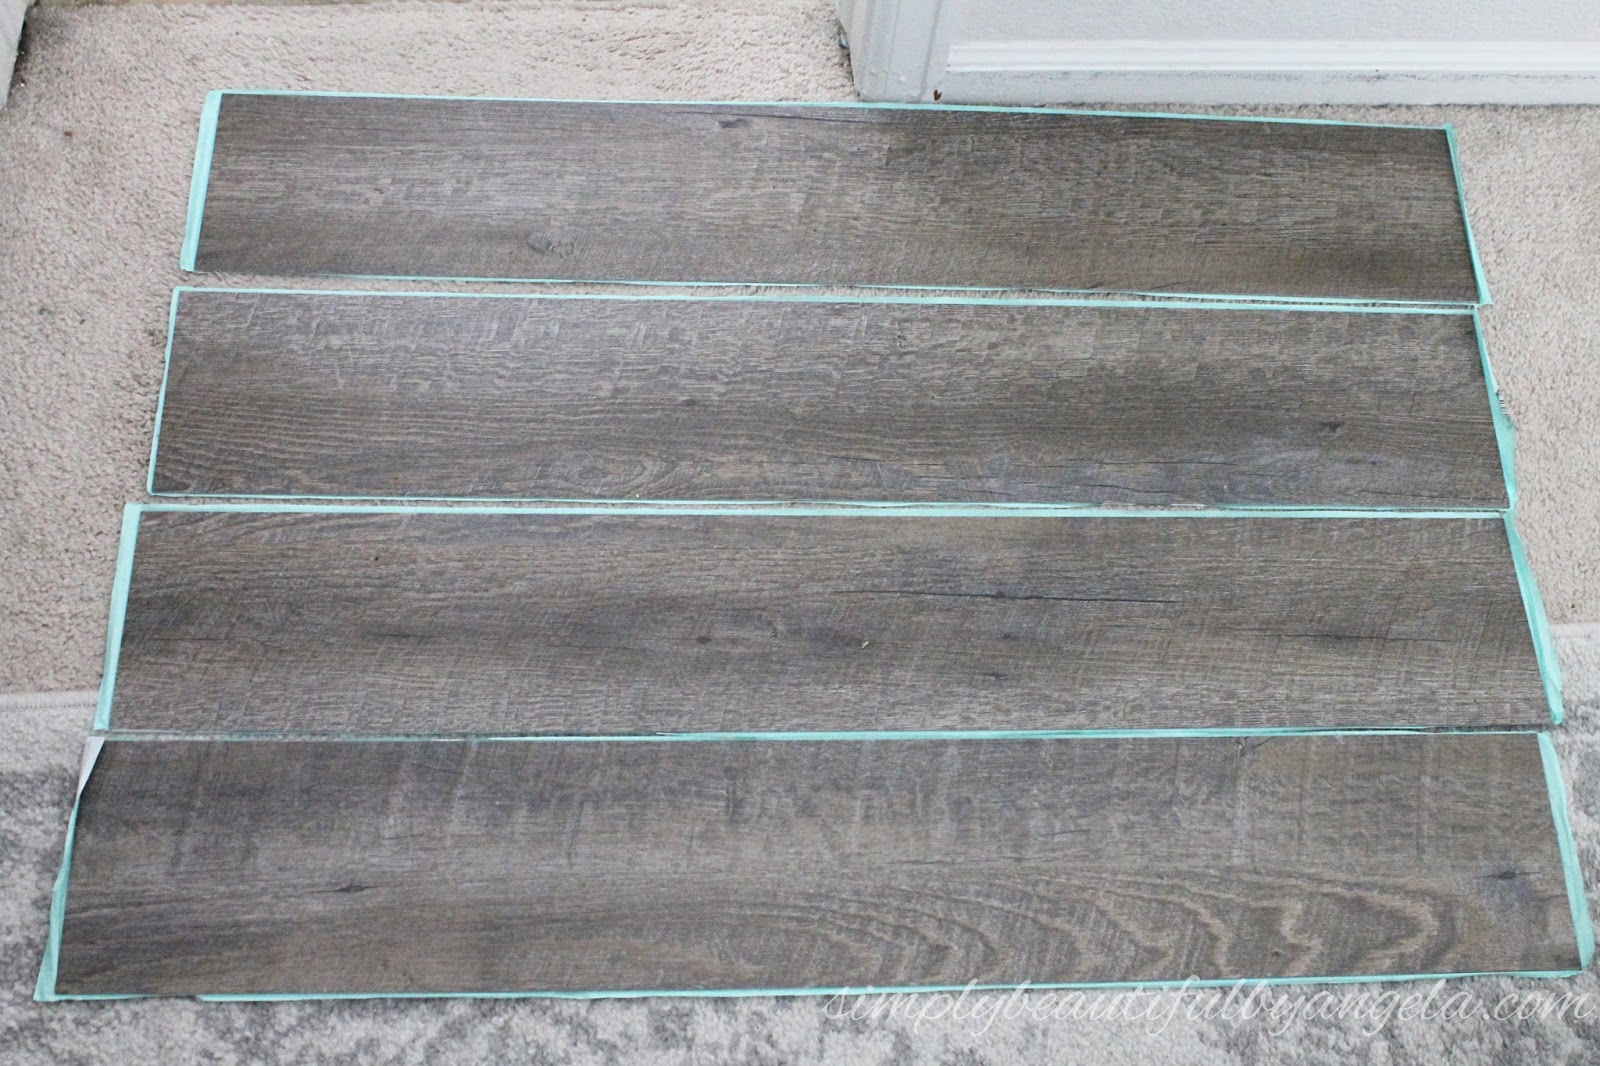
I picked up an entire box of planks which is 60 square feet because I wanted to have a good variety of planks to choose from and I also didn’t want to run short halfway through the project. I ended up only needing about 25 planks so I returned the rest when I was done.
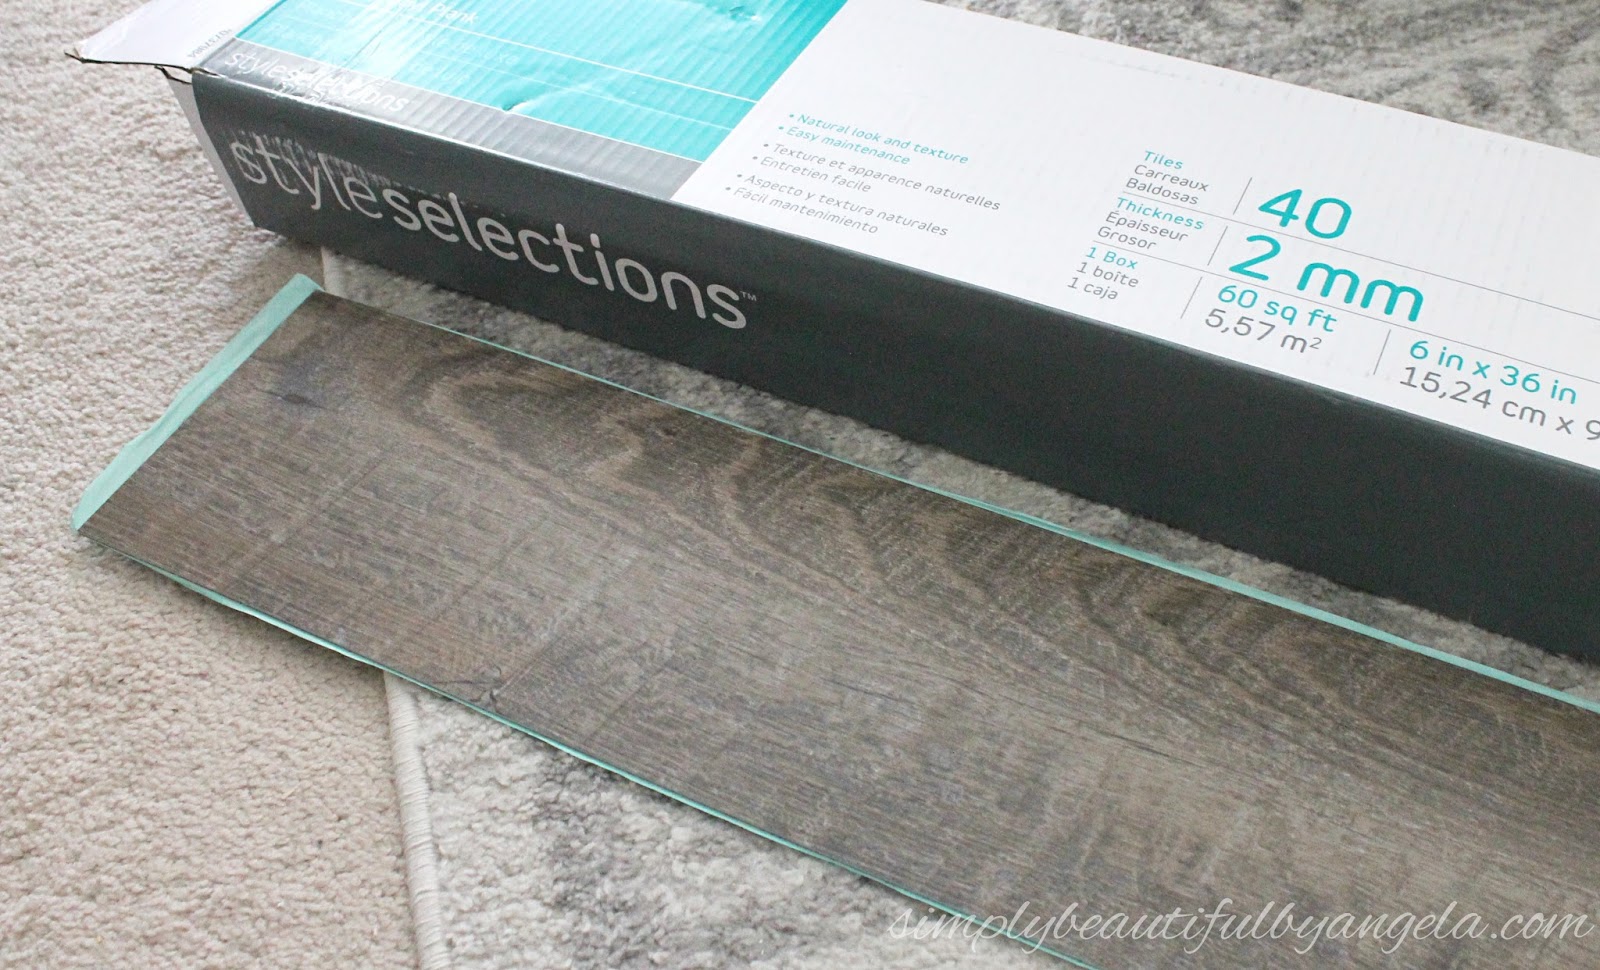
My box had a total of 4 different patterned planks which was perfect for alternating.

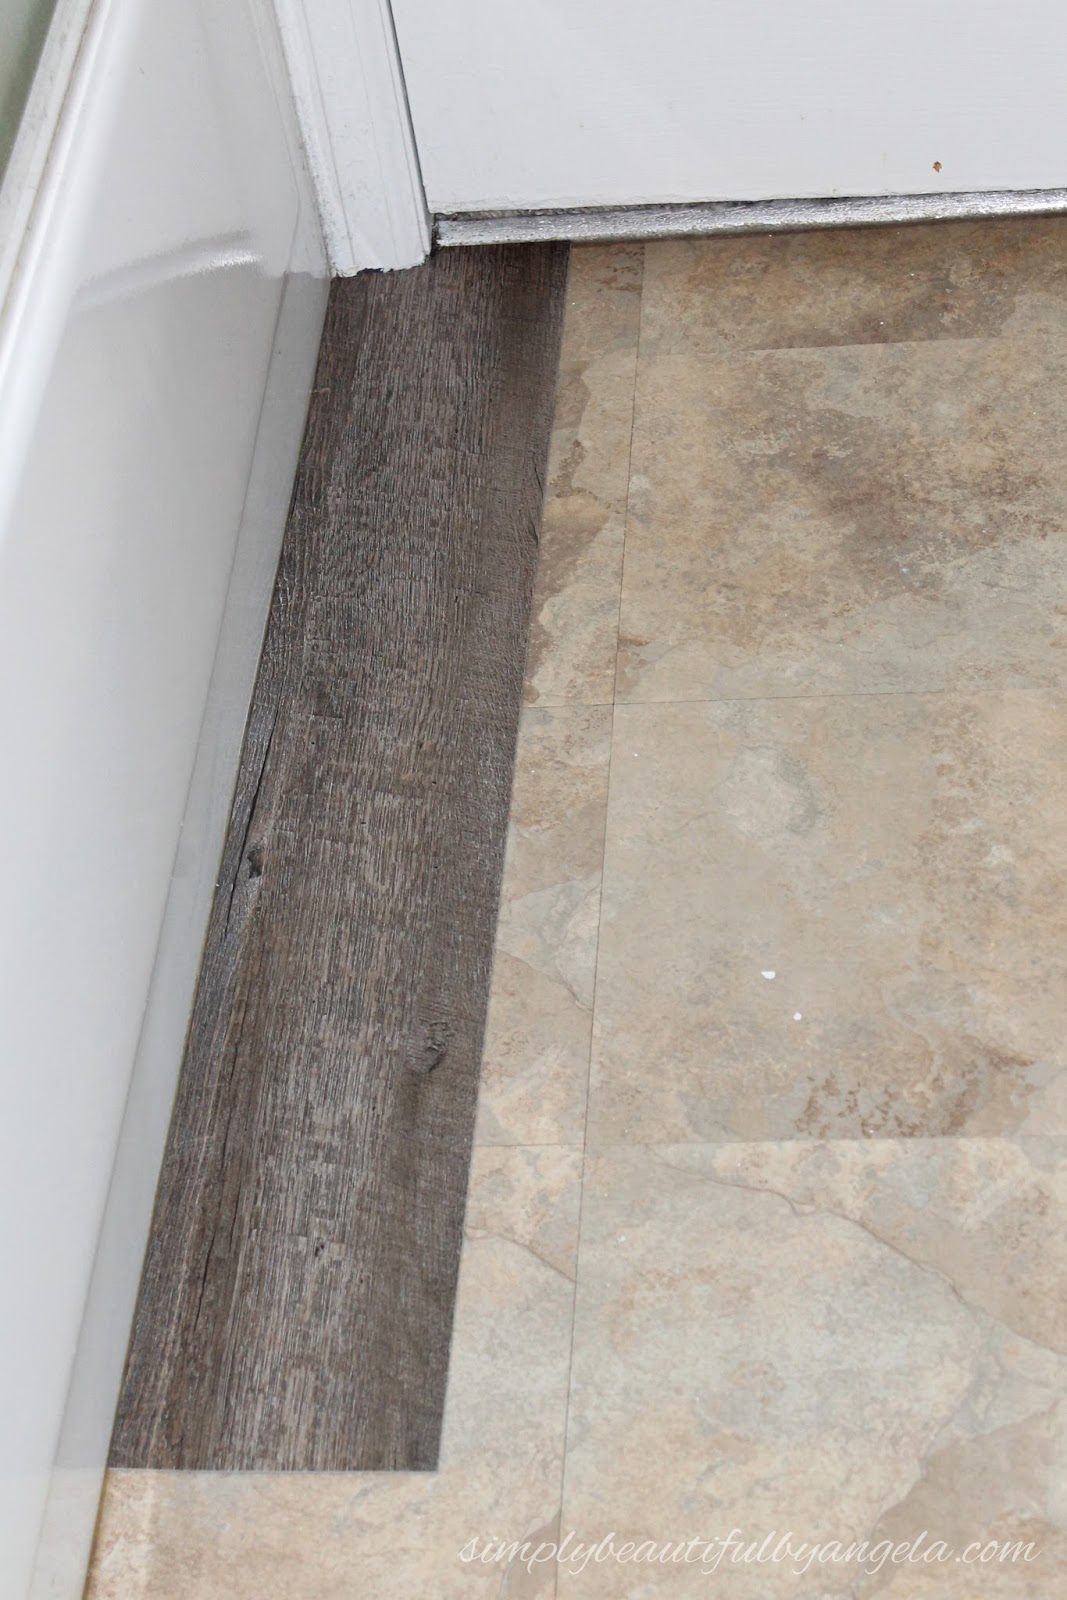
Once the floors were dry I was ready to start. My first plank was right up against a door casing. But not to fear–I had one of my favorite tools!
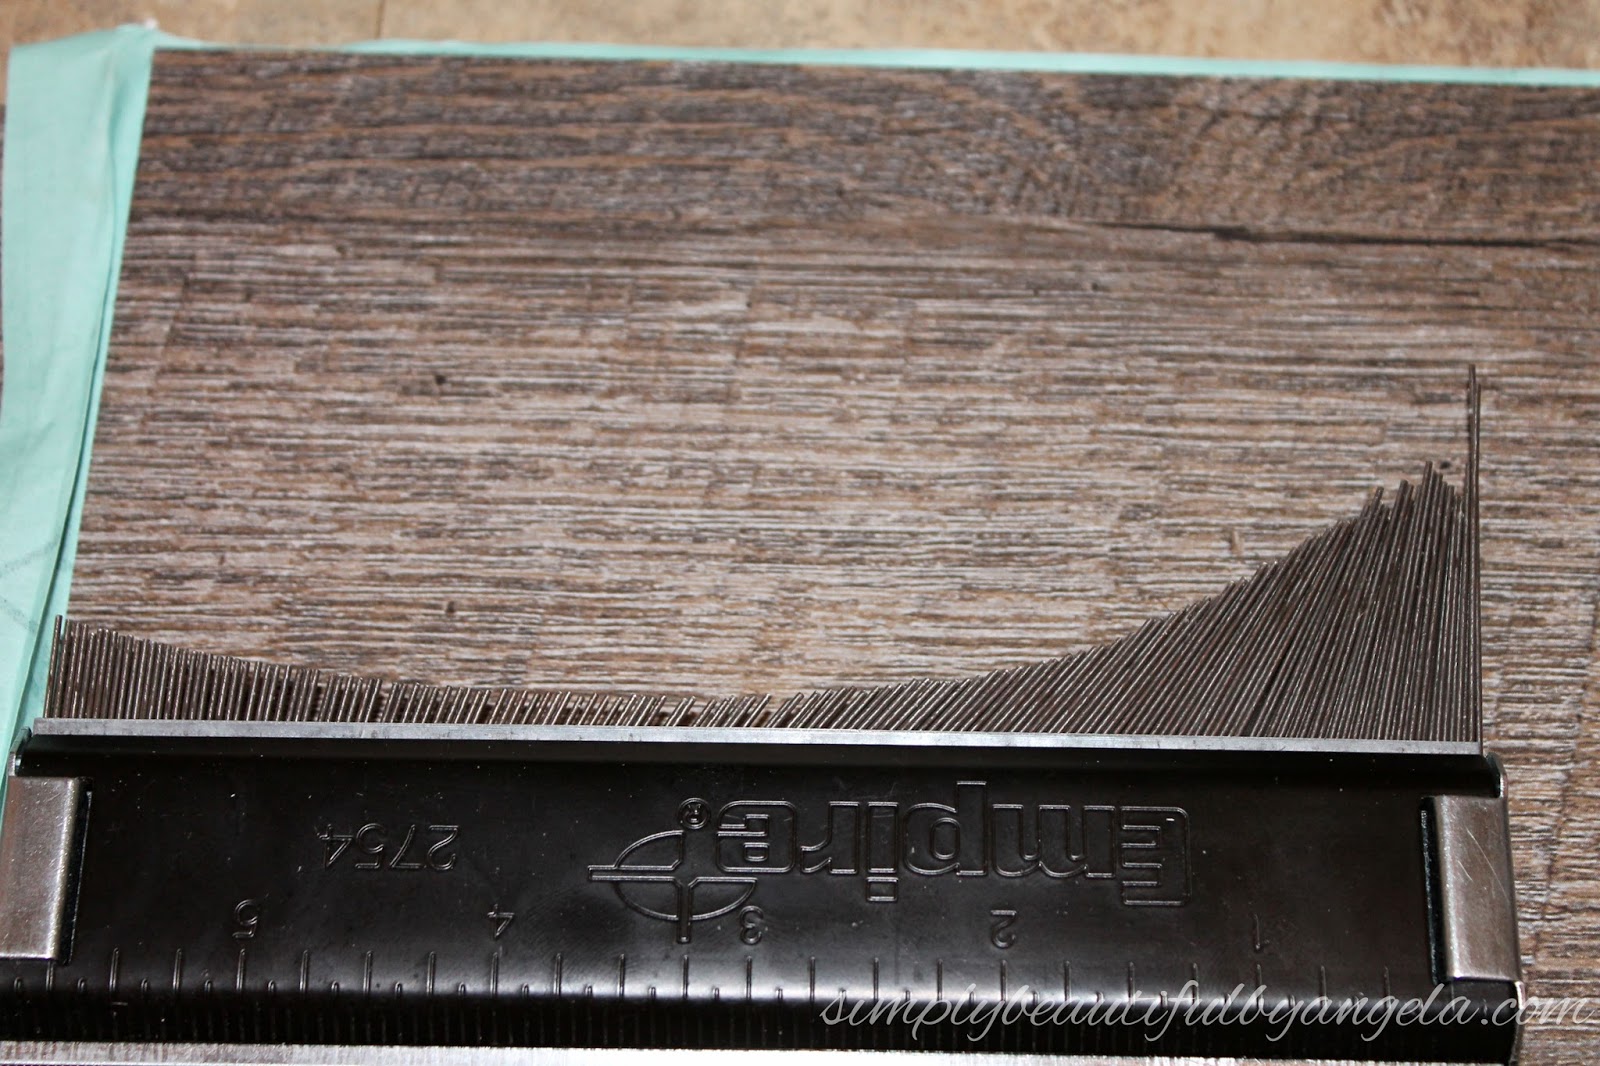
I wouldn’t have been able to complete this project and keep my sanity without this guy. It’s called a contour gauge and it has a bunch of little metal pins that push in to create the shape that needs to be cut out of your flooring.


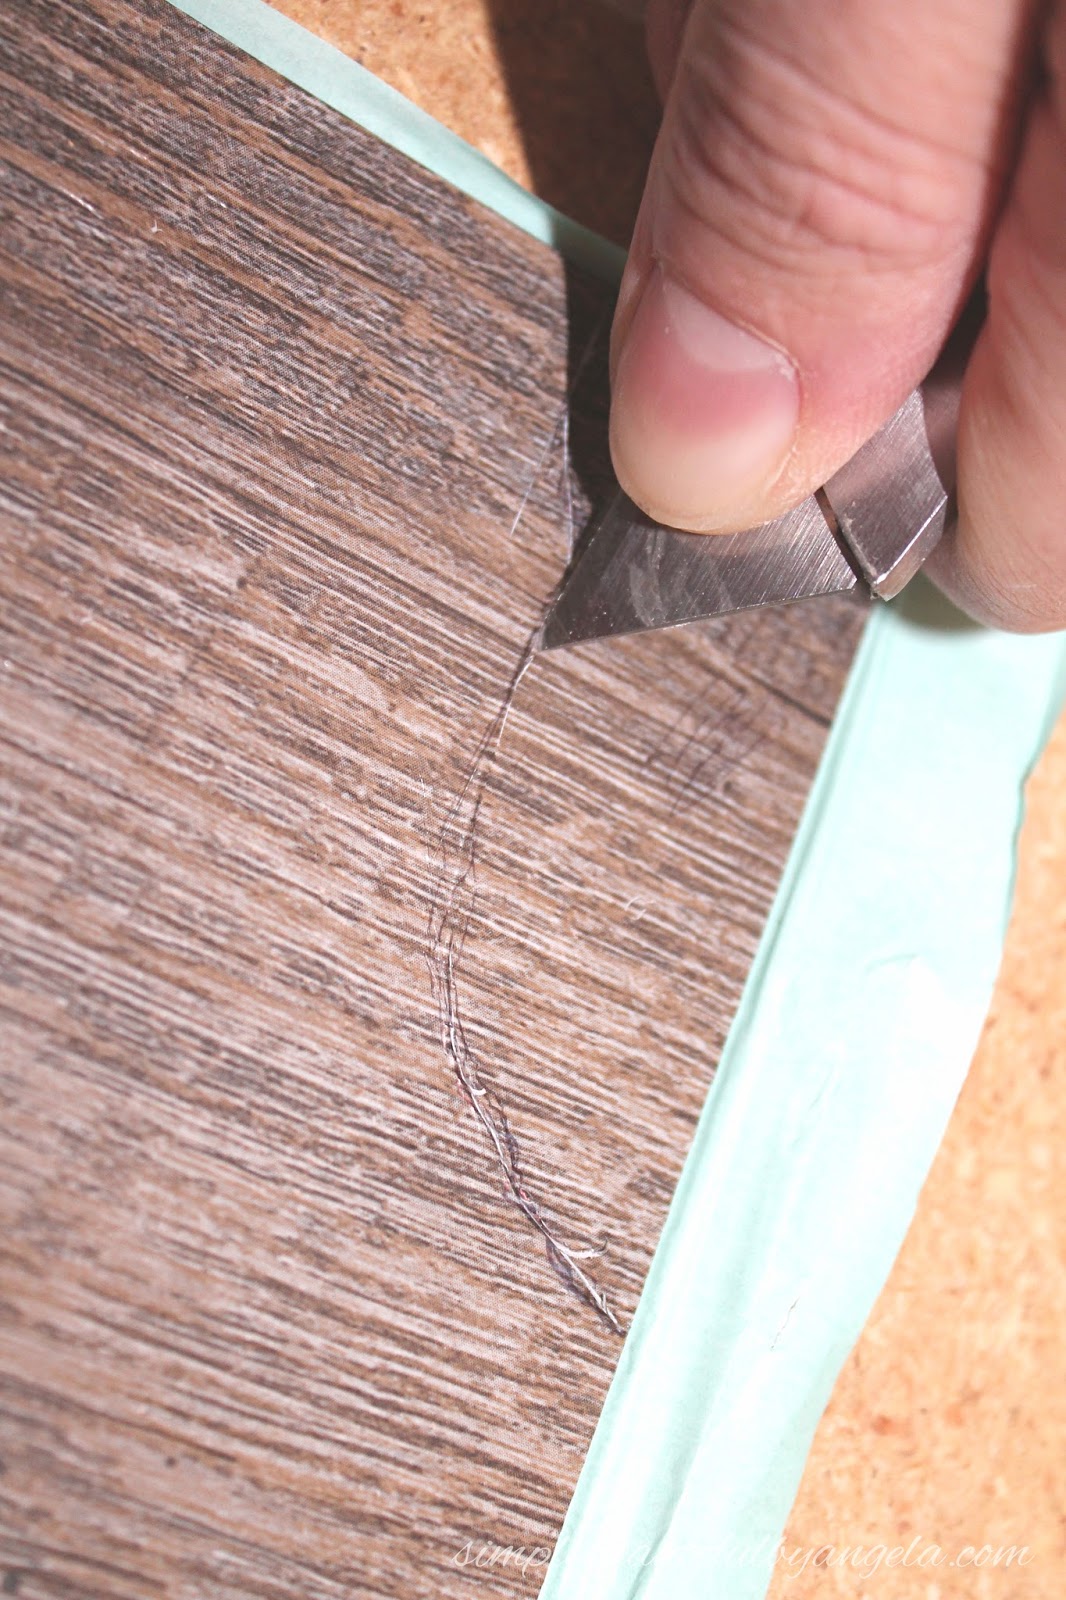
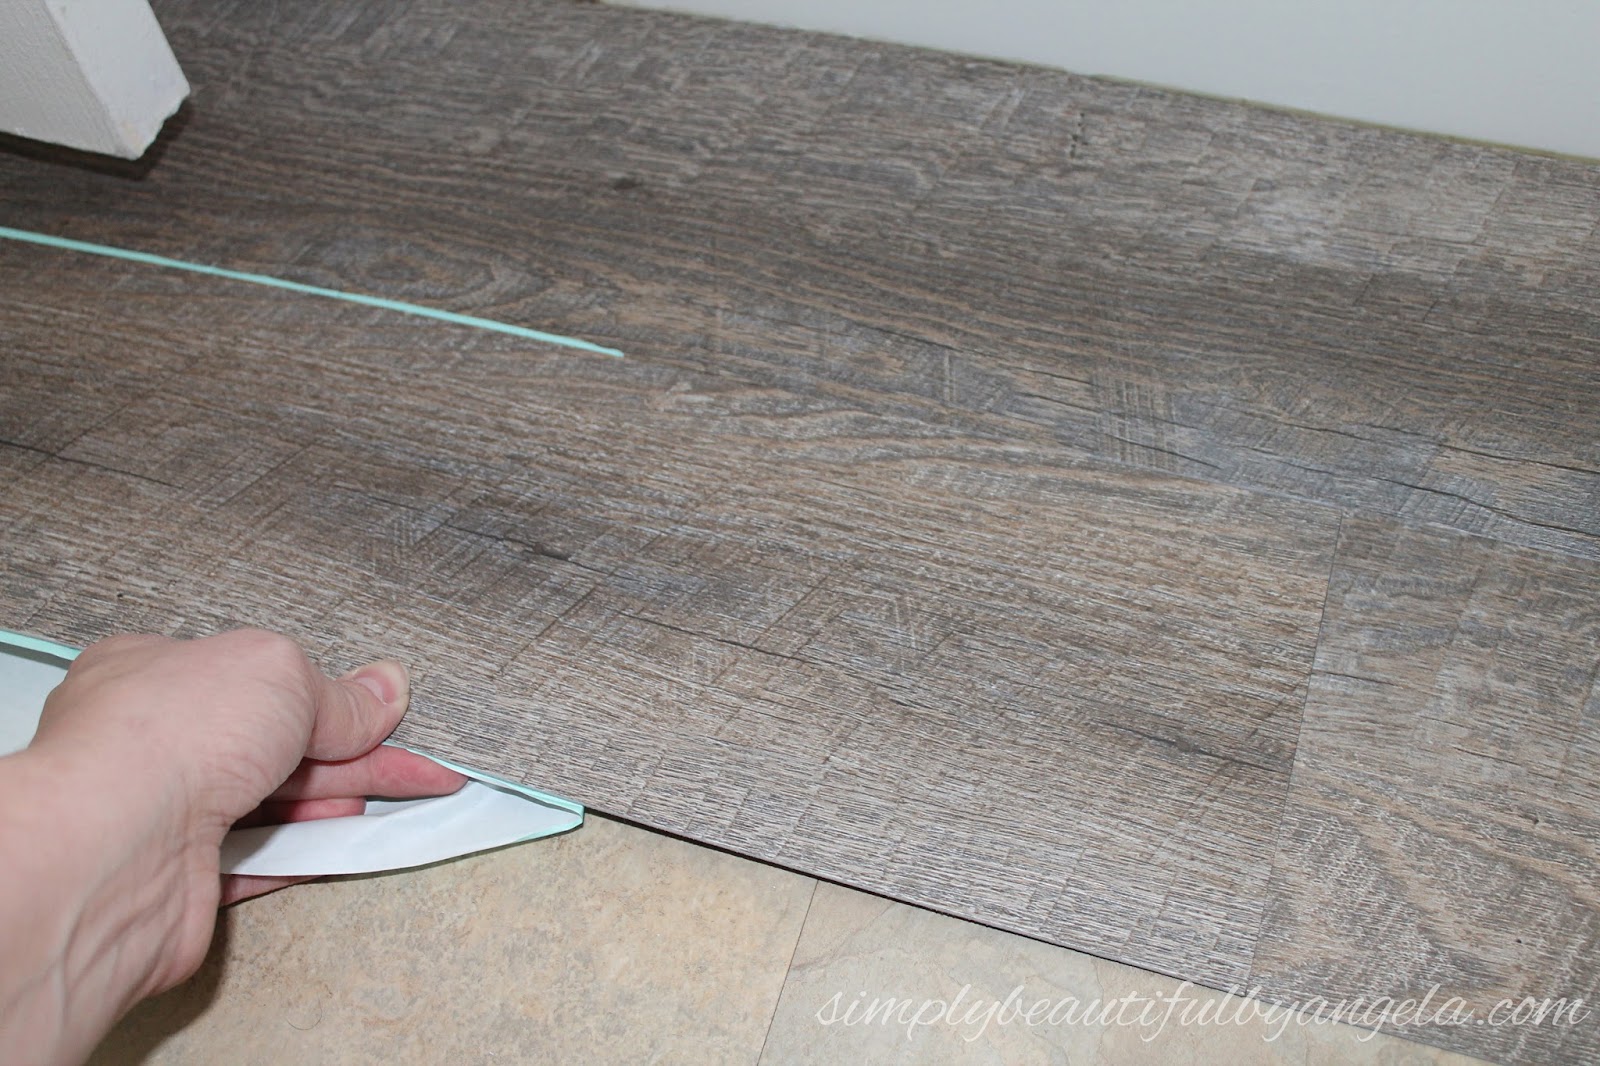
Okay. So once you have your shape traced on your flooring it’s time to cut it out.
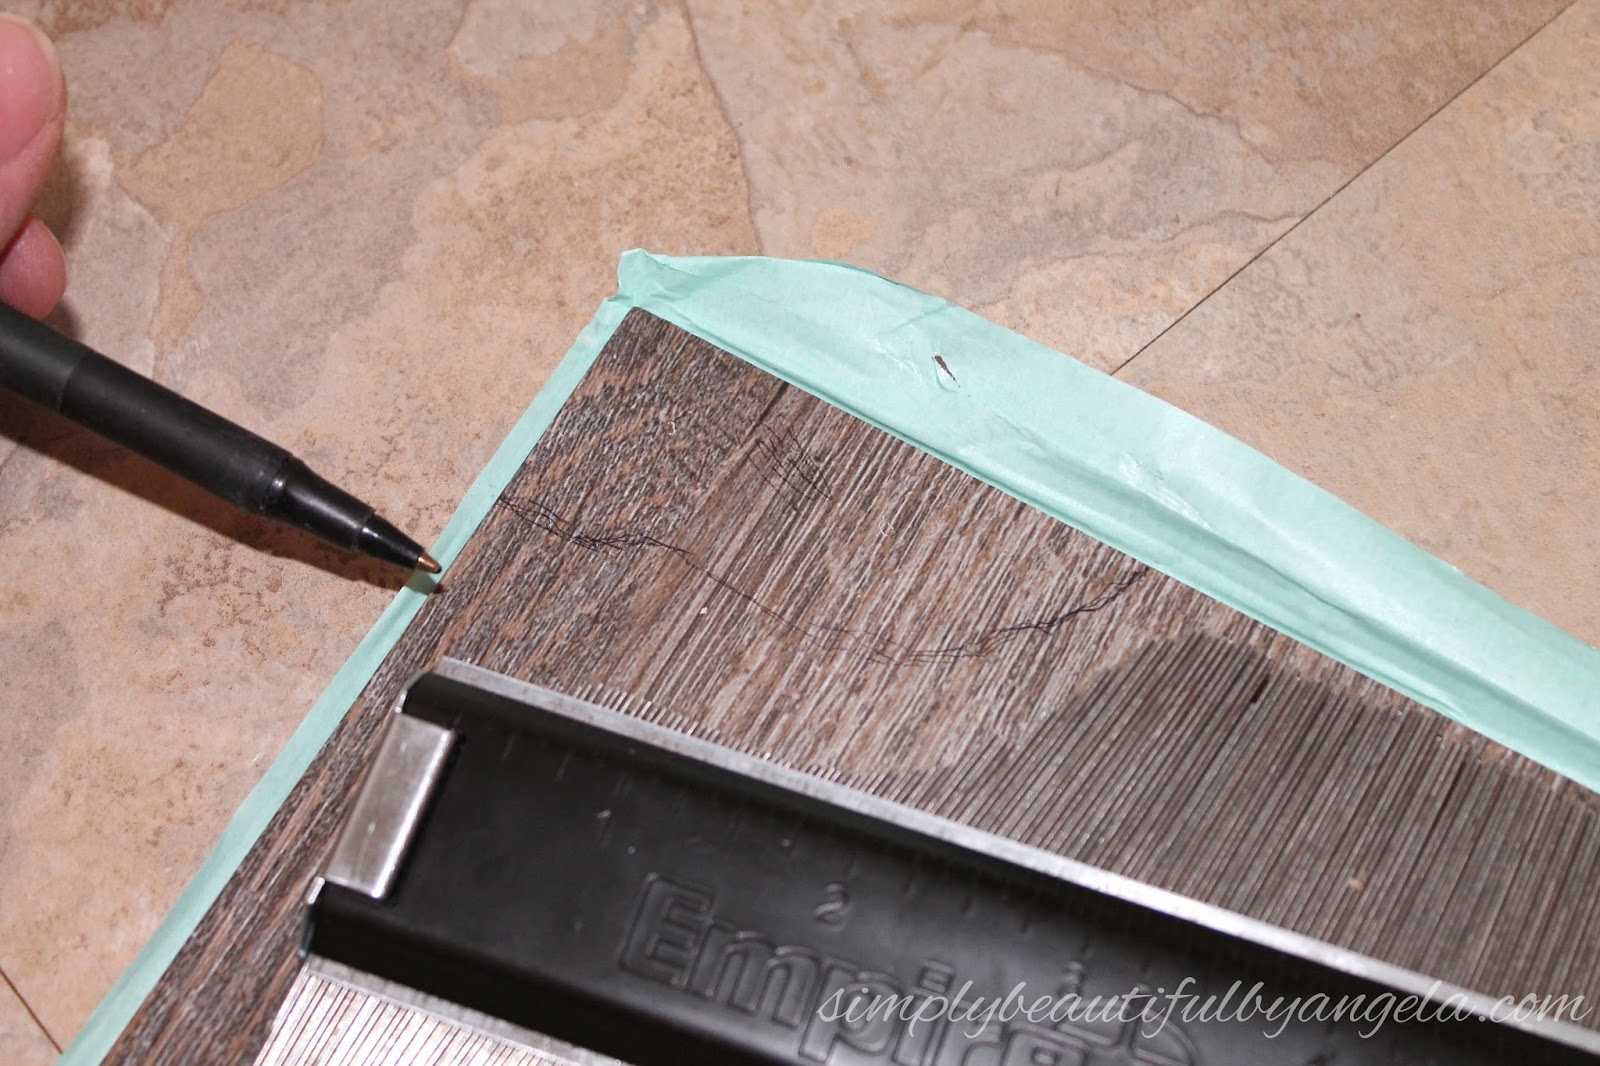
Using a utility knife gently score your outline. You may initially have the instinct to press hard and try to cut through the plank like I did, but that will cause you to slip–trust me!
Remember you only need to score it lightly a couple of times and it will easily snap and break right off.

Perfect fit! Actually it wasn’t completely perfect but I ended up going around and caulking all of the edges at the end so it was close enough.
I should mention that the paper on the back of the plank has arrows showing you which direction it should be laid. By laying them in the specified direction you will get the most realistic wood grain look.

After I laid my first plank I butted the second one right up behind it and continued until I was done with my first row.
The goal is to create a random staggered look to resemble hardwoods so for the second row I laid my first plank slightly lower than the one next to it.


For the ends of the row I first measured how long of a piece was needed.

We then used the carpenters triangle on a piece of scrap MDF to mark, score and snap a straight edge. I’m not sure if that’s the correct term for that nifty tool but it gave us perfectly straight edges and I loved it.
Here is a picture of the hubby preparing one of these cuts.

Within 30 minutes I was already at the halfway point. The first half went down pretty quickly but the second had a few more obstacles to get around.


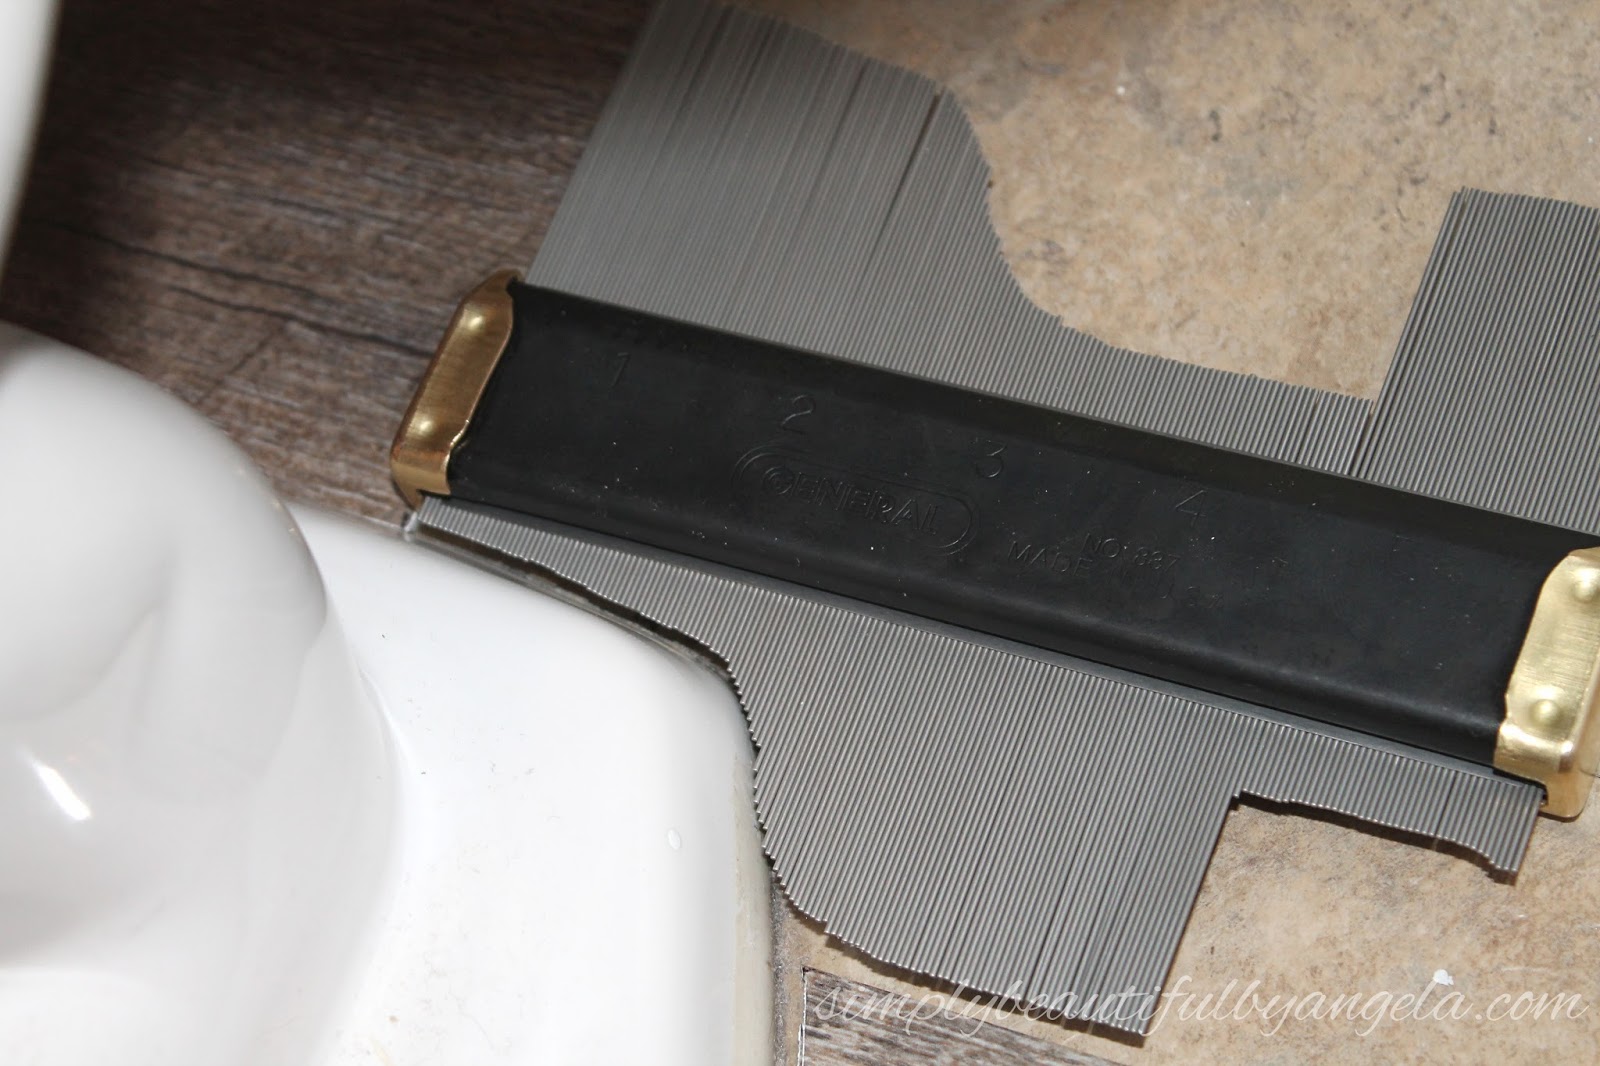
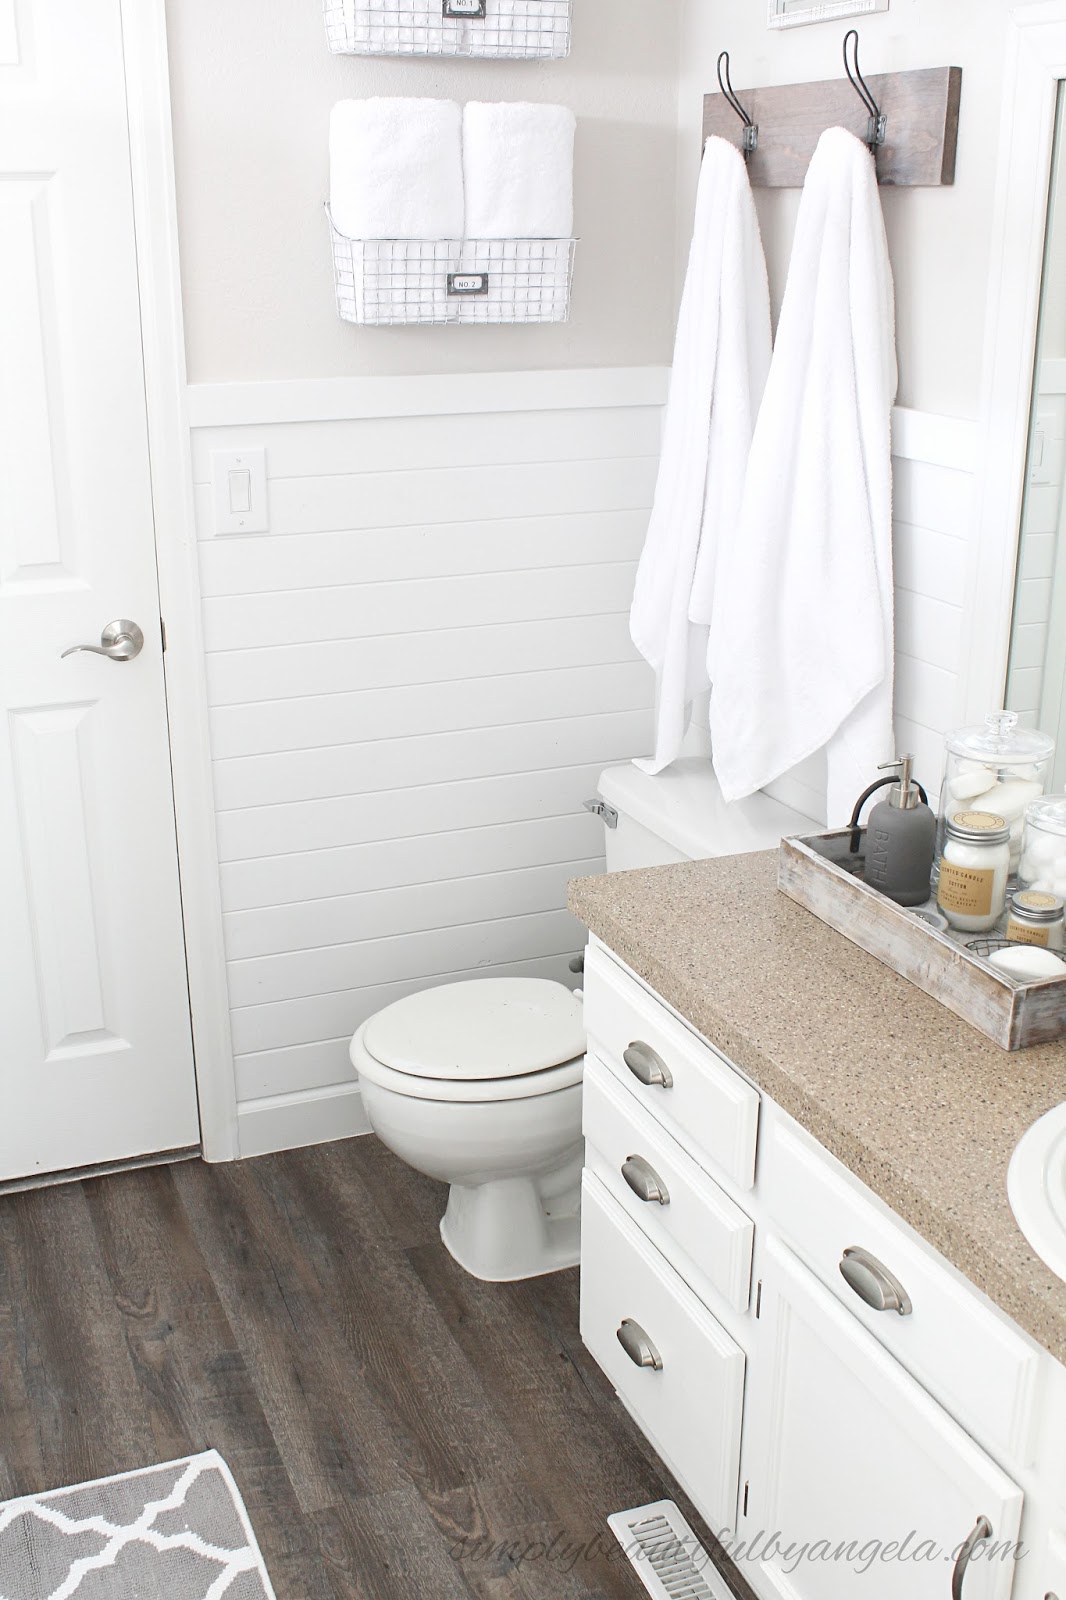
Getting around the toilet wasn’t as simple. I know that a lot of people remove the toilet first but I decided it was easier and quicker to just go around it.
I began by measuring how far away the toilet was from the previous row

I then marked this point on my new plank so I knew how far in the contour would need to go.

Once I had my contour of the toilet I laid it down at that spot, traced scored and snapped.
As I mentioned above I went around and caulked the edges of the room and I also taped off around the toilet and caulked around that as well. Just remember that you shouldn’t caulk the very back in case you ever have a leak you want to be able to tell.


