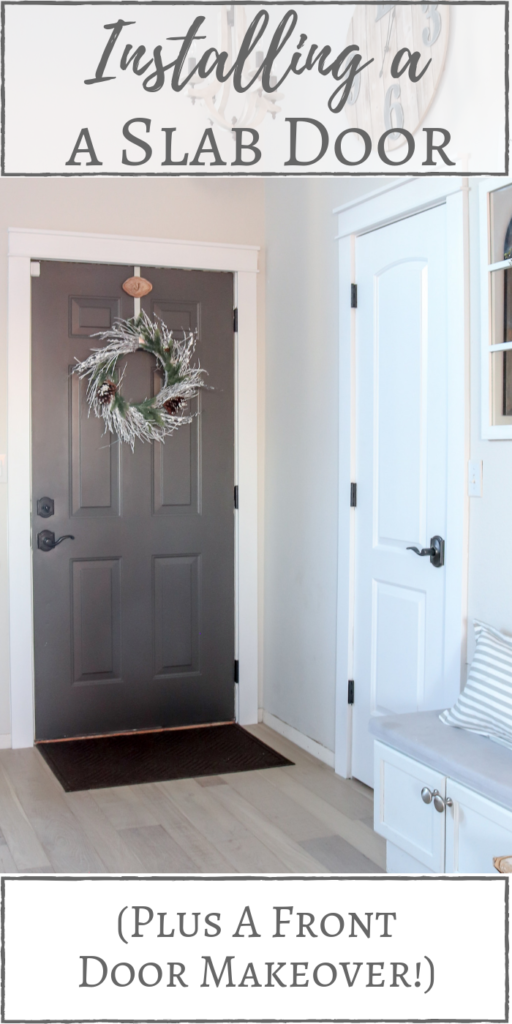
Hello! I hope you all had a nice weekend. We had originally planned to keep ours pretty low key, but Sunday we made an impromptu trip up to the mountains to go sledding with some friends and I am so glad because it was an absolute blast!
Before we hit the road that morning, I snapped a few pictures of our entryway to share with you guys this week. I think you will agree with me that it’s looking quiiiiite different than it did this time a month ago!
You may remember that when I shared our 2018 Christmas Home Tour, our front door was adorned with lovely orang-ish trim that was halfway torn off and the front closet door was entirely absent.
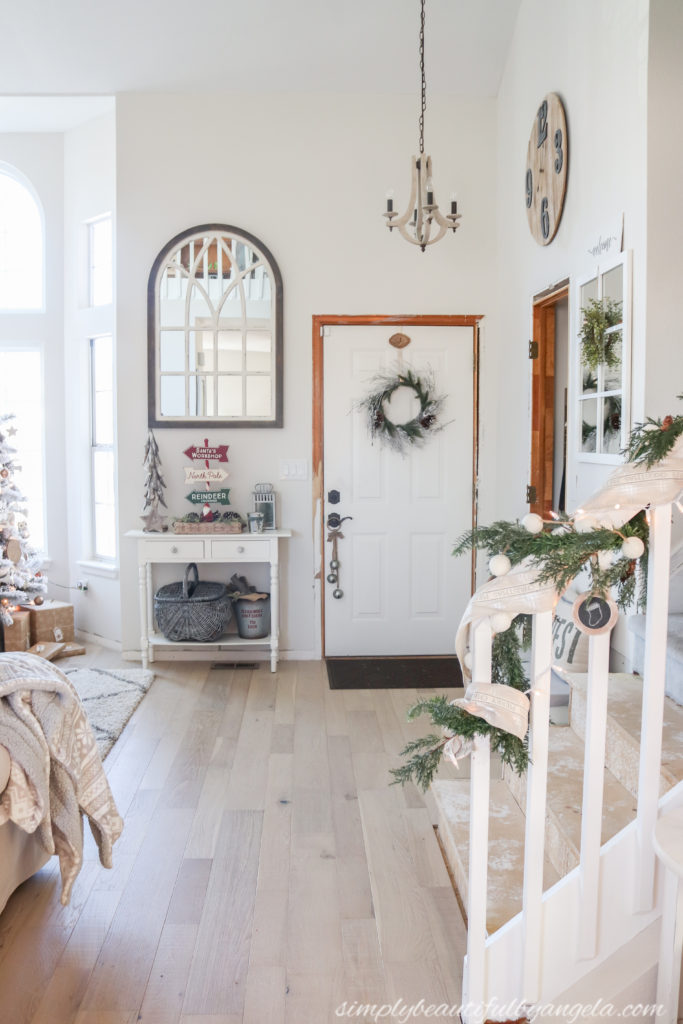
Not my favorite view, for sure. After all of the Christmas decor came down, I decided that I couldn’t live another day looking at this eyesore of a corner.
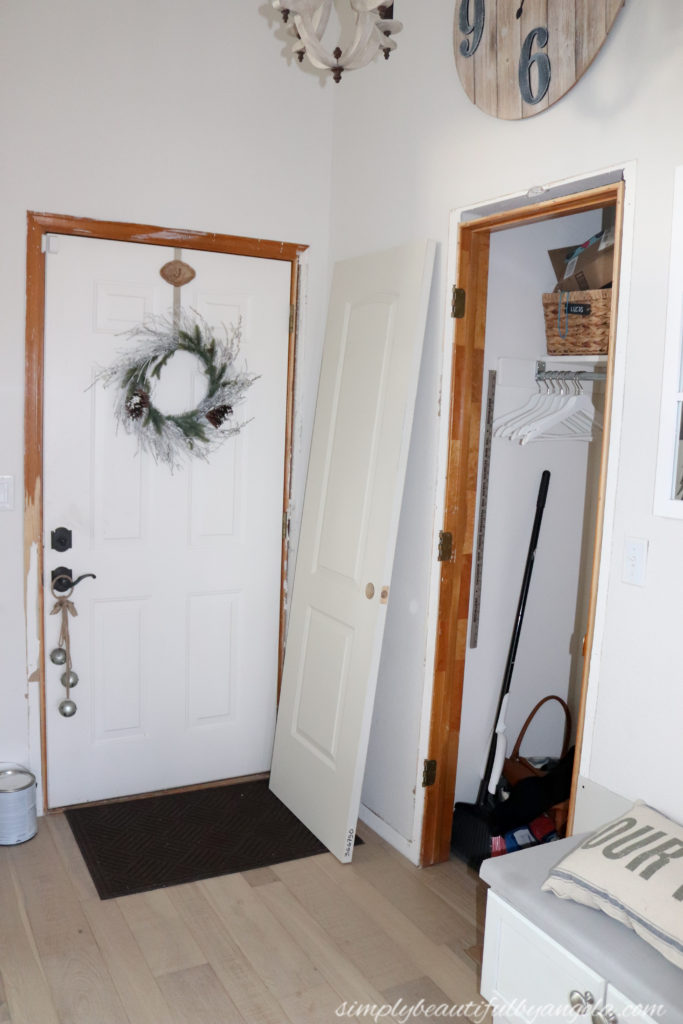
So we finally purchased a new door for the closet as well as the the supplies to finish both doors off with some pretty craftsman style trim.
Being our first door installation, we had a teensy bit of trouble initially. But once we figured out what we were doing it was actually pretty easy!
Supplies Used:(Affiliate links may be provided for convenience. For more info, see my full disclosure here.)
- Slab Door
- Hinges in Oil Rubbed Bronze
- Ryobi Door Hinge Installation Template
- Ryobi Router
- Power Drill
- Schlage Closet Lever in Aged Bronze
Our previous home had 6 panel doors that were in great condition, so I simply painted them white and called it a day. However this house is equipped with flat panel doors so we knew right from the start that we wanted to replace them all eventually.
I still really like the look of 6 panel doors, but decided that I want to do something a little different for this house. After just a short amount of online browsing, I fell in love with roman arched two panel doors. For some reason all of the stores that I checked had only the non-bored option in stock. Since I didn’t want to mess with drilling our own bores, I searched high and low before FINALLY finding some in stock at the Lowes by Anthony’s parents house. I was so giddy when I found them!!
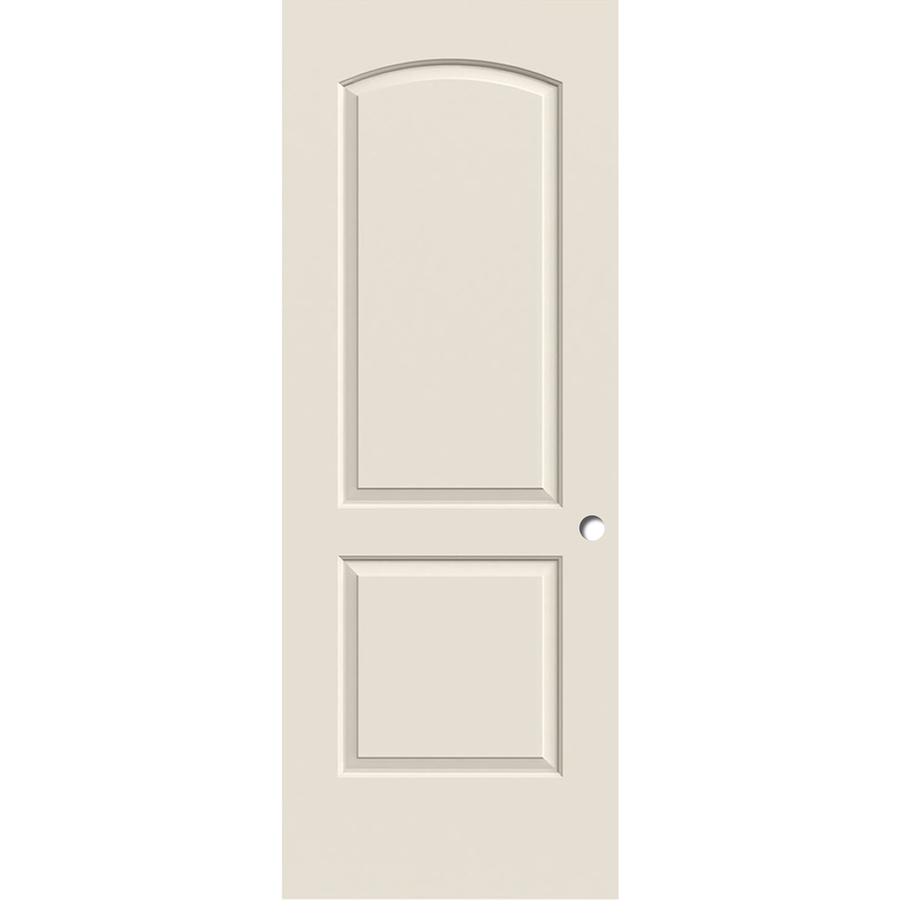
2-Panel Round Top Hollow Core Molded Composite Slab Door
I laid out an old sheet right in the middle of our front room and started painting as soon as we got it home. I began by using a brush on the inside of the panels and then rolled the rest with a small foam roller.
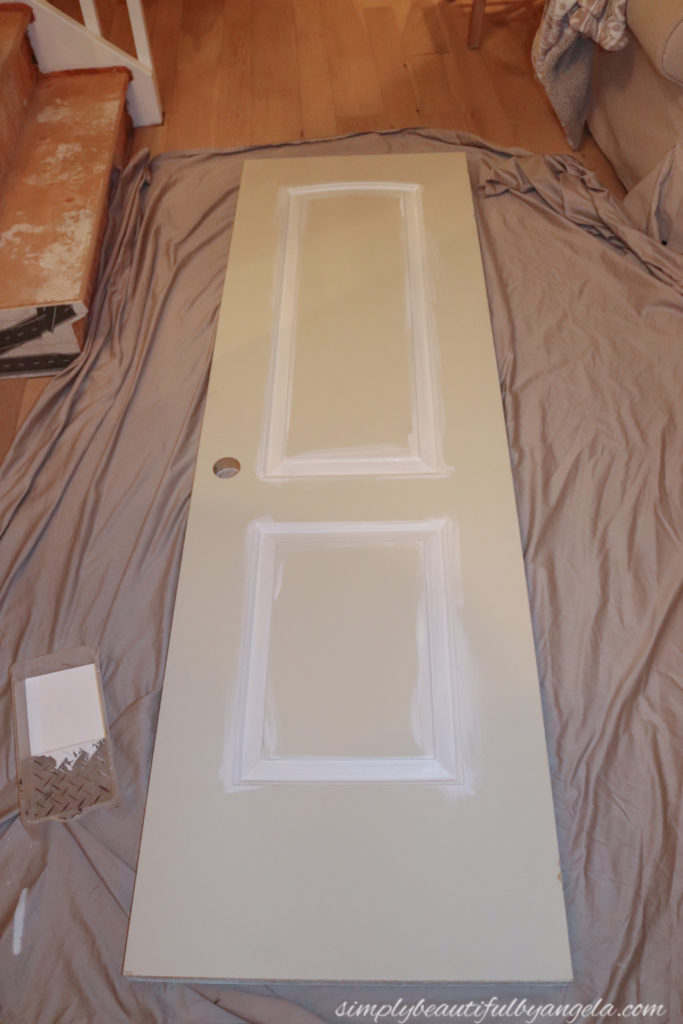
After 3 coats on each side it was ready to be installed. But after all of the excitement of finding a pre-bored door, I was disappointed to learn that slab doors don’t have the spaces for the hinges pre-carved. Whomp whomp…
We watched a clip on Youtube where a guy traced the hinge on the door, scored it with a utility knife and then chiseled out the new hinges. He made it look soooo easy peasy!
But Sadly, it was not that easy my friends. It took Anthony about a solid hour to chisel out the three hinges and the edges were left super jagged. Even worse, when he hung the new hinges on and attached them to the frame, the door didn’t shut!
It turns out that he needed to carve deeper, but instead of fighting with the chisel again, he talked me in to buying a Ryobi router and
Ryobi door hinge installation template and it made the whole process a total breeze.
He first set the side of the new door up next to the old door and marked where the top of each hinge sat. He then lined the template up to that mark and used the router to carve it out.
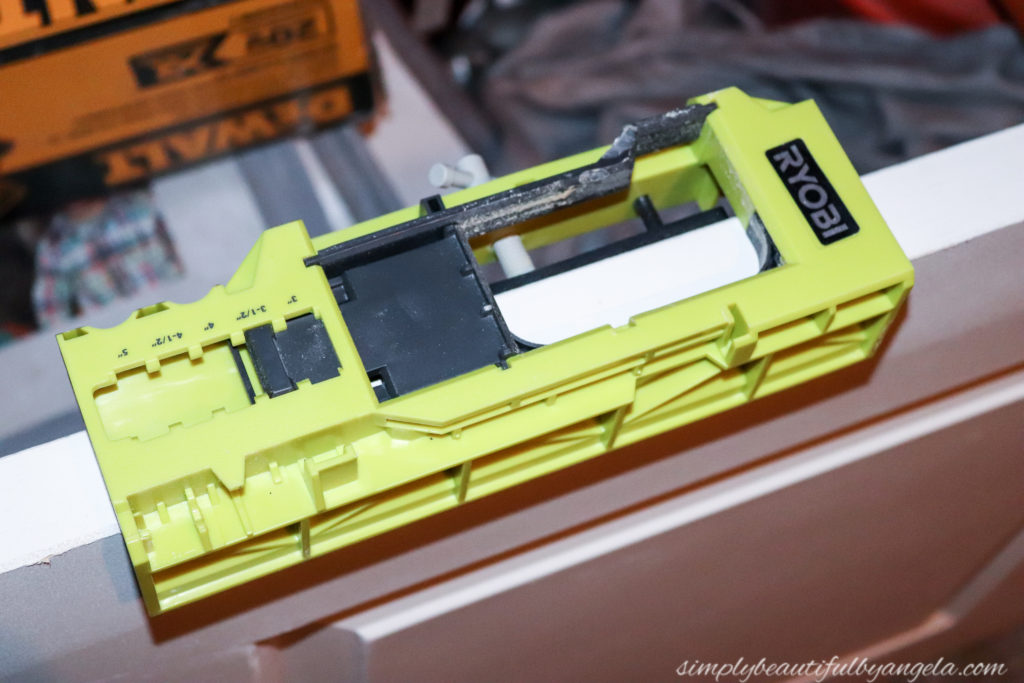
I snapped these pictures of him doing the bathroom door, but for the closet door he simply placed the template over the hinges he had already started carving.
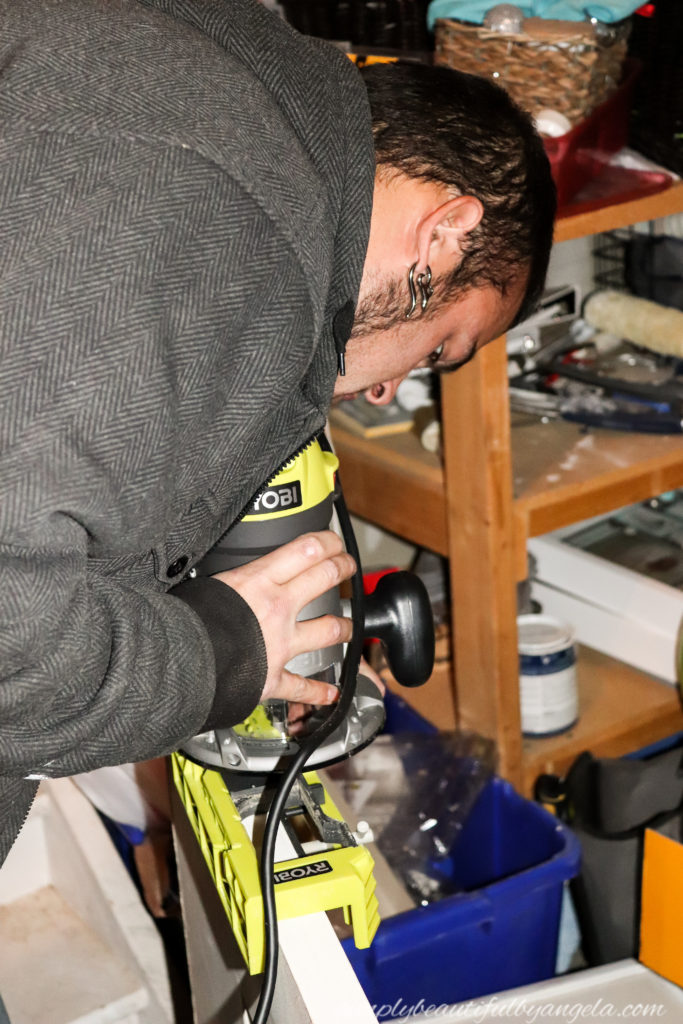
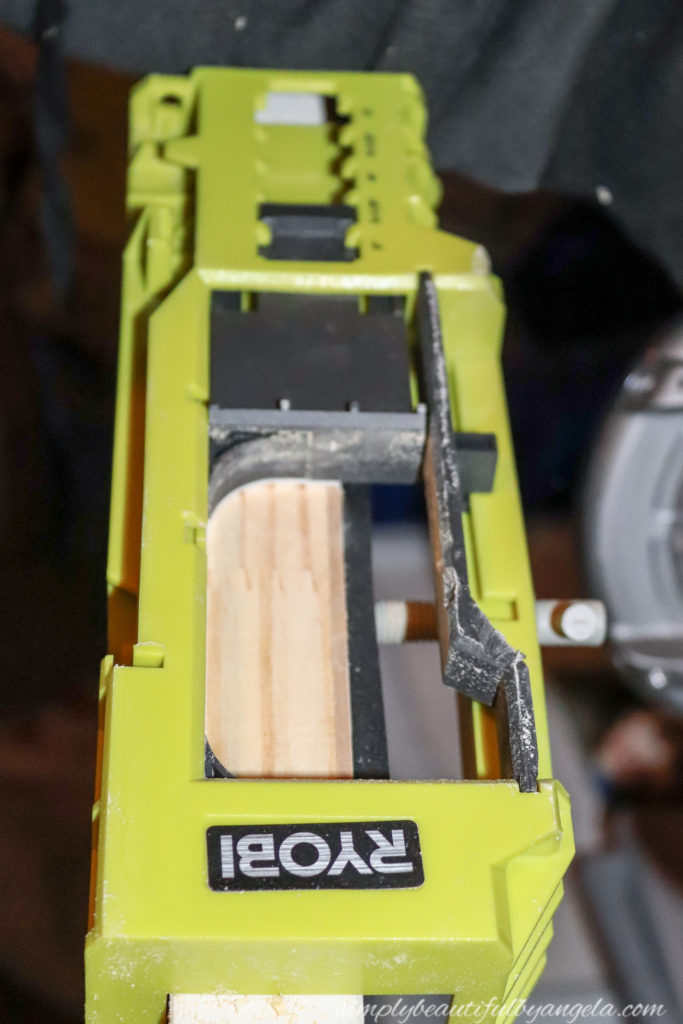
Pretty neat, huh?
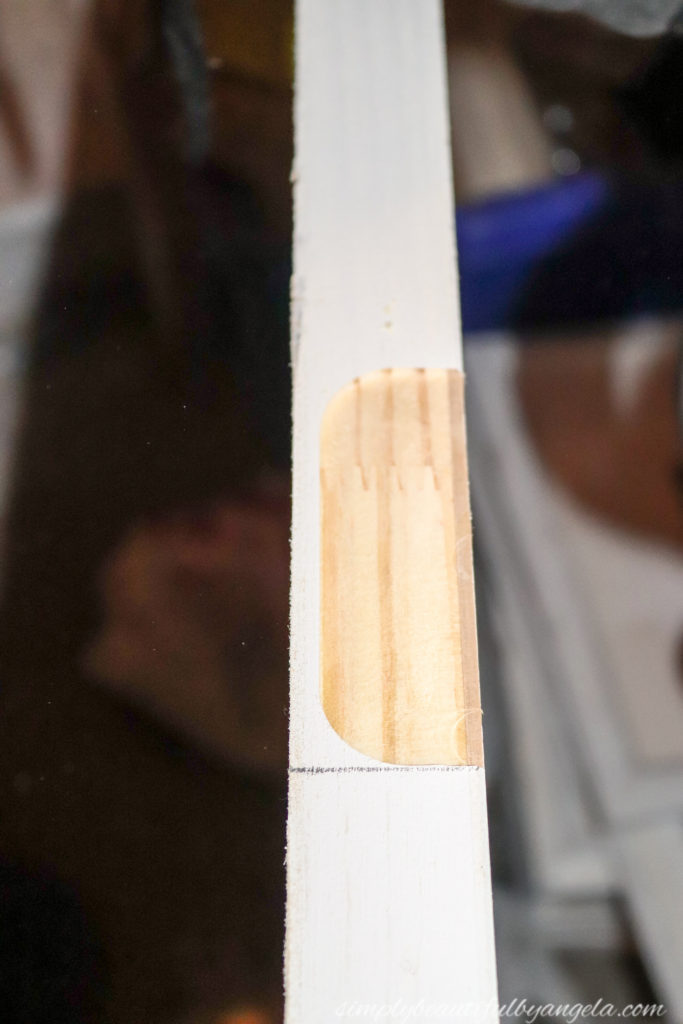
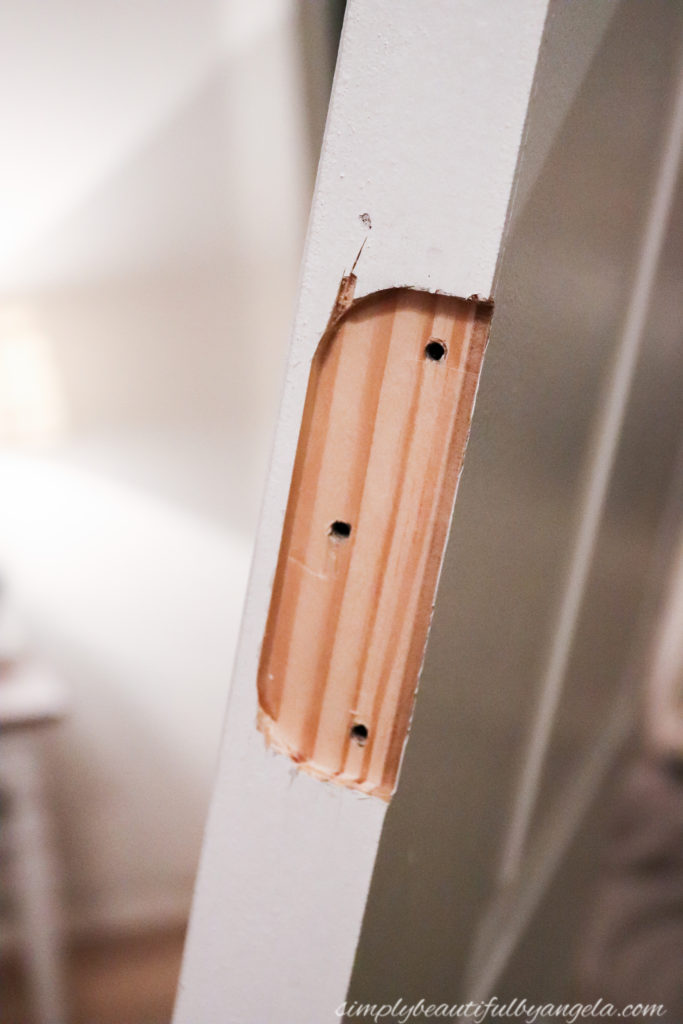
Finally, he held the new hinge inside and drilled the holes for the screws before attaching them.
I decided to install these awesome oil rubbed bronze levers with Camelot trim throughout the house. I figure that since we aren’t doing them all at the same time, it will be easy to budget for.
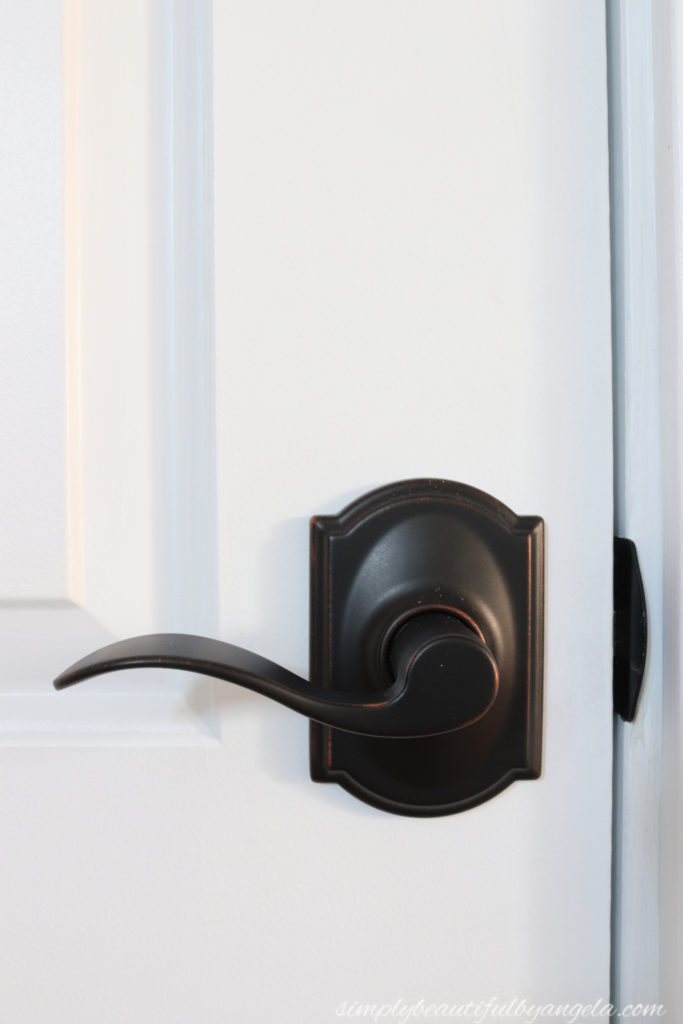
They are so eye-catching and since door handles are something that get used on a daily basis, I feel like these are definitely well worth the splurge!
I followed the same process that I did when I added craftsman trim around the laundry room window, except this time I decided to have the 1×2 and bottom piece hang over a 1/4 inch on either side.
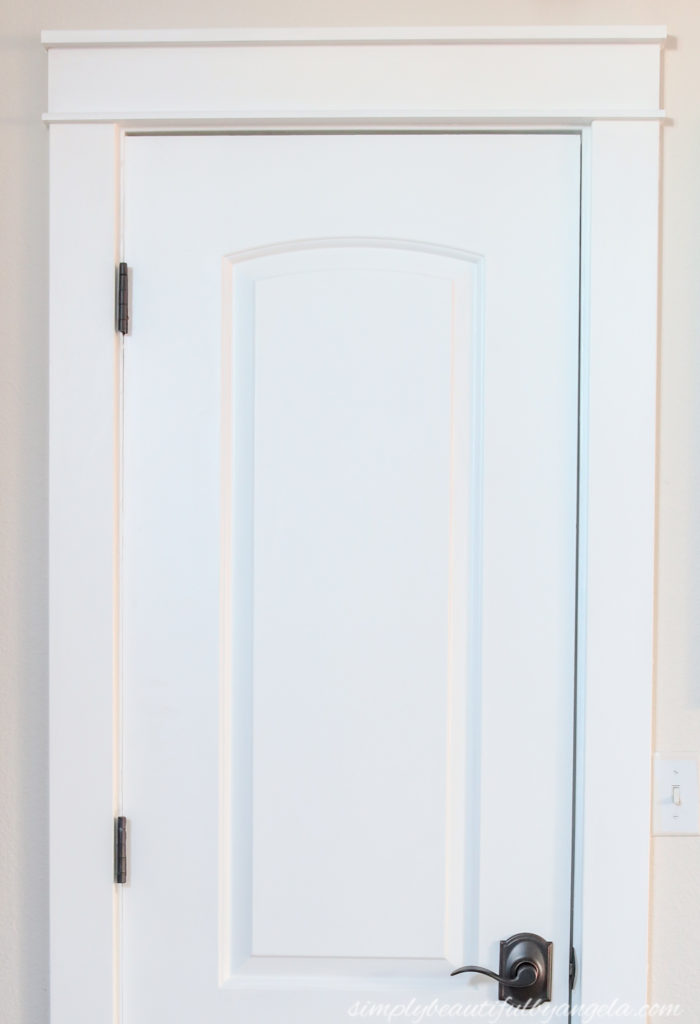
This is how this space looked a few weeks ago.
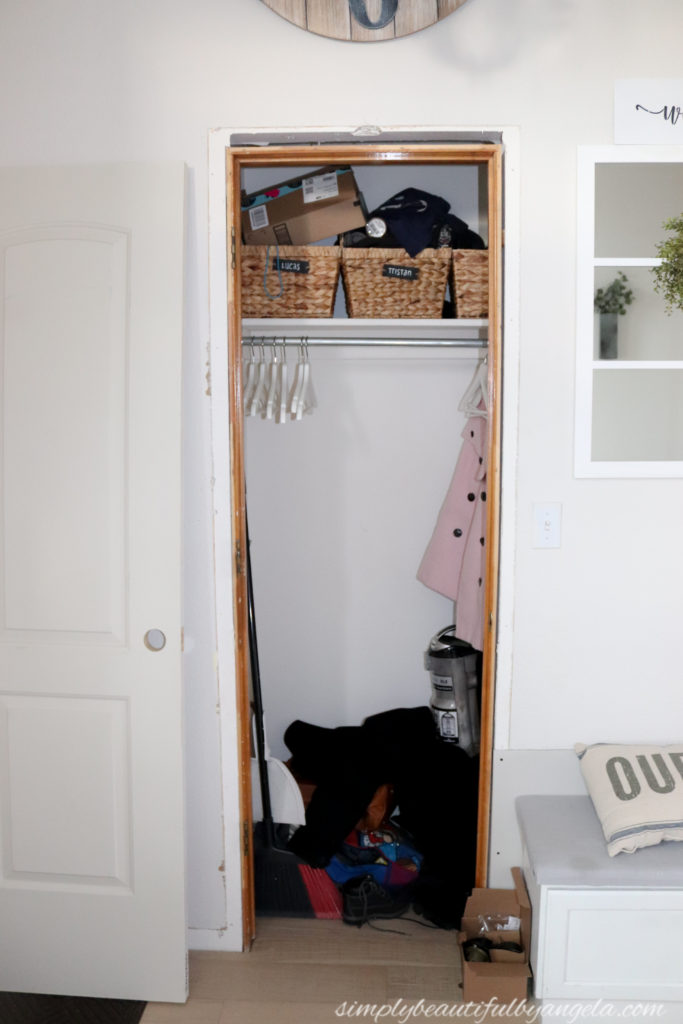
The clutter is still there, but this is how looks with the pretty new door hiding it!
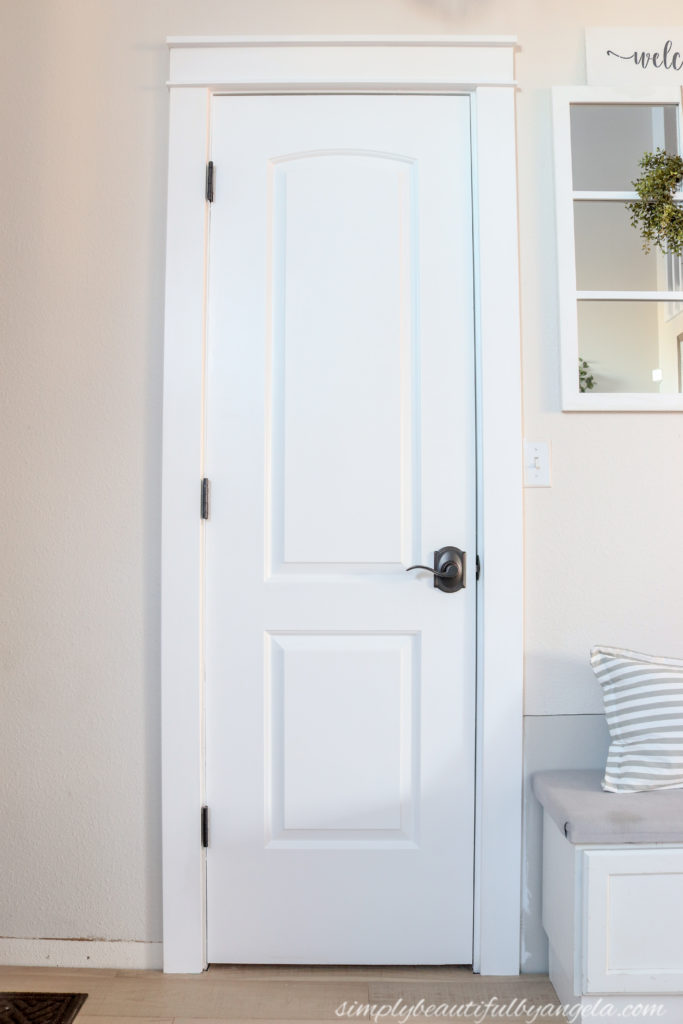
Next step is to go through and organize it better now. I’m especially inspired to do so since I’ve started watching the show Tidying Up on Netflix. Have you guys seen it yet? Completely life changing, you guys!
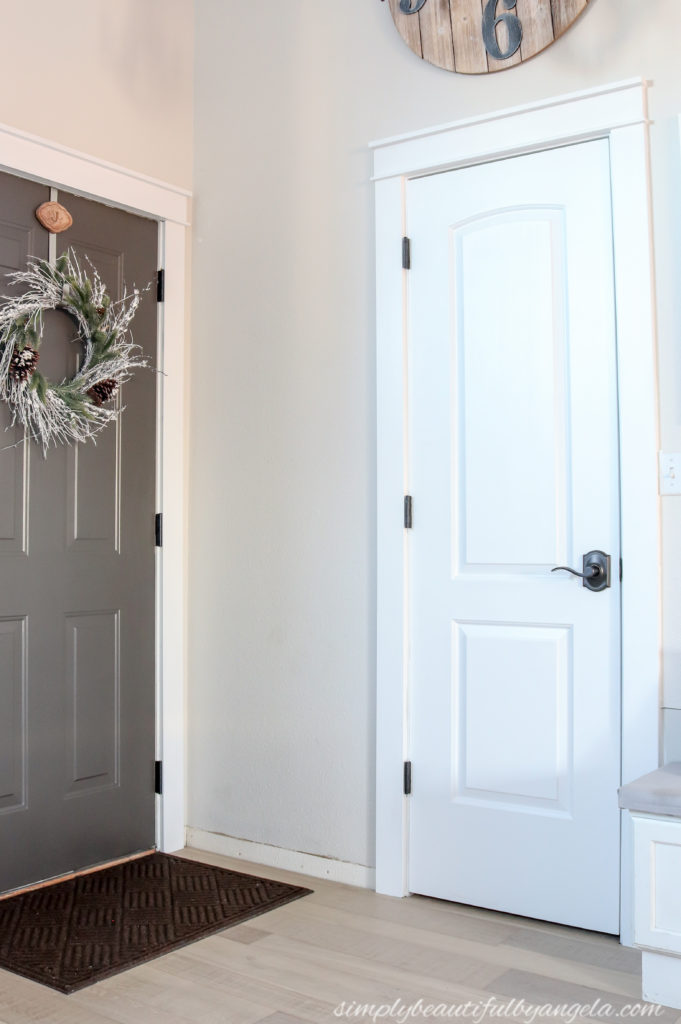
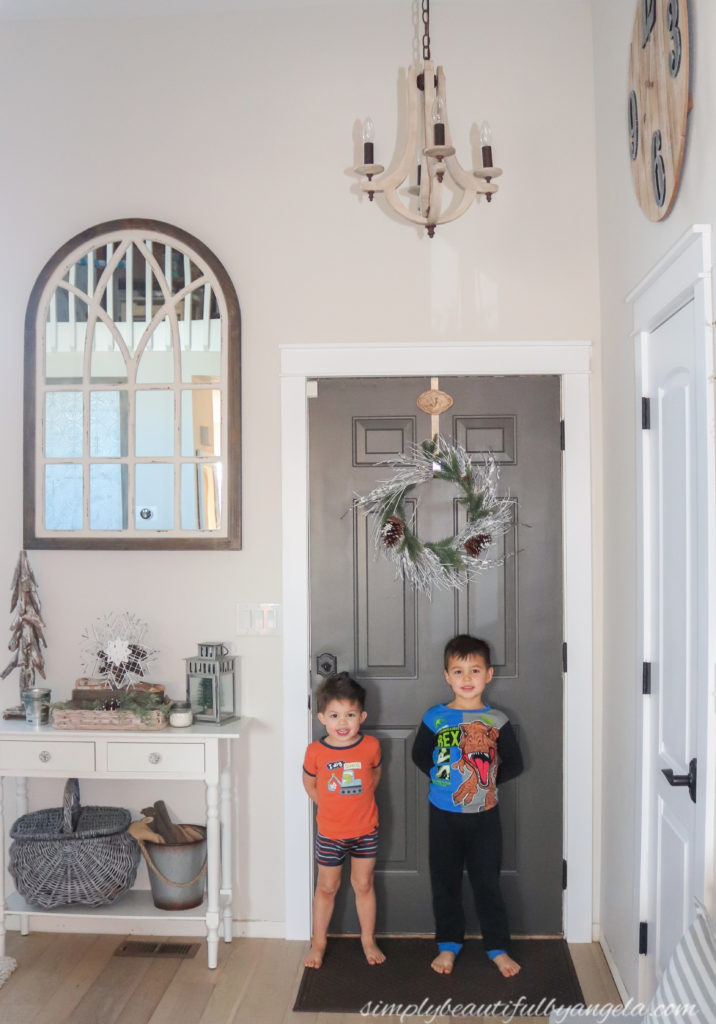
Ok, now let’s talk about the front door. Since I had the house to myself while I was painting the closet door, I decided to try something crazy. I’ve been thinking about painting our front door dark gray for awhile now but have kept putting it off. So I grabbed a sample pot of Urban Bronze from the garage and decided to give it a shot. When he got home I only had the first coat done, so he came in the garage door and turned the corner to this…
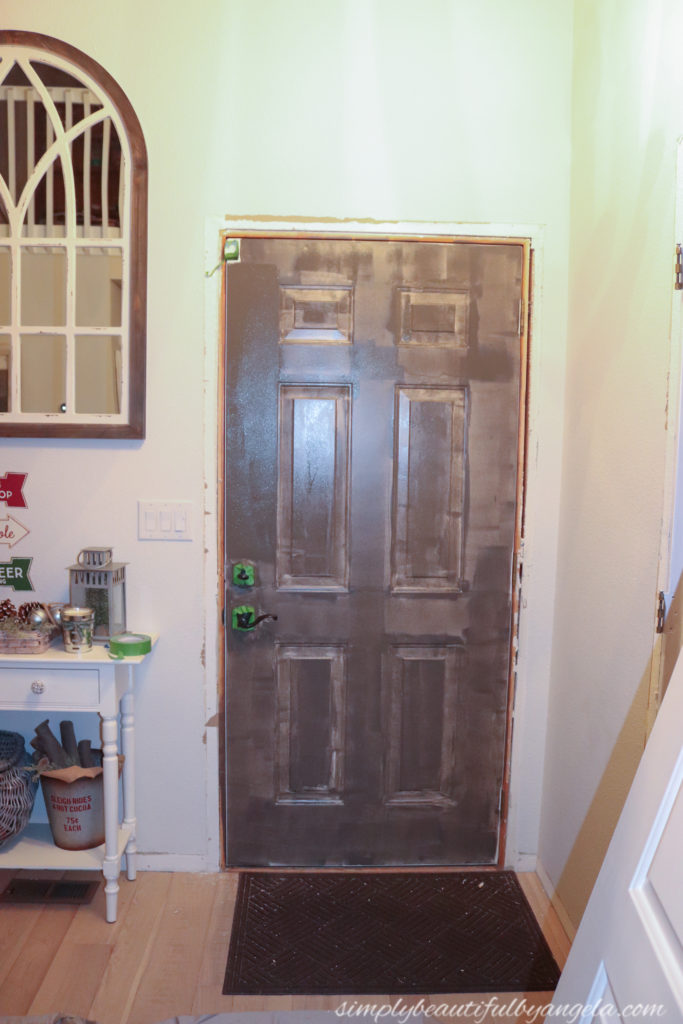
He freaked out a tad bit and asked me, “what in THE WORLD did you do?!” He should know to trust my vision better by now, because after the second coat went on he agreed that it actually looks amazing!
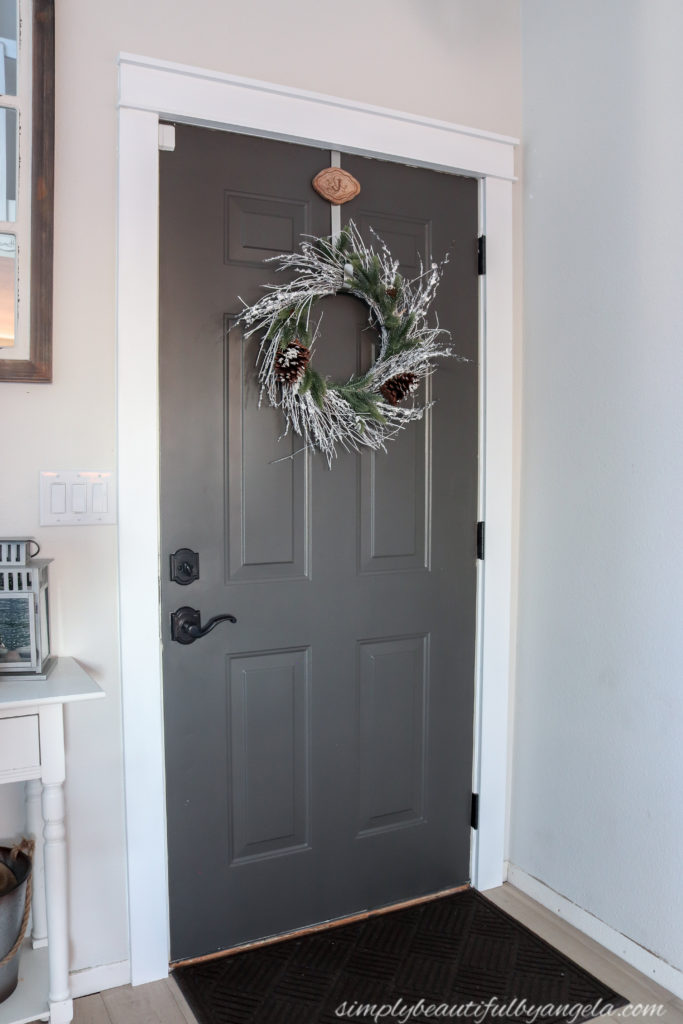
I love how fancy and rich the dark color feels and it’s a wonderful budget friendly update until we can afford to get a new front door.
I love how this corner feels now and it’s such a step up from how it looked when we first moved in. Actually, I just realized that I never snapped a picture what it looked like before we started working, however I did find this one on my phone to compare it to. This was Anthony installing the new doorknob the day after we closed.
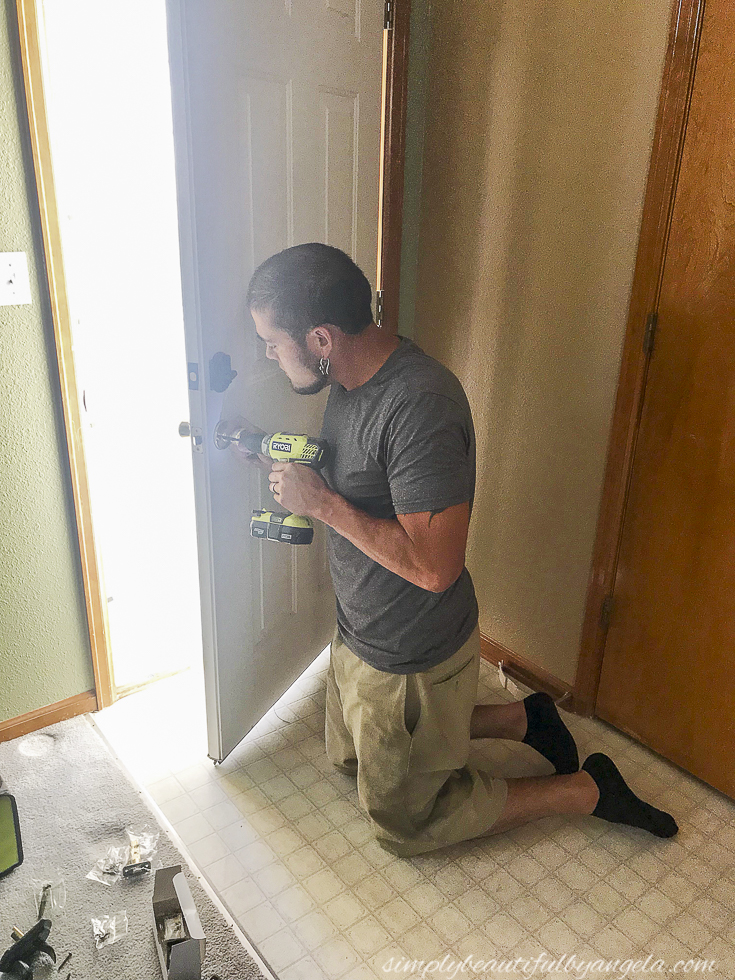
And here we are today!
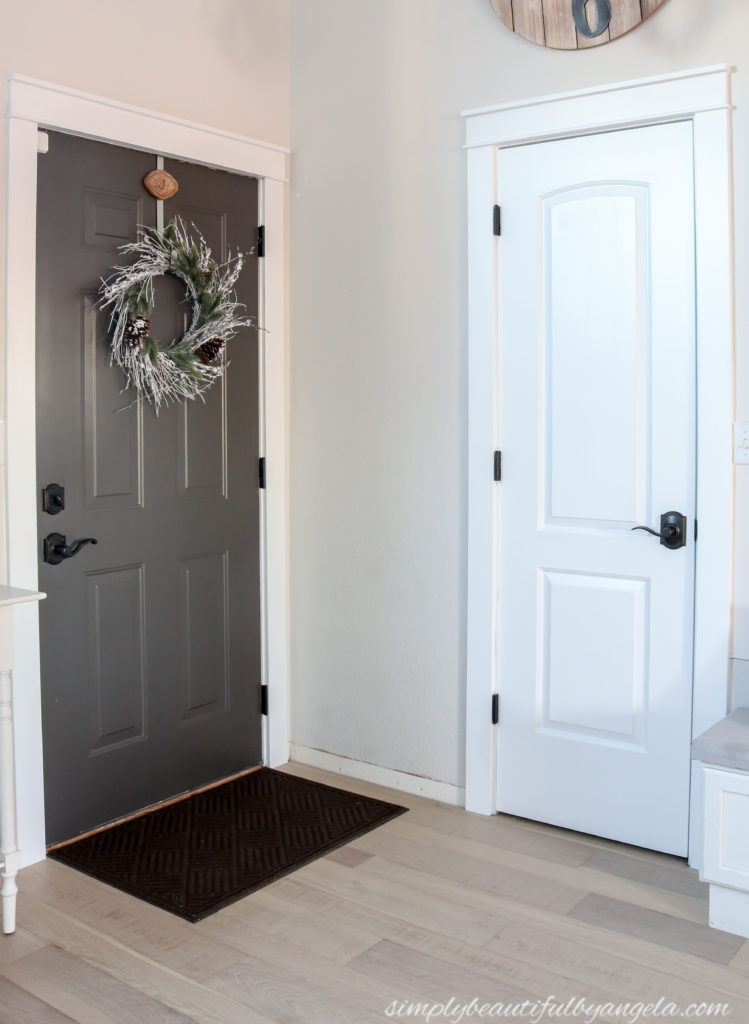
The new paint and floors help quite a bit too.
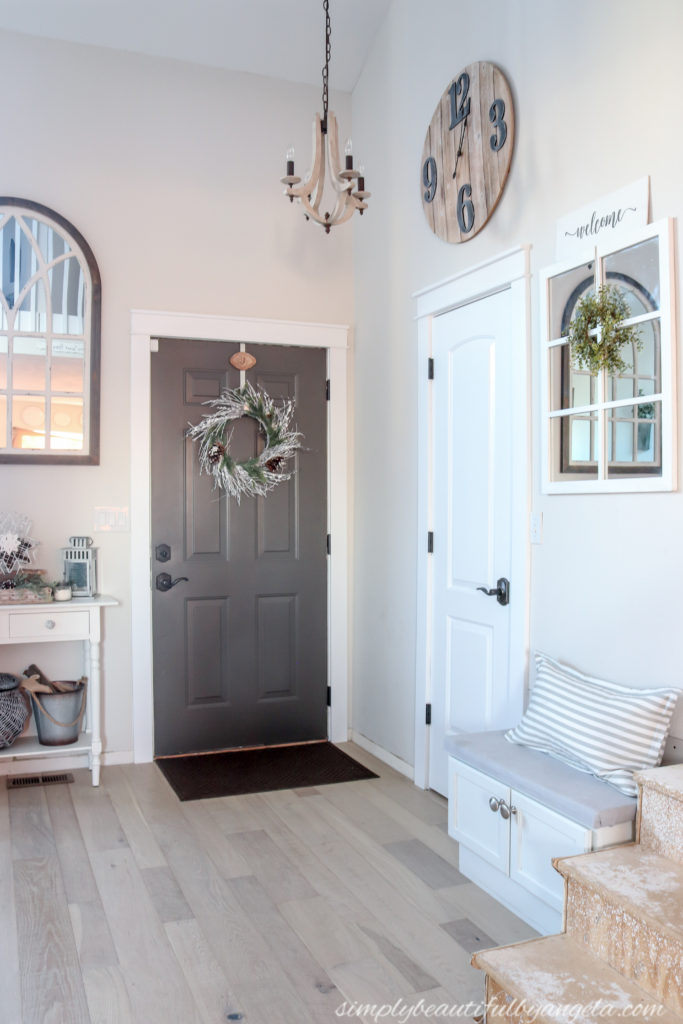
Once the board and batten and baseboards go up, I imagine that it’s going to look even better!
Alright, let’s take a quick peek back at the same view from last summer and compare it to today…
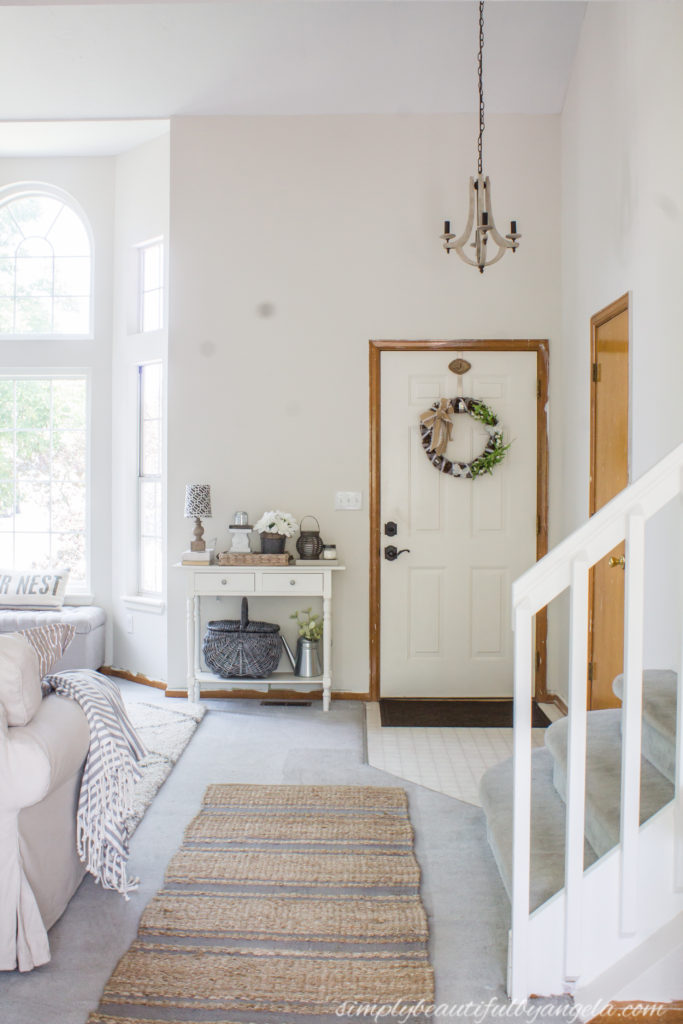
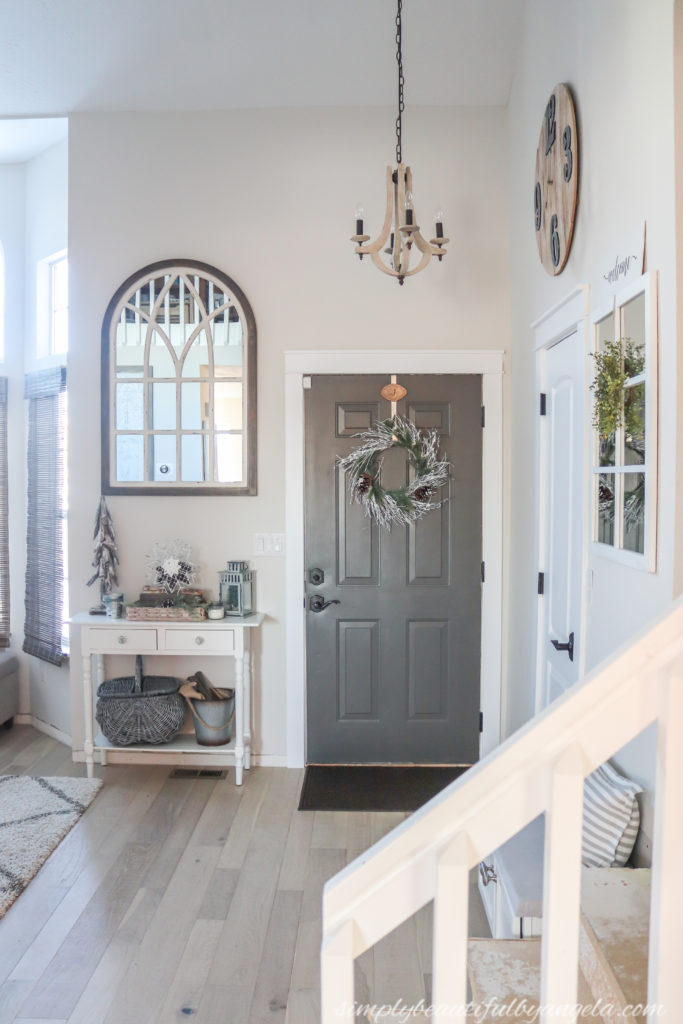
The lighting is a little funky because it was really early in the morning for our West facing house…but I still see a major improvement!
I’m still trying to decide whether or not I need something above the front door. I didn’t notice until recently how it is slightly shorter than the closet door so I’m thinking that a pretty vintage metal piece may help balance it out a little better.
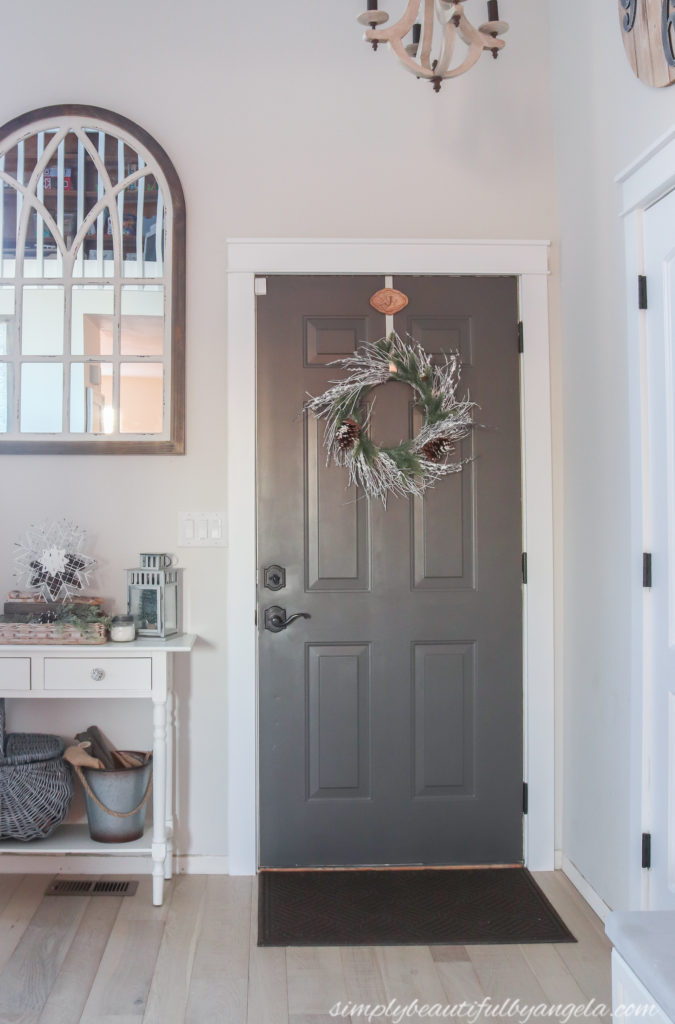
While I was snapping these photos Lucas dropped in for a quick photo bomb and was then followed by his brother and it was too cute not to share!
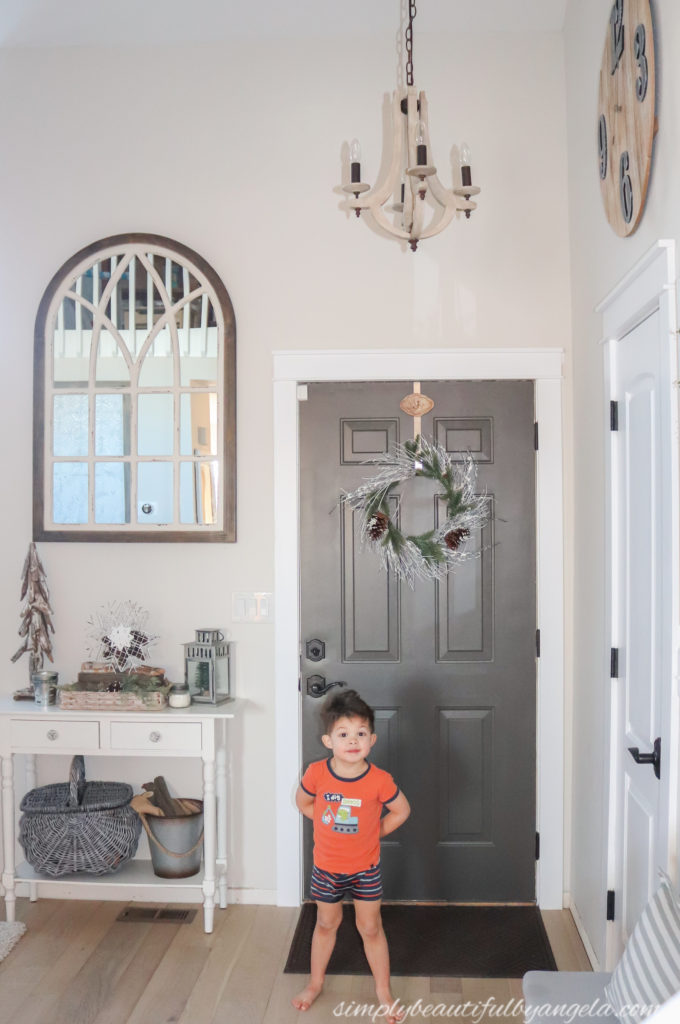
They’re such little hams!
Thanks for stopping by today. Next week the Thrift Store Challenge is starting back up and I’m so excited to start my first project of 2019 and to see what amazing-ness everyone else comes up with. See you all then!
(Affiliate links may be provided for convenience. For more info, see my full disclosure here.)




This looks wonderful!! (And I do love the colour you chose for your front door) 🙂 Thanks for sharing on Sweet Inspiration!
Thank you so much Lidia!
Hi Angela,
I wanted to let you know that you will be featured on this week’s Celebrate Your Story link party that is posted on Monday evenings. Love the transformation! You guys did a great job! Hugs!
Oh wow thank you so much Benita!! I really appreciate that 🙂
Wow..what a transformation! I do love what you’ve done with the doors, and the whole look of the front entry, including the floor. Good for you!
Thank you Maria! Yes I’m pretty smitten with how the floors turned out 🙂