Happy Thursday everyone, I hope you’re having a fantastic week so far!
A couple of weeks ago I shared the progress on our pantry turned mudroom nook and I received SO much positive feedback from you guys! It made me super happy to hear that you are as excited as I am about this transformation! 🙂
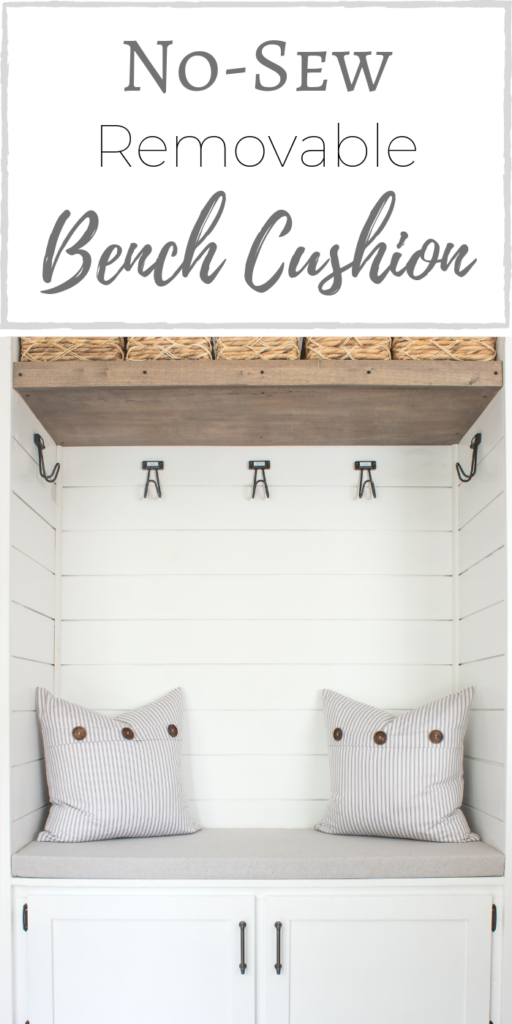
Today I wanted to drop in to give you a quick little update on where we’re at, and I also decided to do a tutorial on my no-sew removable bench cushion that I made. Sooooo let’s get to it!
As a quick recap, when we first toured our new fixer upper we noticed that the pantry was located in a very awkward spot.
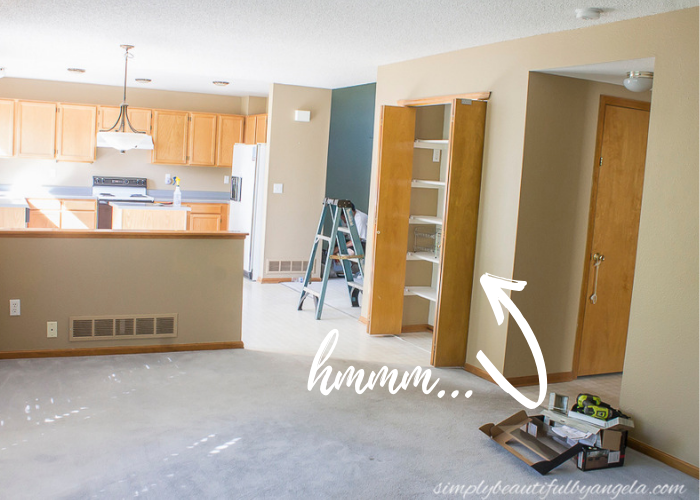
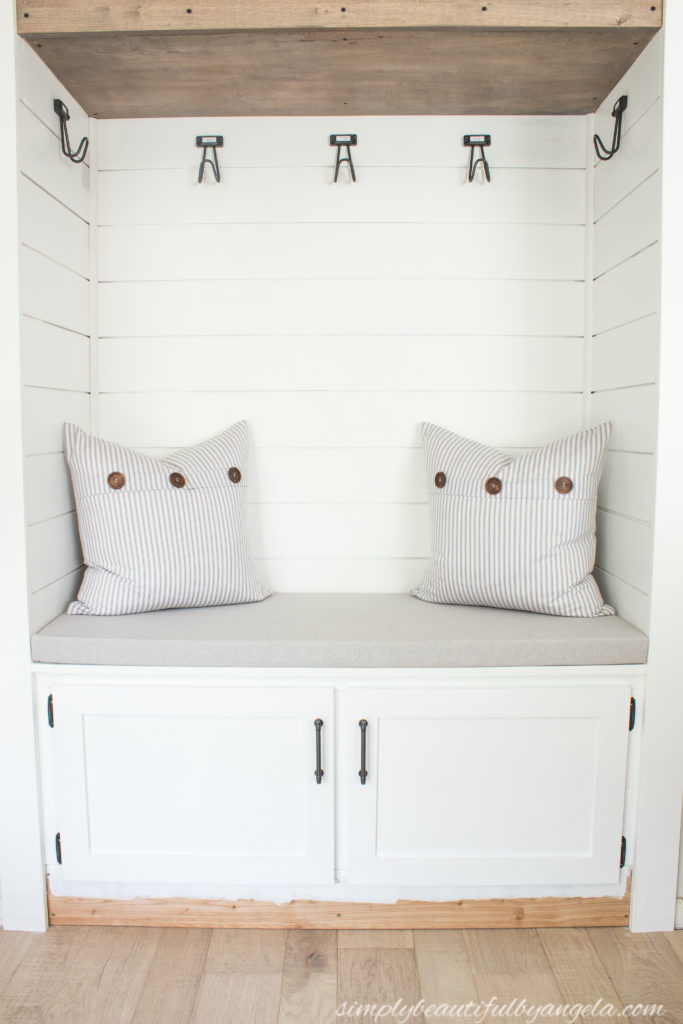
We decided to use some cabinets in the kitchen for our food storage and turn this area into a little drop zone instead. I last left you with this view:
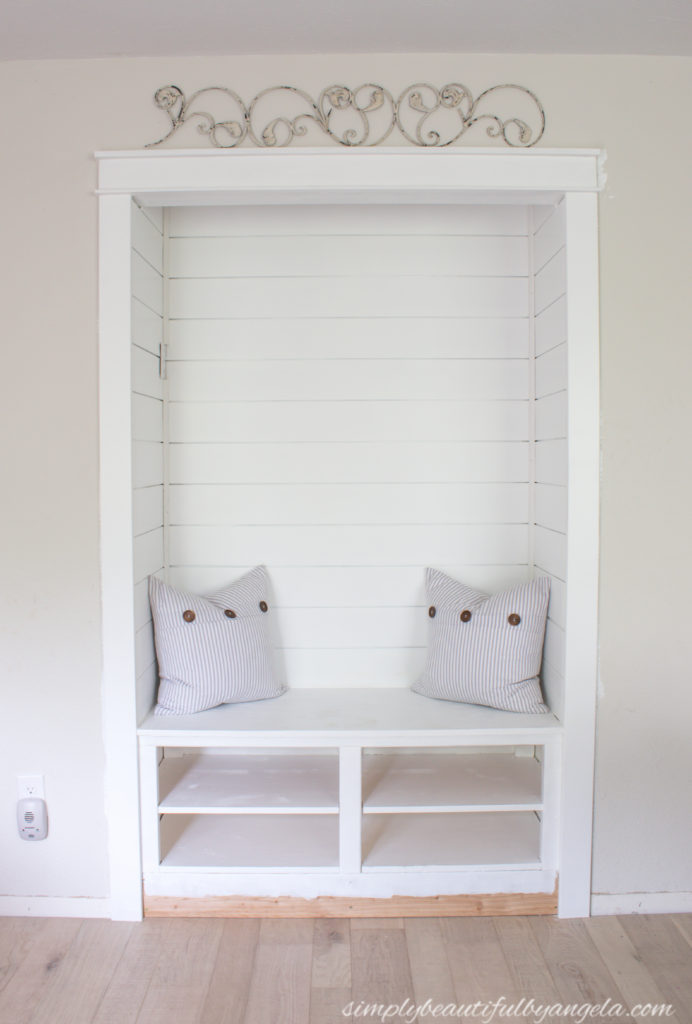
The shiplap was done, the craftsman trim was up and the bench was built. I was finally able to see my vision from the past year coming together! But then my friends, it sat like this for awhile.
Sometimes it doesn’t matter how excited I am for a project or how budget friendly it is, I still get to a point where I start dragging my feet for no reason. And that’s exactly what happened!
However once Anthony helped me build the shelf and install the hooks, I was starting to feel motivated again.
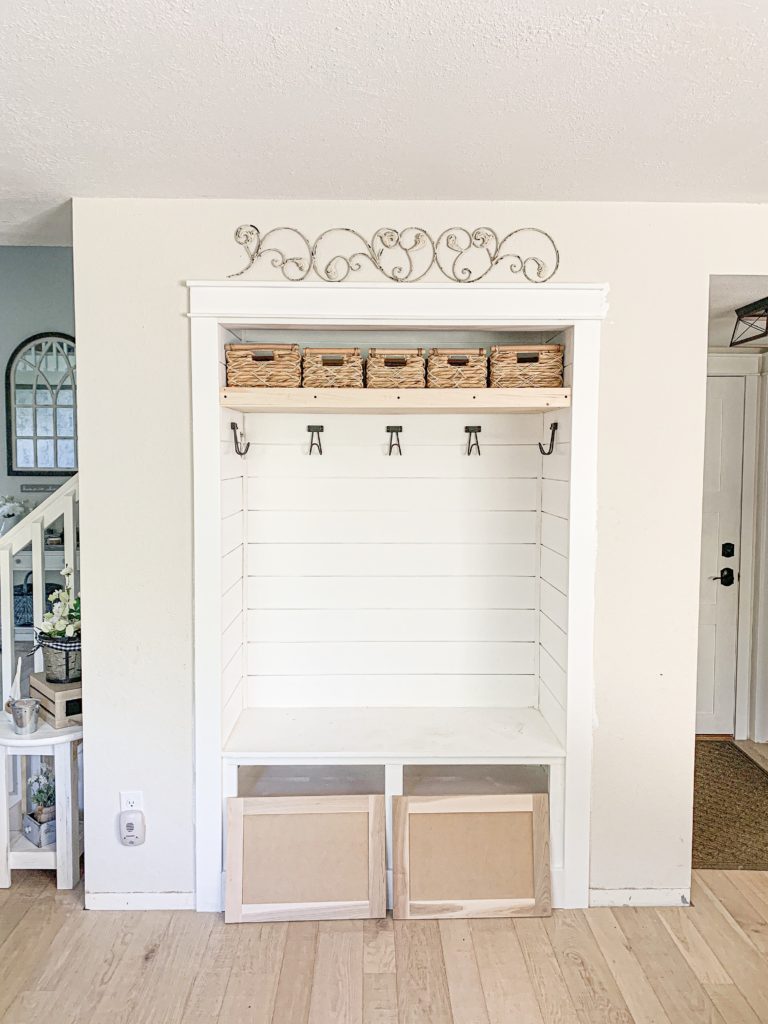
BUT. When my cabinet doors were delivered I realized that I had ordered them an inch too tall for the space!
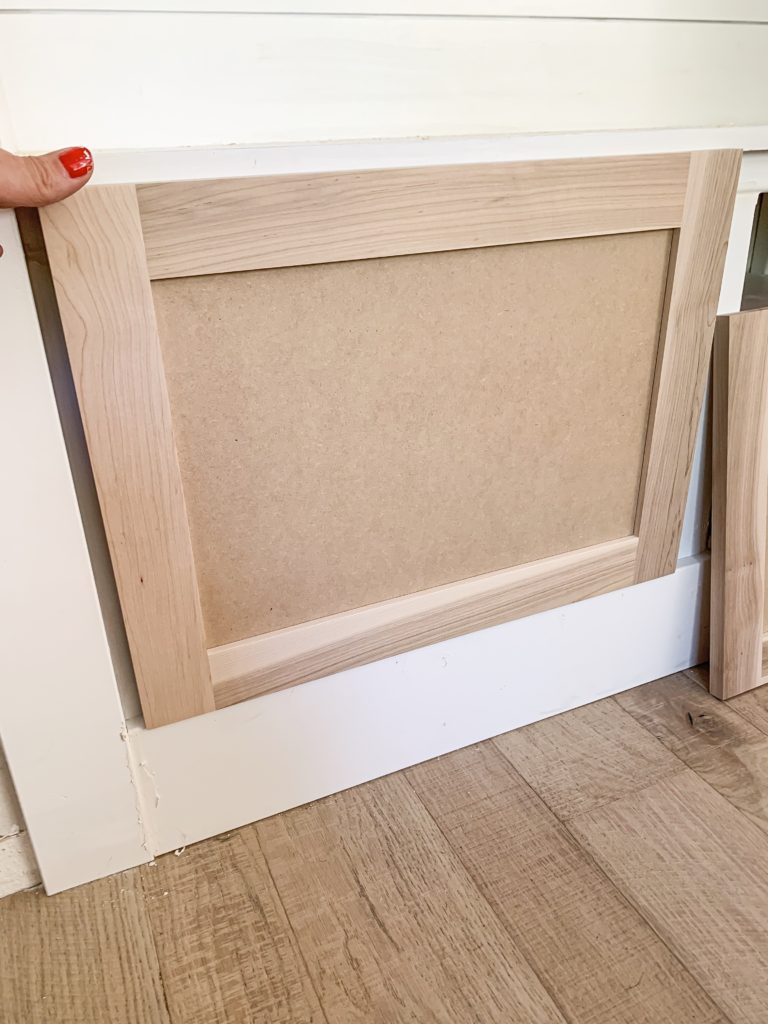
Since they are custom, they are non-returnable and I was stuck with them. So needless to say, I was pretty bummed out and thus the space sat untouched once again.
One day I asked Anthony if he could cut the doors down on the table saw for me and he asked me, “why don’t you just take the bottom trim piece off and we can cut that down instead?” Ahhhh I love that man–he’s such a smarty pants during my moments of duh!
So I painted the doors and we were finally able to install them this past weekend!
I also made a bench cushion! I found out that custom cushions can be crazy pricey, even more than my cabinet doors! But since I’m not an expert seamstress I was really hesitant to try making my own.
So I came up with a crazy idea to make one using velcro. I honestly wasn’t sure if my method was going work, but it did and I’m absolutely thrilled with how it turned out. If you have an iron and know how to wrap a present–I promise that you can totally do this!
Supplies Used:(Affiliate links may be provided for convenience. For more info, see my full disclosure here.)
- 2″ Foam (I actually got mine at Joann’s but this one on Amazon is a little cheaper)
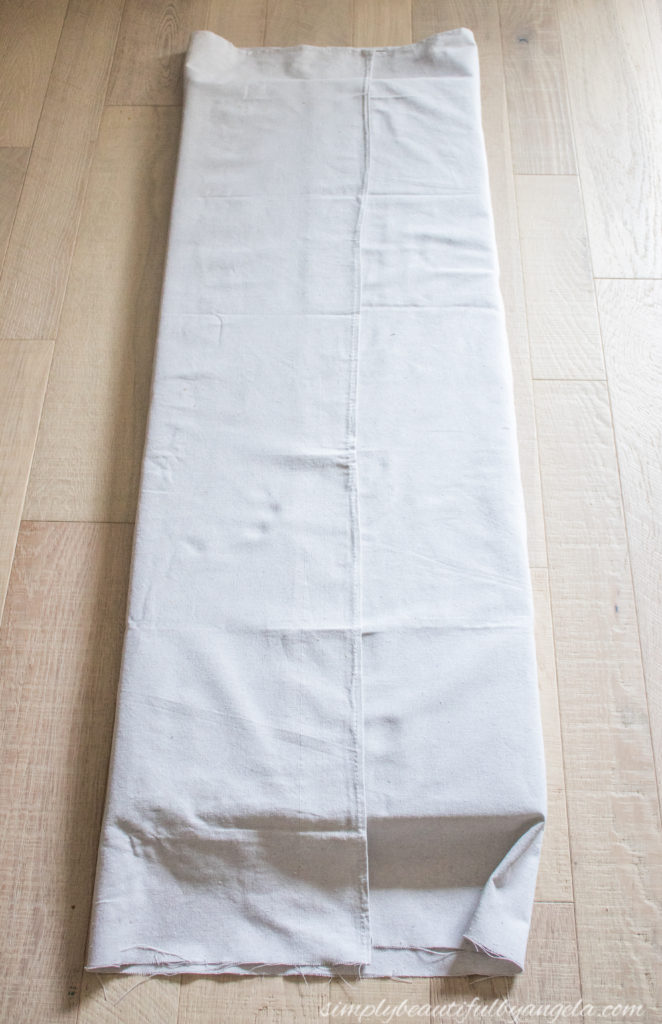
- Canvas Drop Cloth
- Iron on Velcro
1. Cut Foam to Size
I purchased my foam from Joann’s for about $26 after using a 40% off coupon. I actually found several cheaper options on Amazon afterwards (like this one), so learn from my mistake and be sure to shop around before you buy!
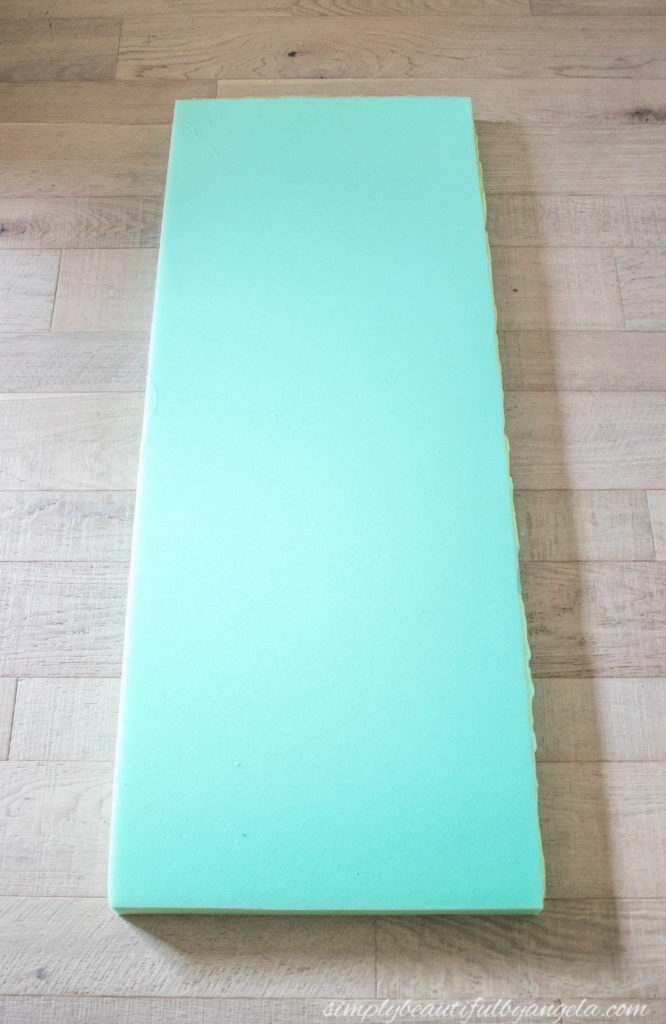
It’s very easy to cut foam if you have an electric carving knife. Unfortunately I can’t find what I did with ours, so I had to use scissors and ended up with some jagged edges. Luckily since only the front is visible, I was able to put the pretty uncut side there.
2. Cut Fabric to Size
It’s no secret around here that I’m totally obsessed with canvas drop cloth material. From pillows, to curtains to hampers, I love using it because it’s cheap and the perfect neutral color to fit in with our farmhouse style. My favorite ones are from Home Depot because they are awesome quality and have kind of a cool gray shade to them.
I cut the drop cloth down so that I had about 3 inches of overlap lengthwise and then trimmed down the sides so that I had enough to wrap it like a present.
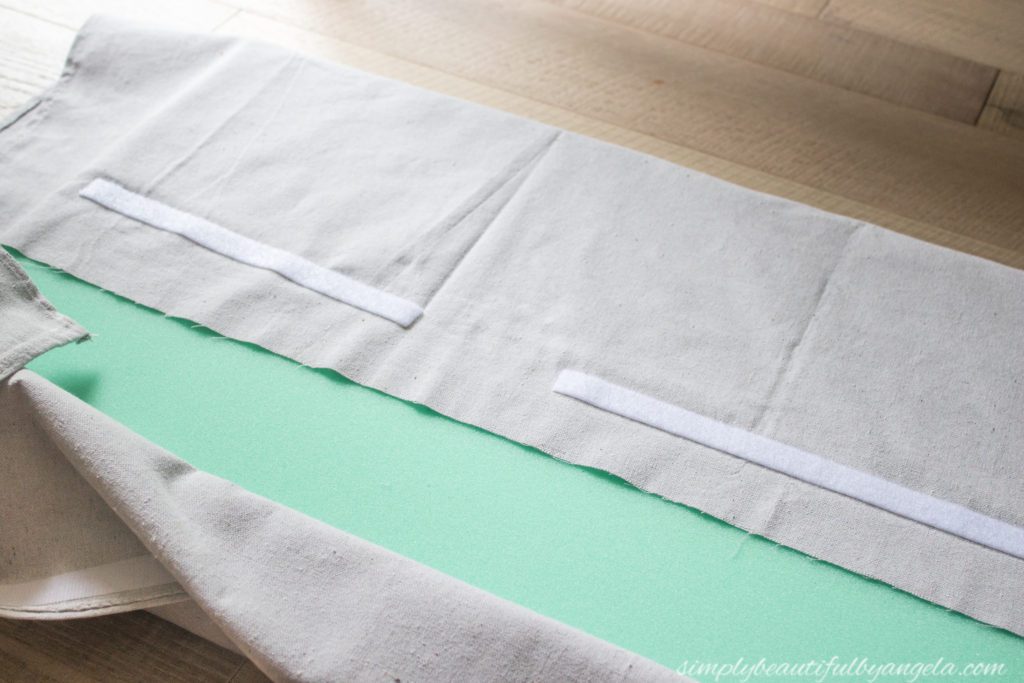
3. Apply One Side Of Velcro Lengthwise
I decided to try iron on velcro for the first time and I am actually really impressed with how quick and easy it was to do! I’m so glad that I chose to not fight with the sew-on kind like I usually do.
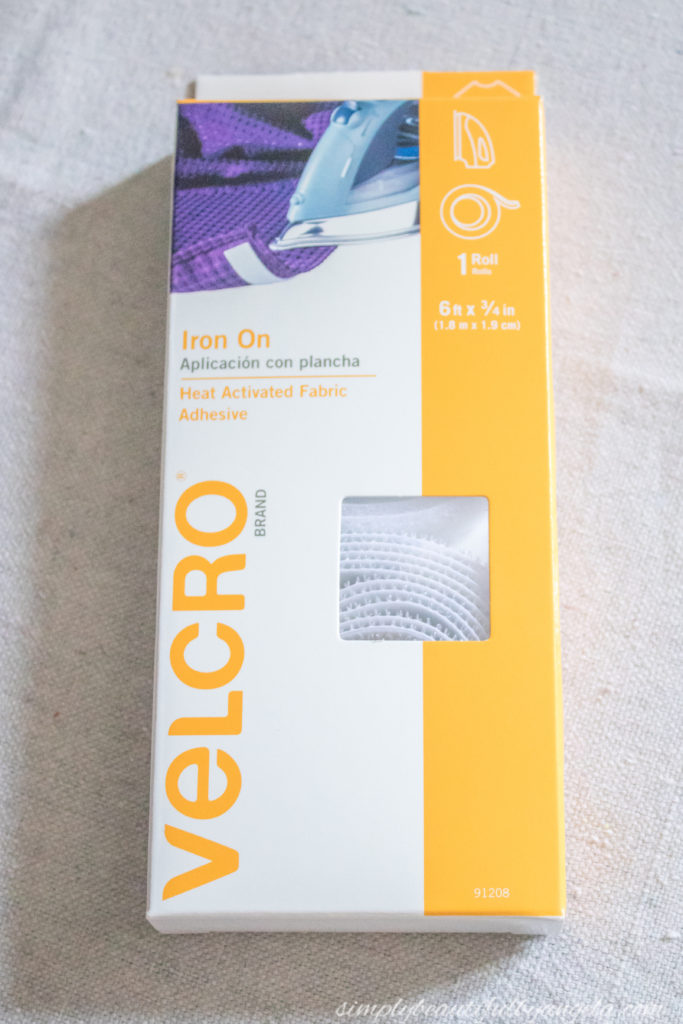
I cut down 3 strips and removed the backing to reveal the adhesive on the back and then placed them along one side of the dropcloth lengthwise.
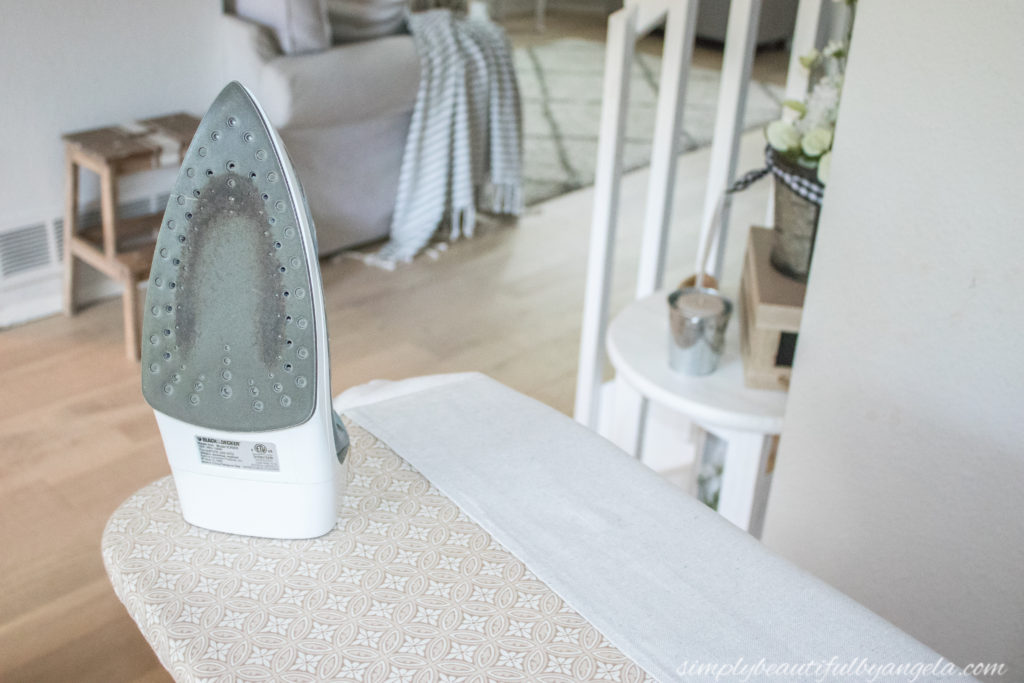
The instructions said to press with the iron for 90 seconds, however I found that I only needed about 30. Maybe my iron is just really hot, but when I went longer than that it seemed like it was going to start burning the fabric.
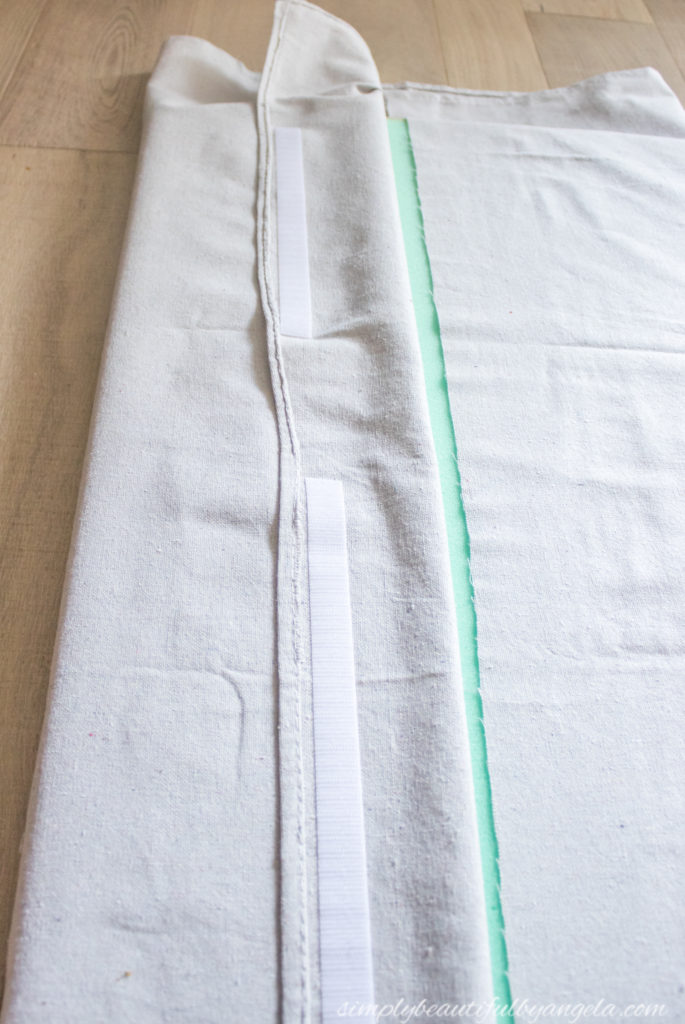
4. Apply the Other Side of Velco Lengthwise
I cut three equal sized pieces of the other side of the velcro and gently pressed them to the side that I had just ironed on.
I then removed the backing and pressed it down on the other side of the fabric. I carefully pulled the velcro apart so that I could take the cloth back to the iron.
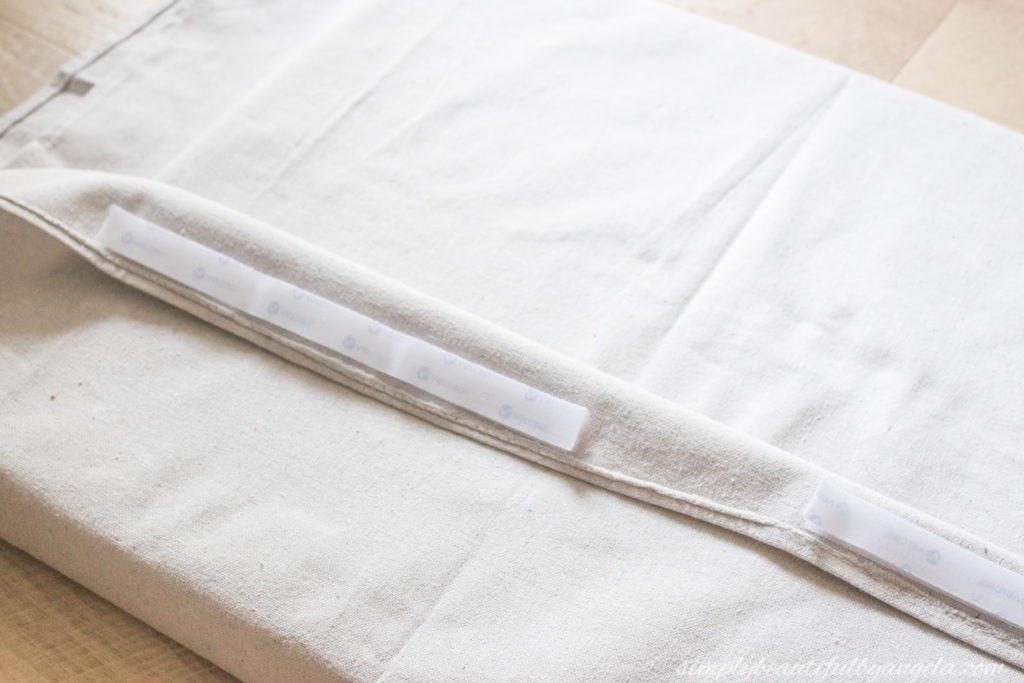
6. Fold Ends and Apply Velro
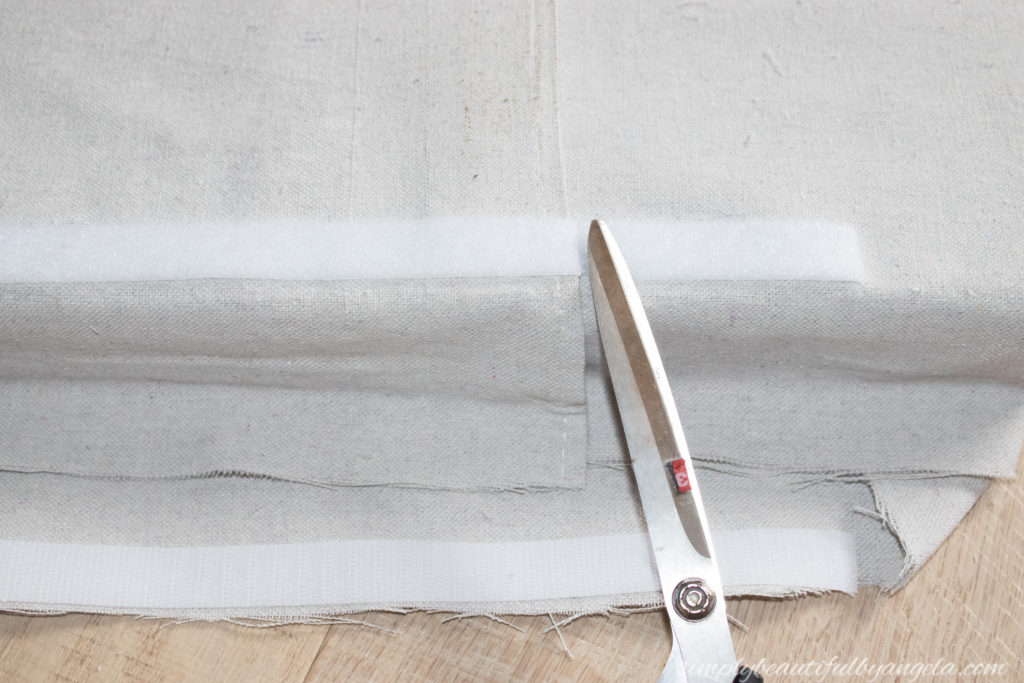
I neatly folded the ends just as I were wrapping a present and applied a strip of velcro to either side.
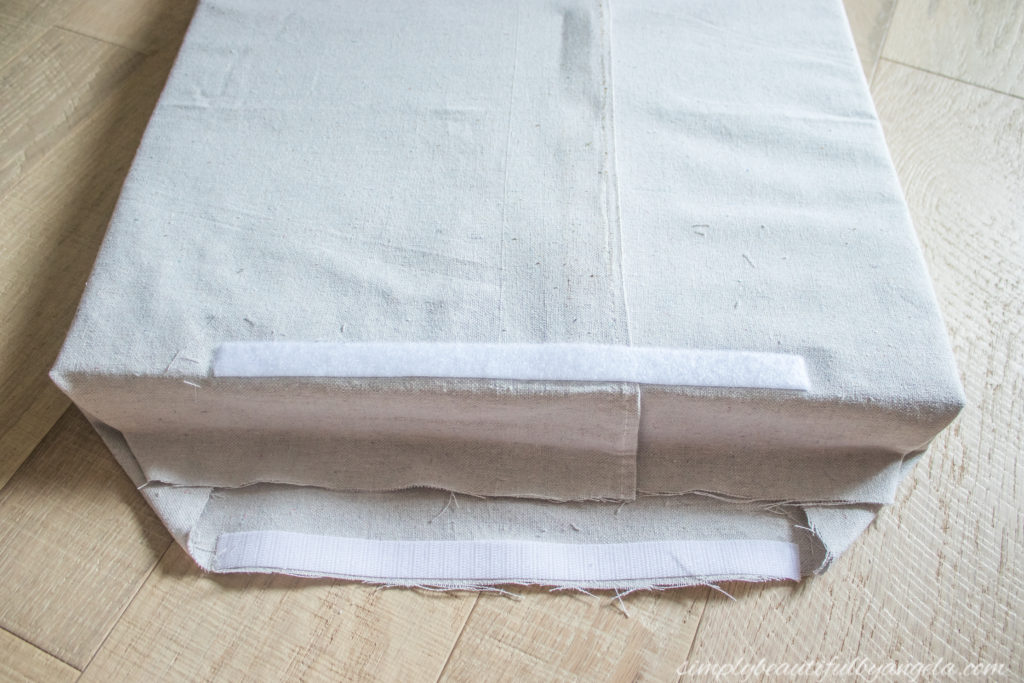
Since my piece went over the seam, I gave it a quick cut before taking it to the iron.
Once I ironed those on, I re-wrapped the cover on to the foam.
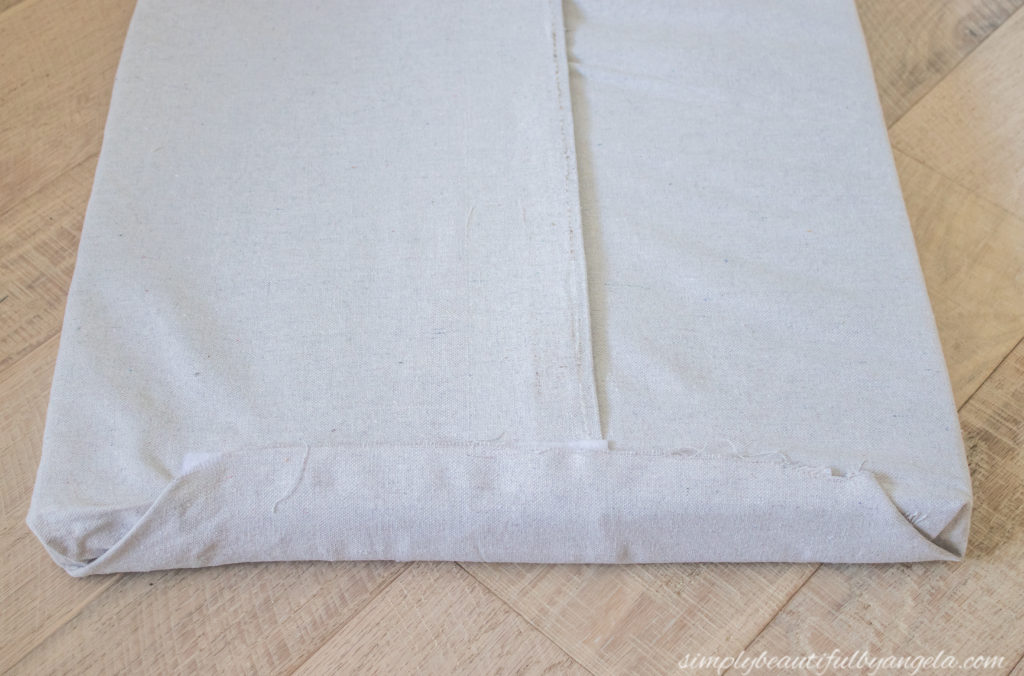
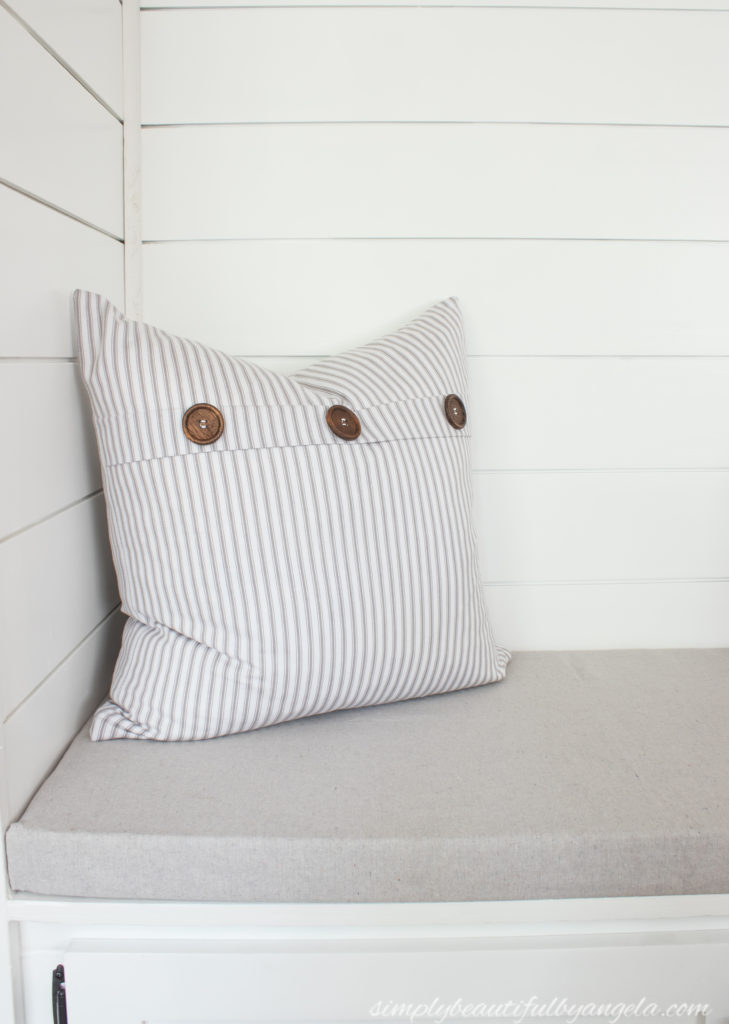
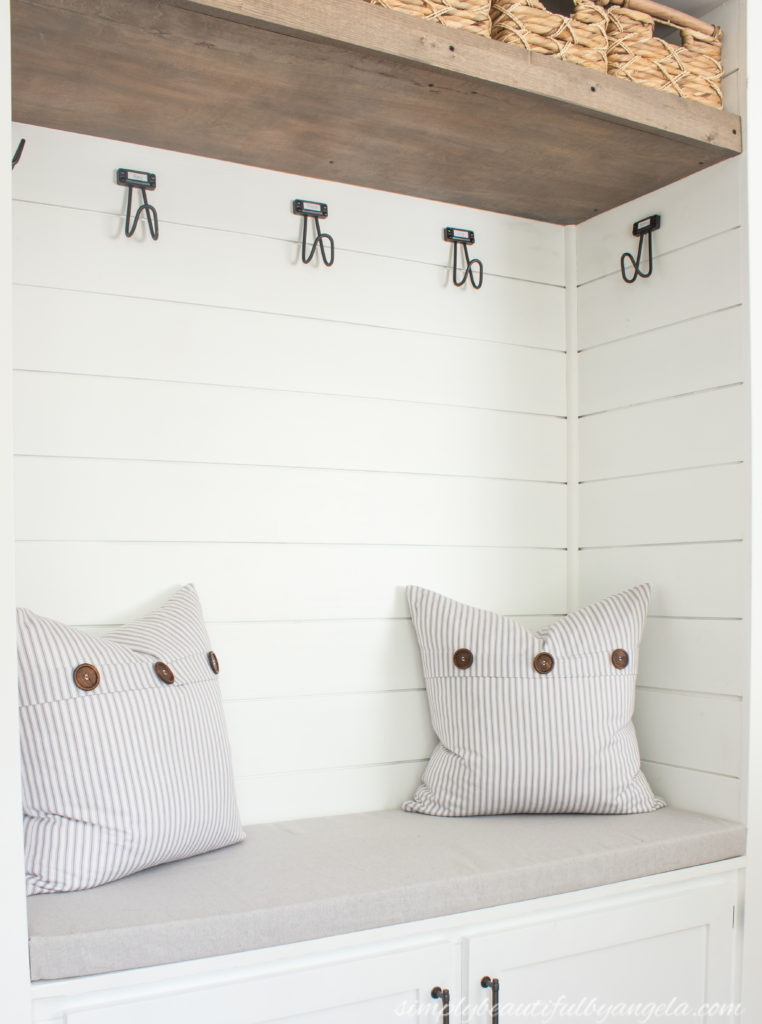
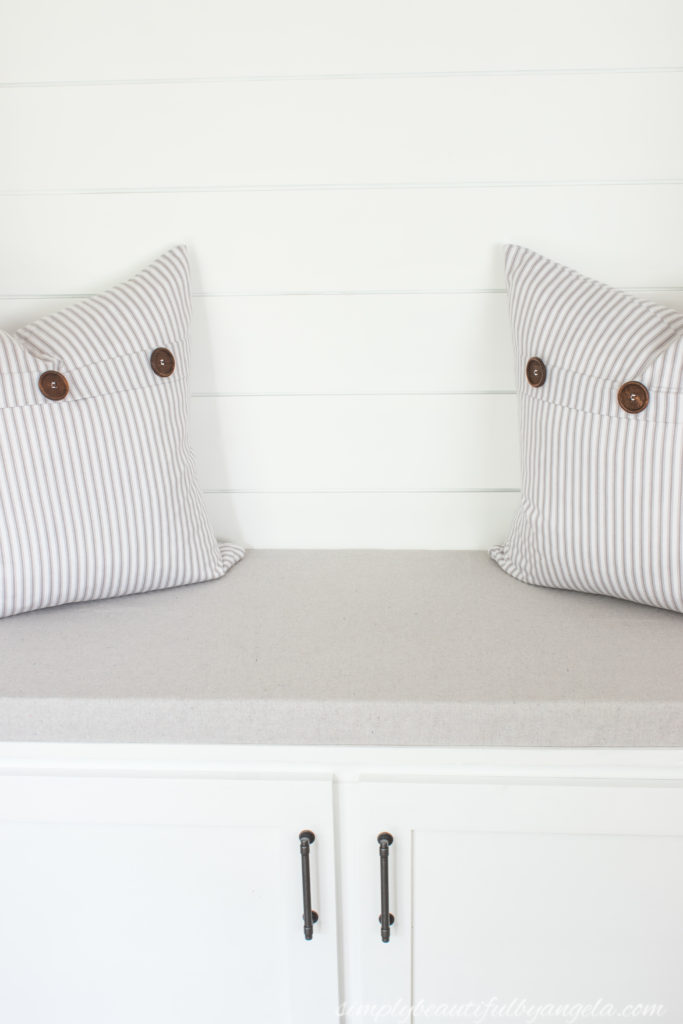
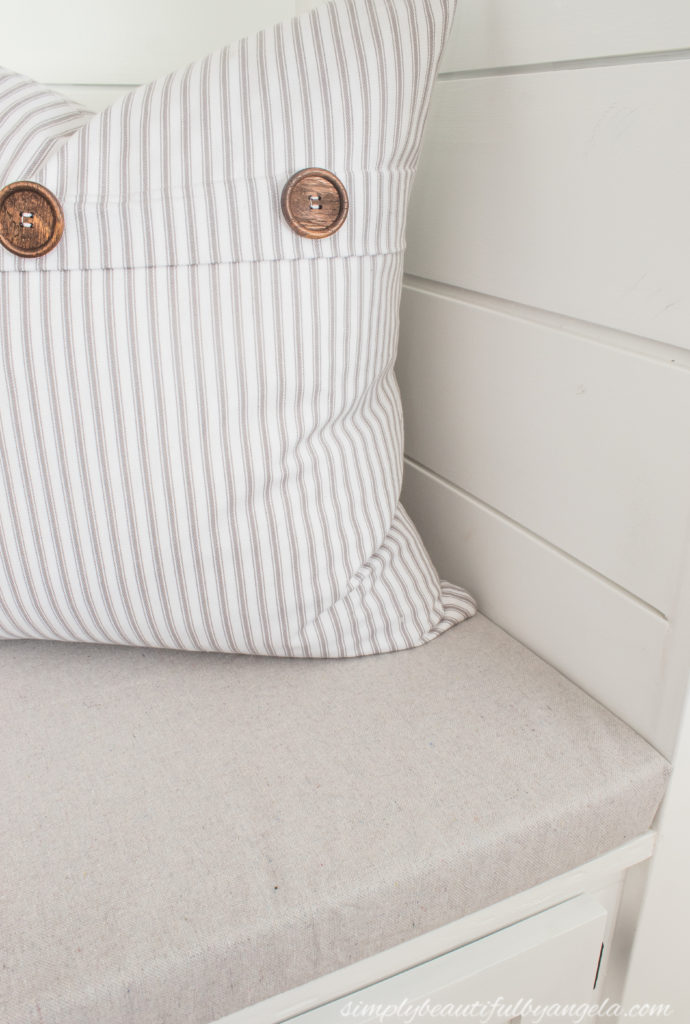
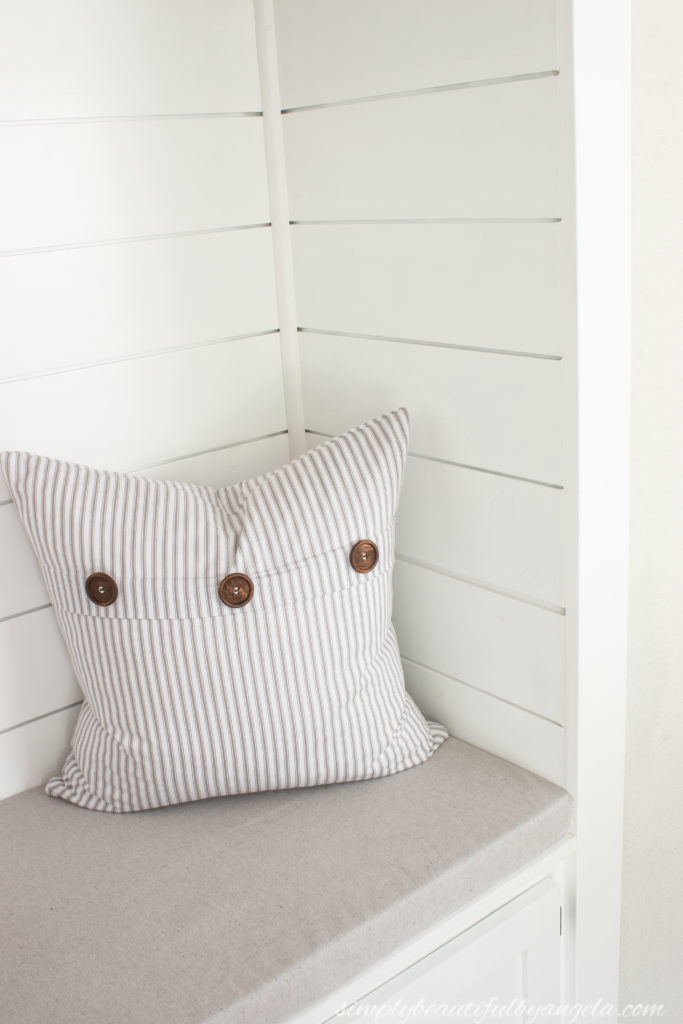
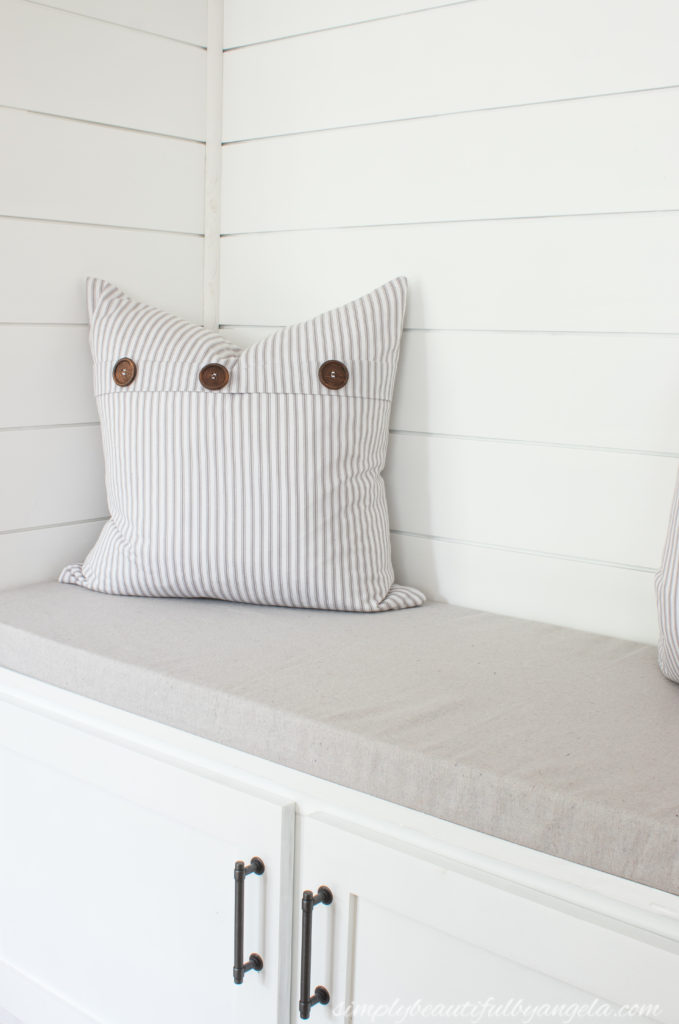
And here is how it turned out!
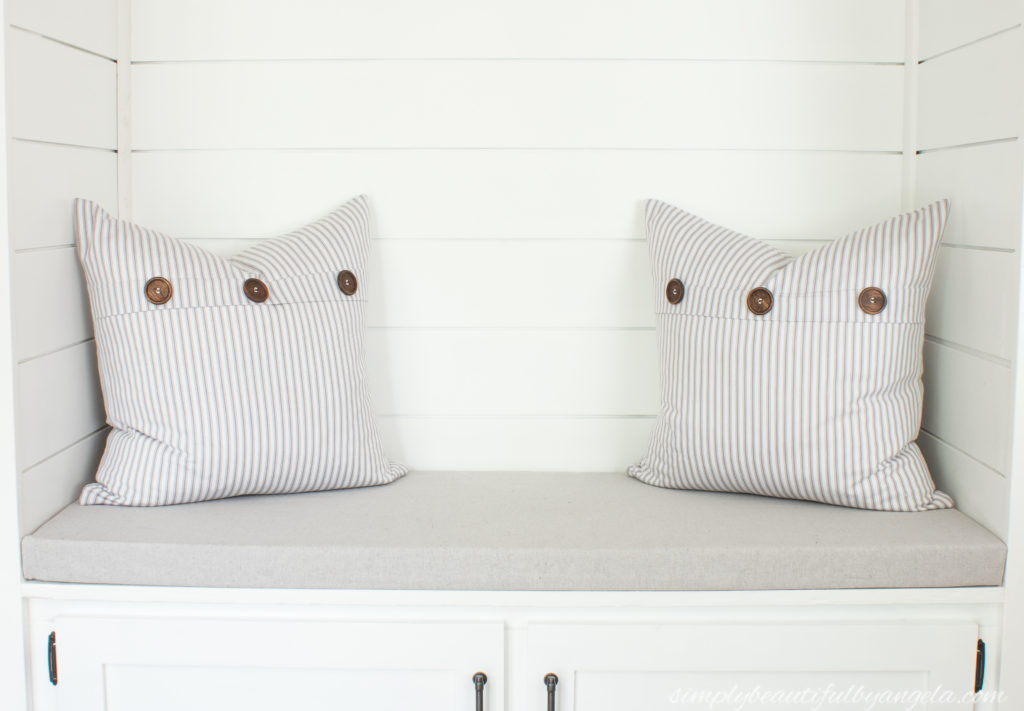
I love how cozy it makes this little space!
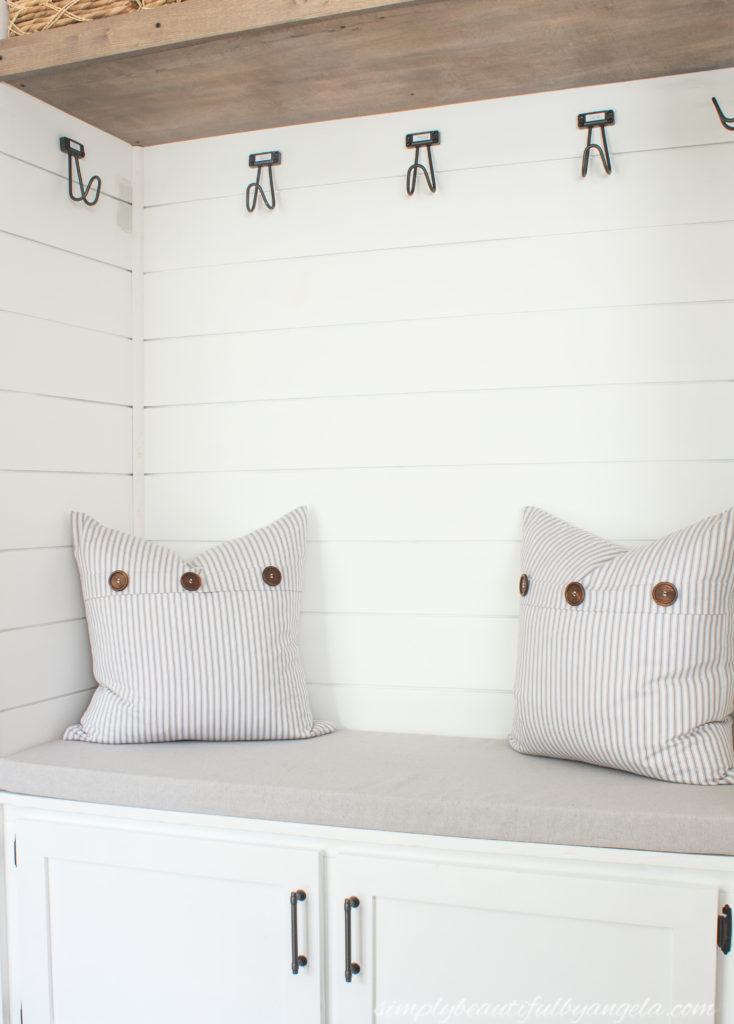
I found the striped pillows at Homegoods a few months ago and they just so happen to coordinate with the color of the drop cloth perfectly.
We have a custom cushion at a fraction of the cost! When I looked at having one made for me they were well over $100 dollars. This version only cost $48 ($26 foam + $12 dropcloth + $10 velcro).
I was going to add some stick-on velcro to the bottom to keep it in place, but it fits so snuggly that I actually didn’t need to.
I’ve seen other no-sew versions that involve stapling the fabric and foam to a board, but I wanted something that I could slip off and throw in the washer. Especially since we have two messy little boys in the house and it’s bound to receive a few spills!
I have just a few more paint touch ups to do and need to add the trim piece at the bottom, and then I can call this space done!
I should have it ready to share for the final reveal next week!
Thanks for stopping by today my friends. I hope you all have a nice rest of the week and a wonderful weekend!
Linking up to these awesome parties!
Super pretty mudroom nook great idea.
Happy summer,
Kippi
Thank you so much Kippi!!
That’s really cute! The space is looking cute – makes me want to curl up with a good book!
Thanks Jasmine!! I know me too 🙂