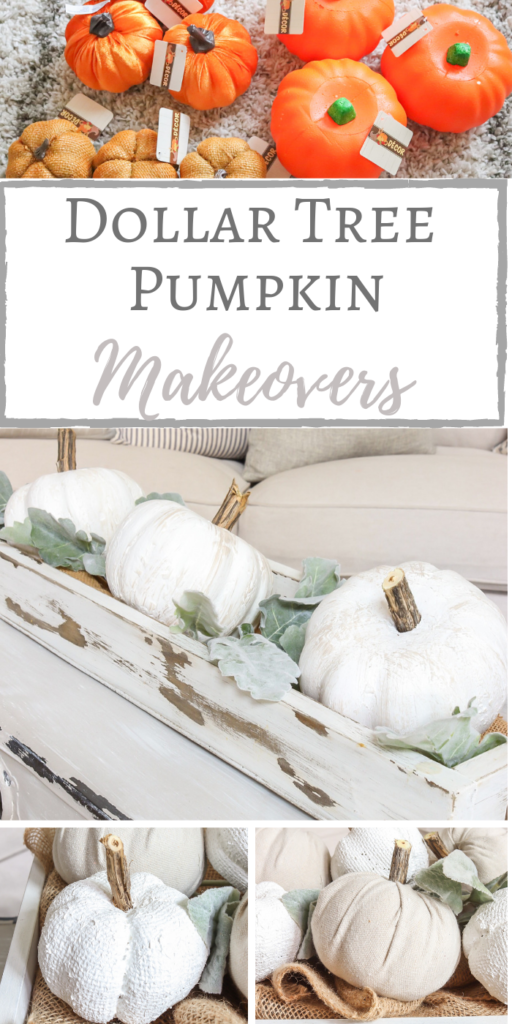
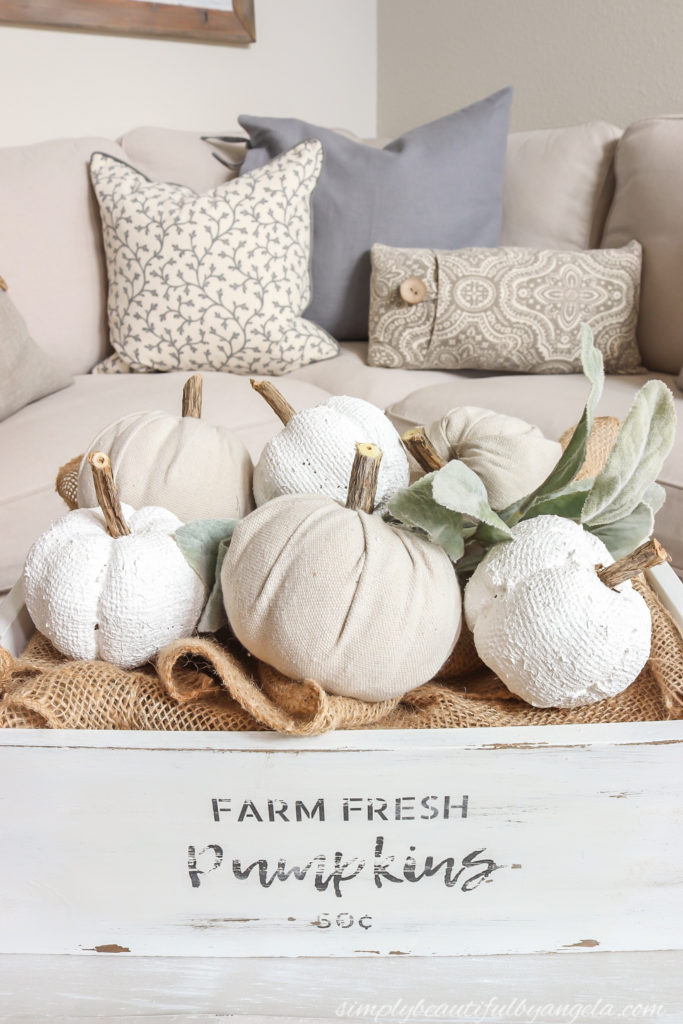
Well it’s official–fall decor has officially made an appearance in our house! Suuuure it may still be crazy hot outside and all of the leaves are still green, but every year as soon as Labor Day arrives I’m ready to start bringing the pumpkins out of storage! It’s such a fun season and I just can’t stand waiting weeks until actual fall in Colorado arrives to start decorating.
But as I was putting things together I actually began to feel that my pumpkin stash was a little sparse. Of course when I made this statement the hubby and Tristan made no attempts to hide their giggles because thought that I already have way too many, but dang-it..this girl was craving some more pumpkins in our lives!
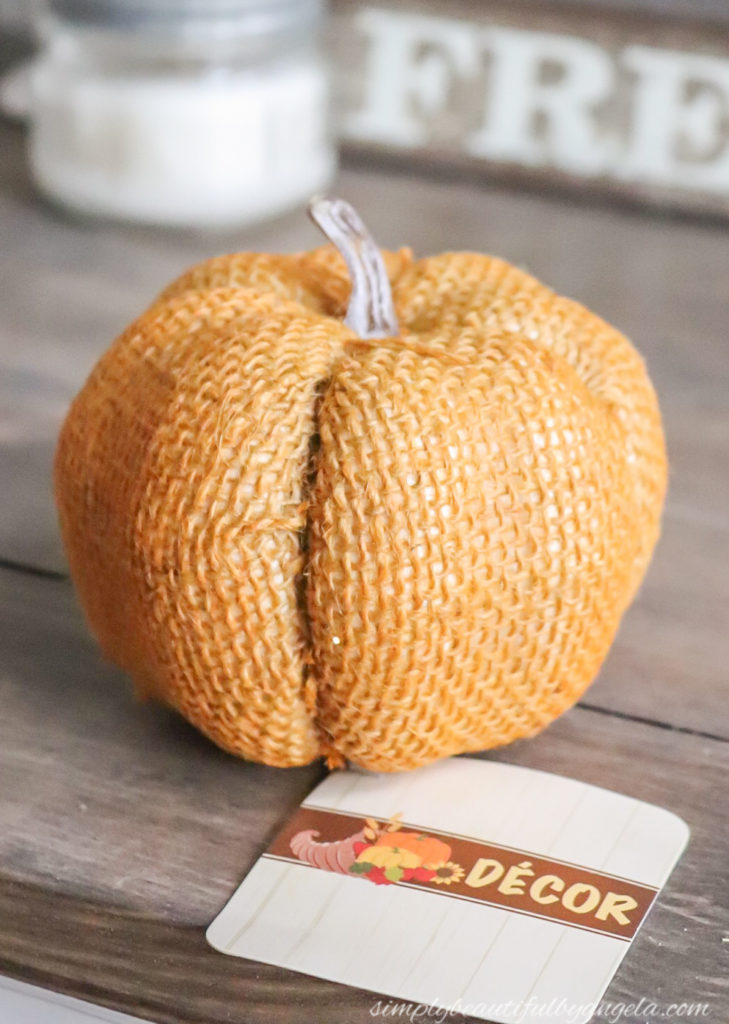
I didn’t want to spend a ton, so I headed over to the Dollar Tree and picked up these guys.
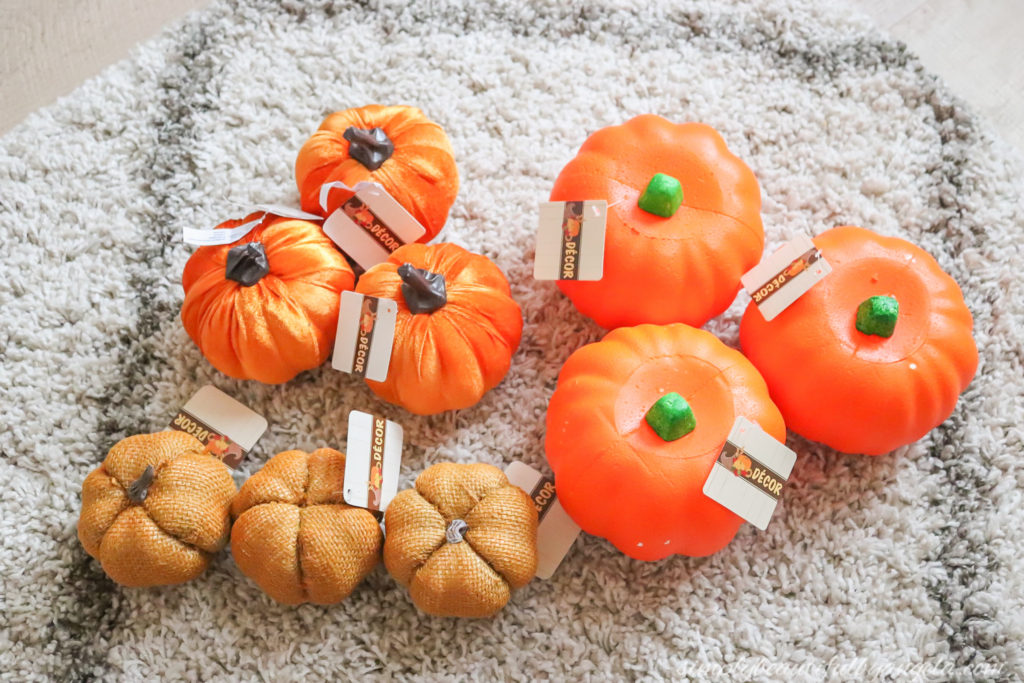
Of course as a neutral loving girl, I knew that the orange wasn’t going to work. But I had a plan for each of them and I couldn’t wait to get them home to update them!
Today I’m going to share how I transformed each one to fit my neutral farmhouse style!
(Affiliate links may be provided for convenience. For more info, see my full disclosure here.)
1. Styrofoam Pumpkins
This wasn’t my first rodeo with these styrofoam pumpkins! Some of you may remember when I transformed the same ones in the past in this post. They held up great the first year, but last year the boys managed to break two of them so I grabbed a few more since I love their size.
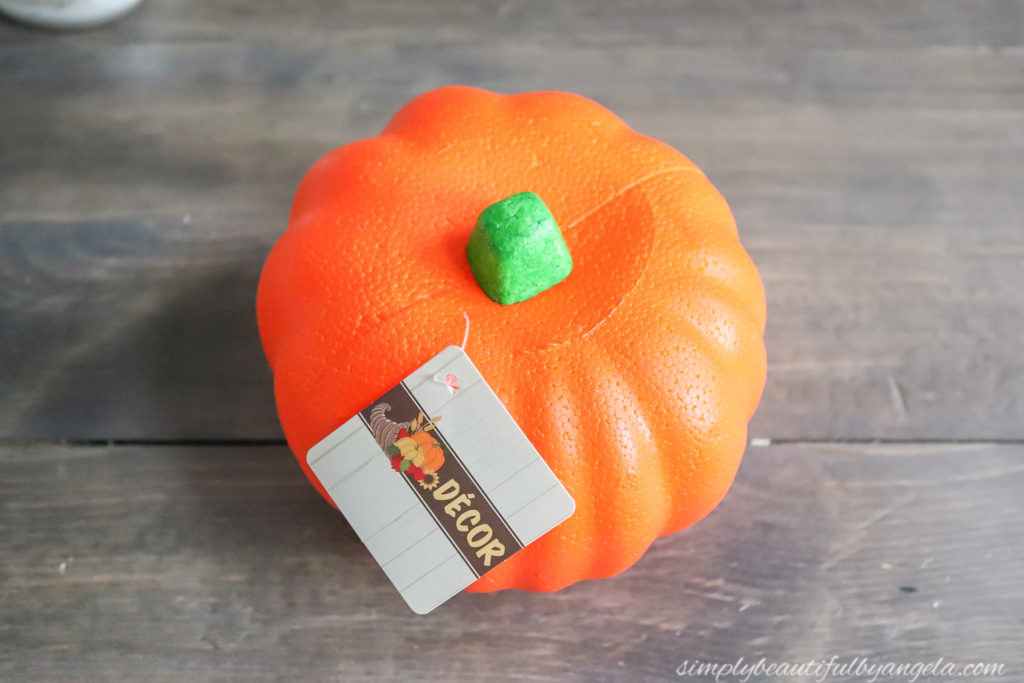
The stem is simply stuck on with a toothpick so they easily pop right out. When I did this before I just painted them, but I ended up not really liking how visible the styrofoam texture was.
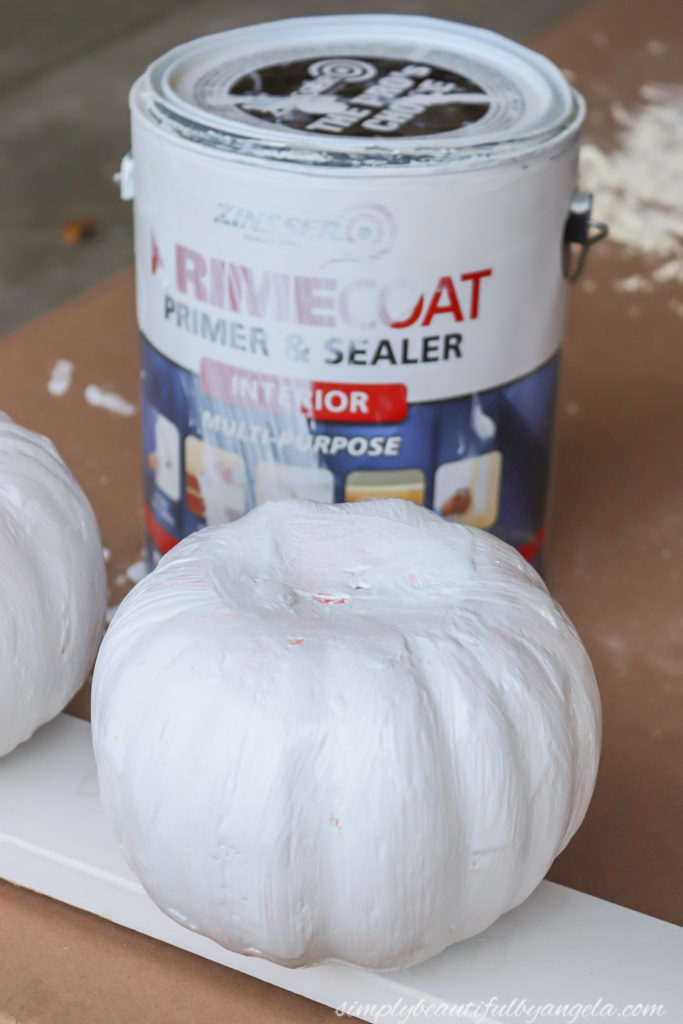
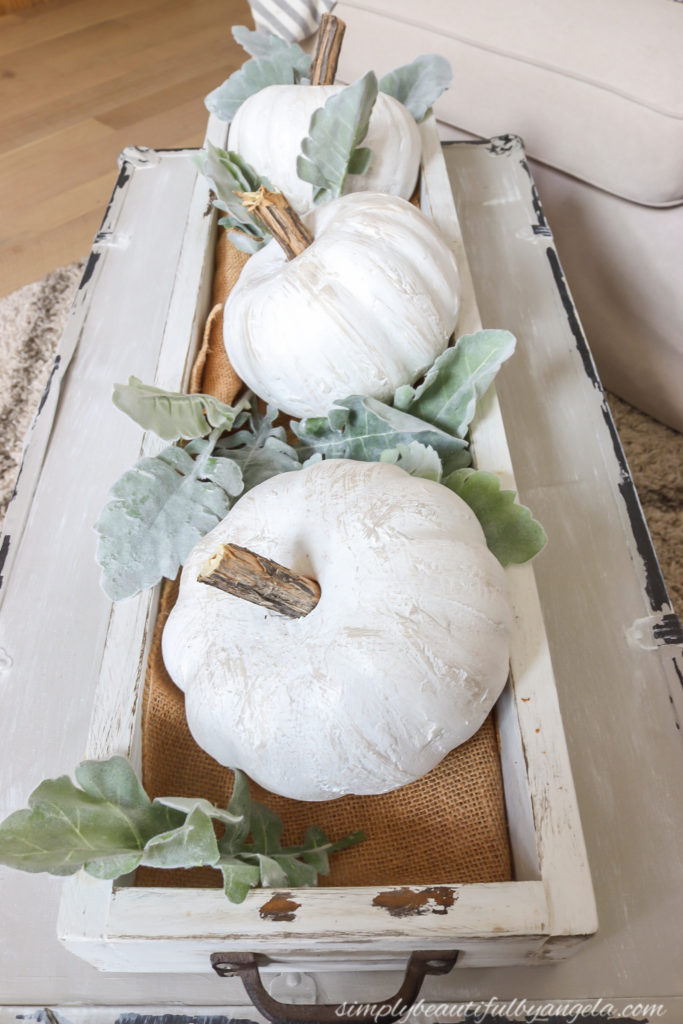
So this time I spread some drywall compound on each one. I used my hands to get a smooth coverage over all of it, and then decided to go a little thicker in some spots to add some natural looking texture.
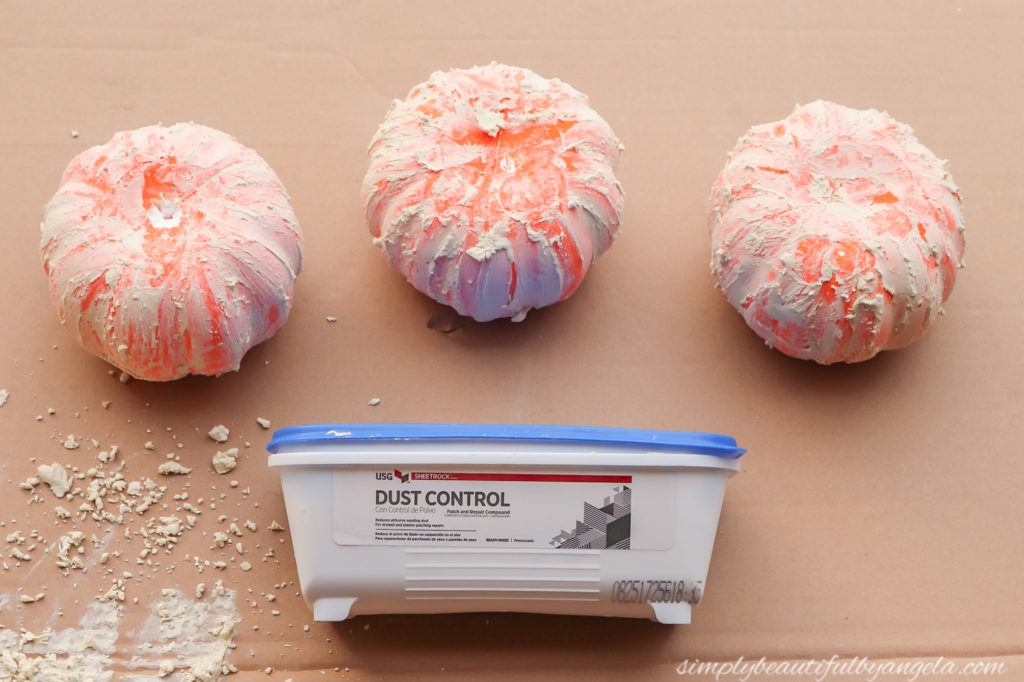
Once the compound was dry I used some sandpaper to smooth it out and then gave each one a coat of primer to seal it.
I followed with a coat of white paint and then once they were dry, I dry brushed some grayish-brown paint on for added texture.
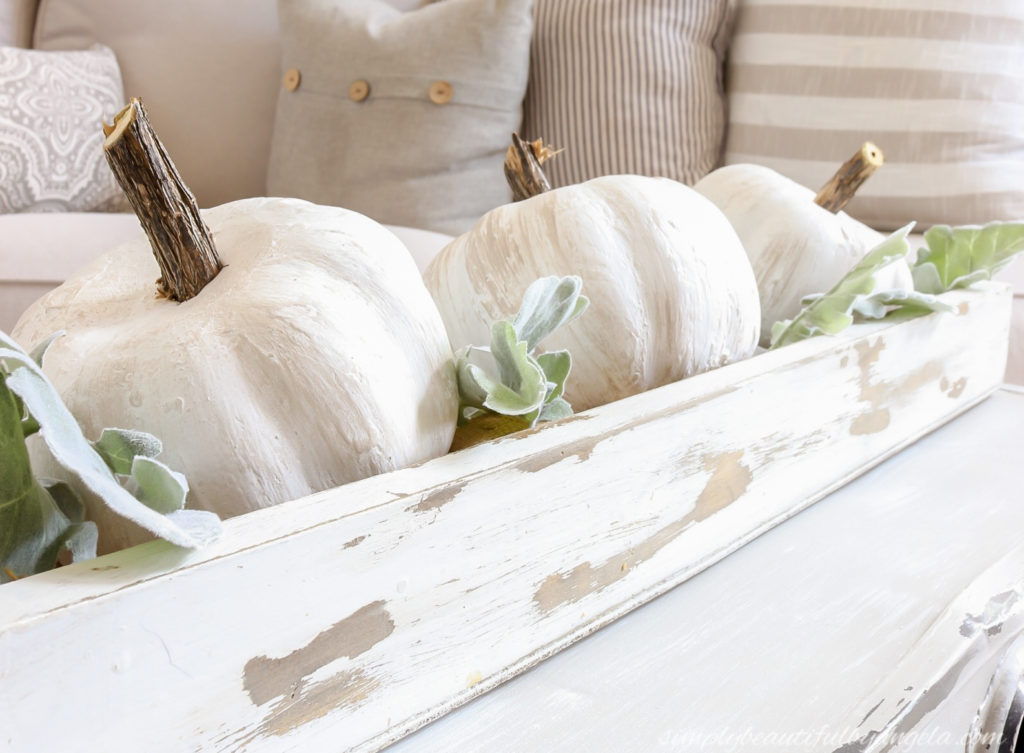
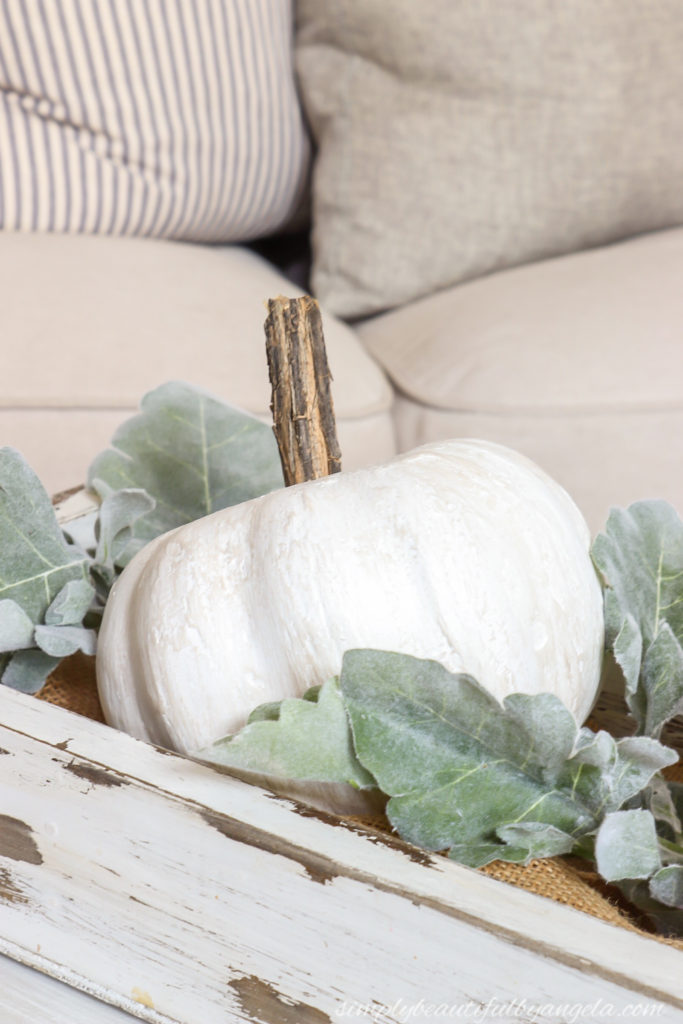
The hubby had trimmed a bush on the side of the house a few weeks ago and the branches were the perfect size to trim as stems for all of my pumpkins.
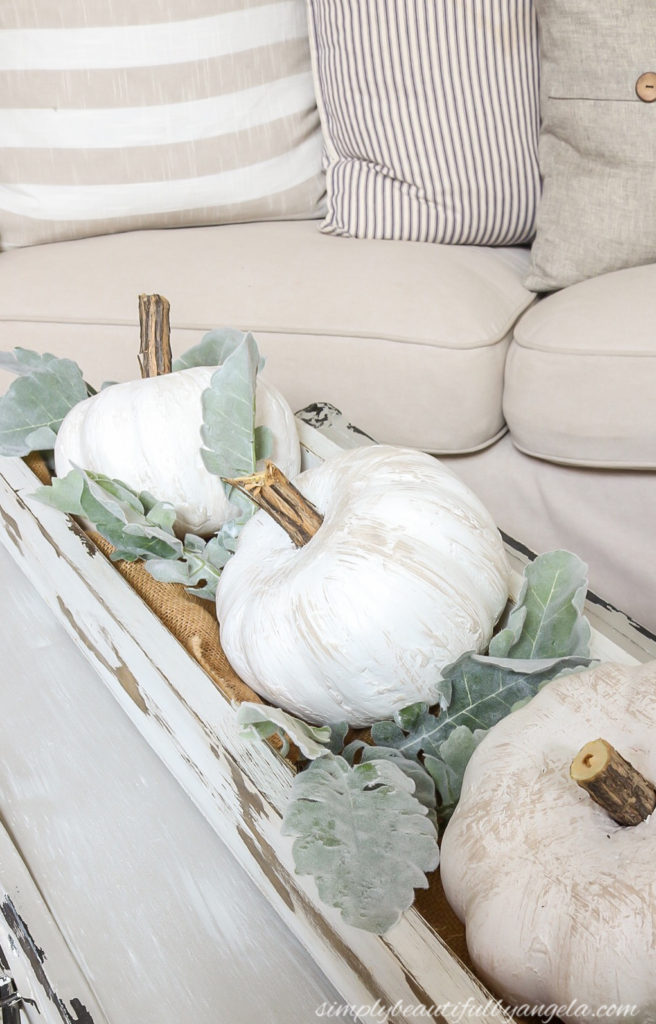
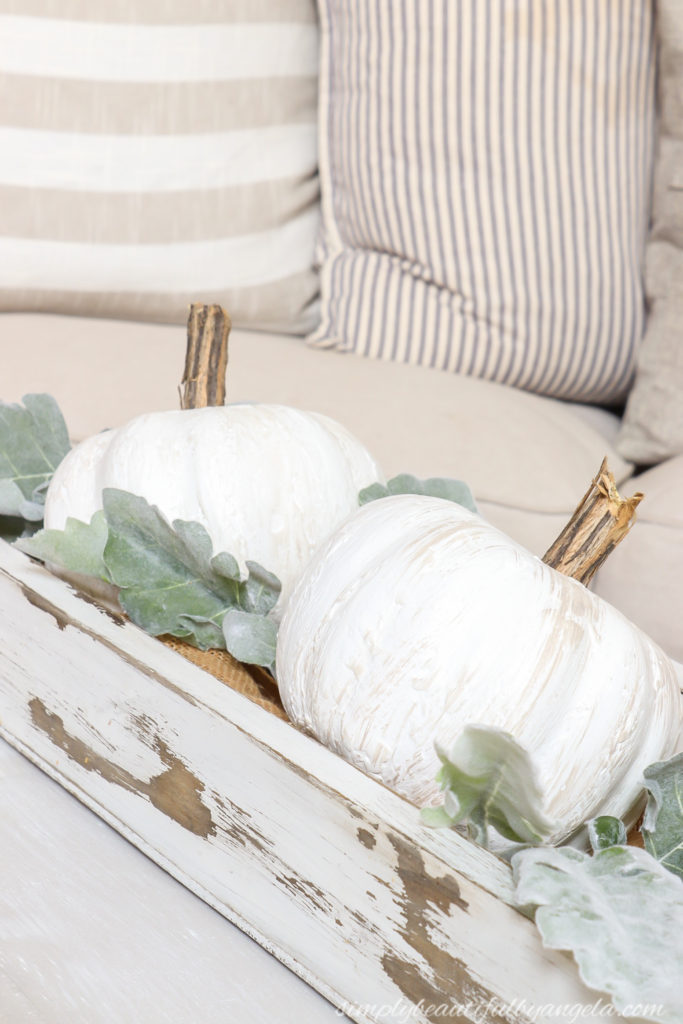
They look a lot more natural than they did in their previous state, right?
2. Velvet Pumpkins
Next up were these velvet pumpkins.
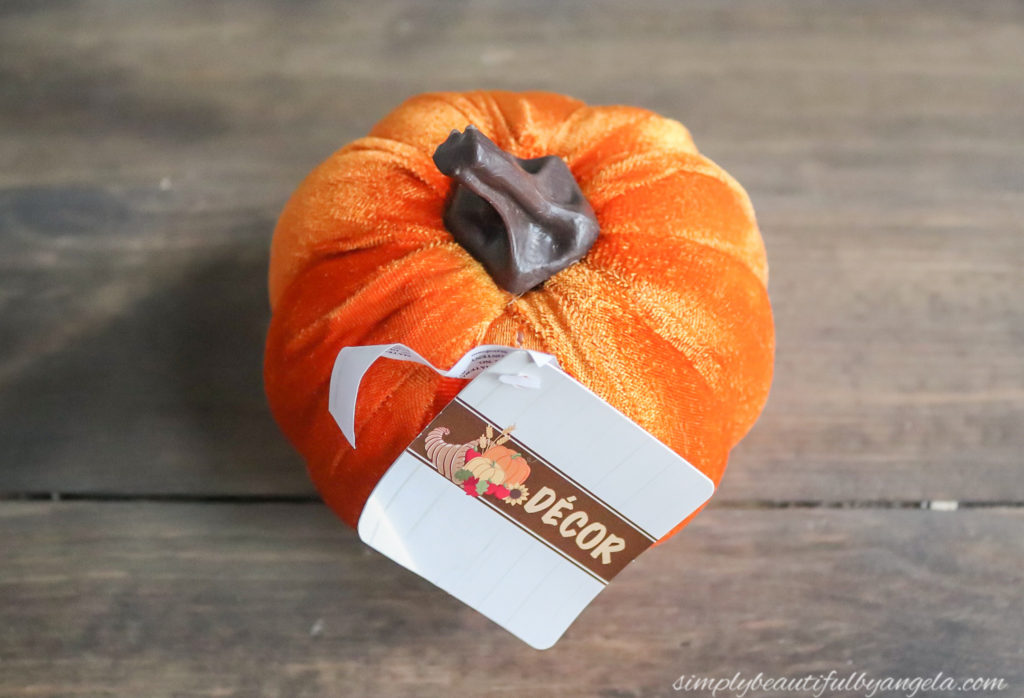
I was worried that the velvet may be glued on, but after popping the stem off I was happy to see that the velvet could easily be pulled right off.
I decided to cover them in my all time favorite fabric…good old canvas drop cloth! I used the velvet as a template but added about and inch on either side since the canvas doesn’t stretch as well.
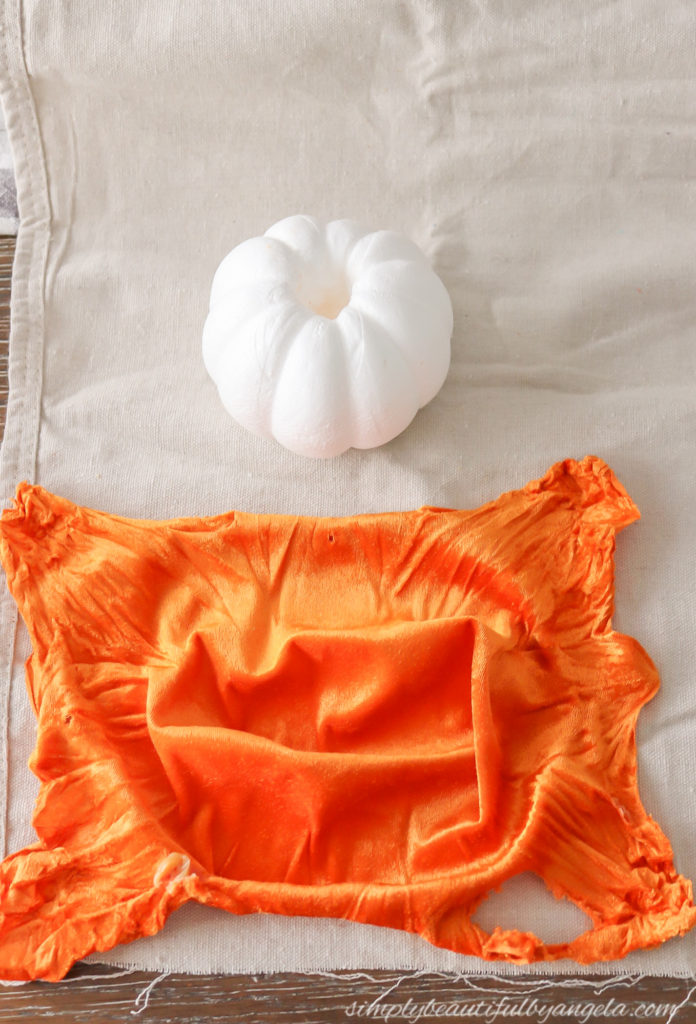
I pulled the canvas up taught and tucked it in the hole at the top. I used a little bit of hot glue to hold down any pieces that needed it.
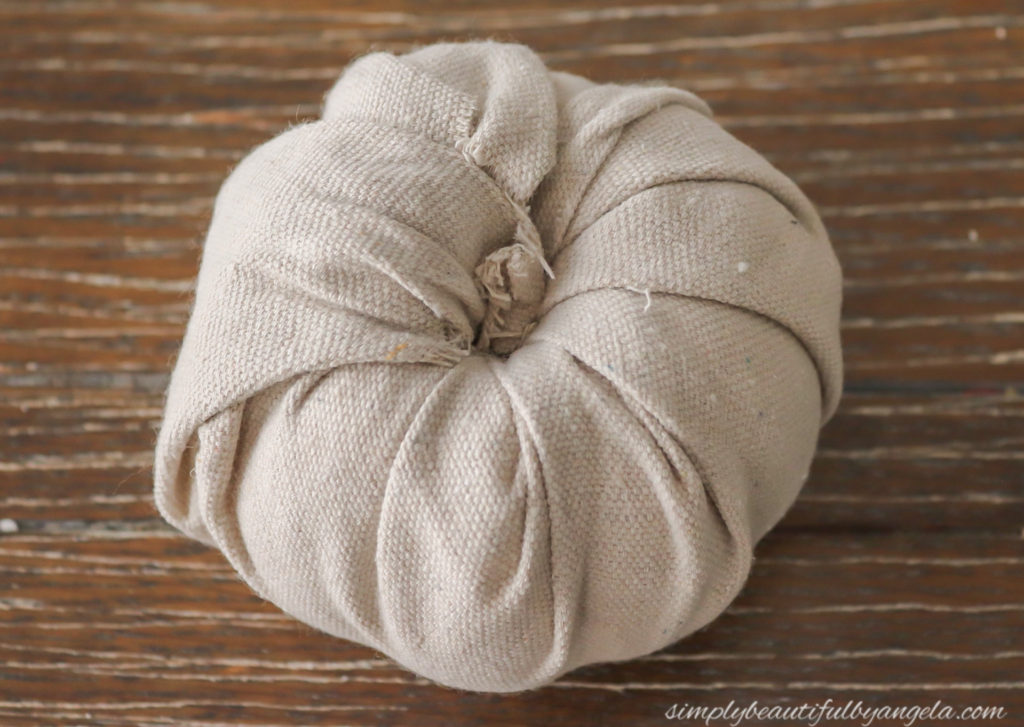
I then pushed the new stem in.
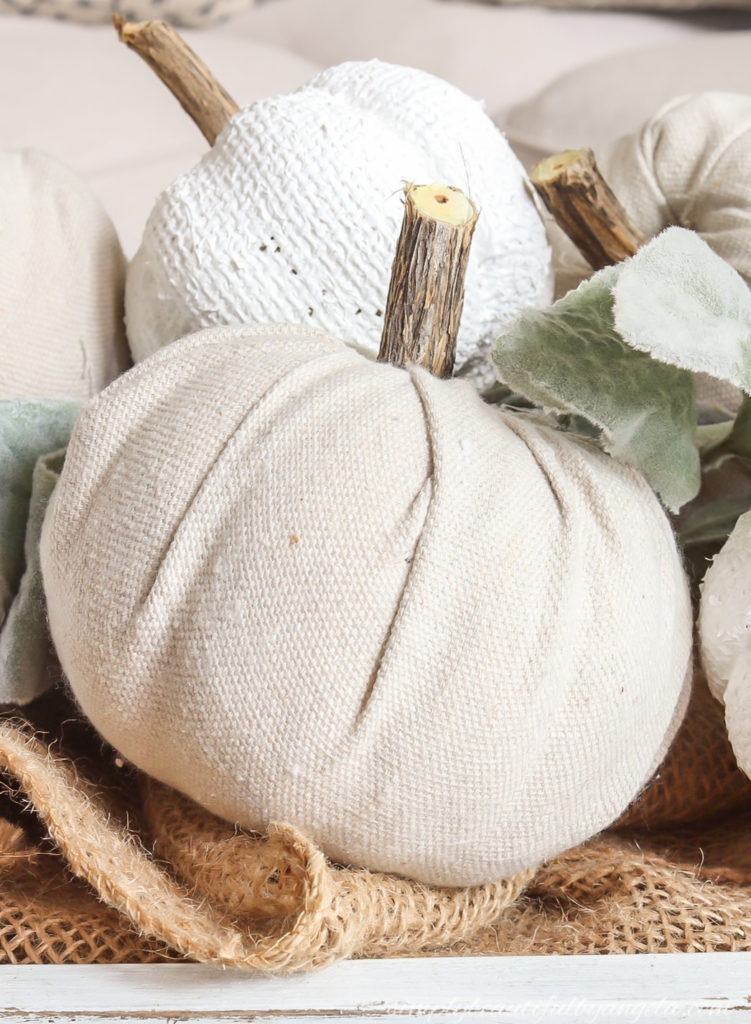
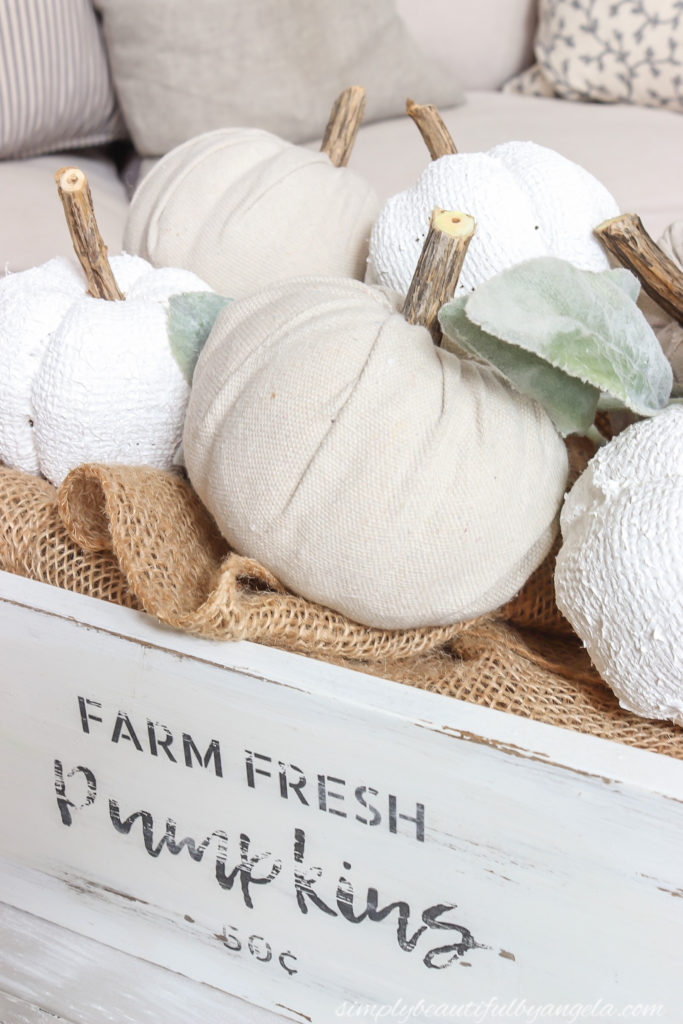
They turned out even cuter than I imagined they would! And they were so quick and easy to make that I actually want to go back and grab a few more.
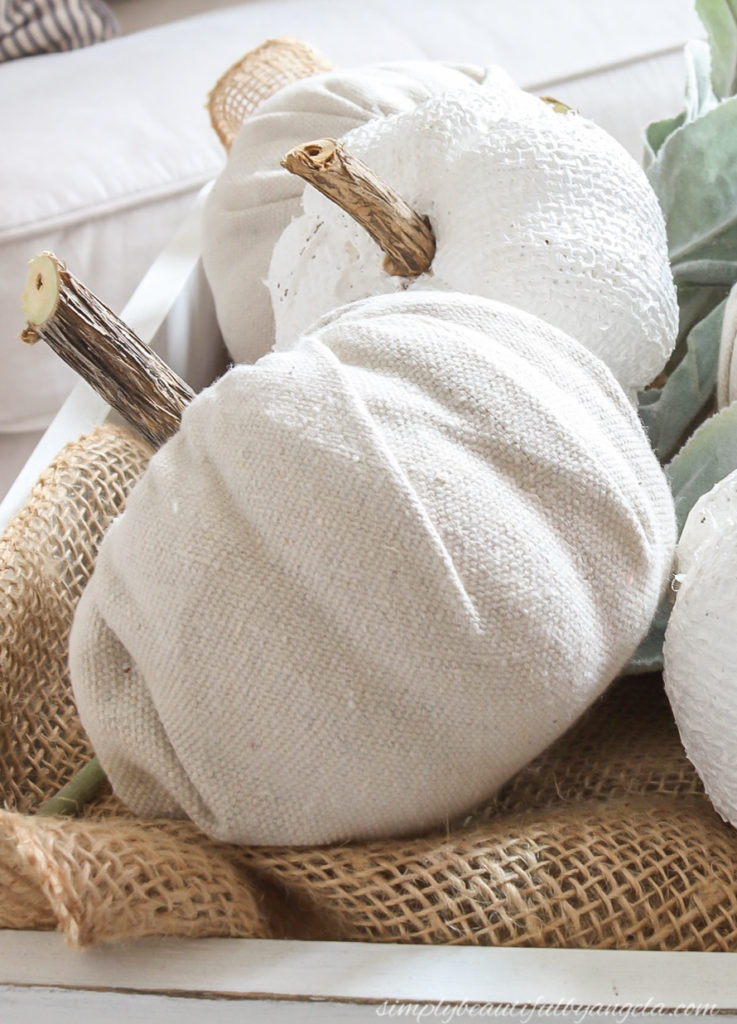
3. White Burlap Pumpkins
And finally–the burlap pumpkins! These are actually pretty cute on their own if you like to use orange!
It took two thick coats of white paint to entirely cover them up.
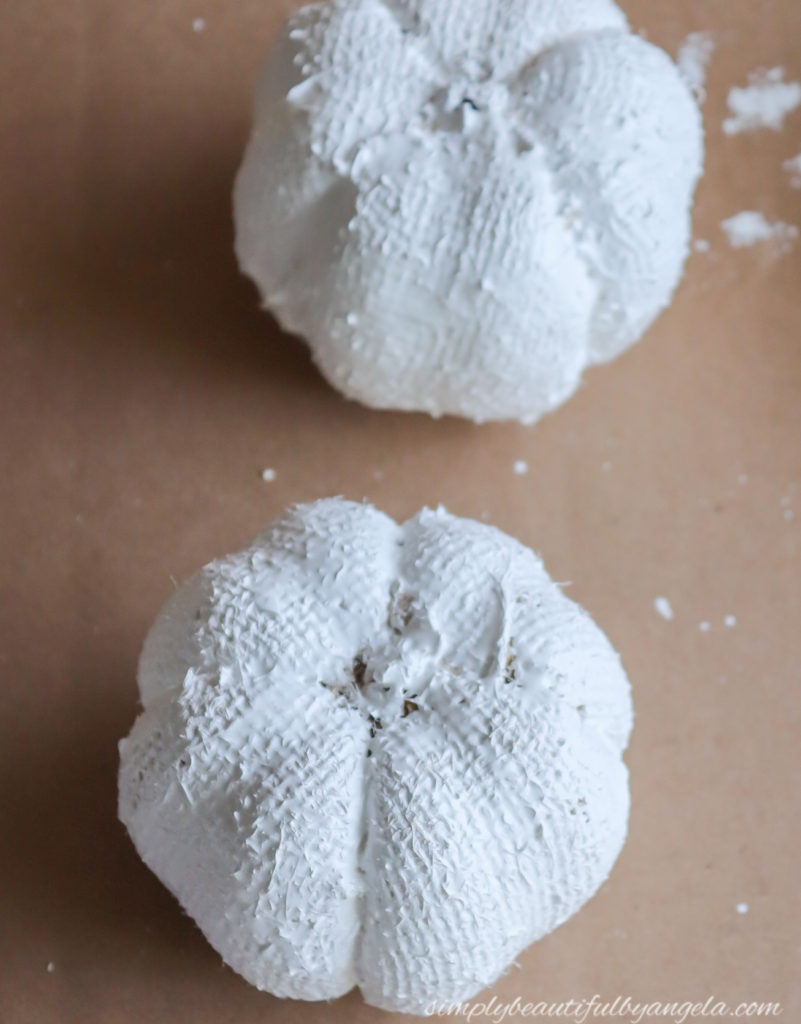
I just love the texture of the burlap!
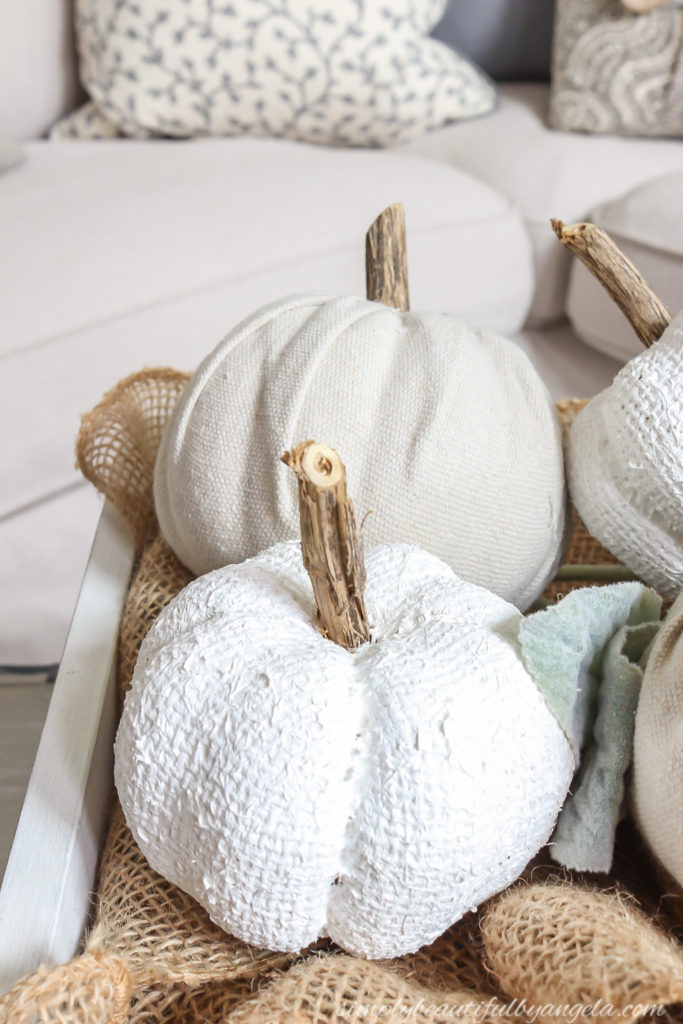
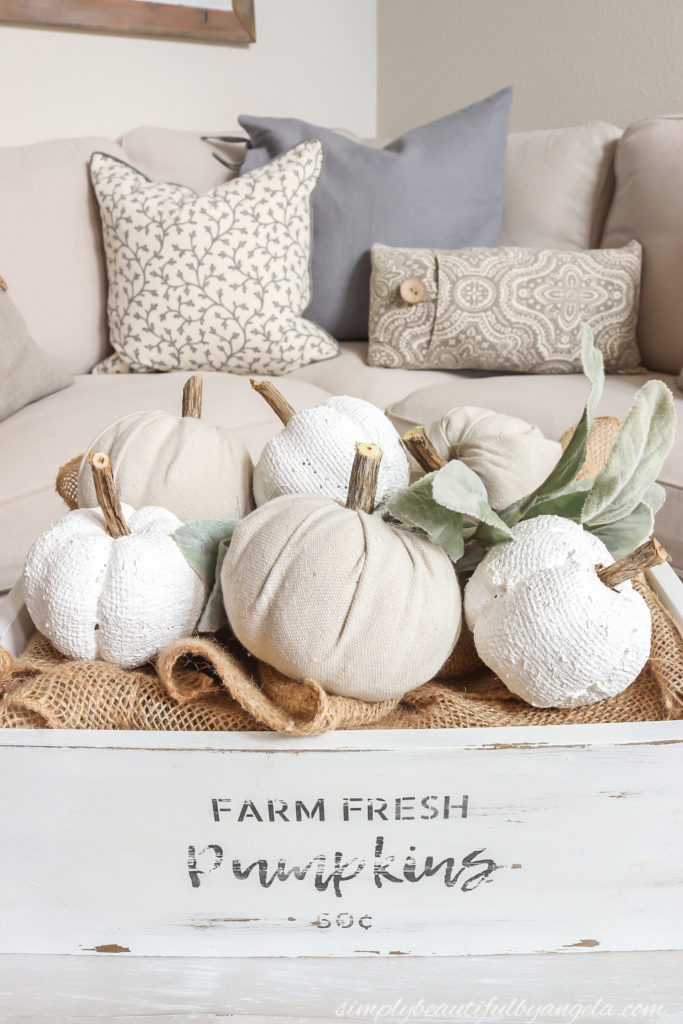
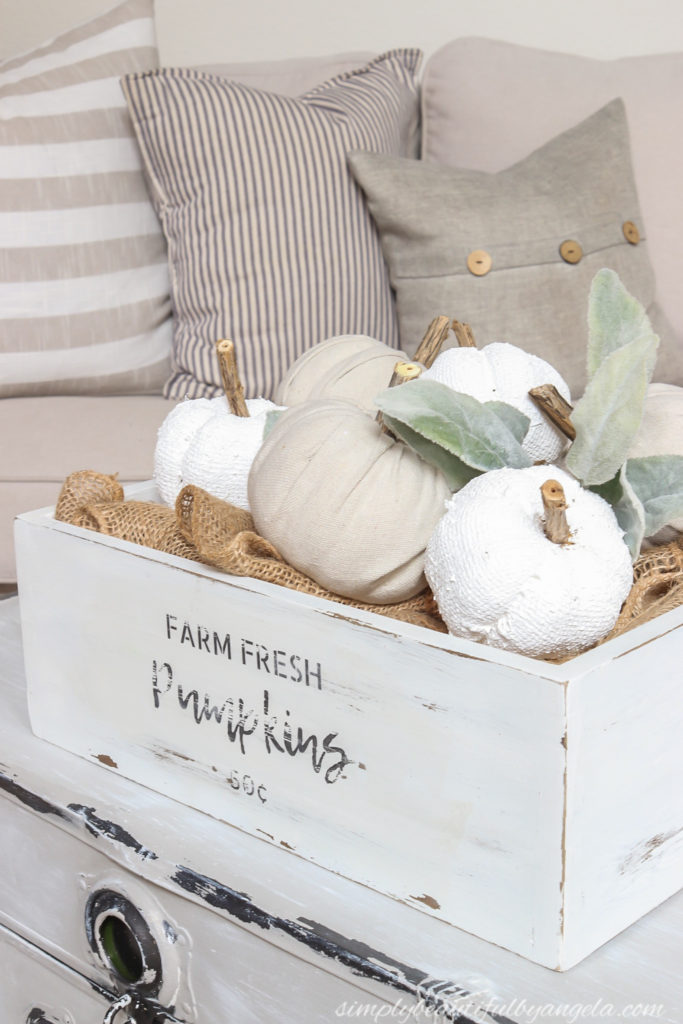
The pumpkin crate was a thrifted DIY that I made last year (tutorial here) and I almost forgot that I had it. I’m glad that I remembered because it works perfectly to hold all of the smaller pumpkins!
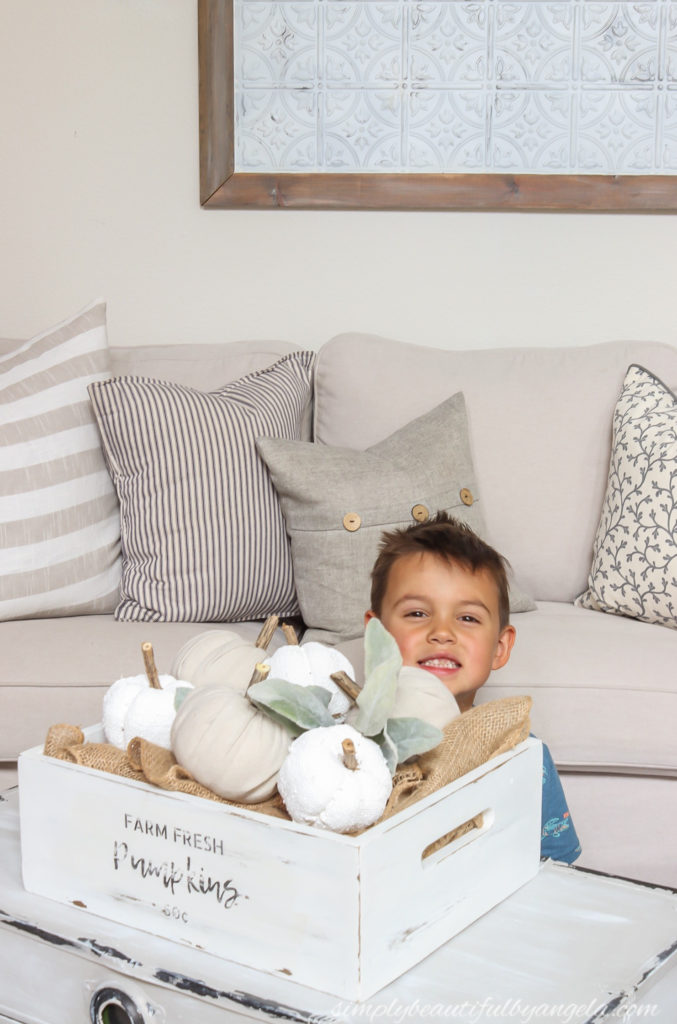
And because my little photo-bomber is just cute not to share…
I am still finishing up a few final touches on fall decor, but I’m really loving what I have done so far. I can’t wait to share a full home tour with you guys very soon!
We are heading out to Vegas bright and early tomorrow morning for a much needed vacation, but I will be back next week with super exciting kitchen update. See you all then!
Linking up to these awesome parties!
Love the pumpkin makeovers. They are so pretty!
Thank you so much Veronica!!
Amazing transformations Angela and I love dollar stores as they help us get our creative on. Thanks for sharing with To Grandma’s House We Go, I’ll be featuring you next week.
Thanks Chas! I couldn’t agree more!!
These are beautiful!! Using the drywall compound is such a great idea!! They turned out GREAT! Thanks for sharing the awesome tutorial!
Thank you so much Kristi! Yes I can’t believe I didn’t think of it the last time I got these pumpkins!!
Fabulous Angela! I shared a DIY makeover with those burlap pumpkins an couple of years ago. They are my favorites!
I would love if you would come over and share this post at All About Home! The party is open Monday at 7:00 p.m.-Thursday at midnight. Hope you can join us! https://followtheyellowbrickhome.com/all-about-home-link-party-7/
Happy fall!
Thank you so much Amber! I’ll have to check that out 🙂
Amazing transformations
thanks Angela