Hey friends! I hope you are all staying somewhat sane throughout all of this craziness.
Since my job is in the financial services sector I am still commuting to my office for work and I will tell you guys it is super eerie seeing the streets as empty as they are. I have to keep reminding myself that things will be normal again one day. I am going to continue blogging in my spare time to provide a little bit of distraction for both myself and you all! I’ve got some exciting things planned for the next couple of weeks and can’t wait to share them!
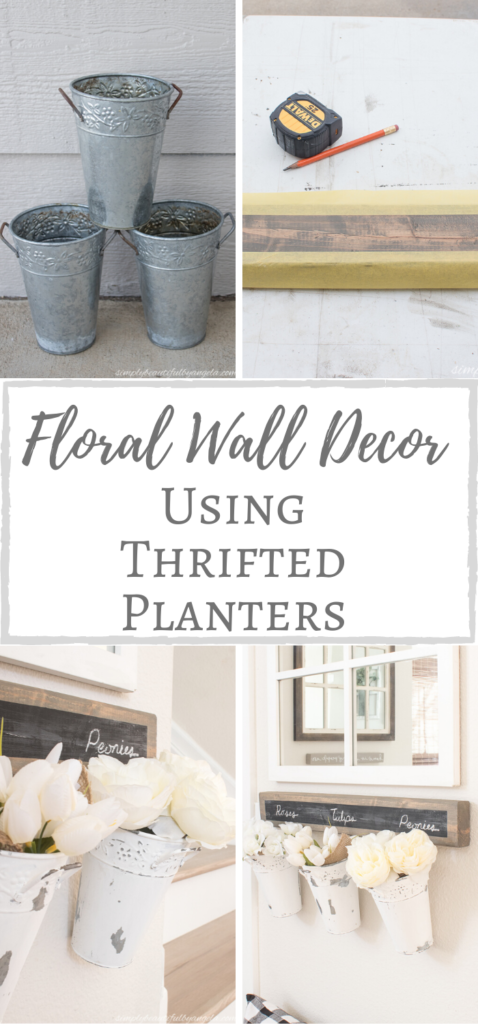
Last week I was racking my brain about what I could work on for this month’s Thrift Store Challenge. Since I had no plans of going to the thrift store I thought about what I had sitting around and I remembered these old planters.
I picked these up from a friend’s garage sale last summer but have been stumped on what to do with them. After thinking about it for a bit I finally came up with an idea and got right to work!

The Rules:
- Upcycle an item(s) from a thrift store, resale store, or garage sale into a new piece of decor.
- There’s no monthly theme.
- There’s no budget to stick to.
Meet the Hosts
Angela | Simply Beautiful By Angela – Beverly | Across the Blvd Gail | Purple Hues and Me – Chas | Chas’ Crazy Creations – Jenny | Cookies Coffee and Crafts
Supplies Used:(Affiliate links may be provided for convenience. For more info, see my full disclosure here.)
- Vaseline
- DIY Chalk Paint (Latex Paint + Plaster of Paris)
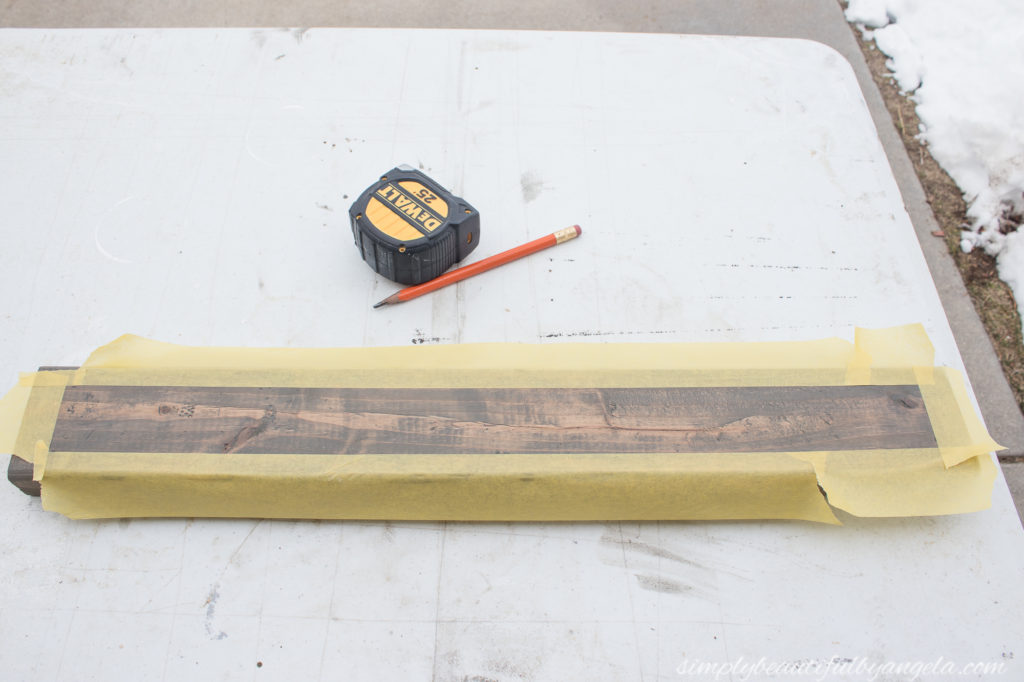
- 2×4
- Classic Gray Stain
- Dark Walnut Stain
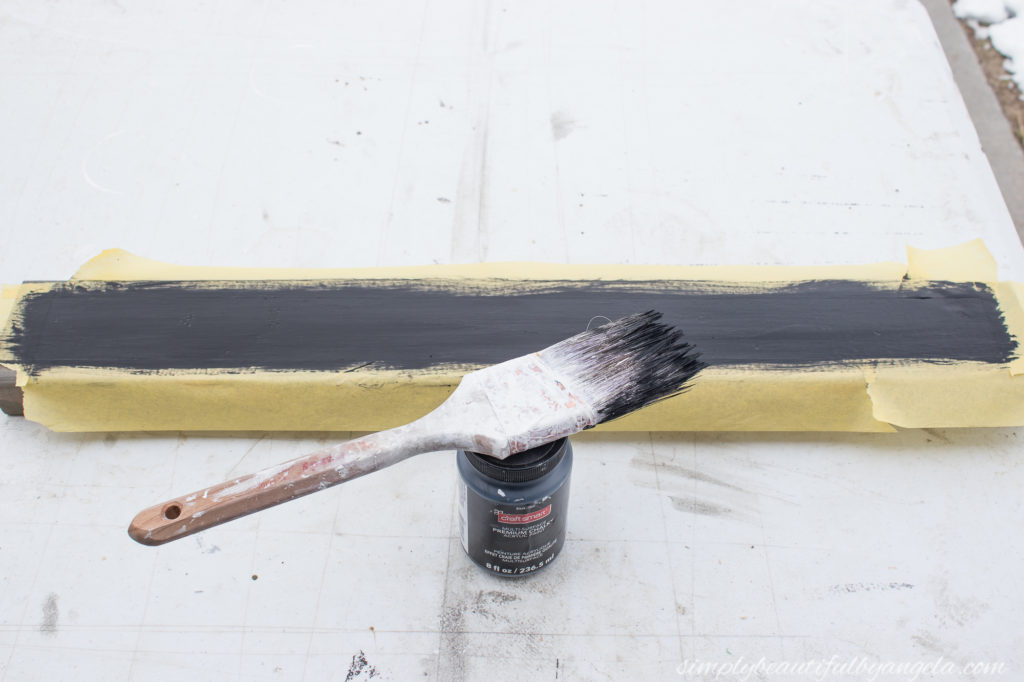
- Black Chalk Paint
- Frogtape
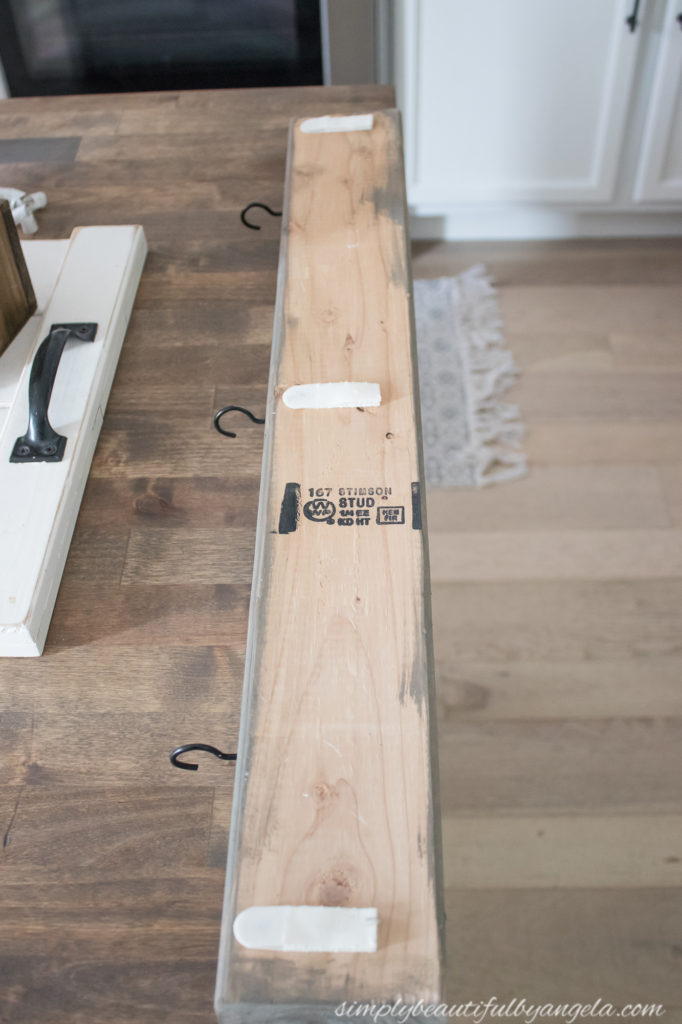
- Cup Hooks
- Command Strips
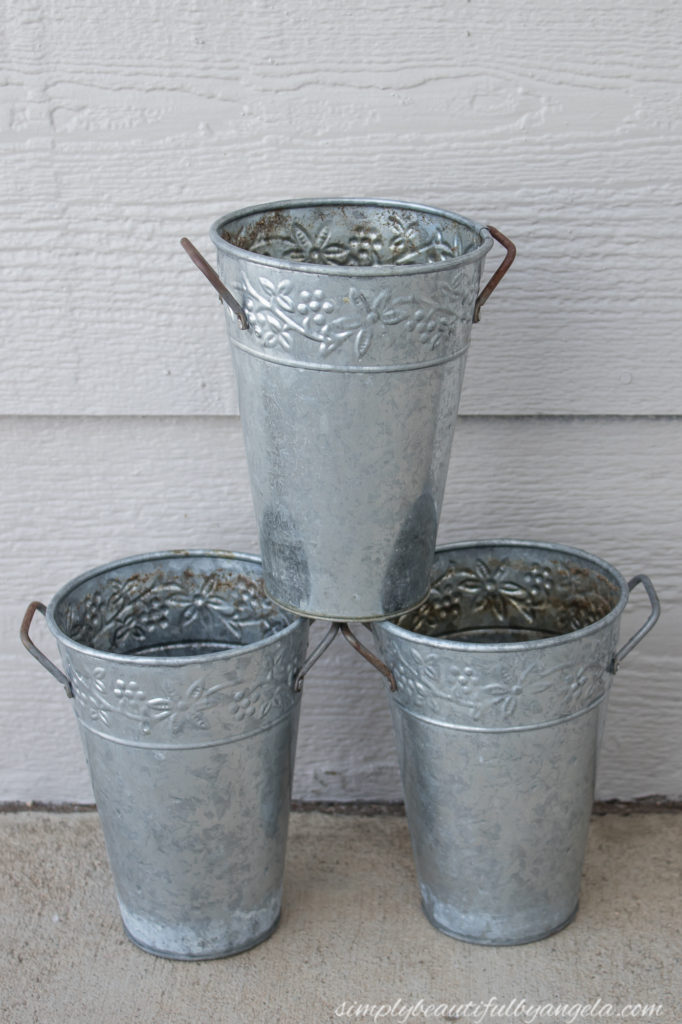
I started by rubbing some Vaseline on various spots of the planter so that the paint would sand off those areas better later on. I focused on the edges and the embossed portions the most.
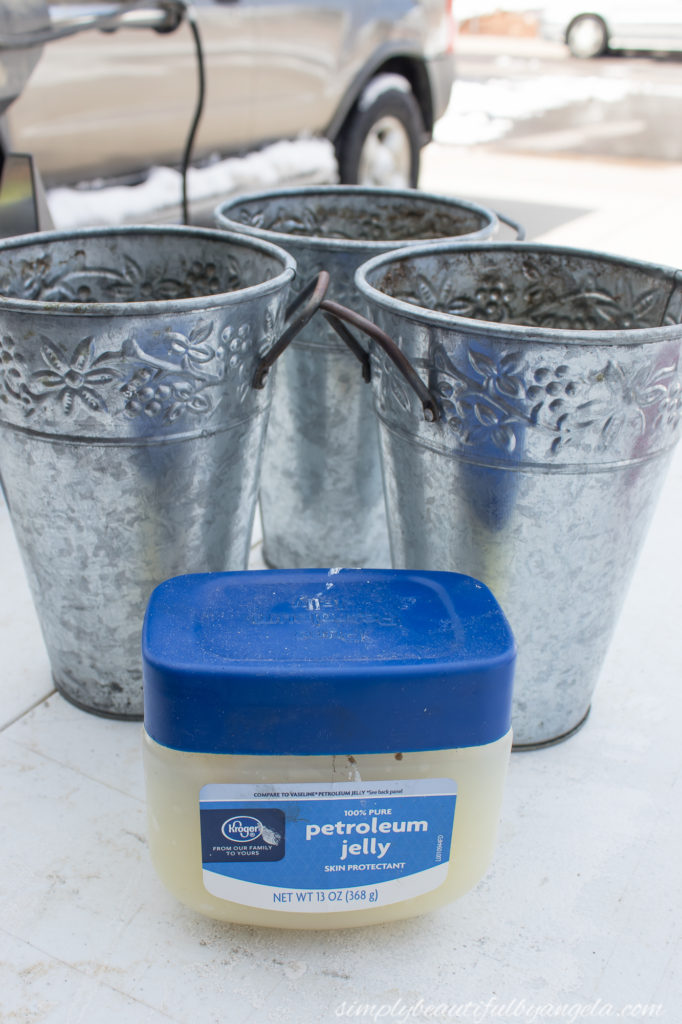
I applied a total of three coats of my chalk paint, the picture below was taken after the first coat.
While the first coat was drying I cut down a piece of scrap 2×4 and stained it with a mixture of Dark Walnut and Classic Gray.

I let the stain dry for about an hour and then used some Frogtape to mask off the area that I had measured out for a chalkboard label.
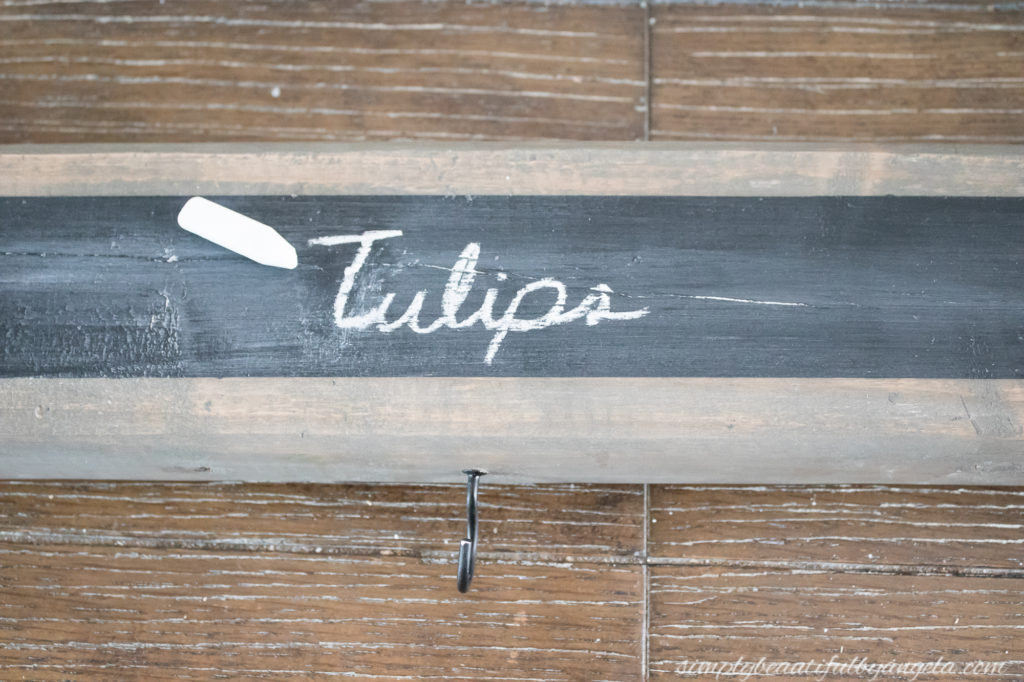
I didn’t have any actual chalkboard paint on hand so I used just regular black chalk paint.
It seemed to work just as well as normal chalkboard paint! I ran a piece of chalk along it and wiped it off to “season” it before using a sharpened piece of chalk to freehand the flower labels.
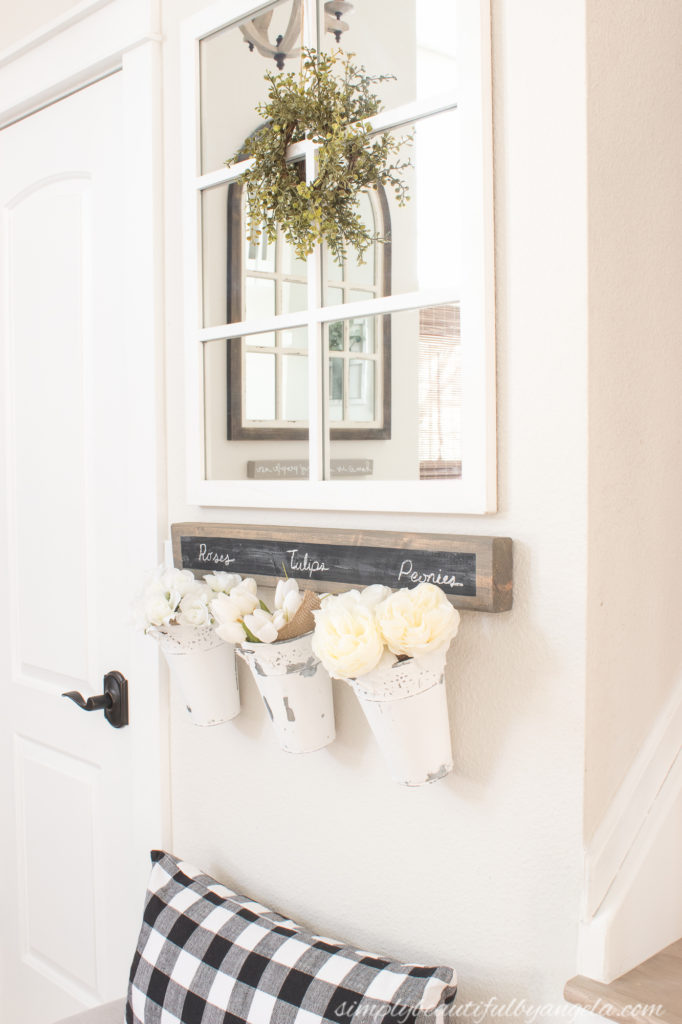
I thought about hanging it with twine stapled to the back, but then I found some command hooks in a drawer and decided that would be much better. I used three to make sure it was nice and secure.
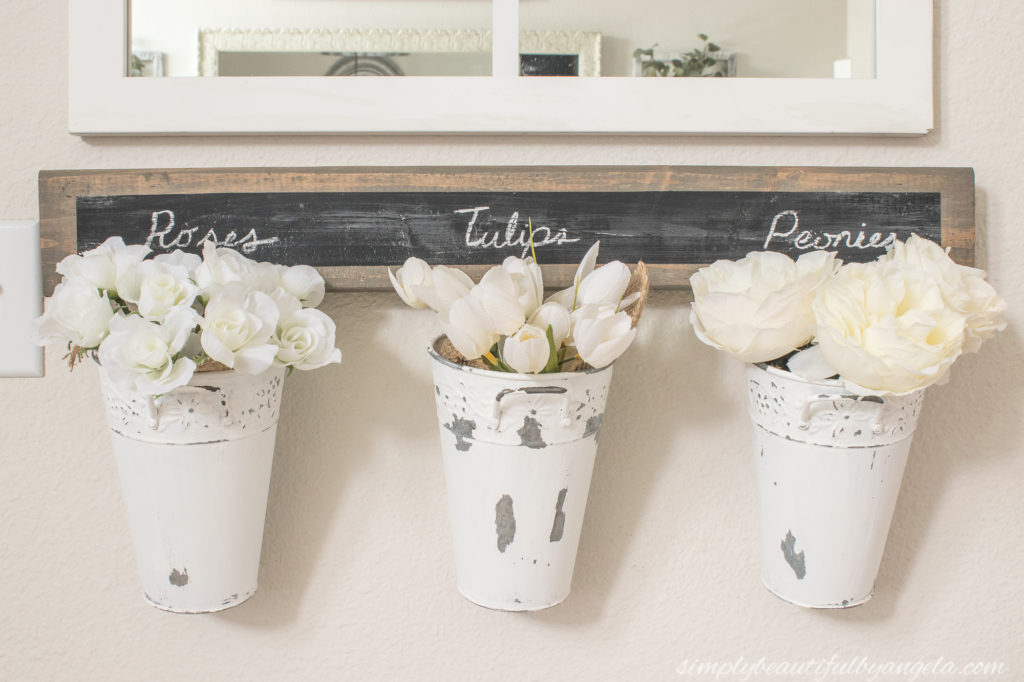
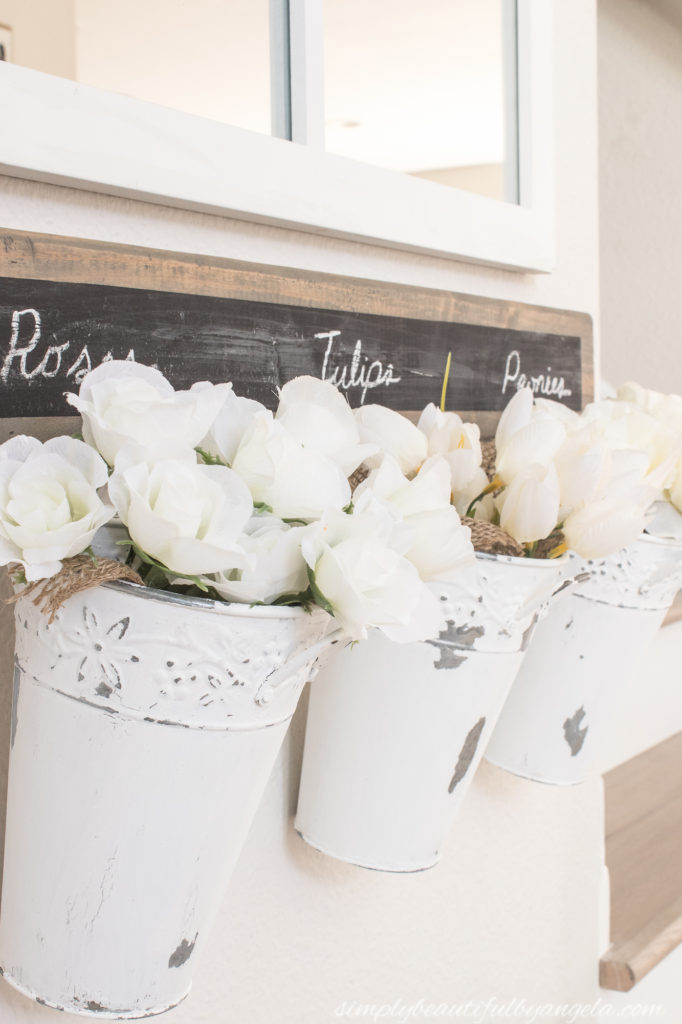
Here is how it turned out!
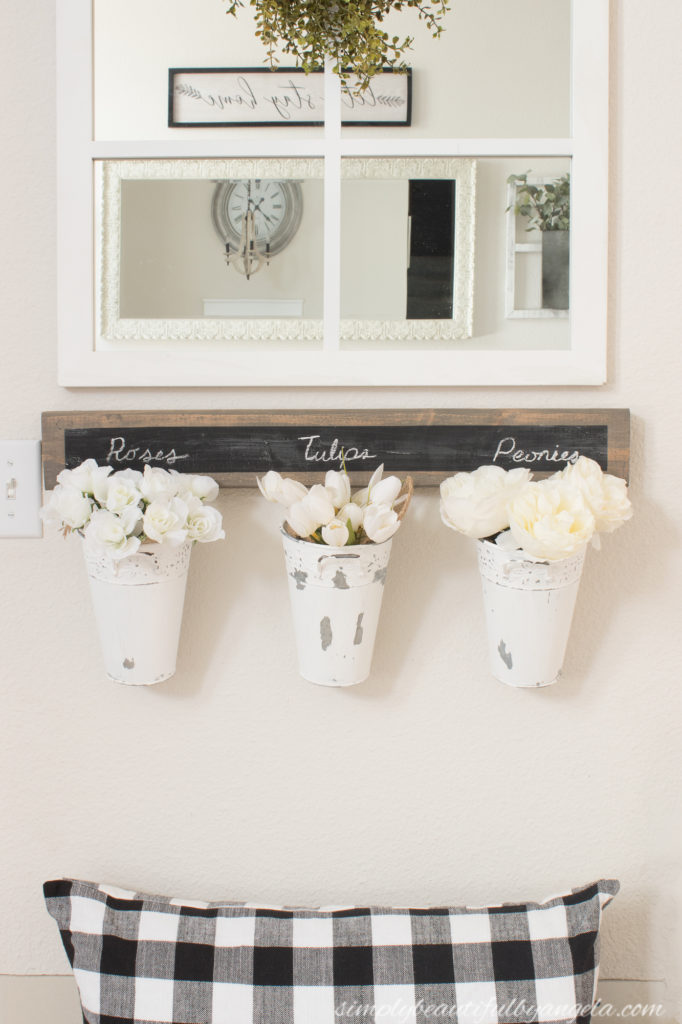
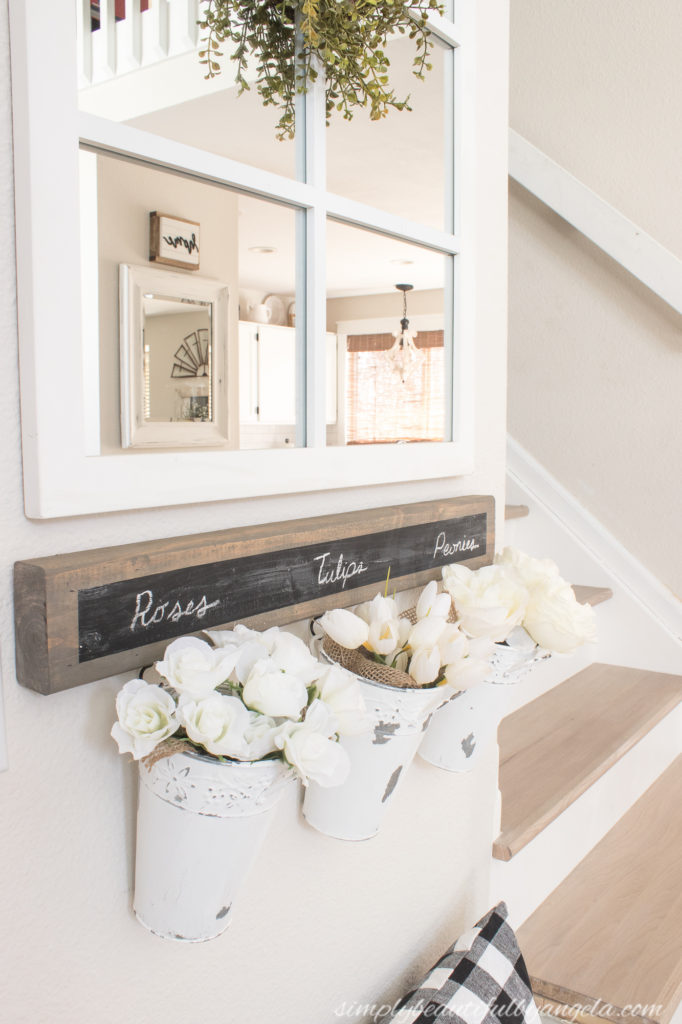
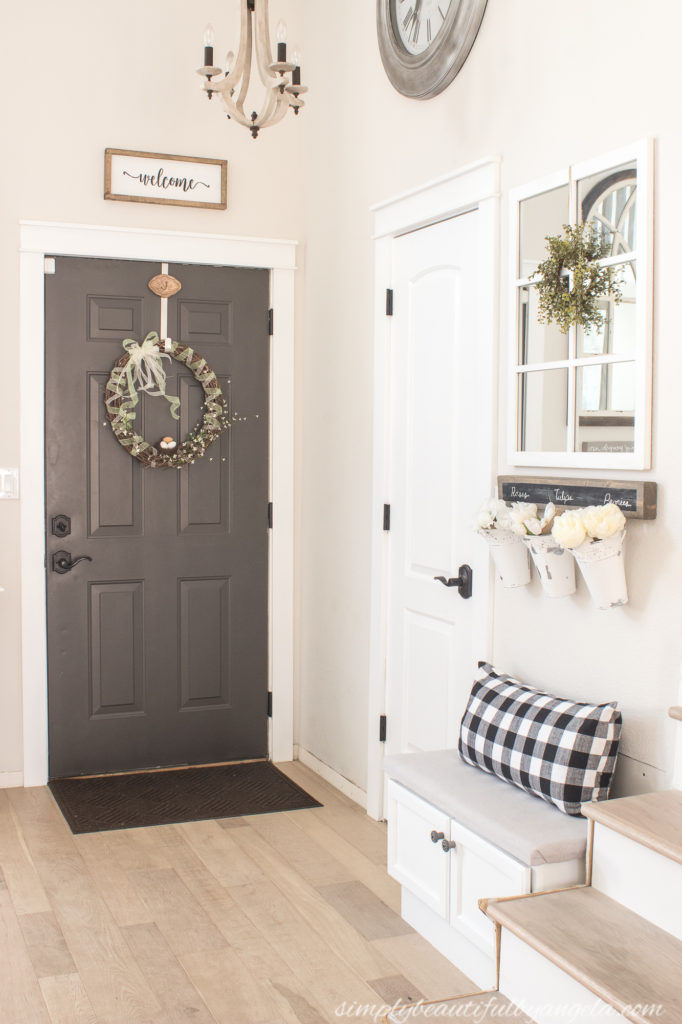
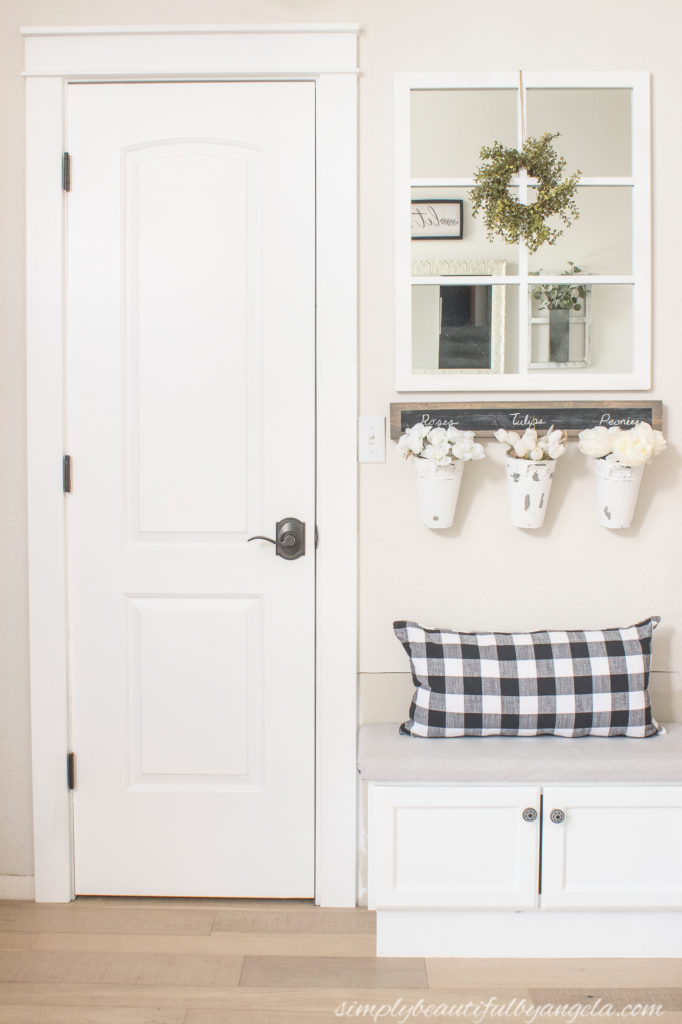
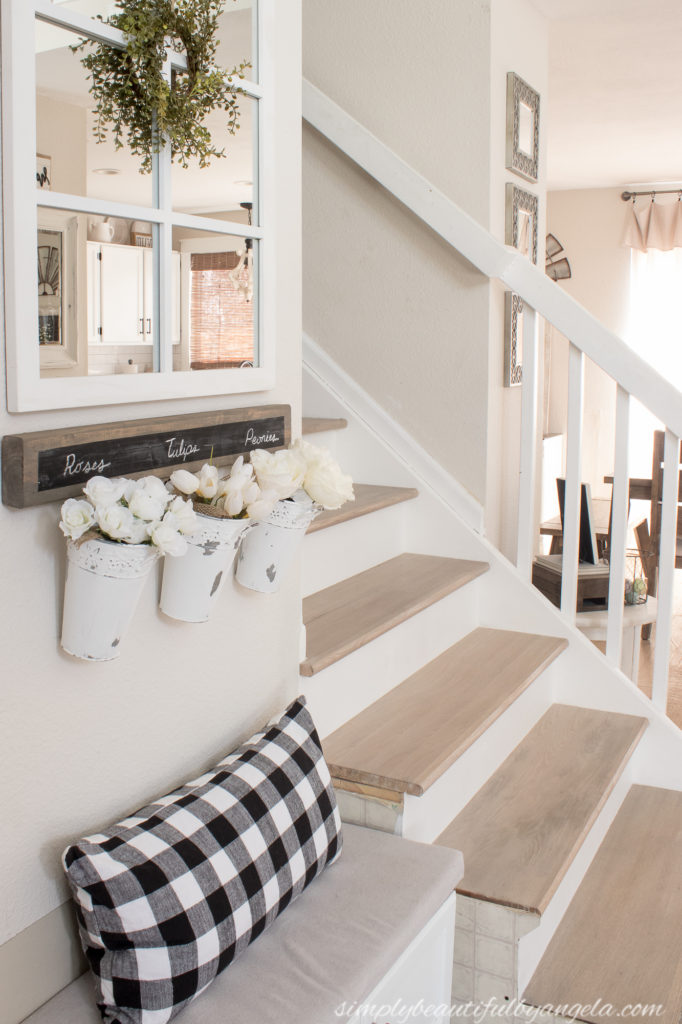
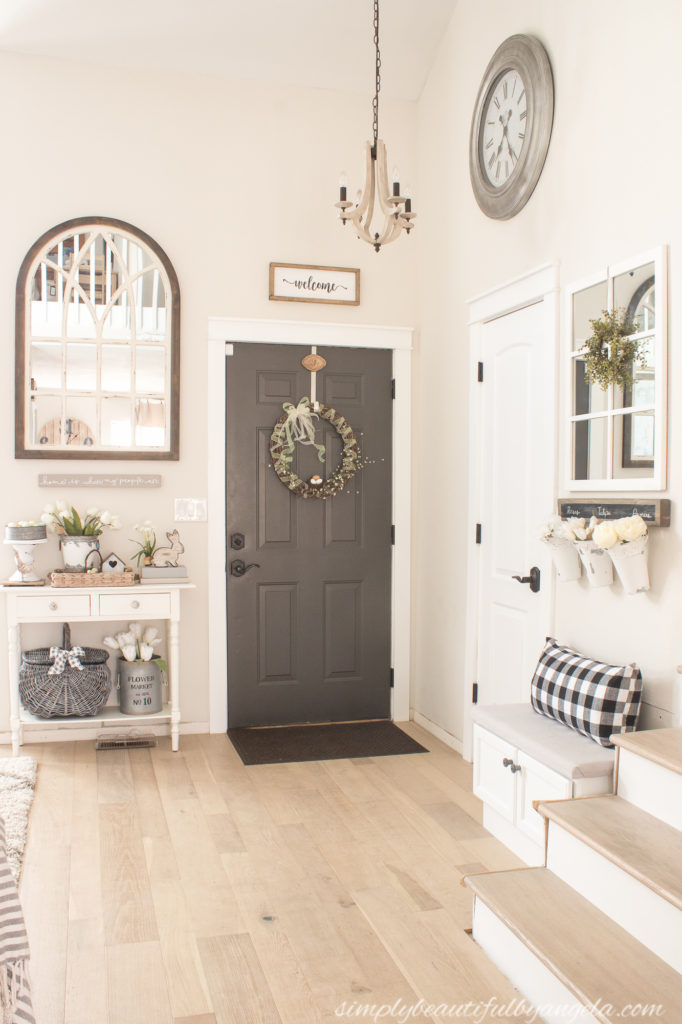
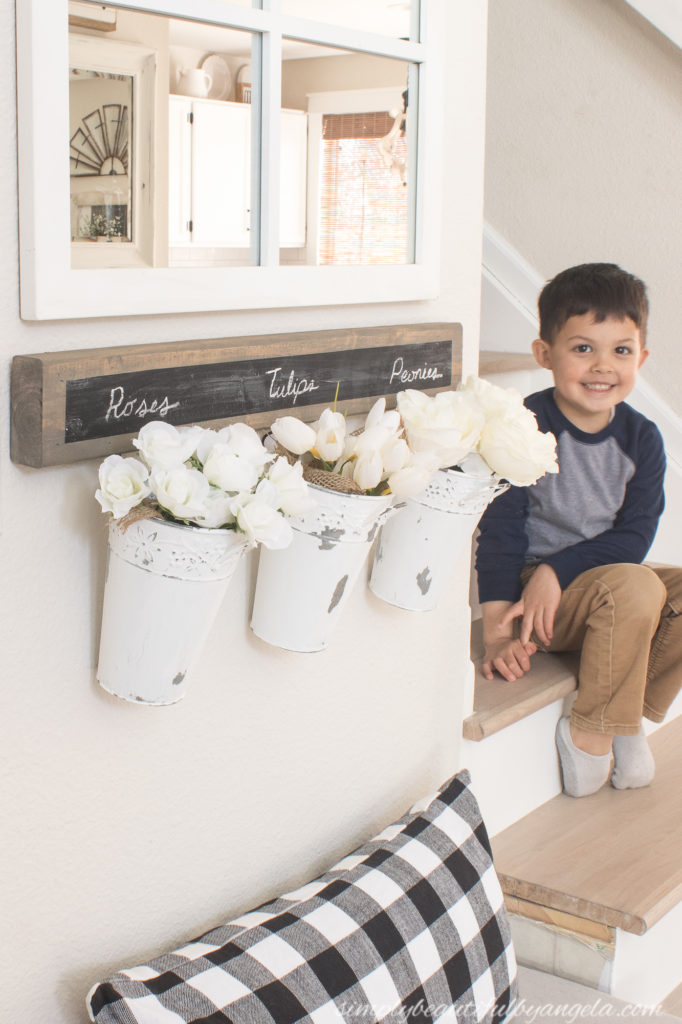
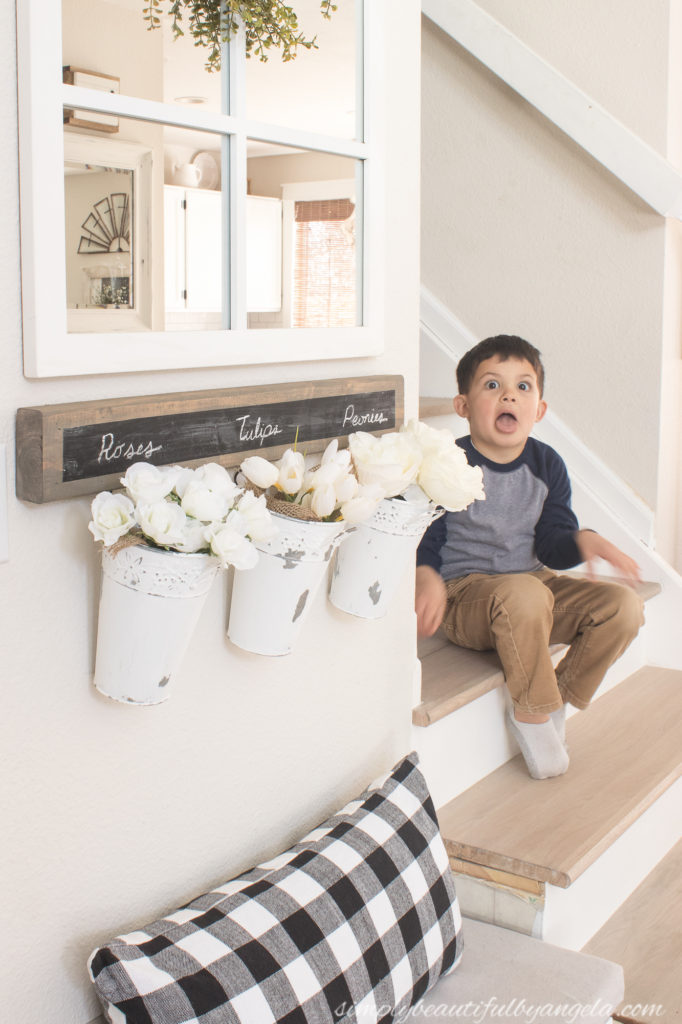
I put it under a mirror in the entryway next to the stairs and just love how much it spruced that little spot up.
While I was sanding the planters the paint peeled off perfectly in the spots where I applied the Vaseline and gave me the vintage chipped paint look I was going for.
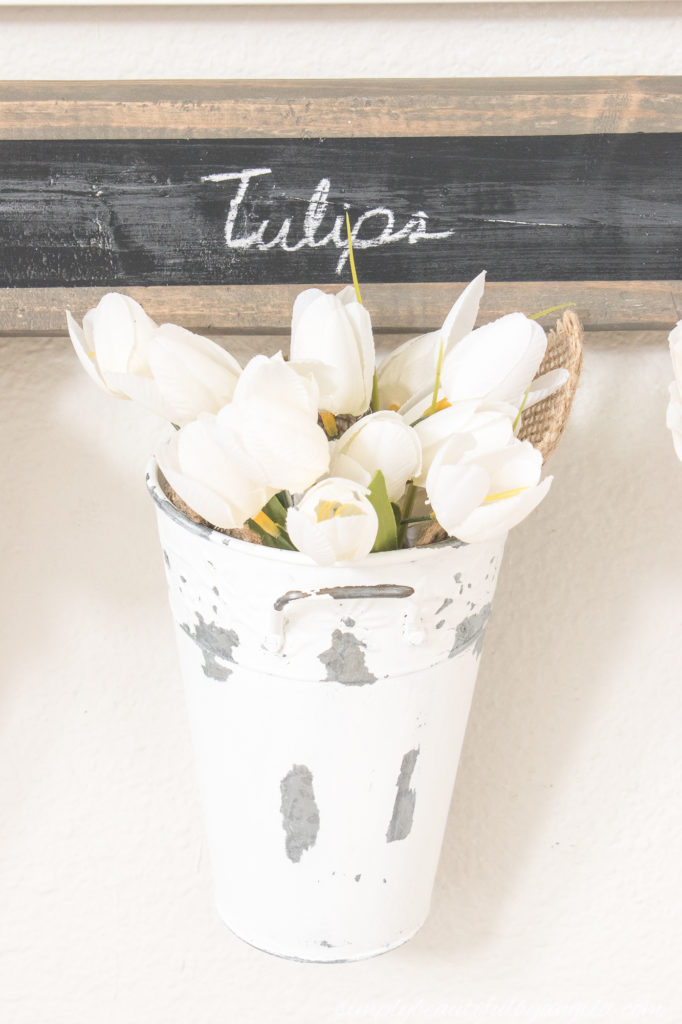
I used white florals to go with my neutral spring decor that I currently have up, but for summer I may get bold and use some different colors.
Oh–check out the newly finished stairs! We are about halfway done and I couldn’t be more excited with how they are turning out 🙂
Here’s my little photo bombing cutie to brighten your day a little!
And now for more thrifty goodness! Check out what my fellow upcyclers created below!
Linking up to these awesome parties!
This is beautiful! I love the mirror and the planters, too. What a beautiful space!
Just beautiful! That looks so pretty with the hanging metal buckets and white flowers.
These are lovely, Angela. The tip about using petroleum jelly is great. I haven’t done that before. You certainly transformed those plain planters into a beautiful decor piece.