Hello everyone! I hope you’re all having a nice week and hanging in there. I’m keeping busy by finishing up the playroom makeover and I’m getting soooo close to being done. I’ll have an updated progress post for you guys tomorrow, but today I want to share my most recent thrift store flip for this month’s Thrift Store Challenge!
The Rules:
- Upcycle an item(s) from a thrift store, resale store, or garage sale into a new piece of decor.
- There’s no monthly theme.
- There’s no budget to stick to.
Angela | Simply Beautiful By Angela – Beverly | Across the Blvd Gail | Purple Hues and Me – Kathleen | Our Hopeful Home – Chas | Chas’ Crazy Creations
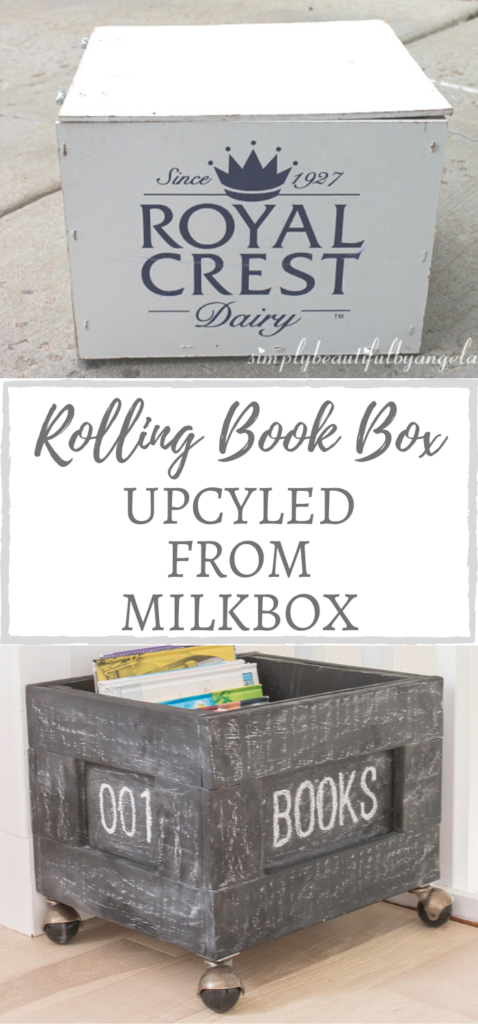
I’ve learned that sometimes a project needs a round two…or in this case three! You may recall years ago the hubby found this old milkbox next to a gas station trash can and I cleaned it up and painted it to store extra mixing bowls in.
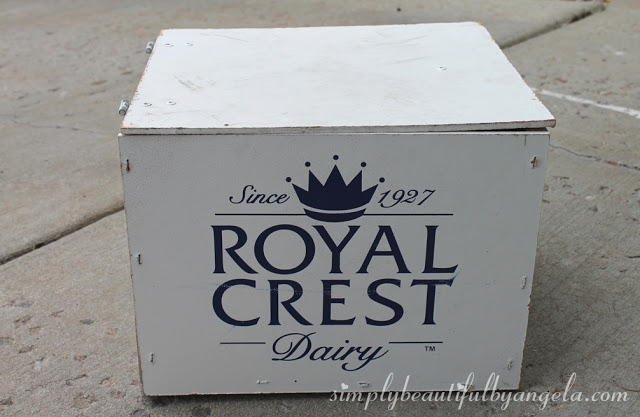
Then last fall I gave it a second makeover and used it to hold throw pillows in the living room. You can catch that post here.
I had already grown tired of it so I started brainstorming of aways I could possibly use it in the playroom. One night as I was falling asleep (am I the only one that has my greatest ideas at that time?) I came up with the perfect plan!
Supplies Used:(Affiliate links may be provided for convenience. For more info, see my full disclosure here.)
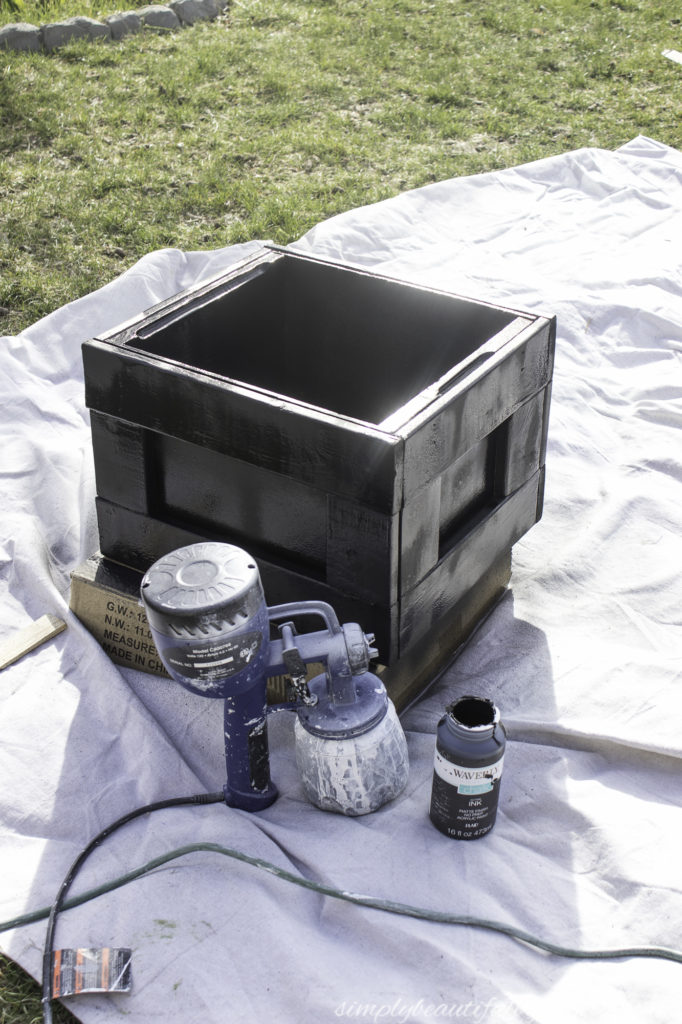
I originally started hand painting it with some black chalk paint. Although I sometimes find hand painting therapeutic, this was not one of those times haha!
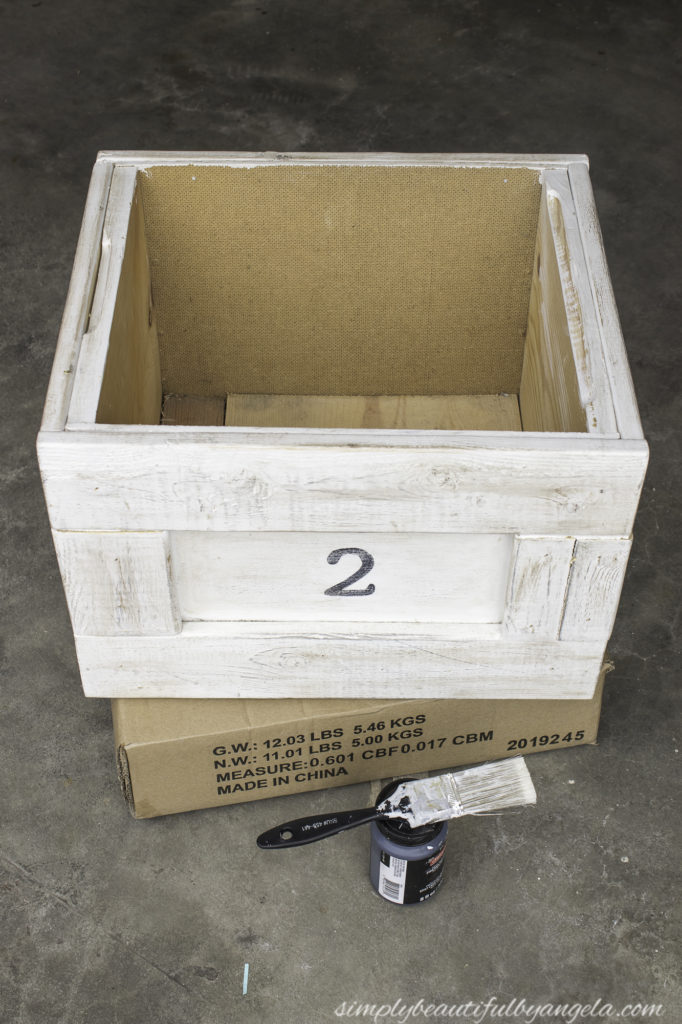
I quickly threw in the towel and loaded up my trusty paint sprayer. It took me about 2 minutes to set it up and 1 minute to spray it, both inside and out 🙂
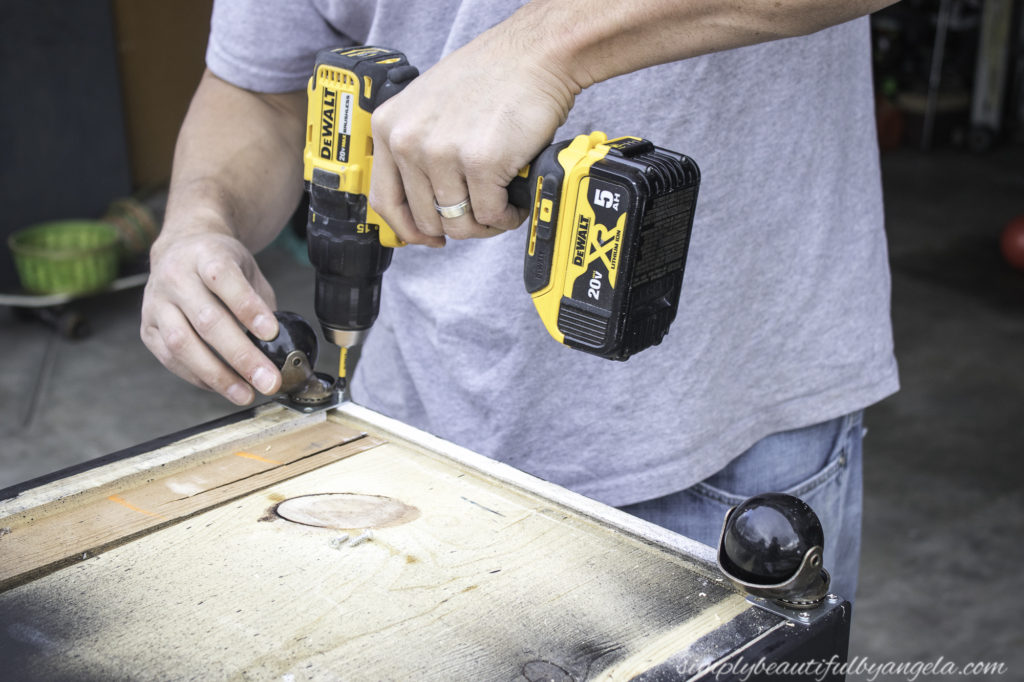
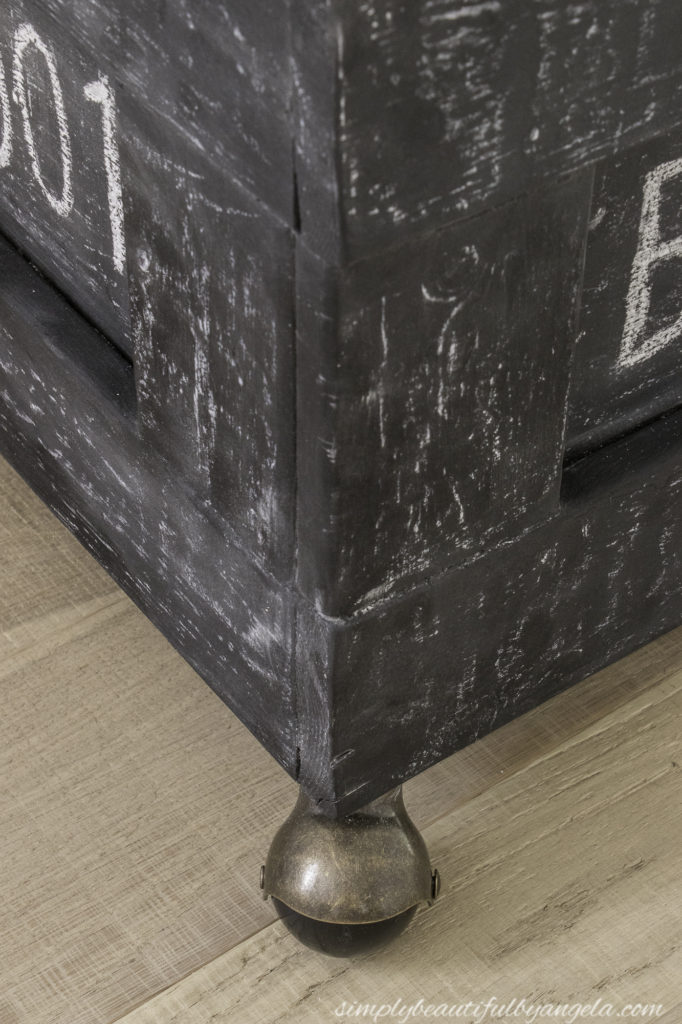
Once it was dry Anthony helped me attach these adorable vintage style caster wheels to the bottom.
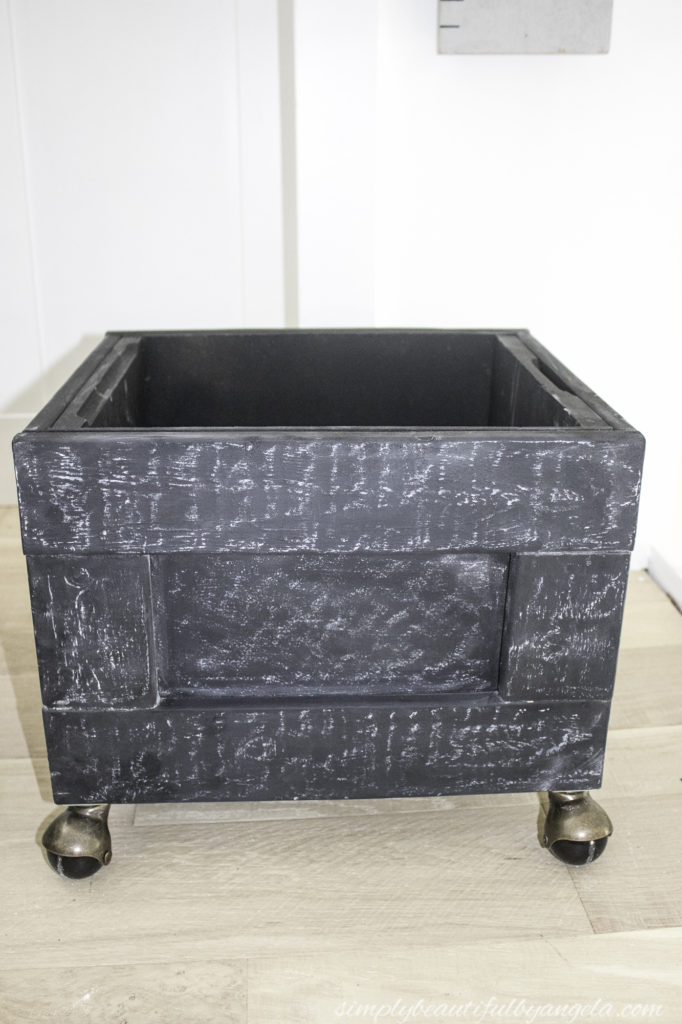
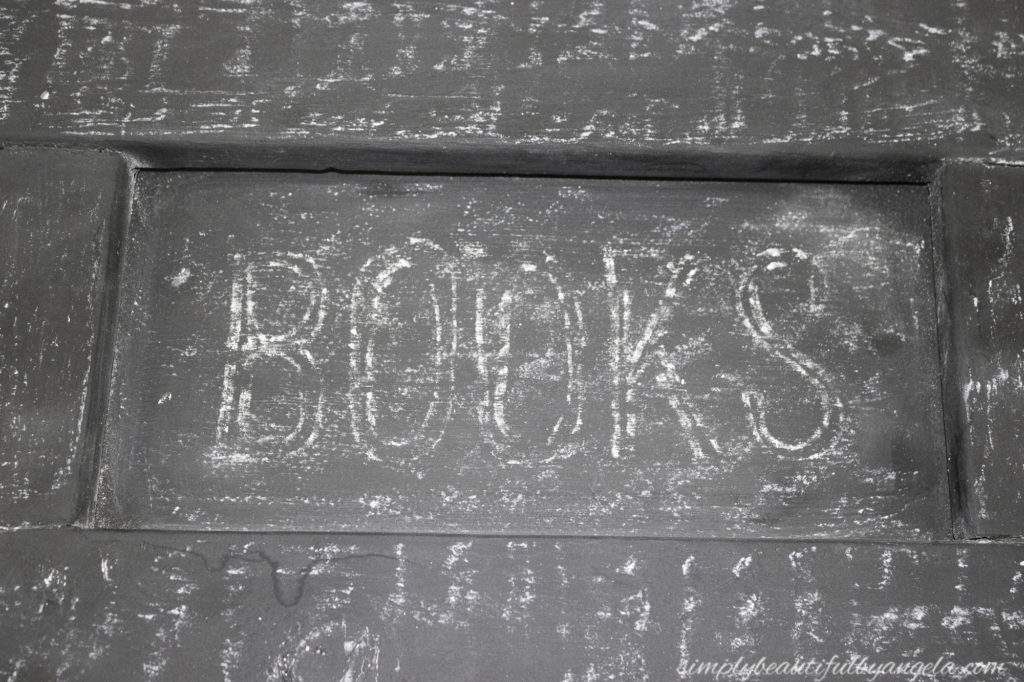
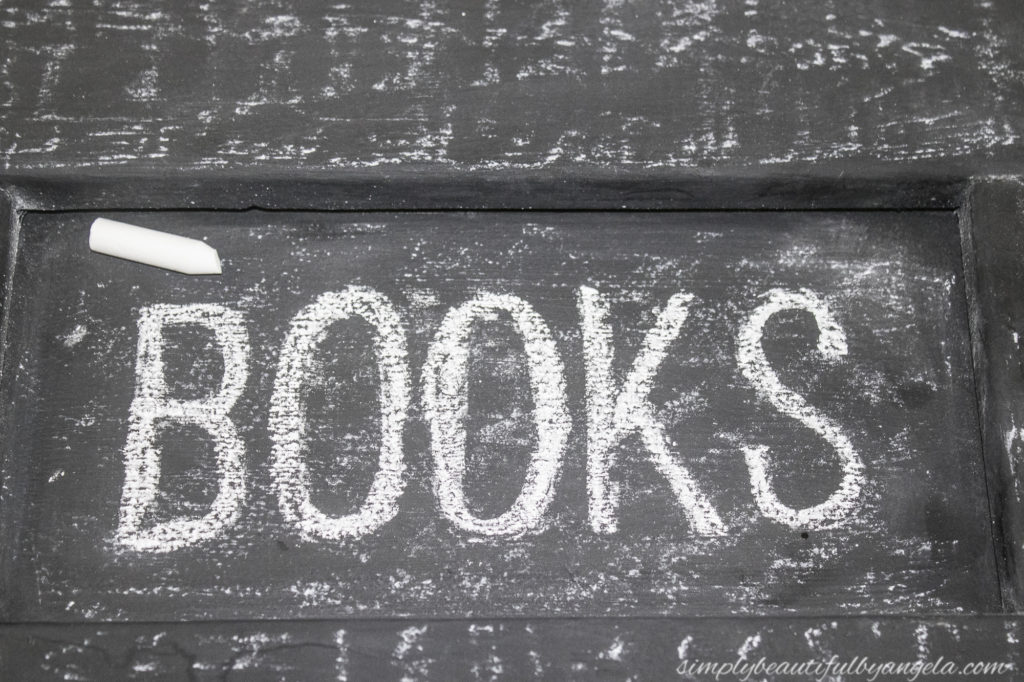
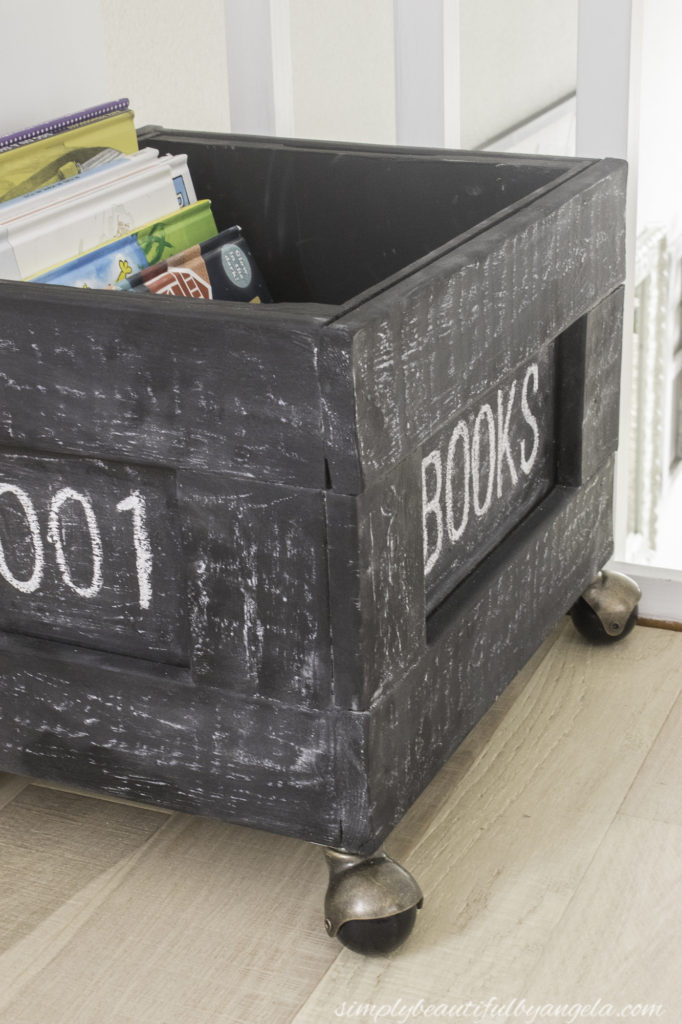
I then rubbed some chalk over all of the sides and wiped it off with a rag to give it a nice seasoned look.
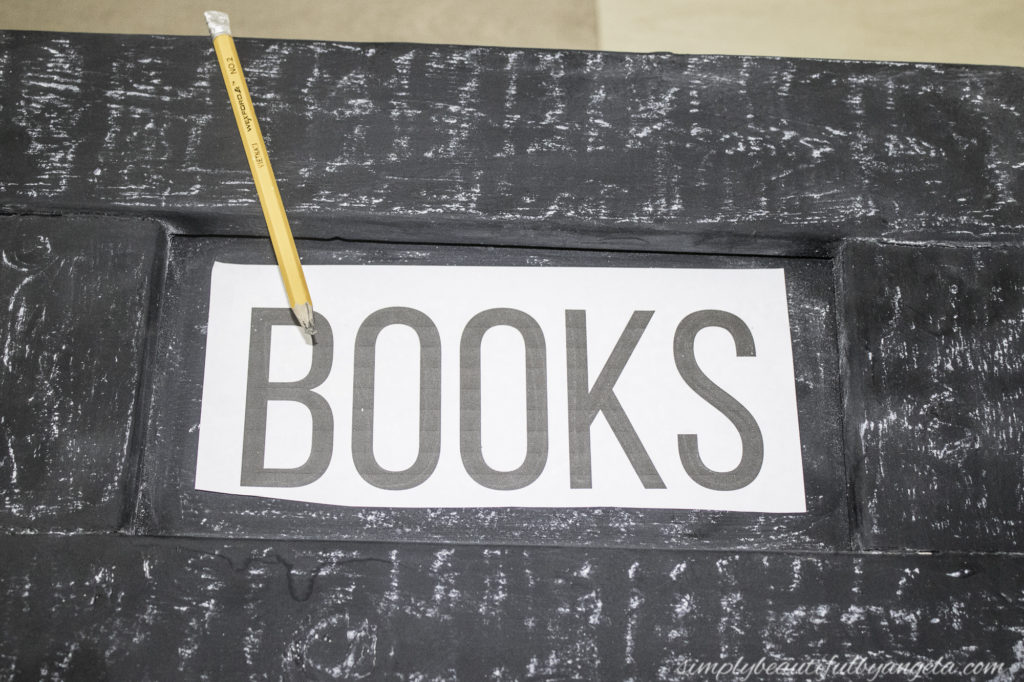
I printed out some font on computer paper, rubbed chalk on the back and then traced over it with a pencil to leave a nice outline for me to trace.
Here is how it turned out!
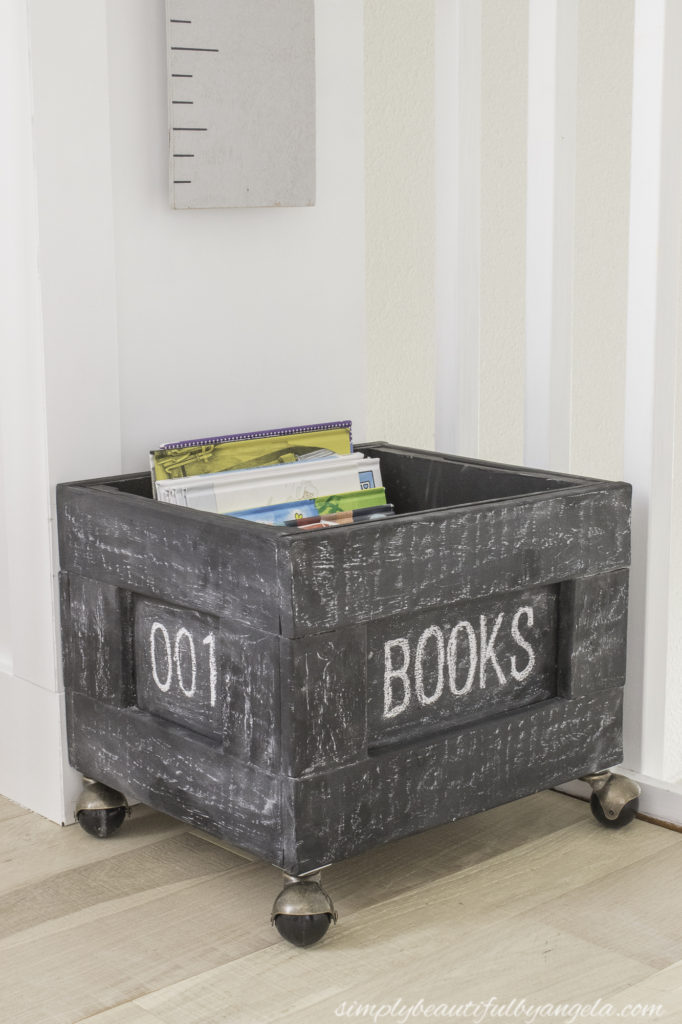
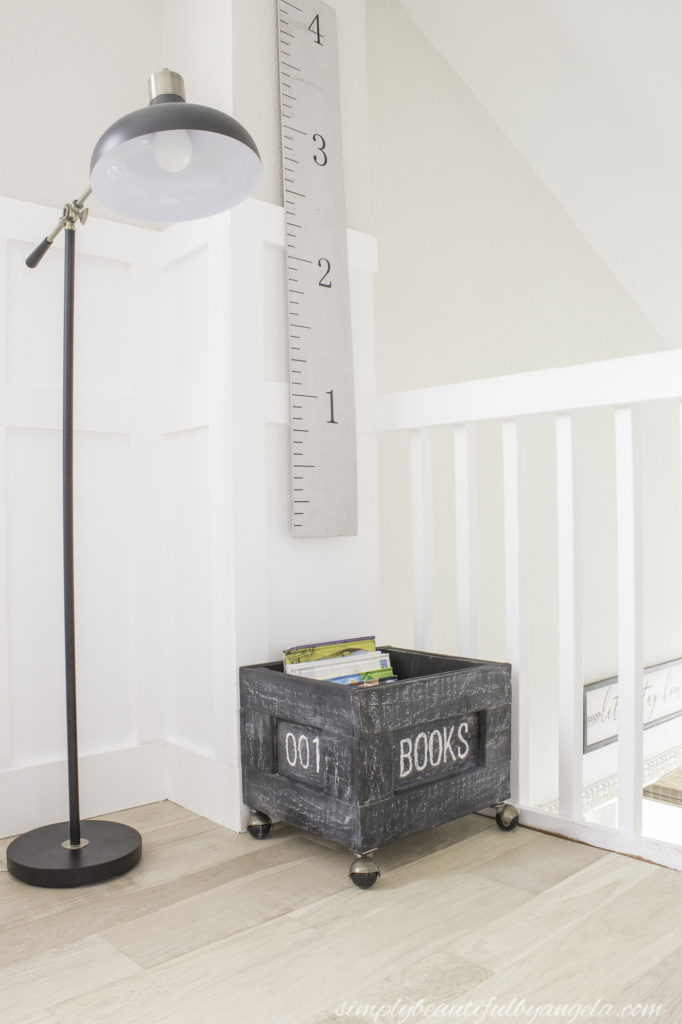
I think that it fits the vibe of this room perfectly and it turned out even betten than I had imagined it.
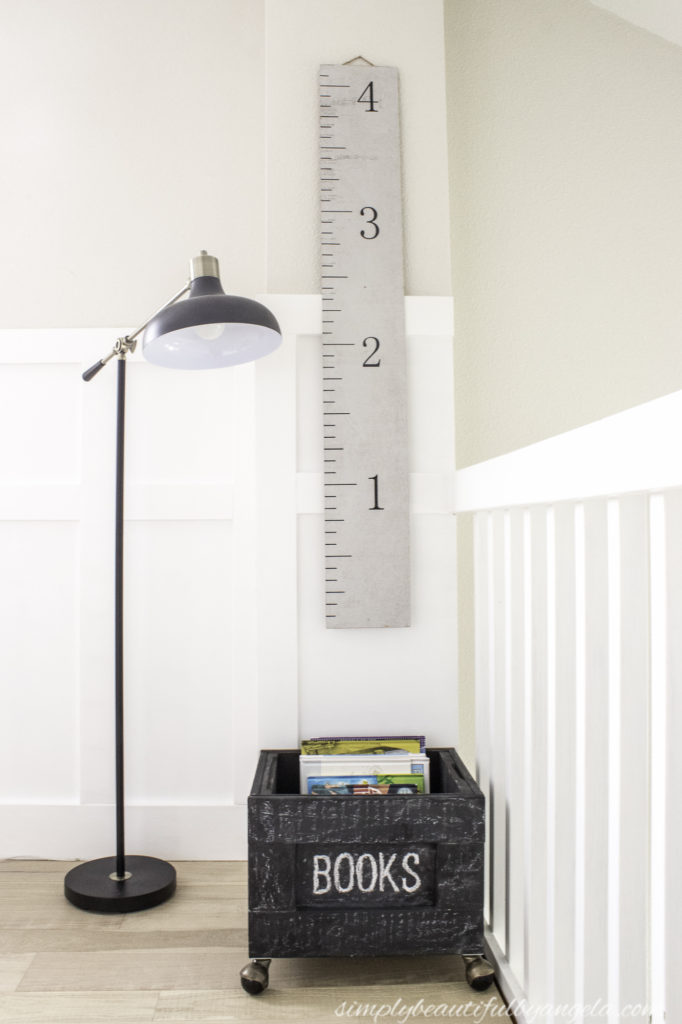
It feels as though this little corner was made for this and eventually the teepee will go right next to it so it will be nice and convenient for them to grab books from when they want to hang out inside there during quiet time.

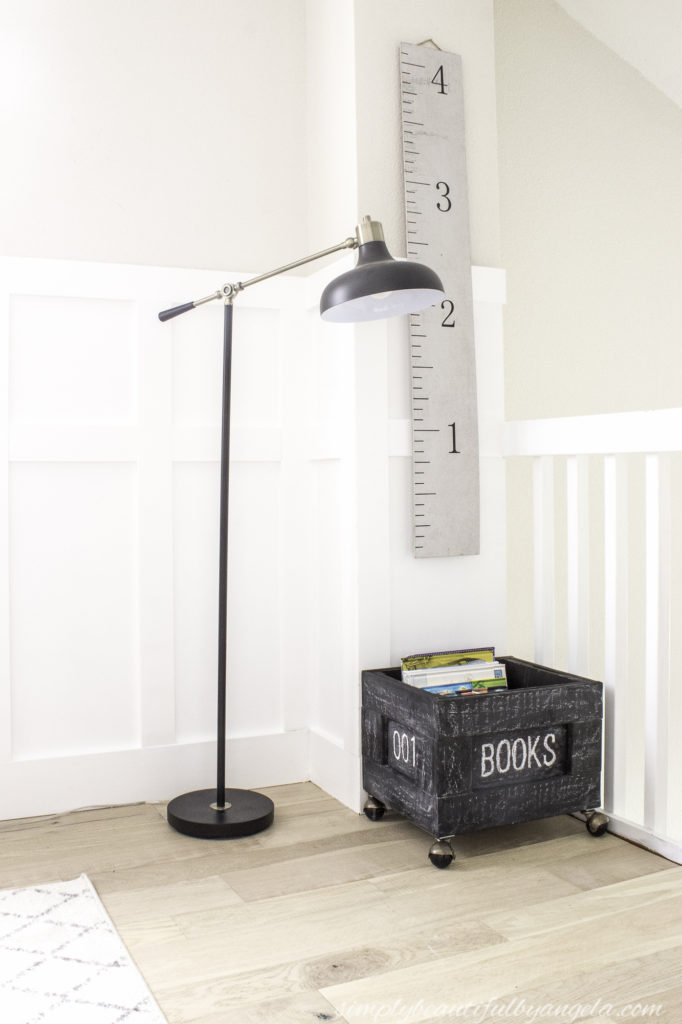
The wheels are so much fun and the set of 4 was only ten bucks on Amazon! I will note that the actual ball portion is plastic rather than metal, but they look very realistic and plastic is better on the beautiful new wood floors anyways.
I *think* it’s safe to say that this will be the last and final makeover for this little old milkbox, but of course I know I should never say never!
Thanks for stopping by today my friends!
And now for more thrifty goodness!
Linking up to these awesome parties!
Too cute, Angela! What a fun makeover for the kids and perfect to store their books in for quick reads!
And I love the added wheels! Makes it quite convenient, too!
Thank you so much Gail!
Oh I love how this turned out. Great job, so useful, and versatile. Looks great, and thanks for sharing.
This looks great, Angela. What a fun way to use that old crate. Adding the extra wood makes it look wonderful.
What a cute project! The wheels were a great idea:) xoKathleen
What a great project! It turned out so good, and I love that it’s on wheels!