Hi guys! I hope you all enjoyed a nice long Memorial Day weekend–I can’t believe that it’s already Thursday. This week has seriously just seemed to fly right by!
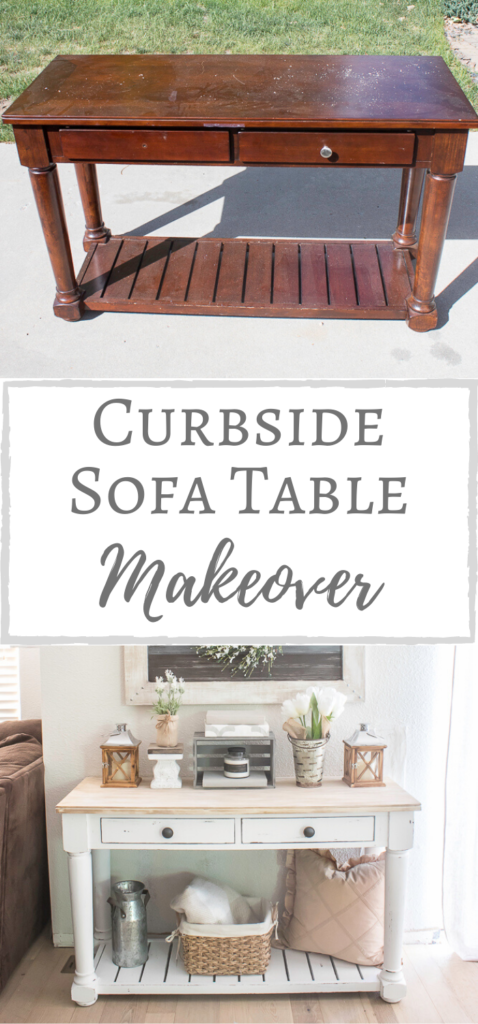
I’m popping in really quick today to share my latest furniture flip that I finished just in time for the Thrift Store Challenge!
The Rules:
- Upcycle an item(s) from a thrift store, resale store, or garage sale into a new piece of decor.
- There’s no monthly theme.
- There’s no budget to stick to.
Meet the Hosts
Angela | Simply Beautiful By Angela – Beverly | Across the Blvd Gail | Purple Hues and Me – Kathleen | Our Hopeful Home
Our Thrift Store Upcycle group of bloggers is looking to expand — and we need your help! Why not consider joining in our thrift store upcycle challenge on the last Thursday of each month? Make some friends while having fun and share your love of DIY with the world. It’s a win-win! Sound like something you’d be interested in? Just leave a comment at the end of this post with your contact info and a link to your blog. Someone will get back to you right away. We can’t wait to meet you!
As many of you know I have a real weakness for curbside treasures, especially furniture. So you can only imagine my reaction when I spotted this sofa table on our way out of the neighborhood sitting out on the curb.
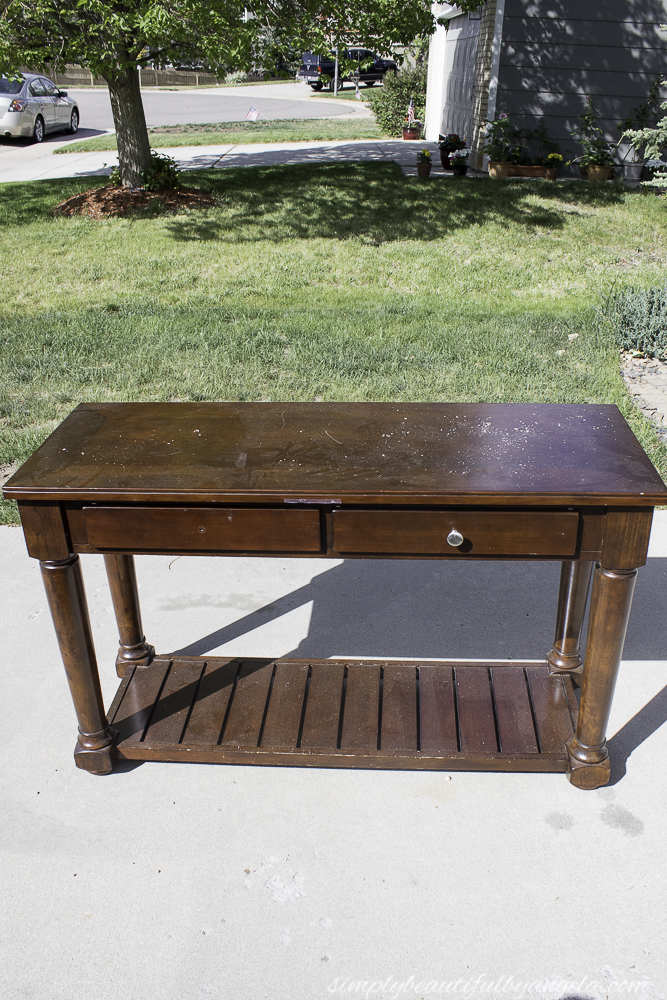
Since we keep the dog’s kennel behind our couch we obviously wouldn’t be able to utilize it as a true sofa table, but I knew I could find a place for it. I told the hubby that if it was still there when we got home that it was a sign that I absolutely needed it. When we pulled on to our block I squealed with excitement when I saw it still sitting on the curb just waiting to come home with me!
This past weekend I pulled it out of the garage and finally got started on the makeover.
Supplies Used:(Affiliate links may be provided for convenience. For more info, see my full disclosure here.)
- Krud Kutter (to clean it before beginning)
- Paint Sprayer
- Latex Paint
- Miniwax Dark Wax
- Microfiber Cloths
I’ve painted many pieces of furniture by hand but now that I have my trusty paint sprayer I wouldn’t do it any other way!
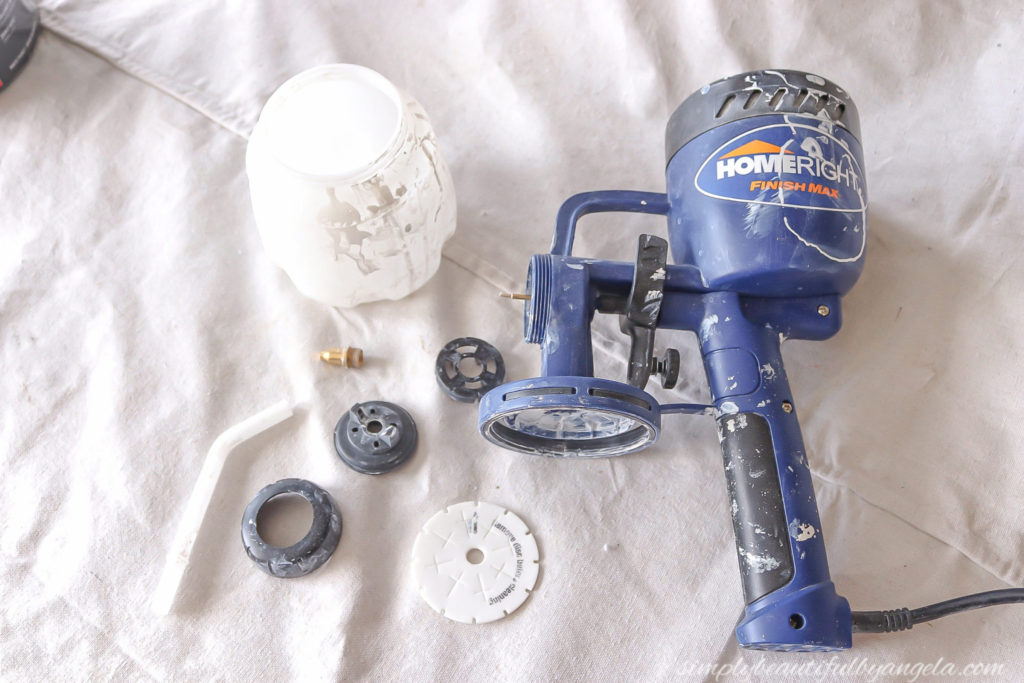
After a few minutes of set up and 5 minutes of spraying I was already done with the first coat.
I seriously can’t believe that I’ve gone all of these years without one haha. I guess it makes me appreciate it that much more!
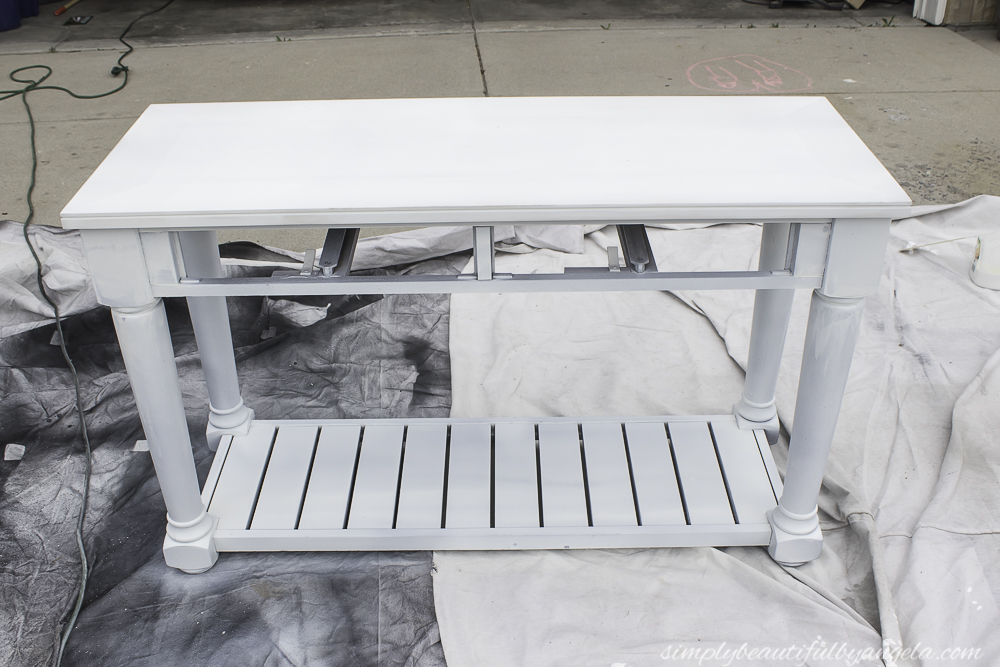
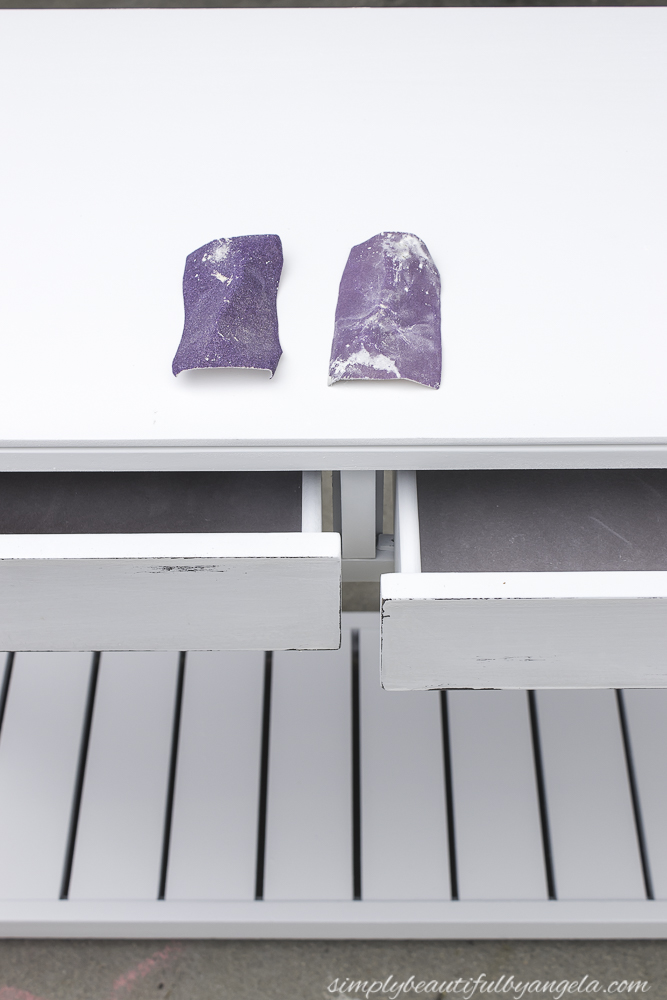
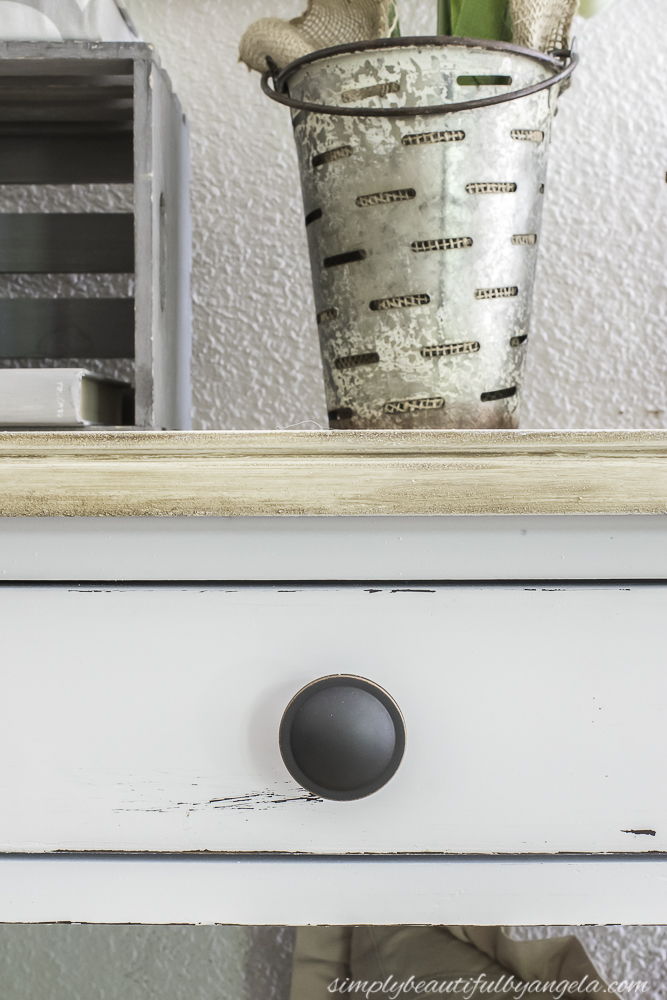
It was getting ready to rain so I put it away for the night and the next morning I gave it one more coat. Once it was dry I started distressing it. I used a rough grit to get a nice distressed look and then smoothed it out with a fine grit.
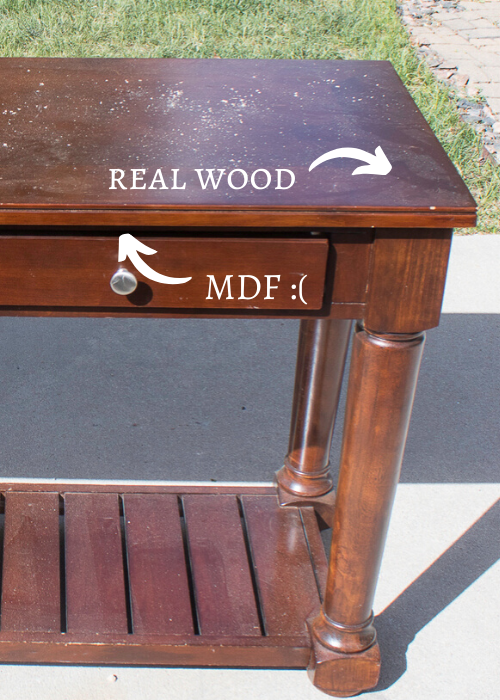
Okay let’s back up and chat about the top for a second. I originally had planned on sanding the top down so that I could restain it. However after spending about 30 minutes with the sander I discovered that although the top piece is real wood, the piece underneath is just cheap MDF. Whomp whomp…
So I painted the whole thing white and decided to go back and do a faux wood treatment on the top. I ran out of my favorite dark wax so I picked up what I could find at Lowes which happened to be Miniwax Paste Finishing Wax.
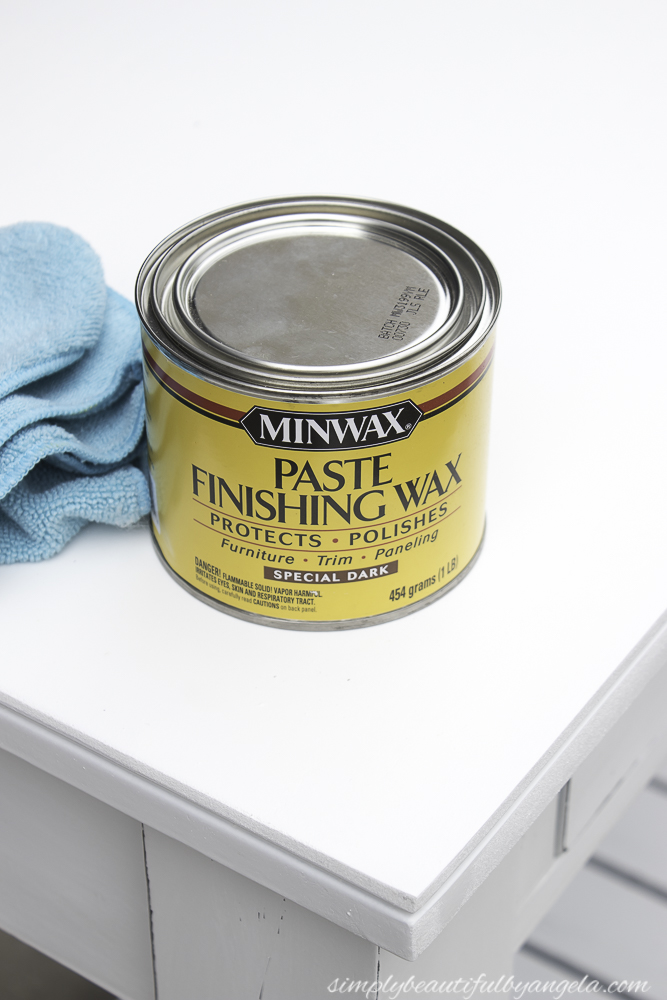
I’m not sure if it’s because I used satin paint as opposed to chalk paint like I normally do or if this wax is just that different from the Valspar version, but I had a very hard time getting good coverage so I’m honestly not how I feel about it.
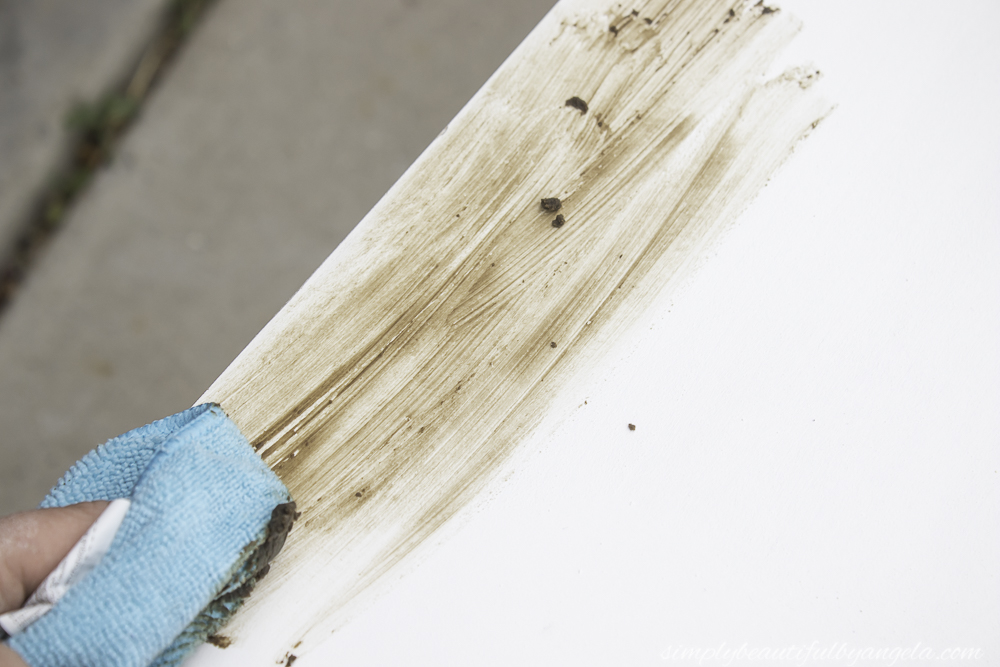
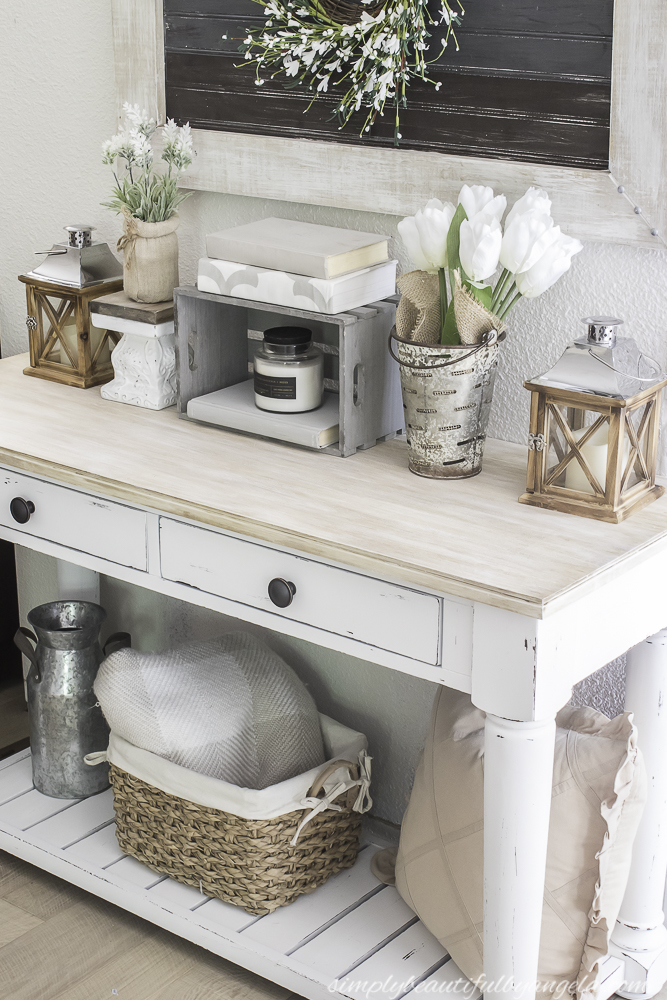
After fighting with it for awhile I was finally was able to get it to where I wanted and then followed with some dry brushing to make it look like wood. This is how it turned out!

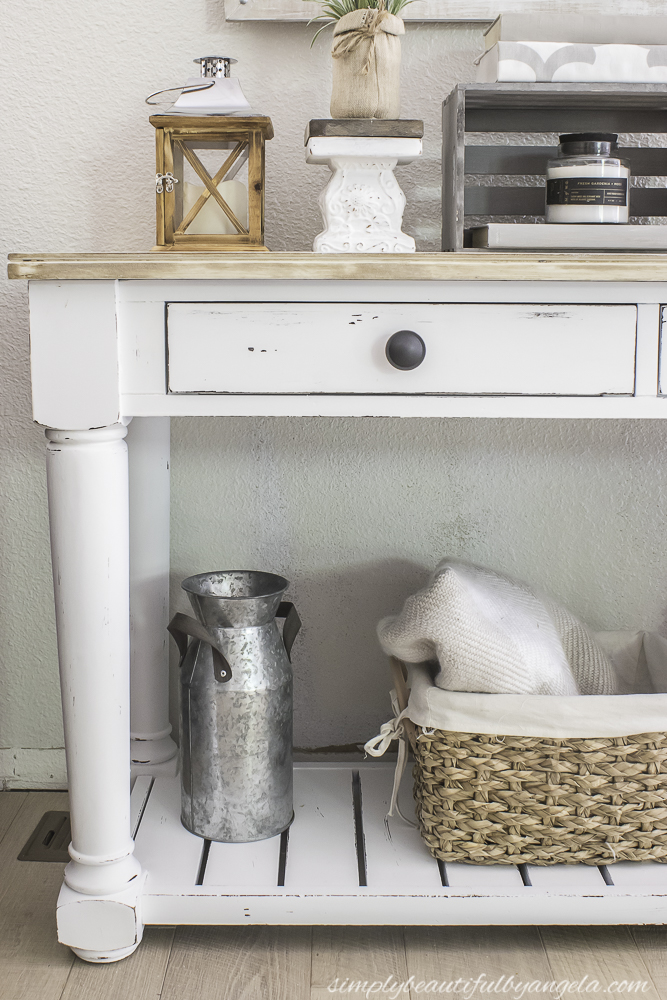
I added new oil rubbed bronze knobs to the drawers to complete the new look.
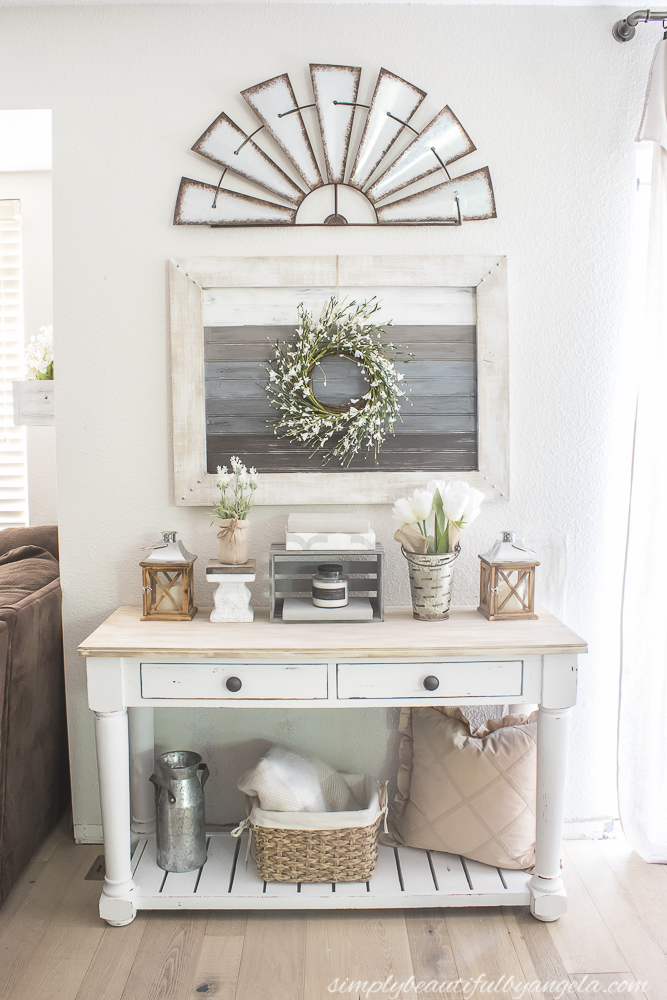
I used to have a dresser (a curbside find of course) on this wall but I decided to try this here and ended up loving it. I think it fits the space so much better.
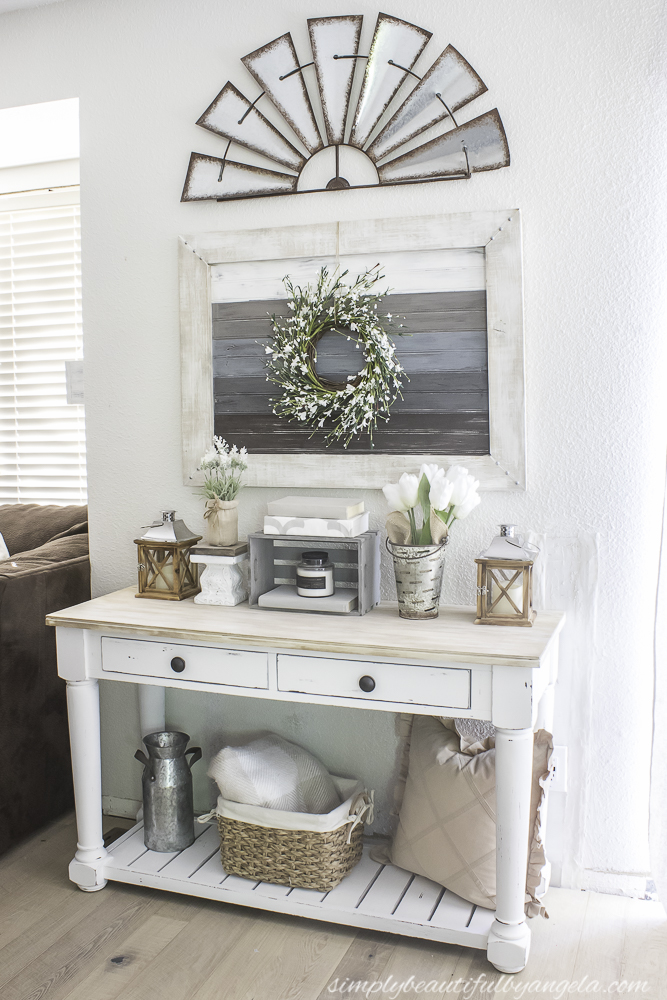
There’s not as much storage of course, but since we used to fill the dresser to the brim with junk, this better anyways!
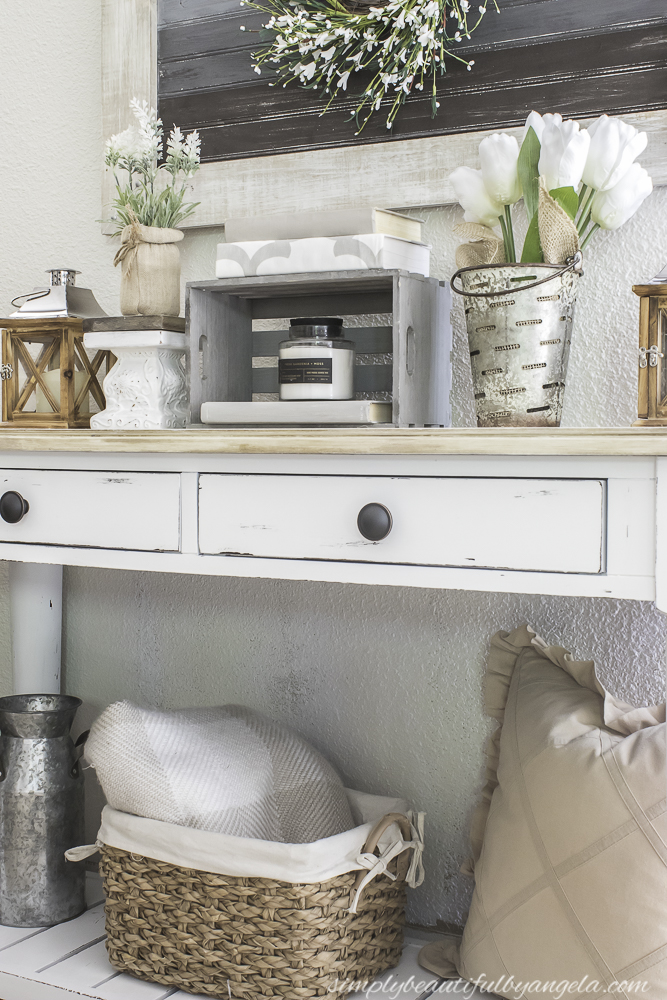
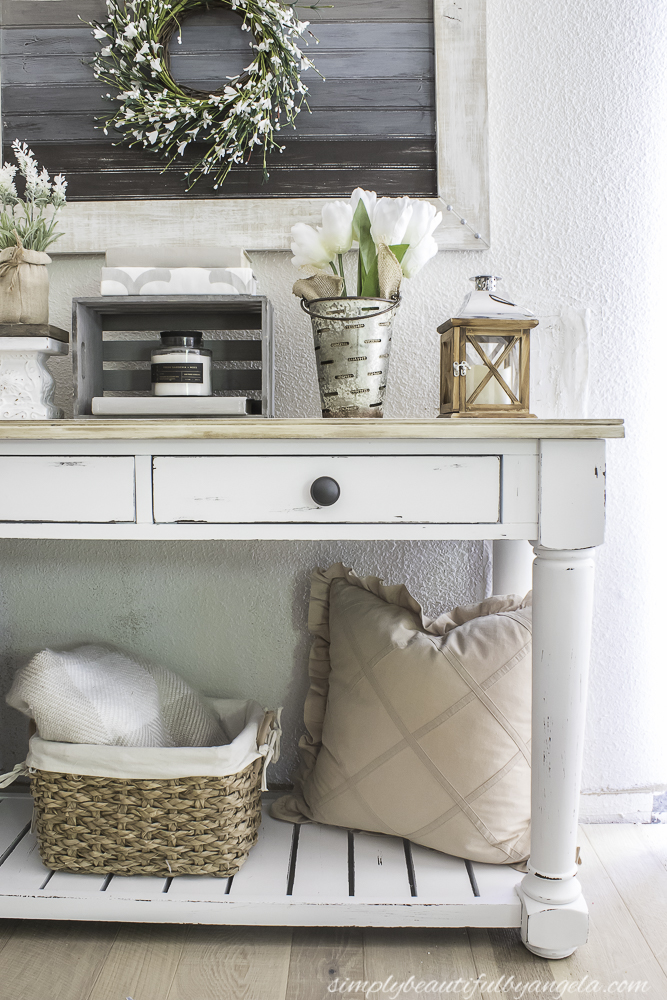
The faux wood look isn’t quite as good as the real thing, but I still enjoy the contrast of it with the white.
I quickly styled it for these photos but I am super excited to style it for summer next week!
And now for more thrifty goodness!
(Affiliate links may be provided for convenience. For more info, see my full disclosure here.)
Linking up to these awesome parties!
Wow, Angela! What a beautiful restoration! And it looks perfect in that spot! You have some awesome skills in refinishing discarded furniture! Great job!
Oh thank you so much Gail!
What a great curb side find and a gorgeous makeover, Angela! Even with the trouble you ran into with the wax, it turned out so well. It’s a lovely addition to your home.
Thank you so much Beverly I could t agree more!
I absolutely love this, Angela! I would have grabbed it too:) I really love the top the best. And it does fit that space really well. xo Kathleen
Aww thank you so much Kathleen!