
Happy Thursday my friends and welcome to the first Thrift Store Challenge of 2021 🙂
The Rules:
- Upcycle an item(s) from a thrift store, resale store, or garage sale into a new piece of decor.
- There’s no monthly theme.
- There’s no budget to stick to.
Meet the Hosts
Angela | Simply Beautiful By Angela – Beverly | Across the Blvd – Gail | Purple Hues and Me – Marci | Stone Cottage Adventures
Our Thrift Store Upcycle group of bloggers is looking to expand — and we need your help! Why not consider joining in our thrift store upcycle challenge on the last Thursday of each month? Make some friends while having fun and share your love of DIY with the world. It’s a win-win! Sound like something you’d be interested in? Just leave a comment at the end of this post with your contact info and a link to your blog. Someone will get back to you right away. We can’t wait to meet you!
I want to start off by telling you guys about my journey to find a project for this month. It was a REAL challenge haha.
I first bought a ceramic pitcher that I was going to paint and use to make something for Valentine’s Day. However when I got it home I started to think that my Mom would actually really like it as is so I decided to give it to her.
So I went back and found the cutest little side table. But when I got up to the register I learned that the credit card machines were down and I was cashless.
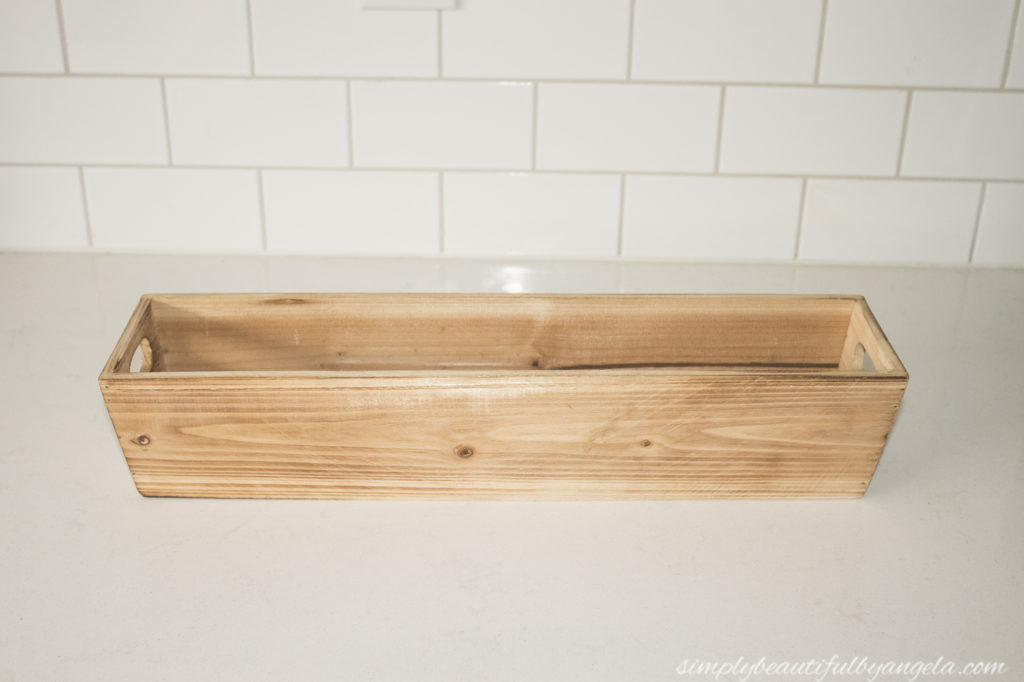
Finally I hopped over to the Salvation Army and I found this awesome wood box. I didn’t have a clue what I could use it for, but it was only 3 bucks and I knew that I could figure something out.
Supplies Used:(Affiliate links may be provided for convenience. For more info, see my full disclosure here.)
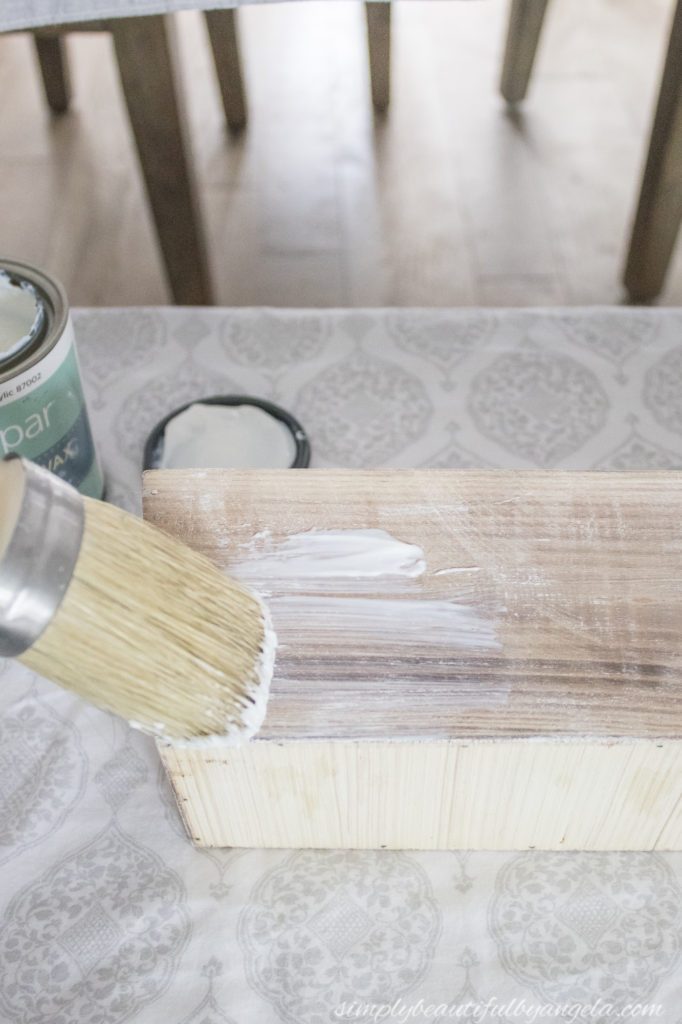
I decided that I wanted it to look a little more aged and weathered so I mixed up some white paint with water so that I could whitewash it.
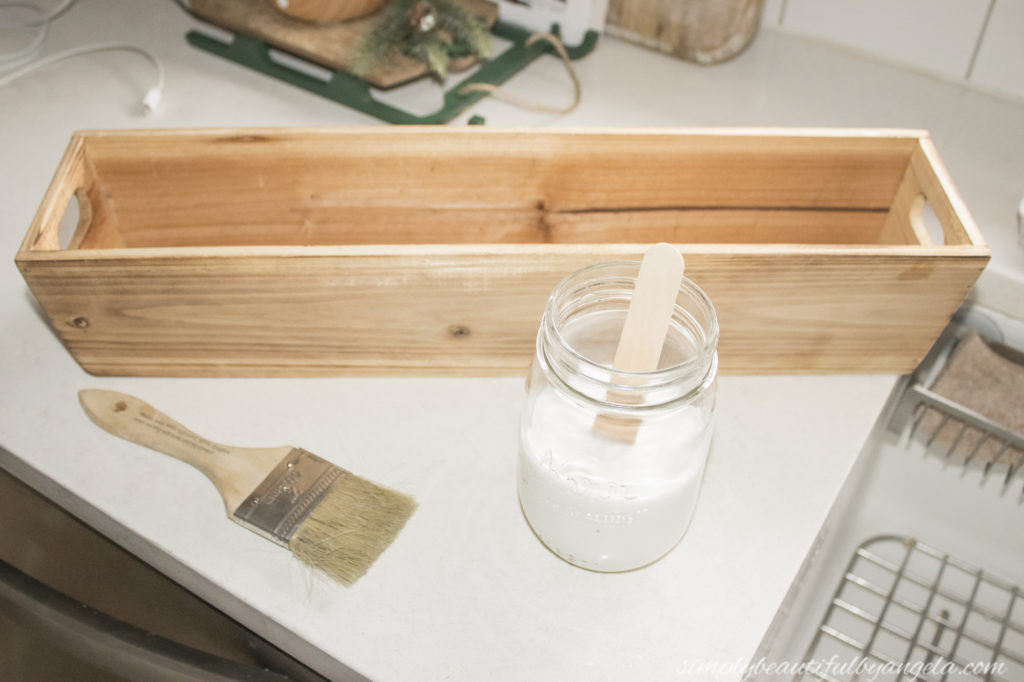
Since it was absolutely frigid outside and in the garage, I set up shop right in the kitchen sink.
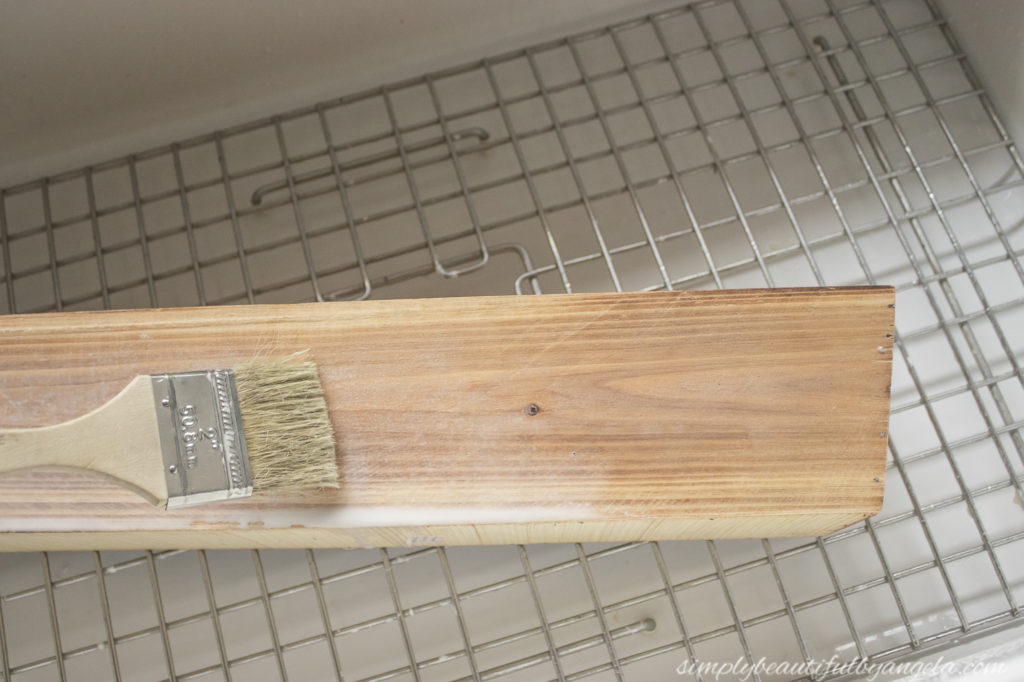
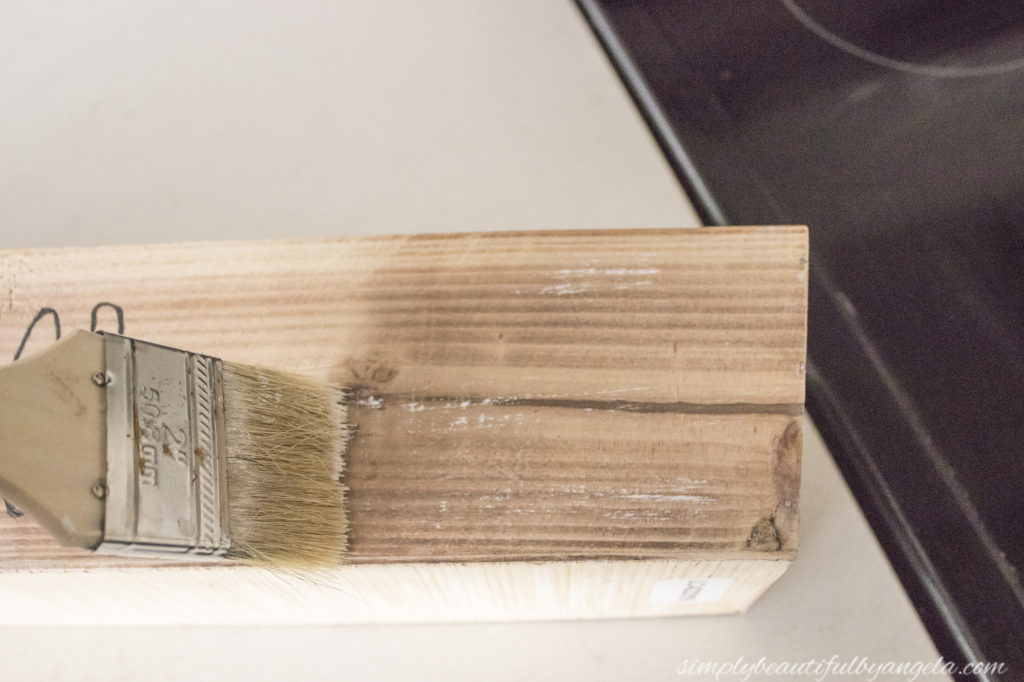
Once I achieved the look that I wanted I waited until it was completely dry and then dry brushed some white paint on it.
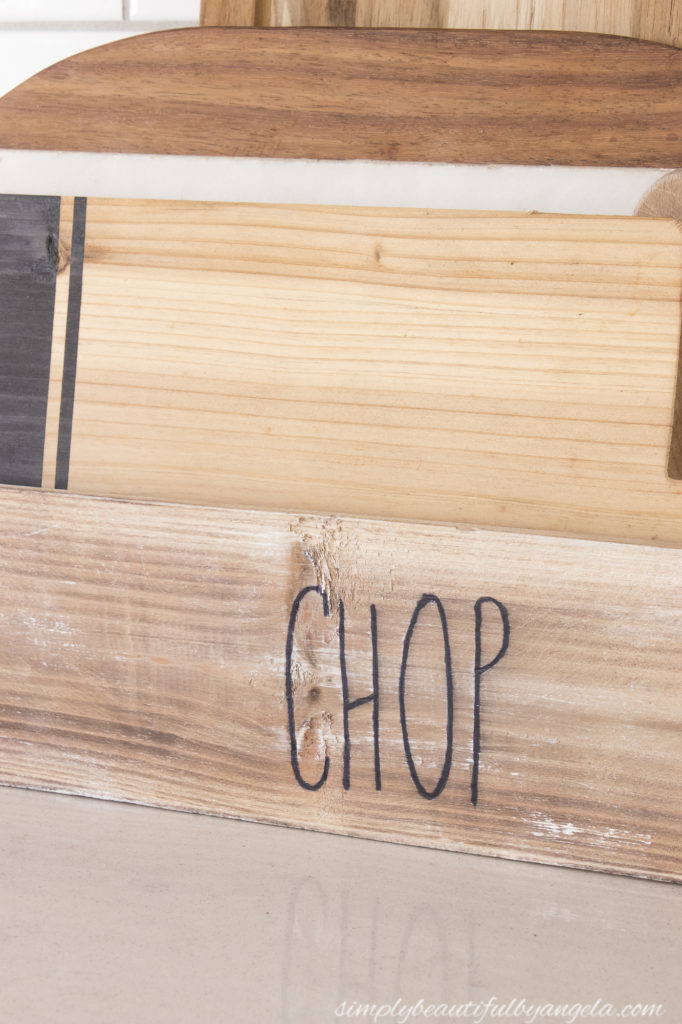
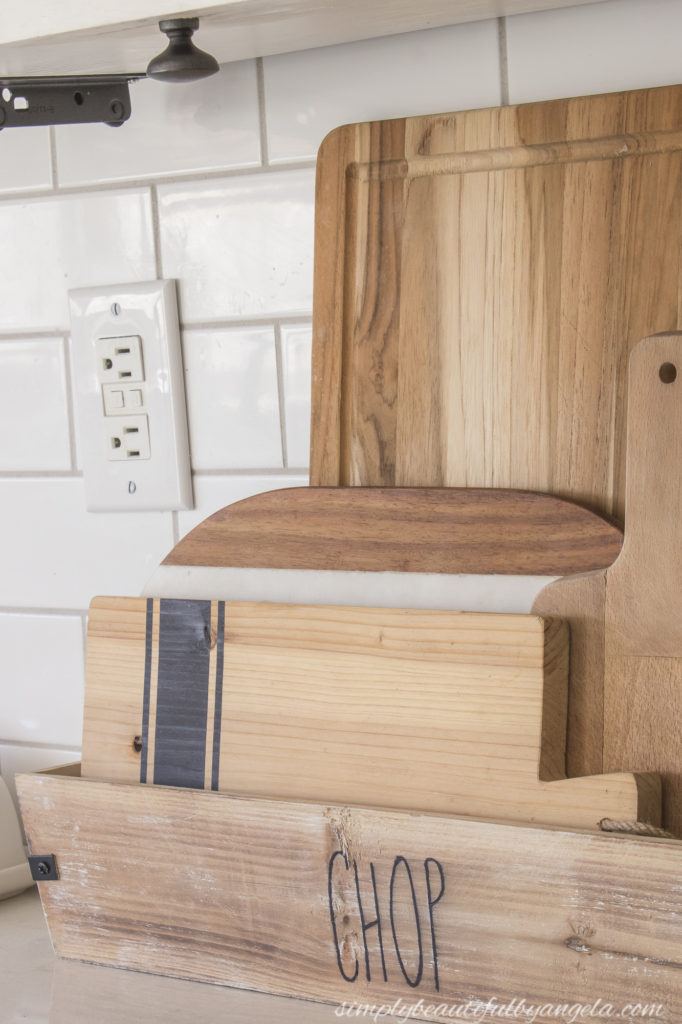
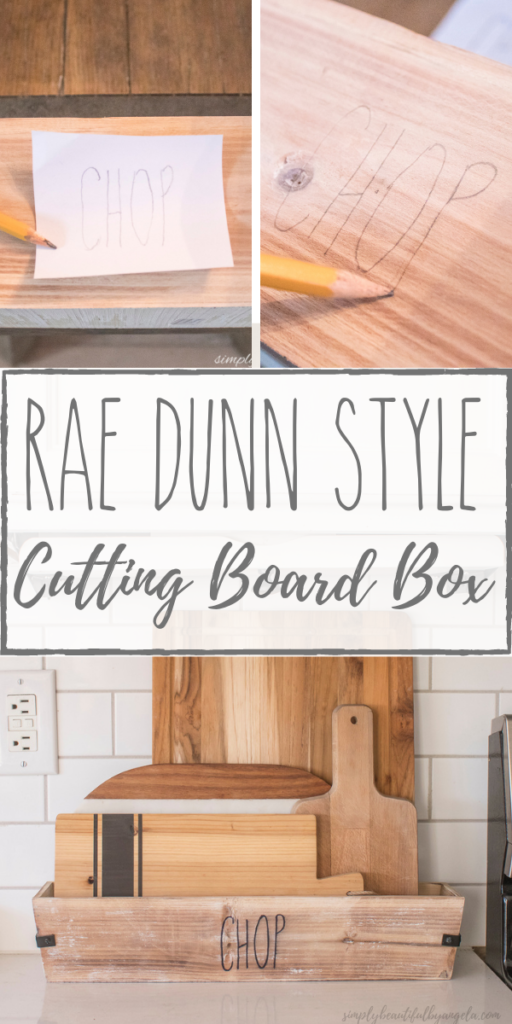
I had decided that it was the perfect size to hold our cutting boards so I traced the word “chop” from my computer screen using the font “the skinny” from Dafont.com. (Normally I would just print it out but I was out of ink)
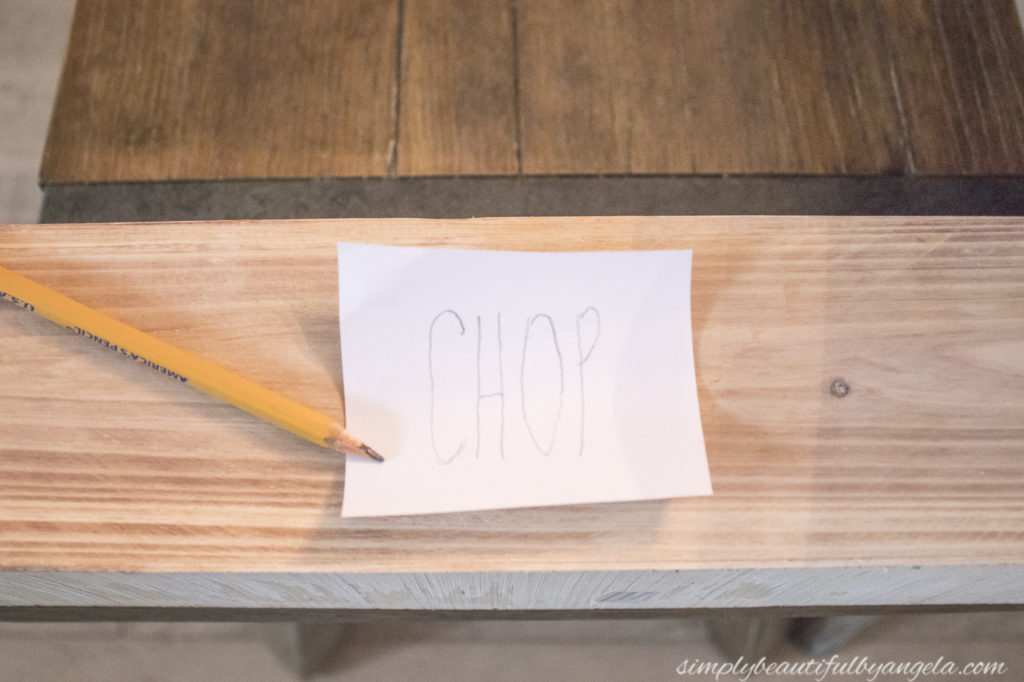
I centered it and then used a pencil to firmly trace the letters on to the wood. After I took the paper off I traced over the indentation with pencil.
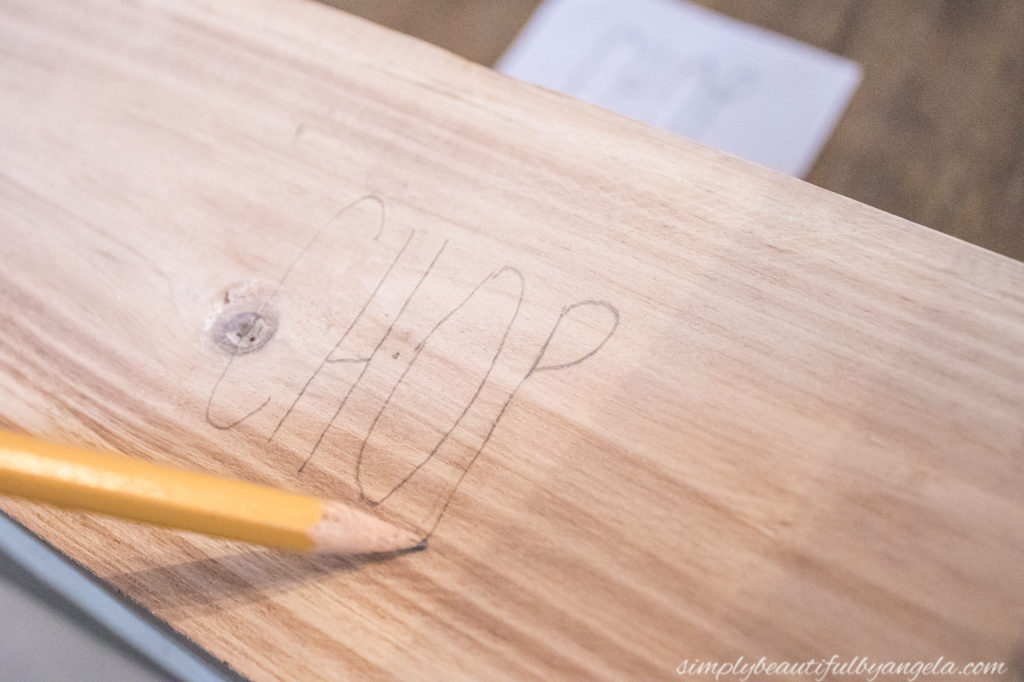
I then used a fine sharpie to carefully go over it. I let it dry overnight and then the next day I gave it two coats of sealing wax to protect it.
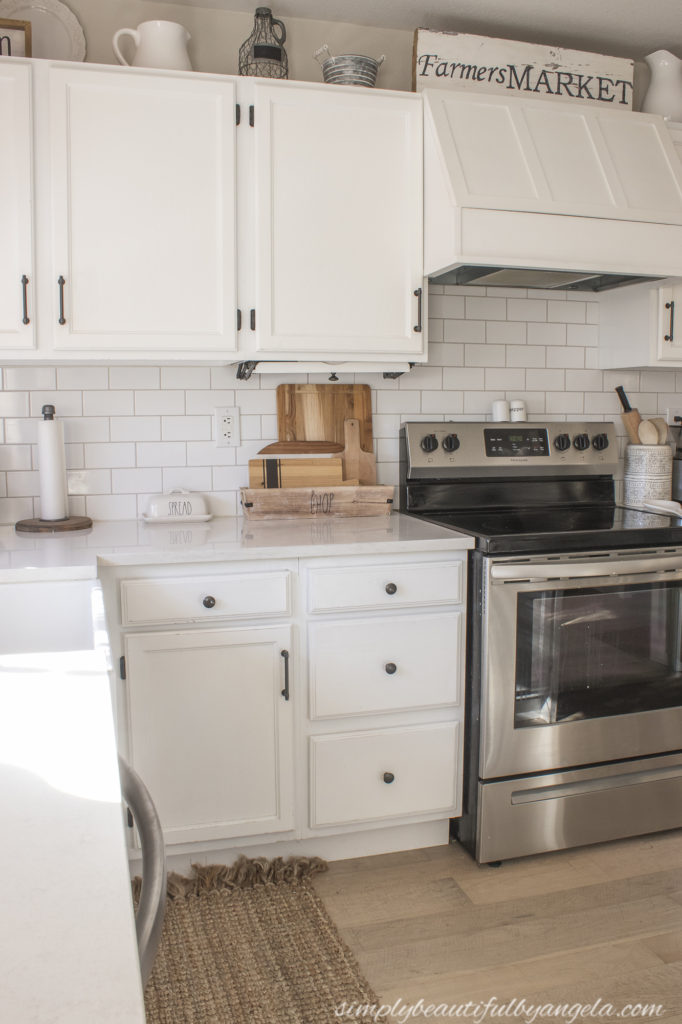
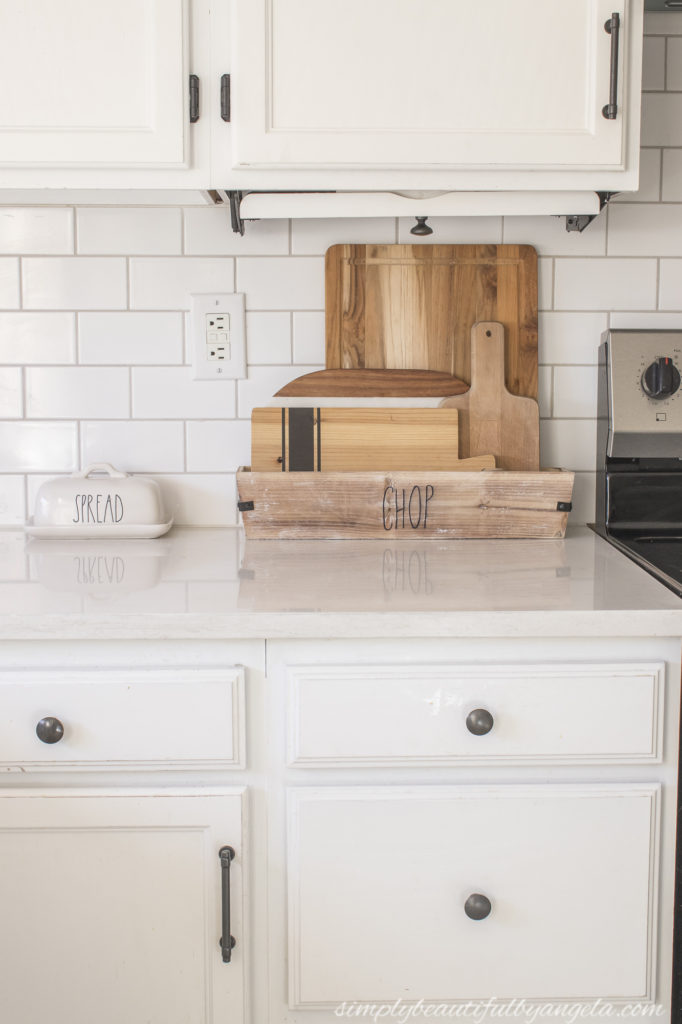
I decided to spray-paint some small L-brackets and added one to each corner and this is how it turned out!
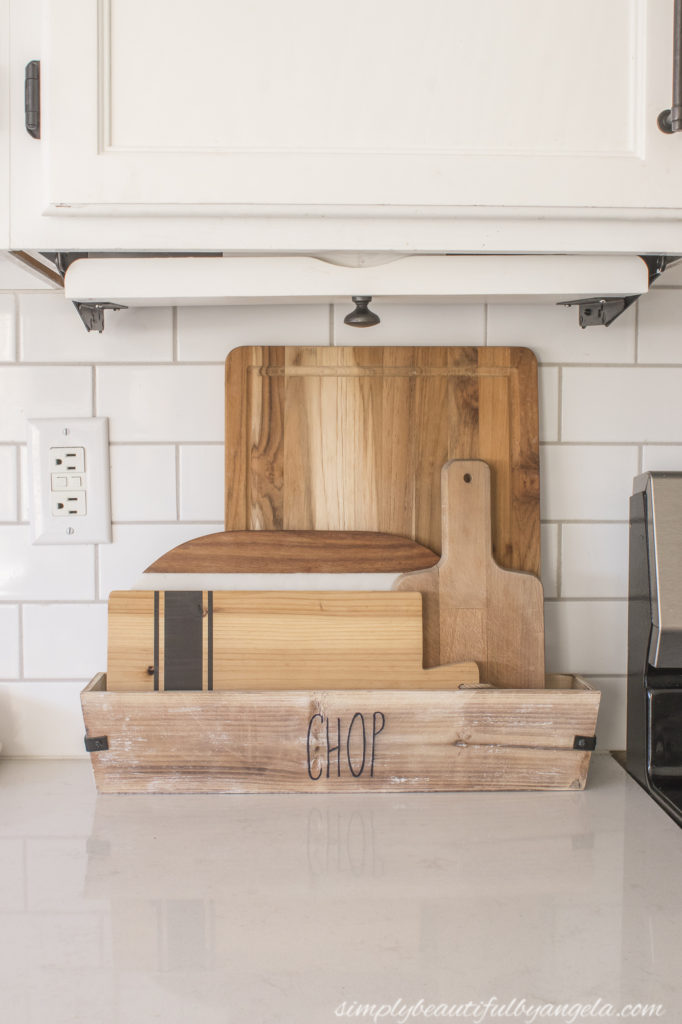
I love how it corrals the cutting boards and it looks super cute on the counter.
The lettering turned out even better than I had expected it to. I found out that the wax really set it and darkened it a bit so that it really stands out.
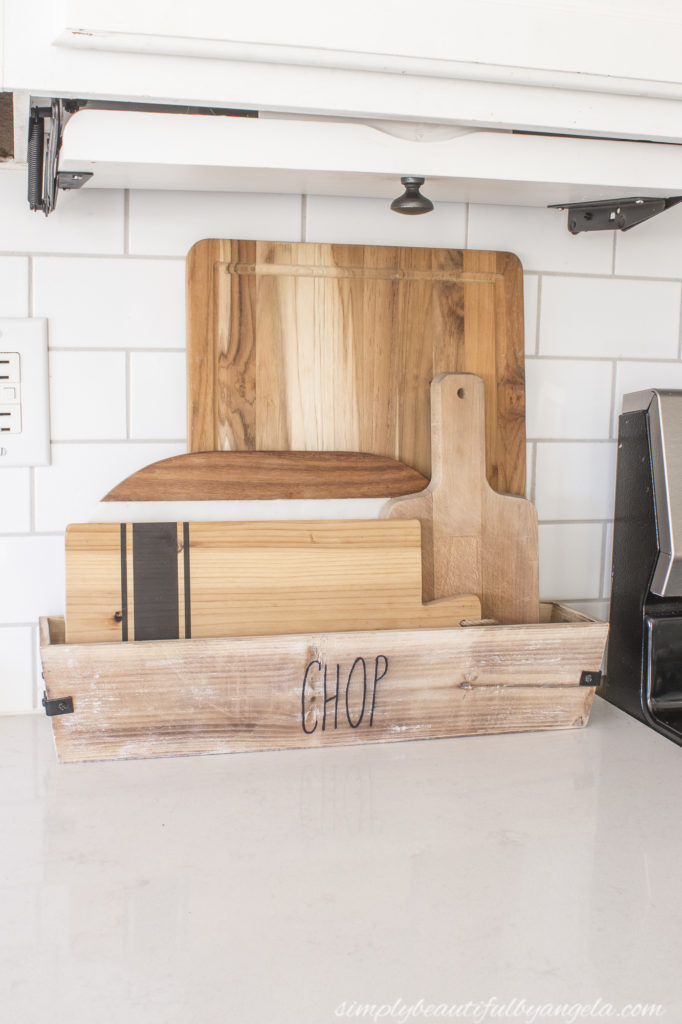
It used to be so annyoing to move all of the boards out to clean the crumbs off the counter but having them in this nify little box has made it so much easier.

I am so happy that you could swing by today 🙂
PIN FOR LATER!
And now for more thrifty goodness!
What a clever idea. It looks great on your countertop, too.
Oh my, Angela! Your box turned out amazing! Who would have thought to make it into a holder for cutting boards! How creative! I wish I had one!
My cutting boards are all loosey goosey. I love how yours are now penned together! The different wood tones really compliment each other and look great on your counter! Well done! -Marci @ Stone Cottage Adventures
Great idea. Looks terrific too.
What a fun challenge and a great project for its inauguration. Thanks for sharing with us at Creatively Crafty #ccbg 🙂