Hi guys, happy Thursday 🙂 I hope you’ve all been having a nice week so far. Monday morning we called the the kids out of school so that we could go on our annual trip to the Great Wolf Lodge. It was super nice to get away for a bit and we loved watching the kids get to have some fun. It’s been quite a year for them, and we felt like this trip was needed more than ever.
Before we left, I worked on this month’s project for the Thrift Store Challenge and I can’t wait to share it with you guys today!

The Rules:
- Upcycle an item(s) from a thrift store, resale store, or garage sale into a new piece of decor.
- There’s no monthly theme.
- There’s no budget to stick to.
Meet the Hosts
Angela | Simply Beautiful By Angela – Beverly | Across the Blvd – Beverly | Electric Red Barn
Our Thrift Store Upcycle group of bloggers is always looking to expand — and we need your help! Why not consider joining in our thrift store upcycle challenge on the last Thursday of each month? Make some friends while having fun and share your love of DIY with the world. It’s a win-win! Sound like something you’d be interested in? Just leave a comment at the end of this post with your contact info and a link to your blog. Someone will get back to you right away. We can’t wait to meet you!
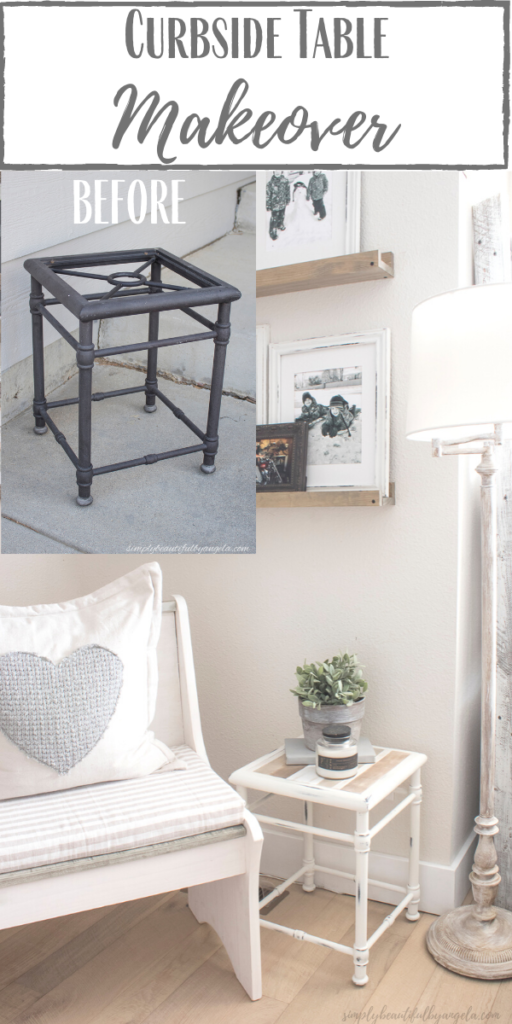
Last week I noticed that our neighbors had set out this cute little metal table for the trash.
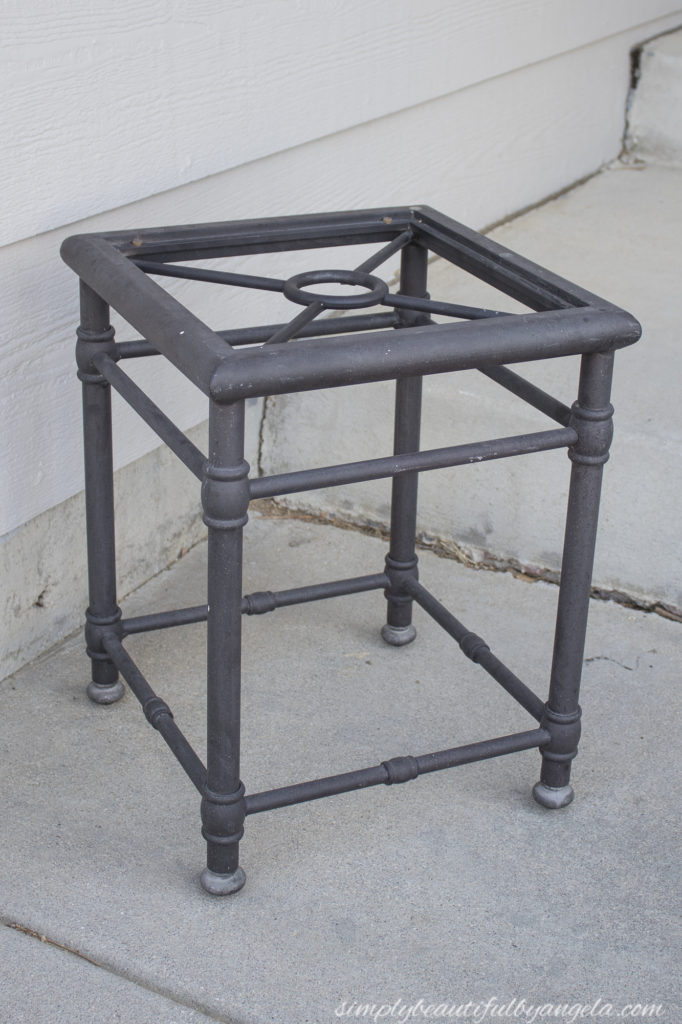
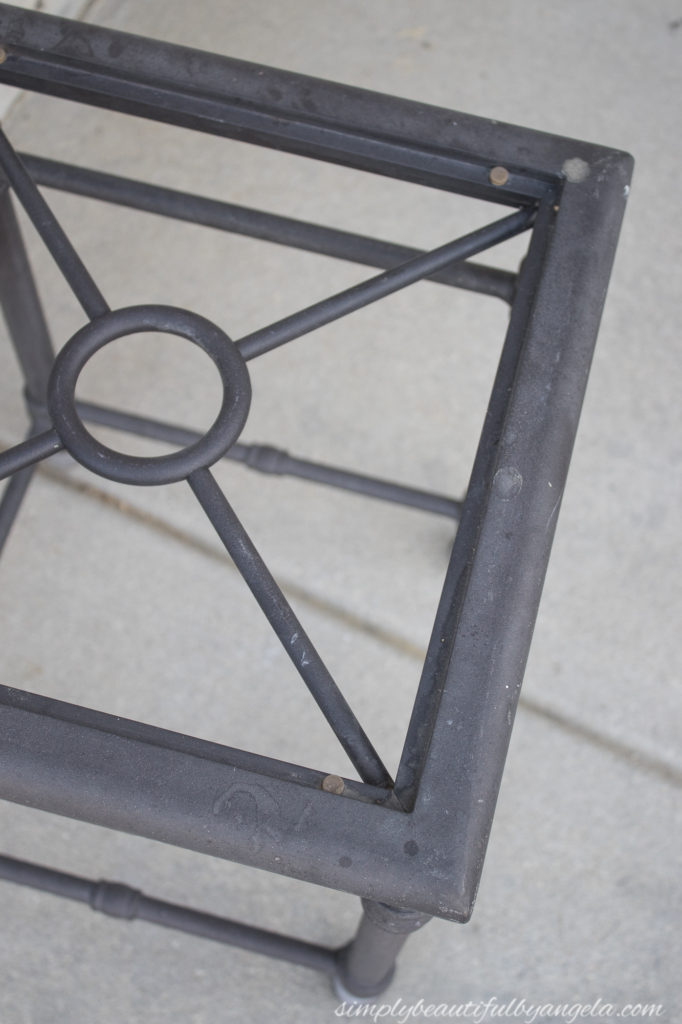
It most likely used to have a glass insert and the paint was worn, but I immediately saw its potential and was so excited to give it new life.
Supplies Used:(Affiliate links may be provided for convenience. For more info, see my full disclosure here.)
- Automotive Primer
- Farmhouse House Black Spray Paint
- 1/4″ Plywood
- 1/8″ Hardboard
- Miter Saw
- Latex Paint
- Acrylic Paint
- Dark Walnut Stain
- Weathered Oak Stain
- Valspar Chalky Clear Sealing Wax
- Construction Adhesive
- Paint Sprayer
- Sanding Sponge
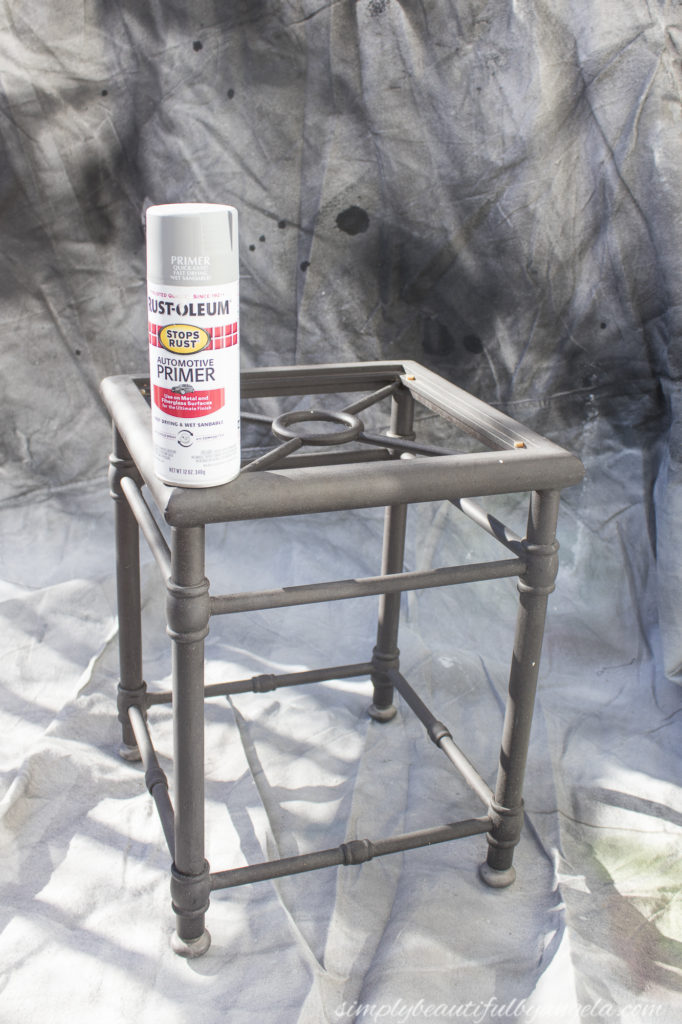
I began by wiping it down with some Simple Green and then gave it one coat of Automotive Primer so that my paint would adhere nicely.
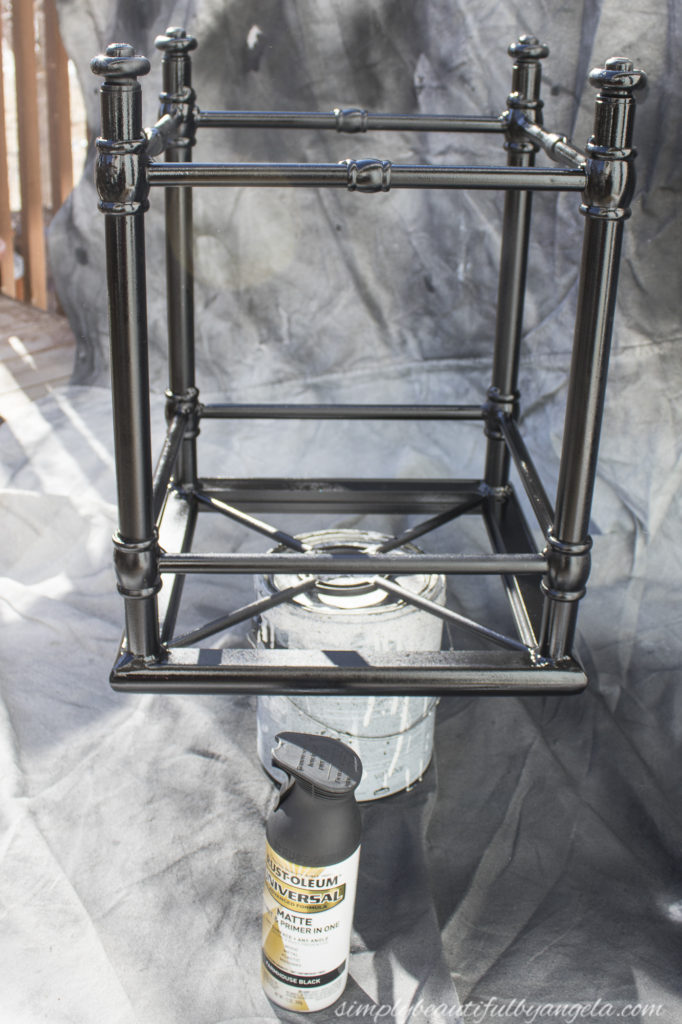
Next, I gave it two coats of black spray paint. I used Farmhouse House Black Spray Paint. For the second coat I flipped it upside down and set it on a paint can so that I could get the underside of the bars.
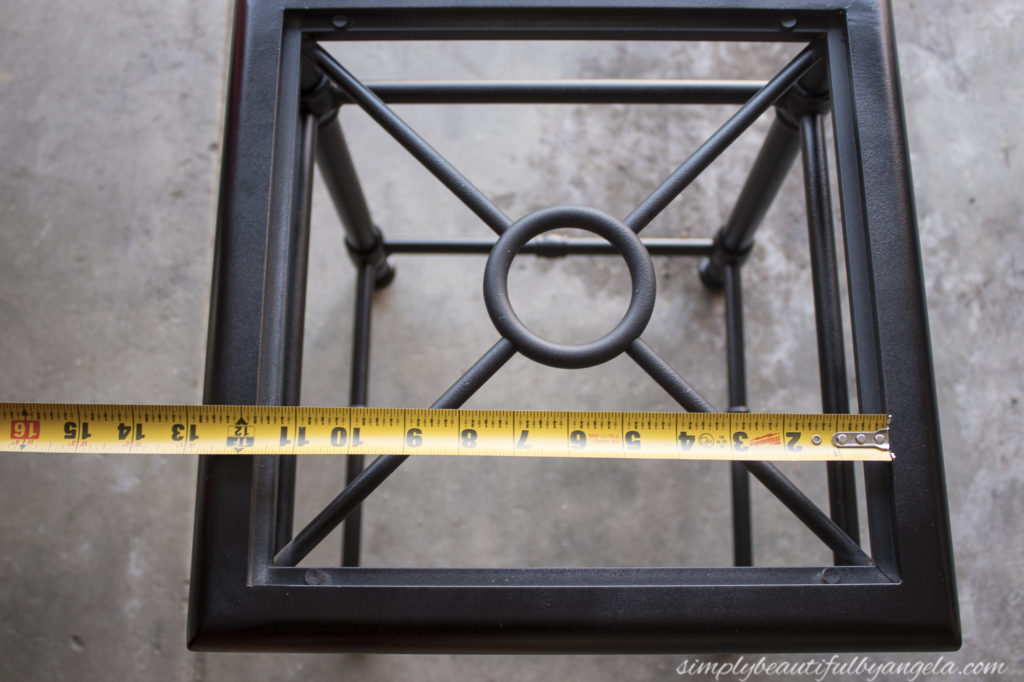
Once it was dry I measured out the opening of the inset.
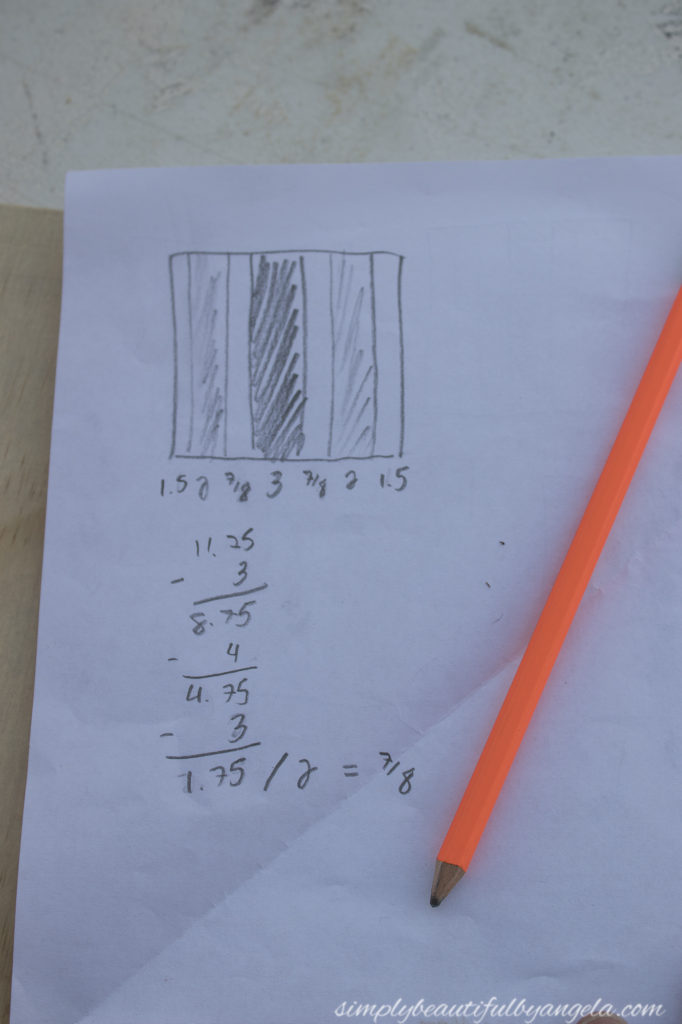
I knew that I wanted to create a planked wood look using pieces of 1/4″ plywood, so I drew up some messy plans of how big to cut the wood slats using varying widths.
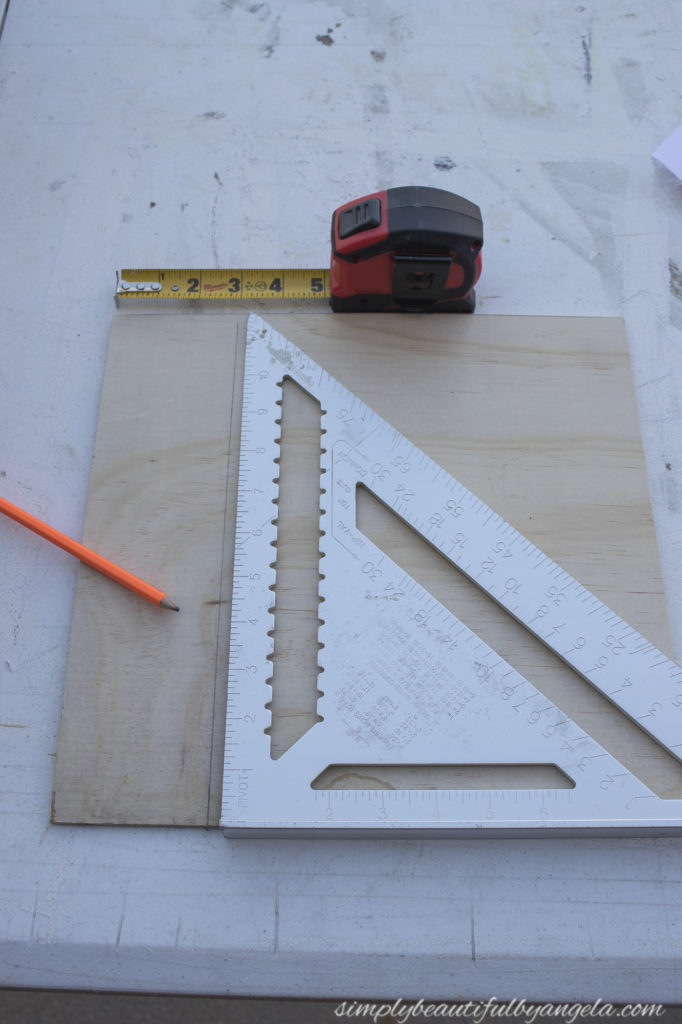
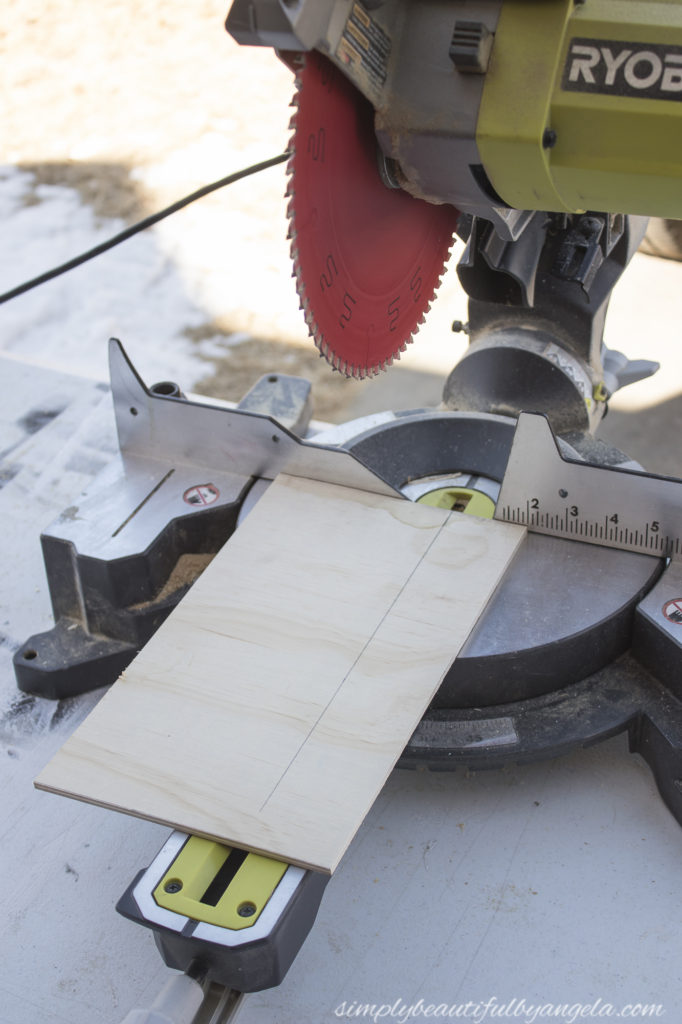
I cut a piece of 1/4″ plywood down to the correct width and then marked the different sized slats and cut them on the miter saw.
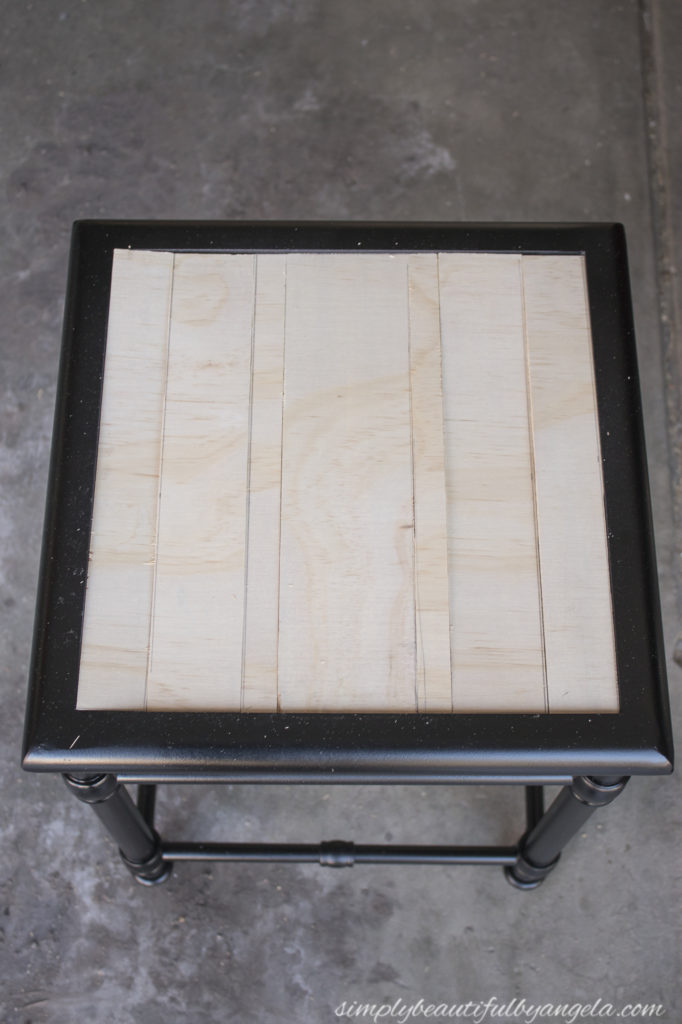
Once they were all cut I did a dry fit to make sure that they all fit and trimmed them until they did.
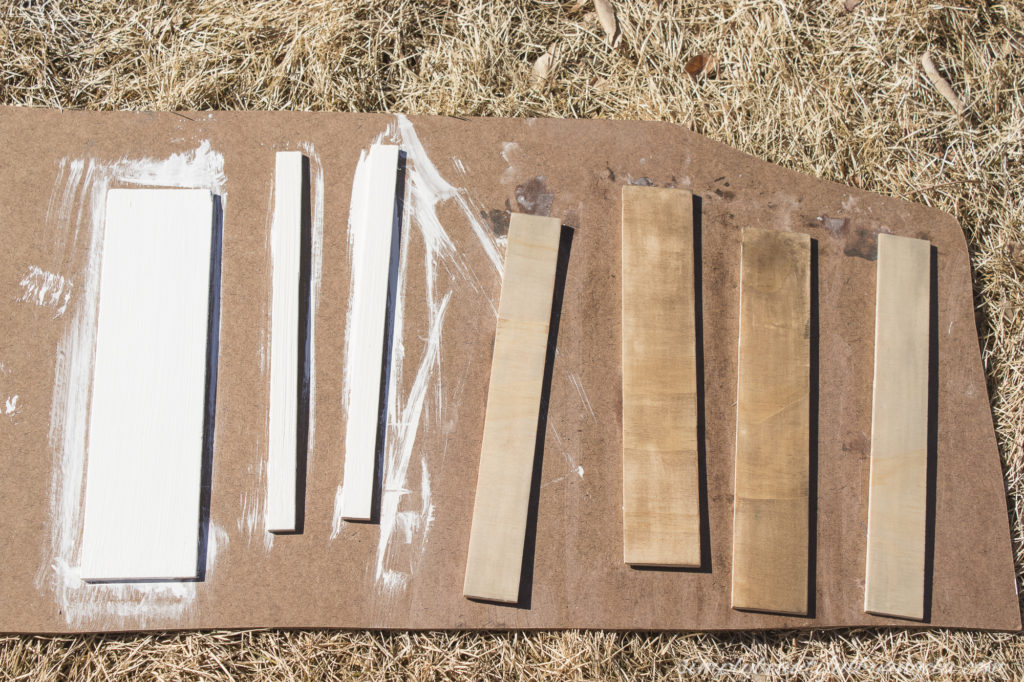
I painted a couple of them and then used two different stains on the rest. I whitewashed them before staining them so that they would be nice and light. I also distressed the painted ones once they were dry.
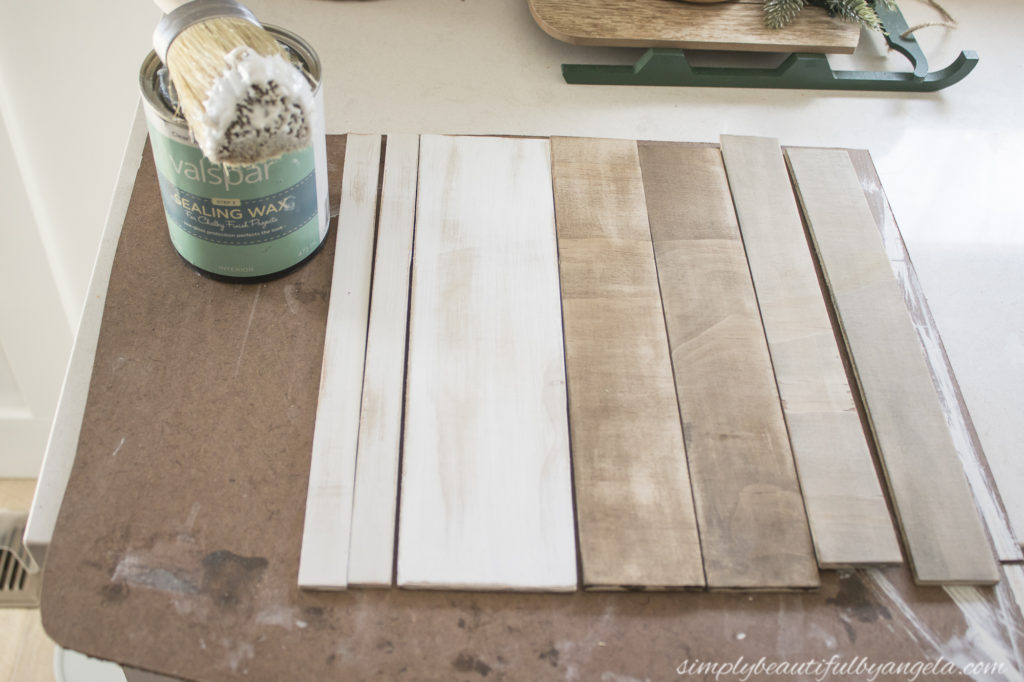
I gave each one a coat of Valspar Chalky Clear Sealing Wax.
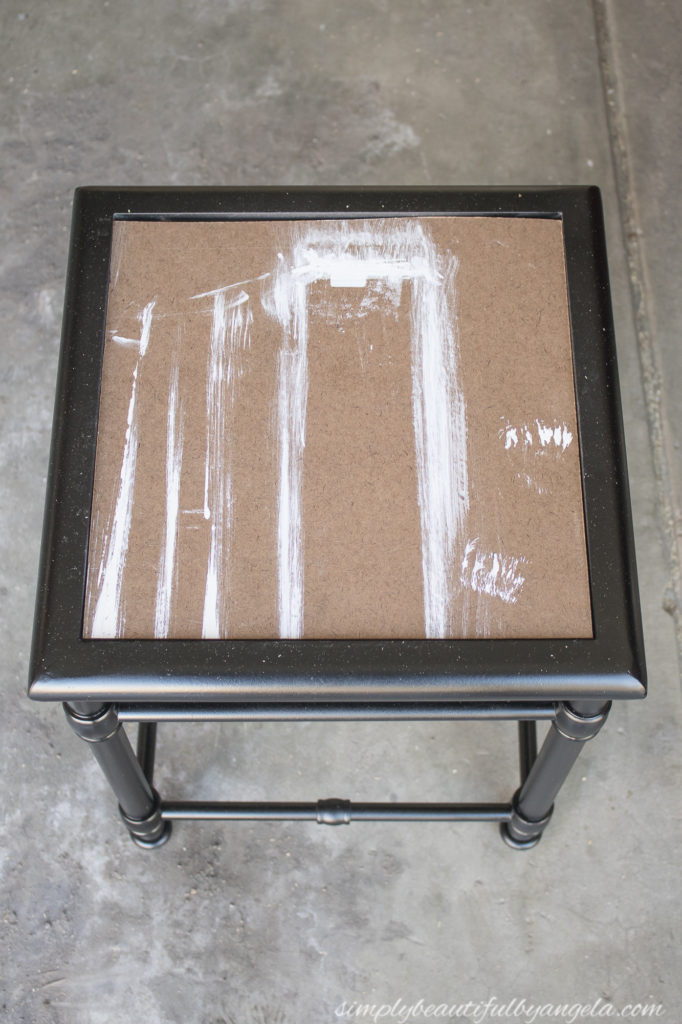
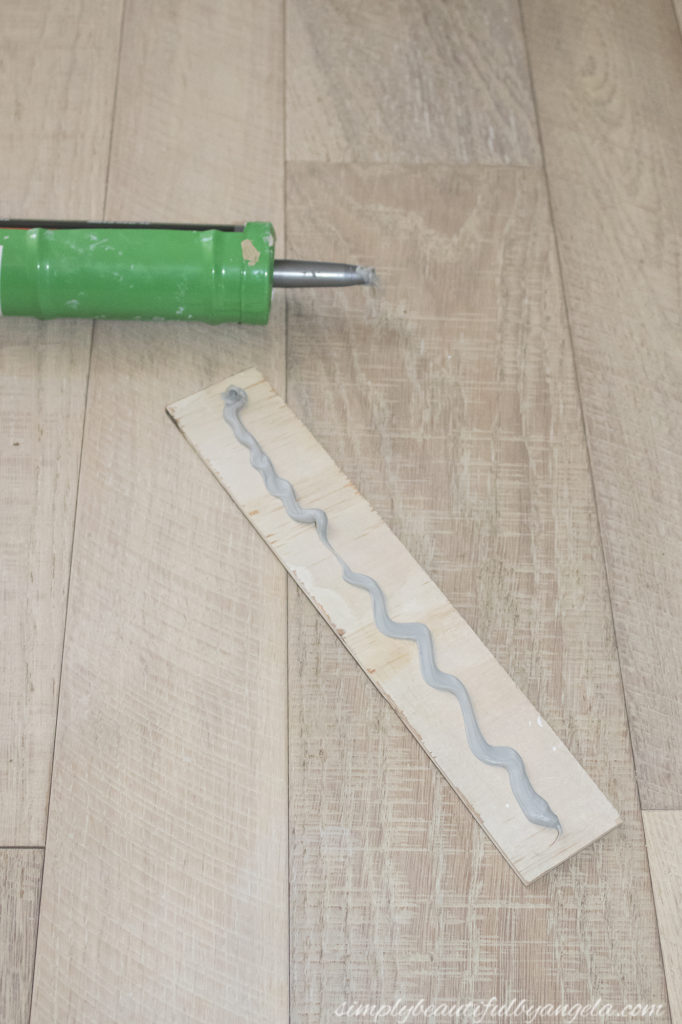
I realized that the thickness of the slats was actually about 1/8″ thinner than the inset, so I used some Construction Adhesive to attach a piece of scrap hardboard which was 1/8″ thick.
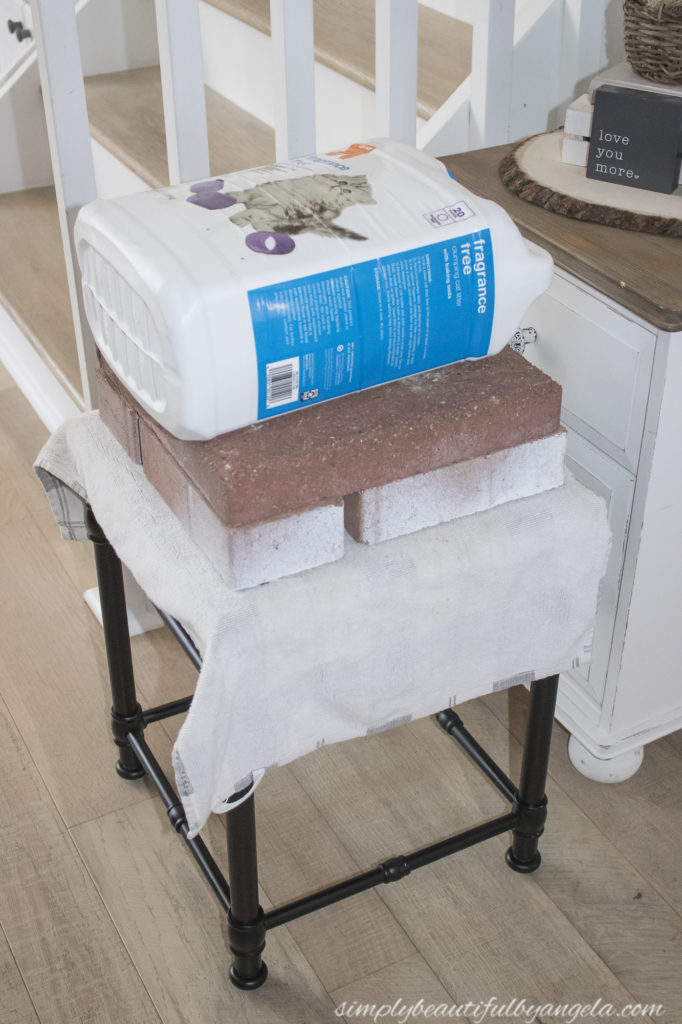
I then used Construction Adhesive on the back of each slat before attaching them to the hardboard and placed bricks and kitty litter on top for 24 hours to make sure that they adhered nice and flat.
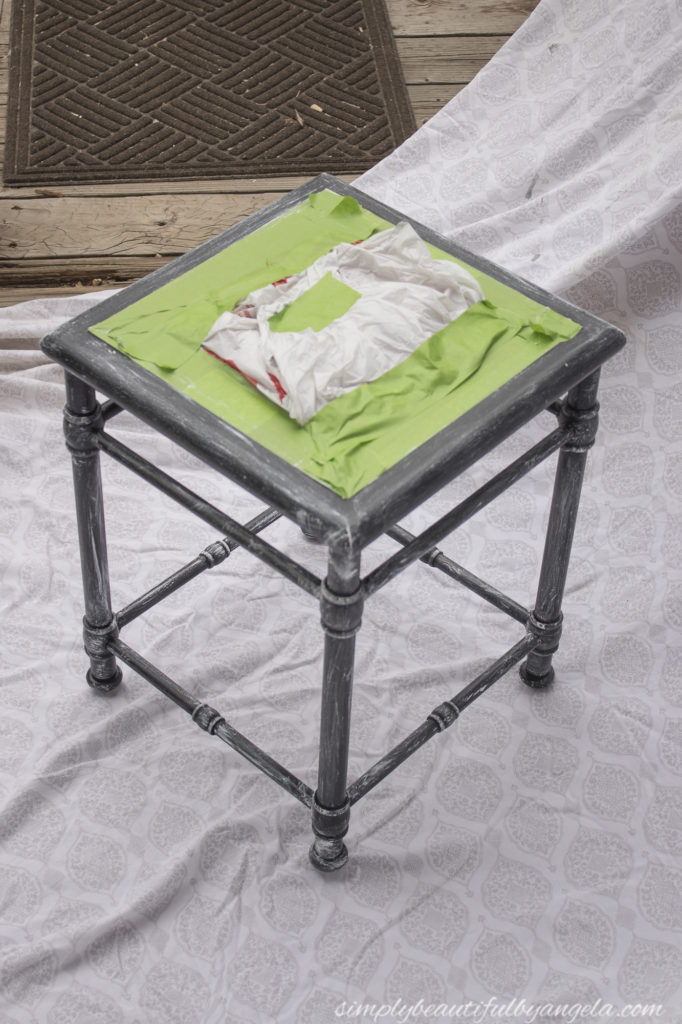
The next day I set it up where I wanted it and I lived with it there for the next couple of days. When we got back from our trip I decided that I wasn’t in love with the black after all. I tried dry brushing some white paint on it, but I still didn’t like it. So I taped it off and took it outside to paint it.
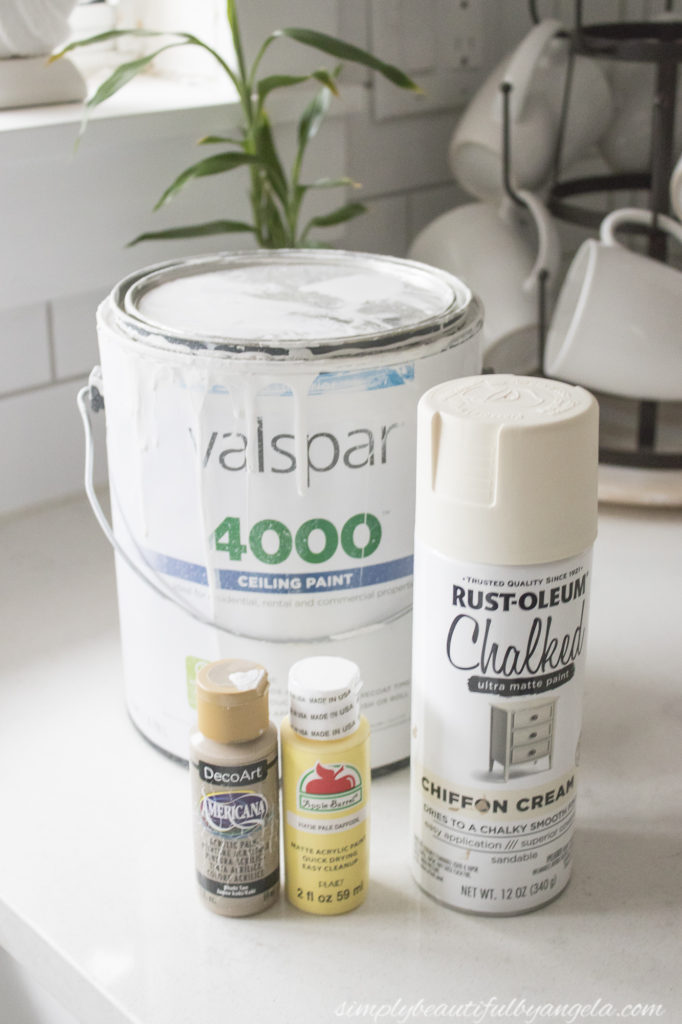
I wanted a chalky cream color close to Rust-oleum Chiffon Cream. Since I didn’t have enough in my can, I decided to try to mix up my own using flat white ceiling paint and yellow/brown acrylic paint.
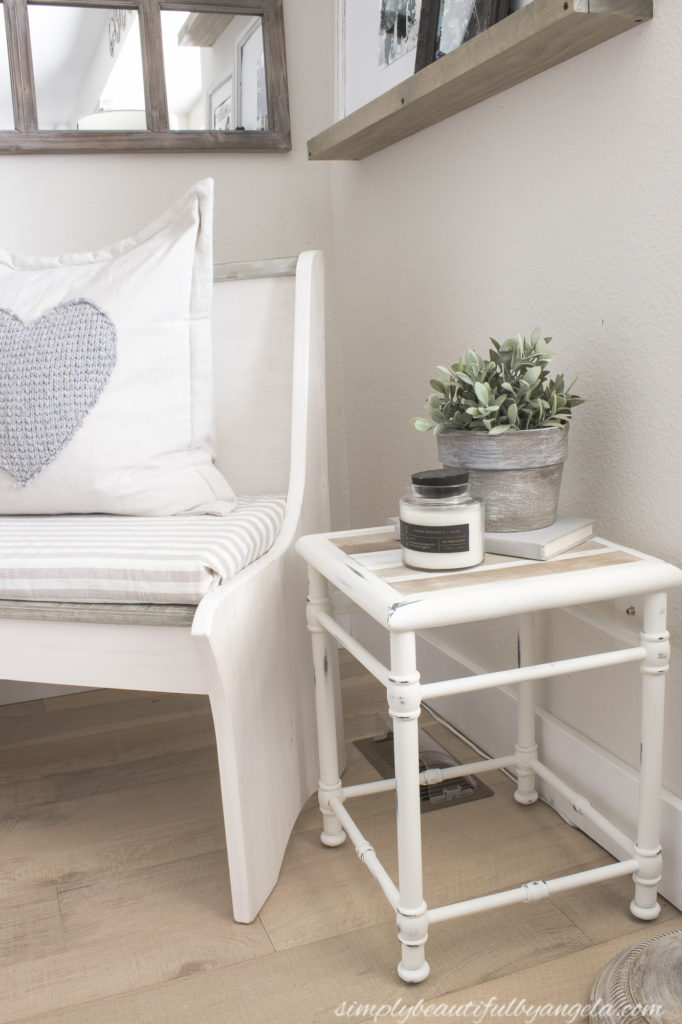
I used my Paint Sprayer to give it two coats and then distressed it with a sanding sponge. Here is the finished product!
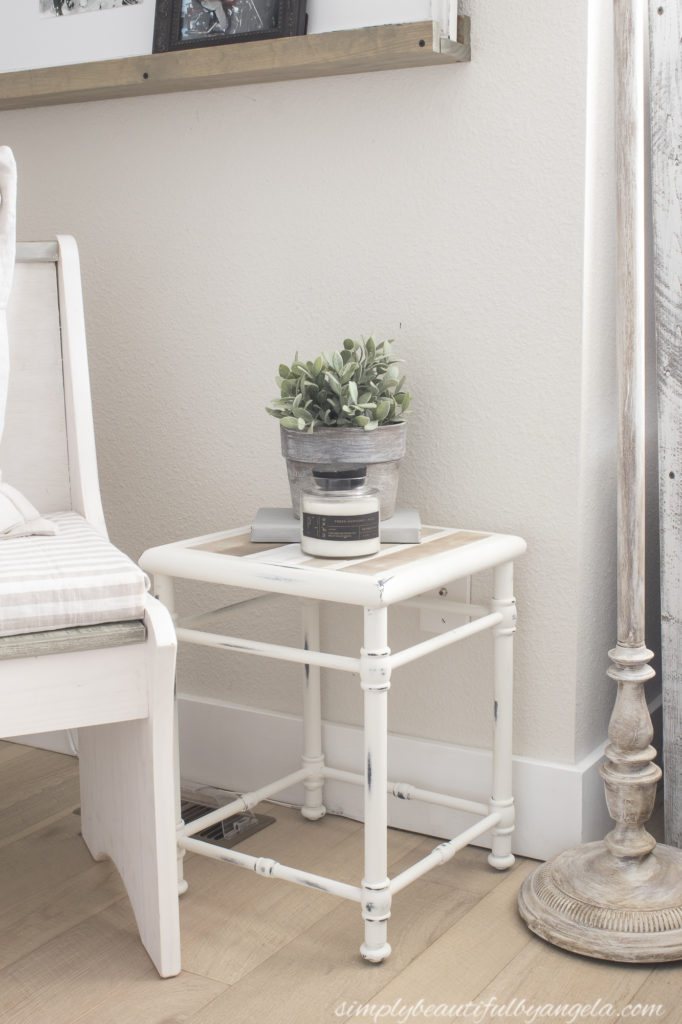
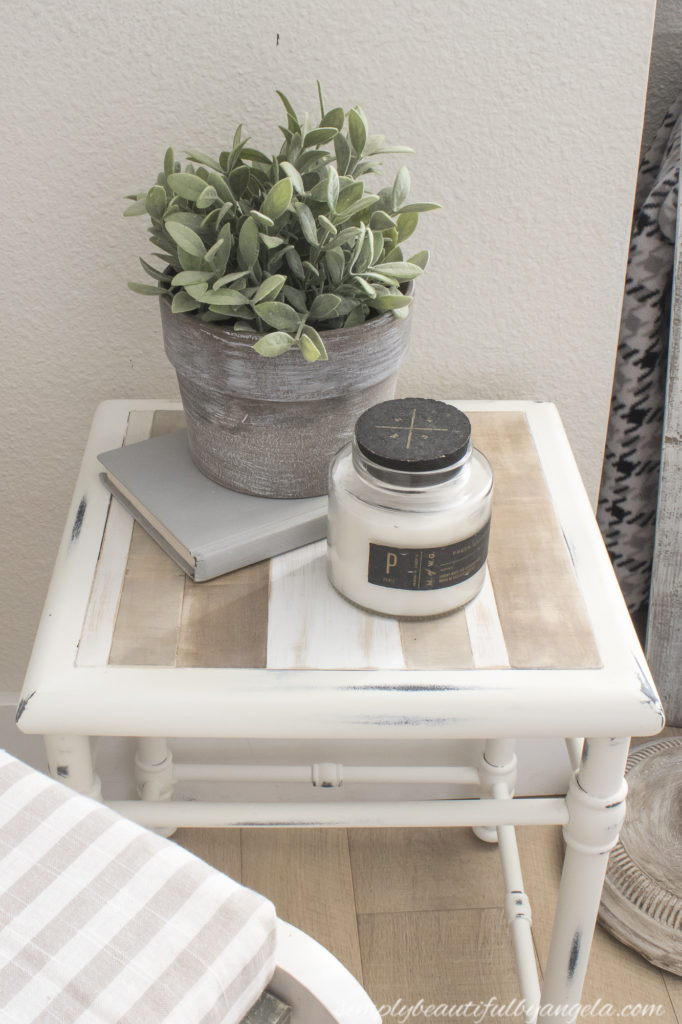
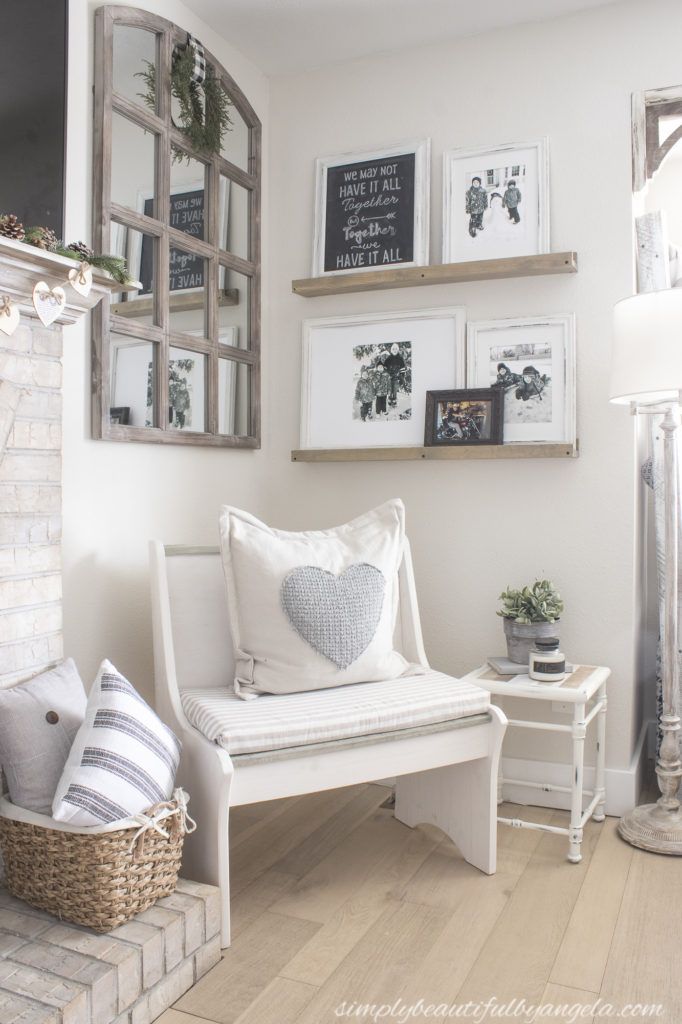
It fits perfectly in this little corner of our living room next to our bench.
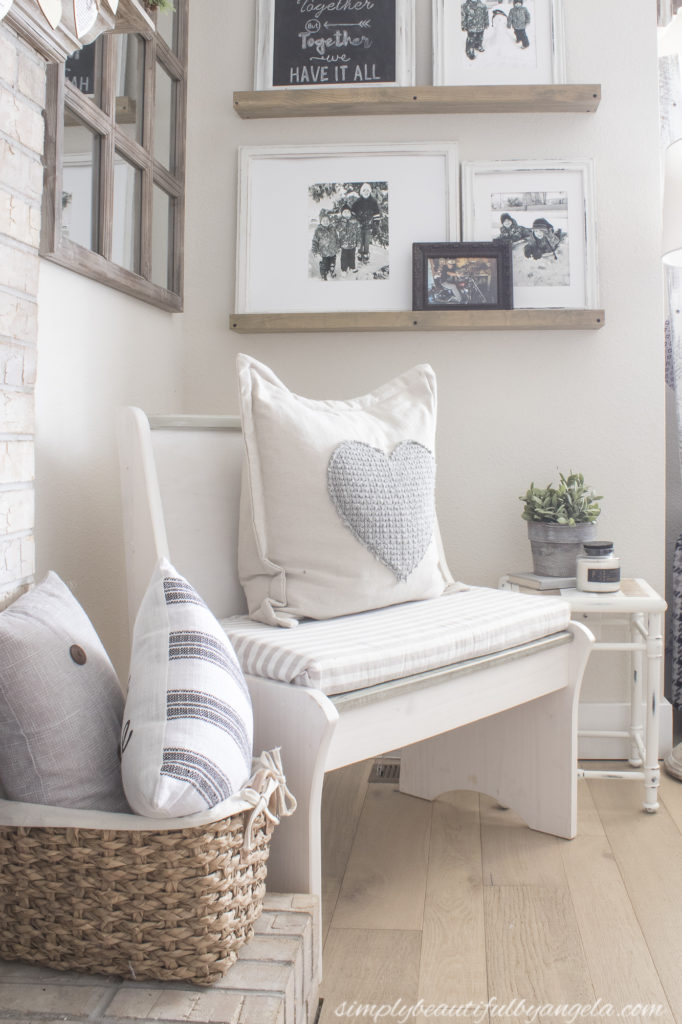
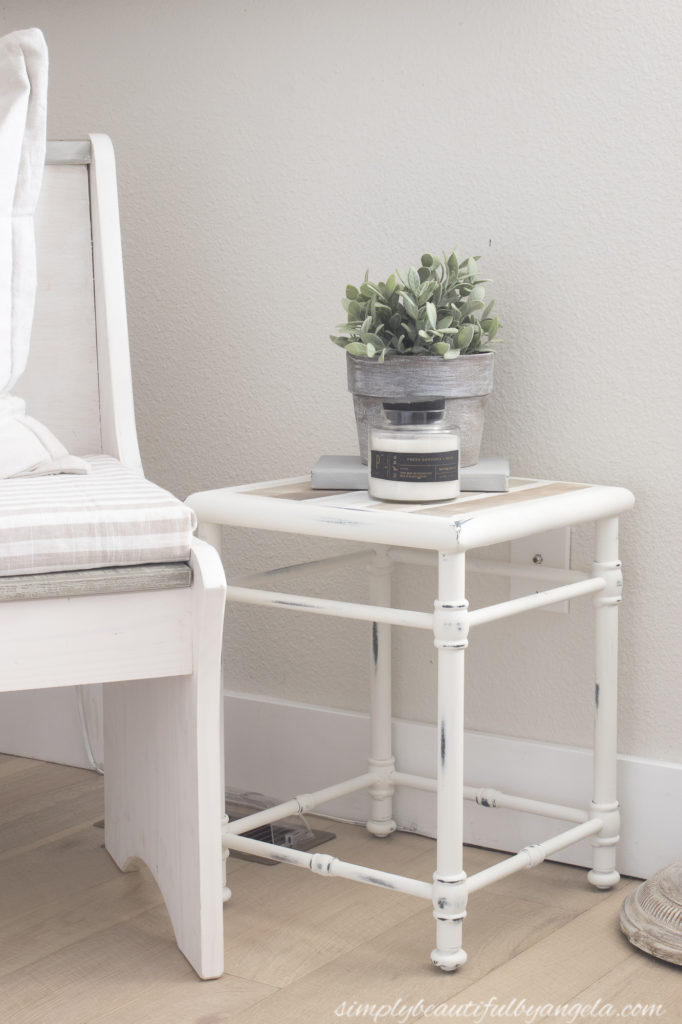
The top is so fun!
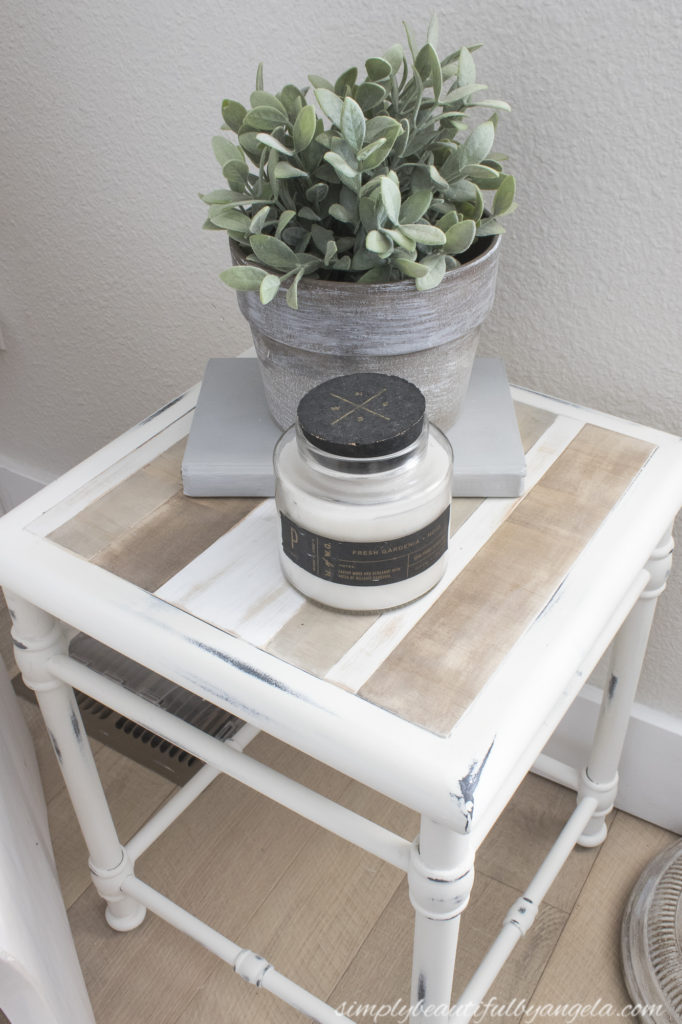
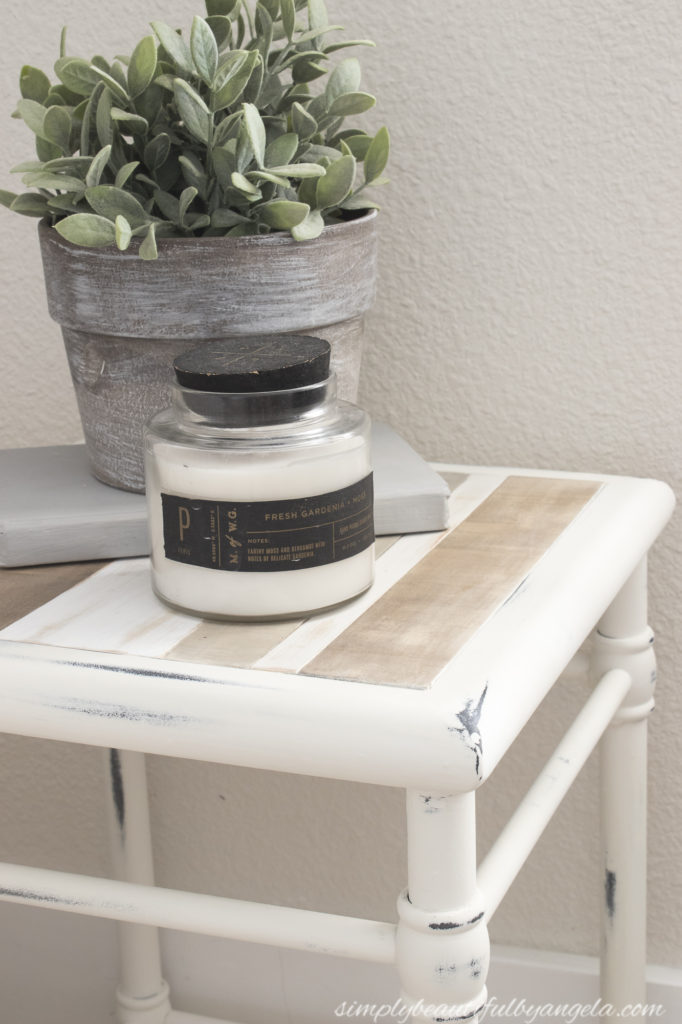
The distressed white fits in so much better than the plain black did and I can finally say that I’m happy it.
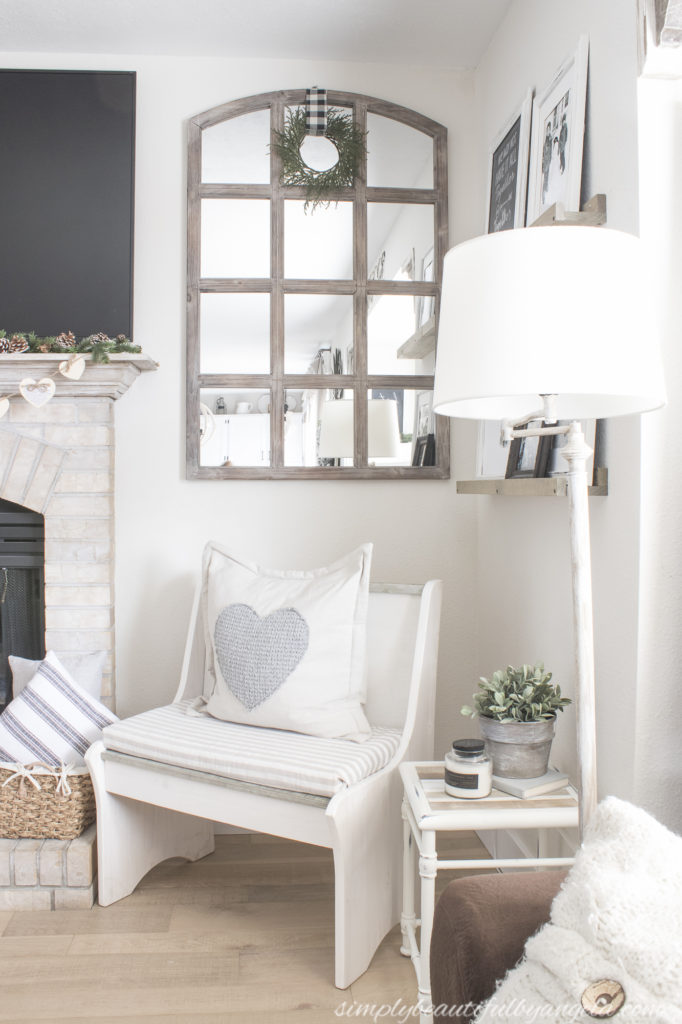
And since I had all of the supplies on hand already, the total cost was $0 🙂
Have a great rest of the week and an amazing weekend my friends!
And now for more thrifty goodness!
Linking up to these awesome parties
PIN FOR LATER
Wow! You saved that old piece in such a beautiful way, Angela. It looks so good now. Love the two toned color contrast for the top.
Love the cream color better. This really looks pretty. Enjoy.
It turned out fantastic! I liked the black as well as it was, and you could create a rusty patina to age it for the vintage look. Saying that, I know how the projects can evolve during the process, and what looks good in your head doesn’t necessarily come out as we want to, lol. The light color looks more cohesive with your beautiful interior, though 🙂 Such a great upcycling project. Thanks, Angela!