Hey guys, happy Thrift Store Challenge day!

The Rules:
- Upcycle an item(s) from a thrift store, resale store, or garage sale into a new piece of decor.
- There’s no monthly theme.
- There’s no budget to stick to.
Meet the Hosts
Angela | Simply Beautiful By Angela – Melynda | Scratch Made Food! & DIY Homemade Household – Beverly | Across the Blvd – Marie | Craft Rocker – Marci | Stone Cottage Adventures – Lynne | My Family Thyme – Allyson | Southern Sunflowers
Our Thrift Store Upcycle group of bloggers is always looking to expand — and we need your help! Why not consider joining in our thrift store upcycle challenge on the last Thursday of each month? Make some friends while having fun and share your love of DIY with the world. It’s a win-win! Sound like something you’d be interested in? Just leave a comment at the end of this post with your contact info and a link to your blog. Someone will get back to you right away. We can’t wait to meet you!
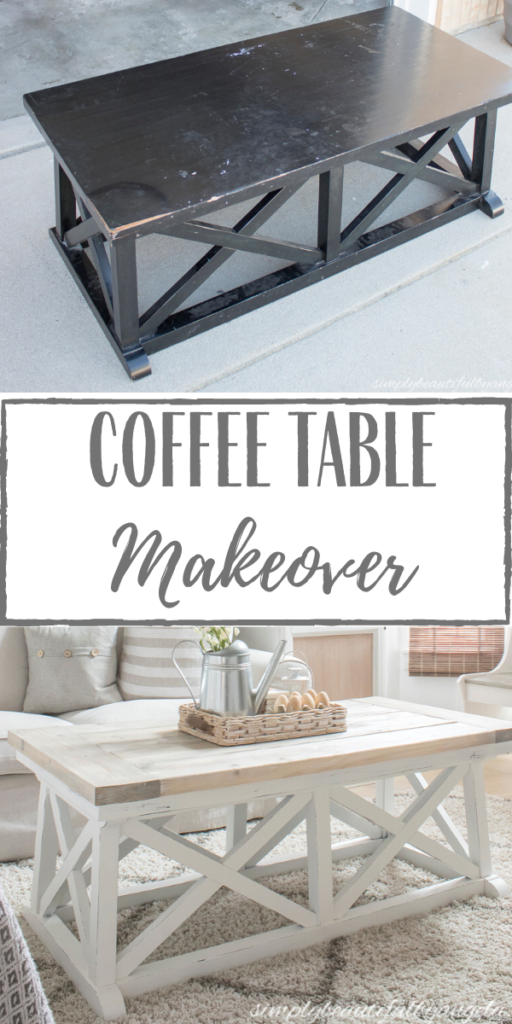
At the beginning of March I spotted this coffee table that my neighbor had set out for the trash.
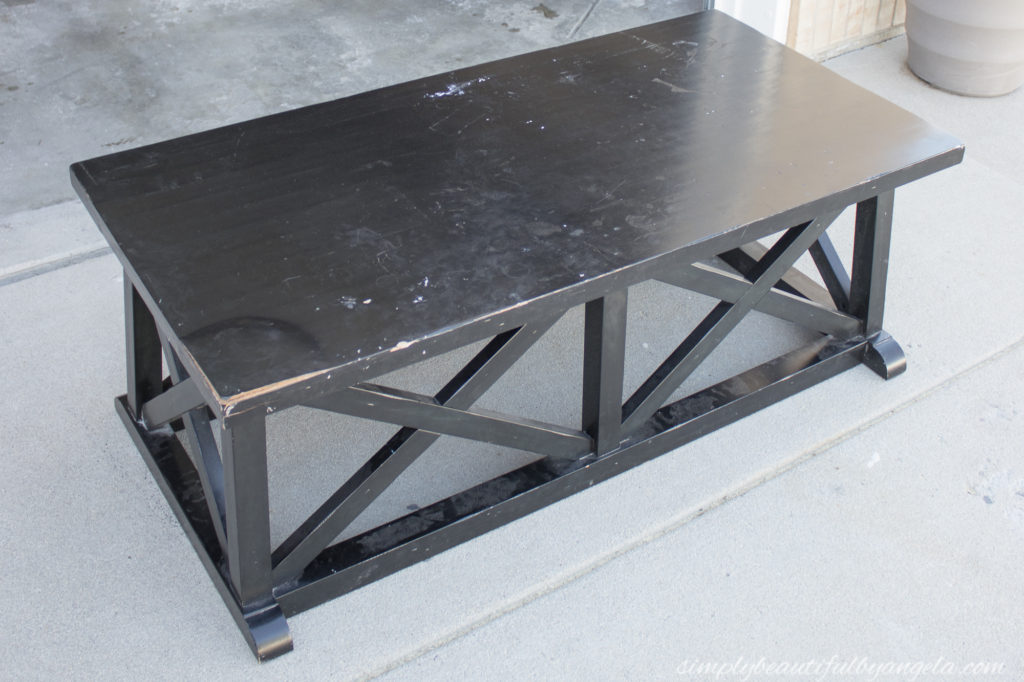
It had definitely seen better days, especially the top where the MDF had started to bubble up and peel back. However I fell in love with the design of the base and just couldn’t bear to watch it go to the landfill, so I rescued it.
Since we’ve had some wicked weather I have had a hard time finding an opportune time to work on it, however this past weekend we finally got a warm sunny day so I hauled it out of the garage and got right to work on it for this month’s challenge.
Supplies Used: (Affiliate links may be provided for convenience. For more info, see my full disclosure here.)
- Paint Sprayer
- Primer
- Flat Paint in Behr Polar Bear
- 2x6s
- 2×4
- Construction Adhesive
- 2″ Wood Screws
- Wood Filler
- Weathered Oak Wood Stain
- Electric Sander
- Medium Grit Sandpaper
- Minwax One Coat Polyurethane
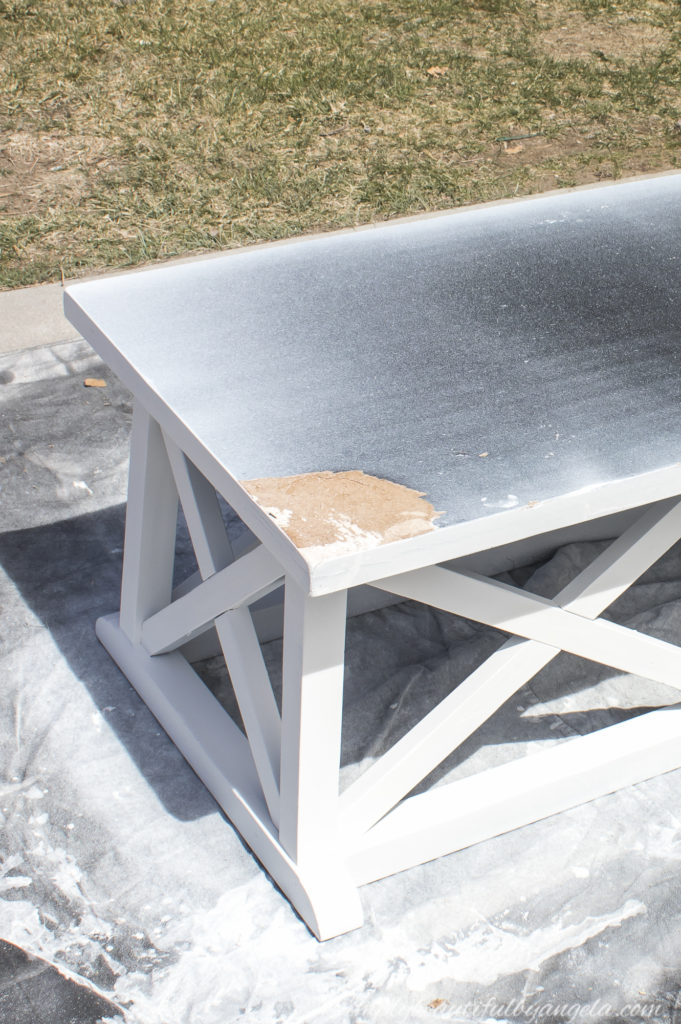
After wiping all of the dust and grime off of it, I used my handy Paint Sprayer to apply a coat of primer. Once it was dry, I went back and gave it two coats of flat paint in the color Polar Bear by Behr.
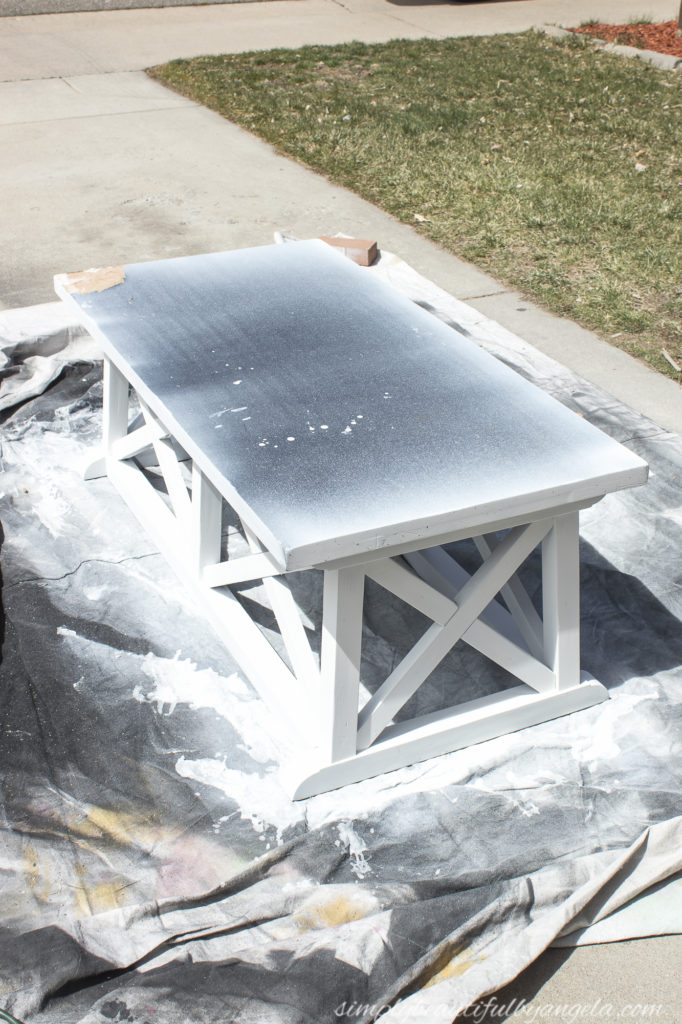
I did peel off what I could from the top that was bubbling up so that the new boards would lay as flat as possible.
While that was drying I began cutting the boards for the top. I used mostly 2x6s and one 2×4 to create a classic farmhouse style table top.
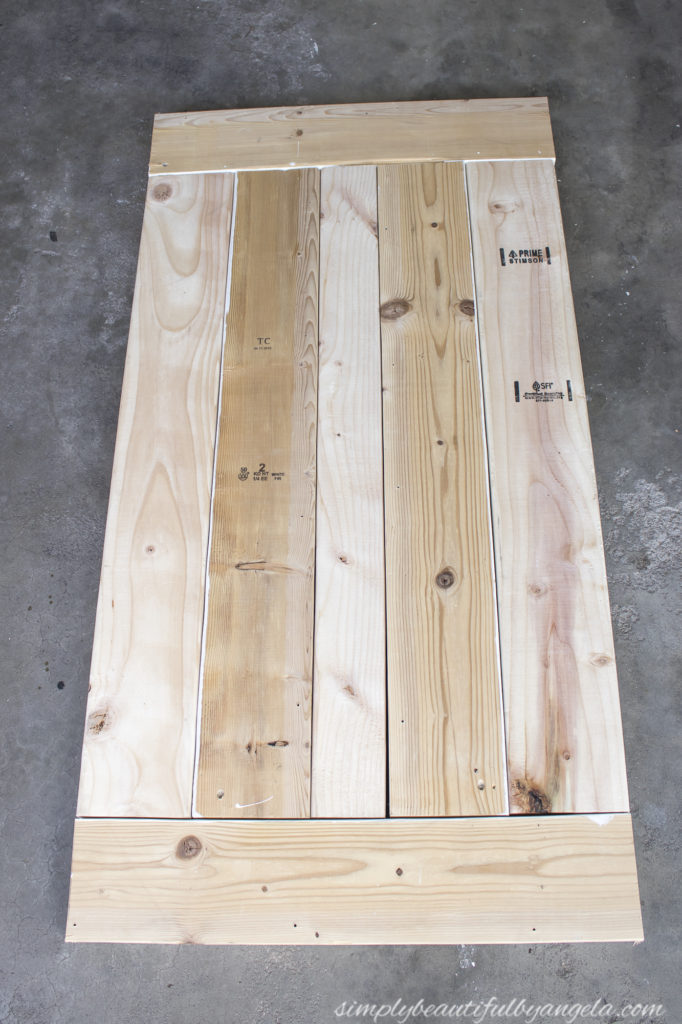
I lined them up and adjusted them so that they fit together just the way I wanted, and then one at a time I flipped each one over and applied a line of construction adhesive before laying it down on the table.
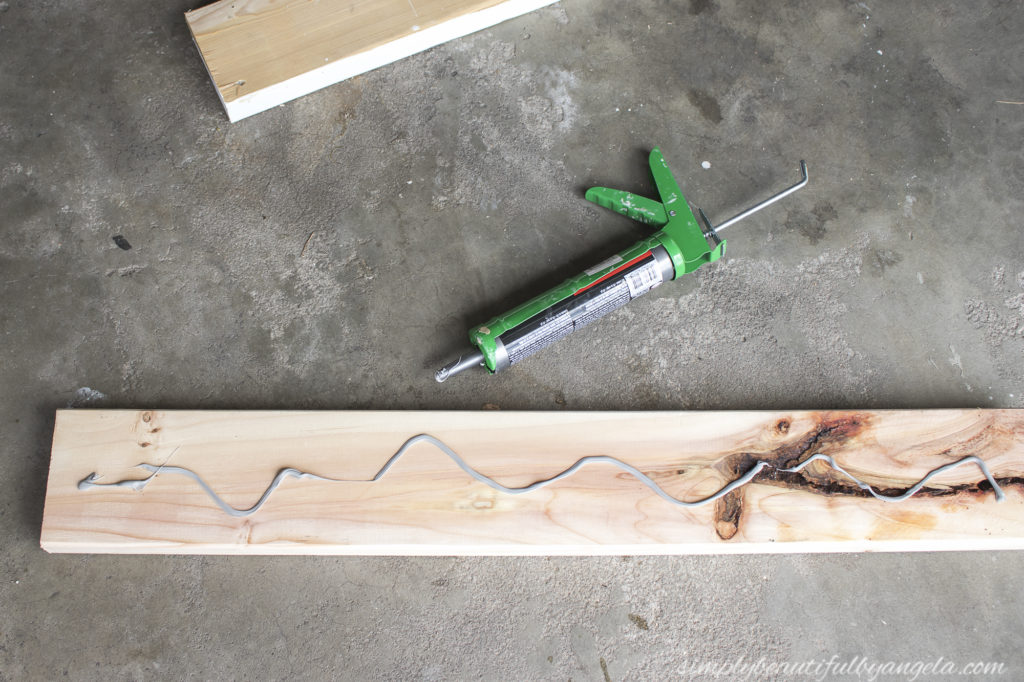
Once they were all in place I moved them around until they seemed perfectly centered. Then I began attaching each one with countersunk 2″ wood screws.
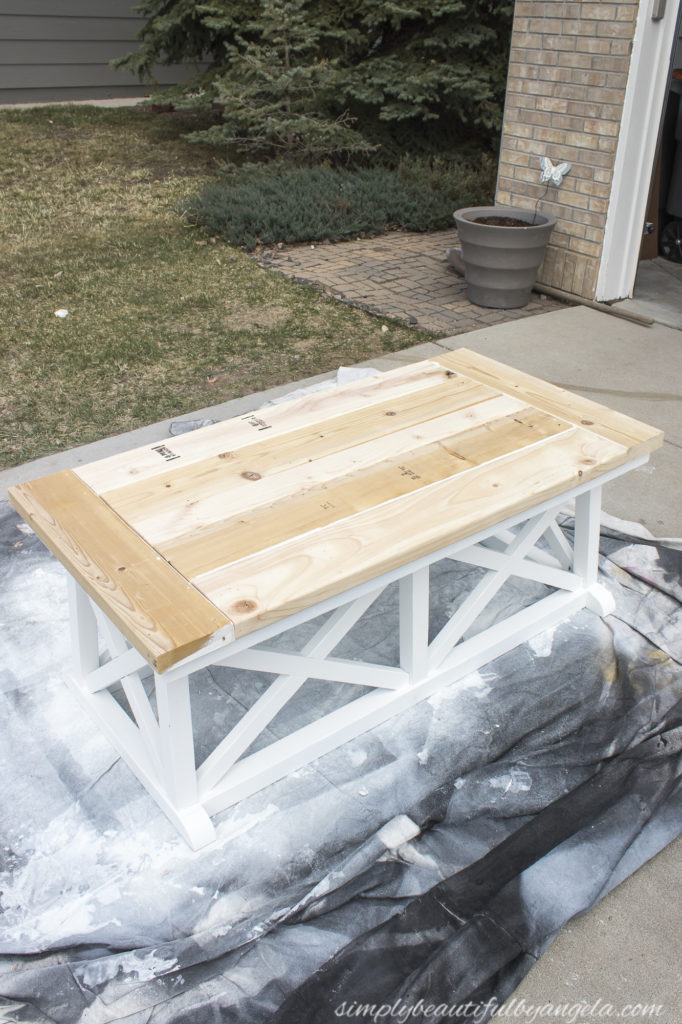
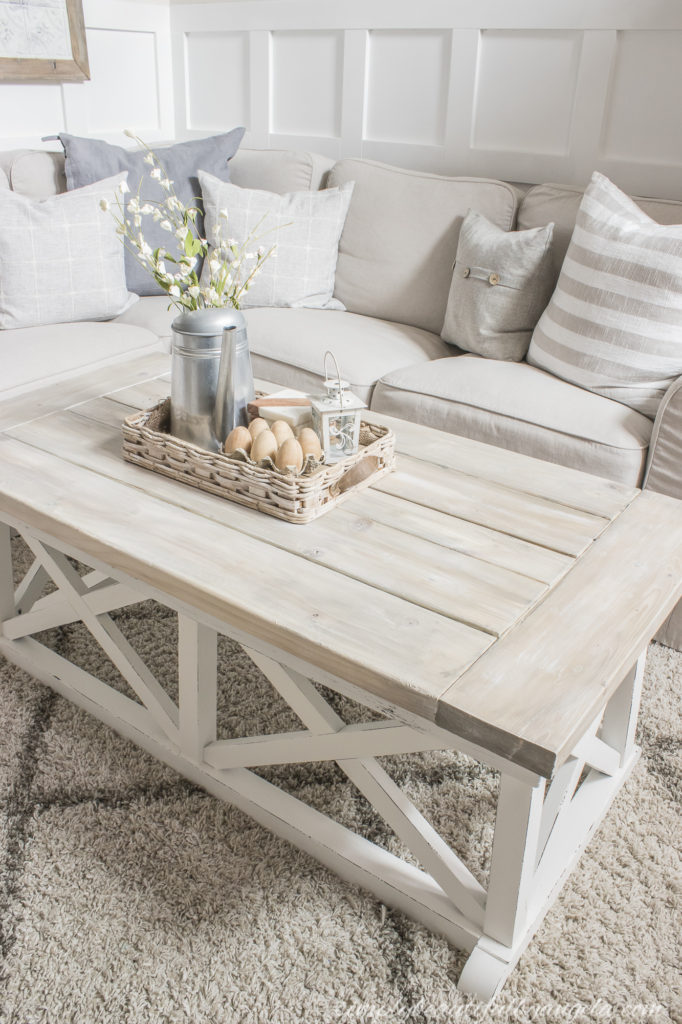
I filled each of the holes with stainable wood filler and then used the electric sander to sand the whole top smooth once dry. I applied two coats of white wash followed by Weathered Oak Wood Stain to achieve a faded worn color of wood.
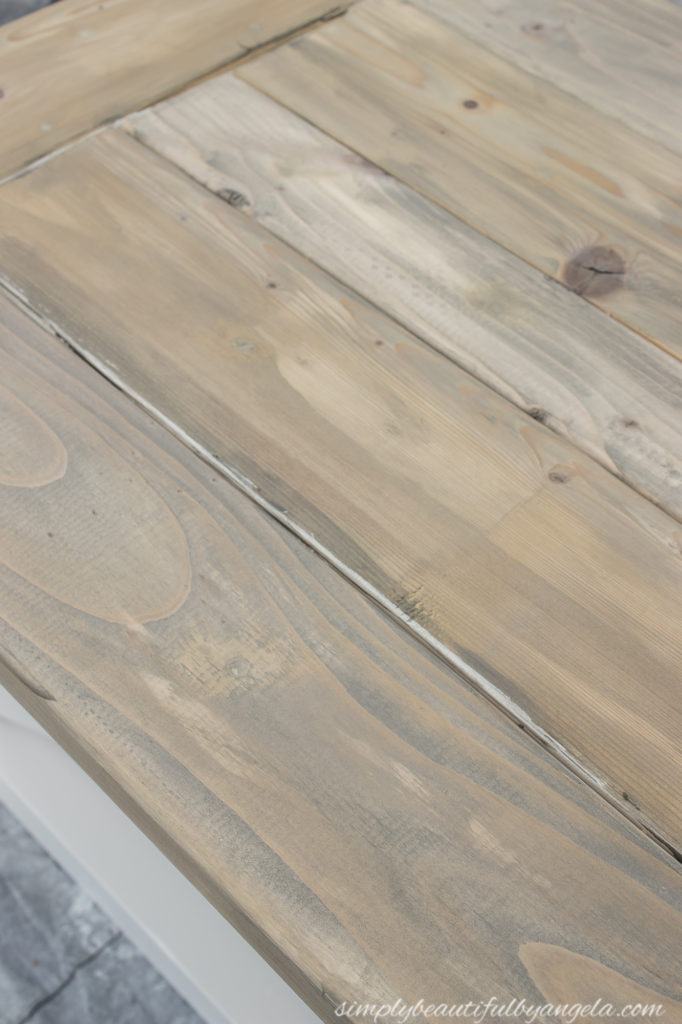
Some of the 2x6s that I had used had white paint on the edges and I found that they were still visible. To disguise this, I decided to dry brush white paint over the boards and this is the final look!
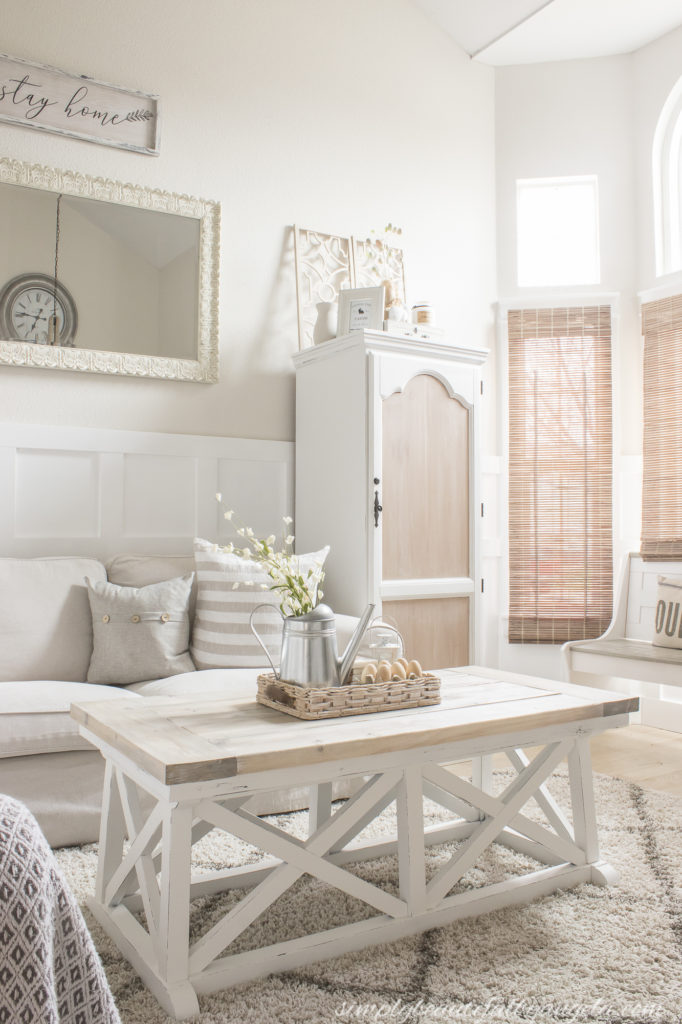
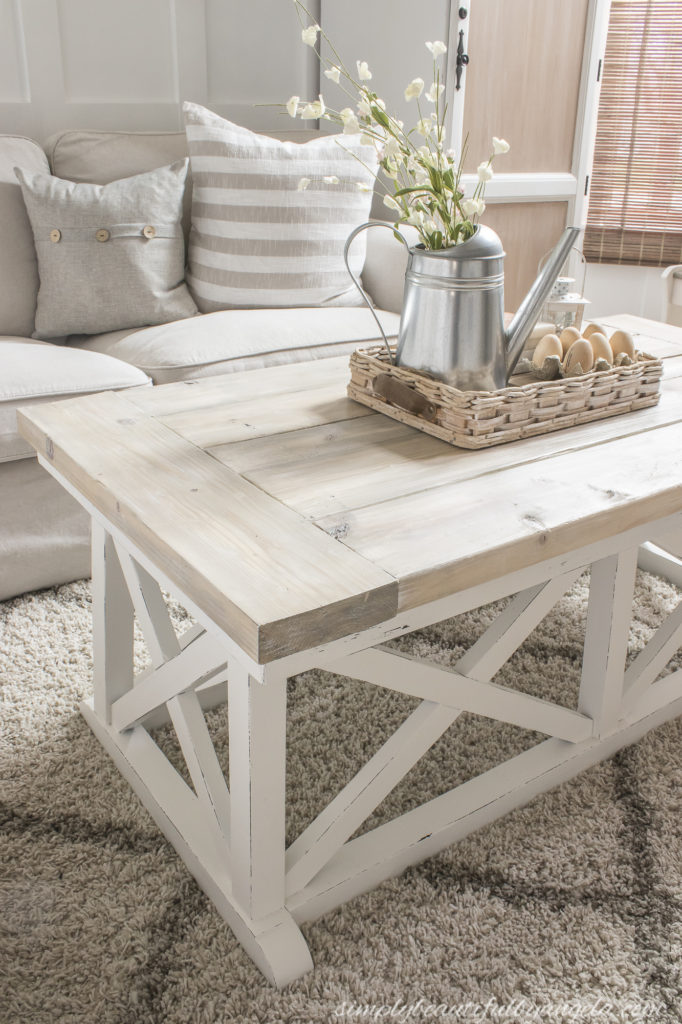
I went back over the base and distressed the edges so that the black peeks through and it completes the look perfectly.
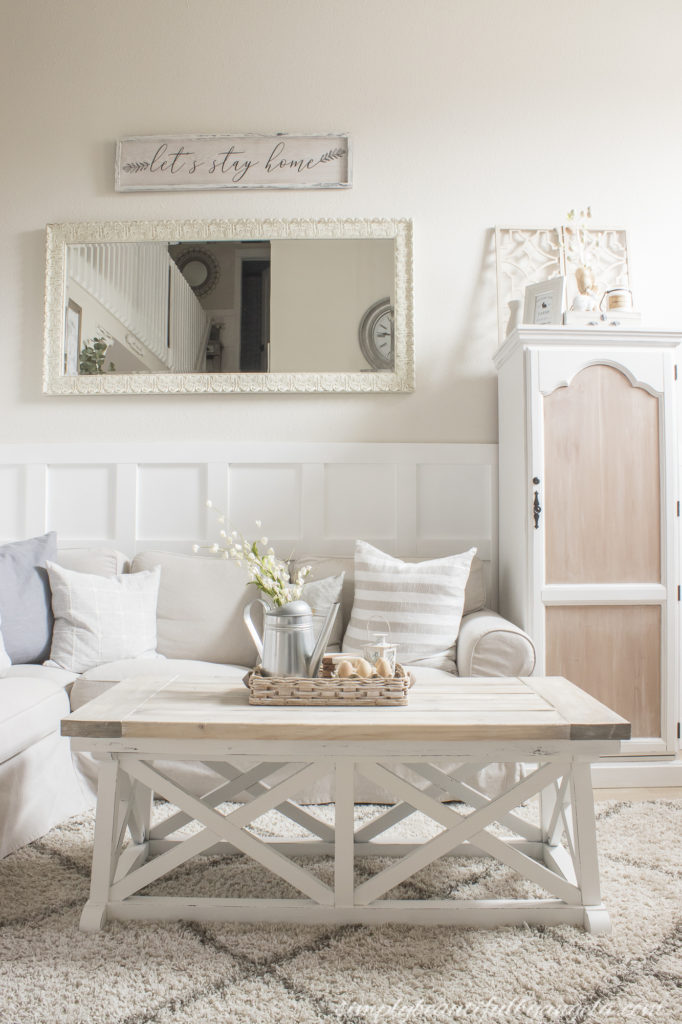
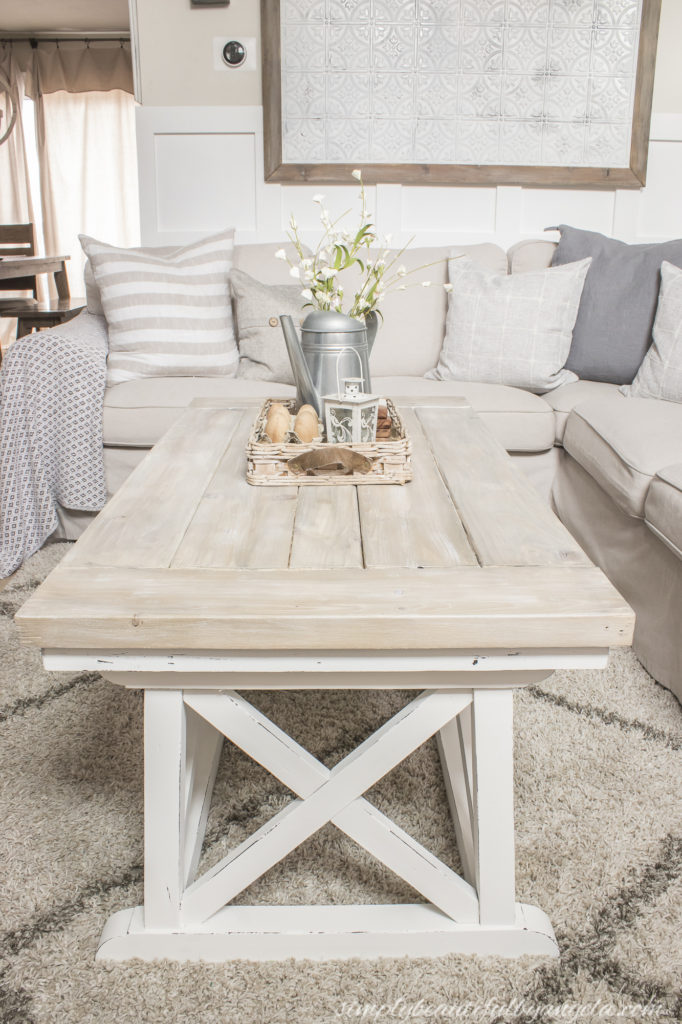
I do feel like it may be just slightly too large for this room so I decided to try living with it for awhile and if I decide against it I will try to sell it.
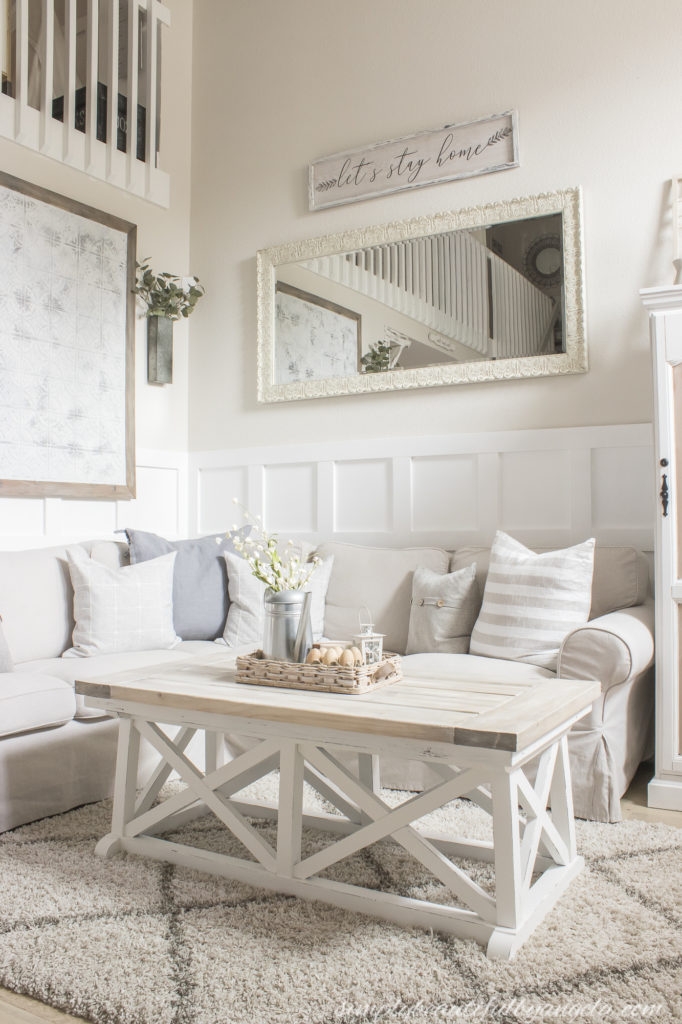
However I have to admit, it will be sort of hard to let go of this beauty.
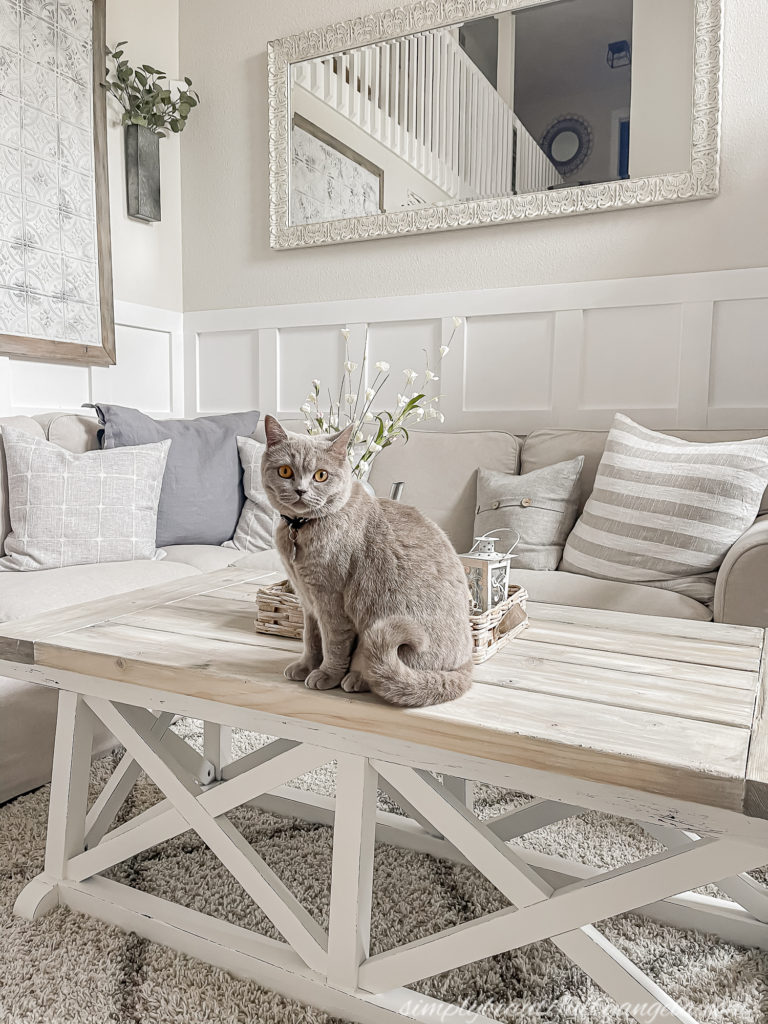
Even the cat approves of it!
And now for more thrifty goodness!
PIN FOR LATER
Linking up to these awesome parties
Wow, what a huge difference! It looks like an expensive table now. You worked your magic once again!
Really nice!
G E N I U S ! I love the rustic top you added! ‘Great makeover! -Marci @ Stone Cottage Adventures
My daughter and granddaughter are good at making over furniture like the table you found. They have a couple of projects in the works right now. Yours turned out so nice! Love the top.
I love it…I’ve been needing to add a top to a tv stand and this is perfect inspiration I’ve needed. Thank you so much for sharing!
You are amazing. I adore this. I can totally get behind the layout of the boards.
You have such a great eye for seeing the potential in discarded pieces. I love how you re-made this table. It looks wonderful.
What an incredible transformation Angela (and what a beautiful cat!)
CONGRATS – you are our Friend of the Week at Friendship Friday at Create With Joy!
Happy Mother’s Day weekend to you! 🙂
That came out great. And your cat is adorable.
This is a great upcycle! Thanks for sharing on Traffic Jam Weekend and You’re the Star Blog Hop at LifeasaLEOWife.com!