Hey guys! I hope you all had a nice weekend. We spent a lot of time enjoying the outdoors which was fun, but left me feeling pretty wiped out just in time to get back in to the work week haha. I am fighting the urge to be lazy and am trying to get a few things done here and there, but I am definitely riding the struggle bus.
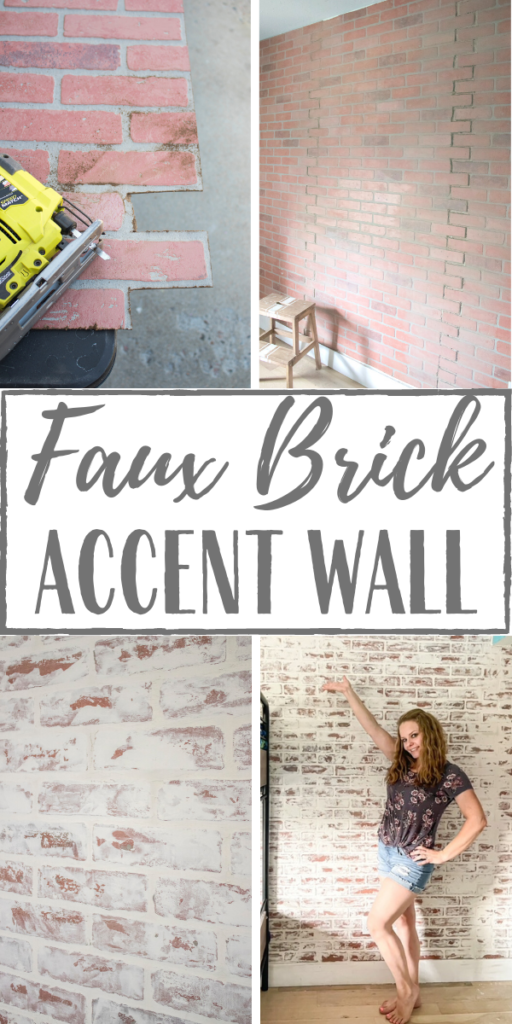
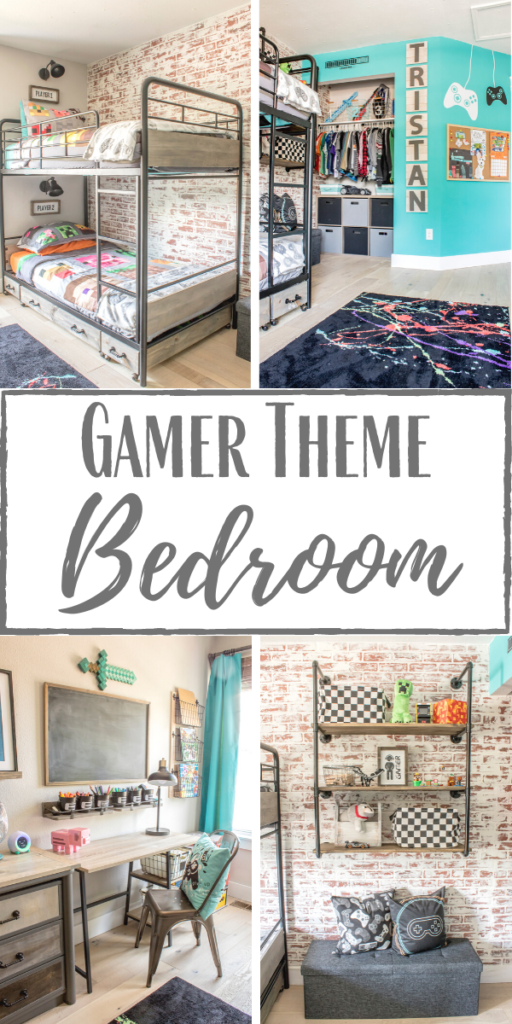
Today I am going to finally share a full tutorial on the DIY faux brick accent wall that I installed for Tristan’s gamer themed bedroom back in May. I’m sorry that it took me so long to get around to it! In case you missed the full room reveal you can catch it here.
When I was planning his room I knew that I wanted it to have a sort of vintage and industrial vibe to it. I originally had planned on doing a wood plank accent wall, however I wasn’t sure if it would be too much wood with the wooden bunk bed accents and wood shelving. I can’t recall how exactly the idea of doing a faux brick wall came to me, but I am so happy that it did!
The whole process was slightly more difficult than I had thought it would be, but it was one hundred percent worth it because I absolutely love how it turned out.
Supplies Used: (Affiliate links may be provided for convenience. For more info, see my full disclosure here.)
- Faux Brick Panels
- Jigsaw
- Studfinder
- Nail Gun
- Henry’s Feather Finish Concrete
- Drywall Compound
- Drywall Sandpaper
- Water Based Polyurethane in Clear Matte
1. Cut Down Panels with Jigsaw
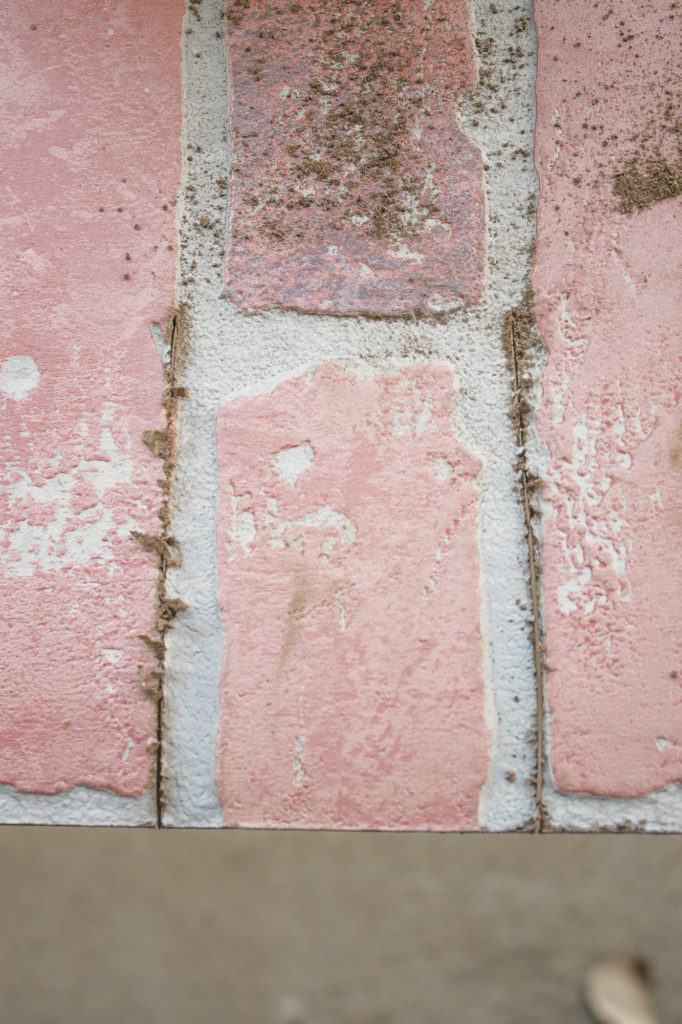
I measured out how tall the panels needed to be from the ceiling to the top of the baseboard and then cut them down using my jigsaw. If you are comfortable using a table saw that would be a lot easier, however I clearly am not and the hubby wasn’t home…so jigsaw it was!
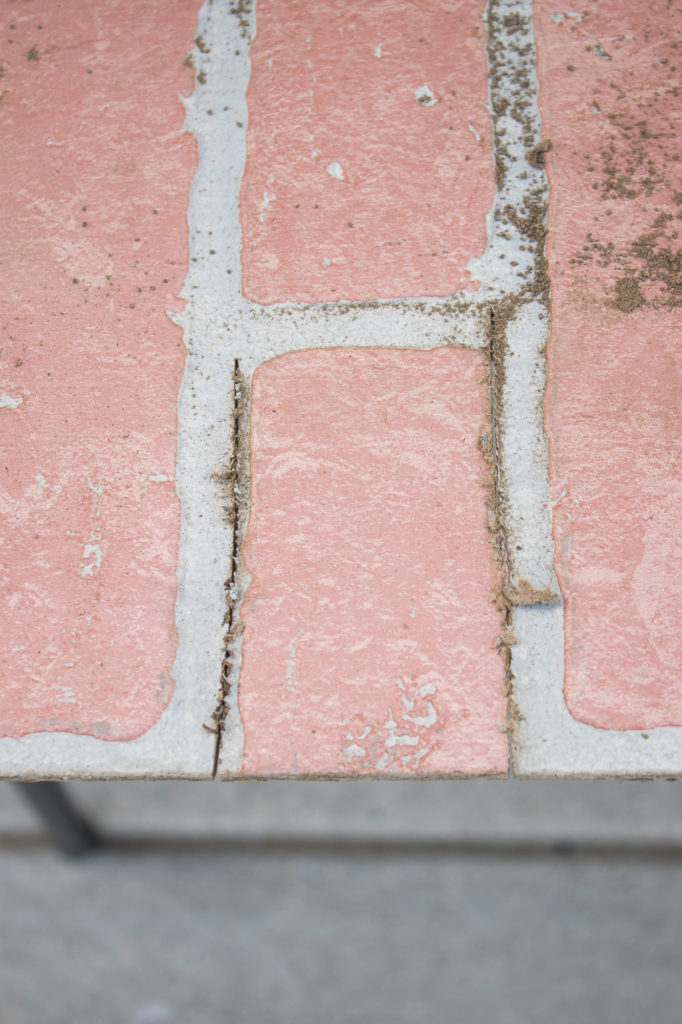
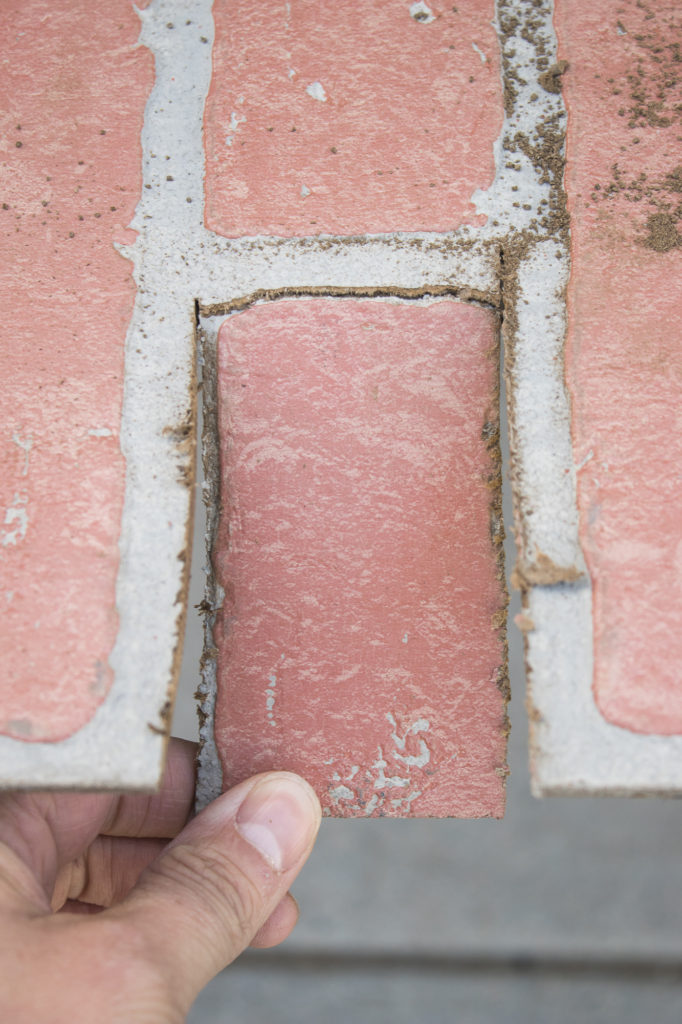
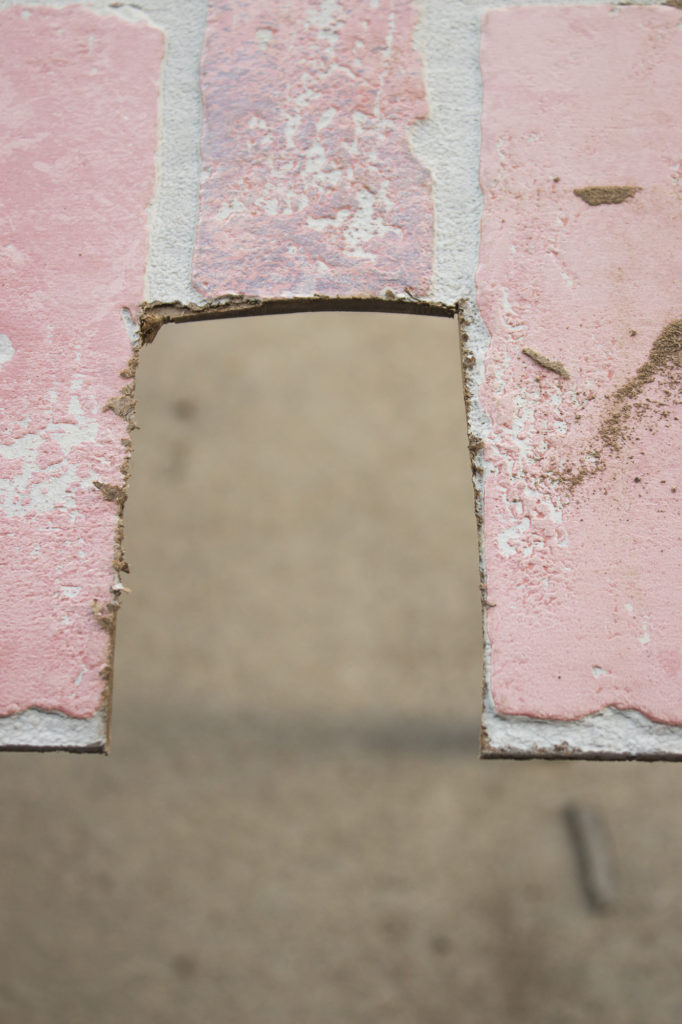
Next, I took the jigsaw and cut out each brick along one of the sides. I have seen several tutorials where people simply put the panels up flush, and then several others where they cut the bricks out and puzzle them together. In my opinion the seams where two panels meet are much less visible using the puzzle method, so even though it was more time consuming I thought that it was totally worth it.
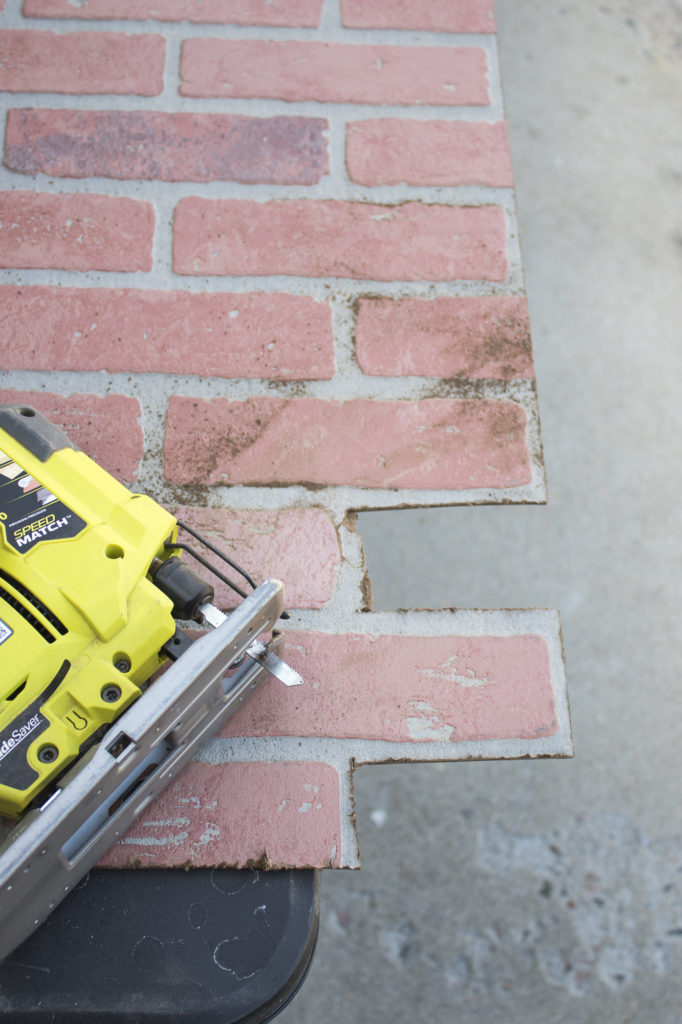
I found it easiest to cut on either side of the brick then snap it off by the shorter edge.
When I was done this is what it looked like.
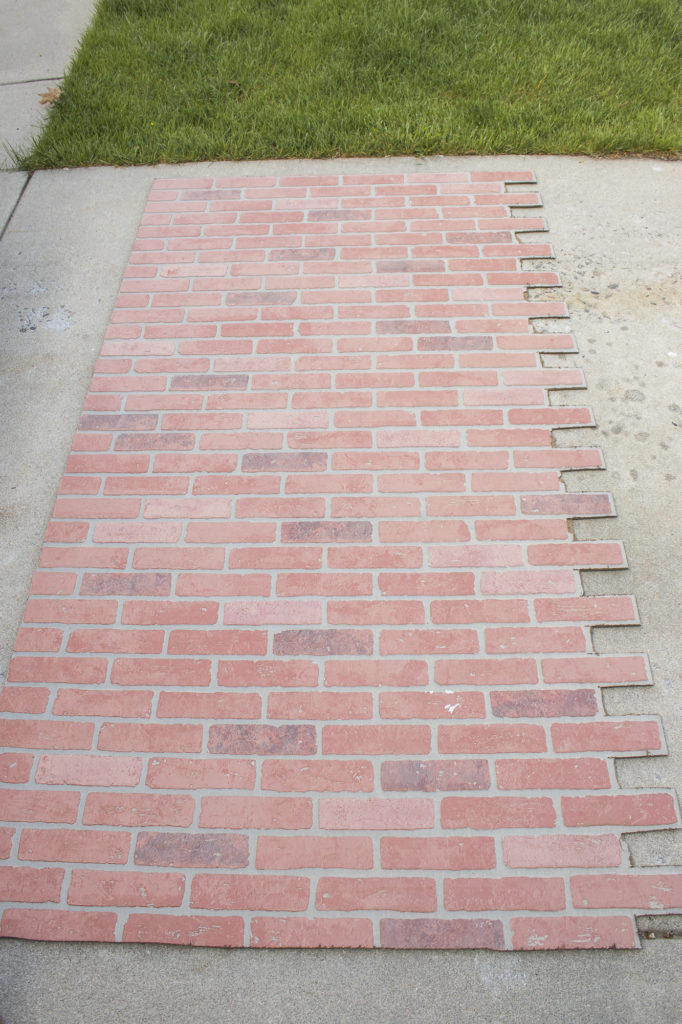
Since this was the edge piece I only needed to do the right side. For the next piece, I jigsawed both sides since it would be fitting up next to another panel. I also cut outside of the grout lines so that it would fit in with the previous panel.
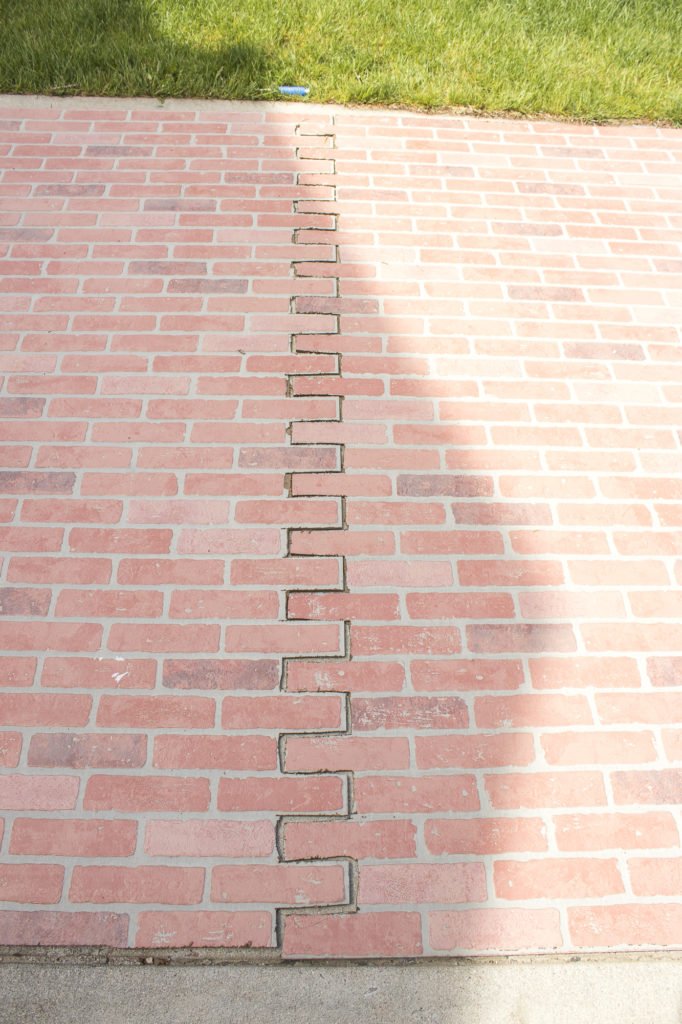
When I was all done they fit together like this. Some spots took a little bit of going back and forth to and adjust them to fit. This was probably the trickiest step during the whole process and where I got the most frustrated.
2. Mark Studs and Nail Panels Up
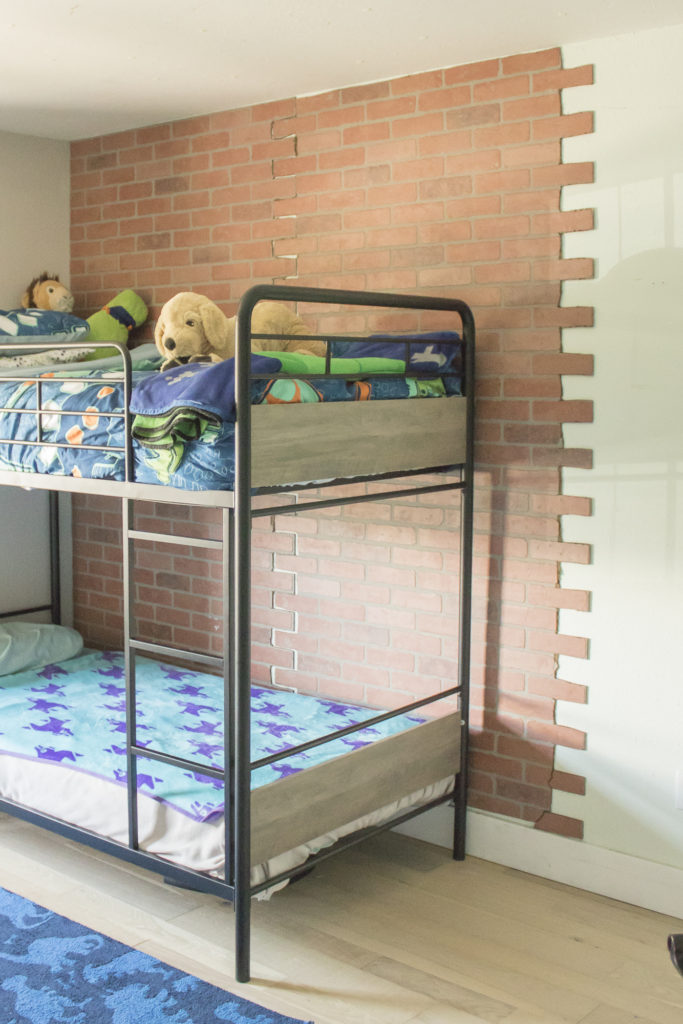
Once I had the first two panels cut I marked the studs with a pencil on the baseboard, and then used my nail gun to attach them. This would definitely be easier as a two person job because the panels can get sort of heavy and awkward!
3. Apply Concrete to the Gaps
Once all of the panels were attached I decided to go back and fill in the crack with two coats of Henry’s Feather Finish Concrete. This may not be necessary since the joint compound would be eventually covering them, but I figured that it would keep me from having to put on too many coats and would be a more solid base resistant to cracking.
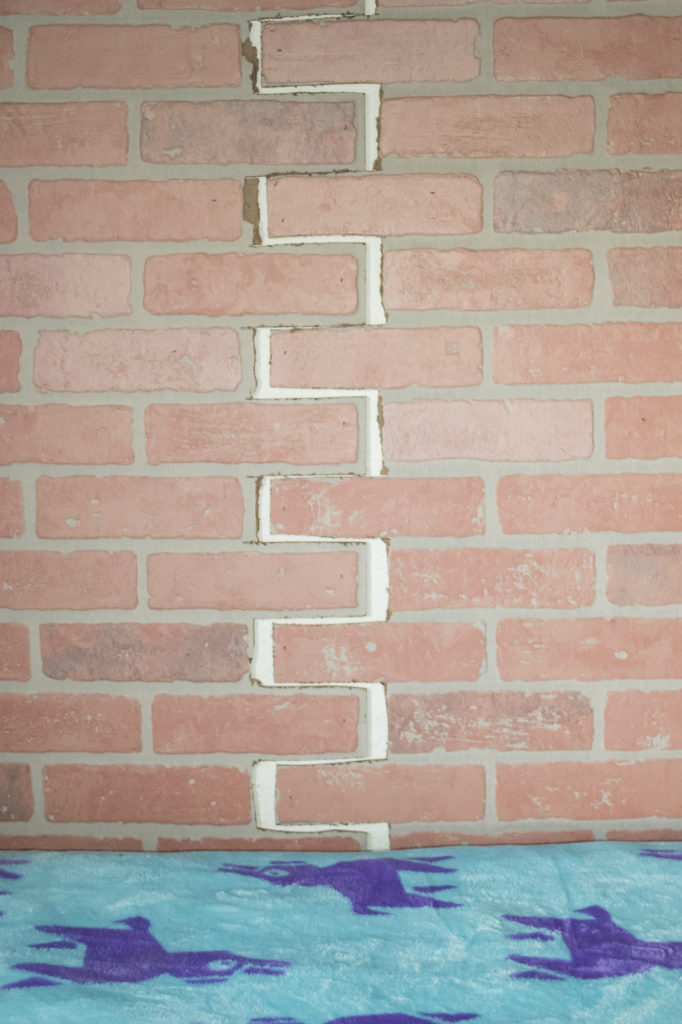
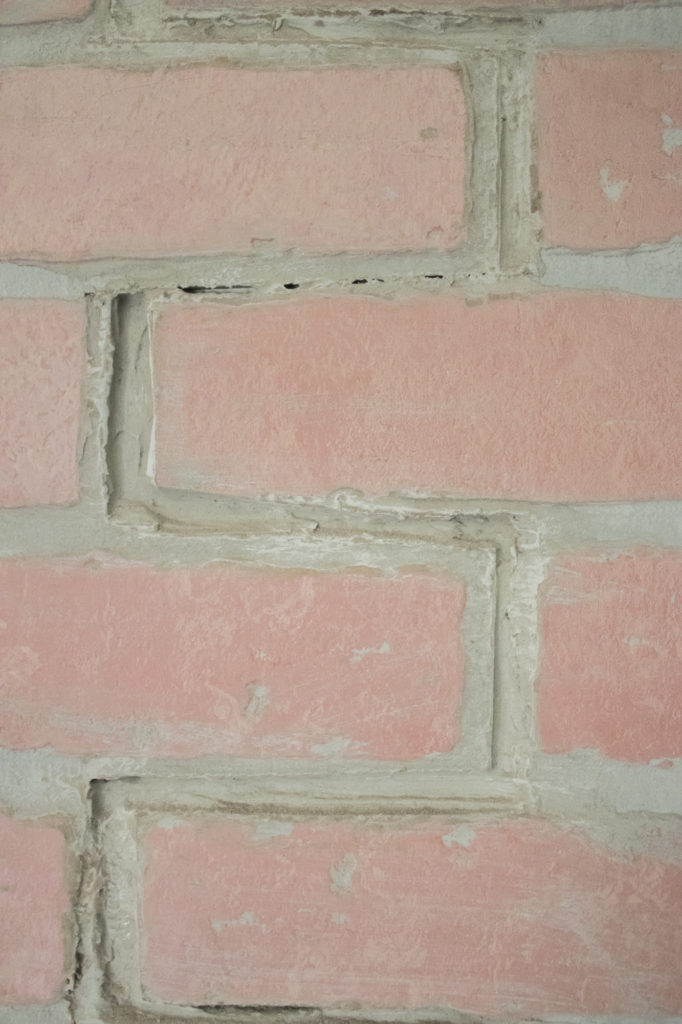
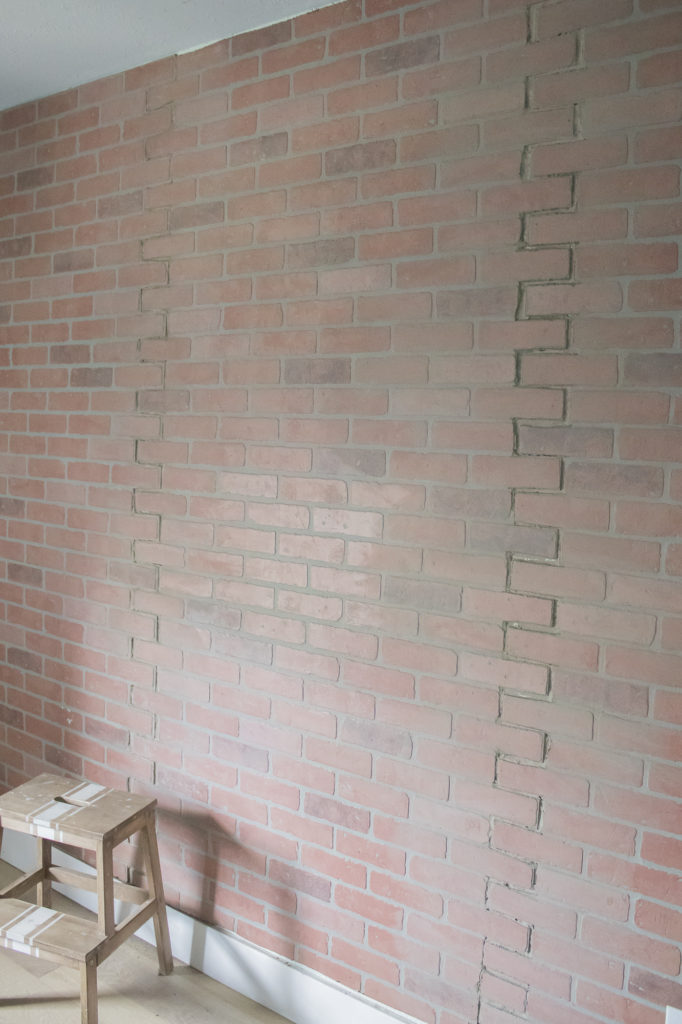
4. Apply Joint Compound
Once that was dry it was time for the fun part! I used the plastic putty knife that came with the Drywall Compound to smooth it on. I began by pressing it in to the grout lines and then feathered out from there.
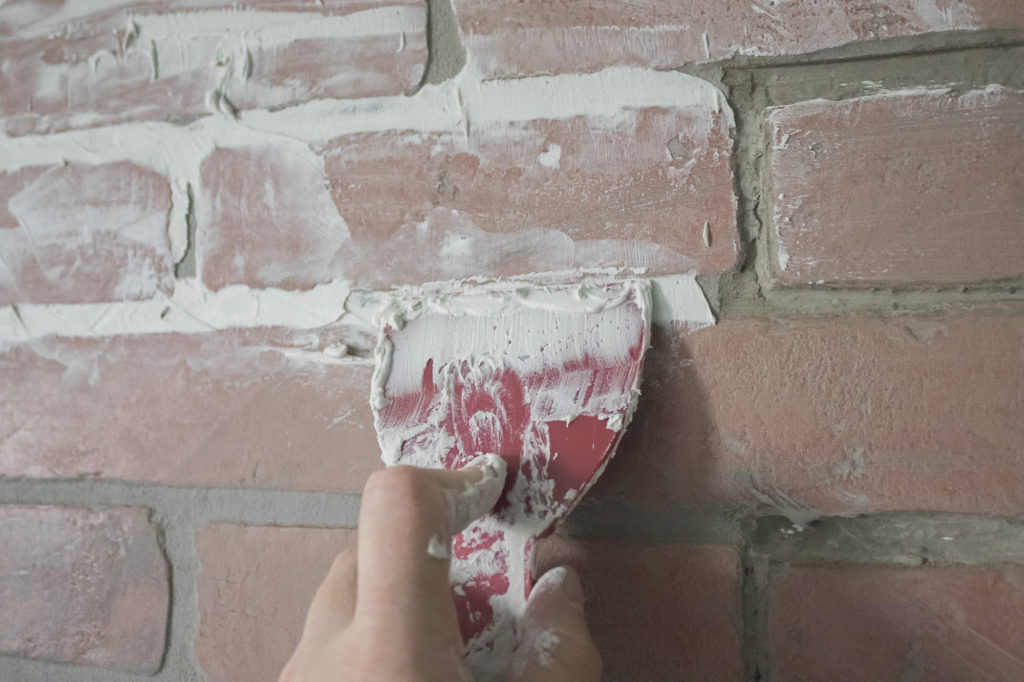
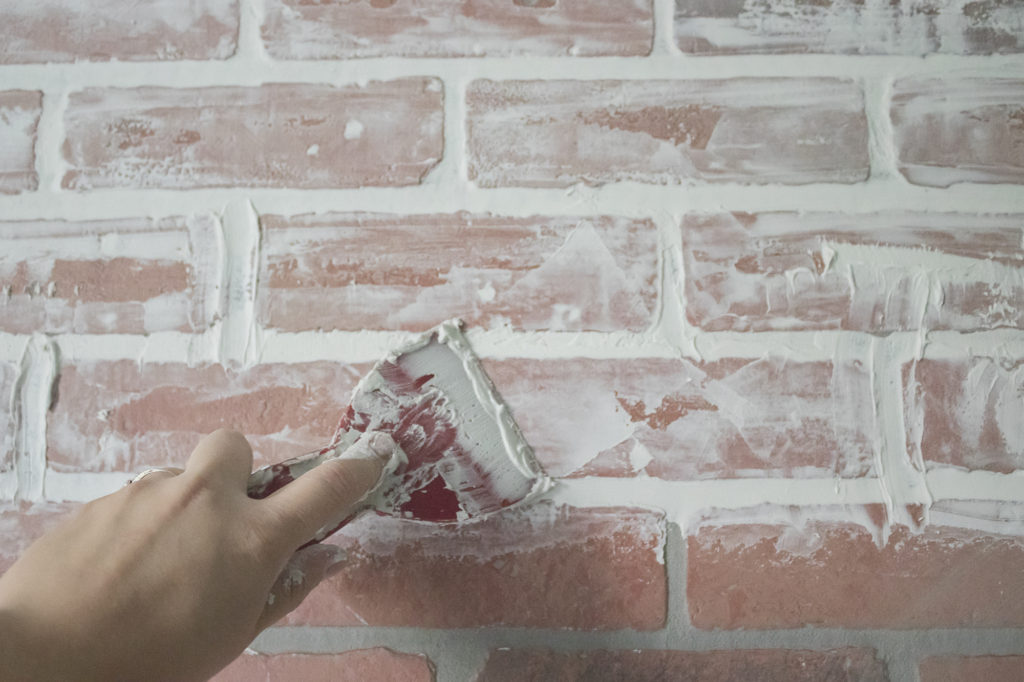
I went back over the grout lines with my finger to smooth it out since I still wanted the dimension of the grout line.
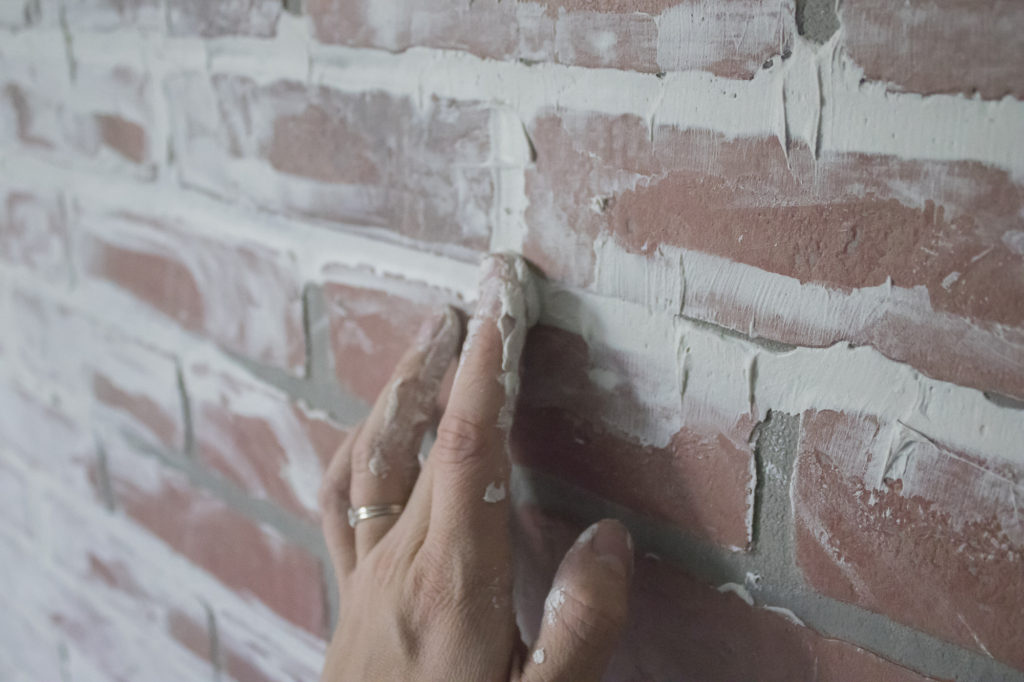
It was all going great until I realized that my new container was going on with a yellowish tint. It turns out that it was slightly different (the label just said “joint compound” rather than “patch and repair”) and even though it probably would have dried the same, I didn’t want to take any chances so I wiped it all off and got more of what I was previously using.
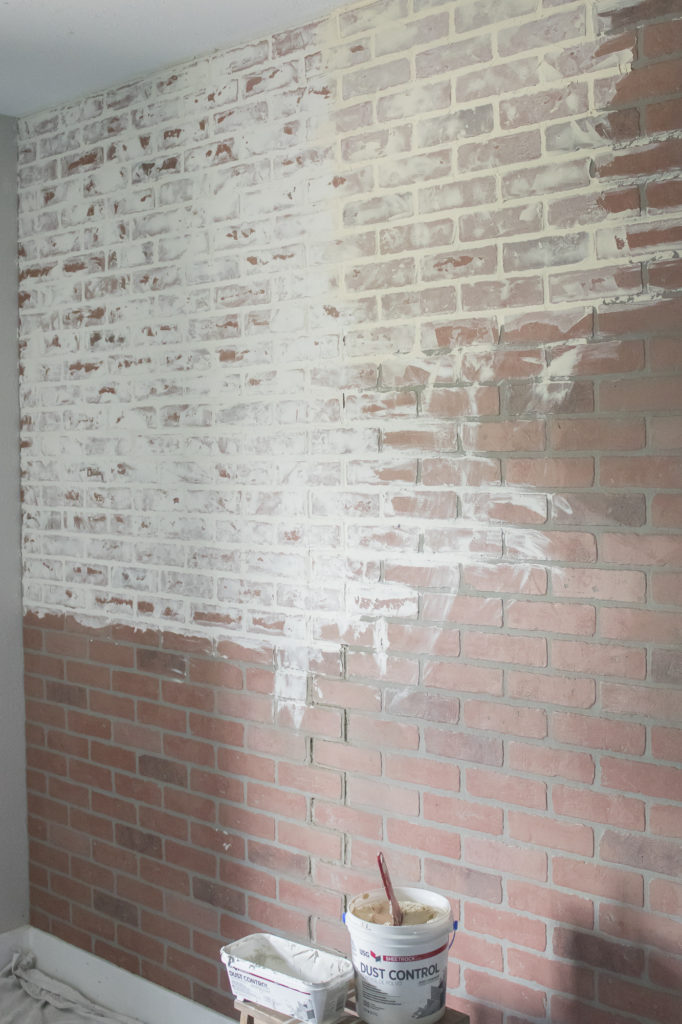
5. Sand
I went back over a couple of areas a few times, especially where the jigsawed edges met up, and then when it was all dry I used some drywall sandpaper to smooth and distress it some more.
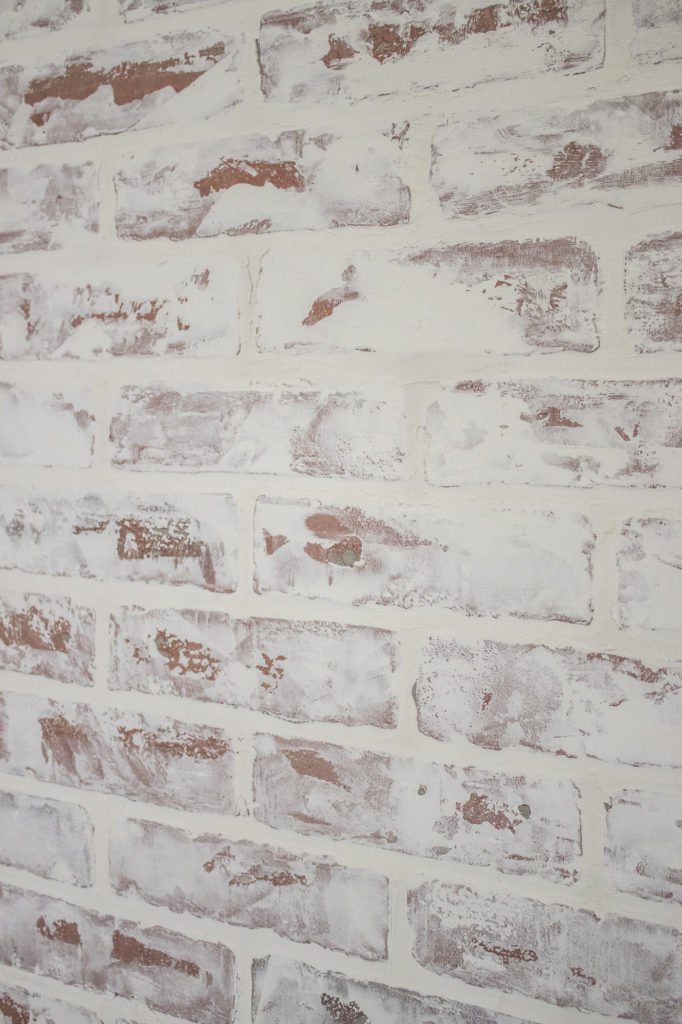
6. Seal
Once I was happy with how smooth it was I used a foam roller to apply a coat of Water Based Polyurethane in Clear Matte to seal and protect it. I will note that the sealer seemed to bring more of the original brick out and I think that’s because the roller pulled up some of the dried compound. Here’s a photo I snapped in front of the wall prior to adding the sealer:

And here is that same spot after:
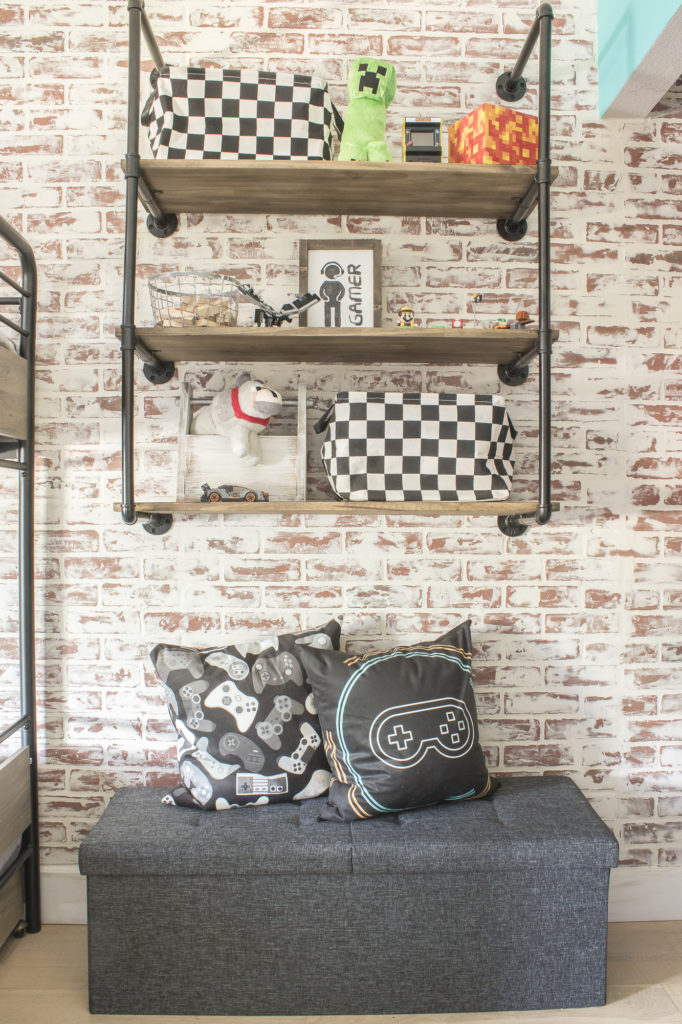
Not a huge difference and I actually ended up liking it more, but I thought that I should mention it in case you are looking for a more heavy German Schmear effect. If that’s the case make sure you go heavier on the joint compound prior to sealing.
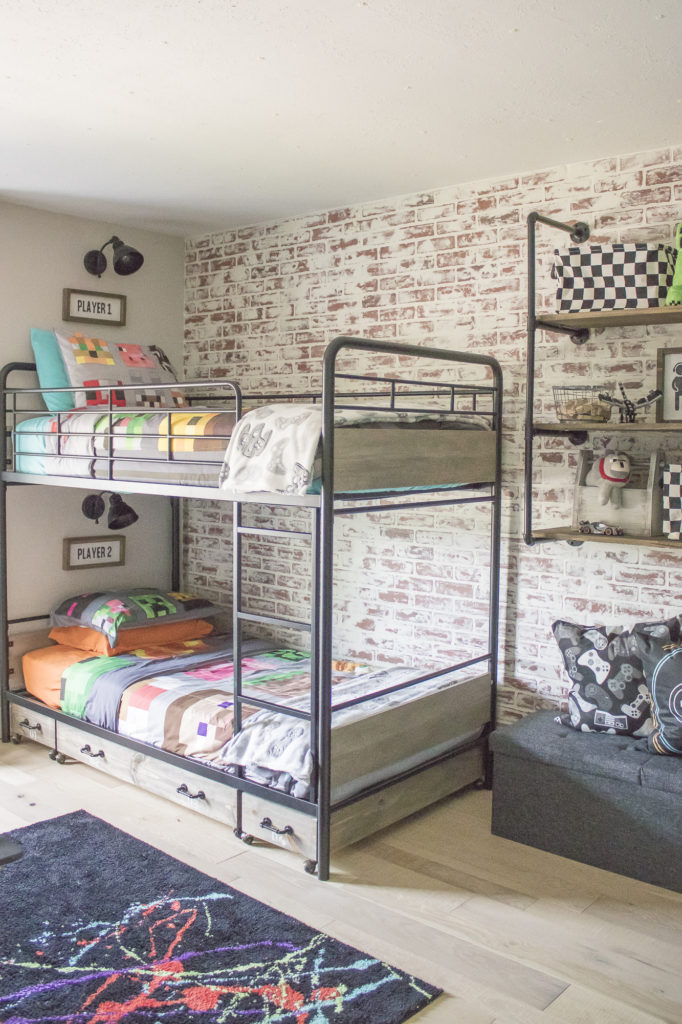
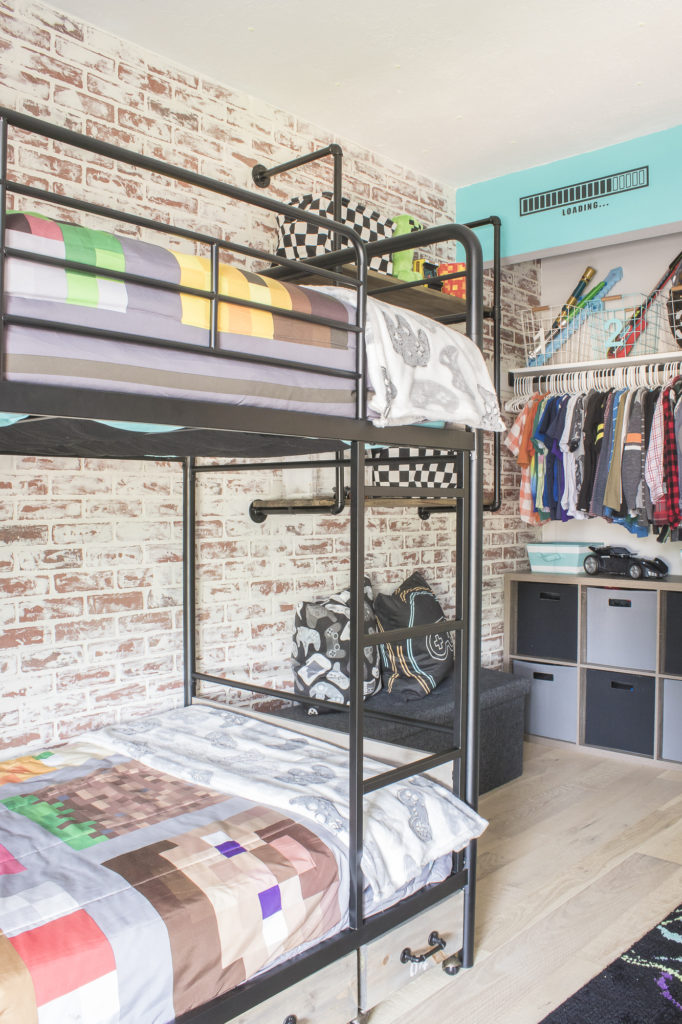
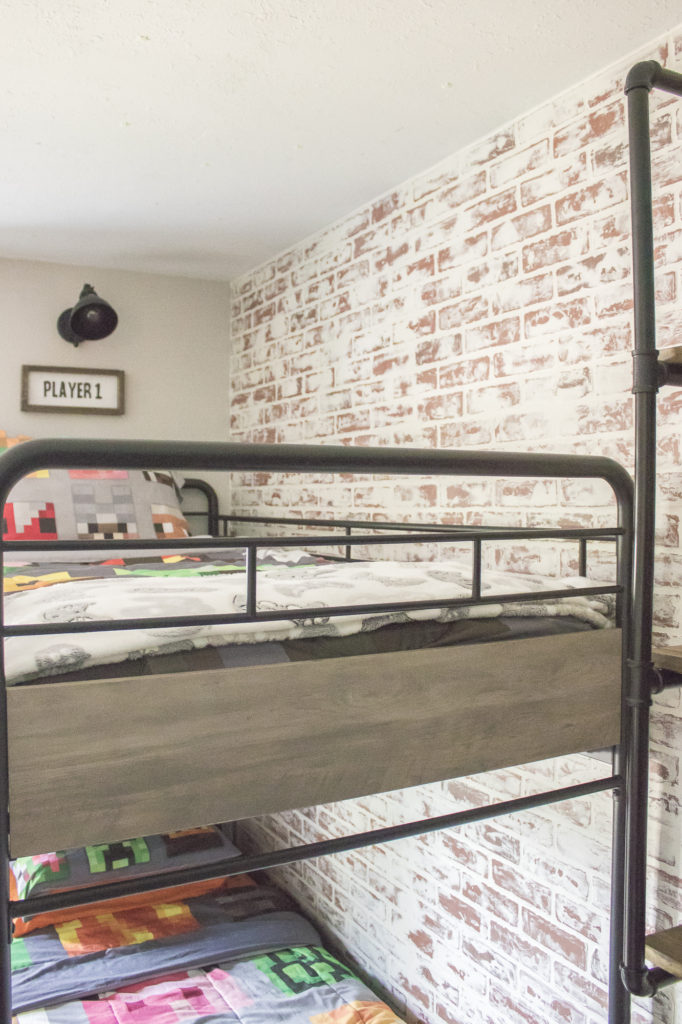
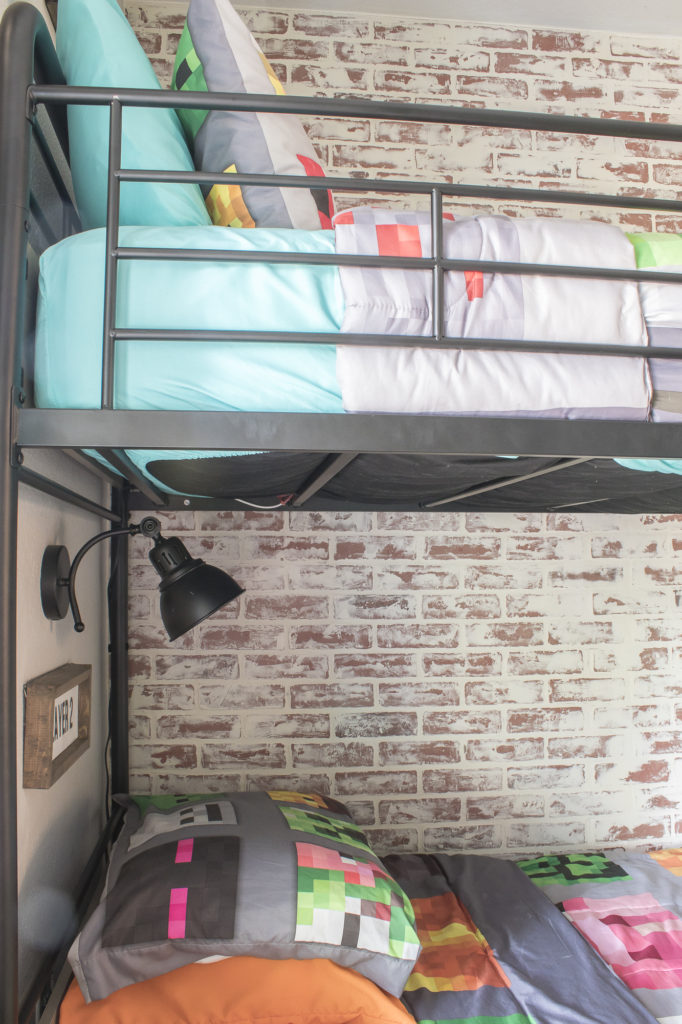
I still can’t believe how realistic it looks and now I have plans to do the same thing to Lucas’ wall when we do his room makeover.
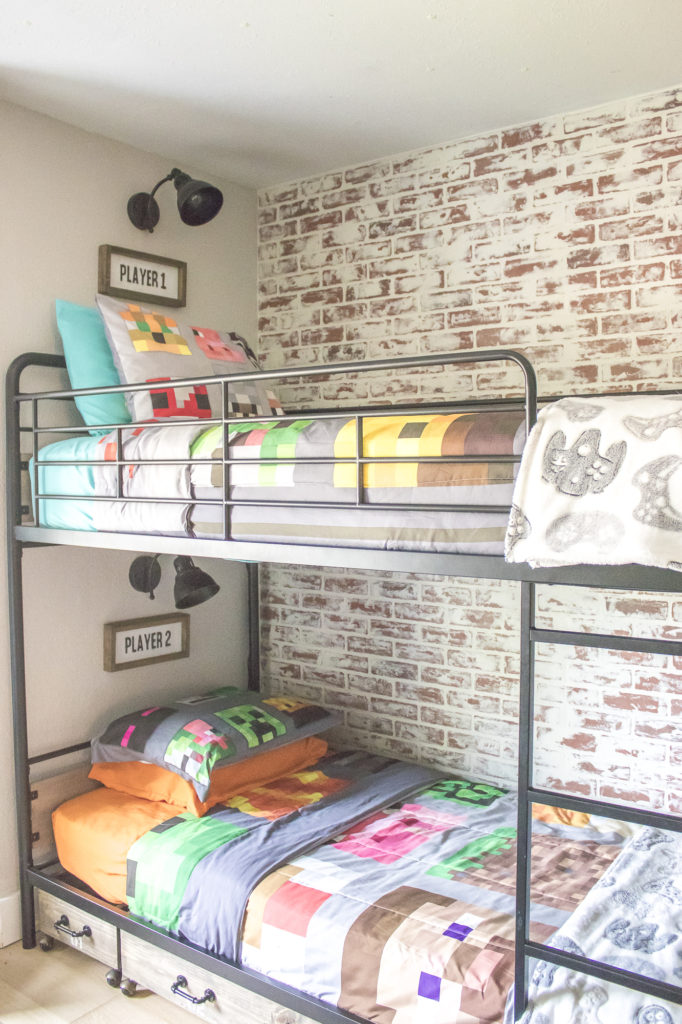
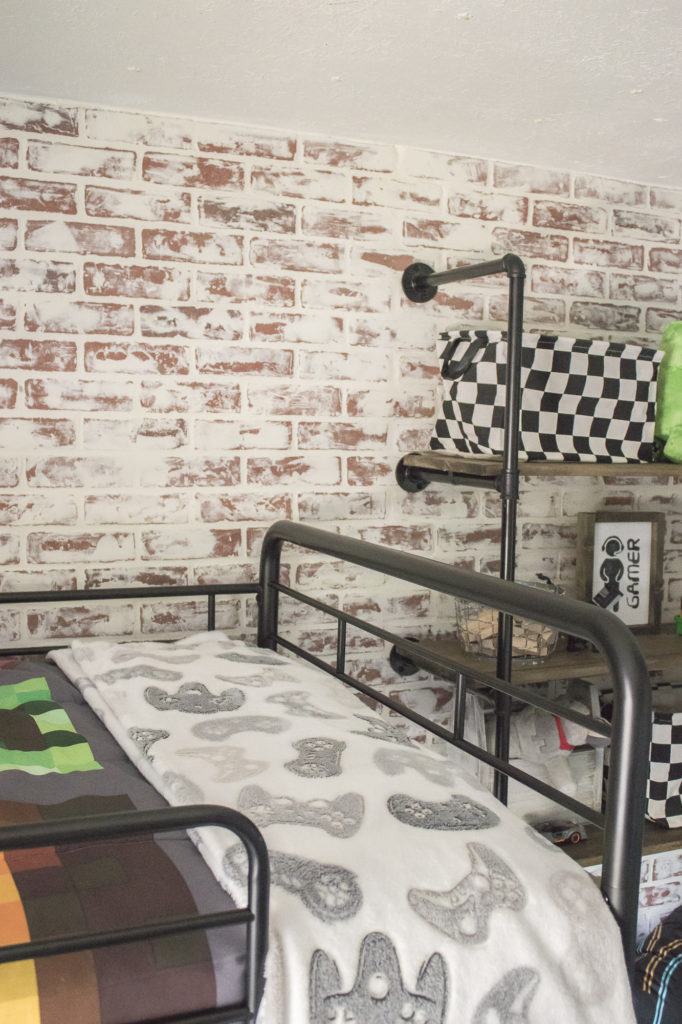
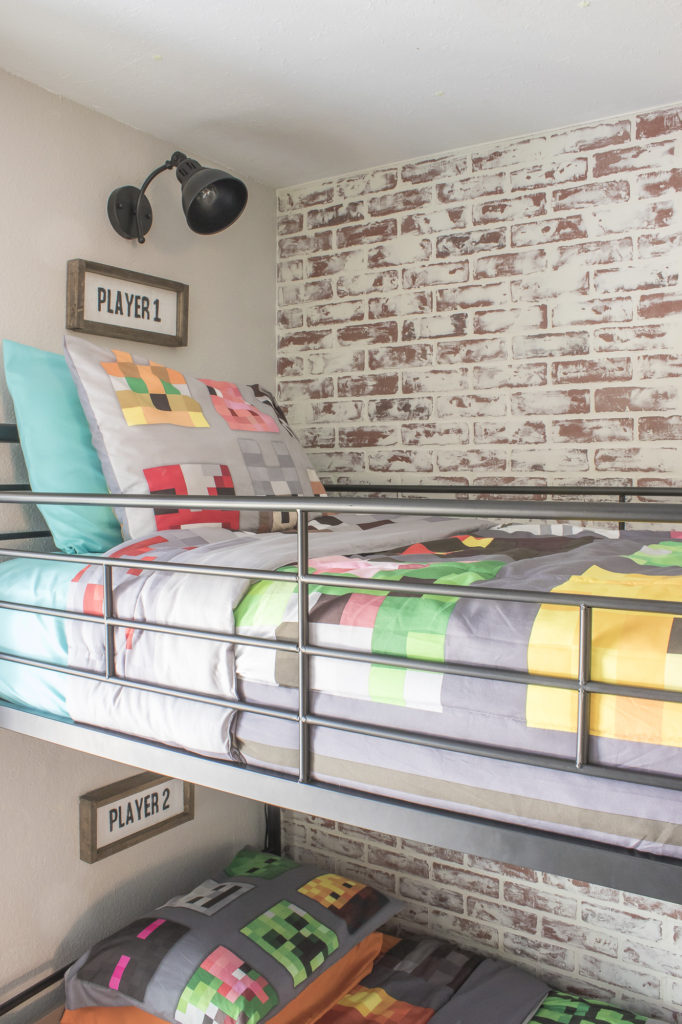
I hope that helped answer the questions that you may have had, please reach out if I left anything out! Have a happy rest of the week my friends.
(Affiliate links may be provided for convenience. For more info, see my full disclosure here.)
Linking up to these awesome parties
PIN FOR LATER!
Fabulous old brick look, Angela!
I’d love for you to join us over at the Creative Crafts Linky Party every Wednesday through Sunday
https://creativelybeth.com/creative-crafts-linky-party-51/
Followed and Pinned! 🙂
Creatively, Beth
This is such a great DIY! Turned out really nice too!
Jenna ♥
Stay in touch? Life of an Earth Muffin
Looks awesome!
FANTASTIC! You did a great job.
I wish I had enough nerve to do this on my kitchen floor, it has fake brick.
The kids room is perfect.
This is absolutely amazing. I just love how it turned out. Like you, I think I prefer it after the sealer! I’d love for you to share this at Thursday Favorite Things (a new one just started today.)
Pam
An Artful Mom