
After 8 weeks of hard work it’s finally time for the big reveal of the One Room Challenge! In case you’ve missed any of the fun along the way, you can find all of the weekly updates here:
- One Room Challenge (Week 1): Gamer Bedroom Plans
- One Room Challenge (Week 2): Wall Paint
- One Room Challenge (Week 3): Starting the Brick Wall
- One Room Challenge (Week 4): A Lot of Progress for The Halfway Point
- One Room Challenge (Week 5): Fun Details
- One Room Challenge (Week 6): DIYS and a Few More Details
- One Room Challenge (Week 7): The Final Touches
I am really excited to show you guys how the gamer themed bedroom turned out, but first let’s step back and take a look at what we started with. This is what the room looked like before we moved in:
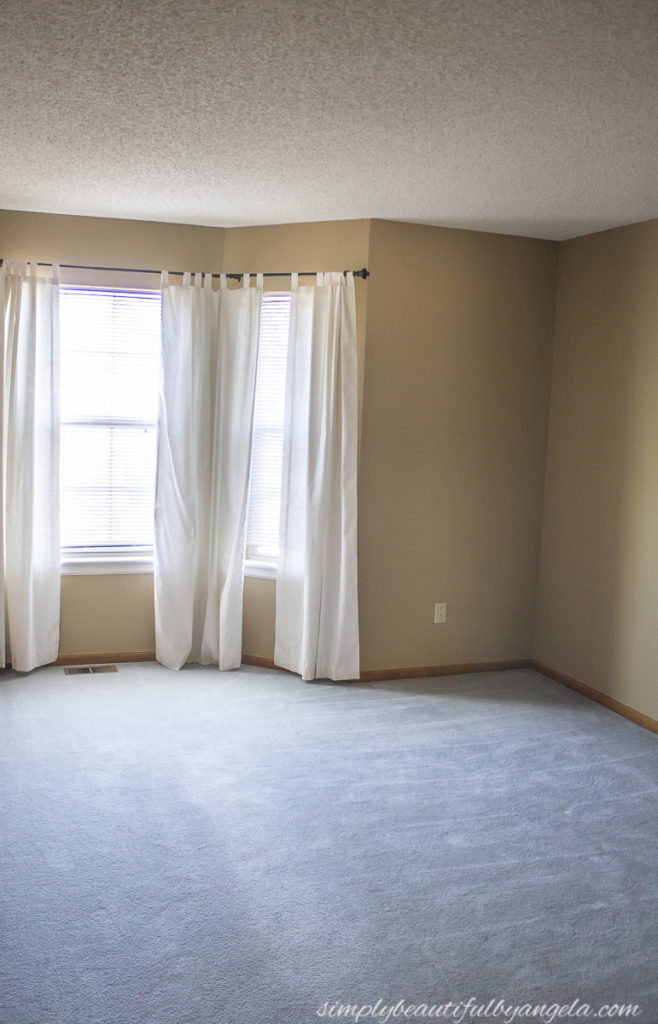
The first order of business was scraping the popcorn ceilings and retexturing. A messy but rewarding job!
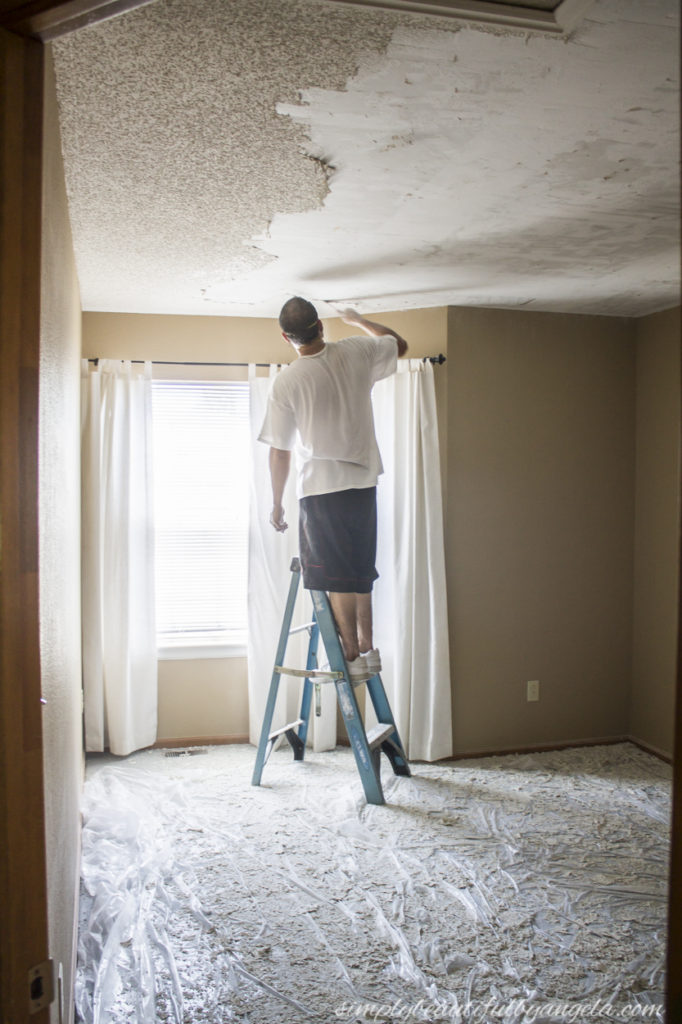
We then painted the walls a very light green and transferred over his dinosaur decor from the old house.

Last summer I finally ripped out the carpet in all of the rooms upstairs and installed engineered hardwood flooring which brings us to how this room looked when this challenge first began.
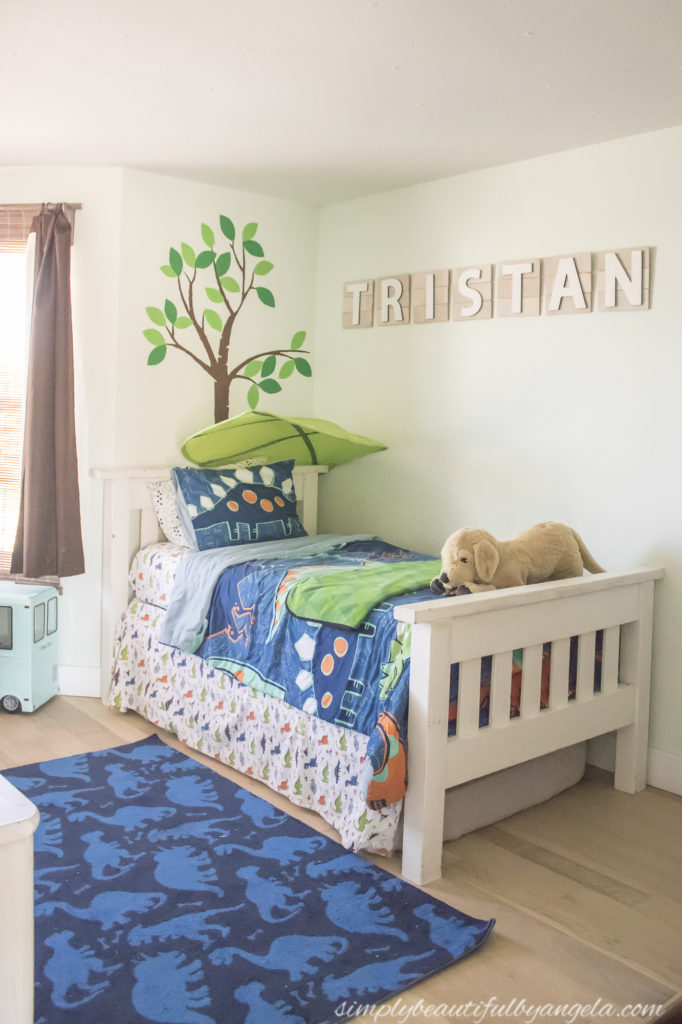
It was a nice space, but we needed to fix the functionality. My step daughter sleeps in here when she’s with us, so we stored a twin mattress under the bed for her. But when it was pulled out, there was basically no space left to move around. Bunk beds were desperately in order! And with new beds comes a new theme. Since they are both video game fanatics, I came up with a gamer themed bedroom design that would suite both of them.
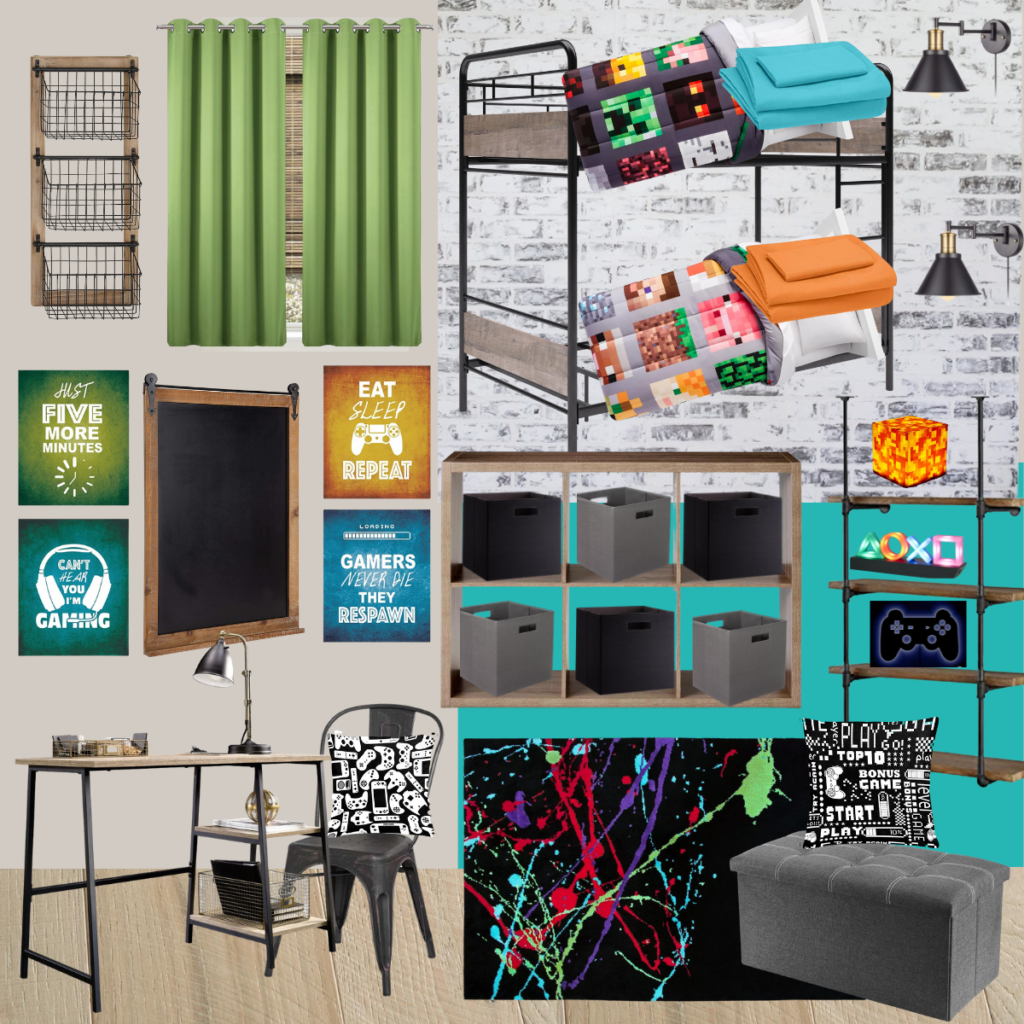
Without further ado, here is the new room!
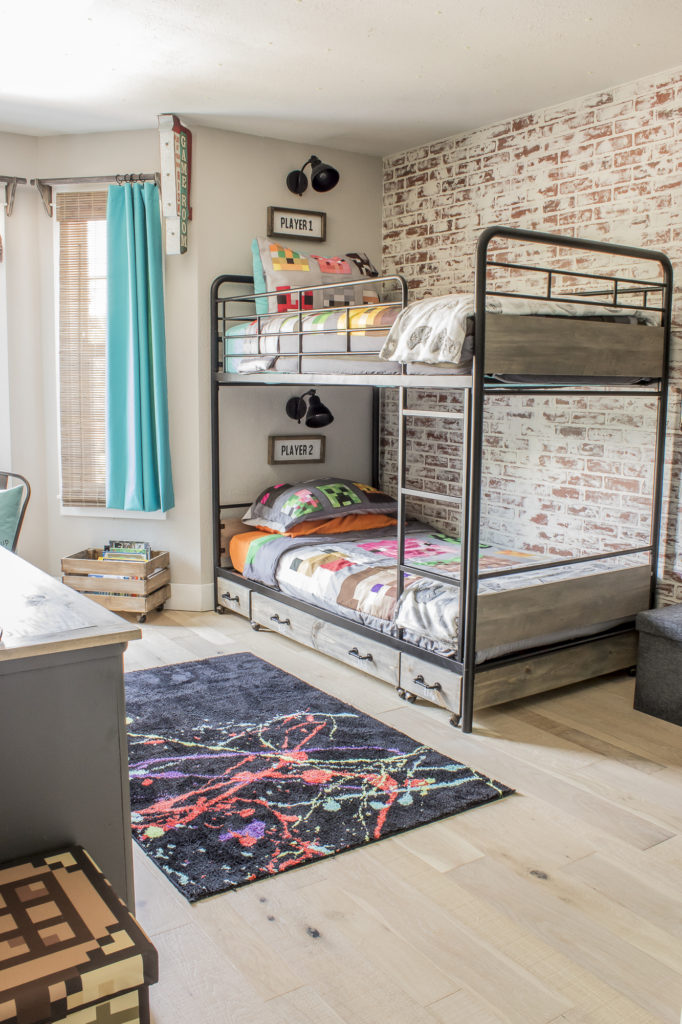
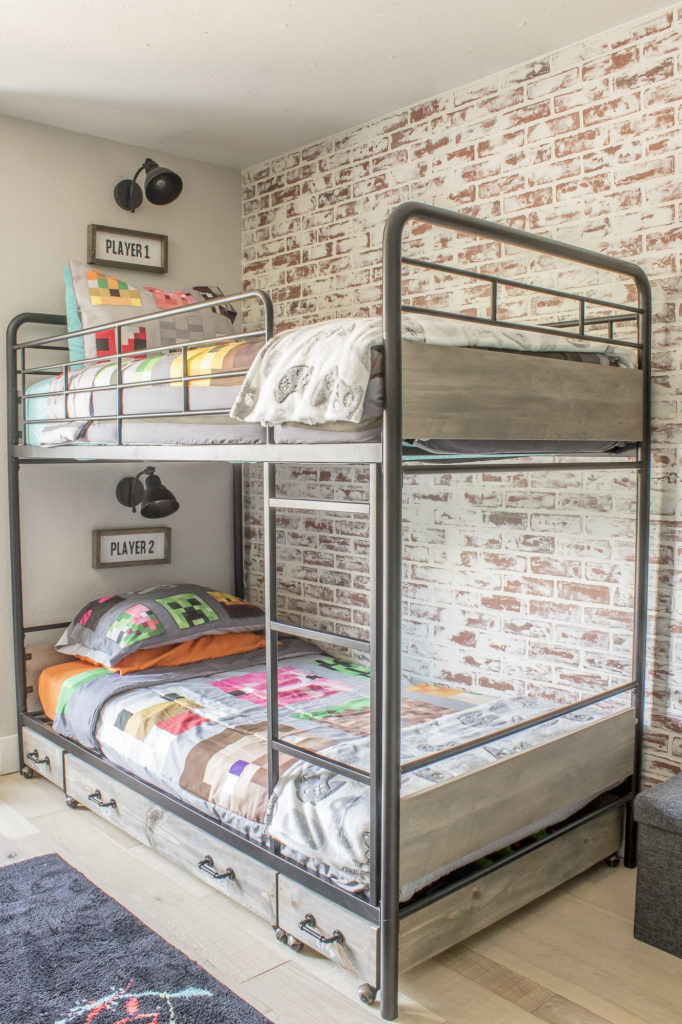
My favorite feature is the faux brick wall that I added along the back wall. I plan to share a tutorial on that very soon, so stay tuned! The other walls were painted Behr Cotton Grey which is a nice light warm gray.
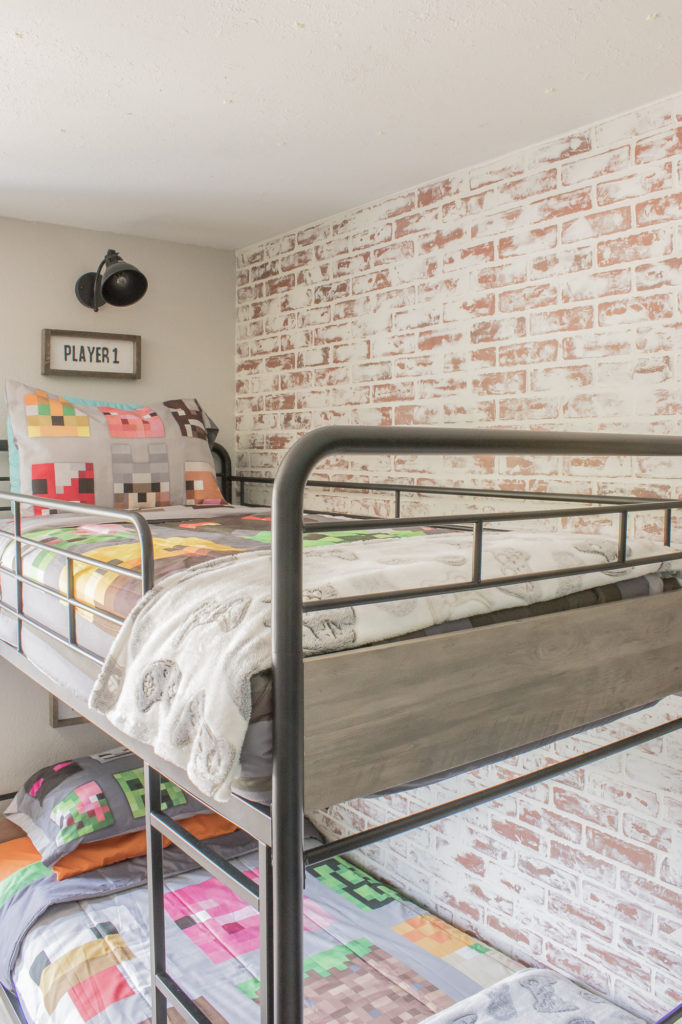
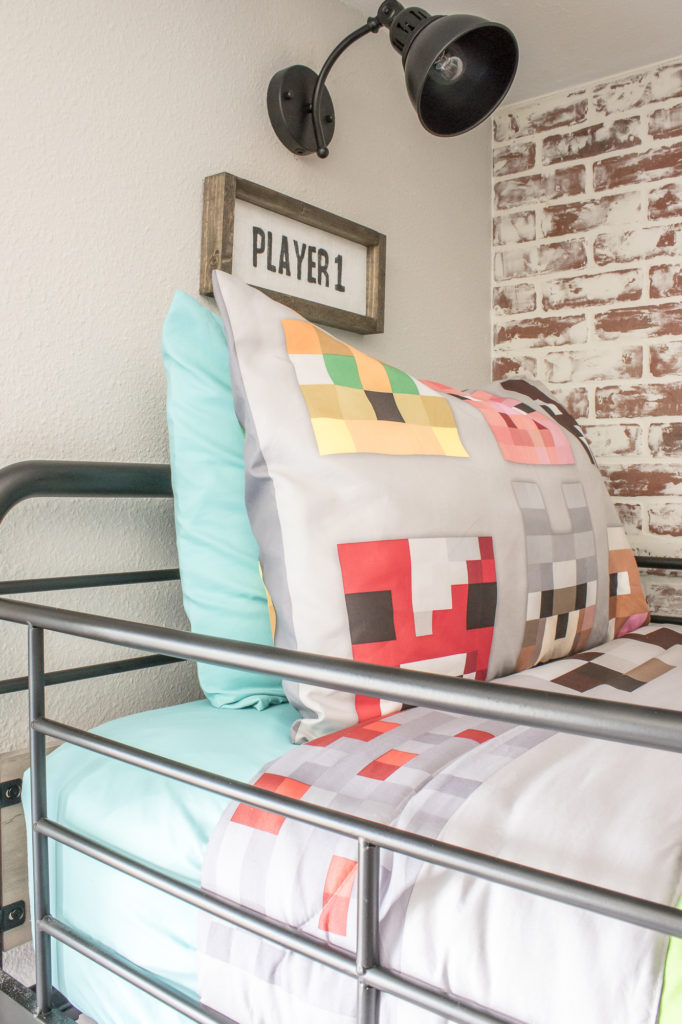
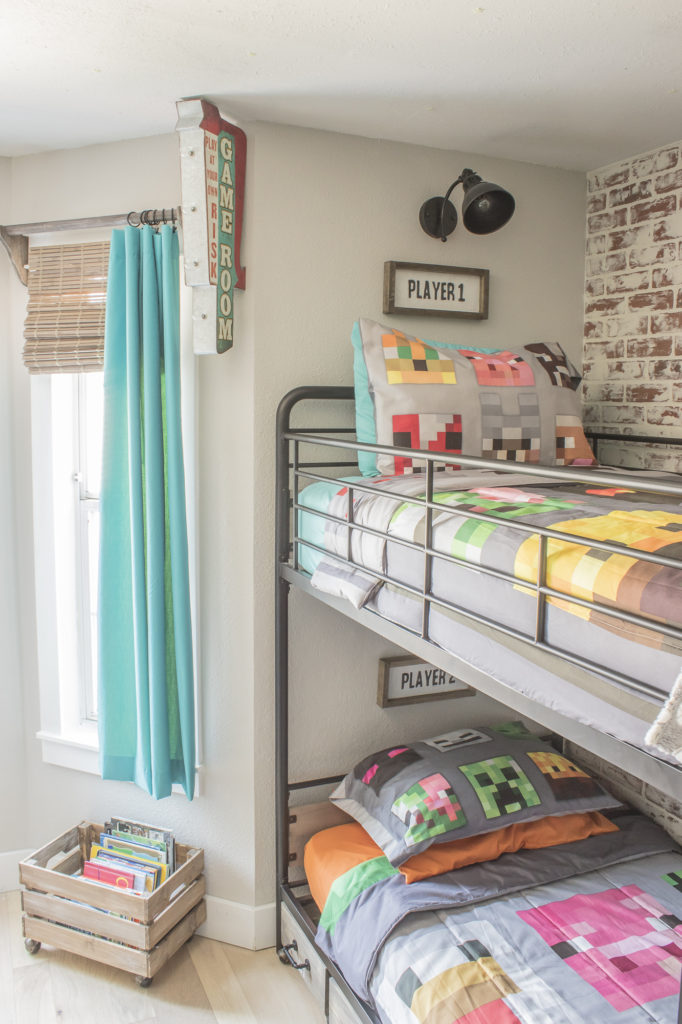
Since Minecraft is one of their favorites, I added a lot of elements from that game. The reversible Minecraft comforters that I chose work great since we can have each one on a different side.
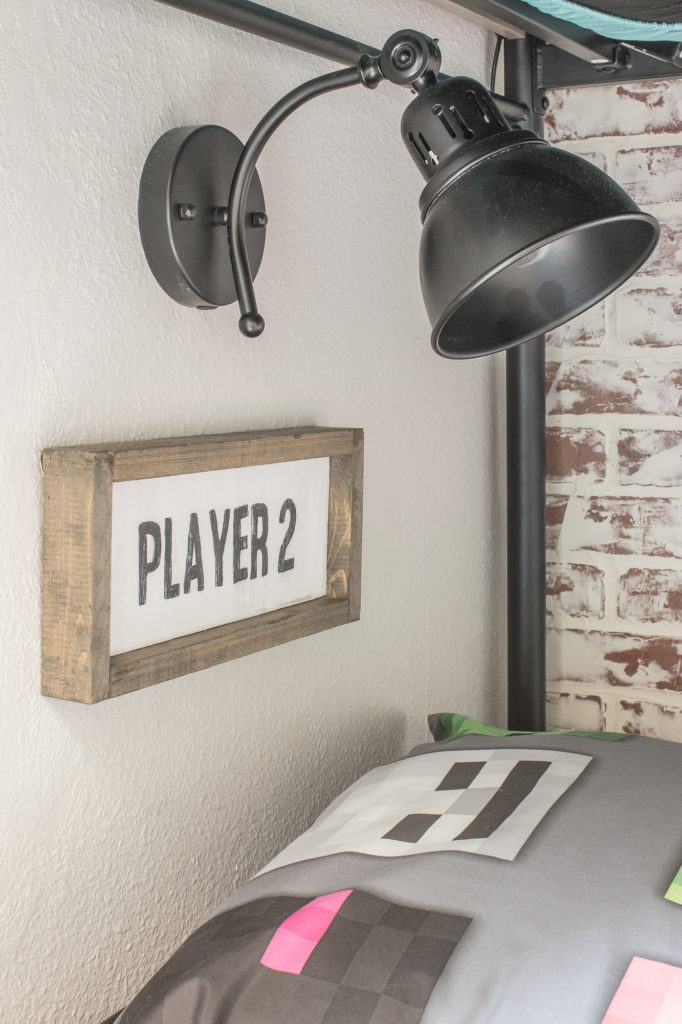
The black wall sconces are actually plug-ins. We drilled a hole behind each one and routed the cord down to another hole that we drilled next to the outlet at the bottom.
I found these video controller blankets that actually glow in the dark which is a fun feature, and they are extremely soft and cozy.
The bunk beds were very affordable and the wood accent on the ends is what really drew me in.
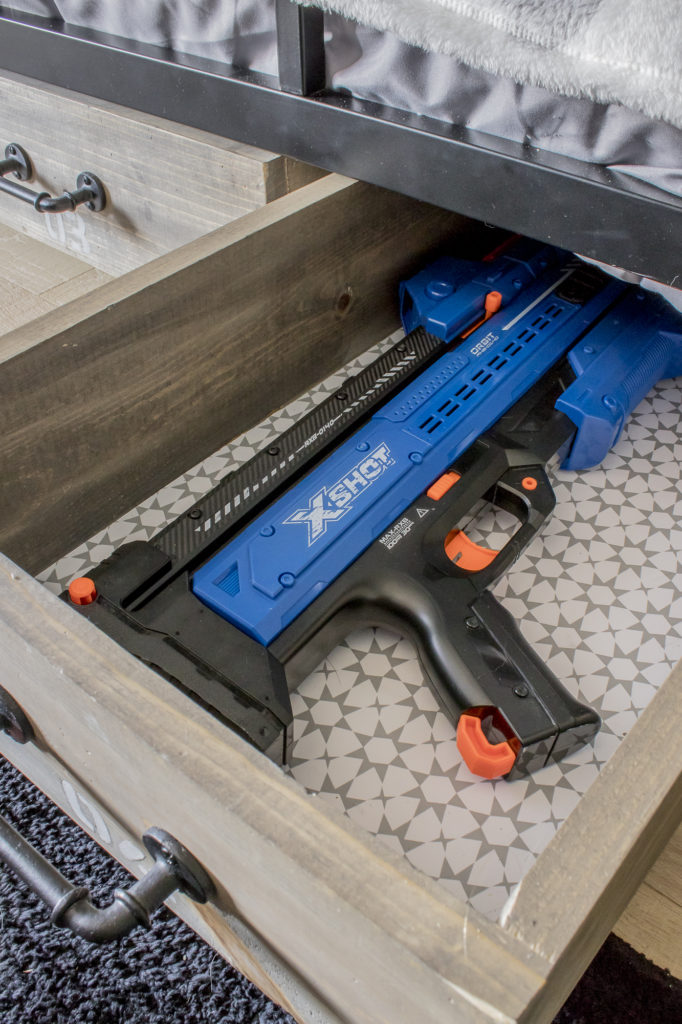
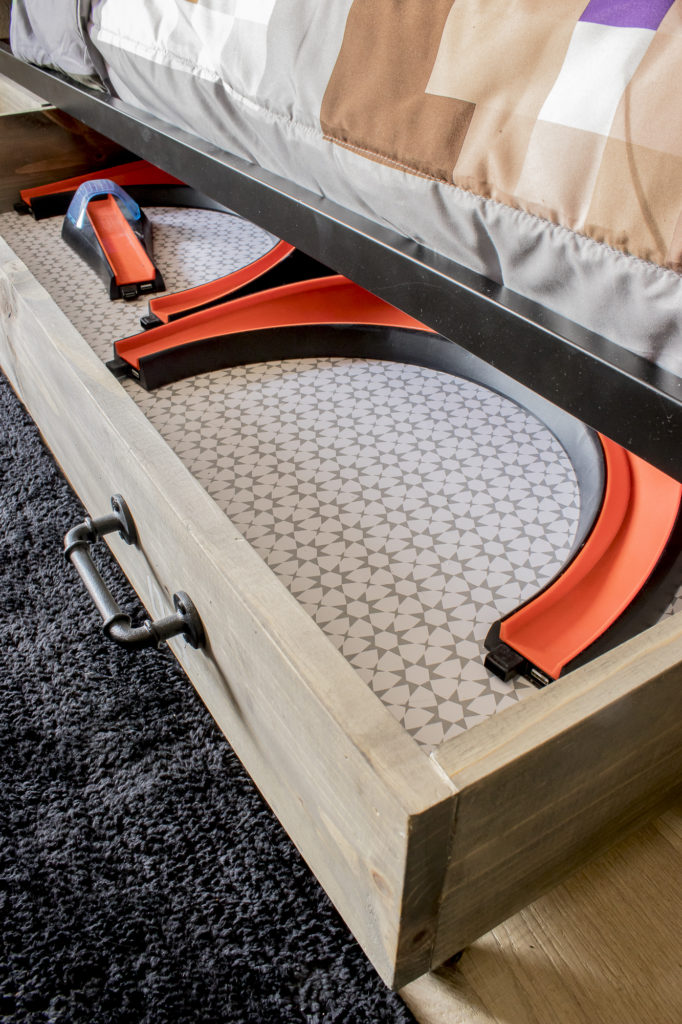
The open space underneath was driving me batty, but a bedskirt wasn’t an option to hide the area underneath because of the metal support legs. So I decided to build some rolling storage boxes to slide in between them.
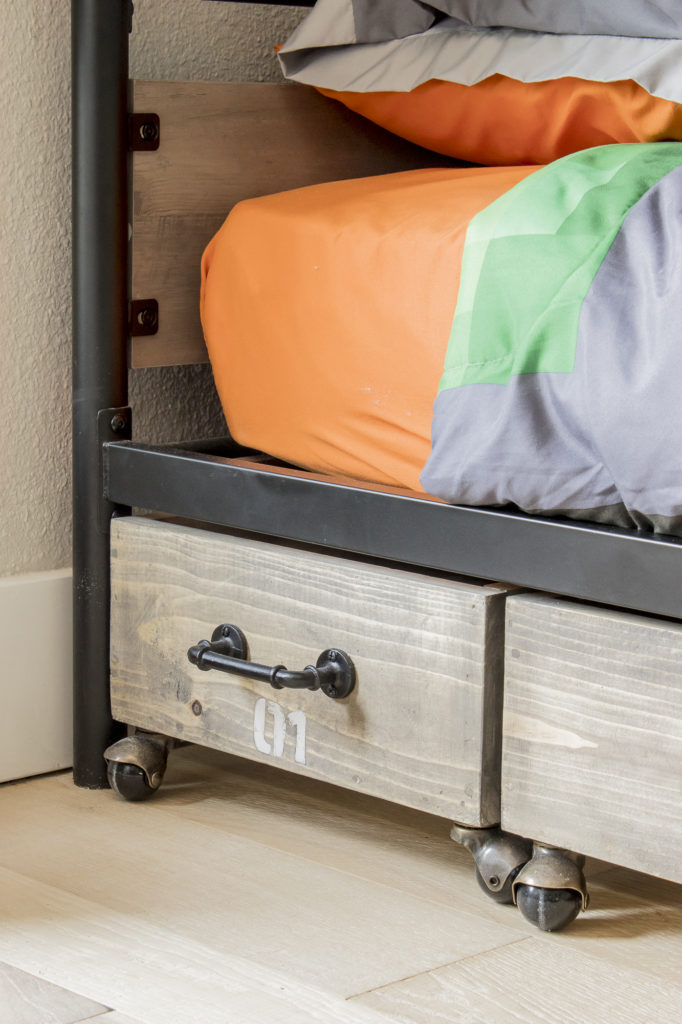
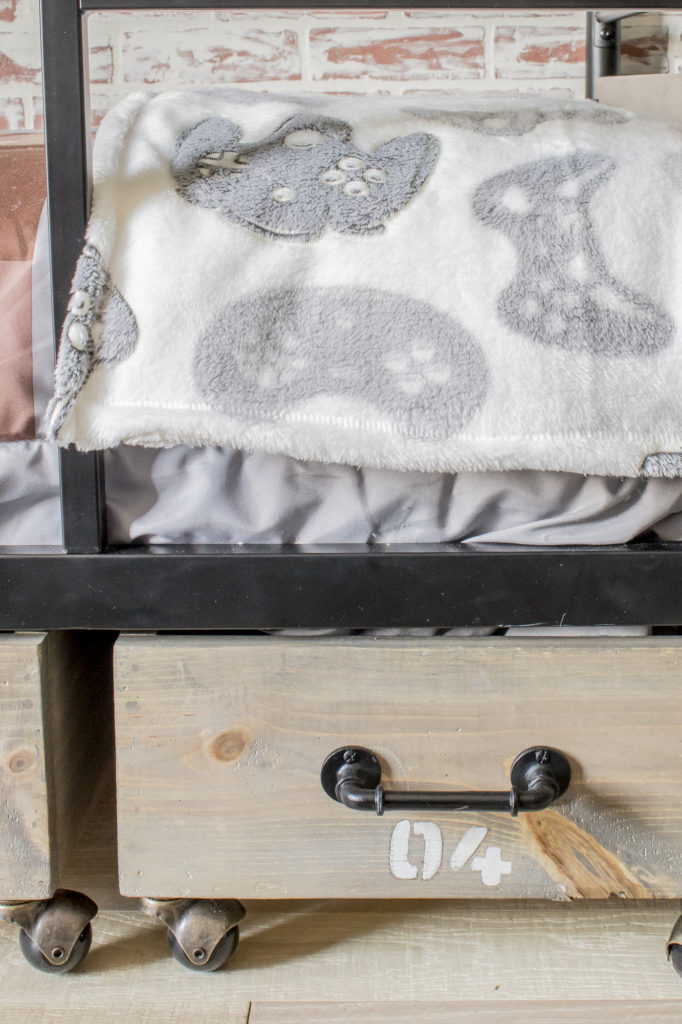
They ended up matching the bed so well that they look like they came with the bed!
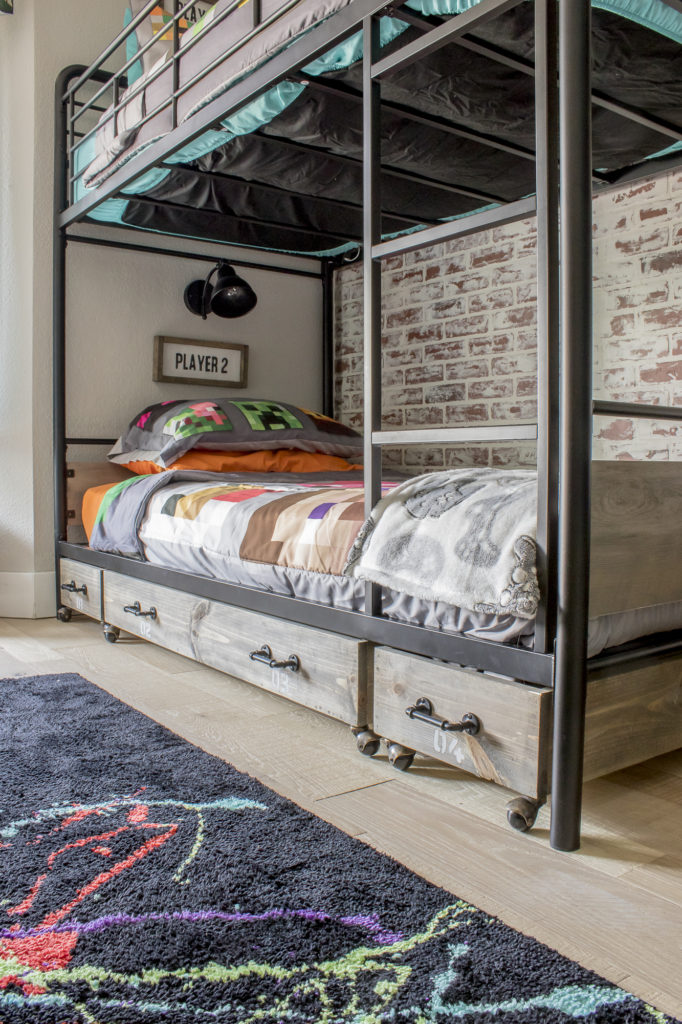
They are super roomy and hold a lot of larger toys. I also plan to share a tutorial on these in the coming weeks.
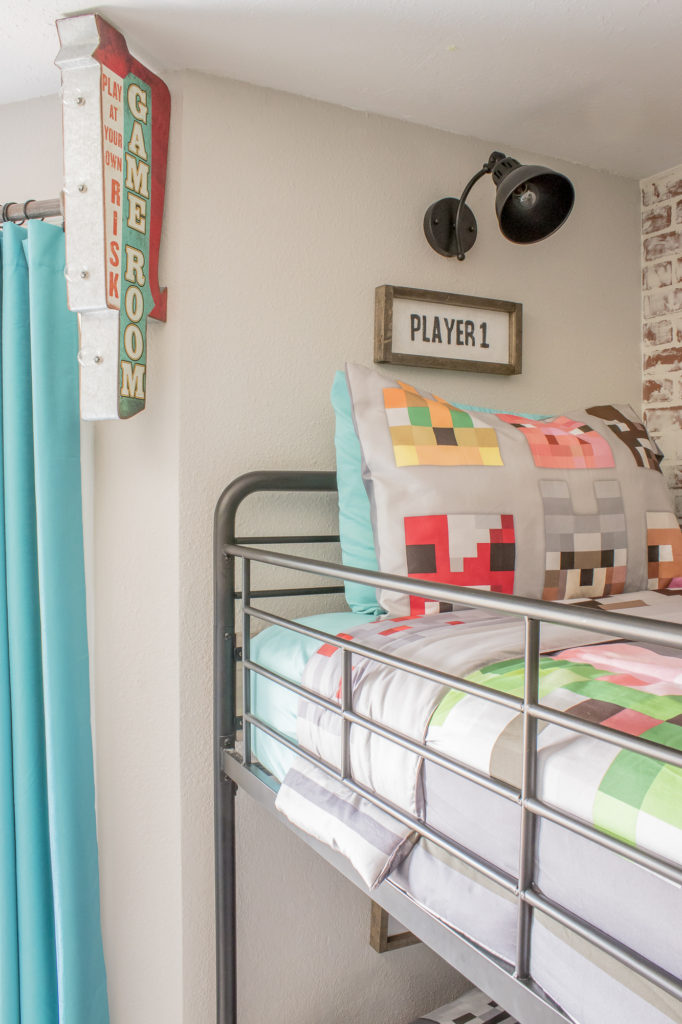
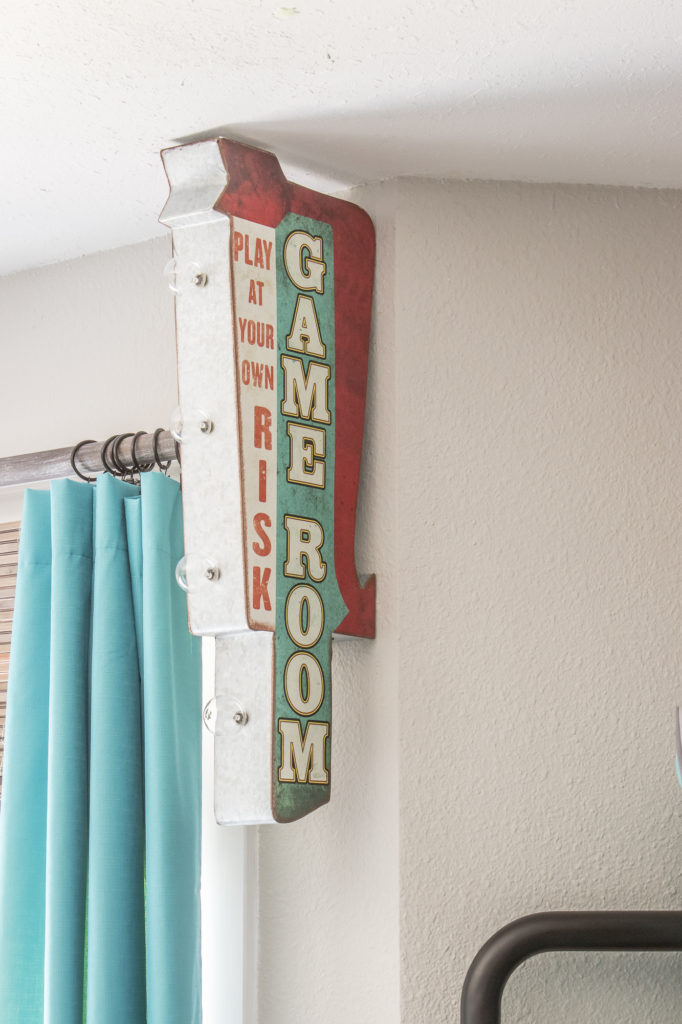
Shortly after I started this room my mother-in-law and sister-in-law spotted this awesome marquee sign and picked it up for us. I finally found the perfect spot for it next to the bed, and the colors fit this room wonderfully.
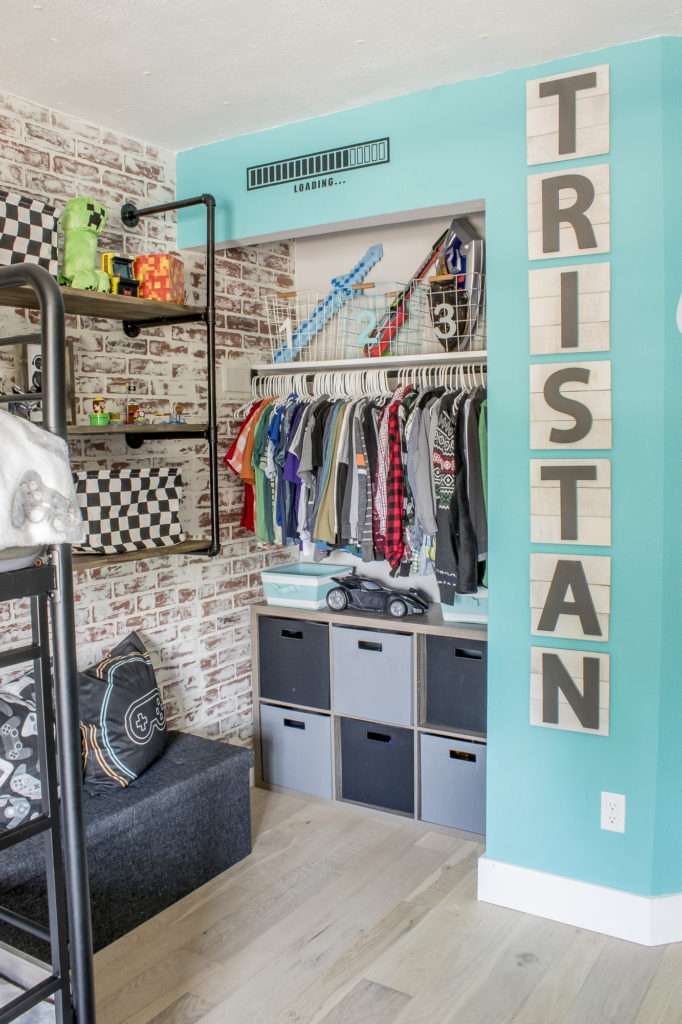
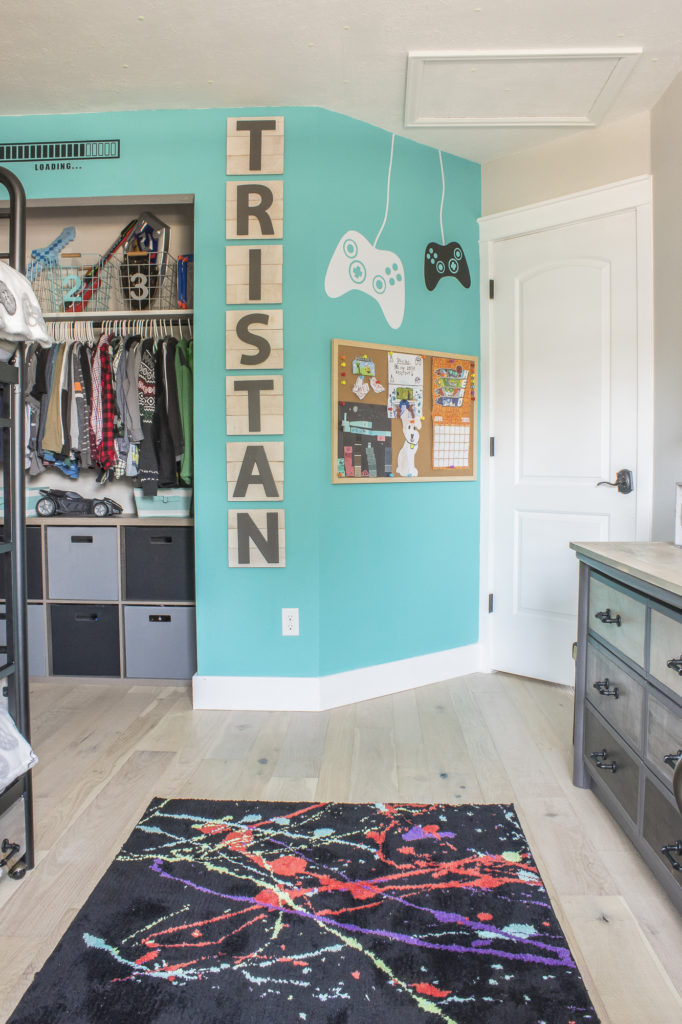
Okay let’s swing over to the other side of the room. I gave Tristan full reign on choosing and accent wall color and he went with Behr Caicos Turquoise.
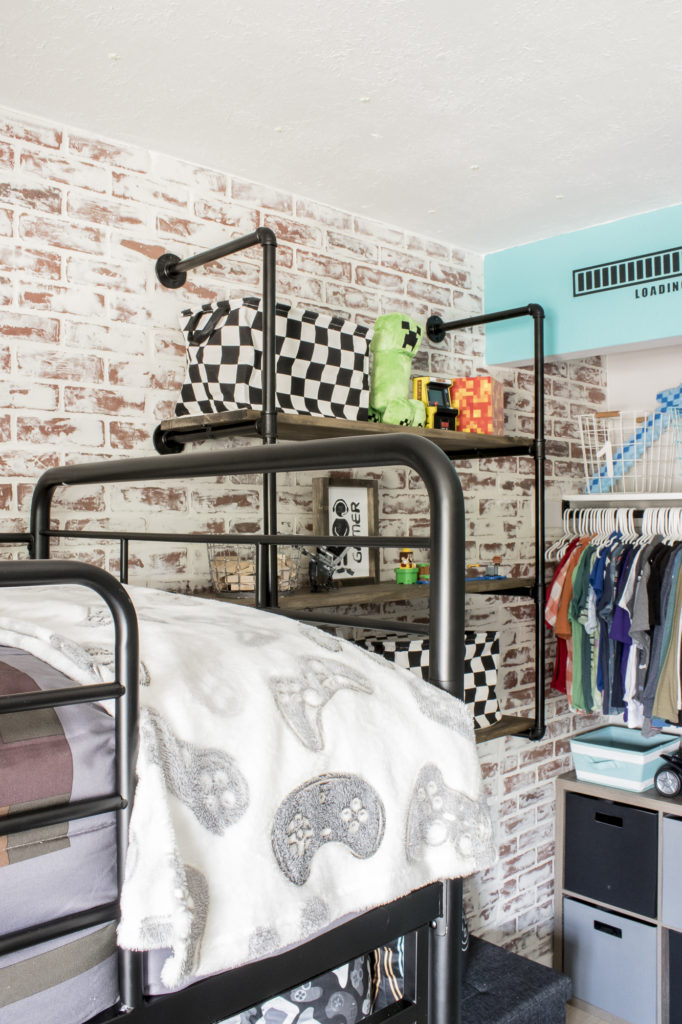
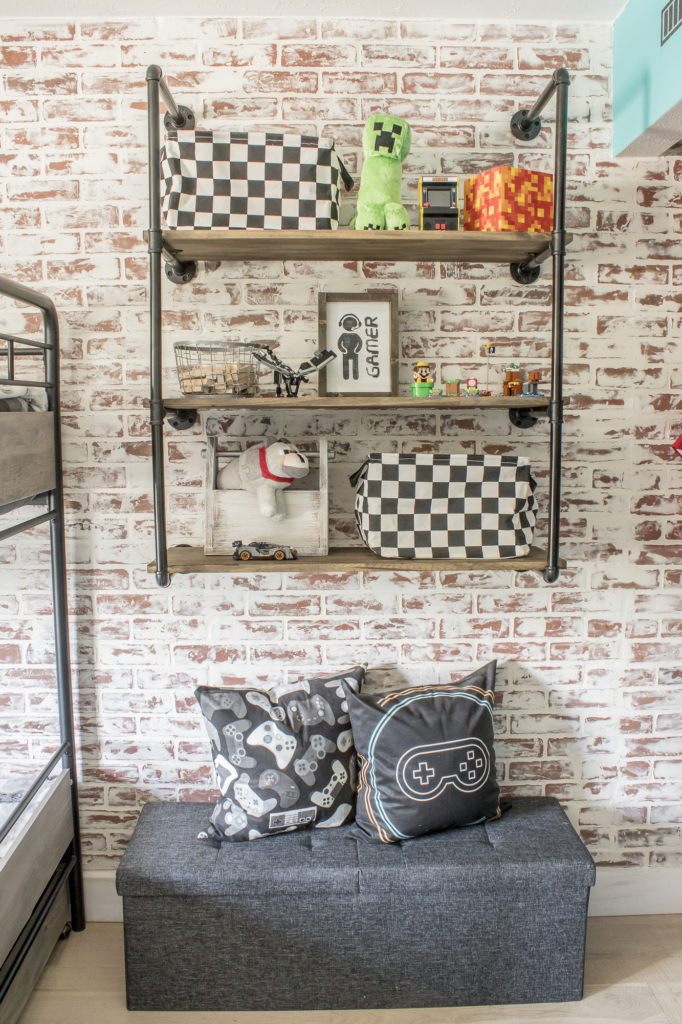
The pipe wall shelving complements the brick and provides nice storage space.
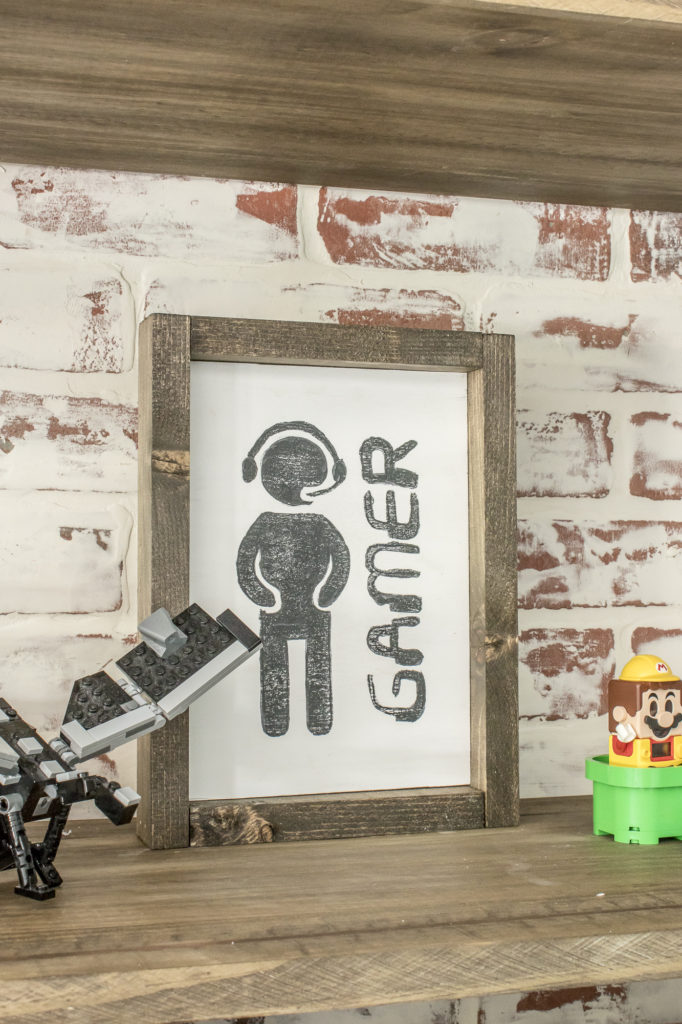
I originally purchased this gamer sign for these shelves, but when it arrived I felt that it was too dark for the space, so I actually made my own.
I also made the Player 1 and Player 2 signs above the beds since these decal ones wouldn’t arrive in time. The checkered storage bins are great for storing random charging cables, headphones and toys.
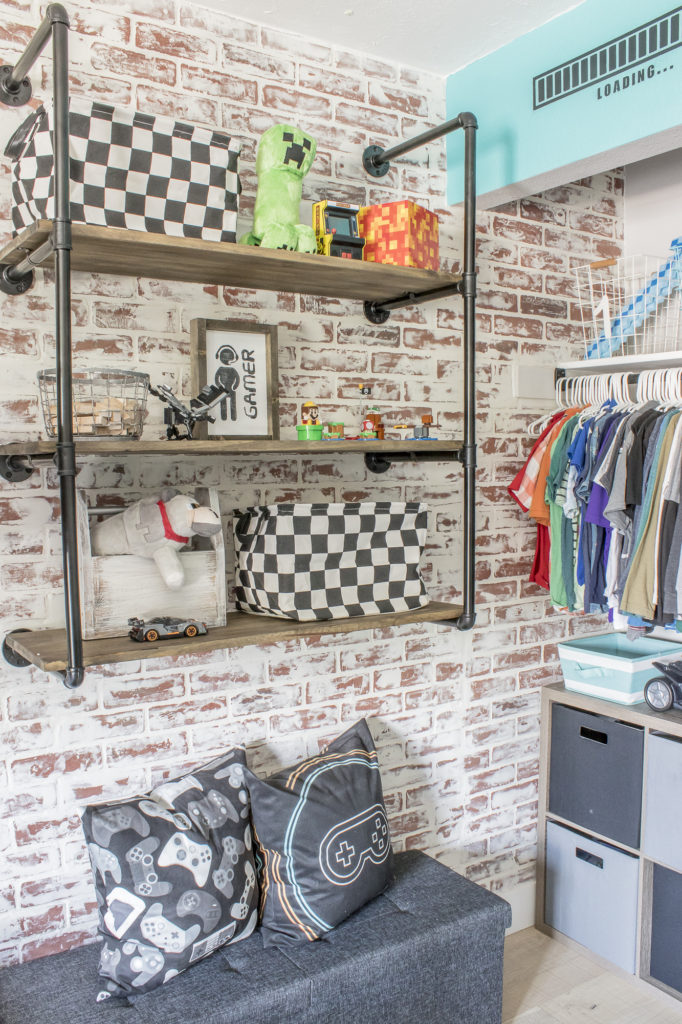
Underneath the shelves is a collapsible storage bench (this is the dark grey option) that we use to hold his stuffed animals and extra blankets. I actually ordered a total of four different benches before deciding on this one haha!
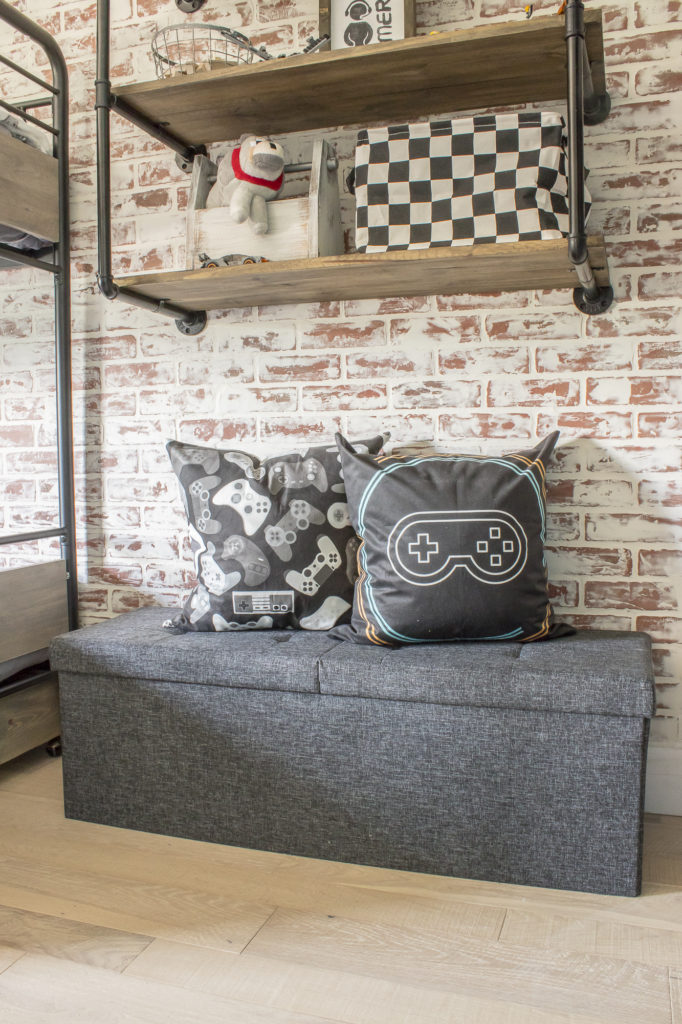
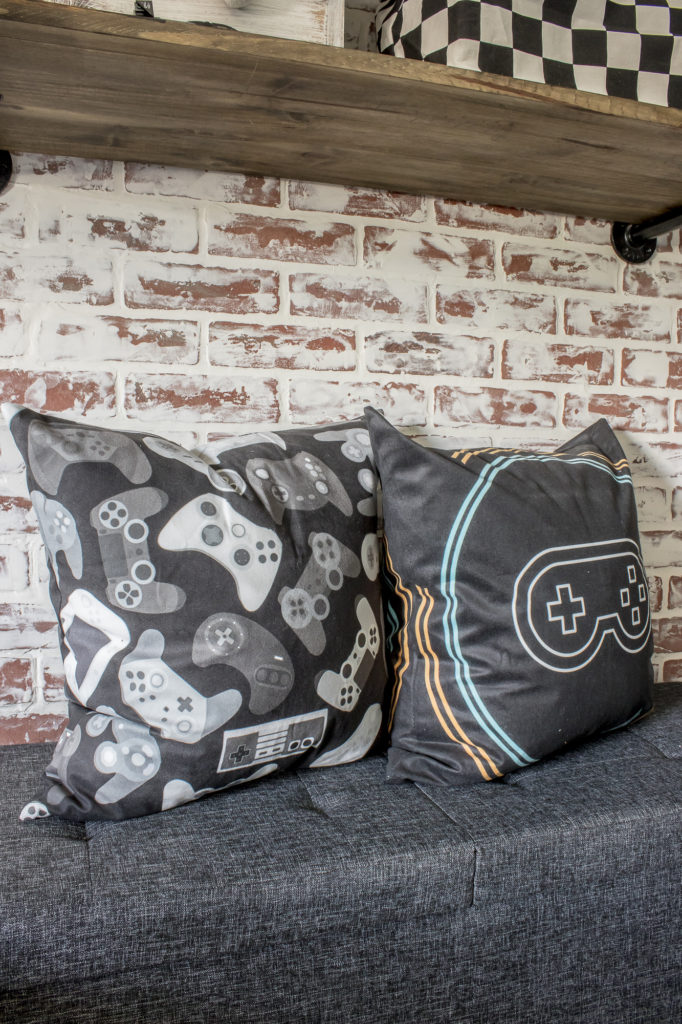
It has 3 compartments inside and is a nice place to sit. The black and grey controller pillow and the blue and orange controller pillow are both from Amazon and are made out of a soft velvet like material.
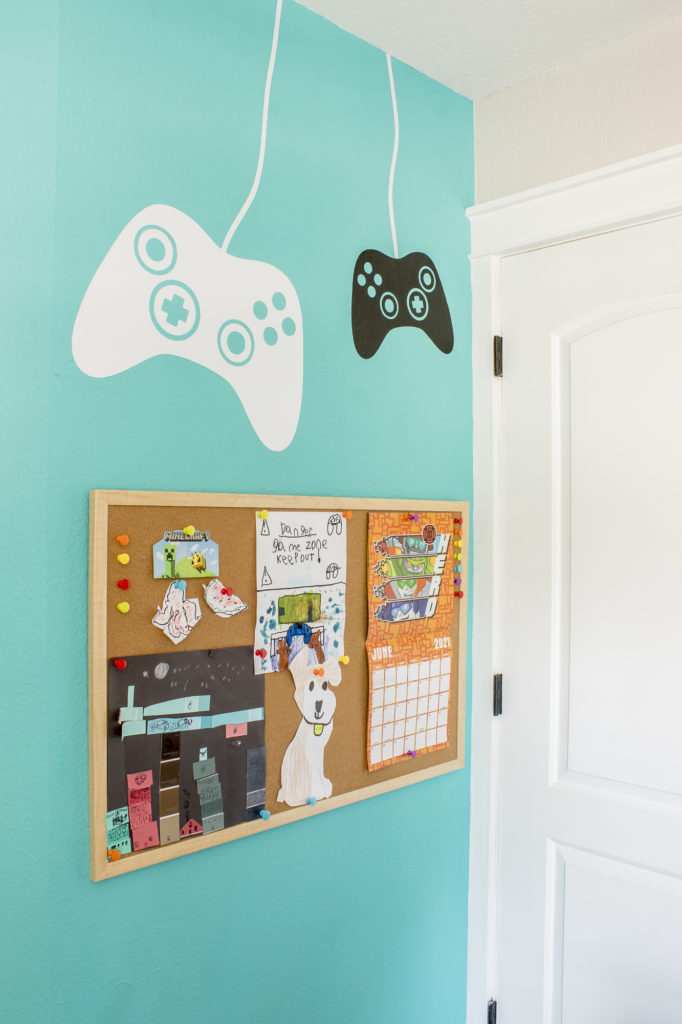
Although not in the original plans, I decided to add a loading decal and some controller decals to the walls and I really love the extra flair that they provide.
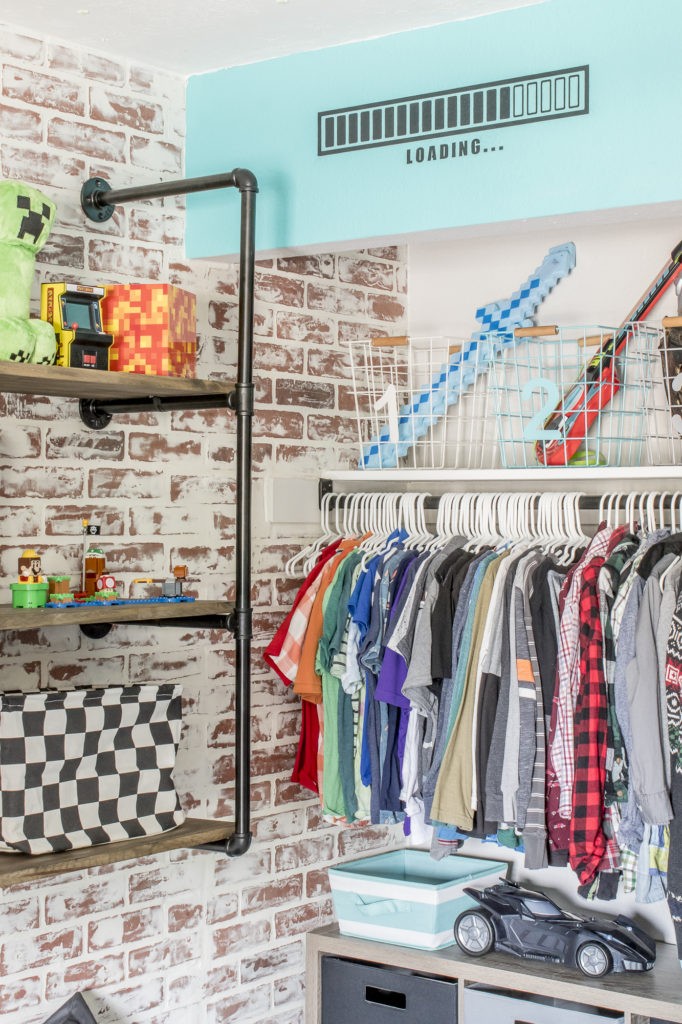
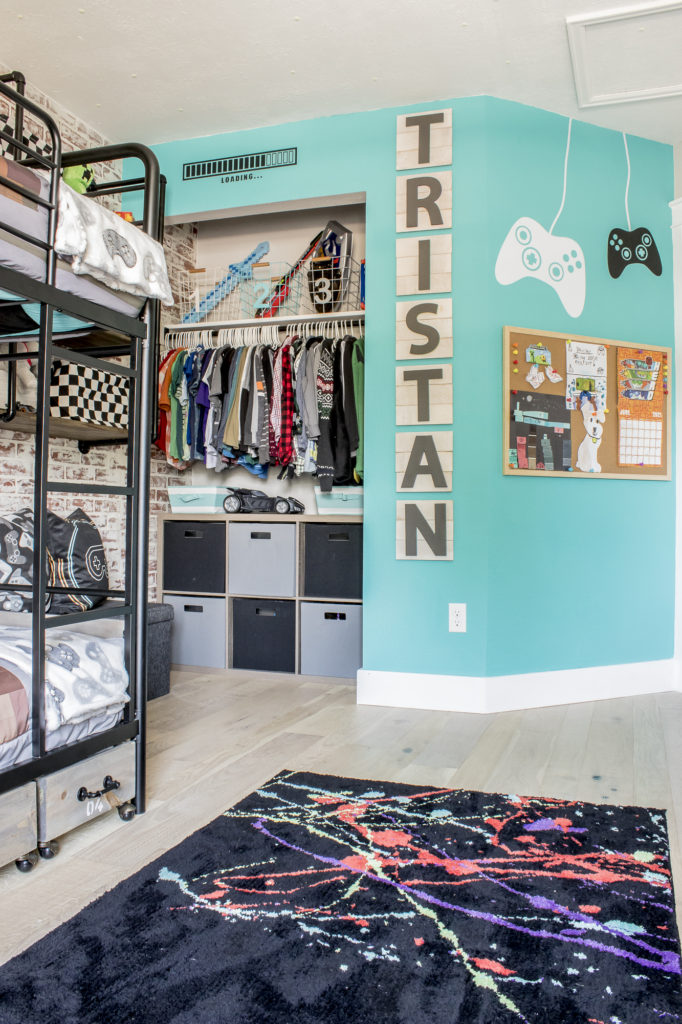
The closet is much more organized than it was. I replaced the broken bookcases with this faux wood cube storage unit and I cleared out the junk that was piled up in that back corner to keep two new rolling hampers.
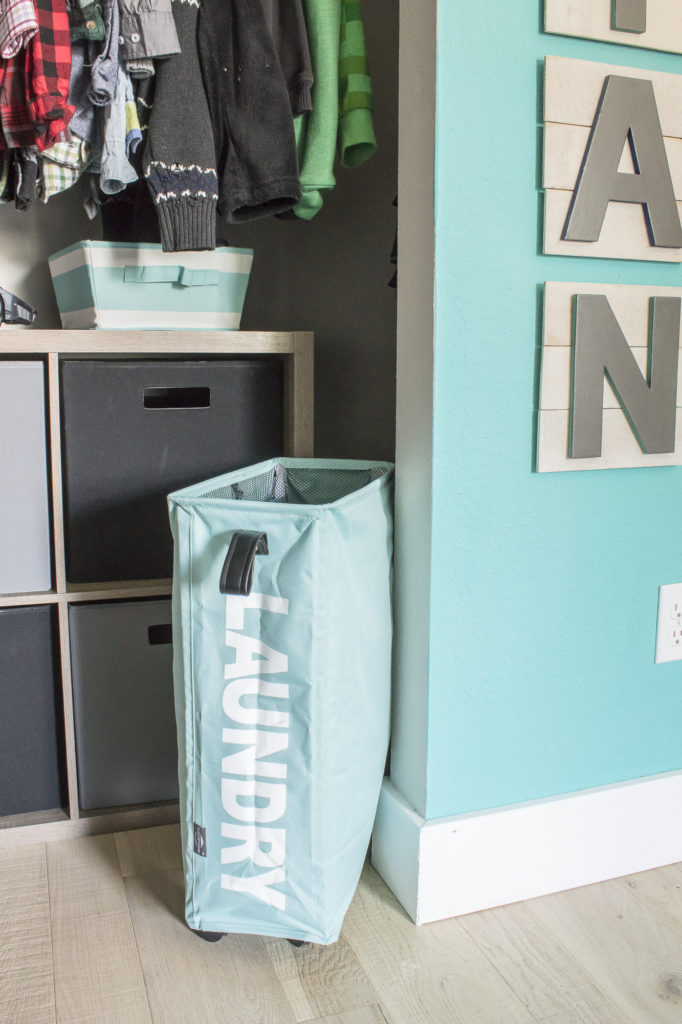
Here’s to hoping this closet can stay this clean and organized!
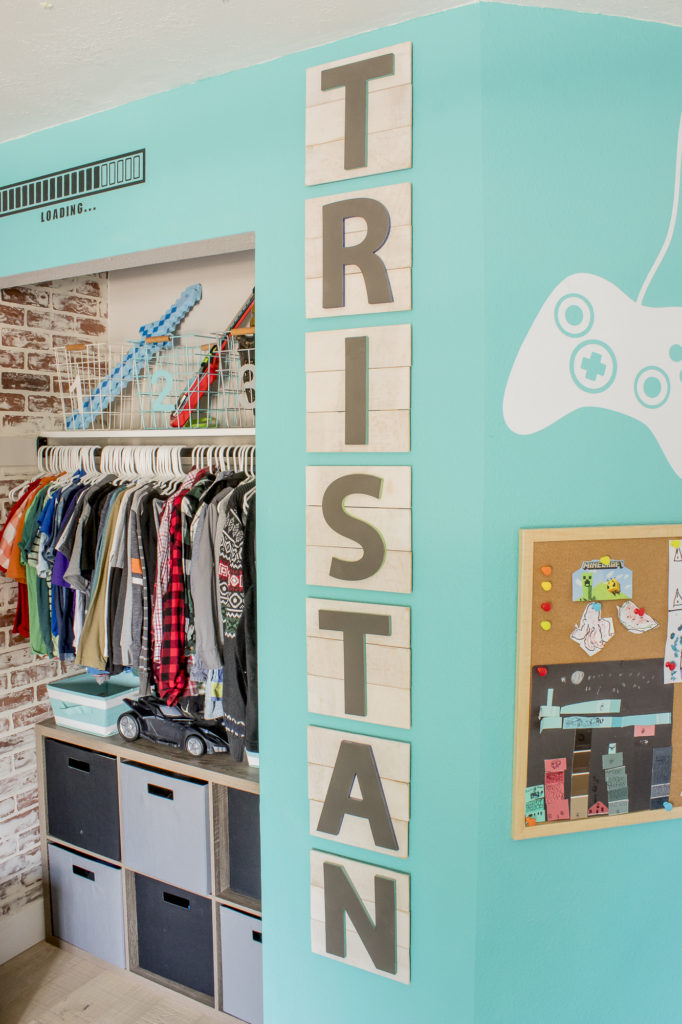
And finally, let’s swing over to the final wall.
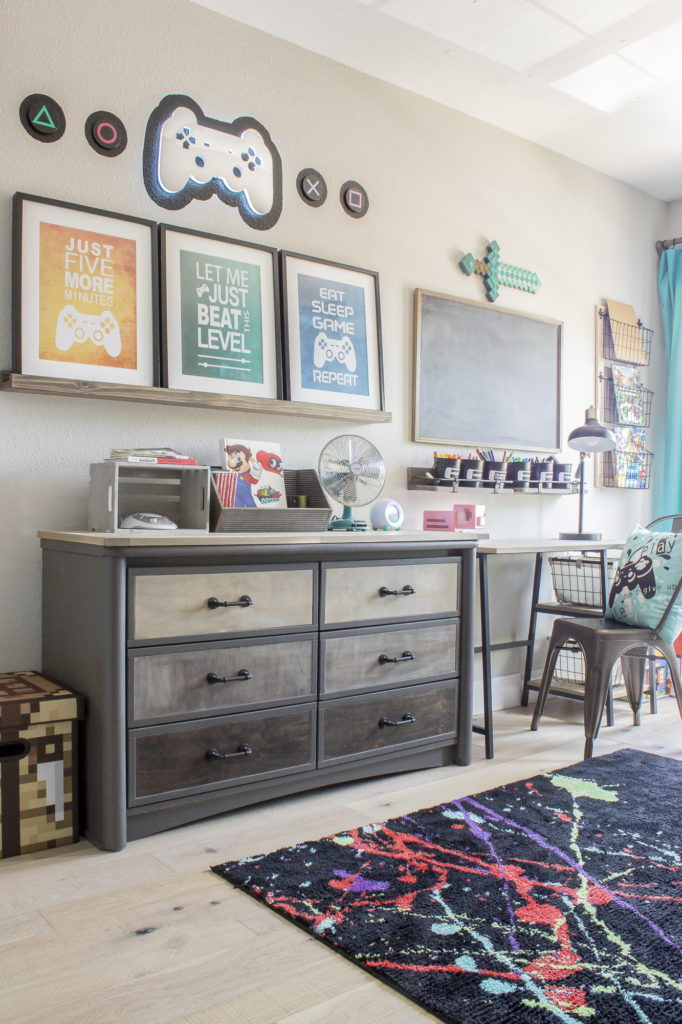
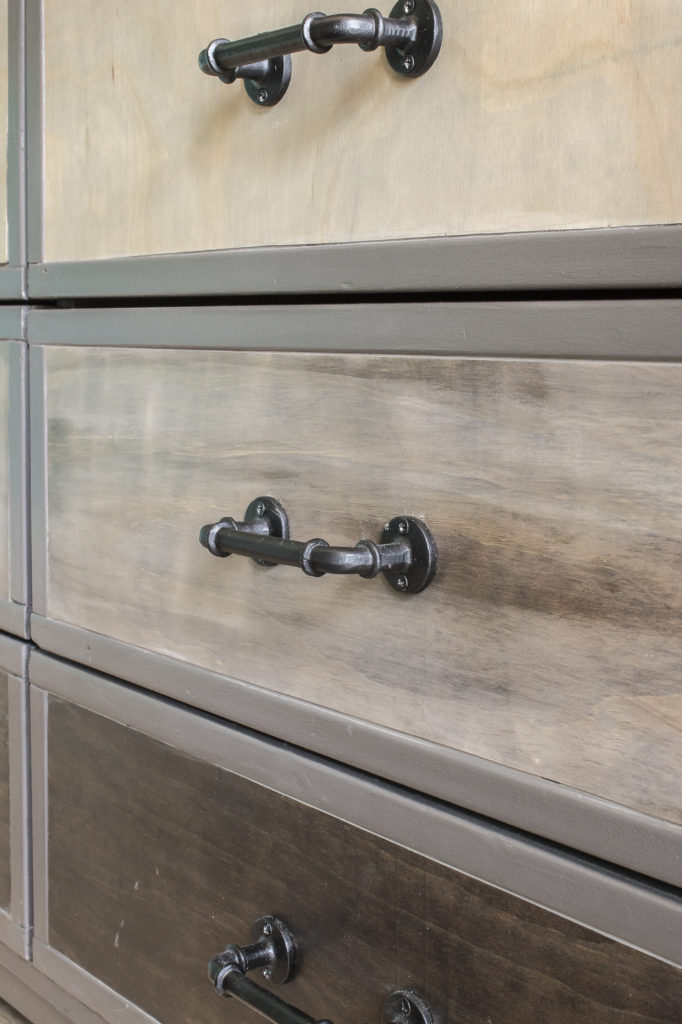
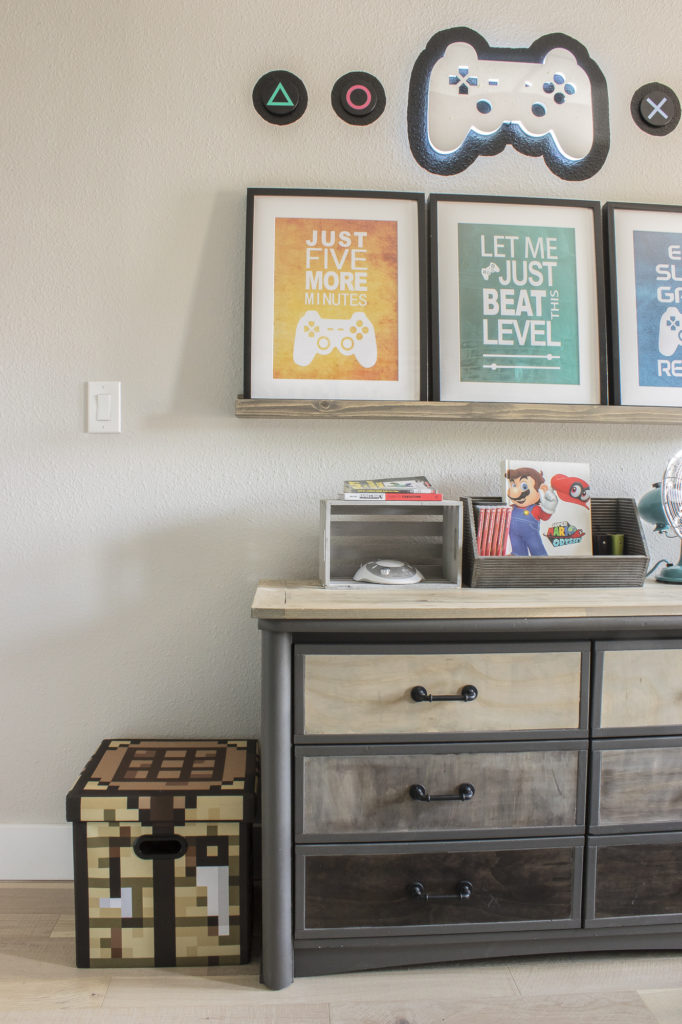
A couple of weeks ago I shared how I created this industrial style dresser out of the same dresser that he’s had since he was a baby. It was a major cost savings and I absolutely love how it turned out.
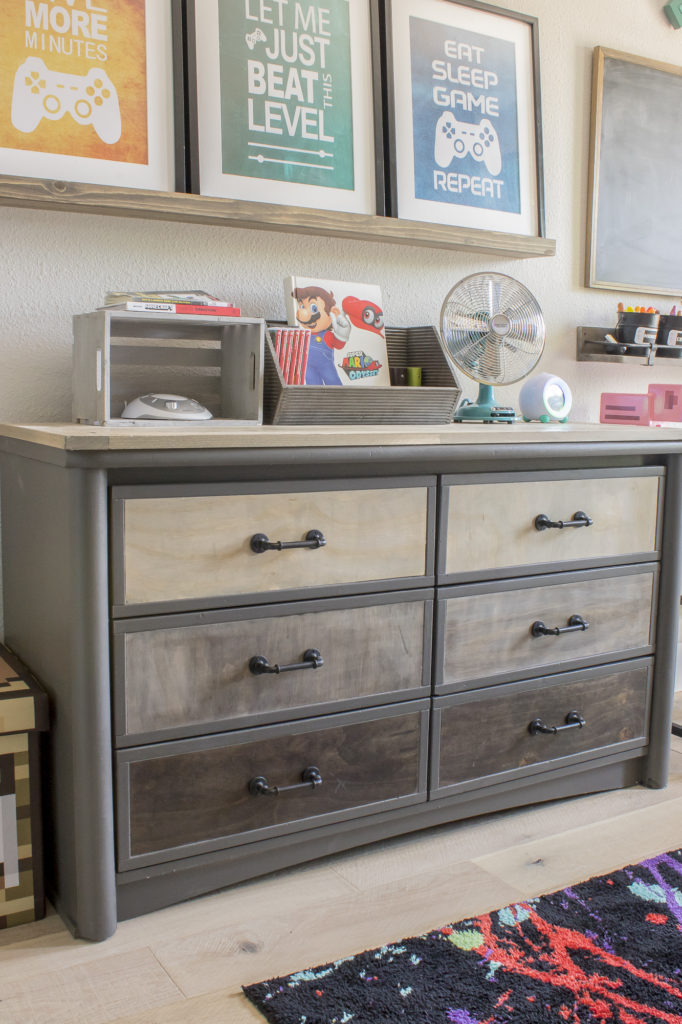
Above the dresser I built a picture ledge to hold the gamer poster set that I framed.
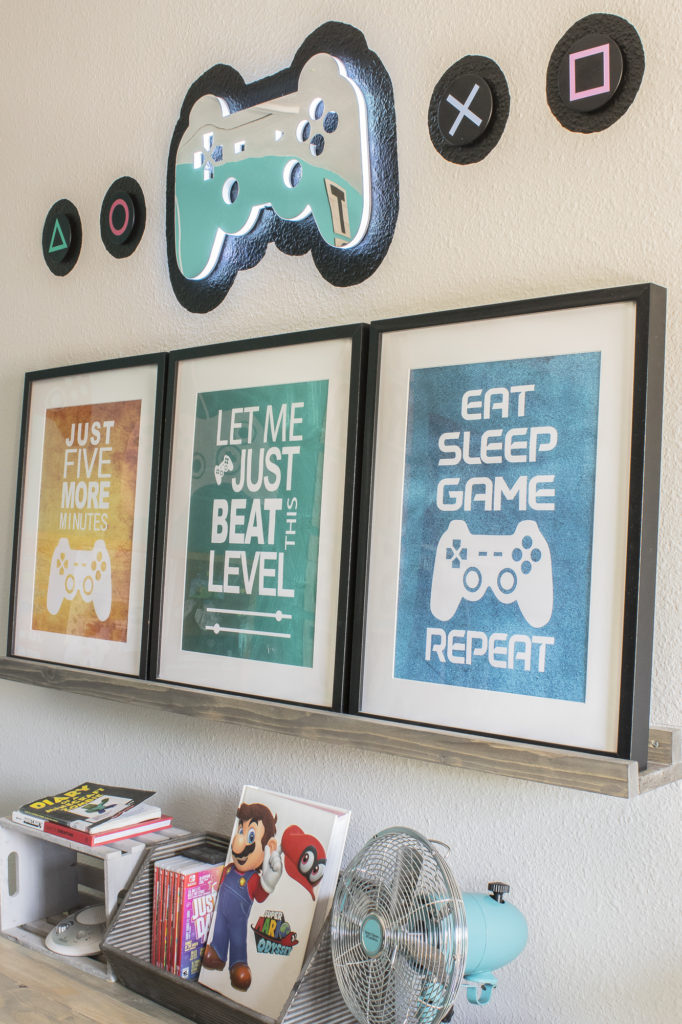
I secured each one with some twine and a drywall anchored screw since we were finding that anytime one of the boys shut their door too hard they would fall down.
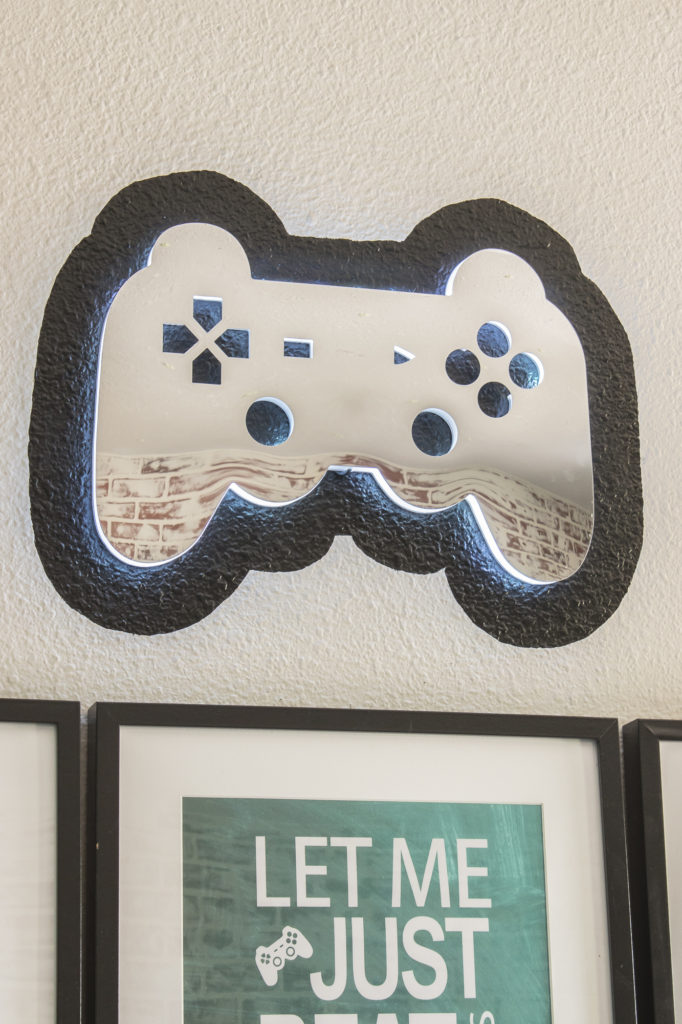
Above the posters I installed this cool color changing controller light using the same method as the wall sconces (drilling a hole and routing the wire down to come out next to the outlet).
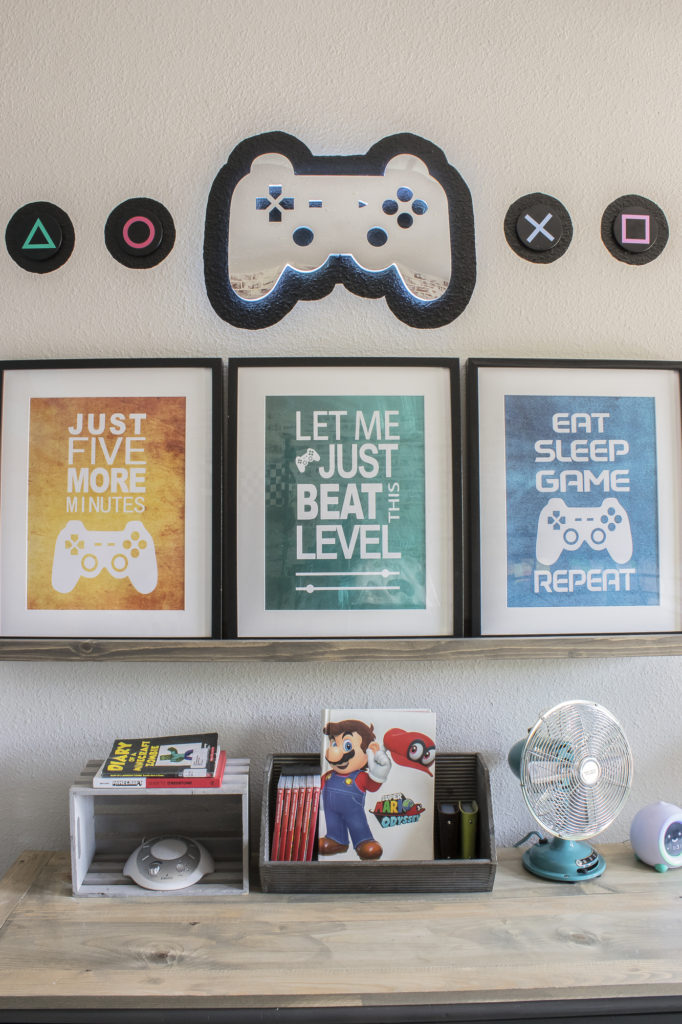
I painted an outline around it to make it stand out more and to fill out the space better.
It still felt too bare, so I decided put up some Playstation icon coasters using command strips. I also painted an outline around those.
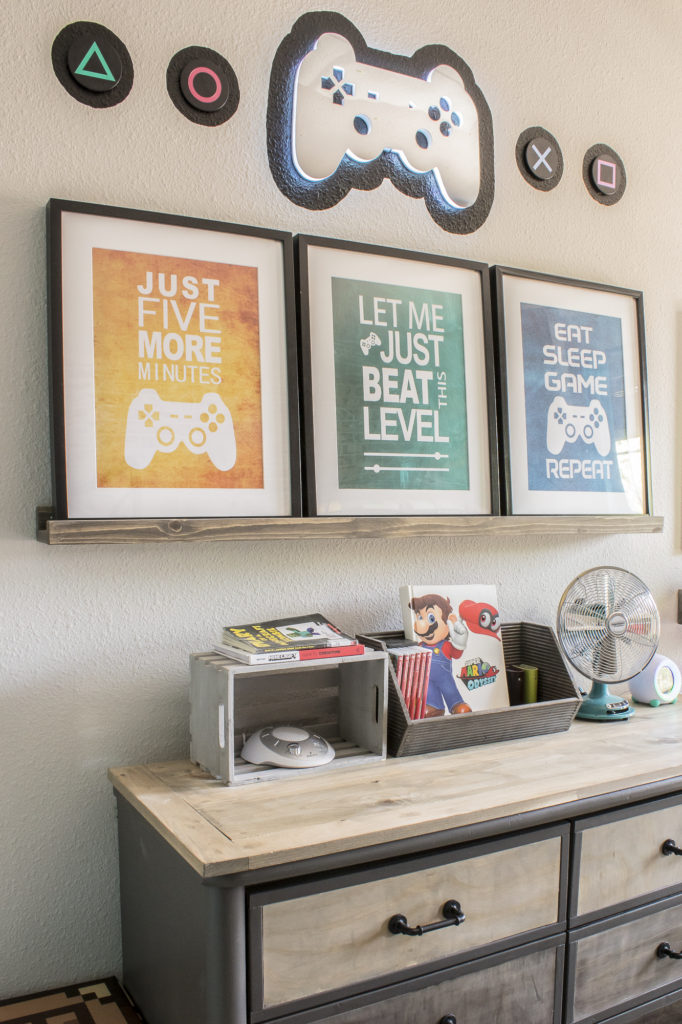
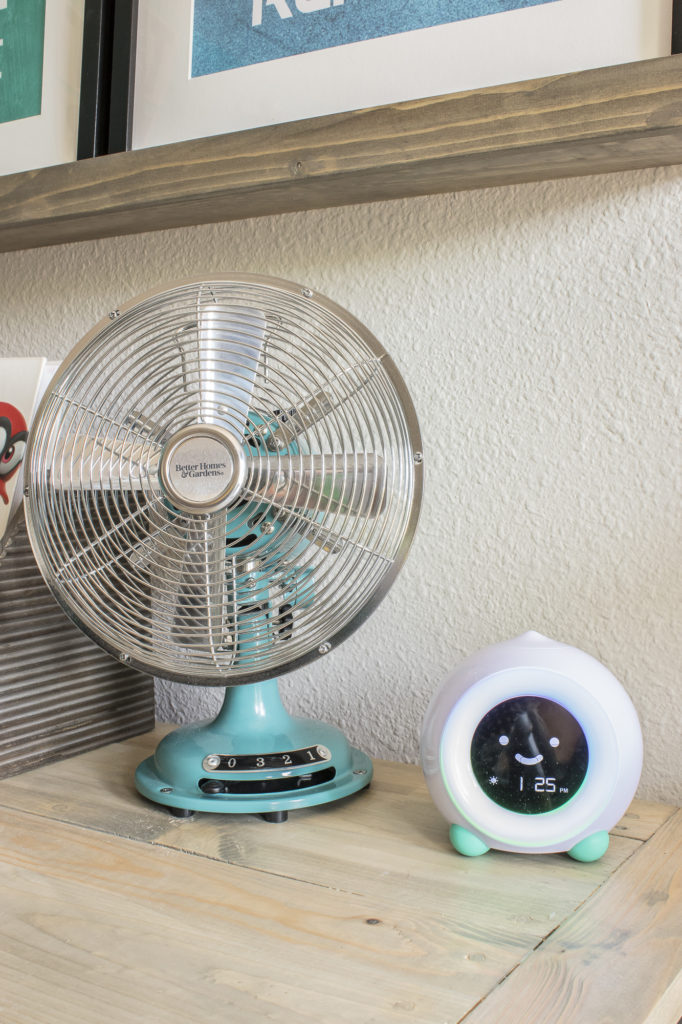
On top of the dresser I purchased a vintage style fan and Tristan requested this Melo clock that has some pretty neat features.
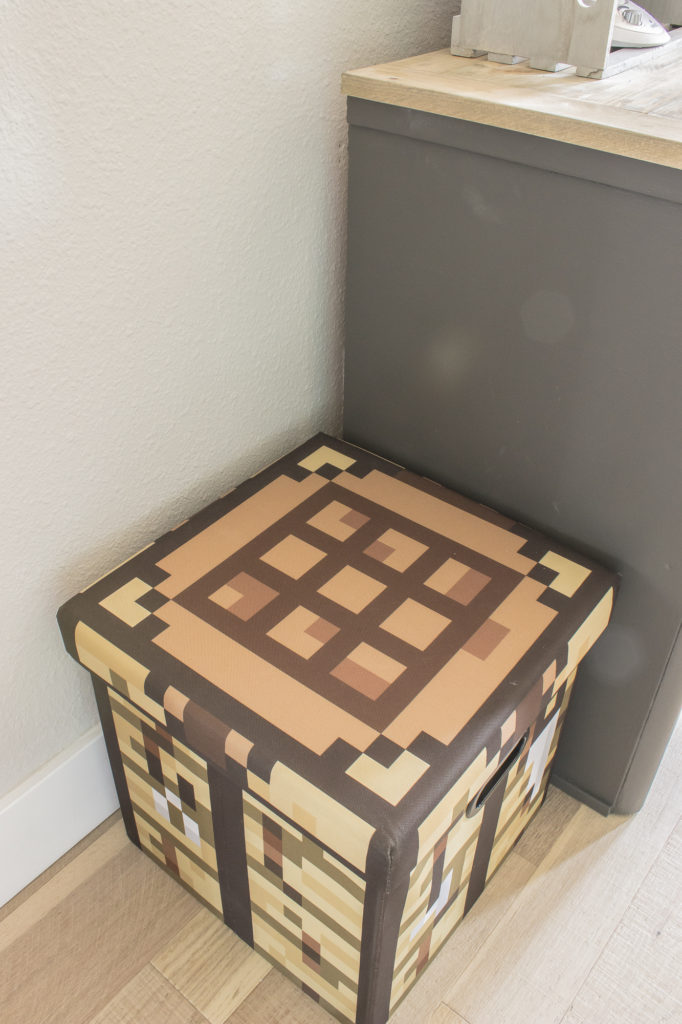
I placed this pixelated storage cube next to the dresser for added storage and seating. It’s currently out of stock, but I will try to update this page if I see it come back in.
On the other side of the dresser is Tristan’s new desk.
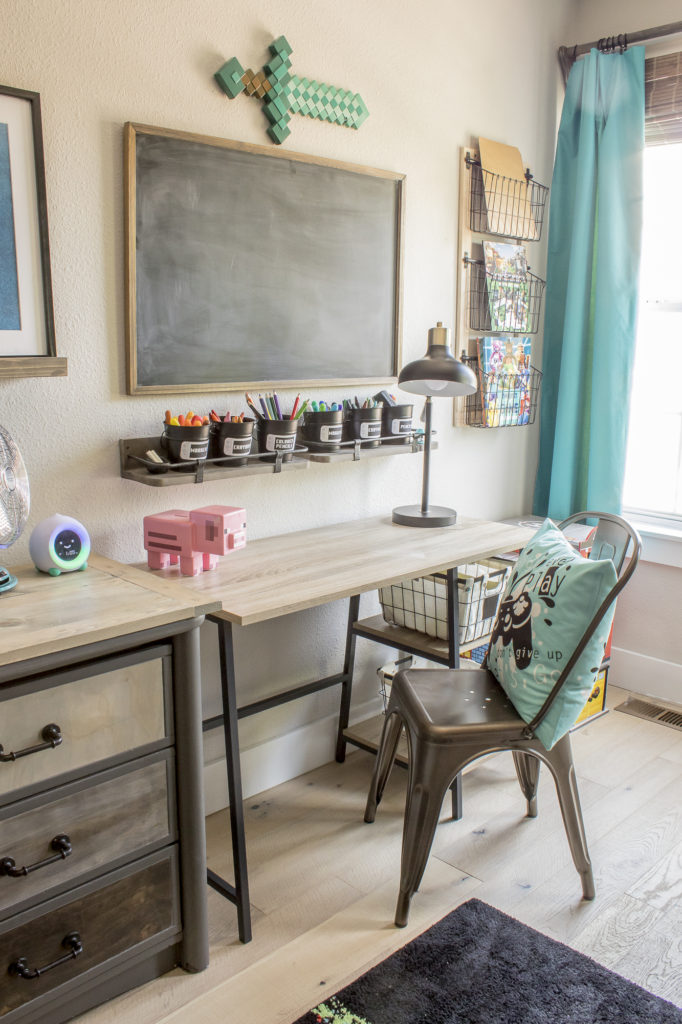
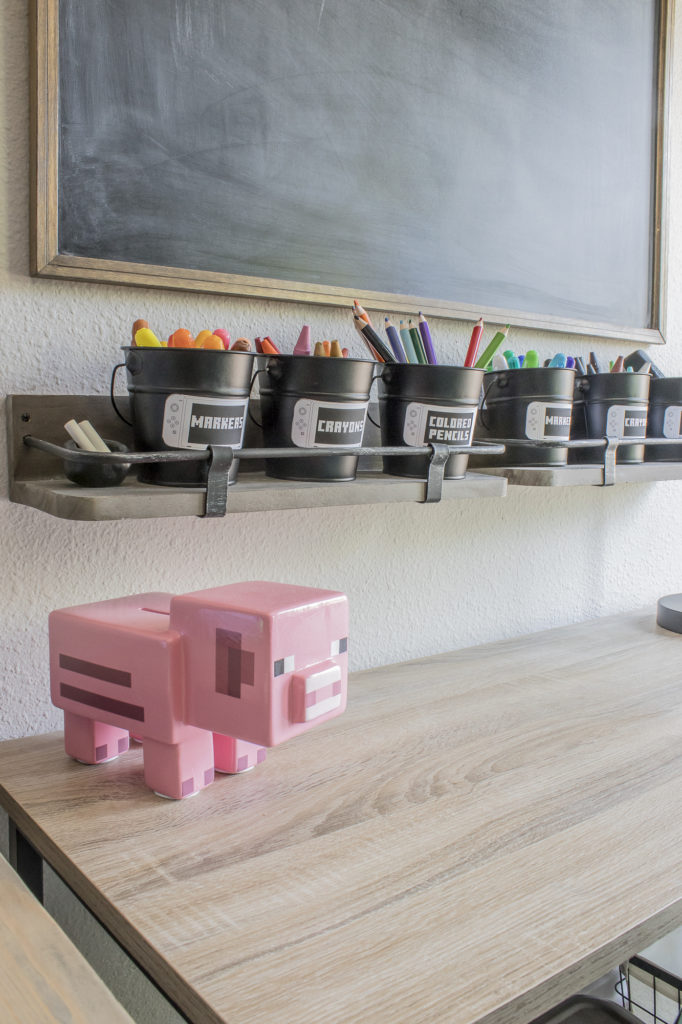
I set up a chalkboard with some shelves underneath to keep him nice an organized for homework time. The schoolhouse lamp that I chose goes with the industrial vibe and I like how adjustable it is.
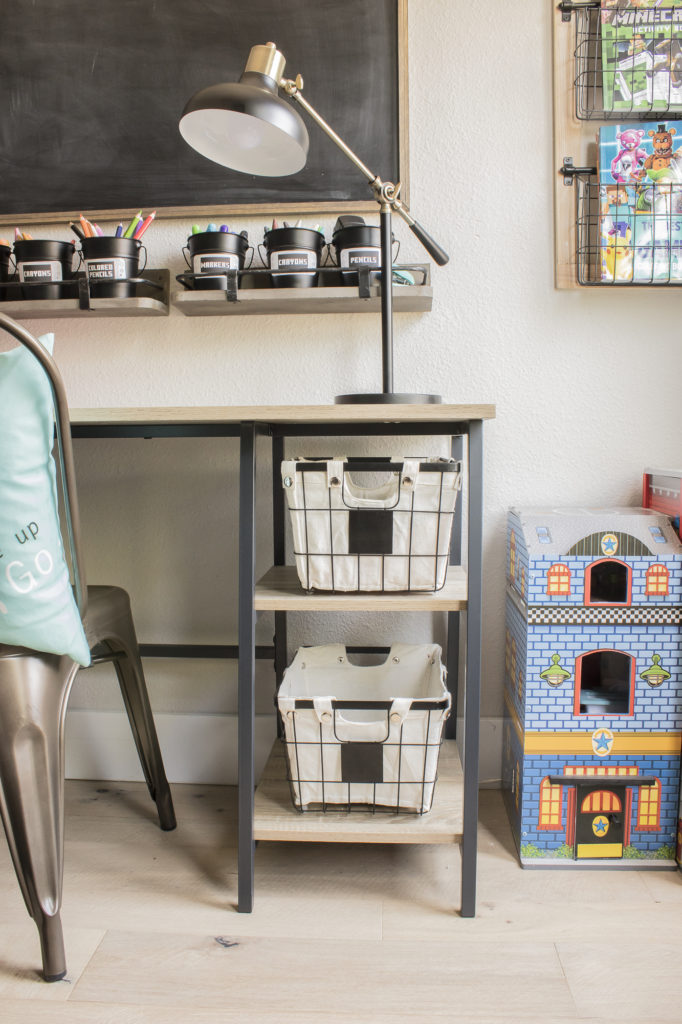
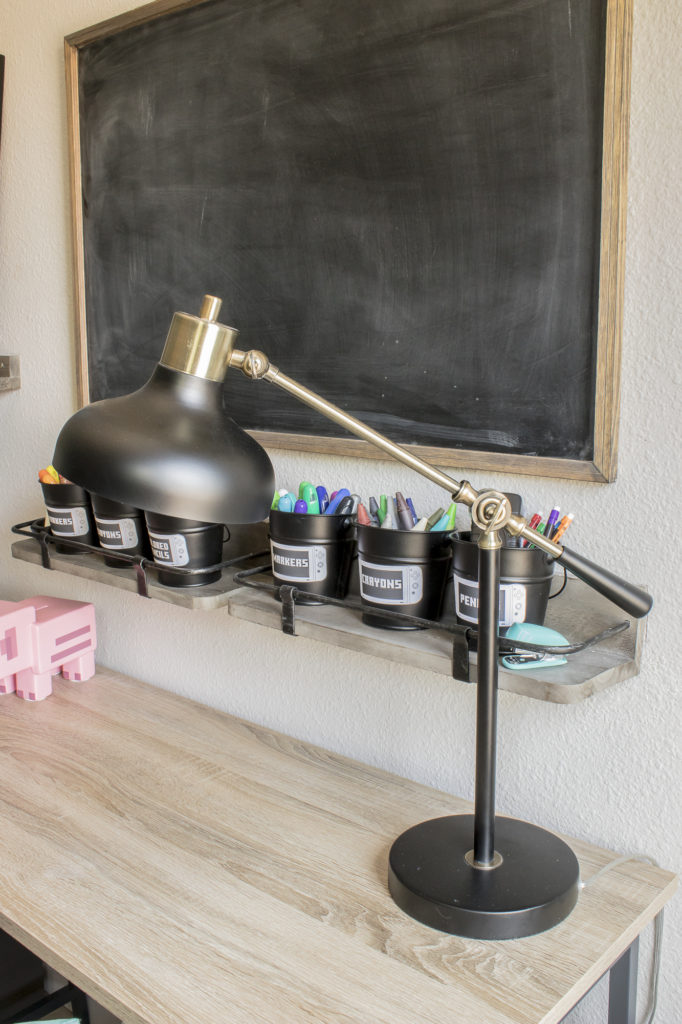
I created labels for the buckets on the shelves using Canva.com and printed them out on sticker paper.
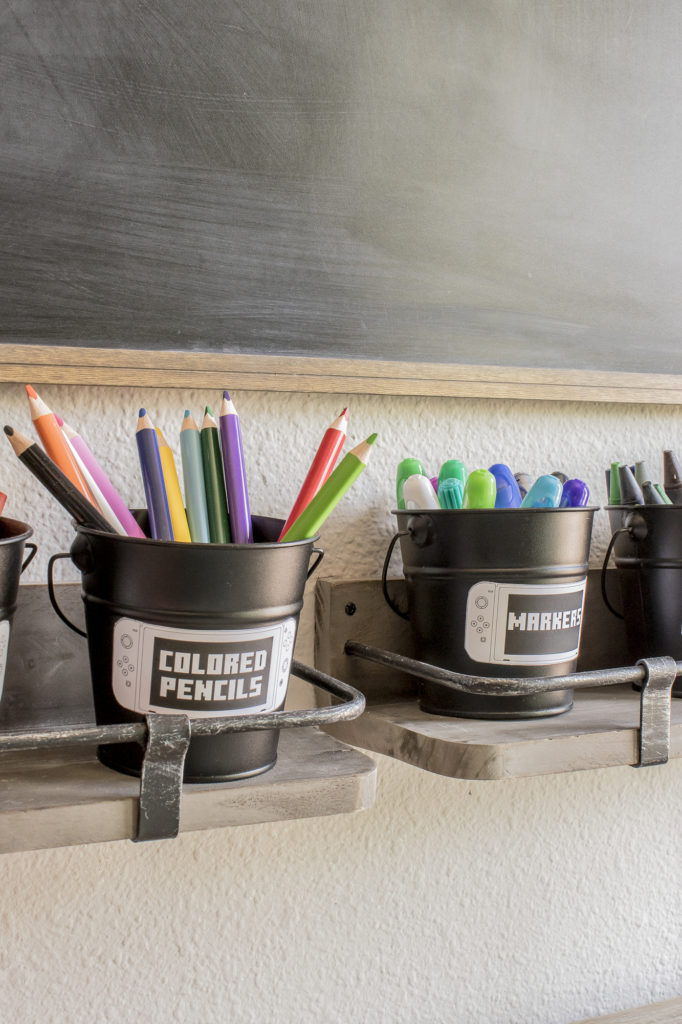
The Minecraft piggy bank was a last minute find, and I think that it looks so cute sitting here.
I found the metal chair at a local shop and then added this turquoise pillow.
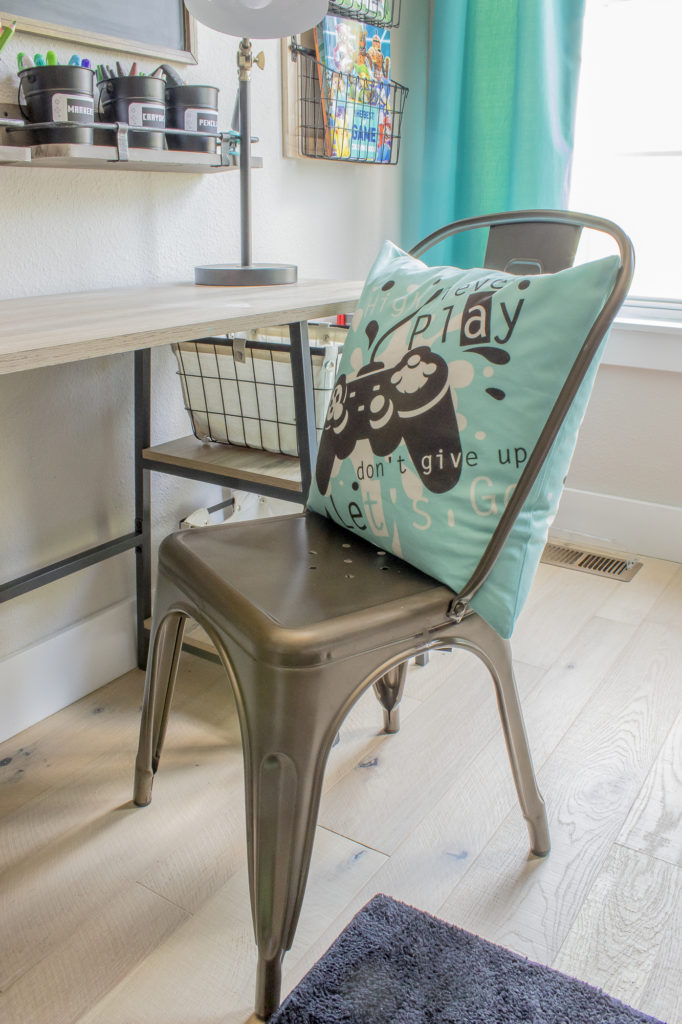
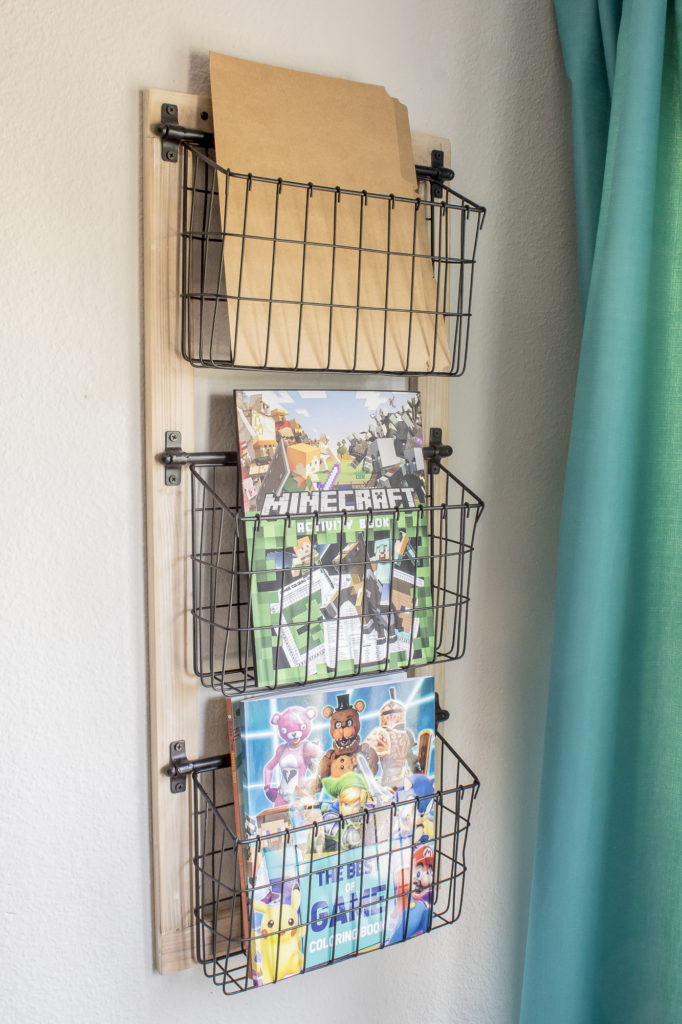
On the wall to the right I added a wall basket unit to store coloring books, activity books and blank paper.
The blackout curtains are from Target and work very well at keeping the harsh sunlight out. I also replaced the blinds with new cordless bamboo shades.
And finally, the paint splatter rug was chosen because I liked the bright vibrant colors and it reminded us of the game Splatoons.
I am so happy to see this room finally complete and it has been such a joy seeing Tristan’s face light up along the way. He actually told me that he was sad that it’s done because he liked coming home each day to see what was new haha!
Linking up to these awesome parties
PIN FOR LATER!
Sources: (Affiliate links may be provided for convenience. For more info, see my full disclosure here.)
- Minecraft comforters
- Black Wall Sconces
- Controller Throw Blankets
- Bunk Bed
- Marquee Sign
- Pipe Wall Shelving
- Gamer Sign (made, similar linked)
- Player 1 and Player 2 Signs (made inspired by these decals)
- Checkered Storage Bins
- Collapsible Storage Bench
- Black/Grey Controller Pillow
- Blue/Orange Controller Pillow
- Loading Decal
- Controller Decals
- Faux Wood Cube Storage Unit
- Rolling Hampers
- Industrial Style Dresser
- Gamer Poster Set
- Color Changing Controller Light
- Playstation Icon Coasters
- Vintage Style Fan
- Melo Clock
- Desk
- Schoolhouse Lamp
- Minecraft Piggy Bank
- Turquoise Pillow
- Wall Baskets
- Blackout Curtains
- Bamboo Shades
- Paint Splatter Rug
What a fun space!! I’m sure your “gamer” loves it!!!!
Oh!! Love the industrial yet still kid-friendly feeling of this! Tristan must LOVE it!!!
Love it! I’ll be featuring you this week at the To Grandma’s house we go link party!
WOW WOW WOW. You thought of everything! I know your kids must love this new space. Great job!
Thanks so much for joining the Grace at Home party at Imparting Grace. I’m featuring you this week!
Love this makeover! You put so much thought and creativity in to every little detail and it shows! I know the kids are excited for this room. Congratulations and getting it all done.