
Wow, I can’t believe that it’s already week 4 of the One Room Challenge! In case you’ve missed any posts along the way you can catch them all here:
- One Room Challenge (Week 1): Gamer Bedroom Plans
- One Room Challenge (Week 2): Wall Paint
- One Room Challenge (Week 3): Starting the Brick Wall
We are officially at the halfway point now. When I first heard that the challenge this season was being extended to 8 weeks, I didn’t think that I was going to need those additional 2 weeks. And while I think that I potentially could wrap this up in 2 weeks, I’m very happy that I have a little extra time because I think I will definitely it.
I have been quite busy over the last week and I have a lot to update you on so let’s get right to it!
Last week I shared how the faux brick wall was starting to come along and I’m excited to announce that as of last night it is officially DONE. After all of the panels were installed last week, I started on the German schmear effect.
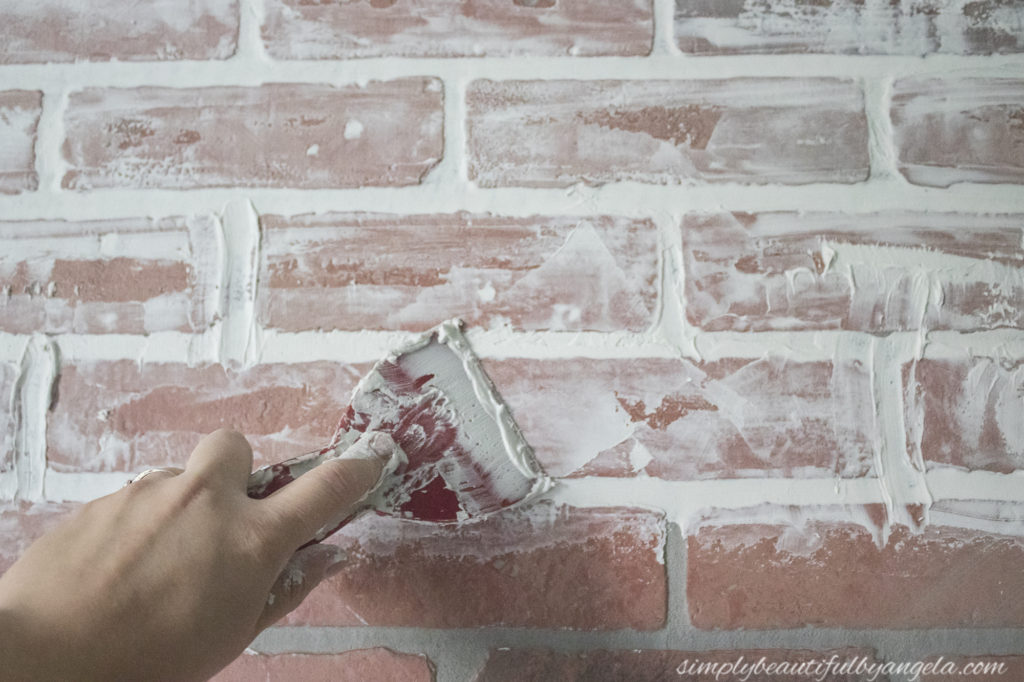
I found that the process was actually very easy and kind of fun. I did run in to one small hiccup though. After I ran out of my first container of what I thought was “joint compound” I noticed that the new stuff had a completely different color!
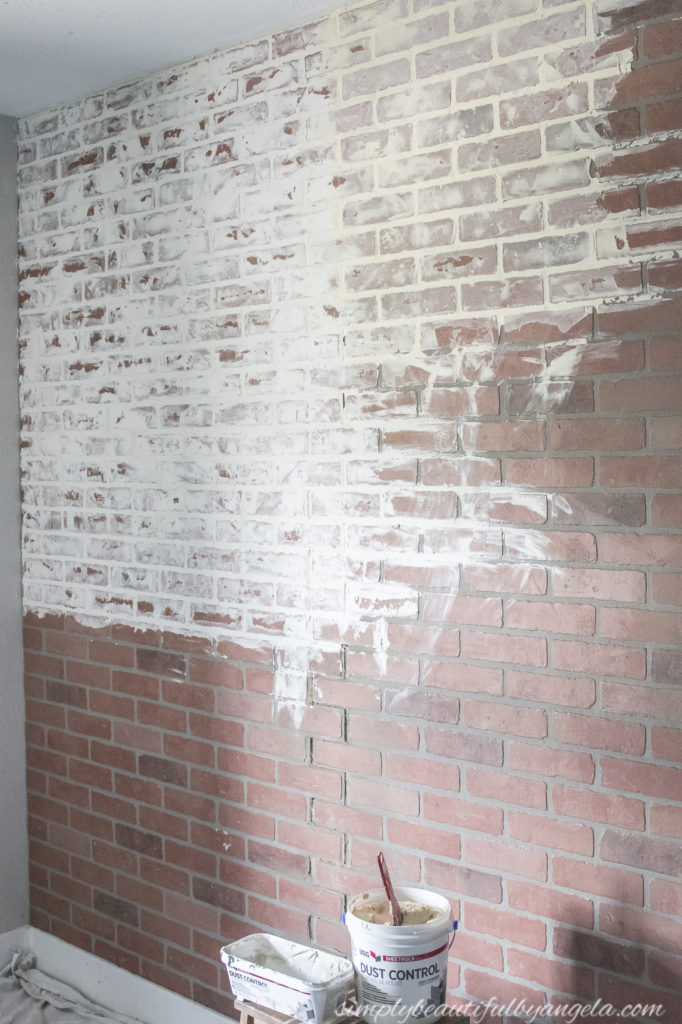
After looking more closely, I realized that the first container was “patch and repair” and the second was “joint compound” and apparently these are completely different things! So I wiped all of the joint compound off and went back to the store for more of the other stuff since I didn’t want to risk it drying differently.
I sanded it down once it was dry and went back over the seams a couple of times. Here is a picture I snapped prior to sealing it.

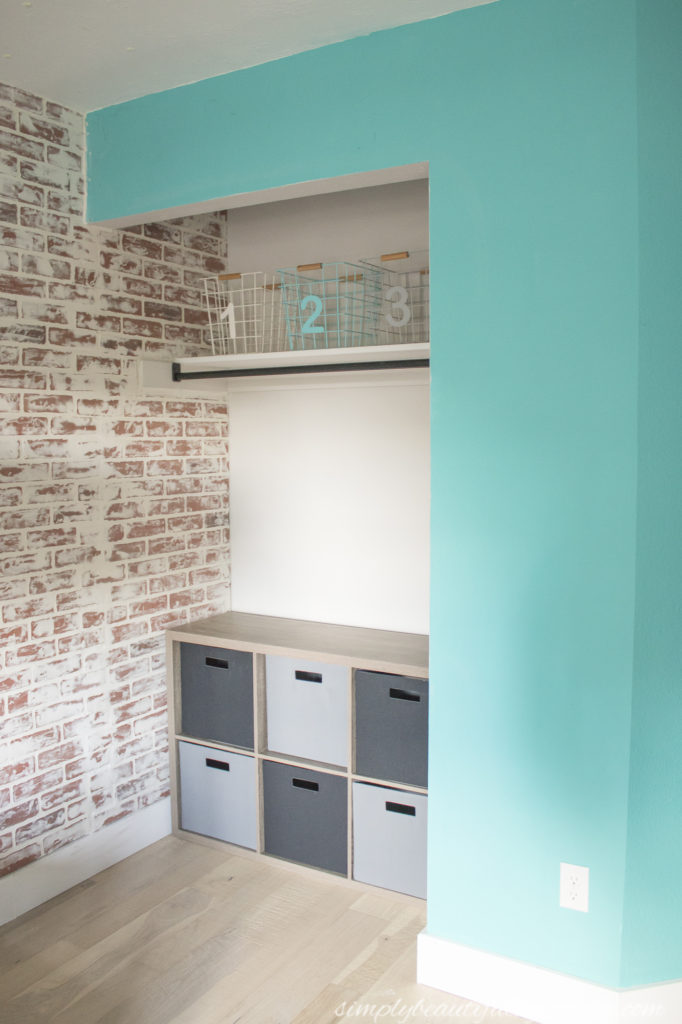
I also finally tackled the closet which I had been severely dreading! This picture was taken a couple of weeks ago, and as the work in here continued it got more and more overrun with stuff.
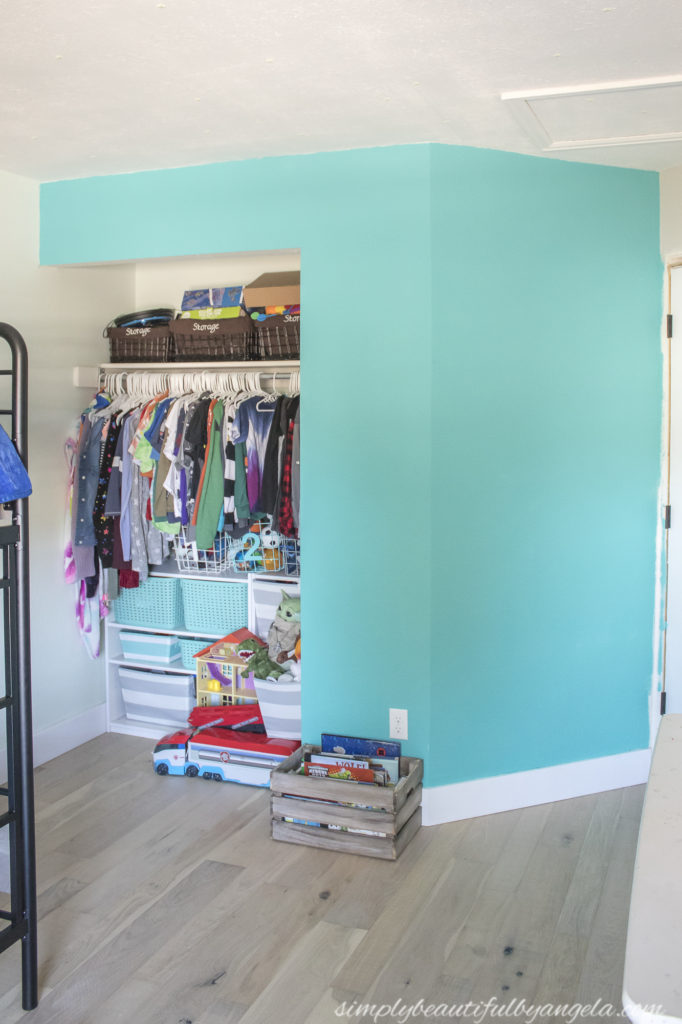
I moved it all out so that I could paint the walls and the shelf. I even took down the bar and spray painted it black.
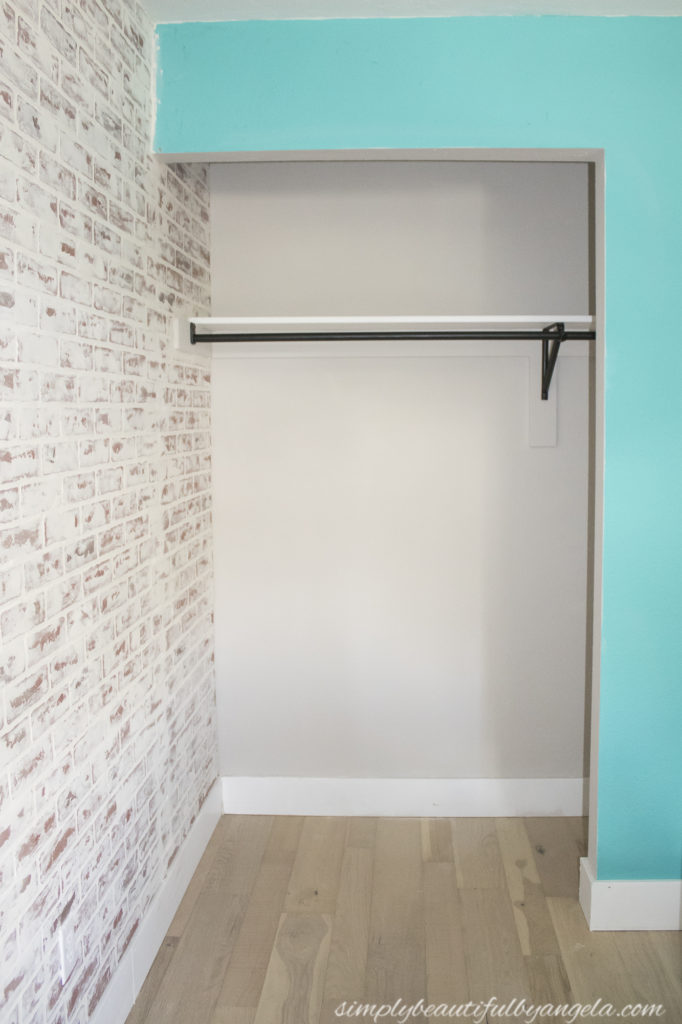
I then assembled the new storage cubbie unit and my goal for today is to get all of his things that have been temporarily crammed into Lucas’ room moved over and organized in here.
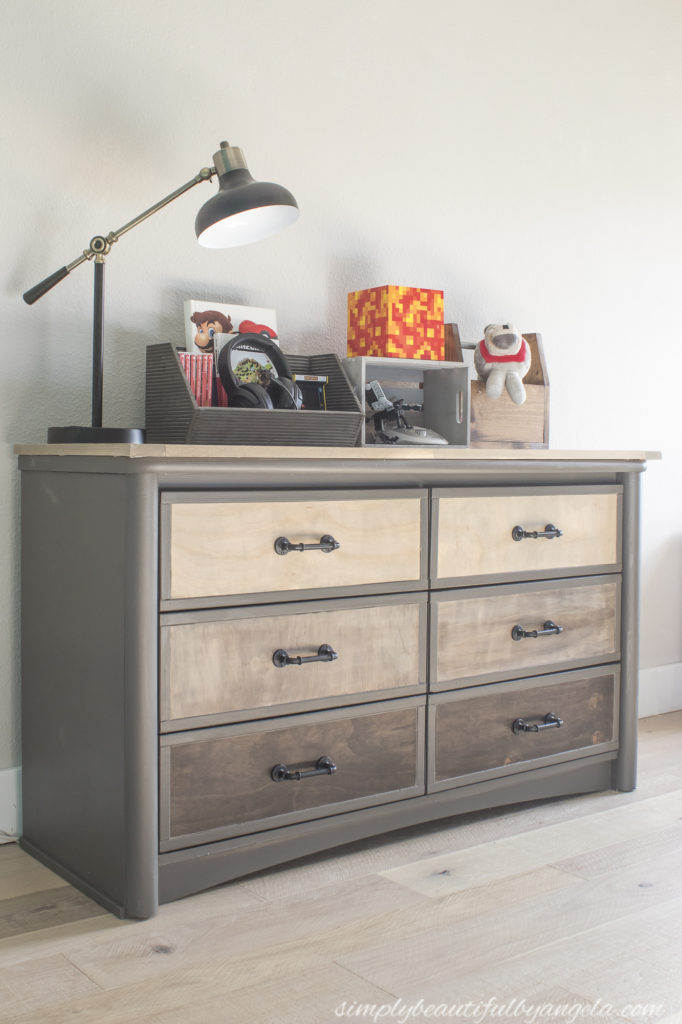
And finally, I finished the dresser makeover! I am going to be sharing a full tutorial on it tomorrow for this month’s Thrift Store Challenge, but here is a sneak peek of how it turned out.
Now that the bigger projects are coming to a close it’s time to start adding the small but fun details. See you all next week!
(Affiliate links may be provided for convenience. For more info, see my full disclosure here.)
Linking up to these awesome parties
Hi Angela,
You’re doing great so far! Your wall and dresser look fantastic. Good luck on the next half of the challenge. 👍
-Amanda
Amanda Sosnowski Interior Design
Love how the brick turned out!