
Hey everyone, welcome to week 3 of the One Room Challenge. This past week was insanely hectic and flew by so fast that I feel like I blinked and it was already time for me to do an update post! In case you’ve missed any of the posts so far for this season you can catch up here:
Last week I mentioned that we had been getting hit with a lot of rain and even some snow, which left it impossible to start cutting the brick wall panels outside. It warmed up towards the end of the week, however by then I was busy preparing us for our trip to Vegas. By the way we had an absolute blast and I didn’t realize how much needed a vacay was it was until we actually left for the airport!I
We got home late Monday night and I spent yesterday catching up with life (unpacking, meeting with an appraiser for an insurance claim, picking up the cat etc.) However today is a nice warm sunny day so I was finally able to get started!
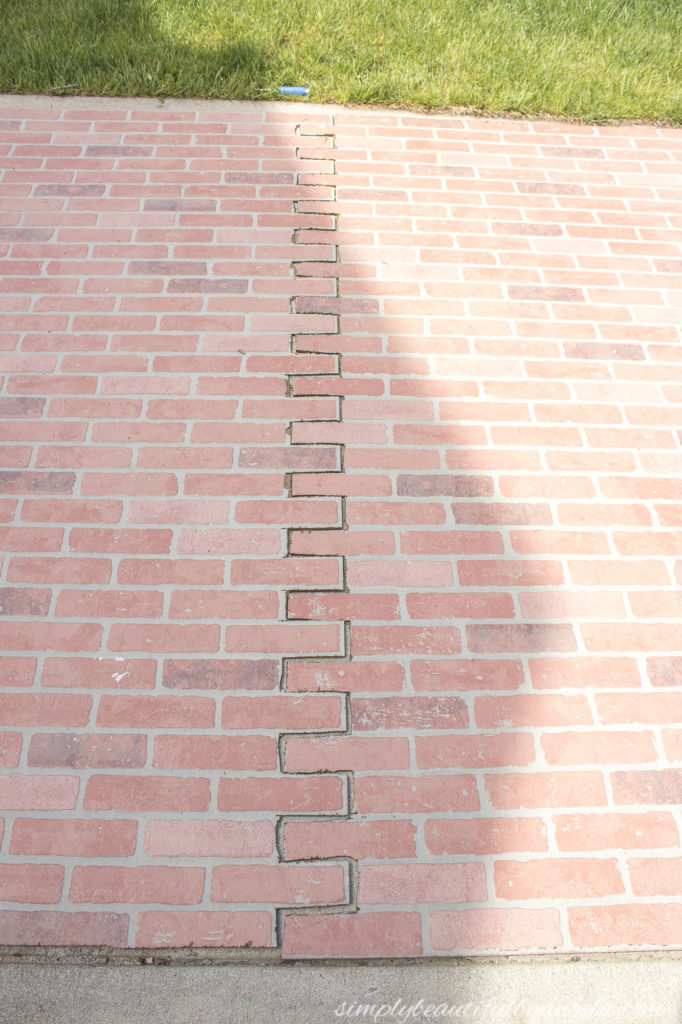
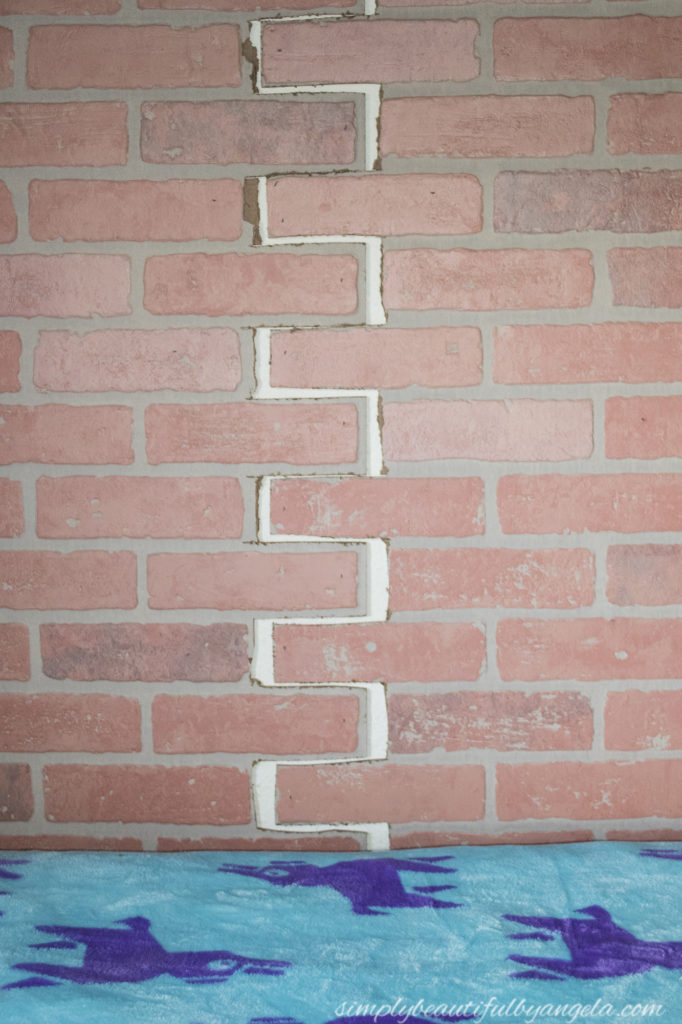
I’ve read a fair amount of tutorials on doing a faux brick wall and everyone tends to have their own method. Some will join the panels flat up against each other and others use a jigsaw to make them puzzle together. I wanted to avoid seams as much as I could, so I chose to go with the jigsaw method.. Truthfully, this was a little more difficult than I had imagined it would be! I started by cutting around only the brick.
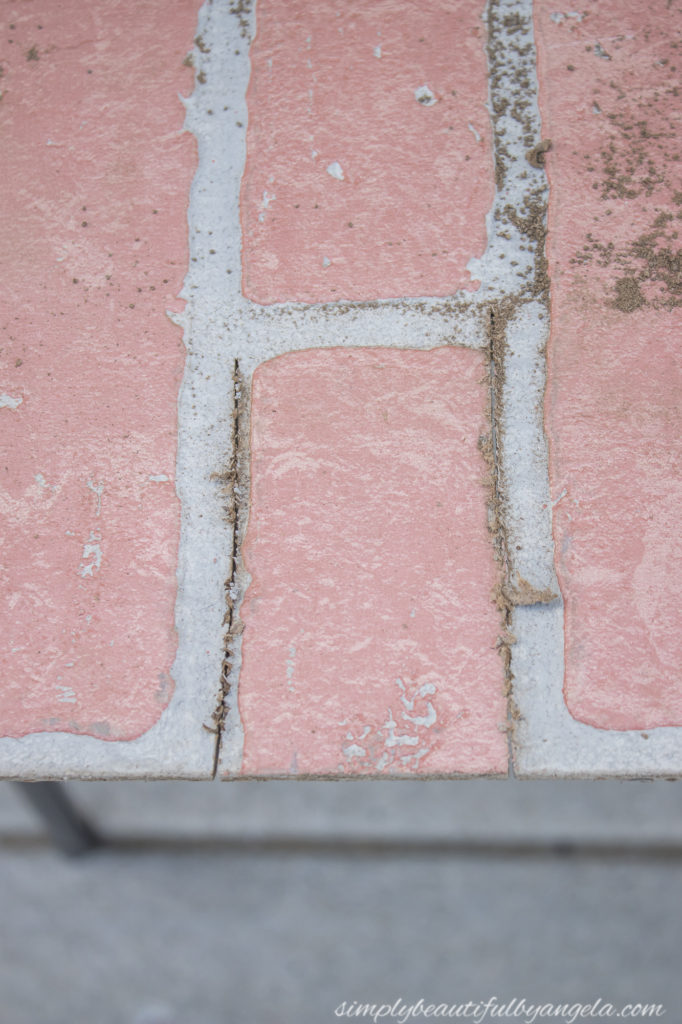
However I quickly realized the difficulty of getting them to fit together by doing it this way. So I switched over to cutting outside the grout lines. I used the jigsaw on each side and then was able to just snap the last side off with my hand.
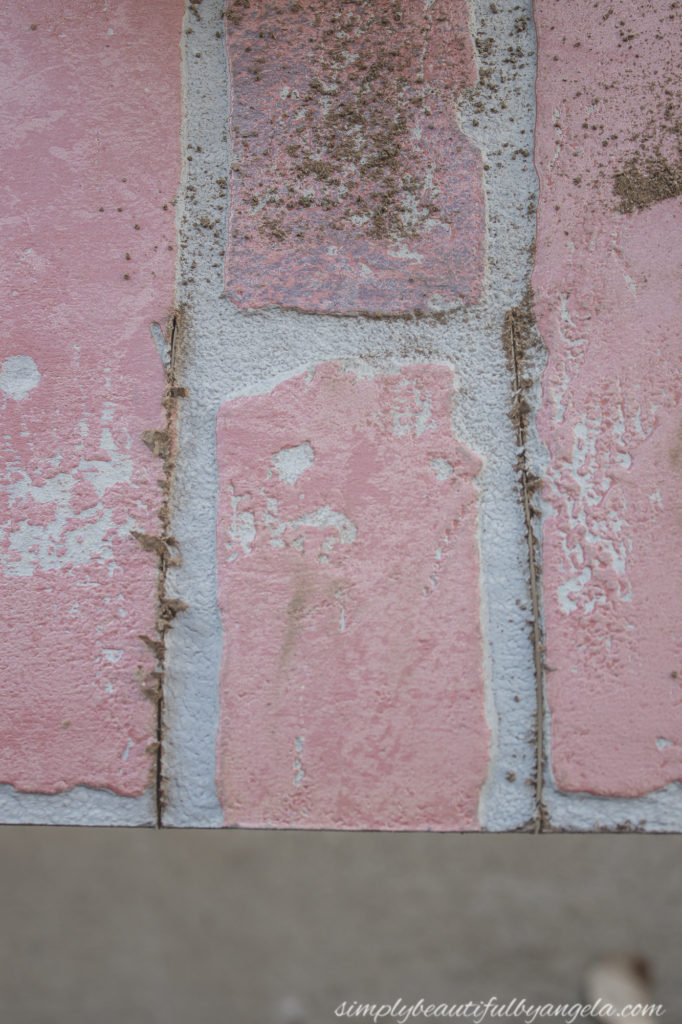

This method ended up working much better, although it still took some working with to get them to fit together.
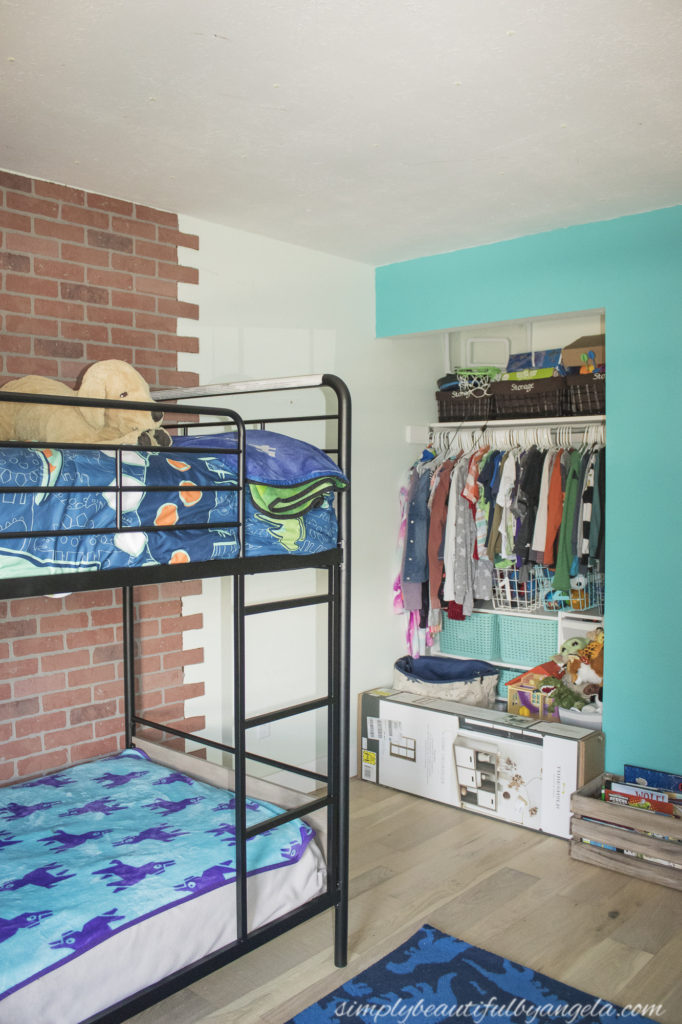
I was able to get the first two panels up before snapping these pictures.
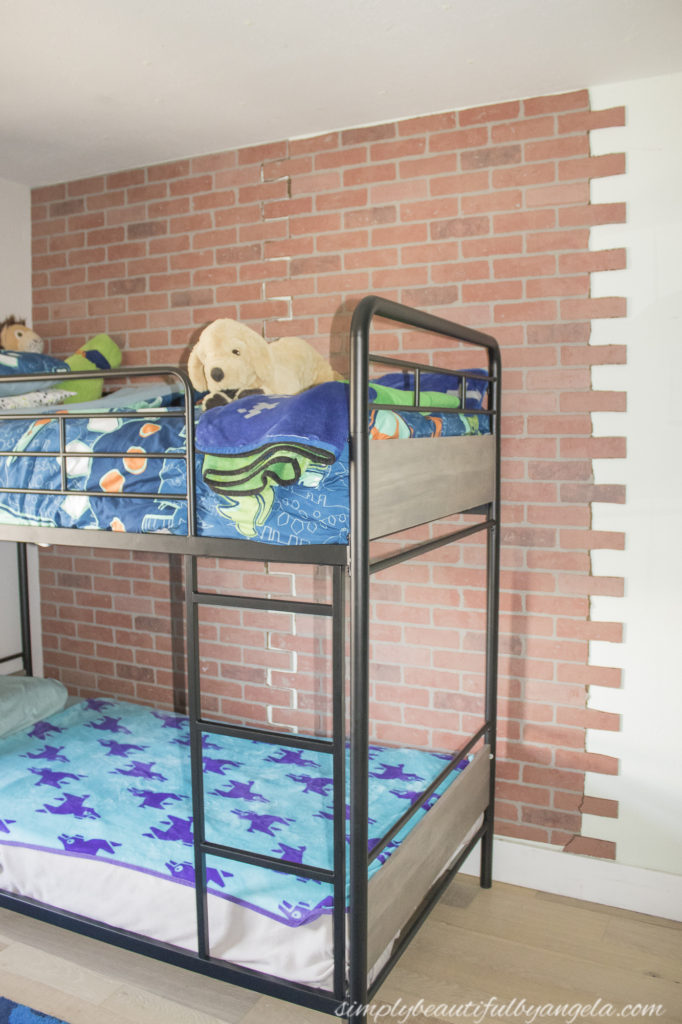
It’s so exciting to see this wall finally start to come to life! Since taking these pictures I was able to get the last two panels up. Although that last one was an absolute bear to cut around, it was so worth it because it looks phenomenal!
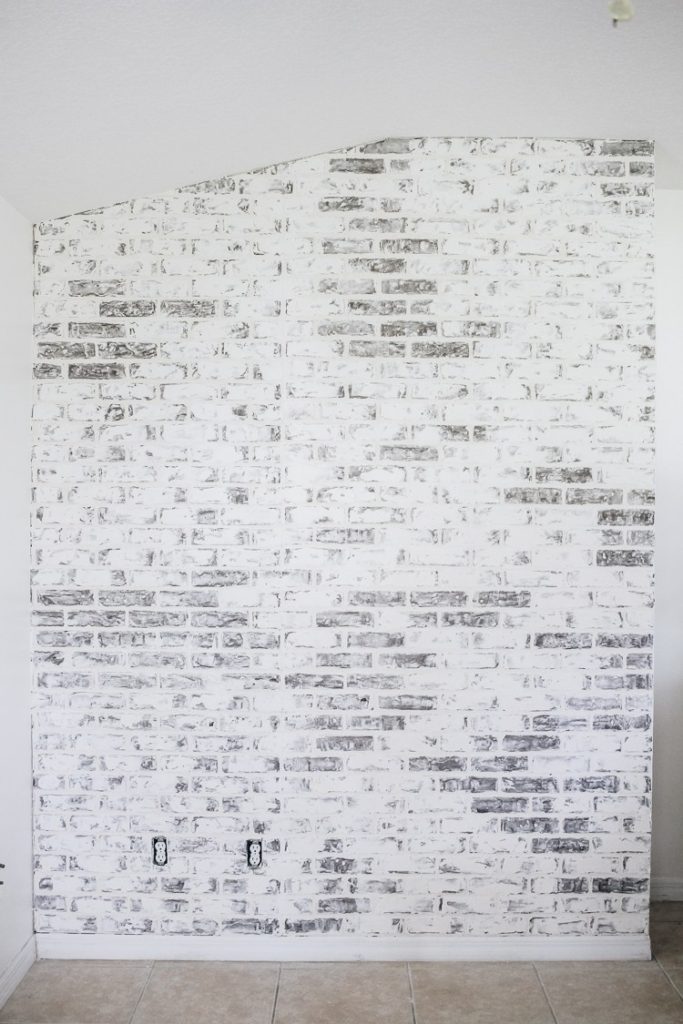
Tomorrow and Friday I am going to work on adding cement in the gaps that I pieced together and will finish it up with a coat of joint compound to give it a nice German schmear look like this.
I am really hoping that it helps hide the gaps between the panels. I am thinking about adding some concrete first because I think that may help a little.
Over the weekend I am hoping that I am able to work on the dresser makeover. Things are moving right along and slowly but surely it’s starting to come together. Thanks for stopping by, I’ll catch up with you guys next week.
(Affiliate links may be provided for convenience. For more info, see my full disclosure here.)
Linking up to these awesome parties
I love this wall idea. Can’t wait to see it all schmeared up!