Hey guys! Soooo remember back in June when I shared Tristan’s gamer theme room reveal and I promised to share a tutorial on the rolling storage boxes under the bed soon? I may have gotten a little sidetracked, but today I am finally going to do so!
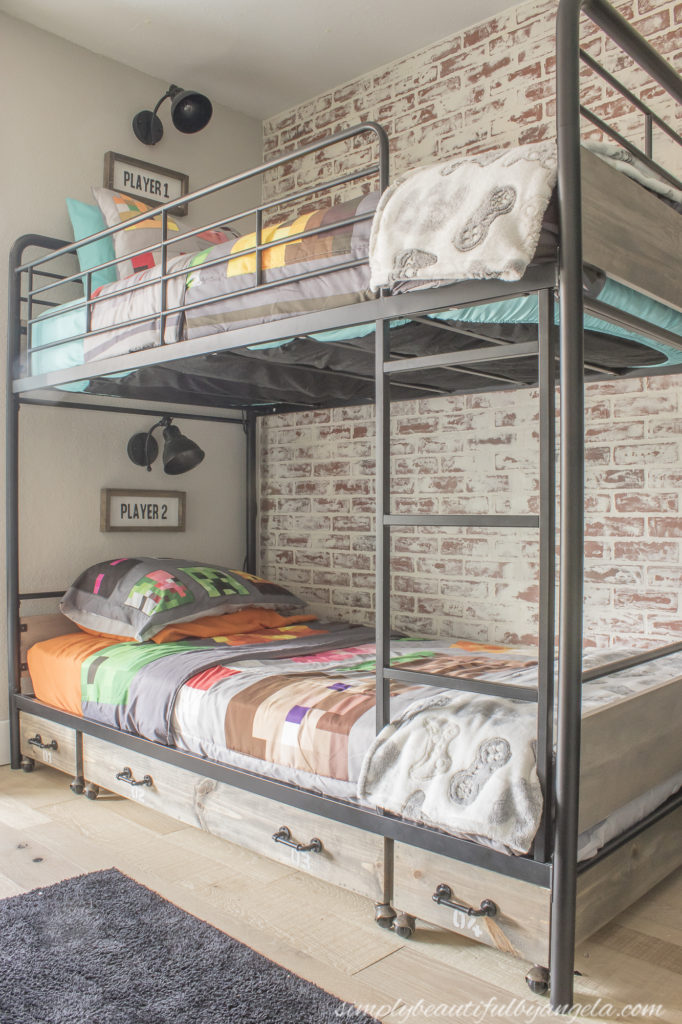
As you may recall, when we first set up the new bunk beds there was open space underneath that couldn’t be hidden with a bed skirt due to the mattress support rails.
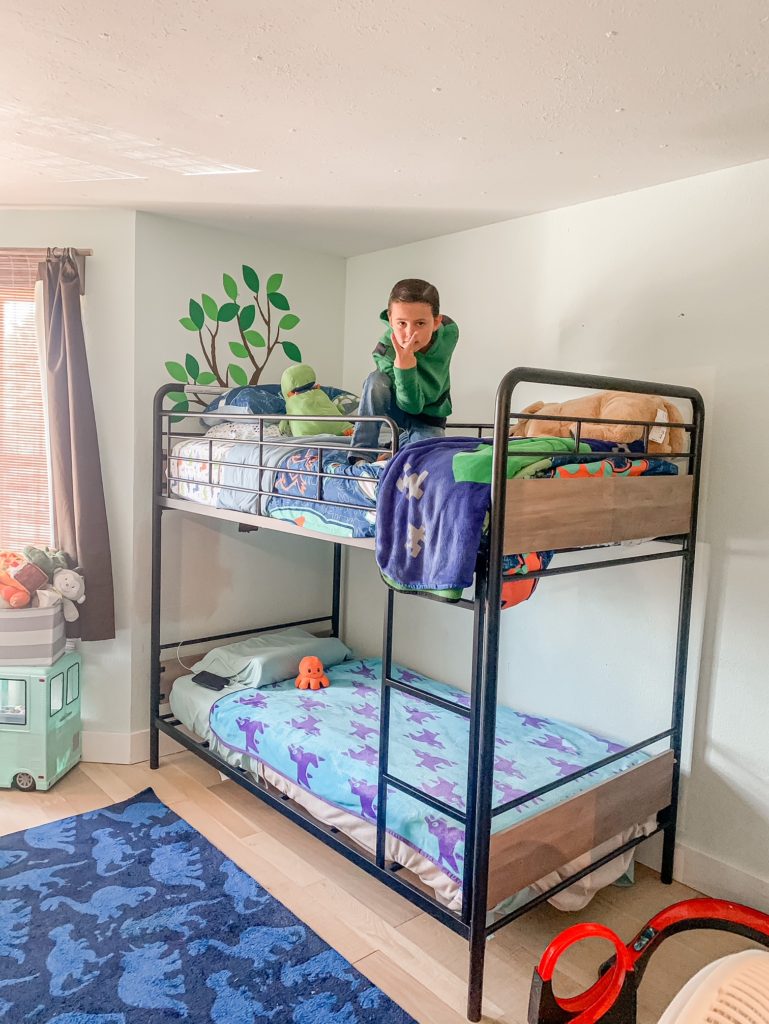
It wasn’t so bad while standing in the room, however as you walk up our stairs it’s a clear view straight into his room and my eyes always shot right to the unsightly support bars. I looked at a few under bed storage boxes on Amazon, but none of the sizes were right. So I drafted up some plans to build my own!
Supplies Used: (Affiliate links may be provided for convenience. For more info, see my full disclosure here.)
- 1/2″ Plywood
- 1x6s
- Nail Gun
- Wood Glue
- 2 1/2″ Deck Screws
- Wood Filler
- Electric Sander
- Weathered Oak Wood Stain
- Espresso Wood Stain
- Rust-Oleum Satin Black Spray Paint
- 1 1/2″ Vintage Caster Wheels
- Shelf Liner (only sold in store now)
1. Measure and Plan Cuts
The first thing I did was measure out how big I wanted the boxes to be. I had to work around the support bars so I ended up with two long skinny boxes (13.5″ x 40″) and one short wide box (45″ x 19″). My plans were actually on paper but very sloppy, here is a cleaner version I quickly drafted.
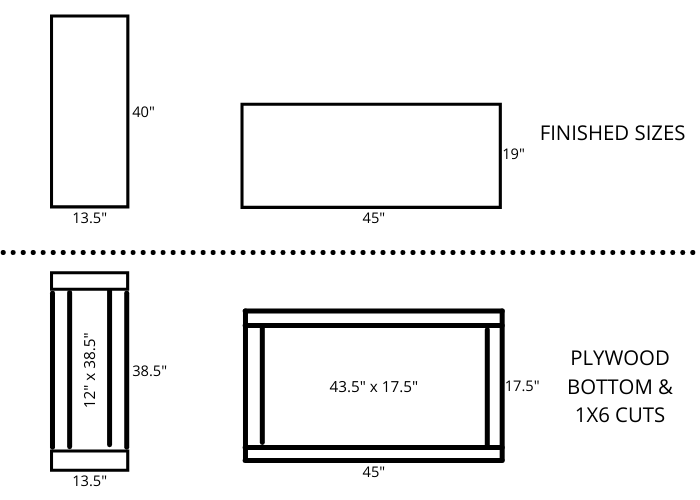
When determining the measurements, I had to subtract 1.5″ from the sides to account for the thickness of the 1x6s on the front and back. I also had to subtract 1.5″ from the length and width for the plywood bottom to account for the sides as well.
2. Measure out and Cut Plywood Bottoms
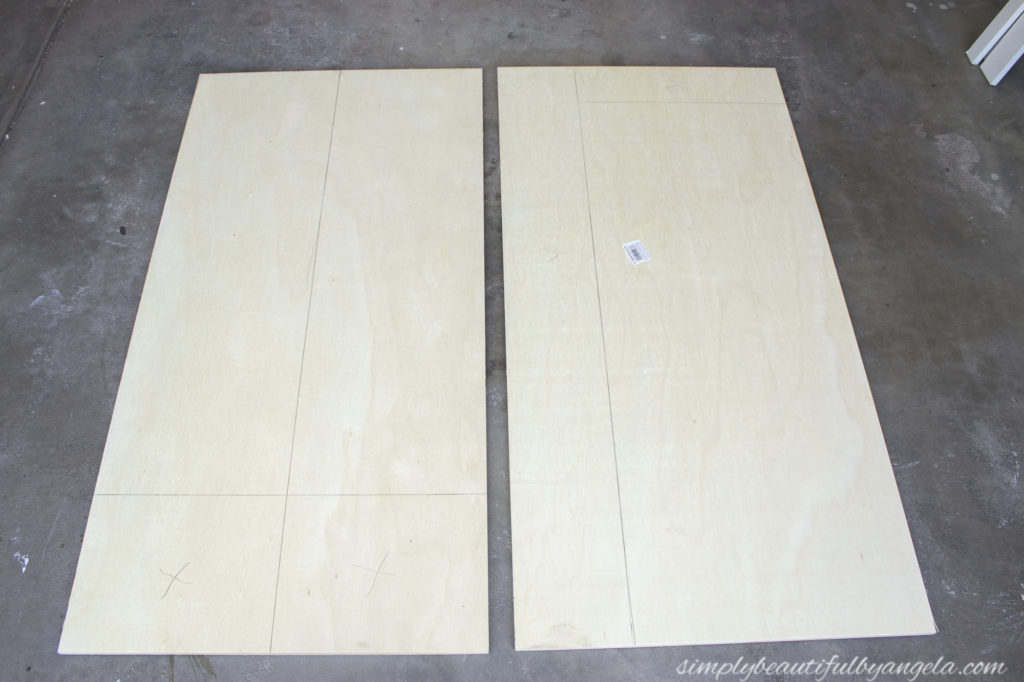
I transferred my measurements for the bottom of the boxes over to the 1/2″ plywood sheets and then cut them out.
3. Attach Sides to Bottom
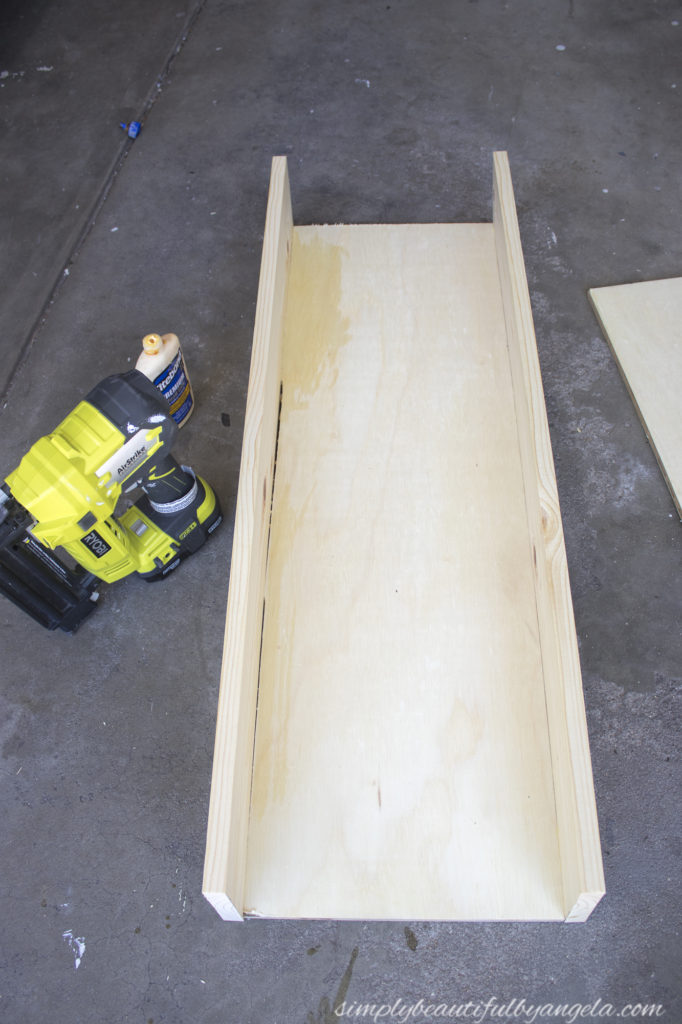
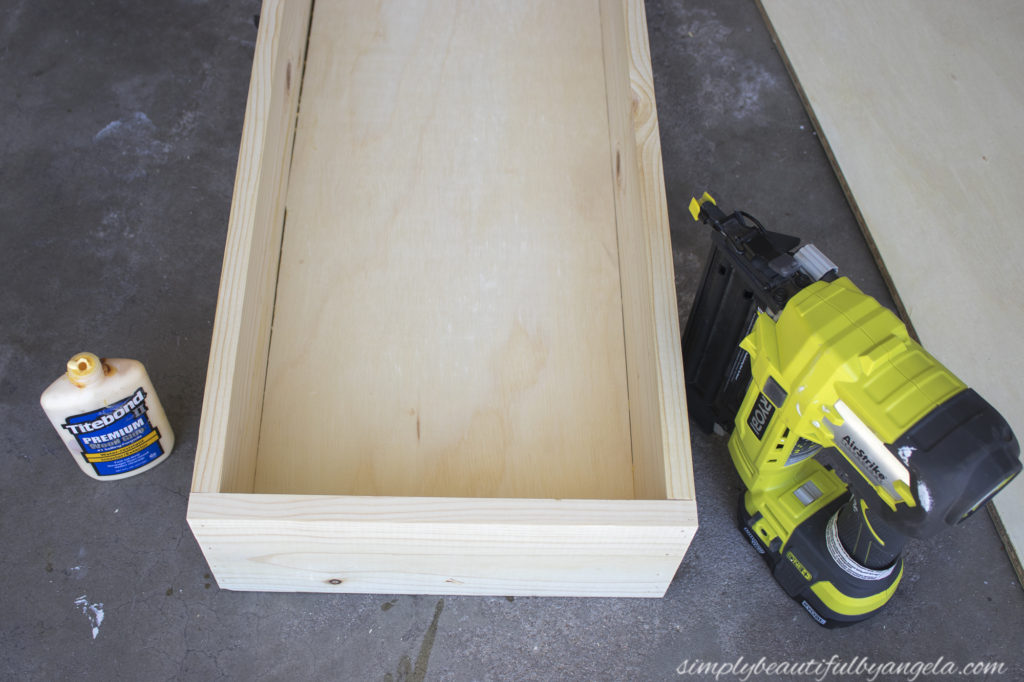
I cut down the 1x6s to the measurements for the sides, then attached them using wood glue followed by the nail gun.
4. Attach Front and Back to Bottom
Next, I cut down the front and back pieces and attached them to the bottom the same way.
5. Secure with Screws
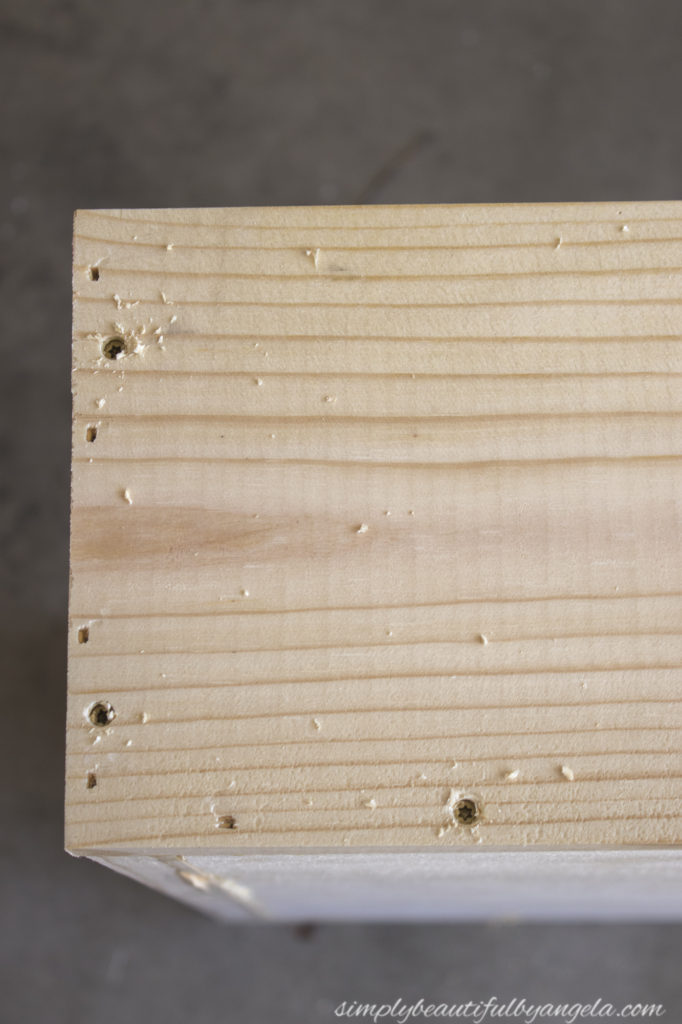
Once they were assembled, I secured the front and back with some deck screws for added strength and then filled all of the holes with wood putty. Regular screws would work as well, but I like the small countersinking head on deck screws.
6. Sand and Stain
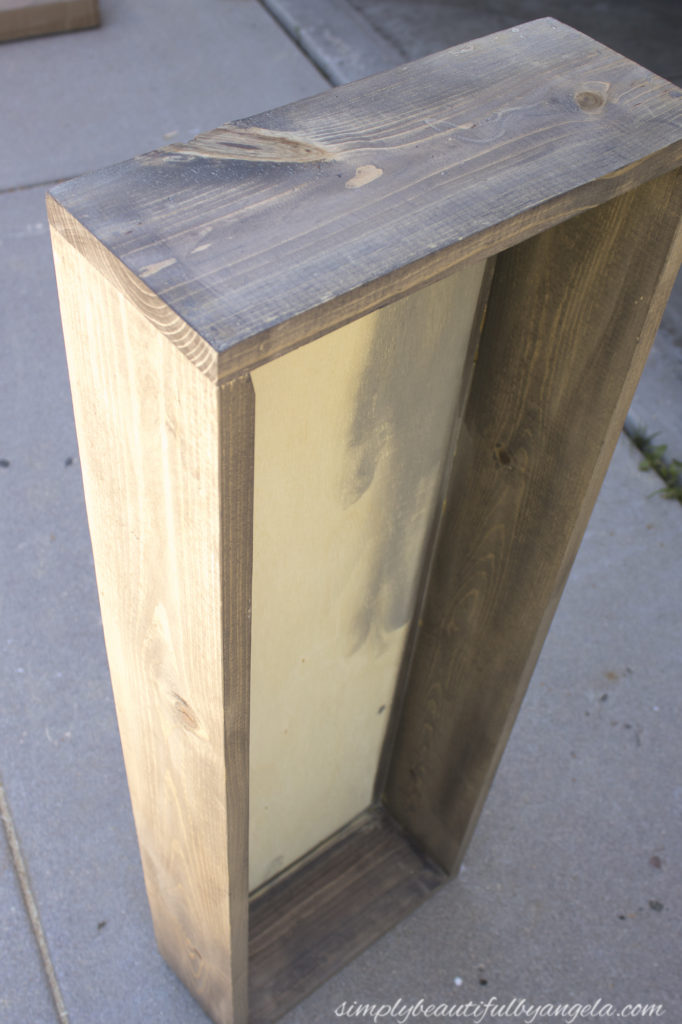
Once the wood filler was dry I used my sander to sand them all smooth and then applied one coat of Weathered Oak stain followed by one coat of Espresso. I didn’t bother sanding the plywood since I planned to cover it with shelf liner later on.
7. Add Pulls and Stenciled Numbers
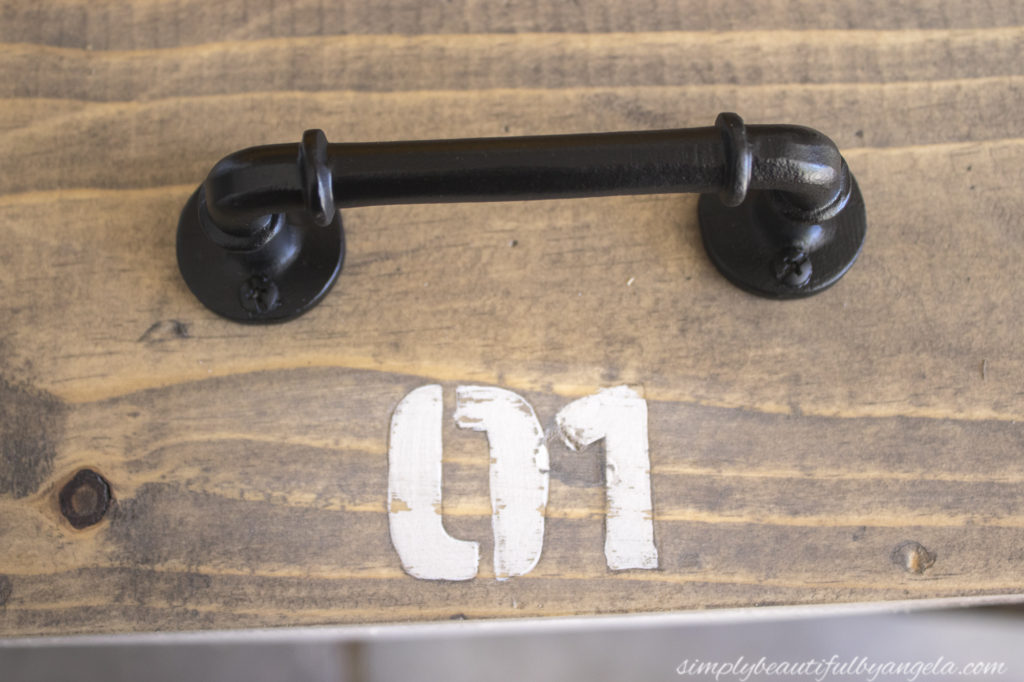
I attached pipe pulls that I found from Hobby Lobby (they were silver but I spray painted them matte black) and then stenciled some numbers on each one for some added flair. I destressed the stenciling once it was dry to make it look worn.
8. Attach Caster Wheels
I finished them up by adding these cute vintage style caster wheels to the bottom of each one.
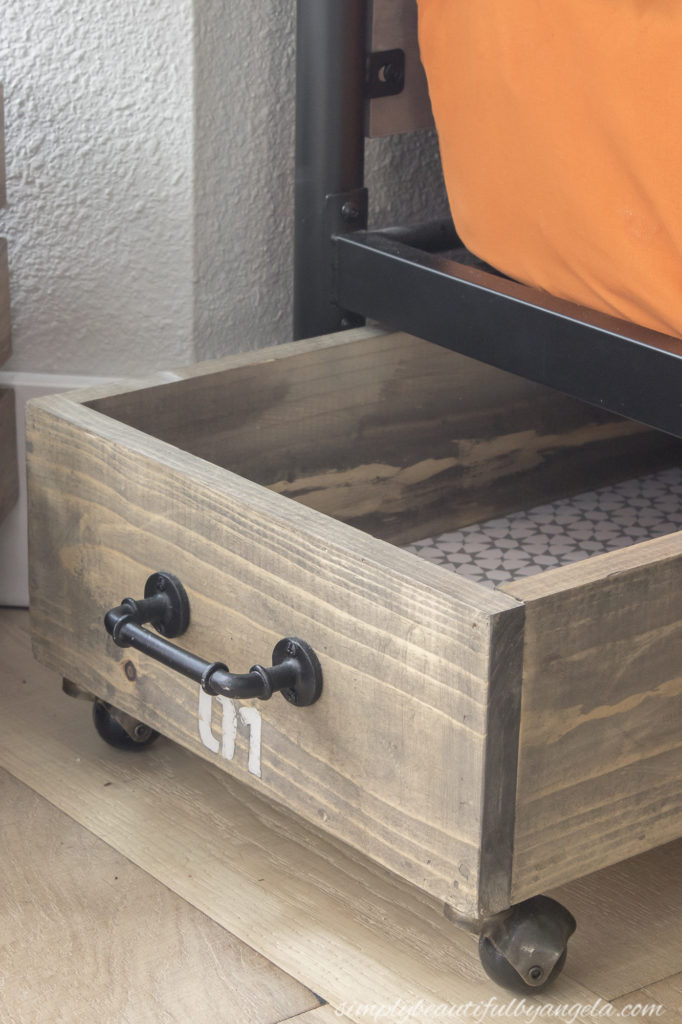
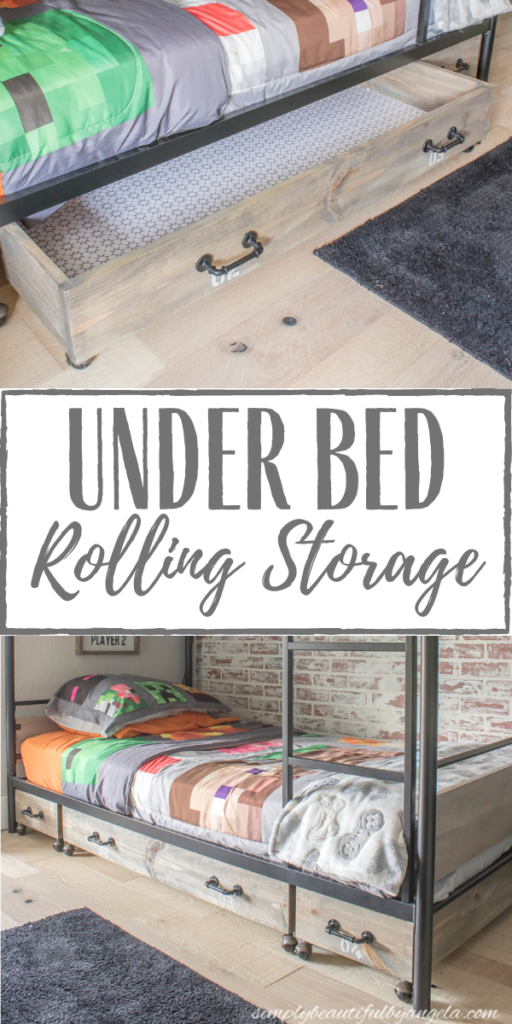
I was super nervous bringing them upstairs to see if they fit because my measuring skills aren’t always too great, but luckily they ended up being a perfect fit!
I added some fun shelf liner to the inside of each one.
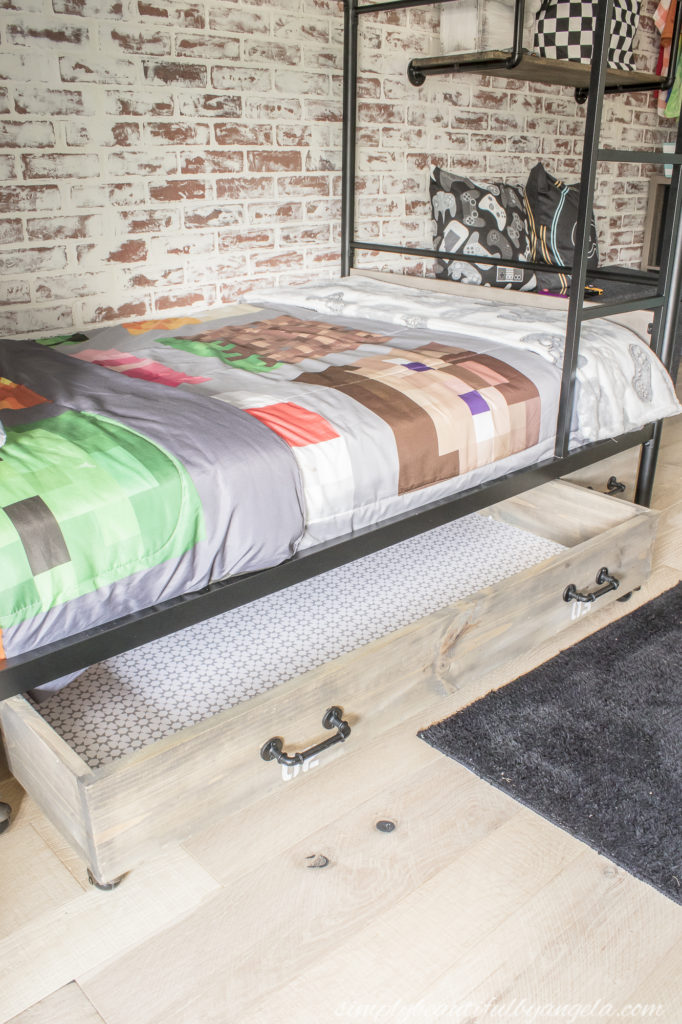
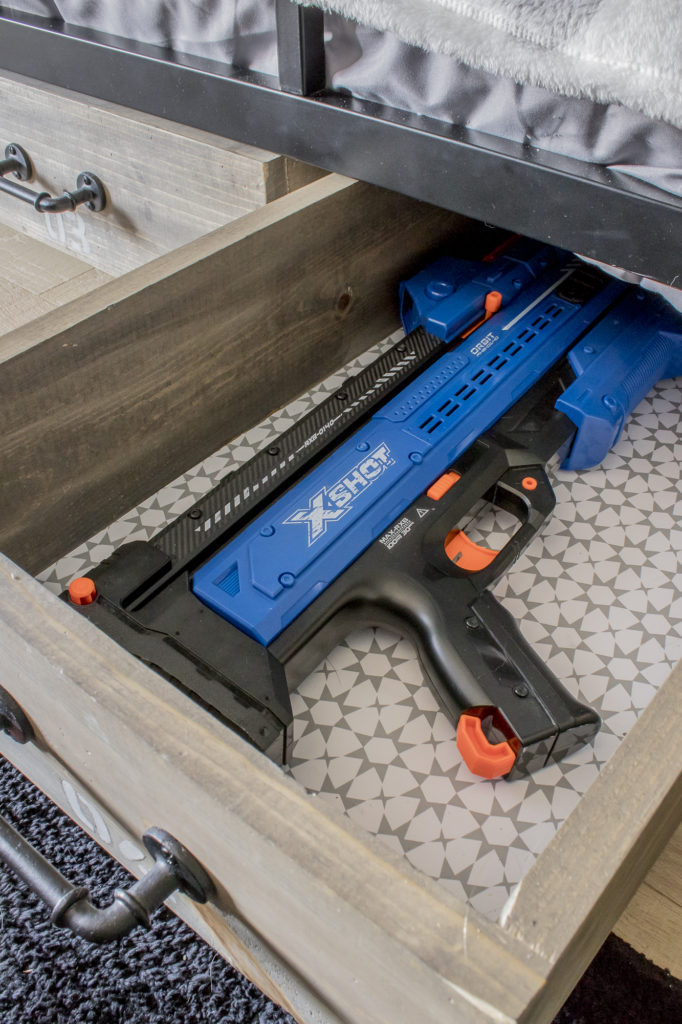
As of right now they aren’t being utilized too much, just a few nerf guns in one and hot wheel tracks in another. However it’s nice to know that we have additional storage options in here and I’m sure they will be filled up with treasures before we know it.
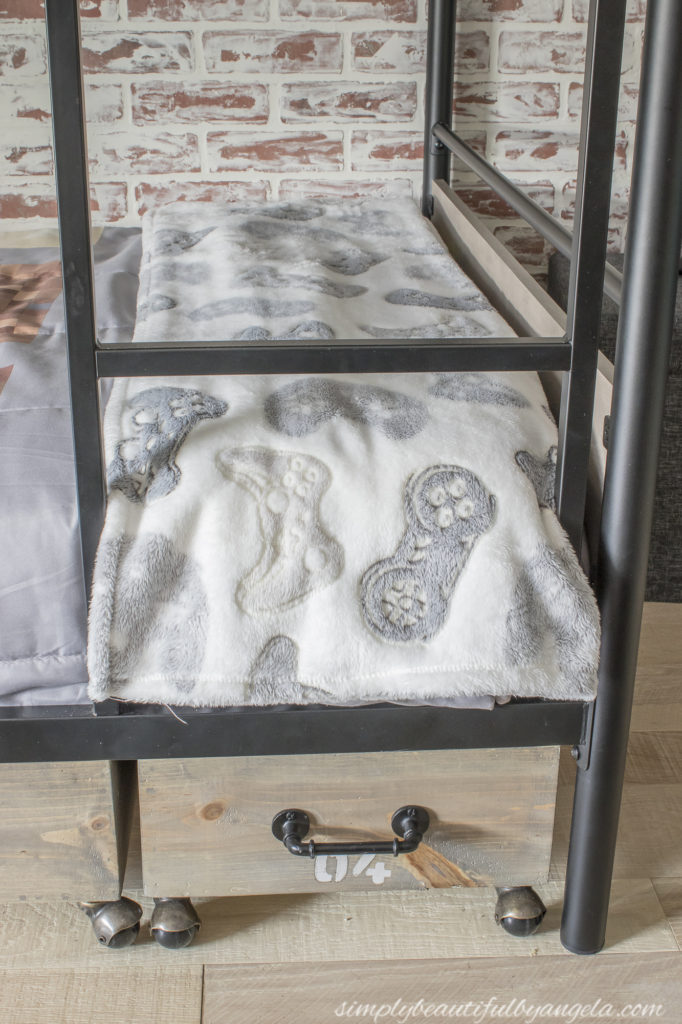
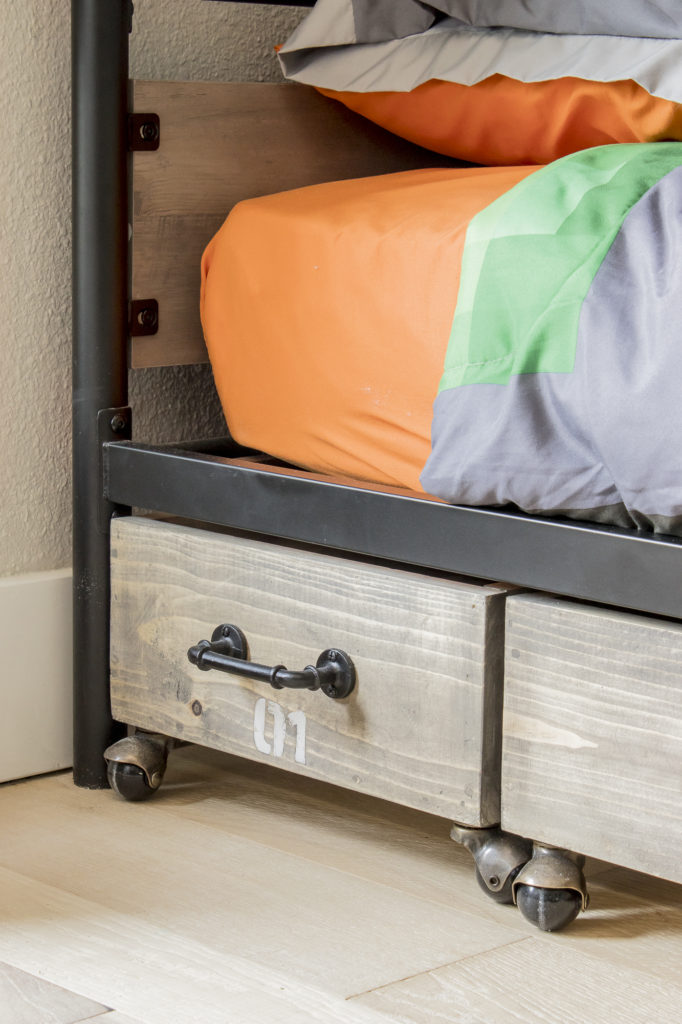
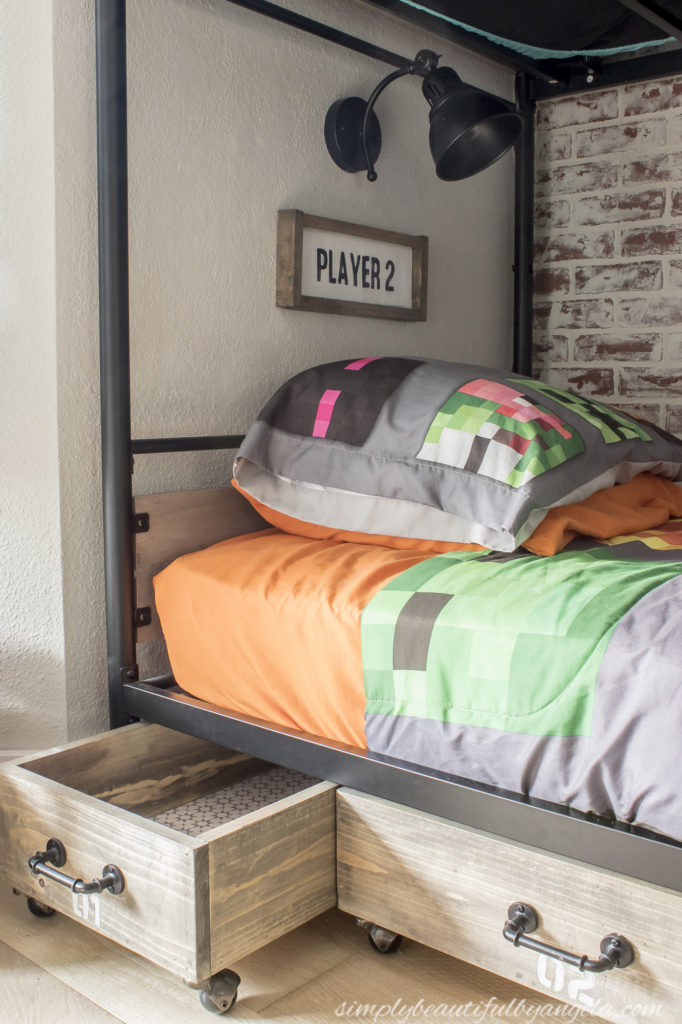
I love how the finish matches the wood accents on the bunk beds, they almost look like they came with it.
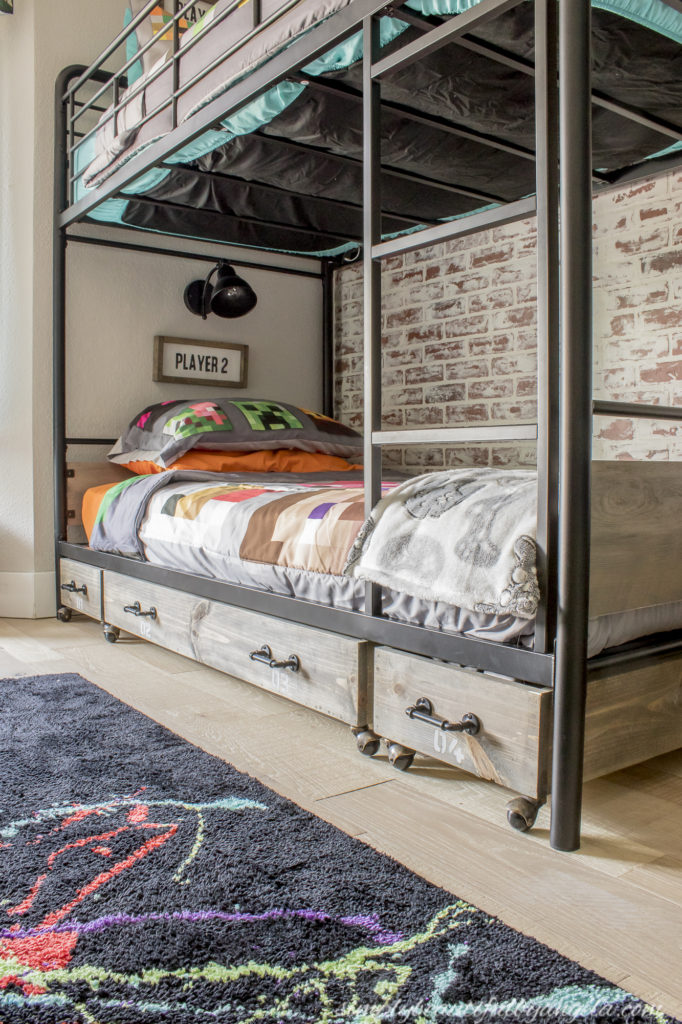
Linking up to these awesome parties
PIN FOR LATER!
These are awesome. They were a definite improvement to the bunk beds and I’m sure the storage is wonderful. Thanks for sharing on Grace at Home.
You can never have enough storage #alittlebitofeverything@_karendennis
I love these drawers–and you did a great job of making them work with the particular style of the room. Well done!
Thanks so much for joining the Grace at Home party at Imparting Grace. I’m featuring you this week!