Hello and happy Thursday everyone! The kids are back in school and although it feels good to be getting back to a somewhat normal routine we are sad to see summer quickly coming to an end. We plan to squeeze in a few more fun activities over the next couple of weeks because before we know it Fall will be here!
It’s the last Thursday of the month which means it’s Thrift Store Challenge day and I’m super pumped to share what I came up with for this month’s project.

The Rules:
- Upcycle an item(s) from a thrift store, resale store, or garage sale into a new piece of decor.
- There’s no monthly theme.
- There’s no budget to stick to.
Meet the Hosts
Angela | Simply Beautiful By Angela – Beverly | Across the Blvd – Marci | Stone Cottage Adventures
Our Thrift Store Upcycle group of bloggers is always looking to expand — and we need your help! Why not consider joining in our thrift store upcycle challenge on the last Thursday of each month? Make some friends while having fun and share your love of DIY with the world. It’s a win-win! Sound like something you’d be interested in? Just leave a comment at the end of this post with your contact info and a link to your blog. Someone will get back to you right away. We can’t wait to meet you!
Supplies Used: (Affiliate links may be provided for convenience. For more info, see my full disclosure here.)
- Paint Sprayer
- Satin Paint in Behr Peppery
- Flat Paint in SW Requisite Gray and White Cotton
- 1/4″ Plywood
- Loctite Power Grab
- Ryobi Nail Gun
- Wood Filler
- Sanding Block
- Valspar Sealing Wax
A couple of weeks ago we spotted a bunch of furniture that someone had set out for free and Anthony asked, “do you want me to back up so you can look?” I honestly don’t even know why he still asks me that because he always knows that the answer will be “YES!”
There were a lot of nice pieces but since we had the whole family in the car we didn’t have much room, so I just grabbed this little beauty.

The second we loaded it in to the car Lucas started begging us to let him have it in his room which I thought was highly unusual haha! I thought maybe it was just one of those in the moment type of things. But day after day Lucas kept asking about it and when I questioned him on it he said that he wanted to use it for his LEGOS. Since our current LEGO situation just has them all dumped in to a canvas bin I realized that was actually an excellent idea.
I began by using a hammer and some Vice Grips to pop the little pieces off the top since I knew that Lucas would want the full surface to work on his creations.

I painted the base with some Behr Peppery that I had left over from Tristan’s dresser using my Paint Sprayer.

While that was drying I started working on the drawers. I noticed that the white paint was peeling off the piece behind the lattice trim and sure enough, I realized that it was actually a mirror back there!
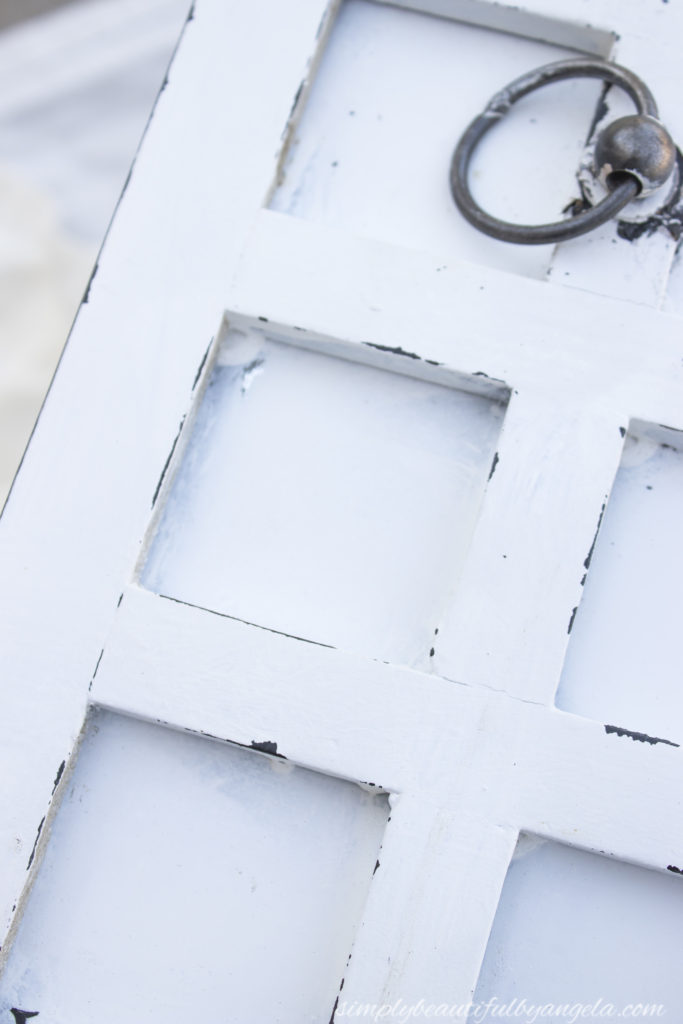
I easily popped them out with a flat head screw driver. I kept the mirrors handy to use as a template for 1/4″ plywood that I decided to use instead, and also kept the backing piece since I would need to reattach that behind the plywood.

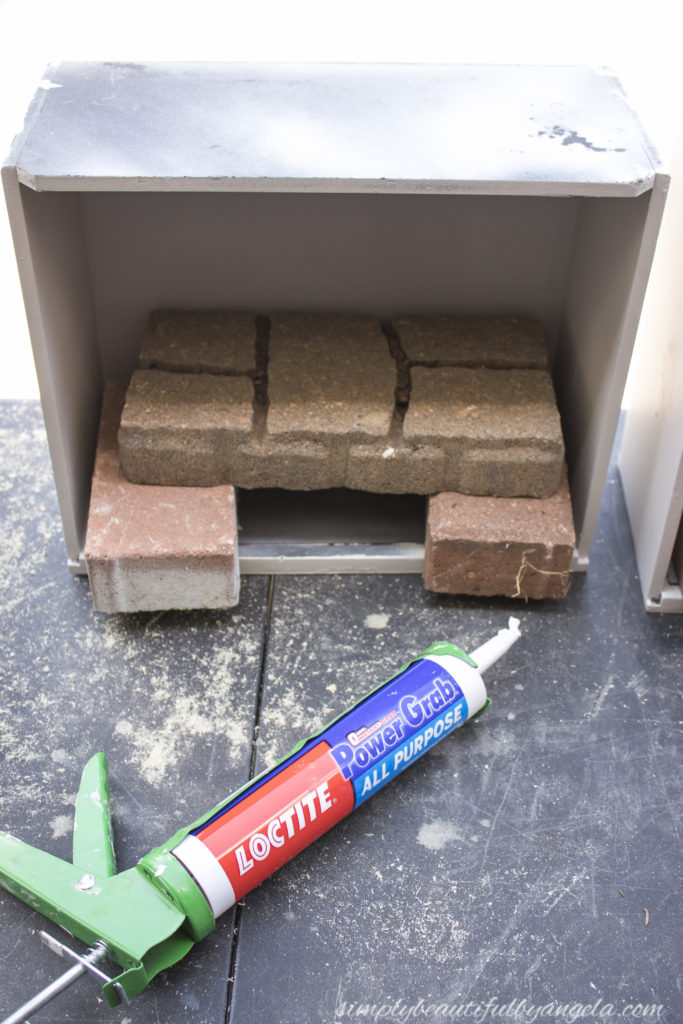
I painted the drawers with a mixture of SW Requisite Gray and White Cotton using the paint sprayer. Once they were dry I traced the mirrors on to the 1/4″ plywood, cut them out on the miter saw and used some Loctite Power Grab to adhere it all. I set some bricks and pavers on top as they dried.
I used the same 1/4″ plywood and cut down some planks for the top and also attached those with Loctite Power Grab.

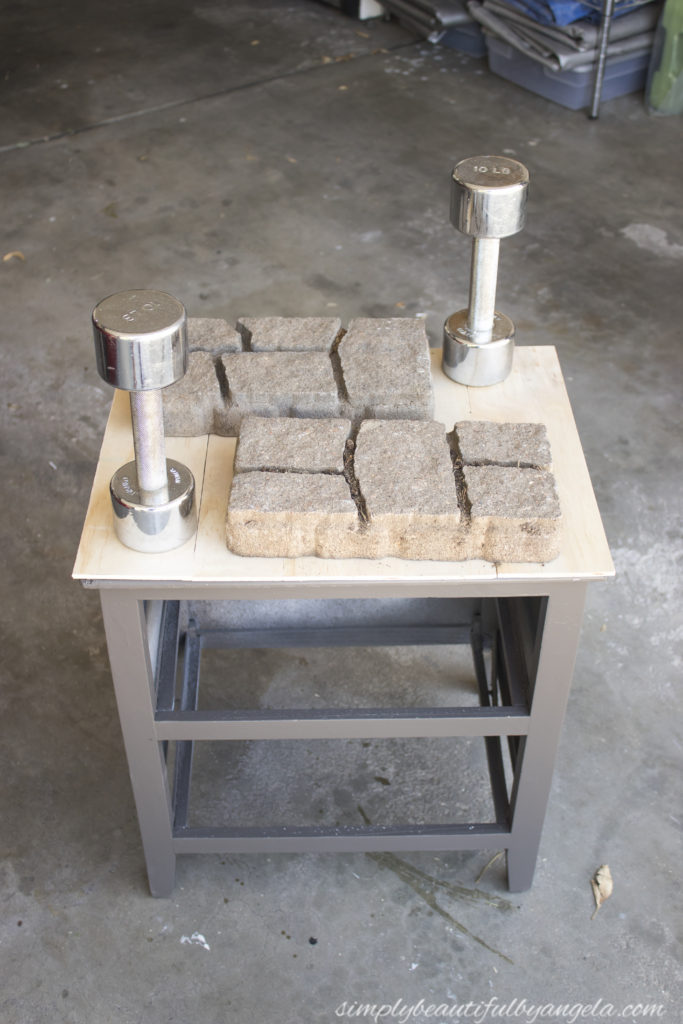
I decided to rip down some smaller strips of the plywood for framing out the top to make it look more finished. I used my nail gun to attach the pieces, then went over the holes with wood filler and sandpaper.
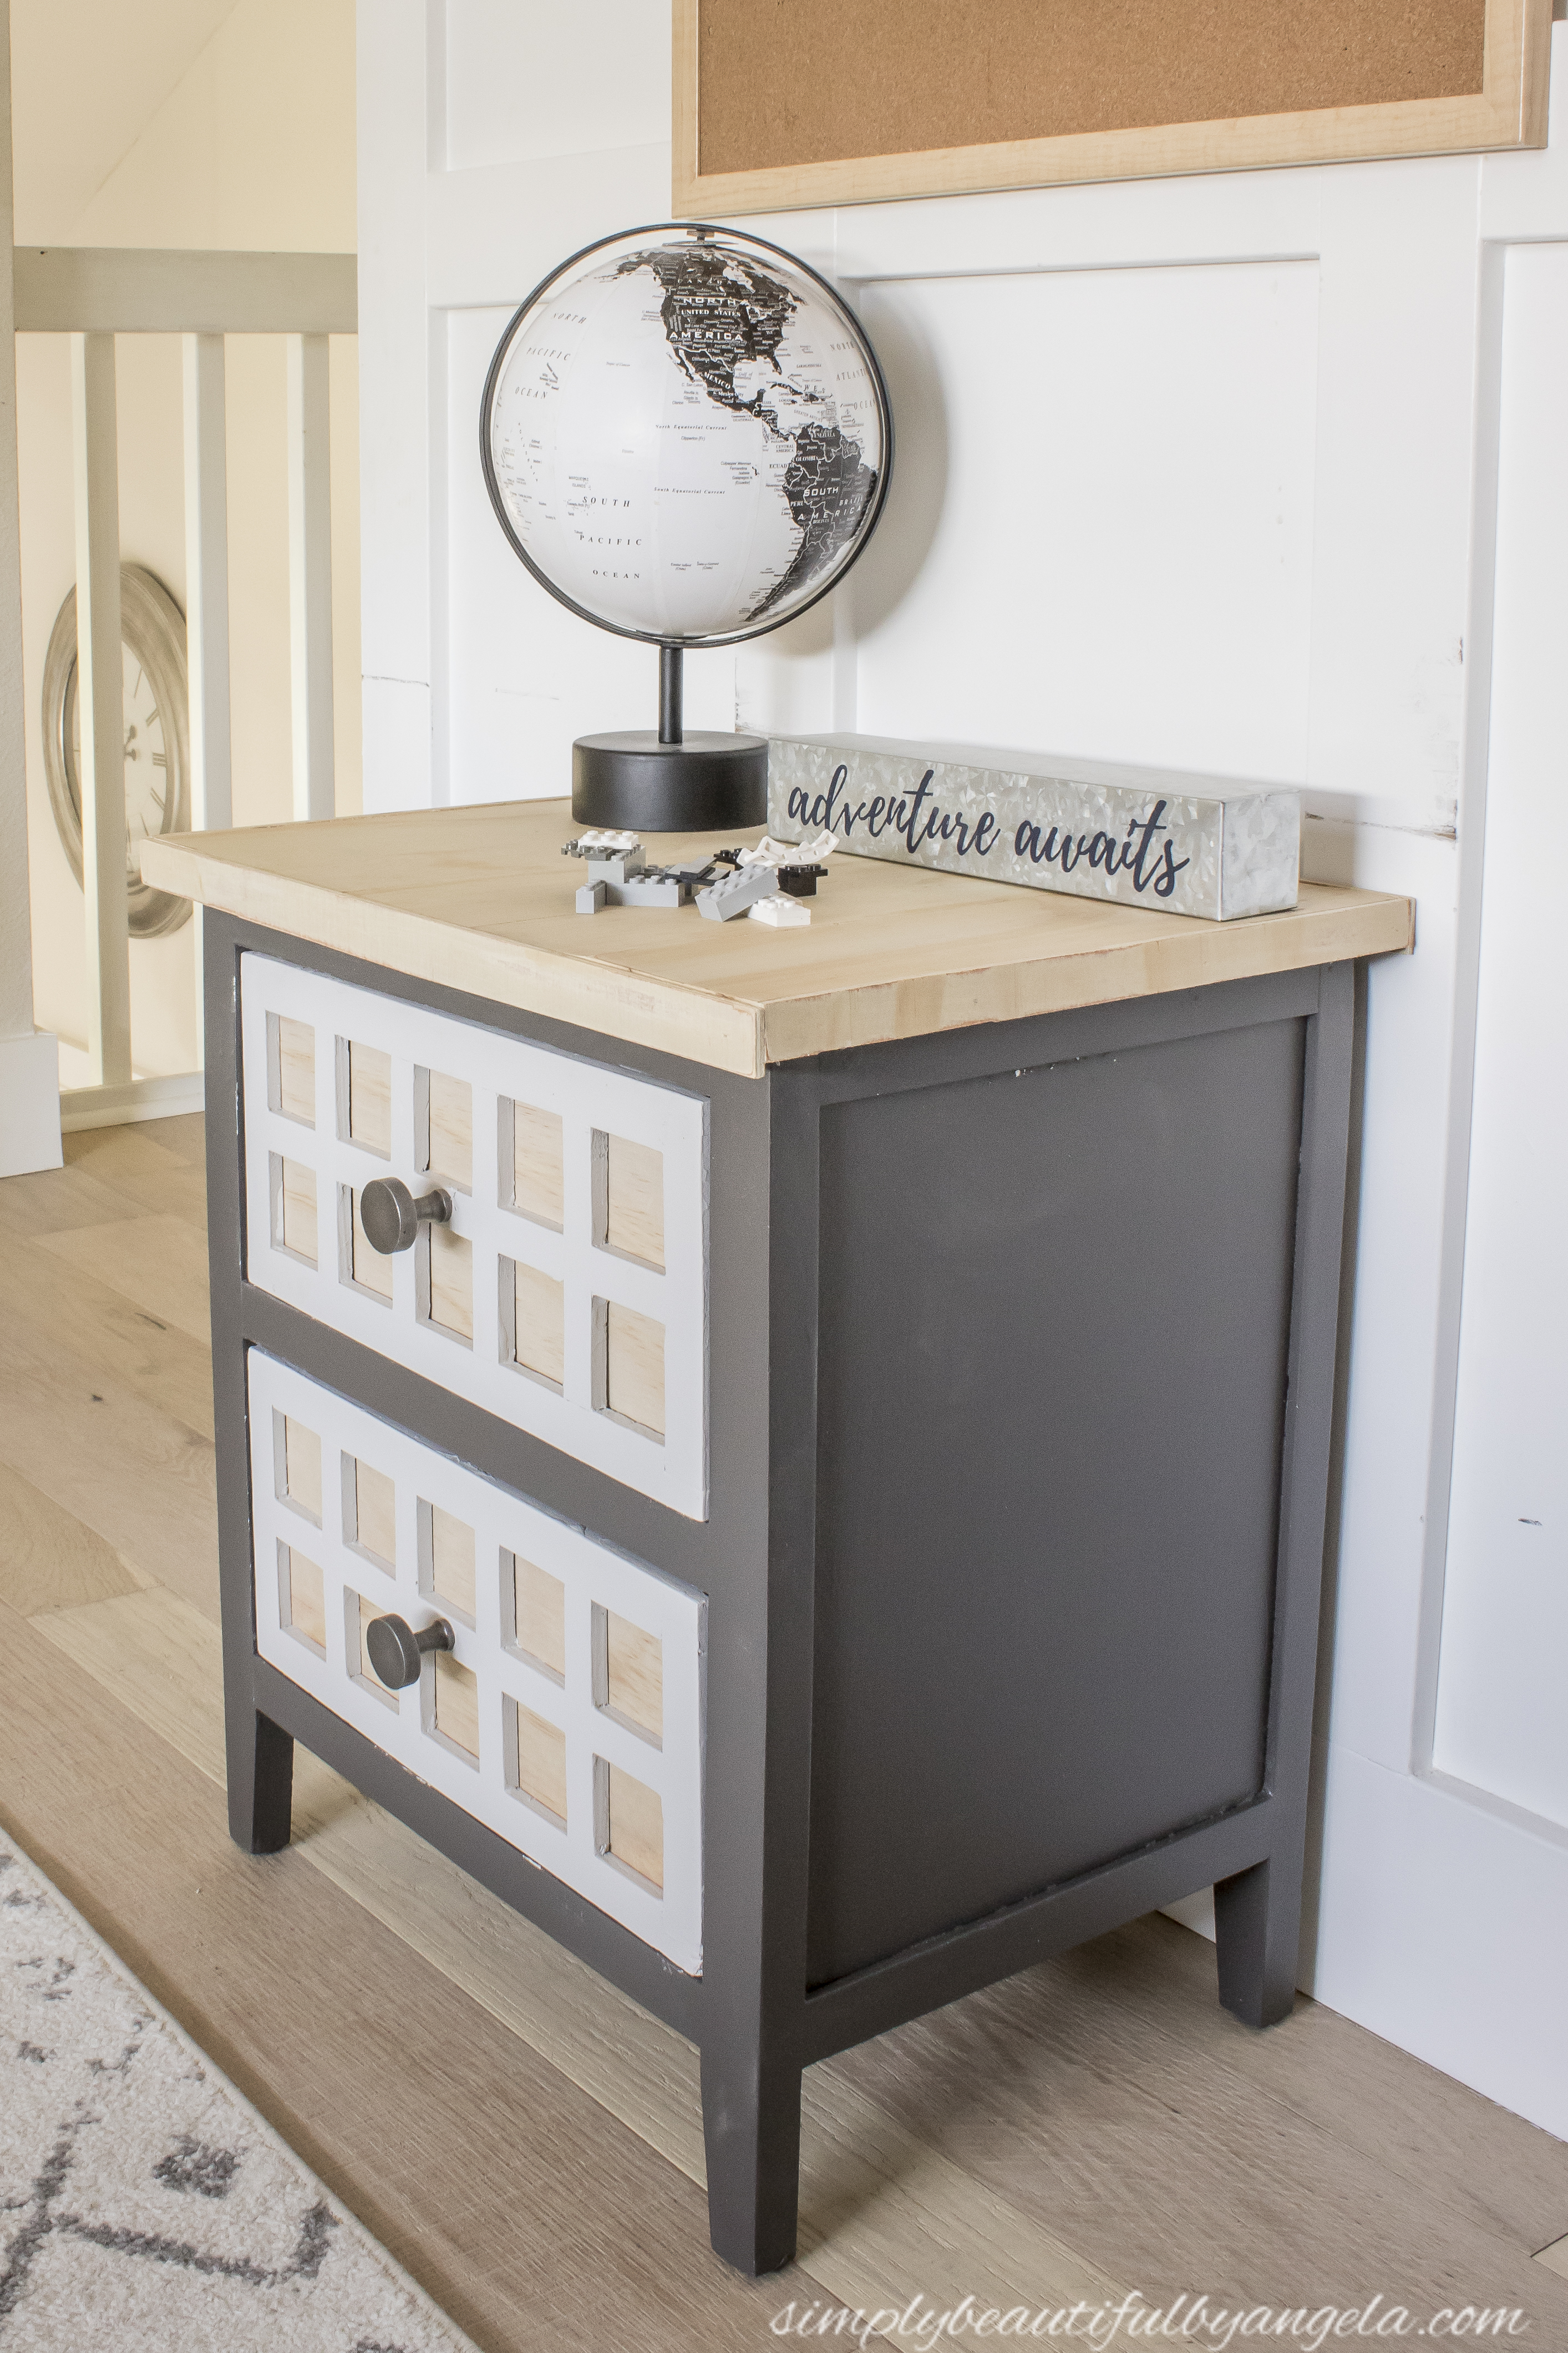
I finished it up by applying two coats of Valspar Sealing Wax to the top in order to protect it and to make it easier to clean. Here is how it turned out!
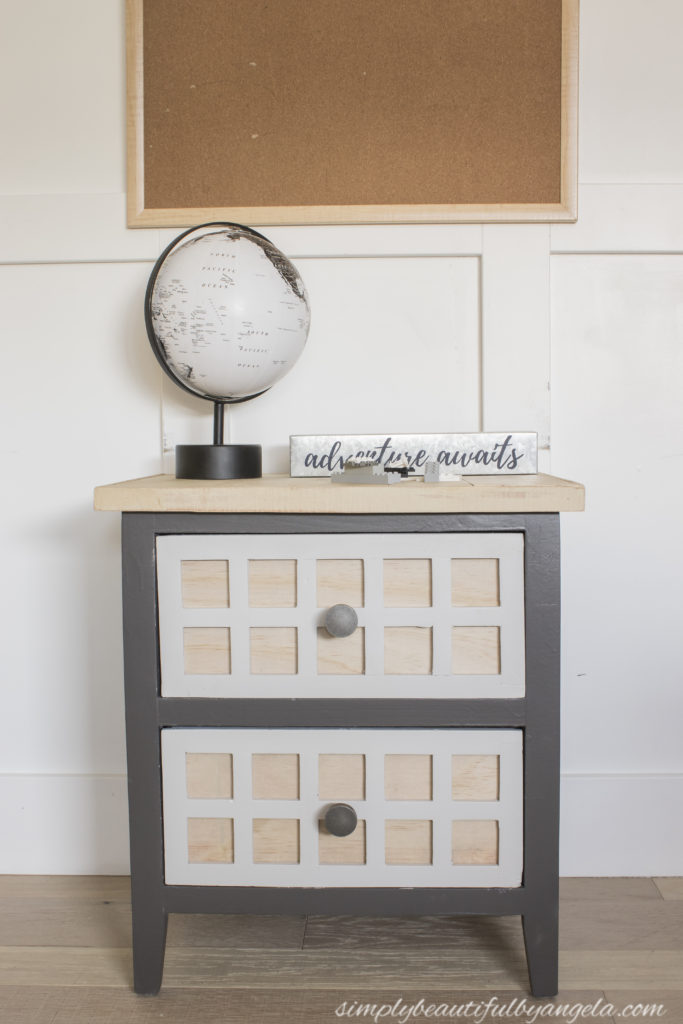
I replaced the knobs with some nice metal ones that I found at Hobby Lobby. I didn’t realize how well they paired with the dark gray until I got them home so that was a happy accident.

It sits in Lucas’ room as promised, but the lighting this morning was better in the Playroom so I set it up in there to photograph.
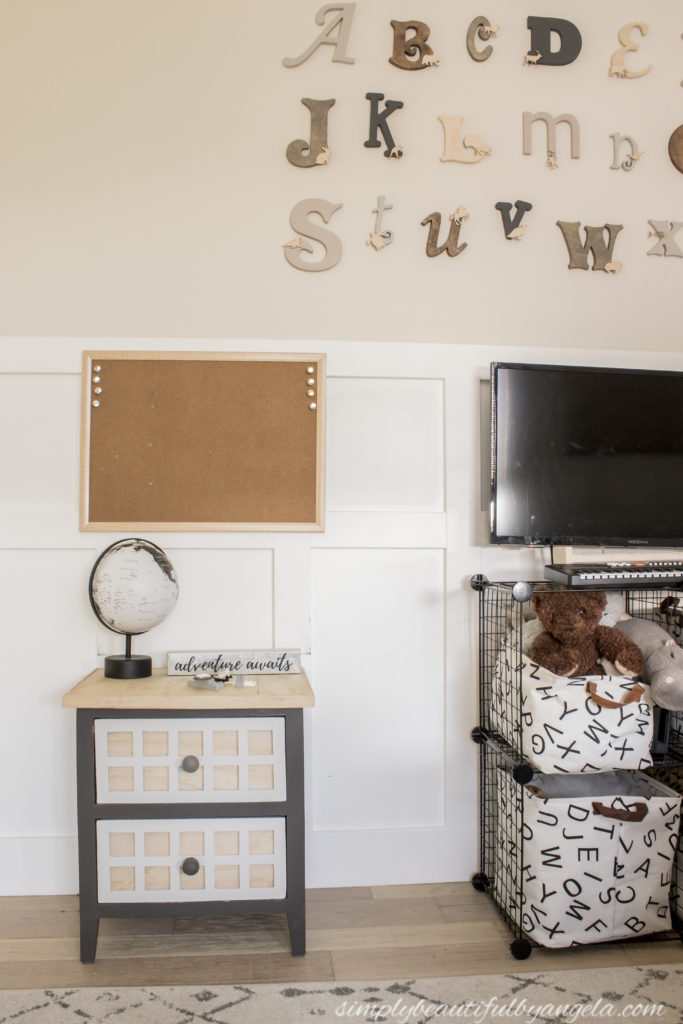
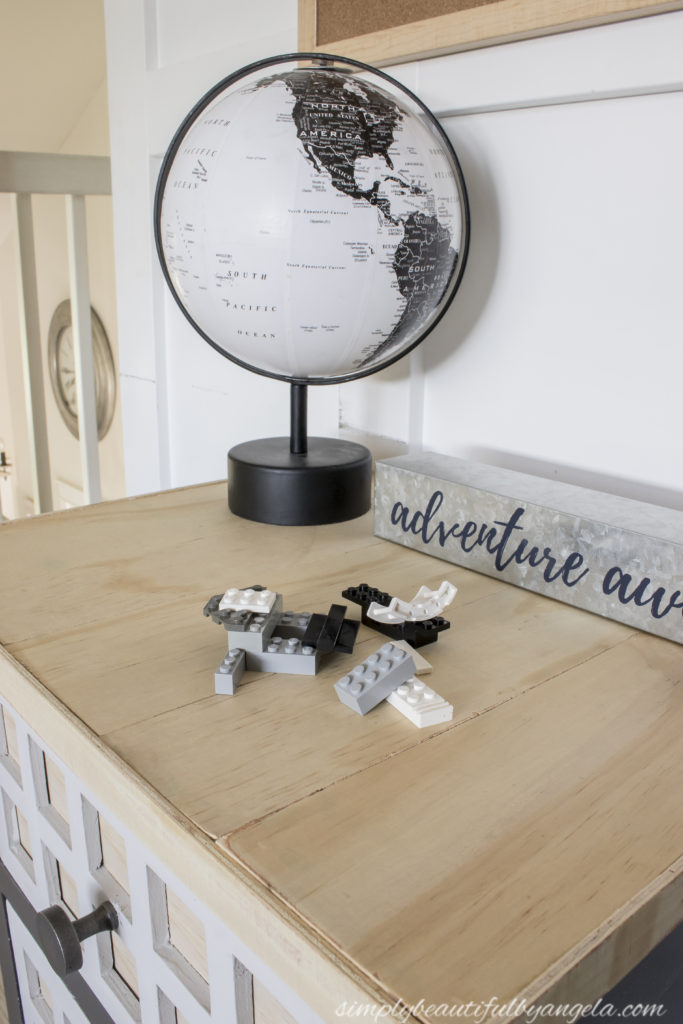
The top is nice and smooth and ready for my little guys to create on!
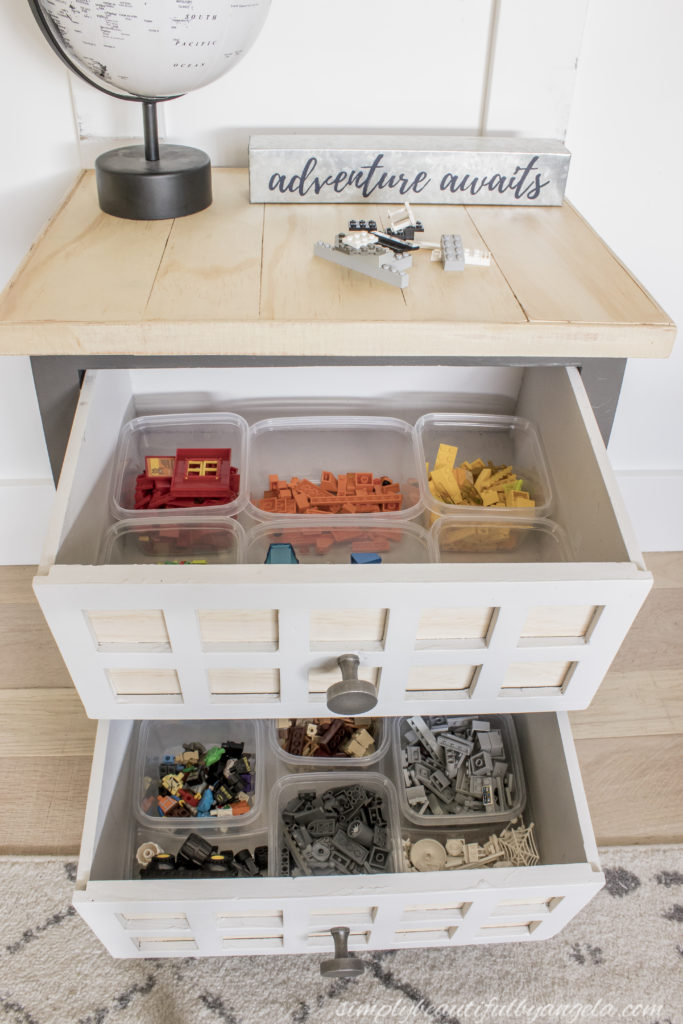
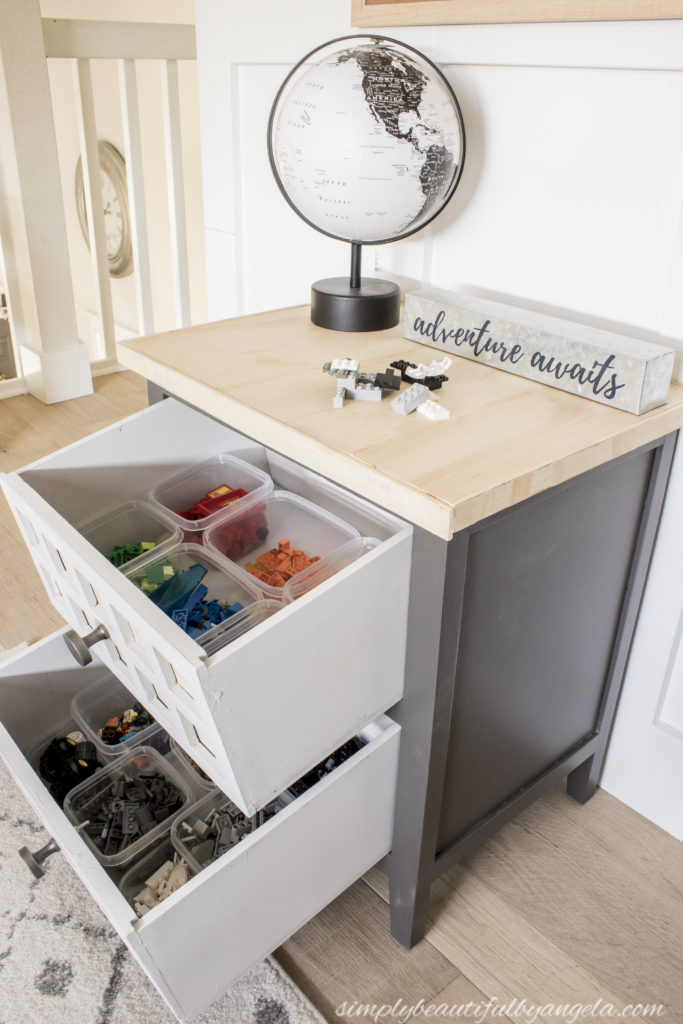
I got some food storage containers from Dollar Tree and arranged them in the drawers to sort the LEGOS.

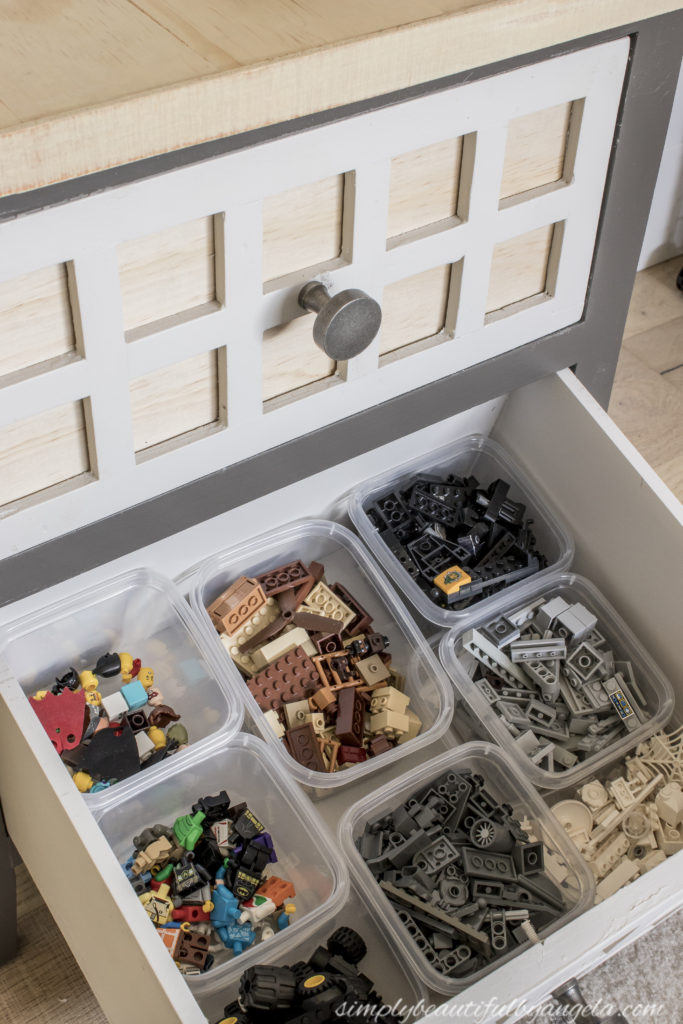
I sorted them by color, and then also made a compartments for wheels and character bodies/heads. I’m hoping it stays this neat but I won’t be surprised if it doesn’t last long!
I want to get a little stool that he can pull over and sit on while he works so I’m on the hunt for that. I know that I’ve seen many in the thrift stores, so that quite possibly may be my project for next month’s challenge!
And now for more thrifty goodness!
(Affiliate links may be provided for convenience. For more info, see my full disclosure here.)
Linking up to these awesome parties
PIN FOR LATER!
This is a very impressive makeover! What a wonderful way to keep Legos tidy! pinning and sharing on FB. -Marci @ Stone Cottage Adventures
Great makeover, Angela! It’s wonderful that your son could see the potential the cabinet had.
What an amazing make over. Lego storage is a huge challenge. I love that the storage also doubles as a work station.
This is just amazing! LEGO storage and workspace is a challenge for so many people; you’ve come up with a great solution. And your makeover of the little piece is so inspiring!
Thanks so much for joining the Grace at Home party at Imparting Grace. I’m featuring you this week!
What an amazing thrifted find! So cute – I absolutely love what you did with it 🙂
Jenna ♥
Stay in touch? Life of an Earth Muffin
Love it! I’m featuring you this week when the next To Grandma’s house we go link party starts – thanks for sharing with us!