Hey friends! I hope your week has been good so far. Last week I mentioned that I wanted to start going through the tutorials for the DIYs that we did for our living room makeover that we finished last fall. I apologize that it has taken me soooo long to get around to these, but better late than never, right?!
Today I am going to share the fireplace built-ins and then next week I will shift over to the German Schmear and the DIY mantle that I did for the fireplace itself.
Alright, let’s start by taking a peek back to what this space looked like when we first moved in.
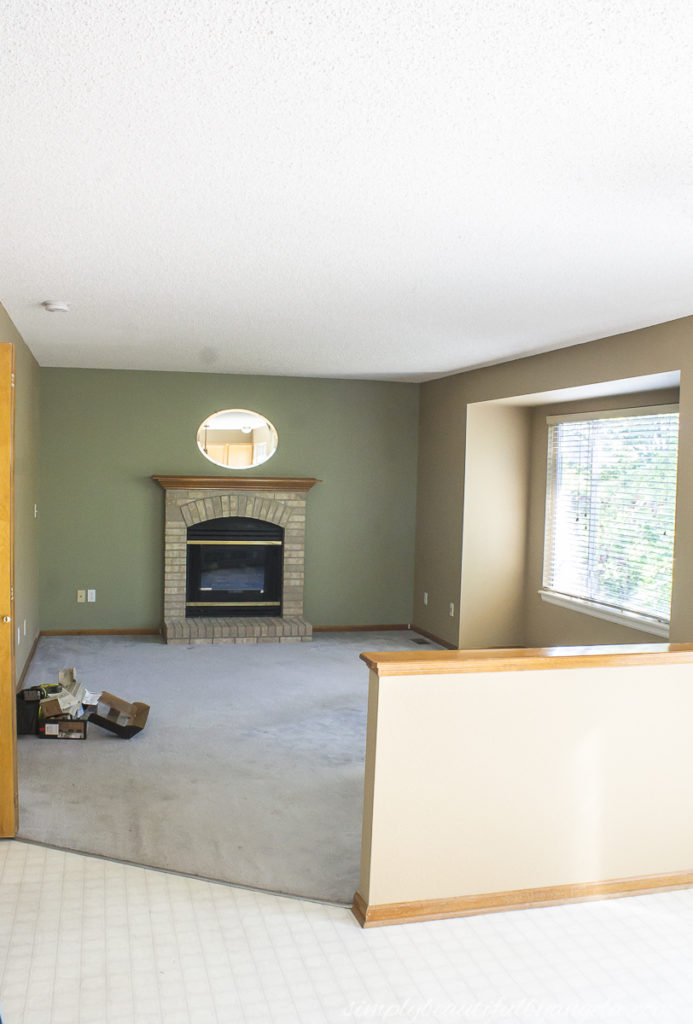
Pretty dated right? We quickly ripped out the carpet and installed engineered hardwood flooring. We also gave the whole room a fresh coat of paint and soon the room felt a bit more modernized.
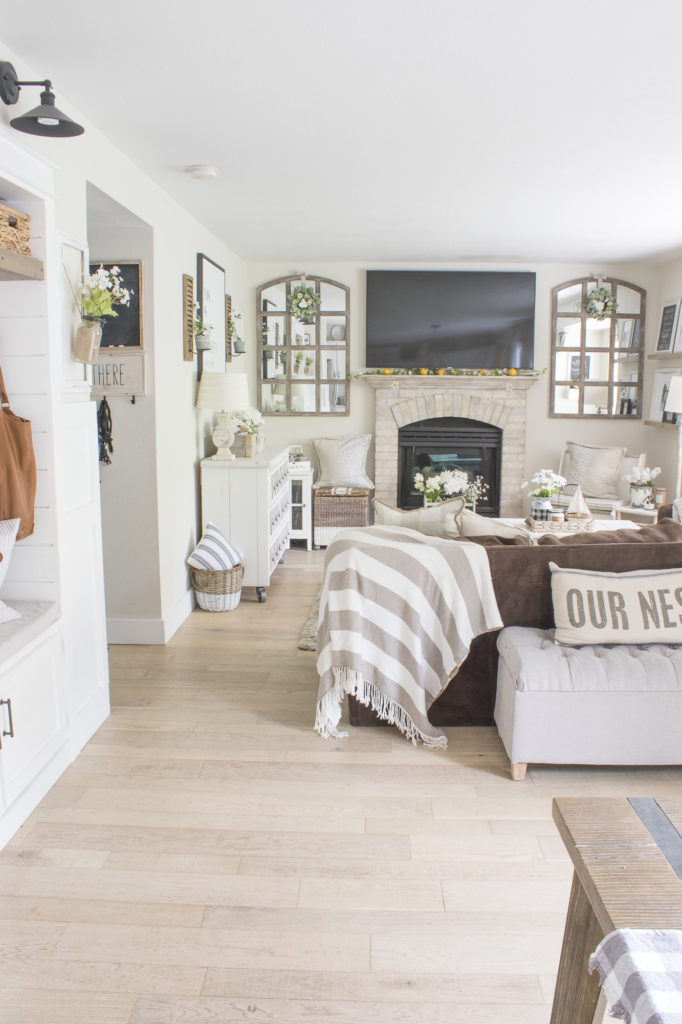
However, I had dreamed of doing a full makeover and one of the things that I wanted to include was fireplace built ins. I was a little hesitant since most of the time fireplace built-ins are recessed and flush with the fireplace like the ones that Sara from Sara Joy Blog built.

(source)
In the case of our living room the fireplace did not jut out much so I wasn’t totally convinced if it would look right or not.
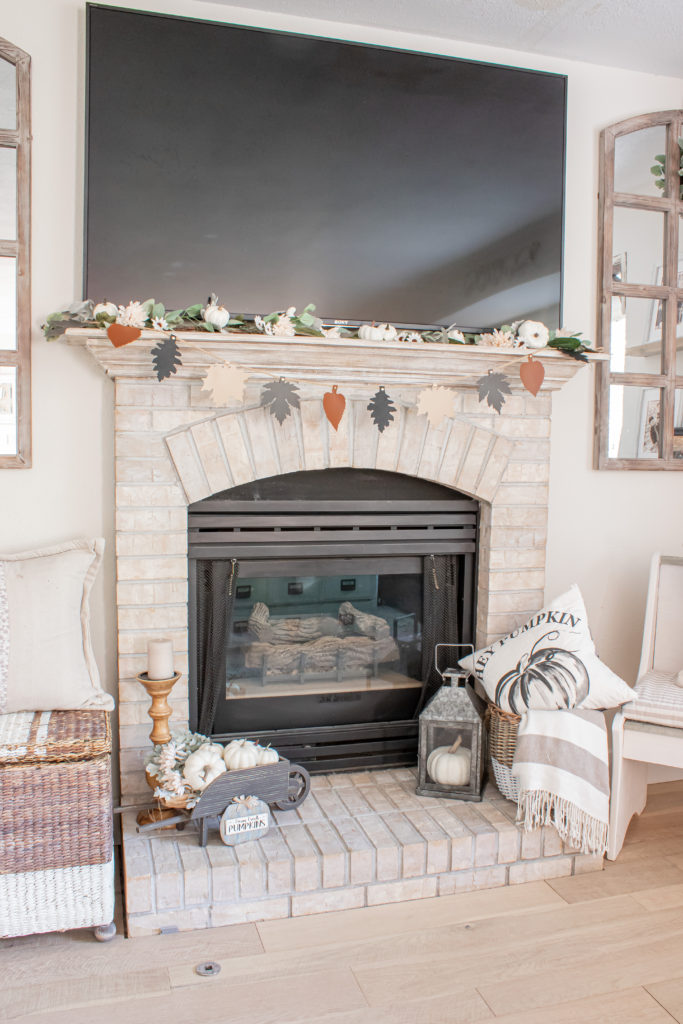
But I decided to go for it anyways and I’m extremely happy that I did because they turned out beautifully!
Supplies Used:(Affiliate links may be provided for convenience. For more info, see my full disclosure here.)
- 2×6 Common Boards
- 2 1/2″ Wood Screws
- Drill
- Unfinished Kitchen Cabinets
- Wood Spade Bit
- Jigsaw
- 2×3 Studs
- Kreg Jig
- Wood Putty
- Decorative Metal Sheeting
- Tin Snips
- Staple Gun
- Zinsser 1-2-3 Primer
- Satin White Latex Paint
- Paint Sprayer
- Butcher Block
- Weathered Oak Wood Stain
- Matte Polyurethane
- Iron Pull Bars
1. Build Base
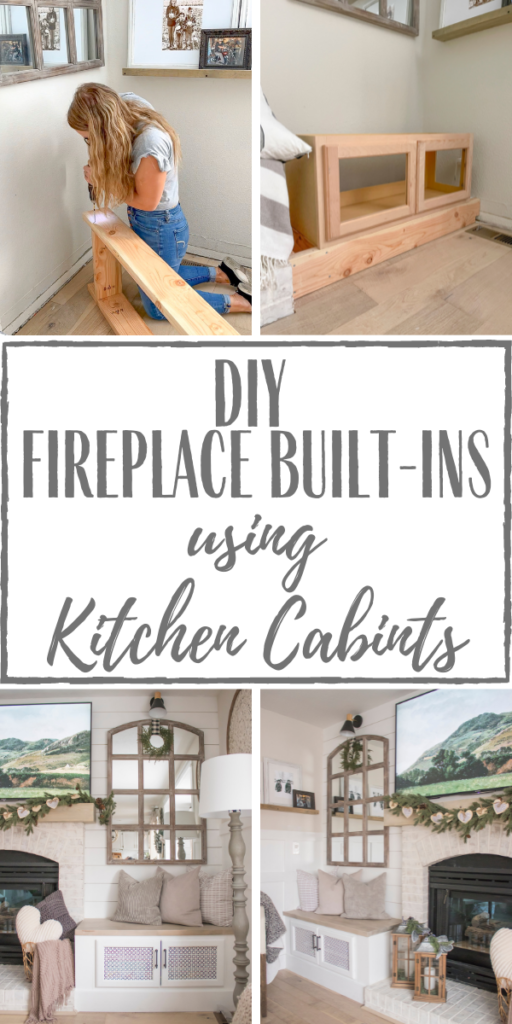
After removing the baseboards, I began by building the bases out of 2x6s.
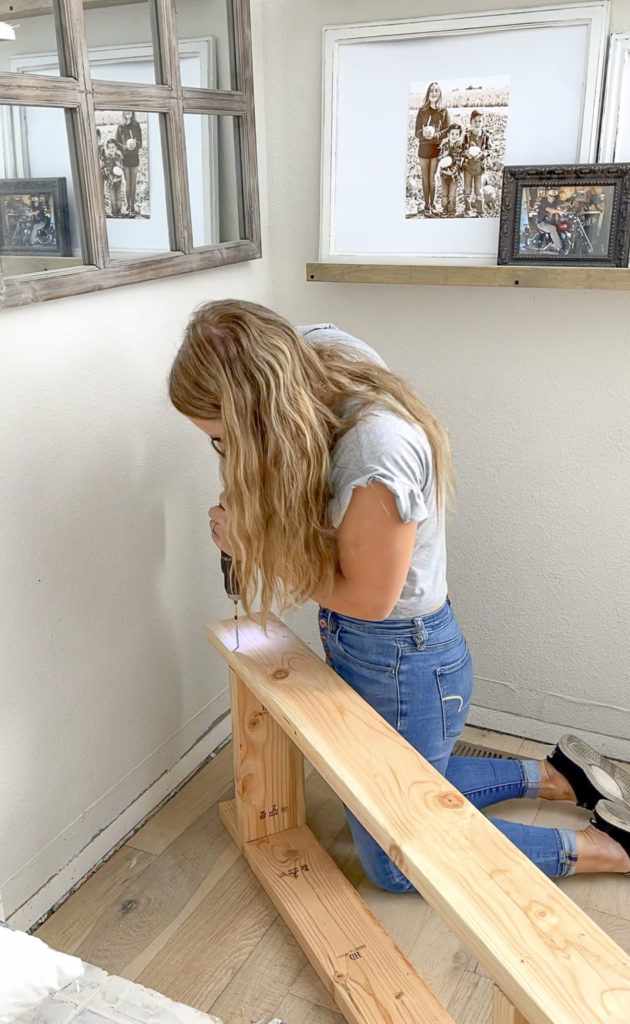
I chose 2x6s because our baseboards are 1×6 and I wanted them to run all the way across the fronts of these as you will see later on. I simply measured/cut out the width and length of each side and then screwed four the sides together. I then measured where the cabinet would sit and attached a 2×6 at each of those points.
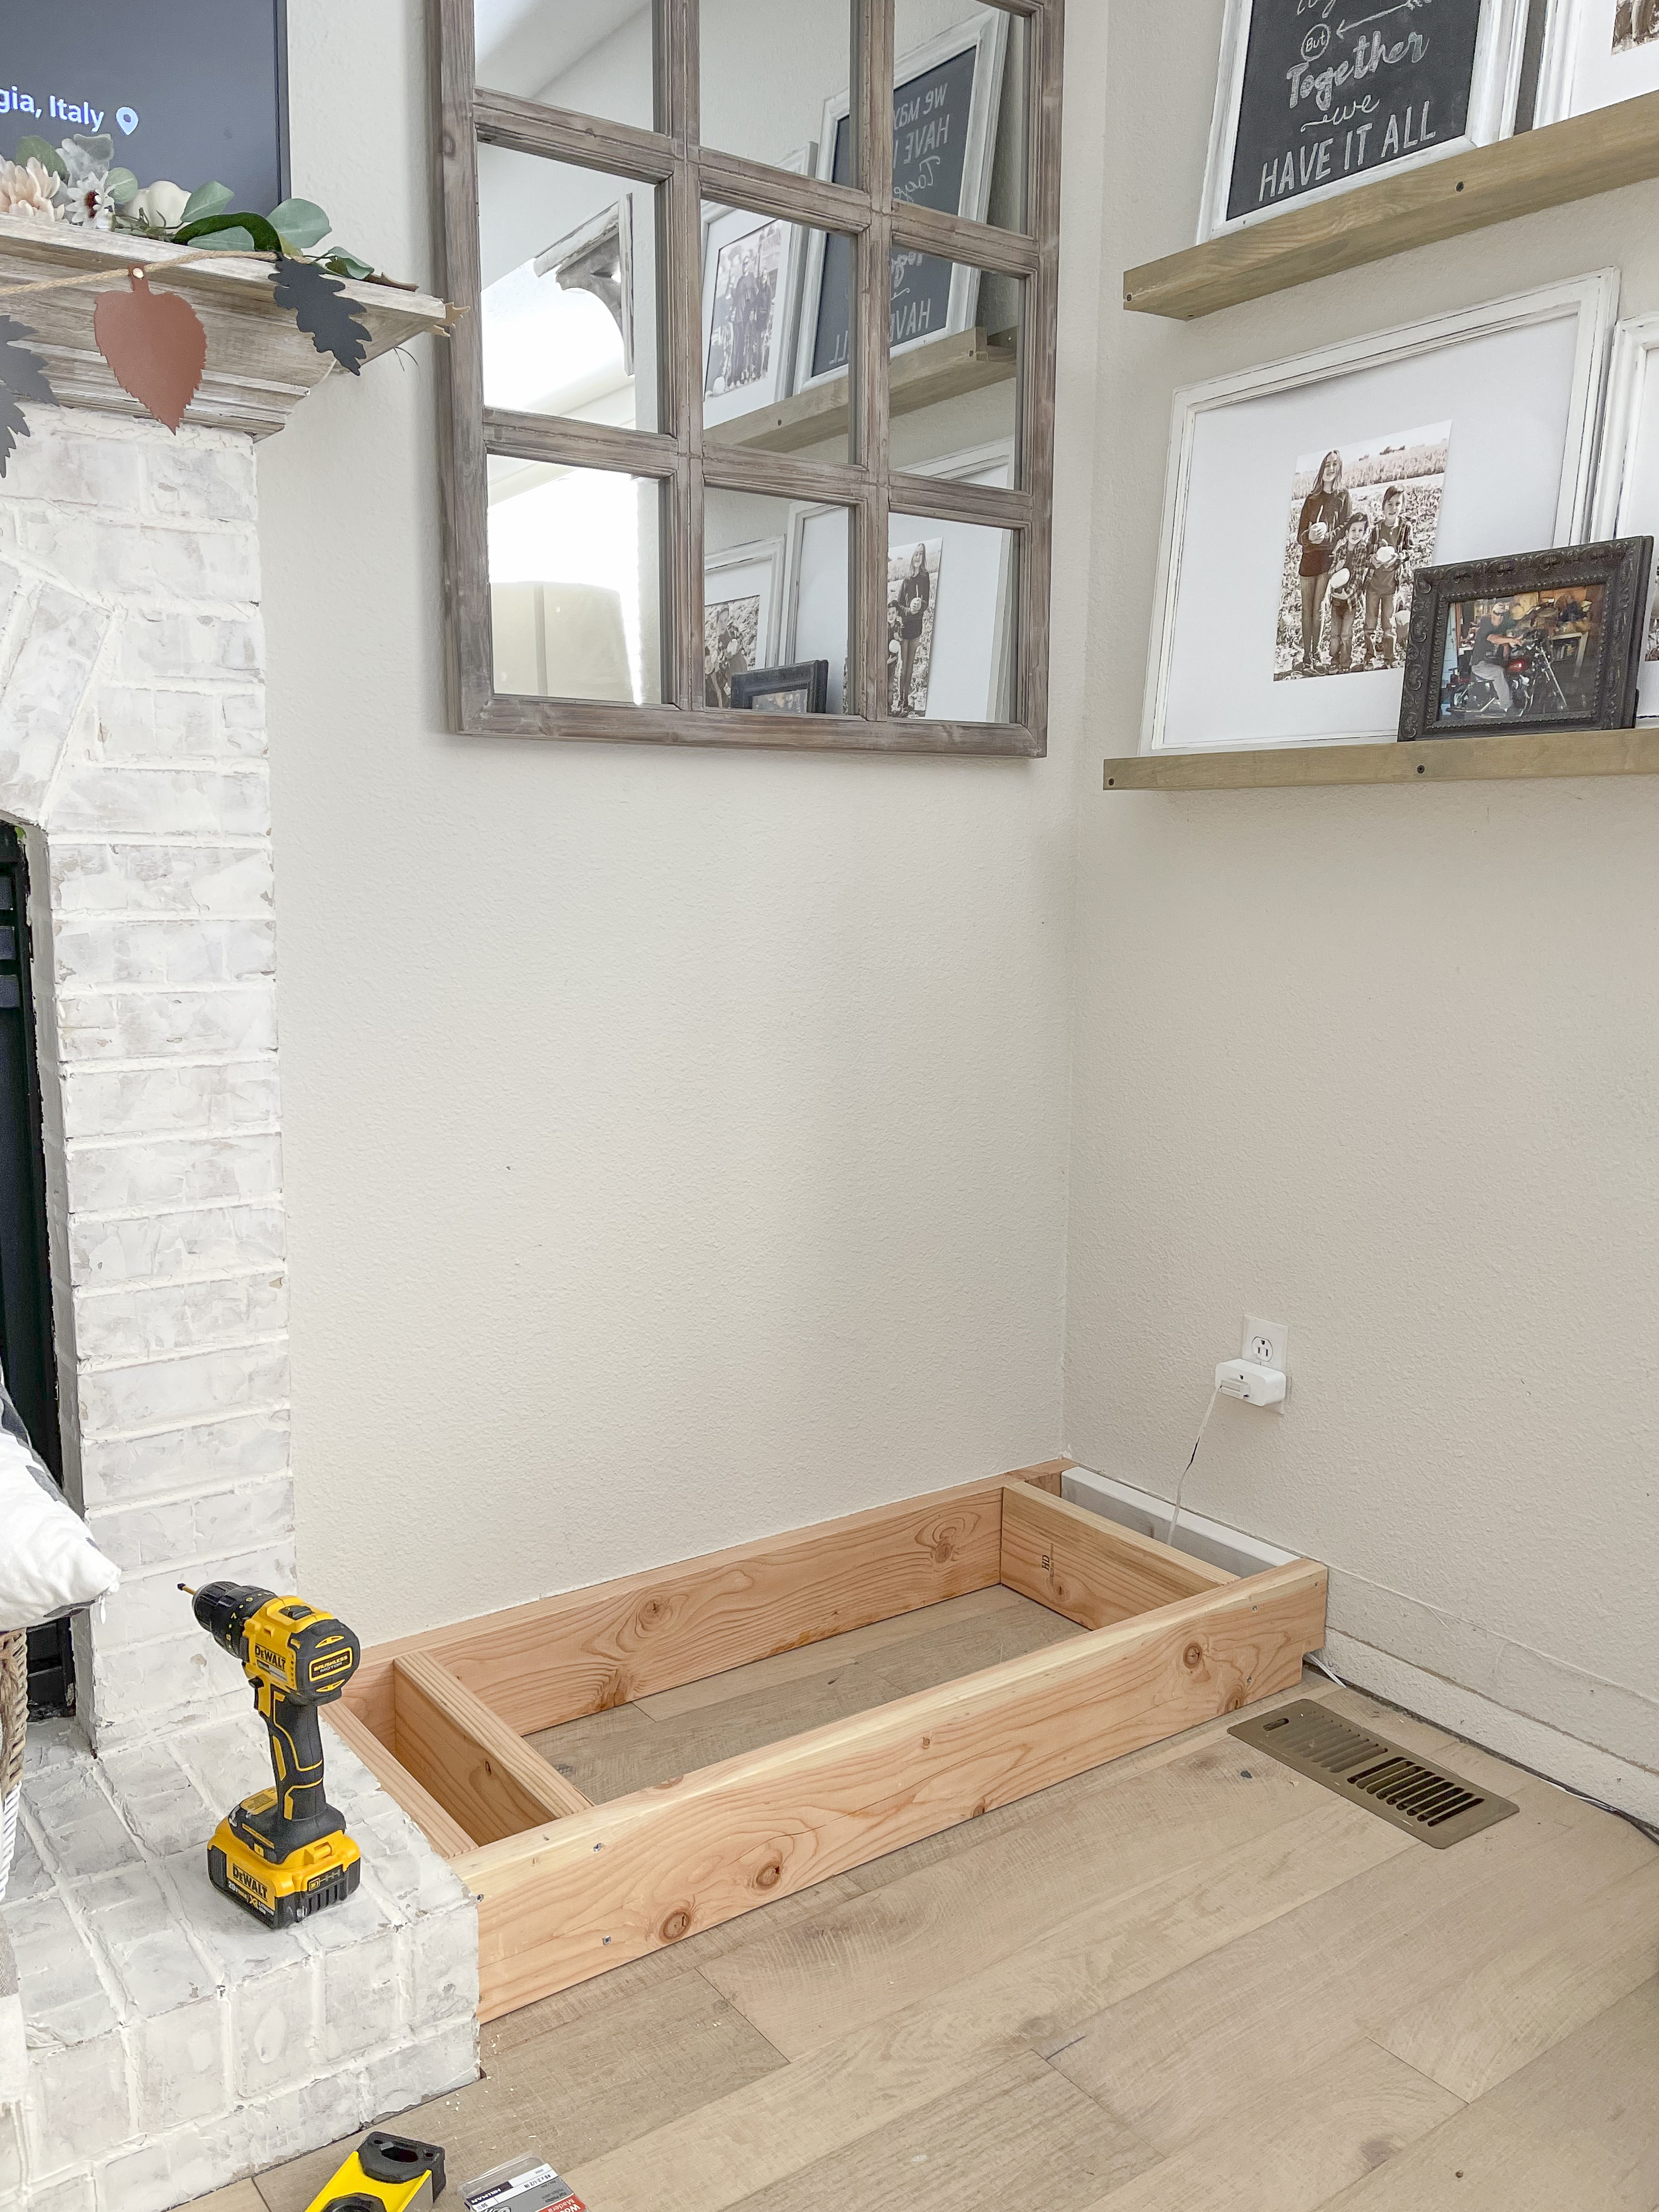
In my case there was an outlet that would be inside so I had to accommodate it by using a 2×3 for one side and notching out the front 2×6 so that a cord could be fed up.
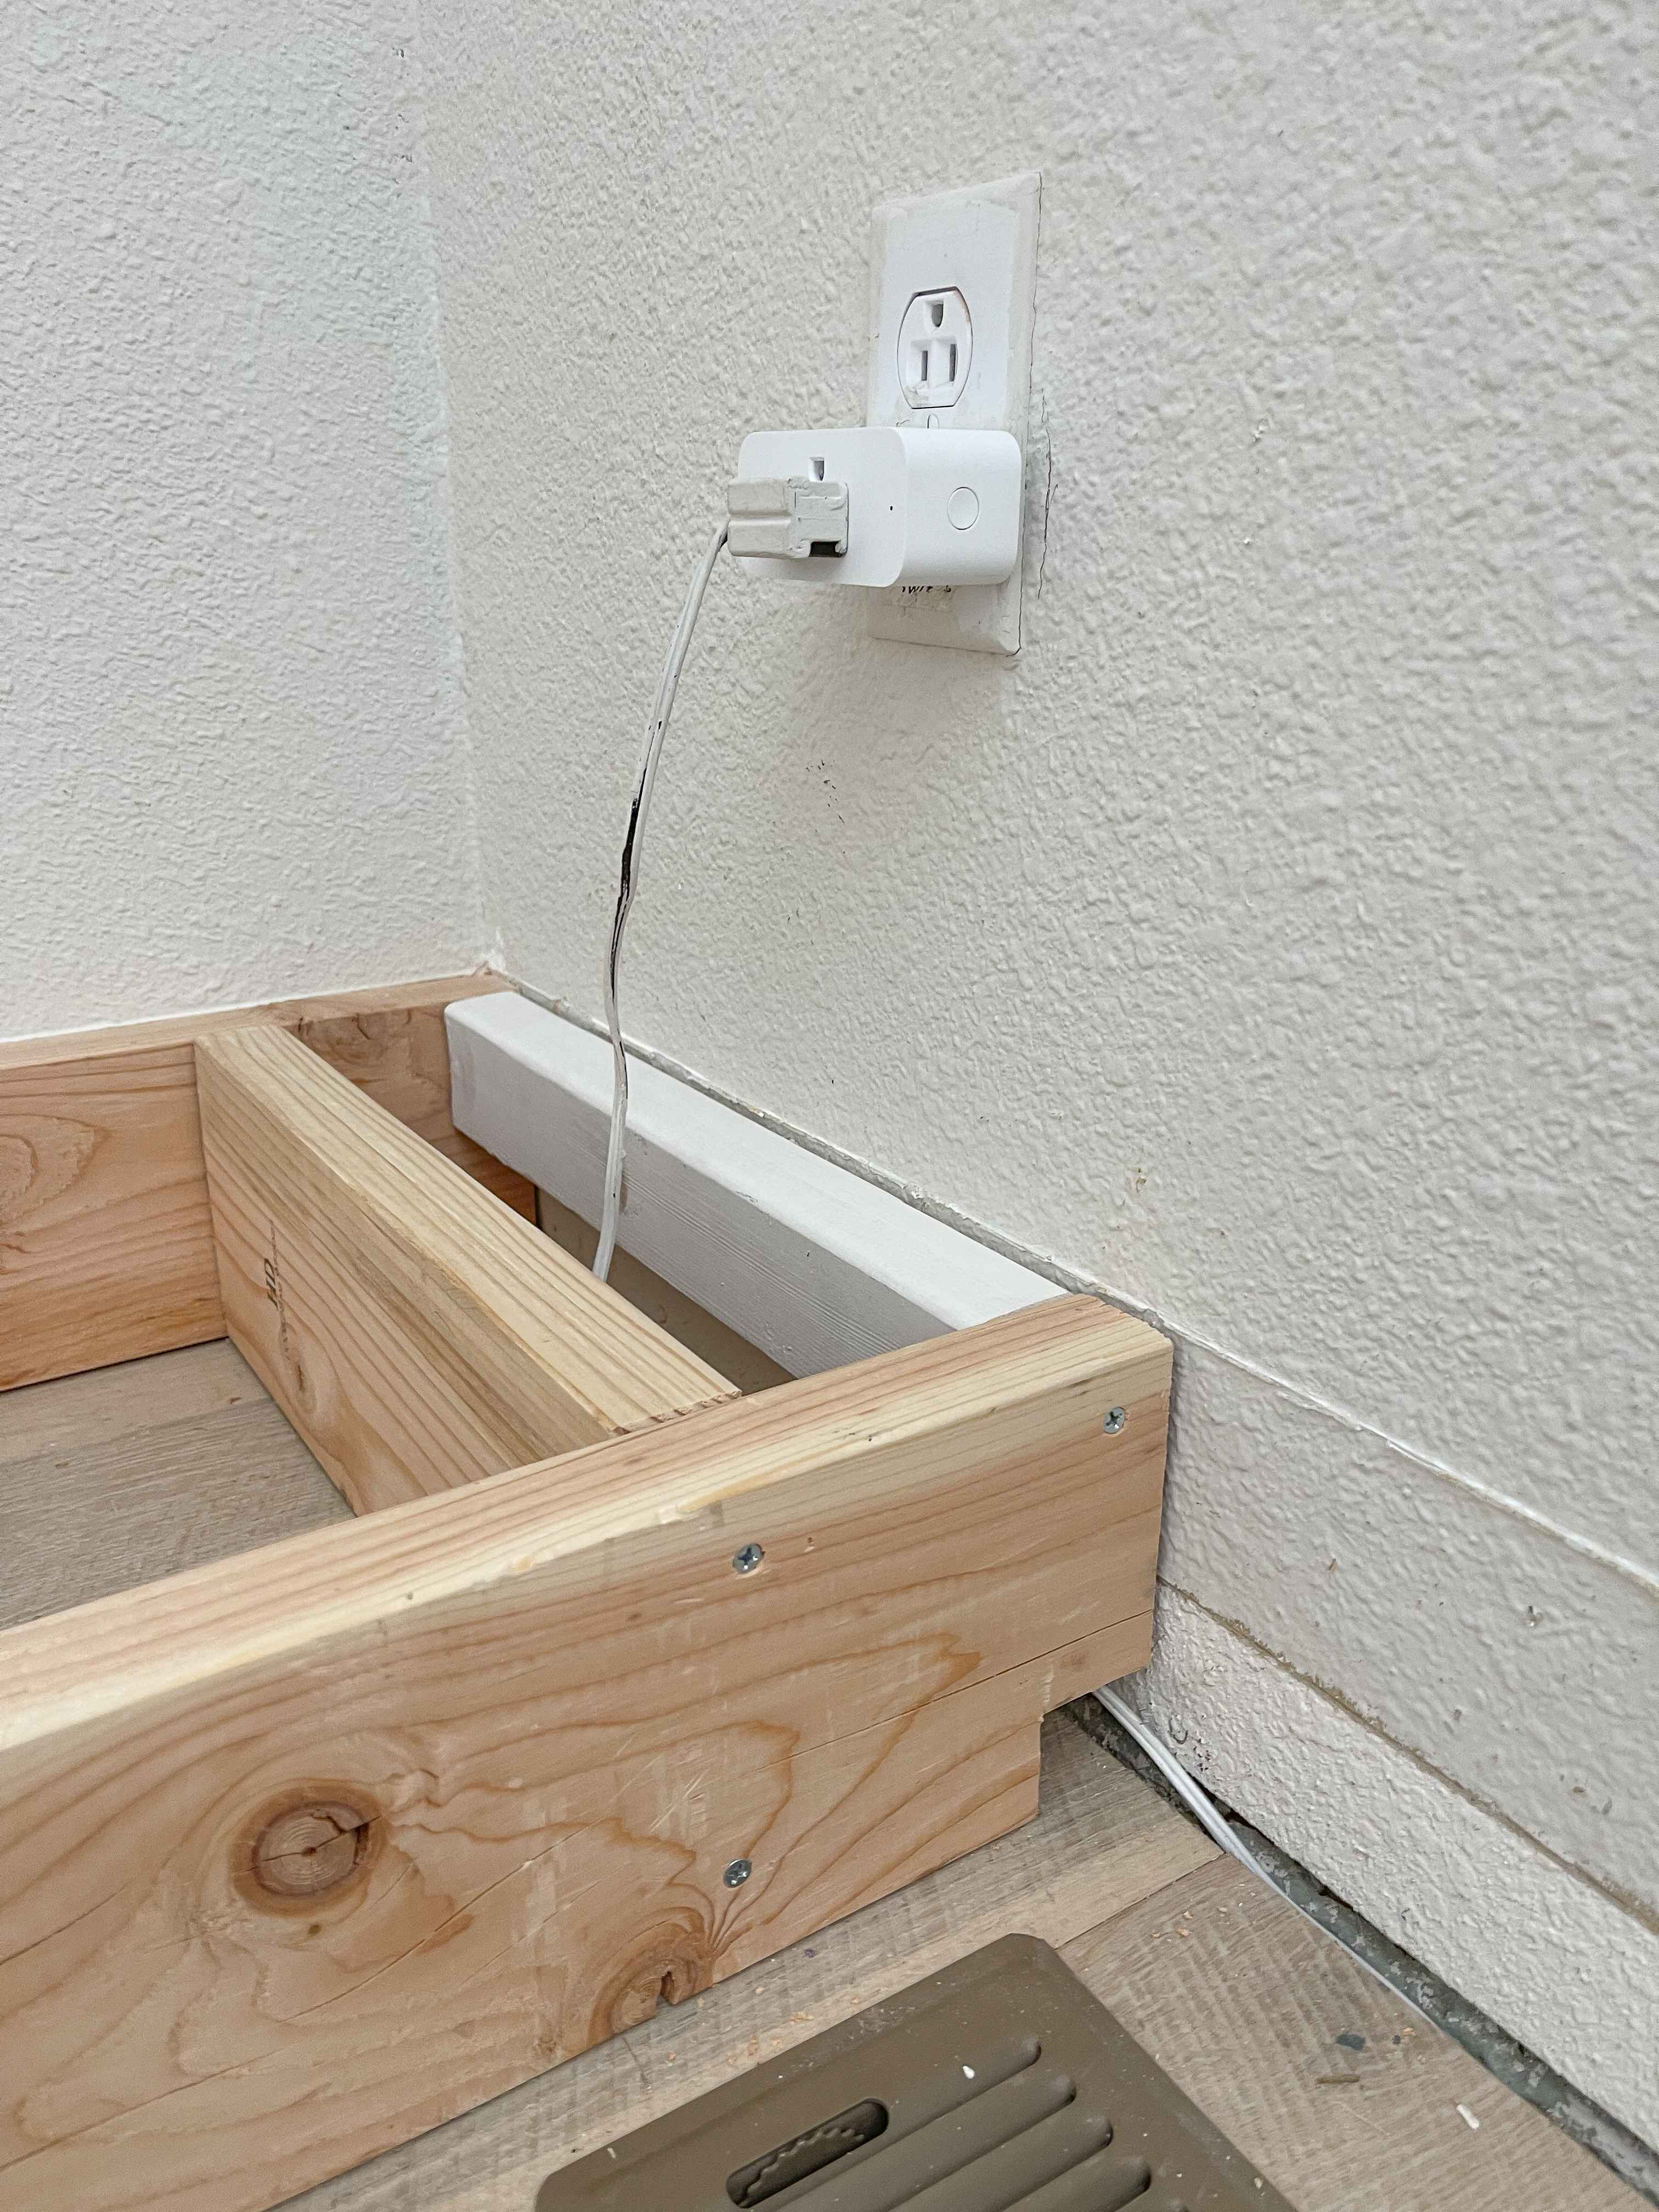
One thing to keep in mind when measuring these out is to leave room for the baseboard or trim that you will be using to cover them. I mention this because I totally almost forgot!
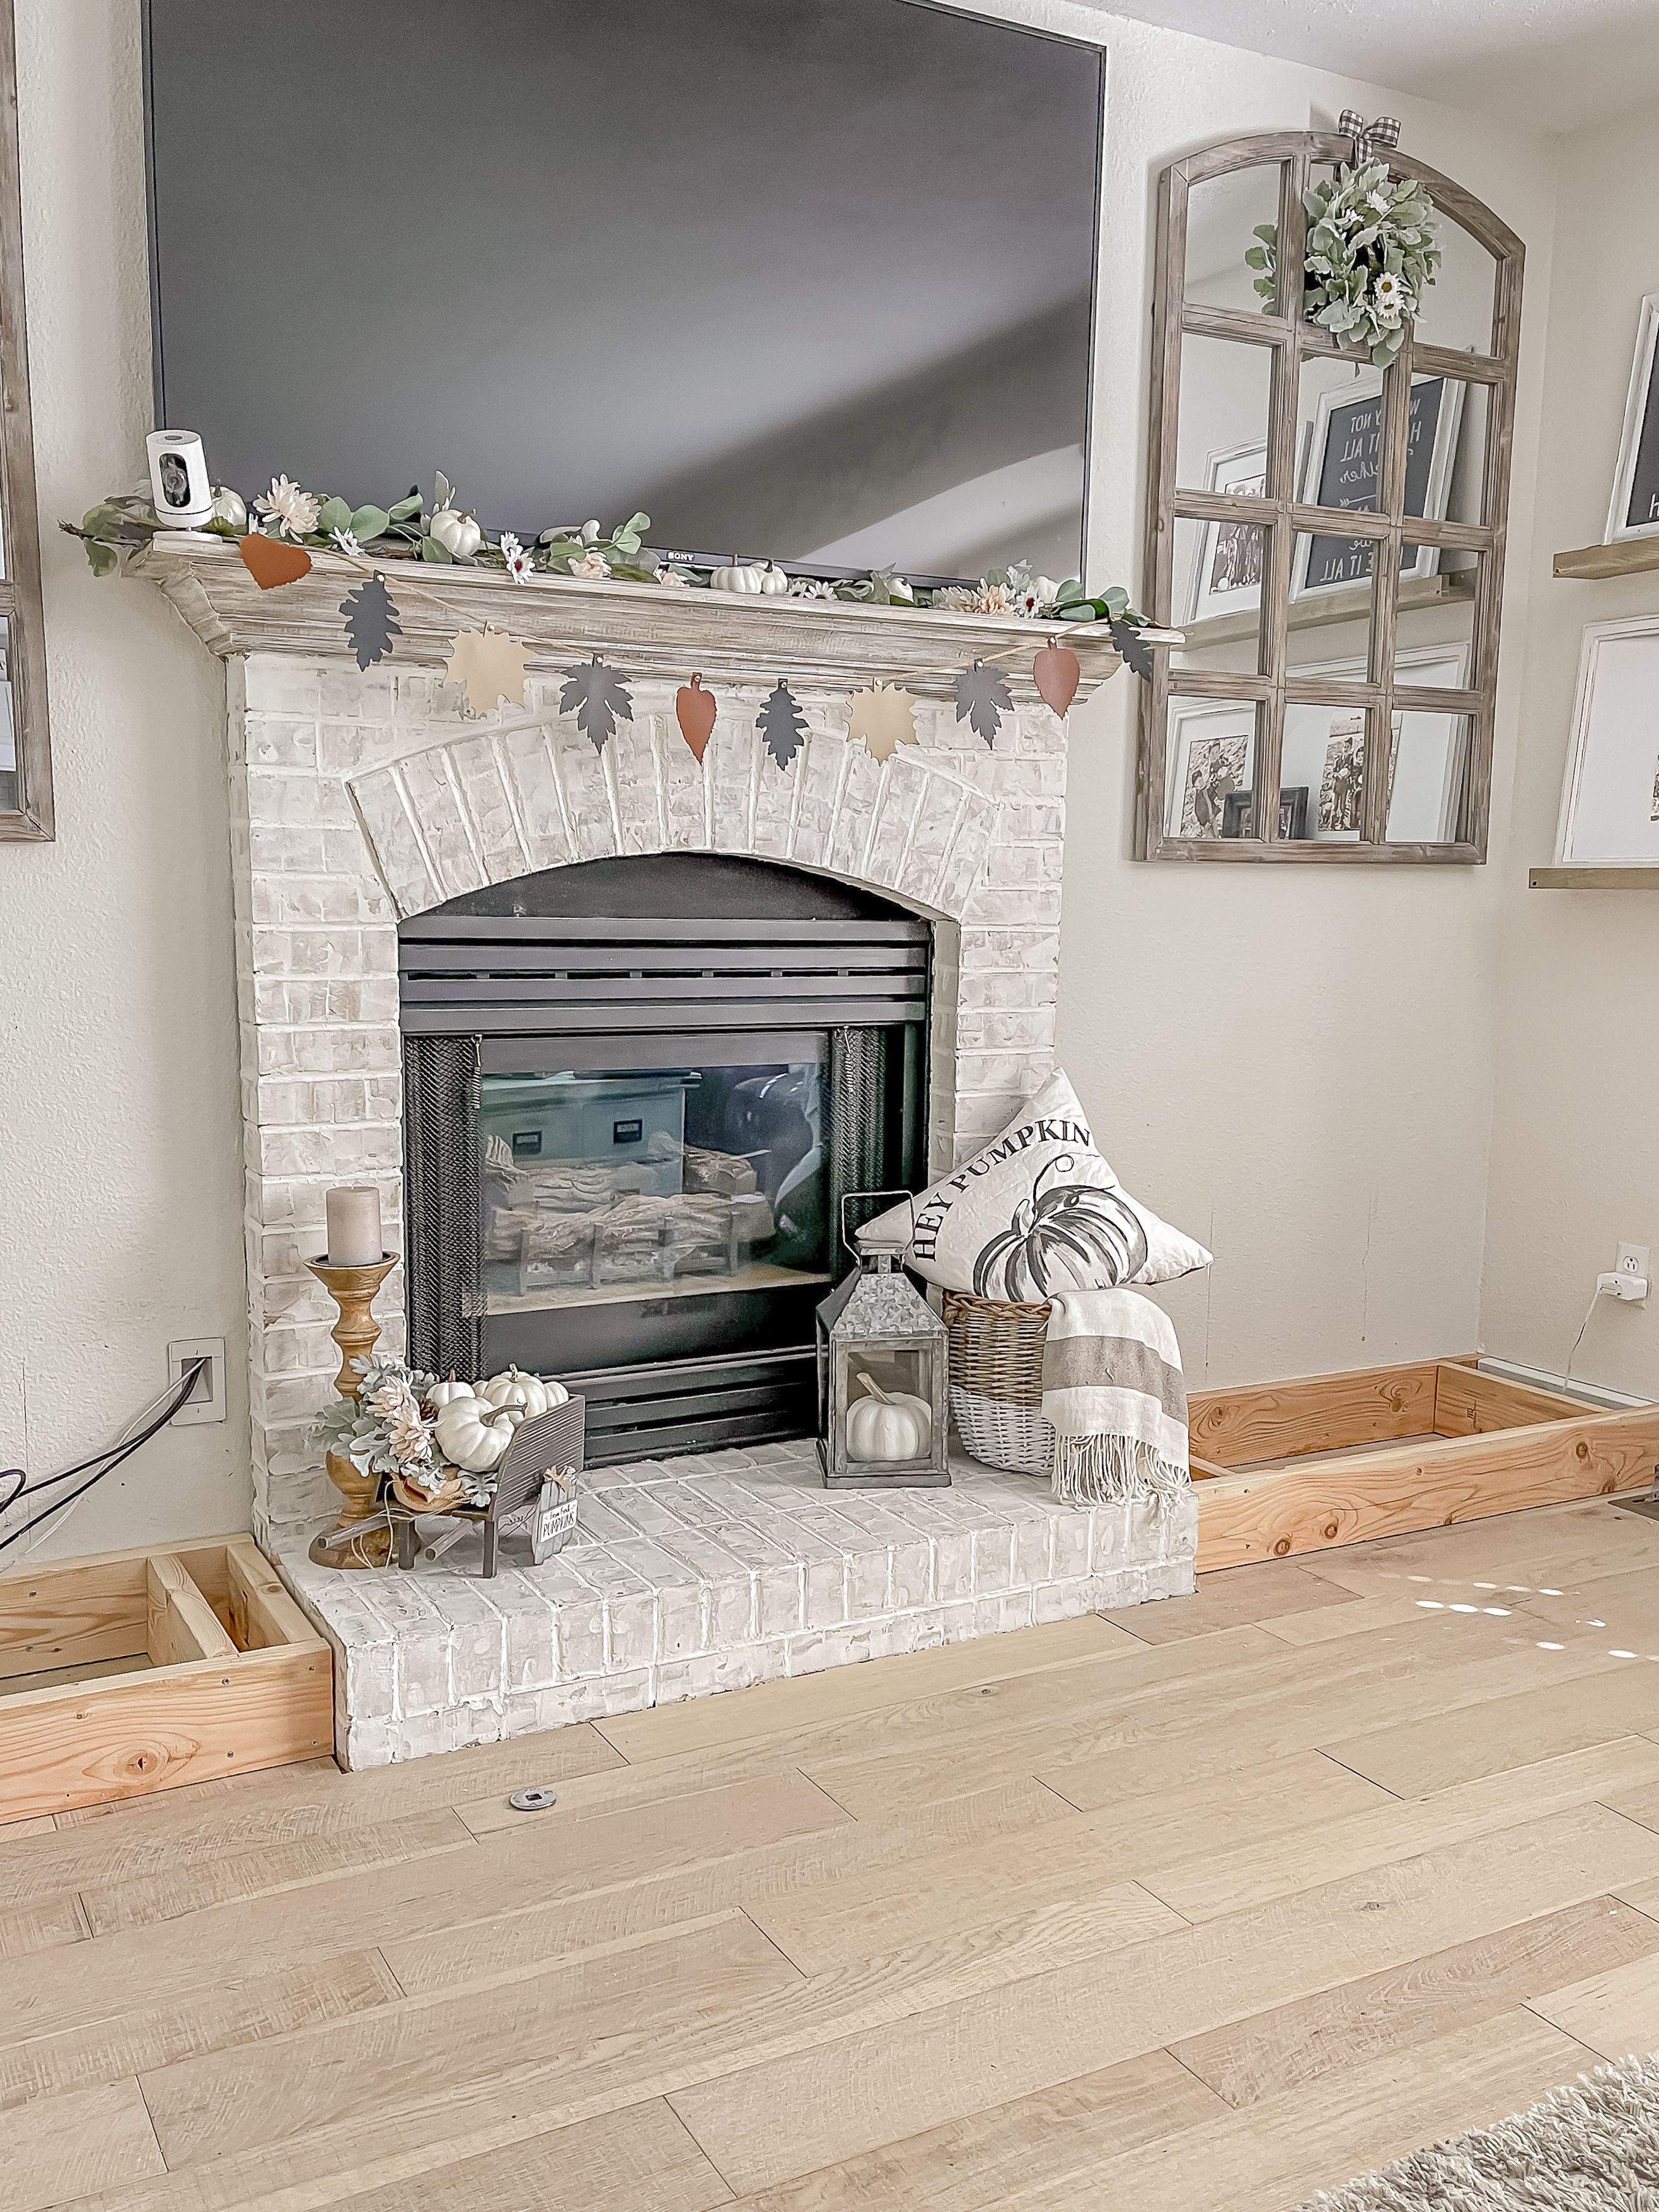
Once the bases were built, I attached them to the studs to make sure that they are nice and secure. Also, Anthony later came in and decided to add one more 2×6 in the middle for more support.
2. Cut Backs/Doors of Cabinets
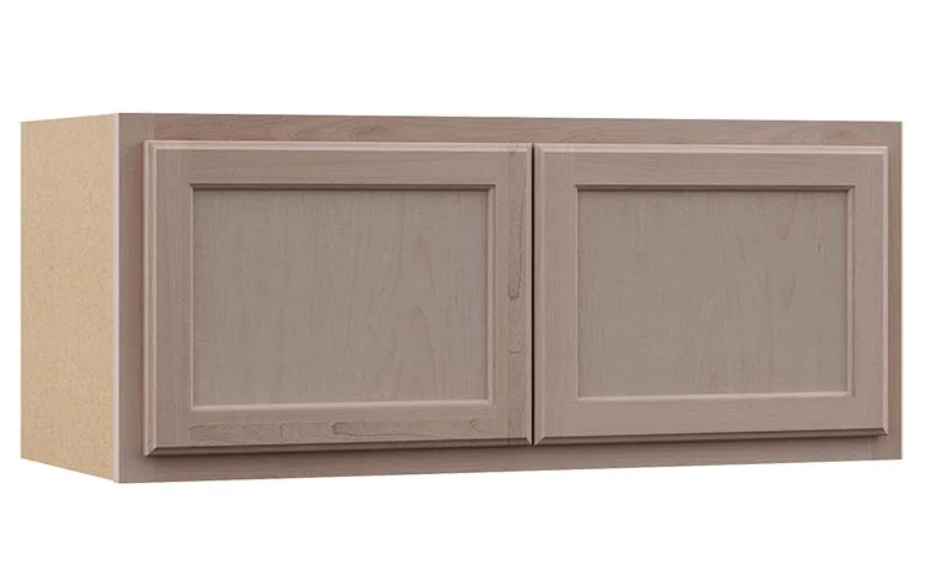
Originally I considered creating the cabinets ourselves using plywood, however I ultimately decided that using unfinished kitchen cabinets would be much easier. These 36x15x12 ones measured perfectly for our space because it left only a few inches on either side.
We planned to keep our electronic boxes inside these, so we decided to cut out the backs to prevent it from getting too hot inside. We measured out a rectangle and then used a wood spade bit in each corner followed by the jigsaw to cut it out. If you don’t plan to keep electronics in these then this step could be skipped.
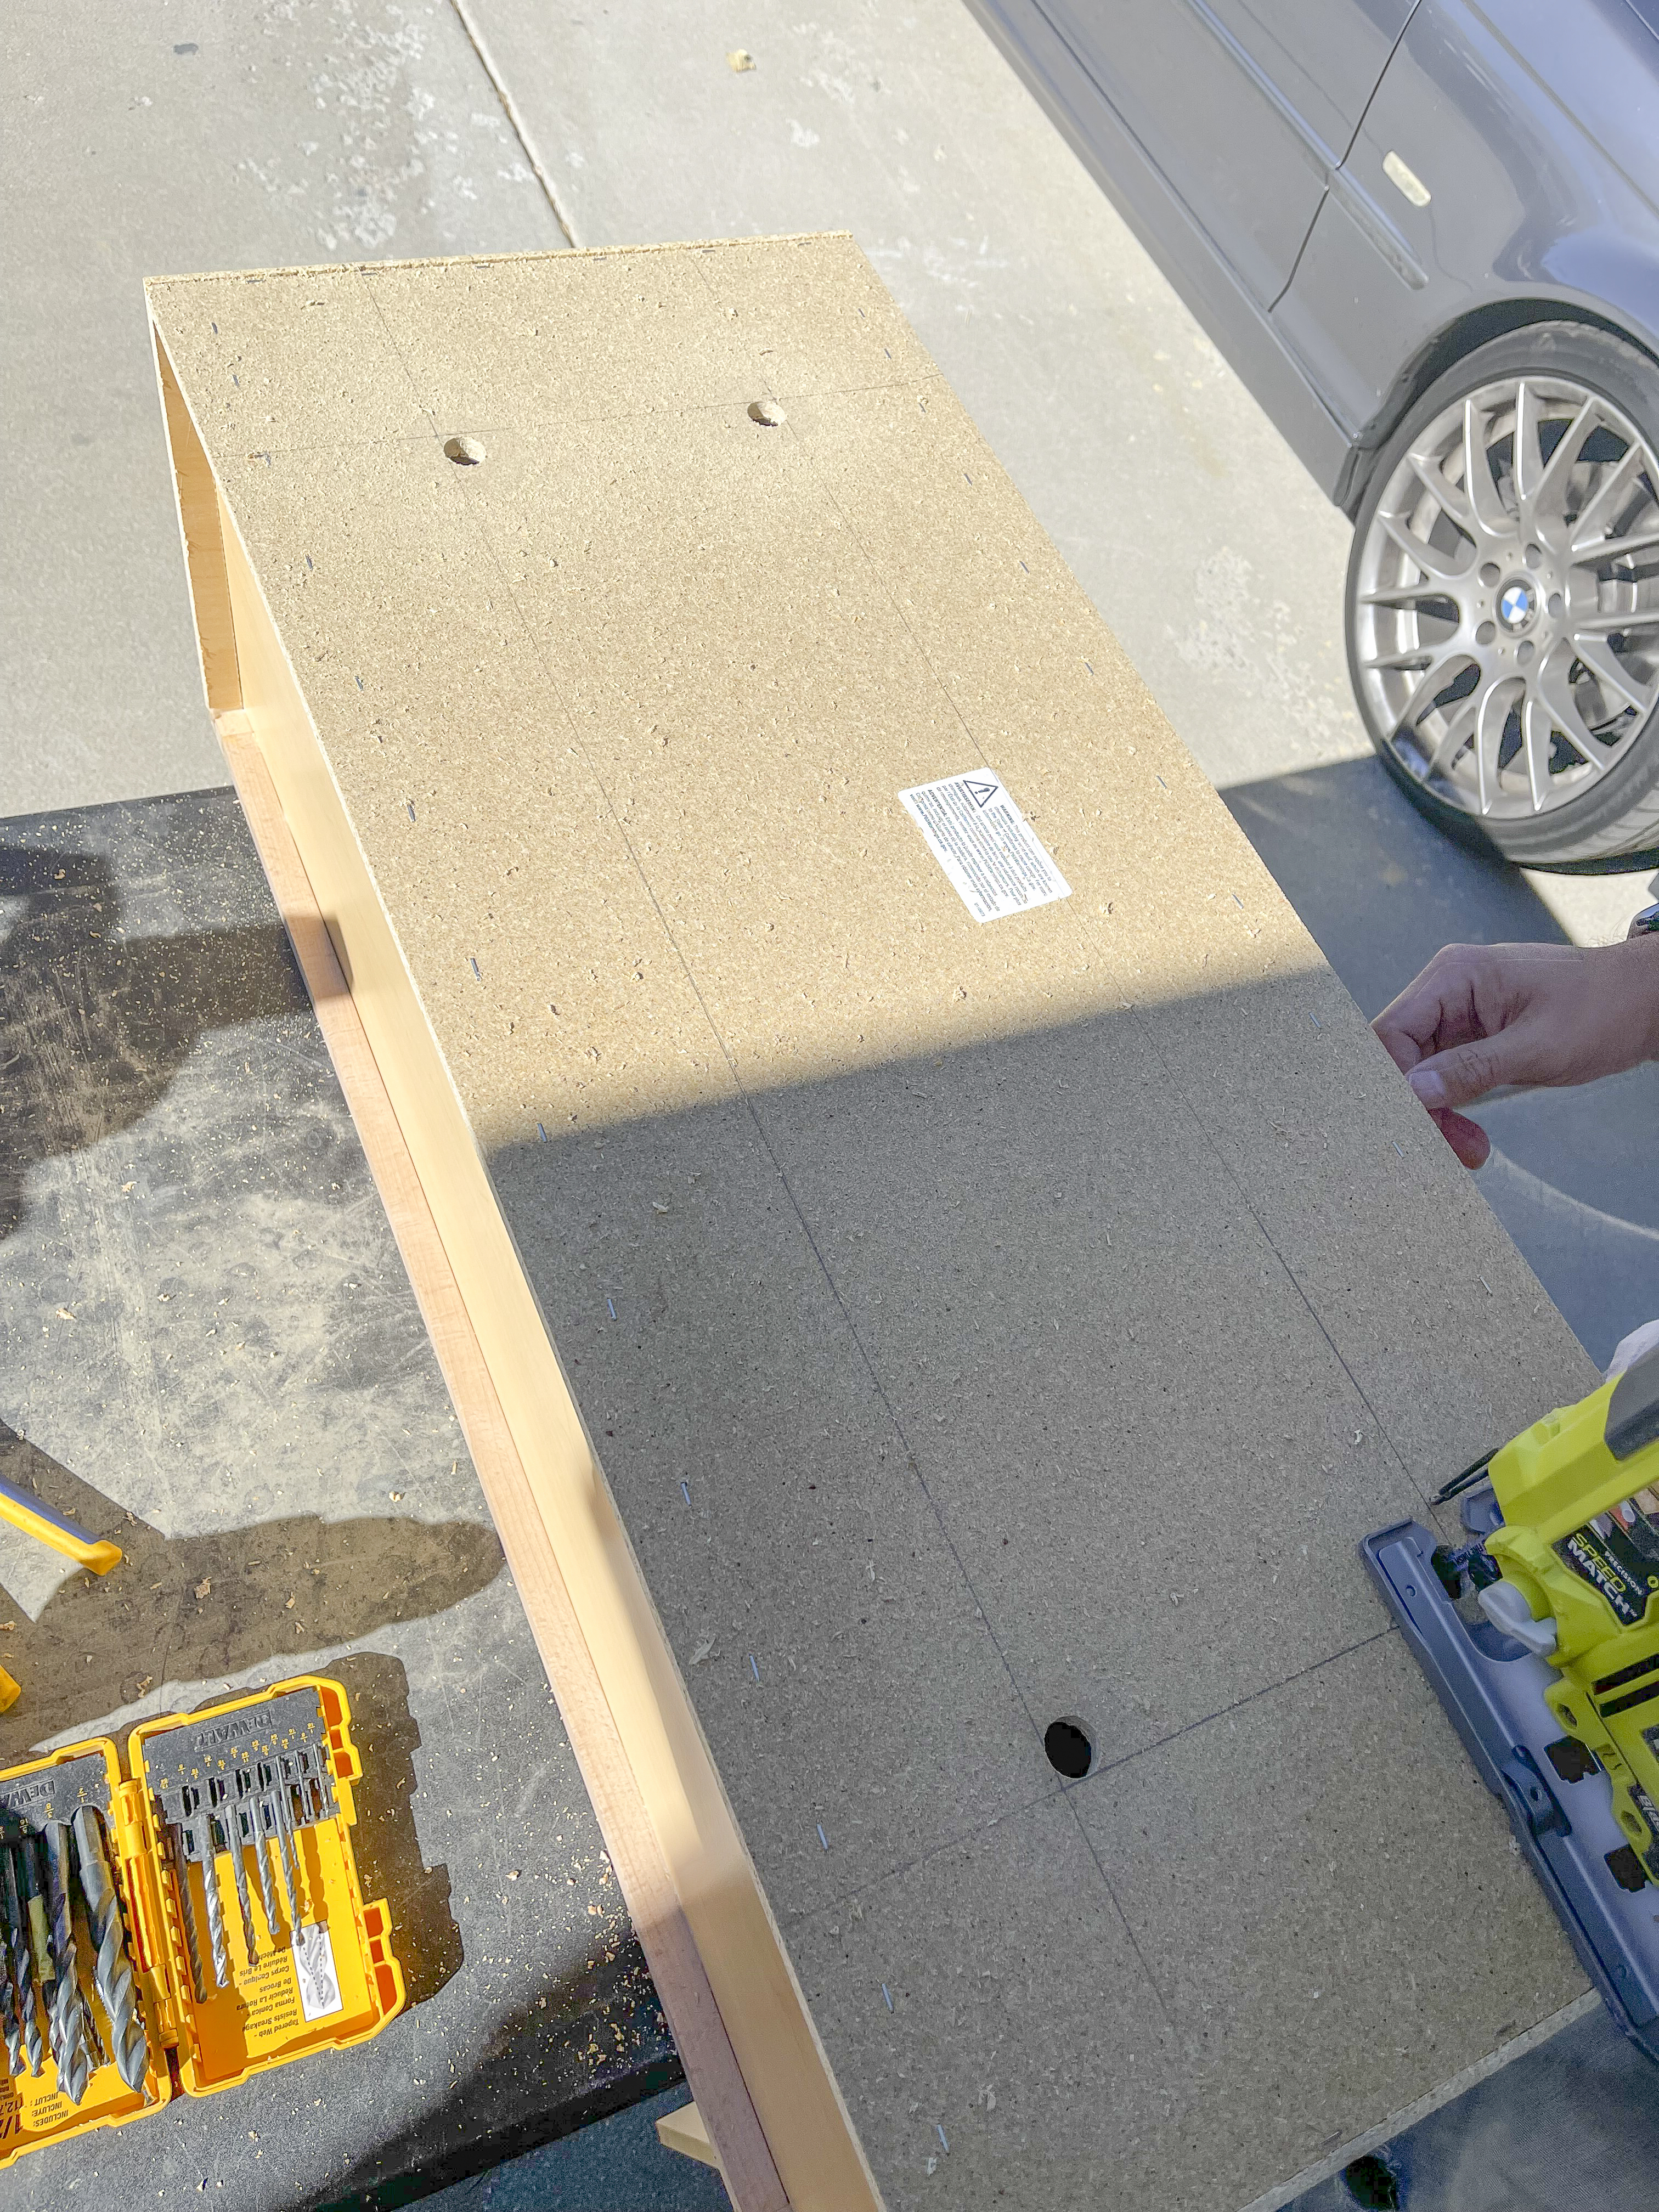
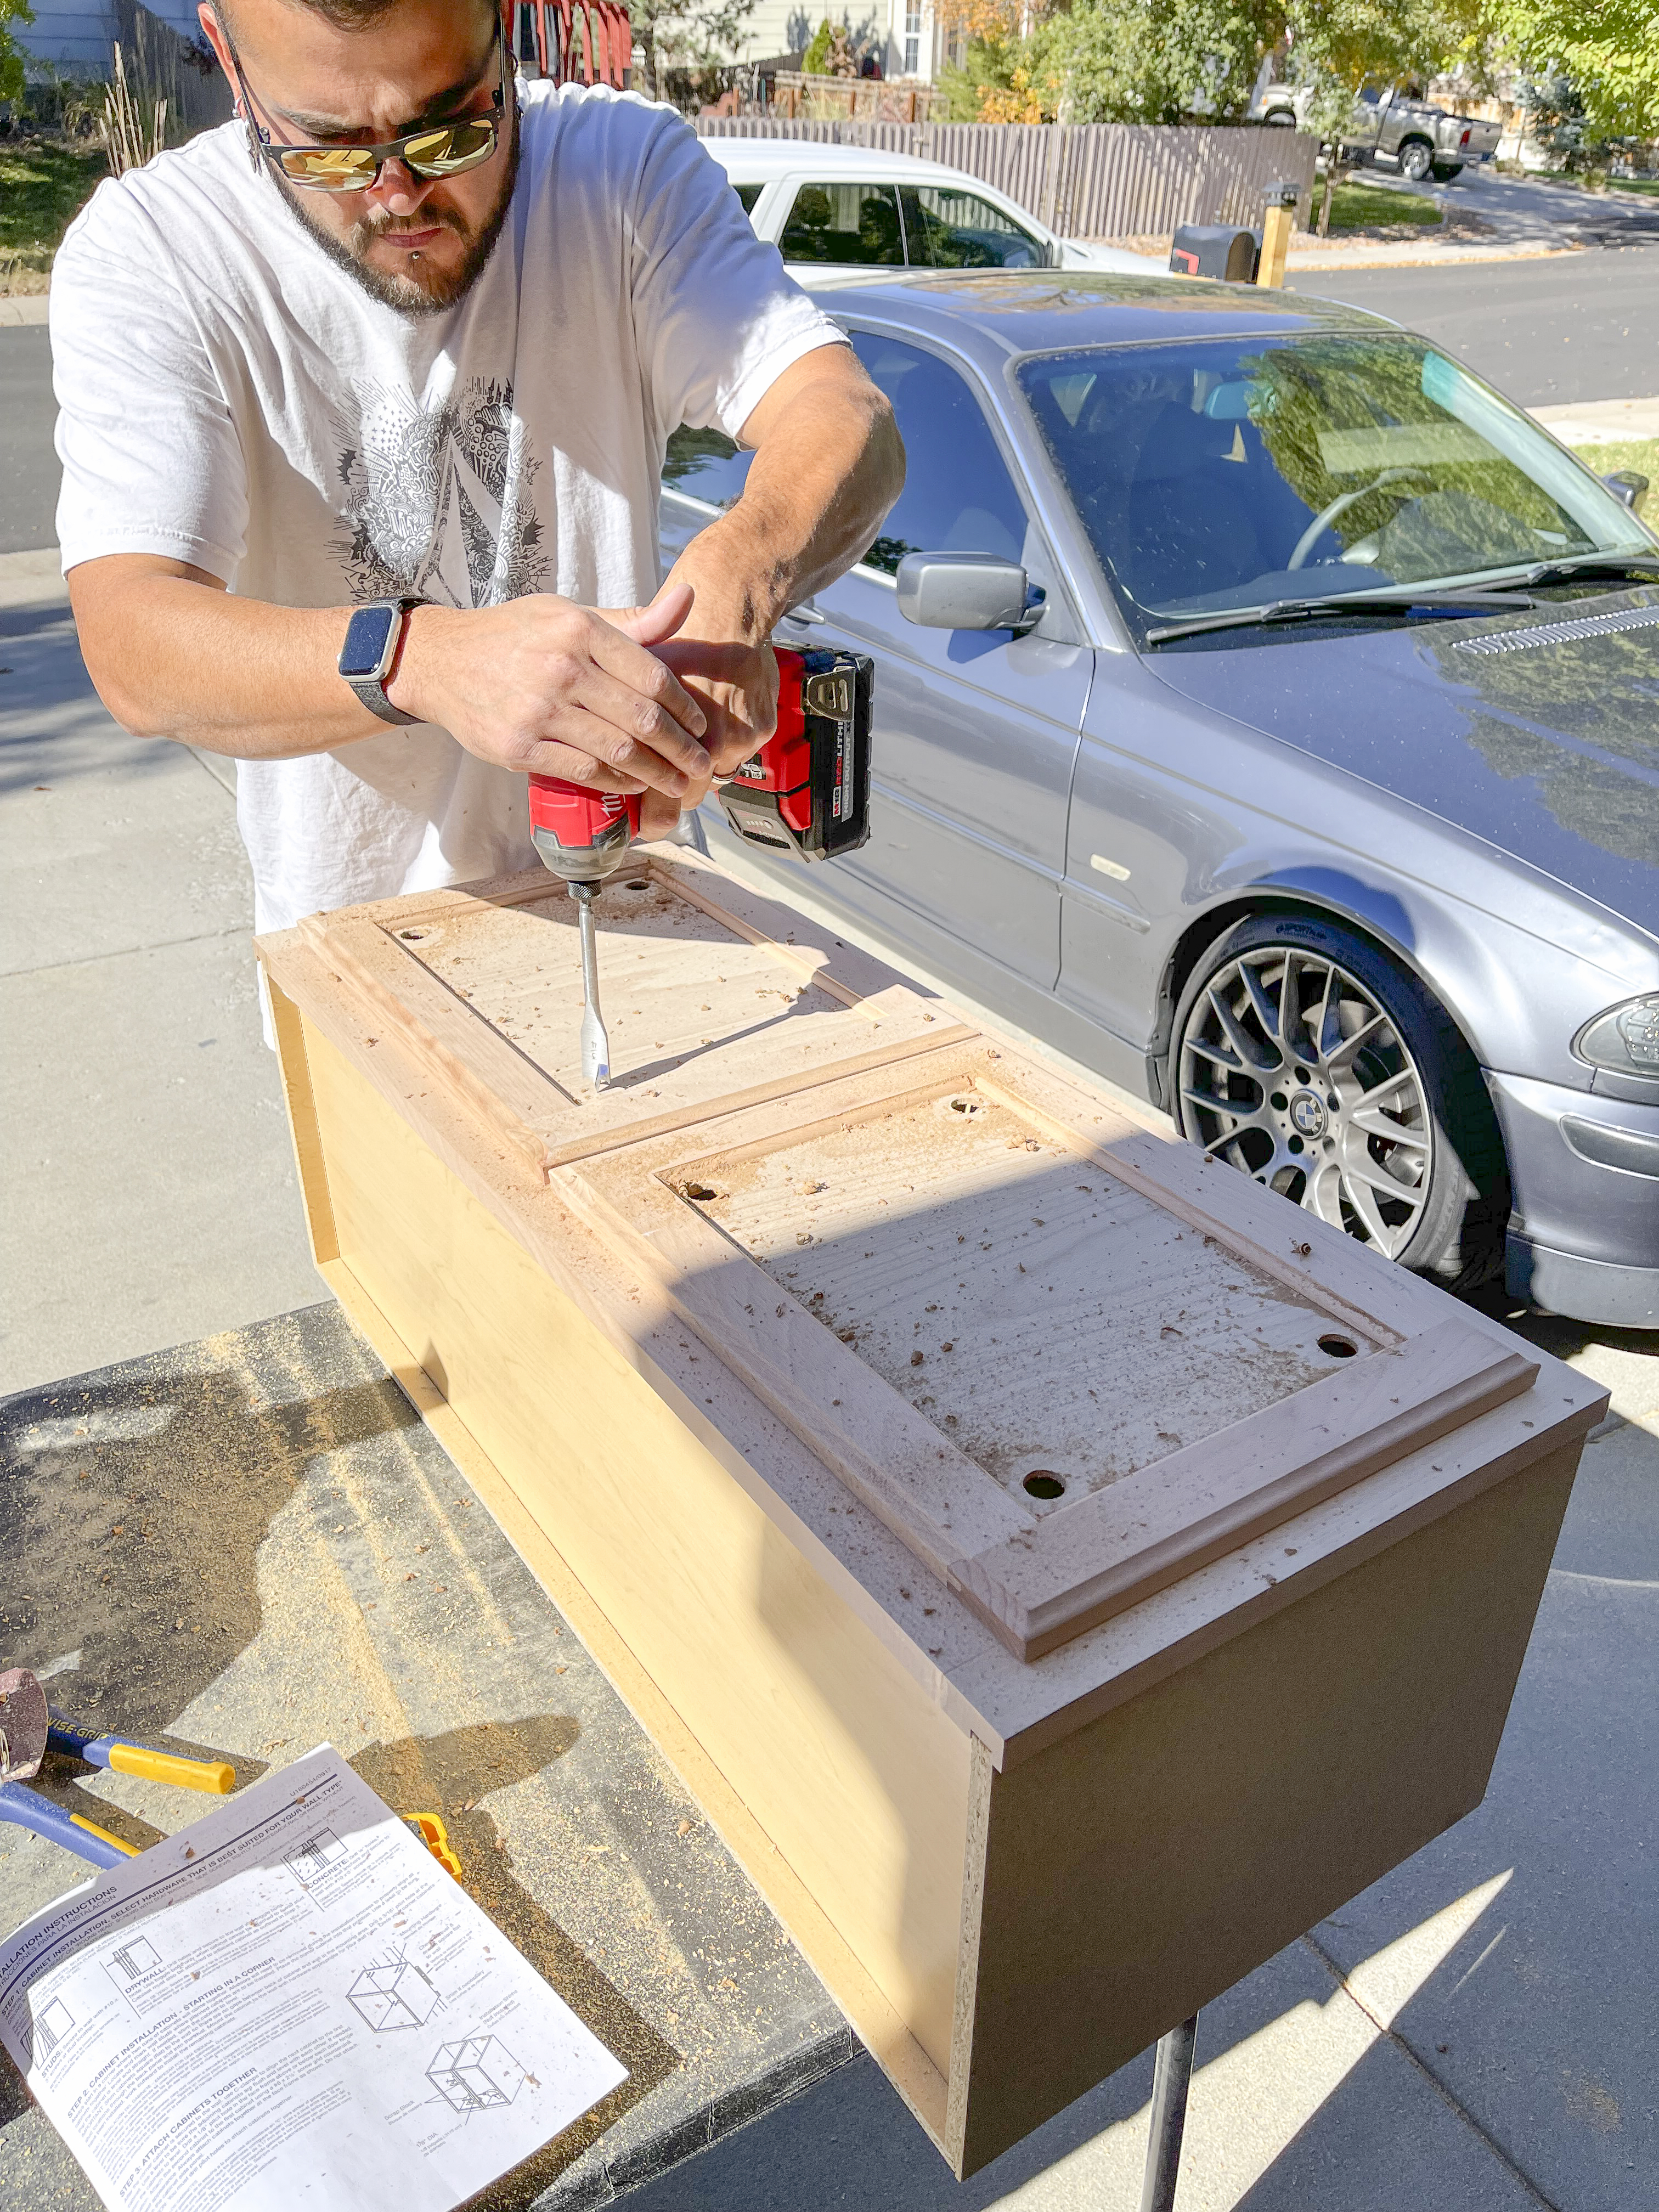
We did the same thing to the side of the cabinet that was going by the outlet so that we could access it. We also cut the fronts of the doors so that air could flow through and so the boxes could receive signal from the remotes. Don’t worry I had a plan to make them pretty!
3. Attach Cabinets to Base
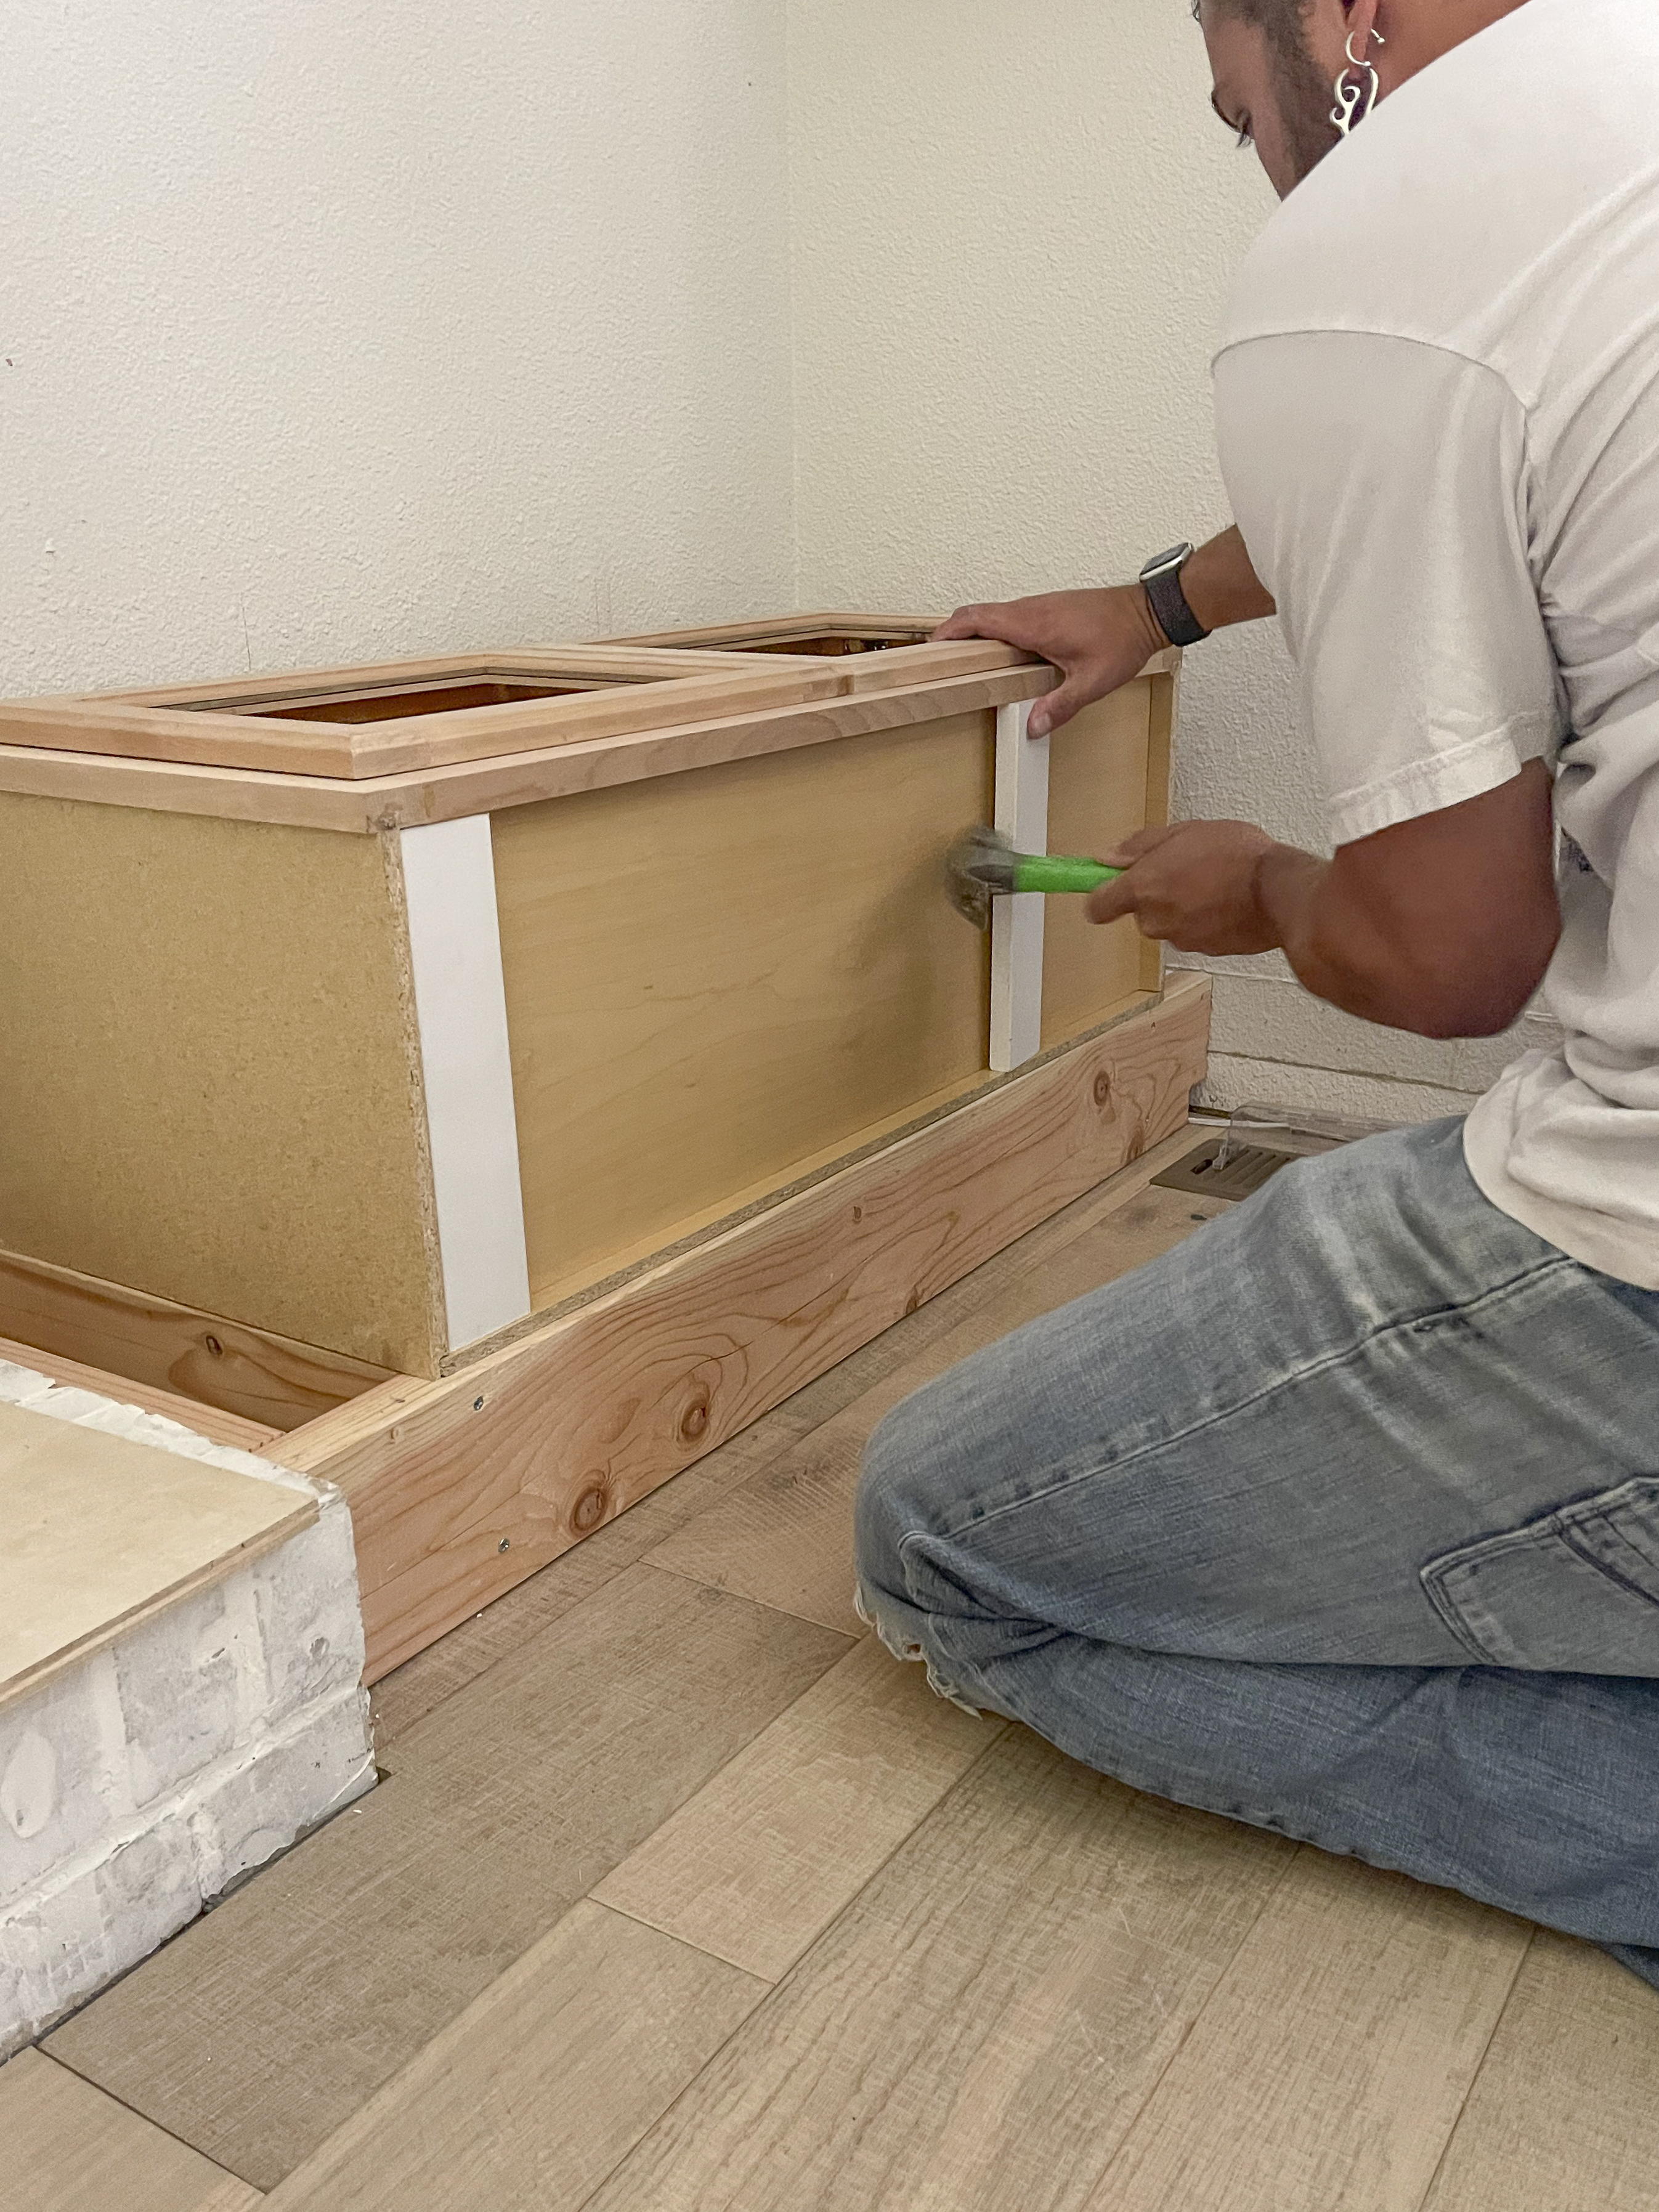
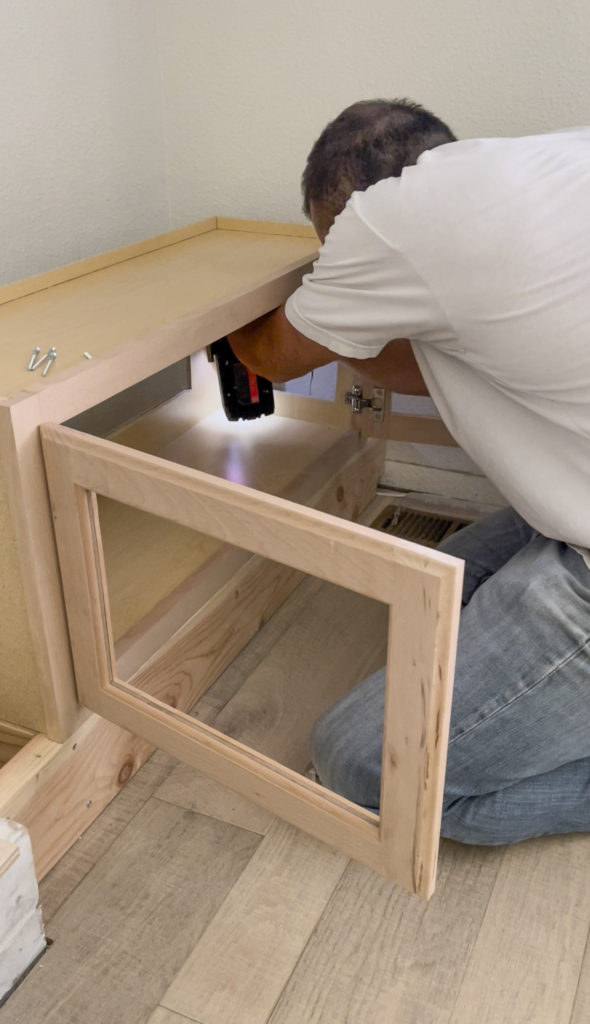
Now it was time to attach the cabinets to their bases. Since there is a small lip on the bottom of the cabinets, we stuck a couple of MDF pieces inside so that we had a flush surface to screw to.
4. Build out the Sides
With the cabinet now in place we could start covering up the sides. This was honestly a bit of a puzzle and we pretty much made it up as we went.
We began by measuring and cutting pieces of plywood mitered 45 degrees on the edges. With the side set in place, we then measured out pieces of 2×3 to slip down into the bottom on either side as well as for the top.
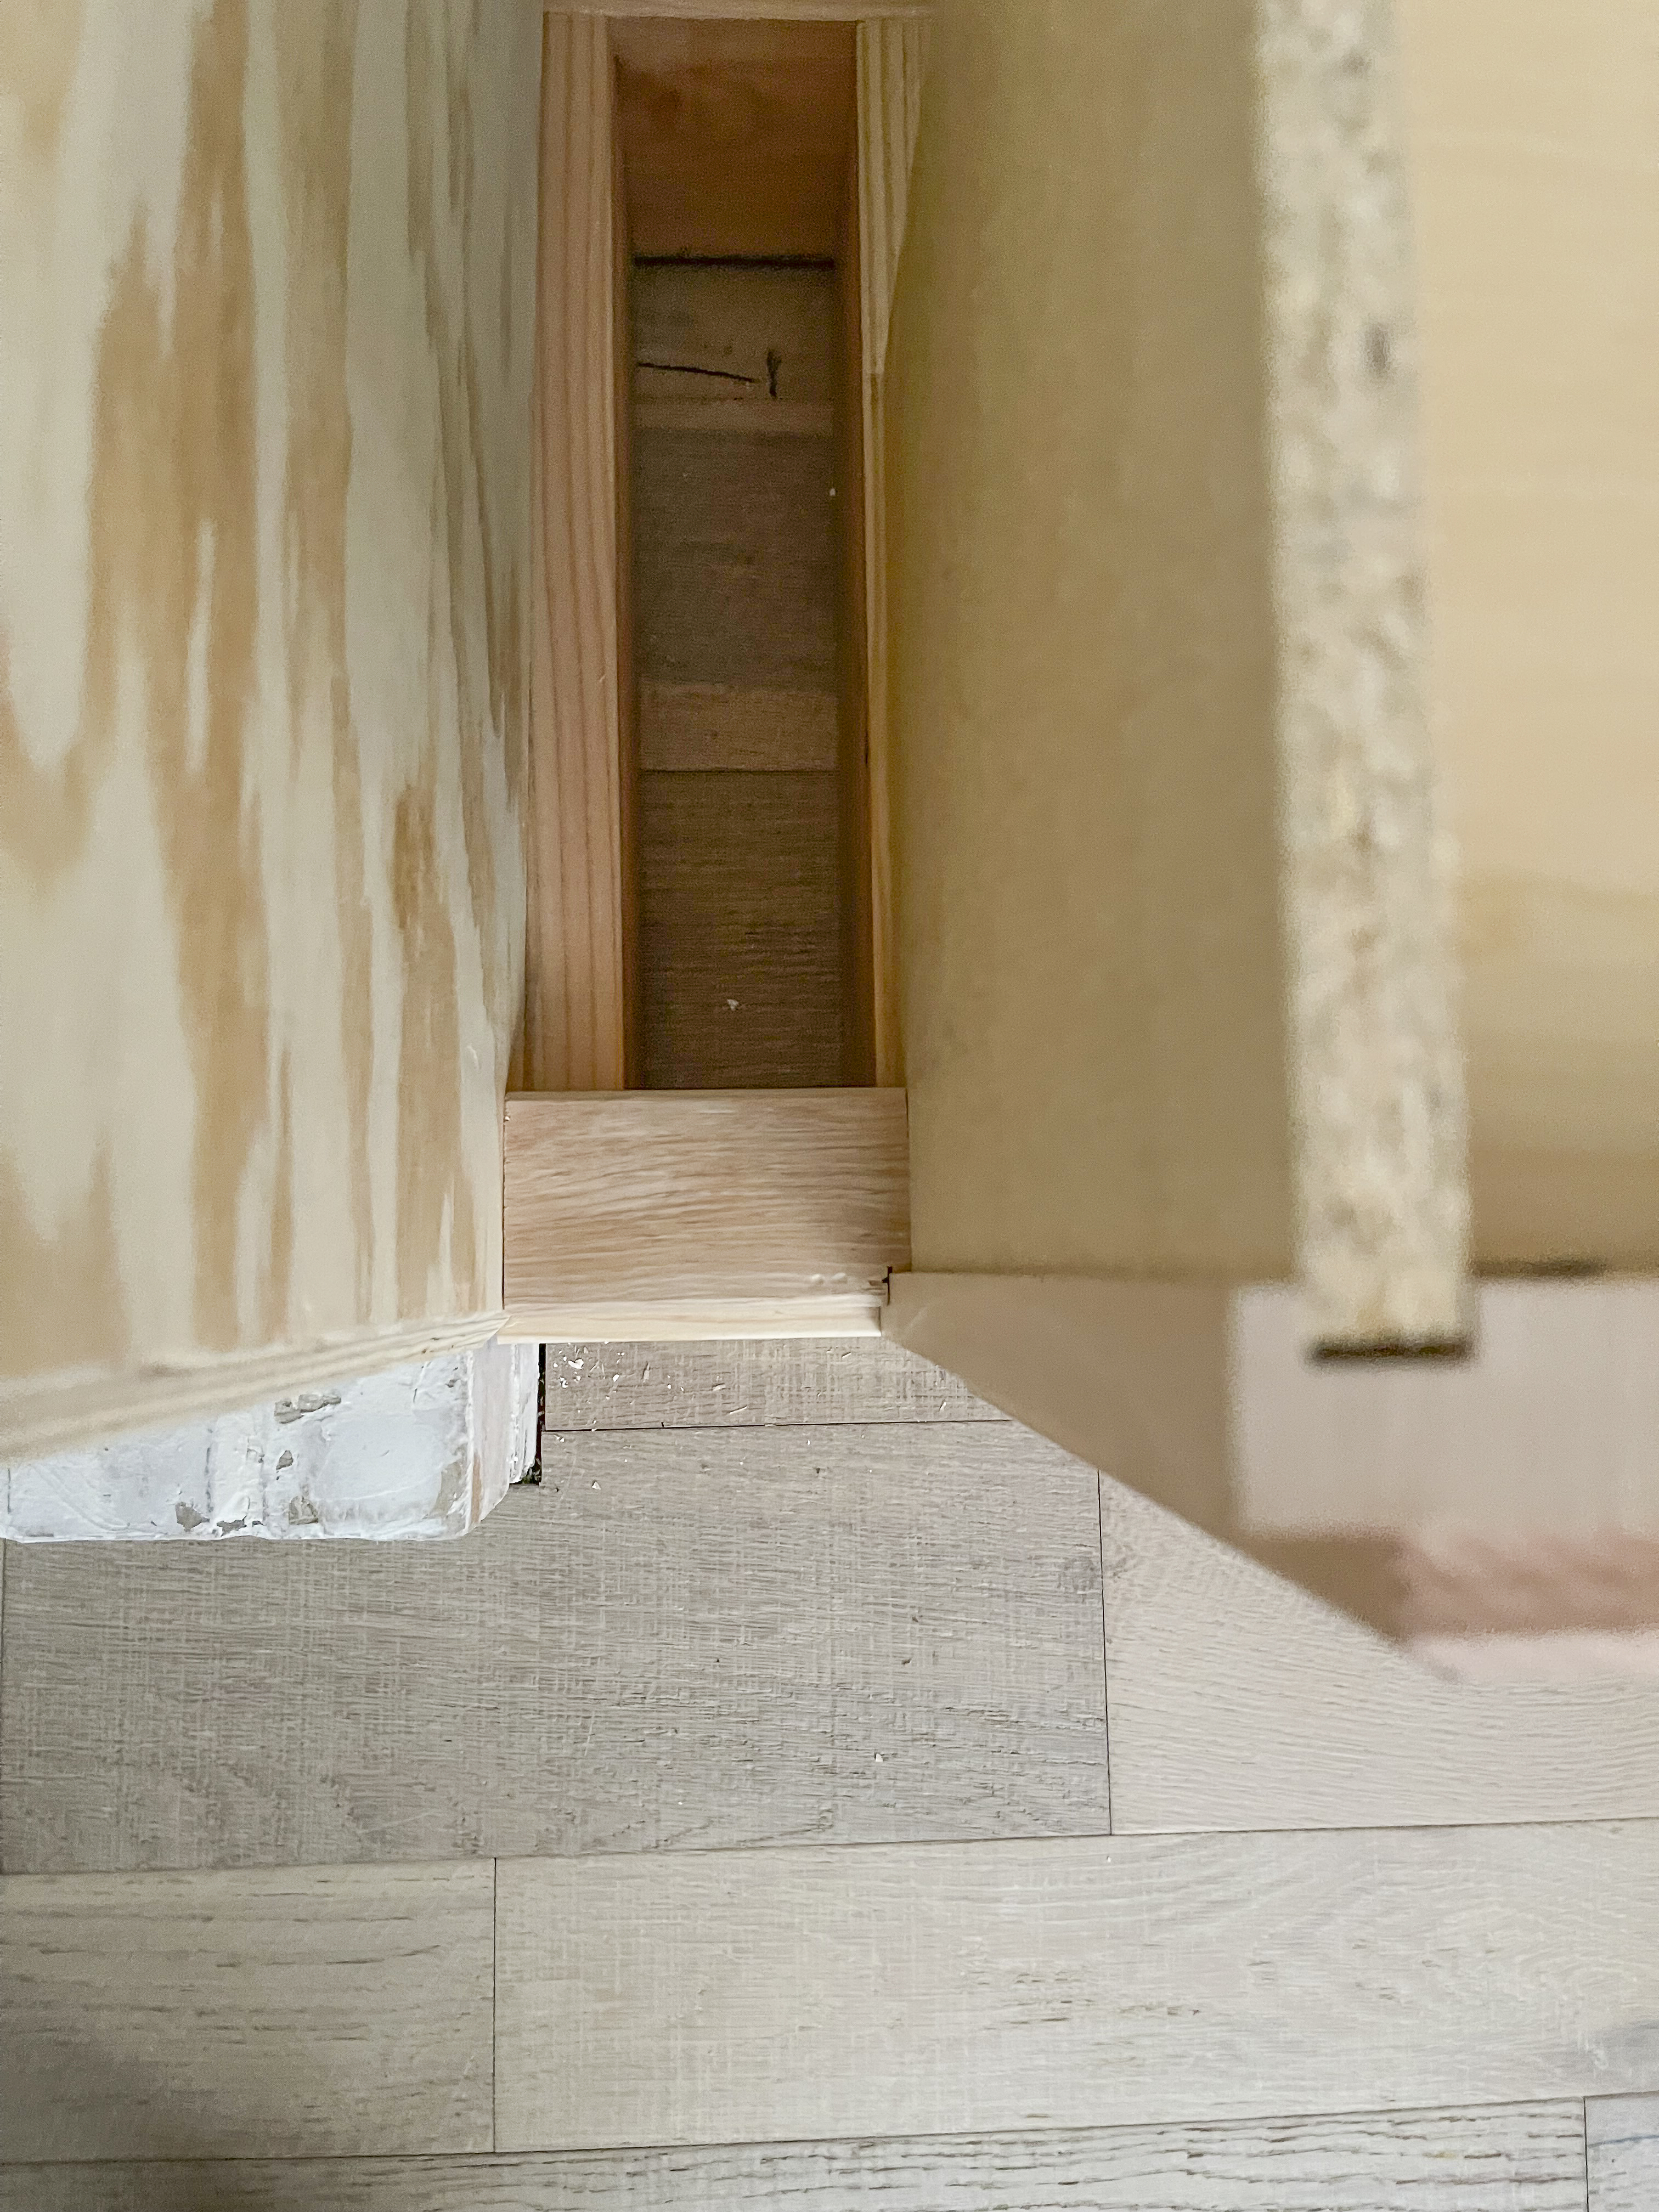
We had to bring them forward just right so that the front plywood piece would sit flush with the cabinet which meant that we had to use the jigsaw to notch out a small piece. We connected them using pocket holes to another 2×3 cut at 15″ (the cabinet is 18″ high, minus the 3″ width of the blocks).
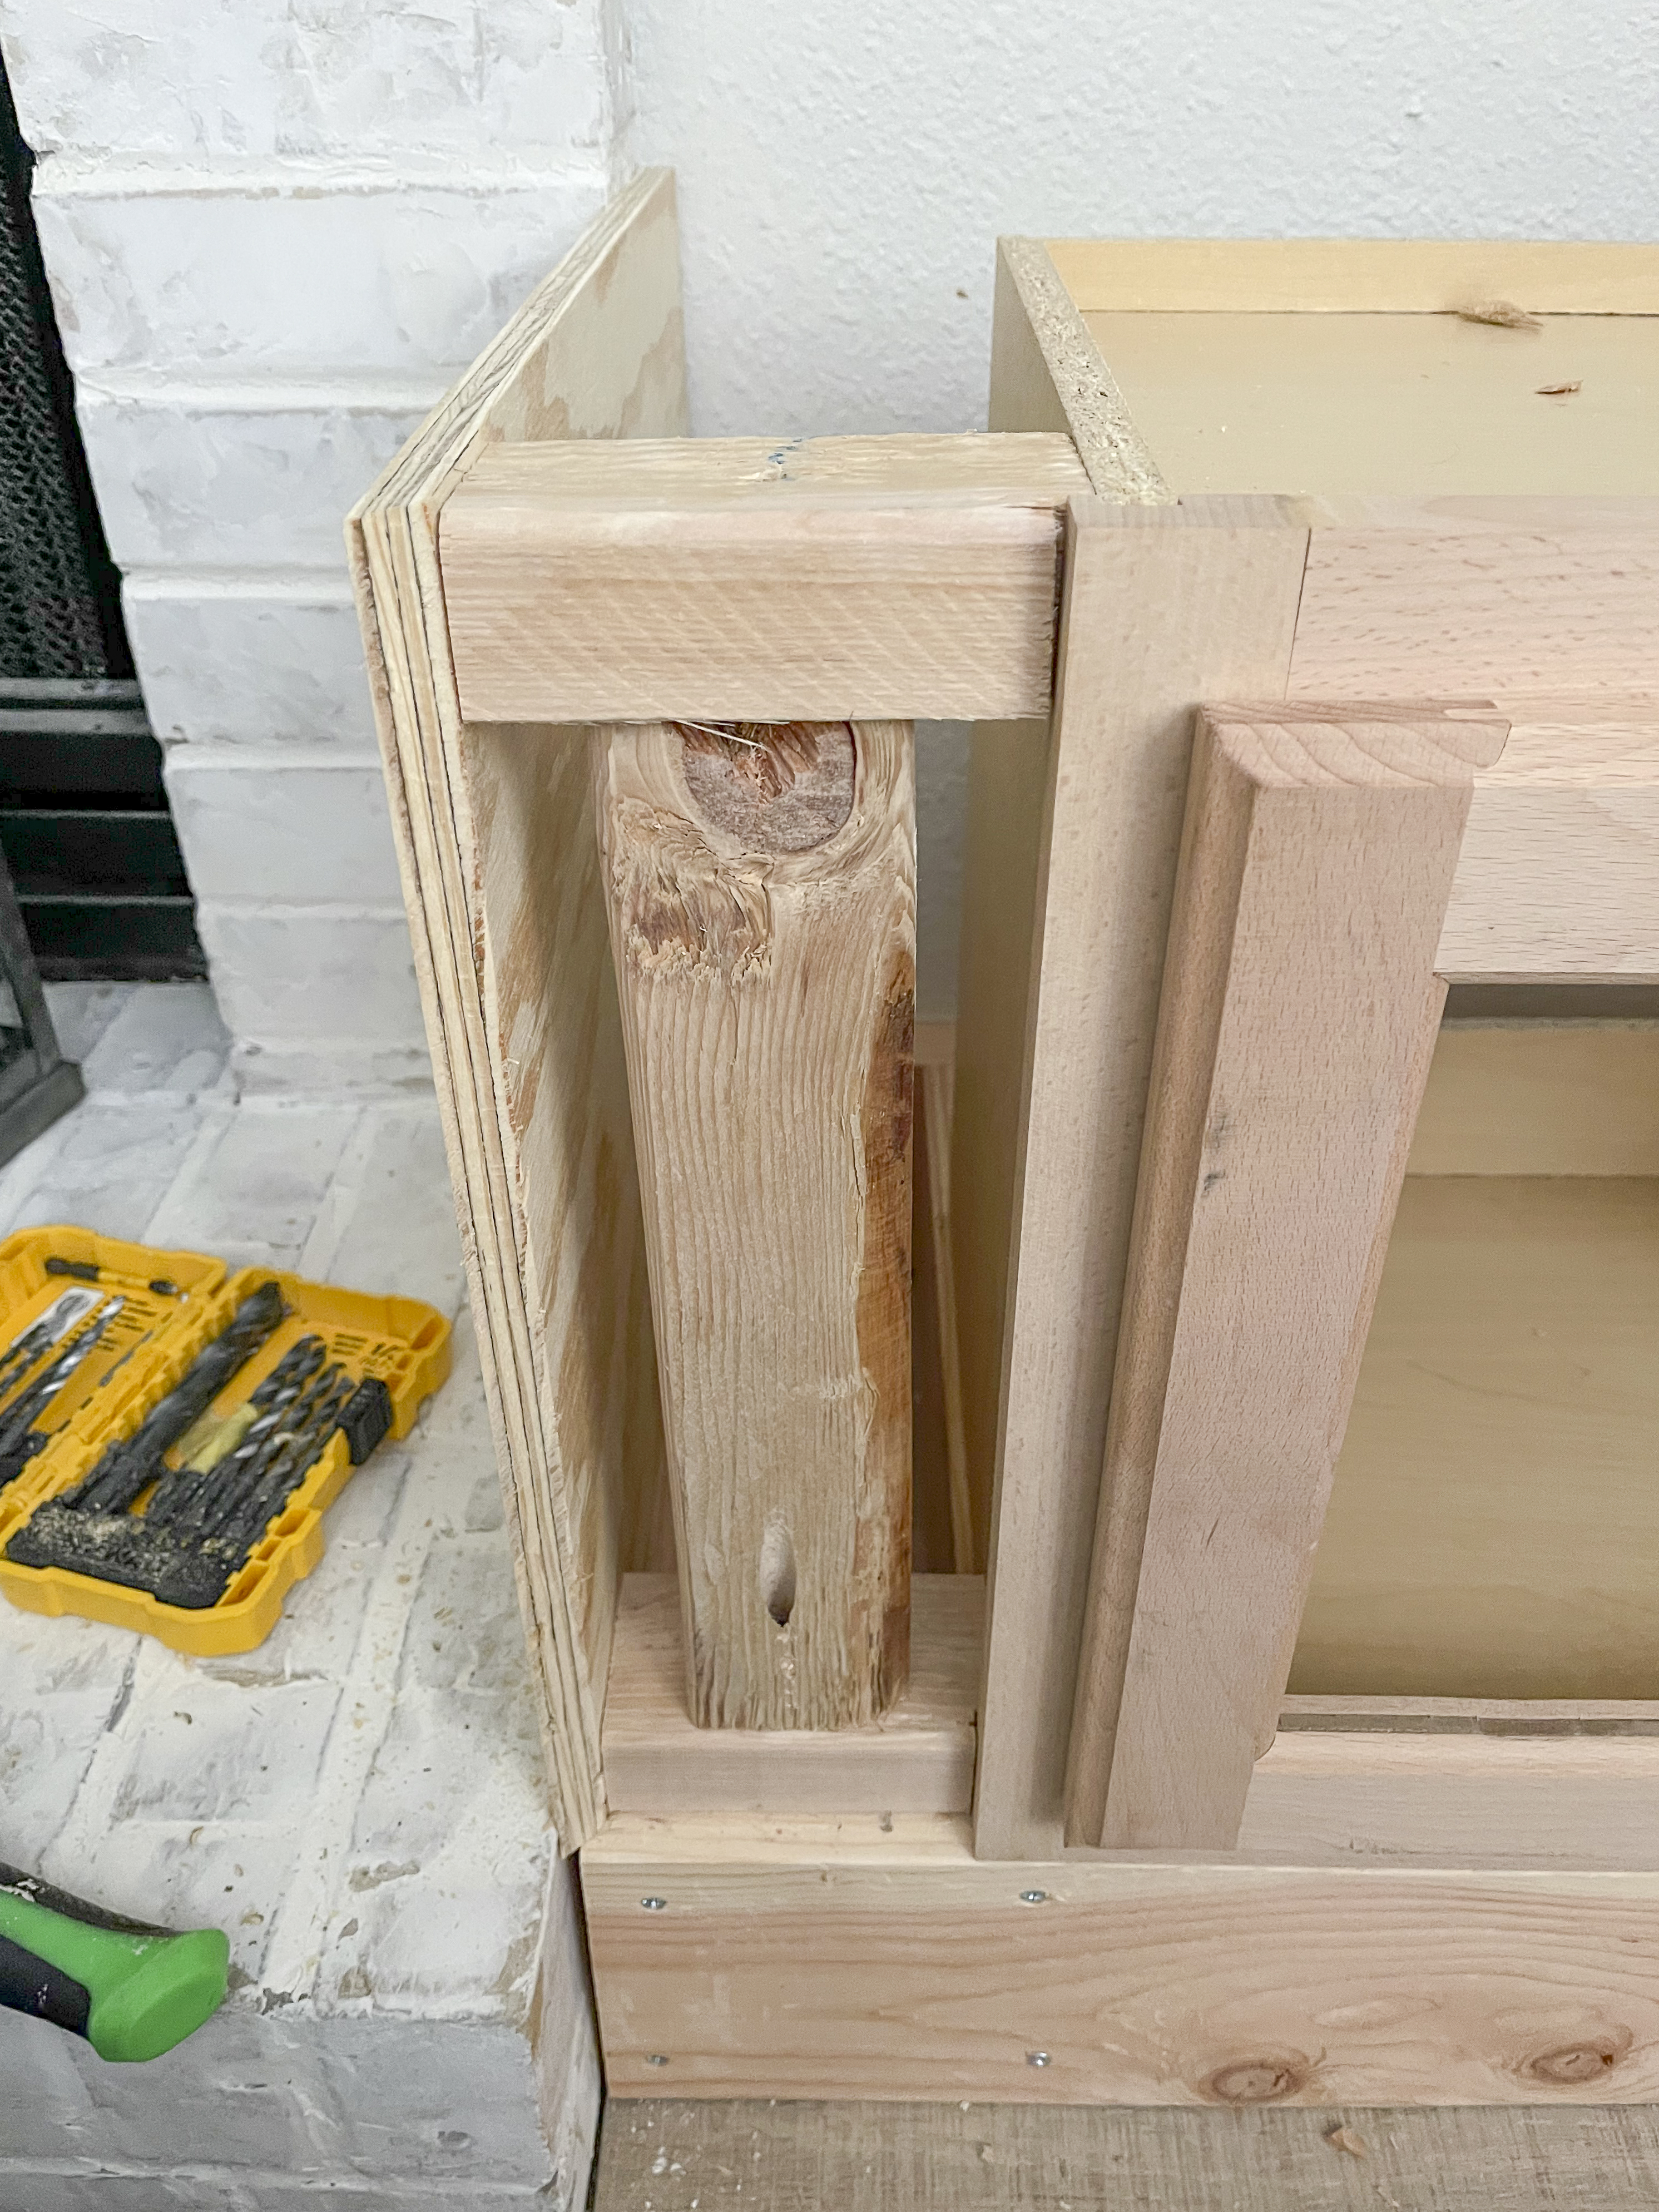
We secured the plywood to the 2x3s with wood screws and countersunk them so that they could be filled with wood putty. We used a hammer to nudge it a bit to get it as flush as possible to the cabinet for a more seamless look. This would be spackled and sanded later on.
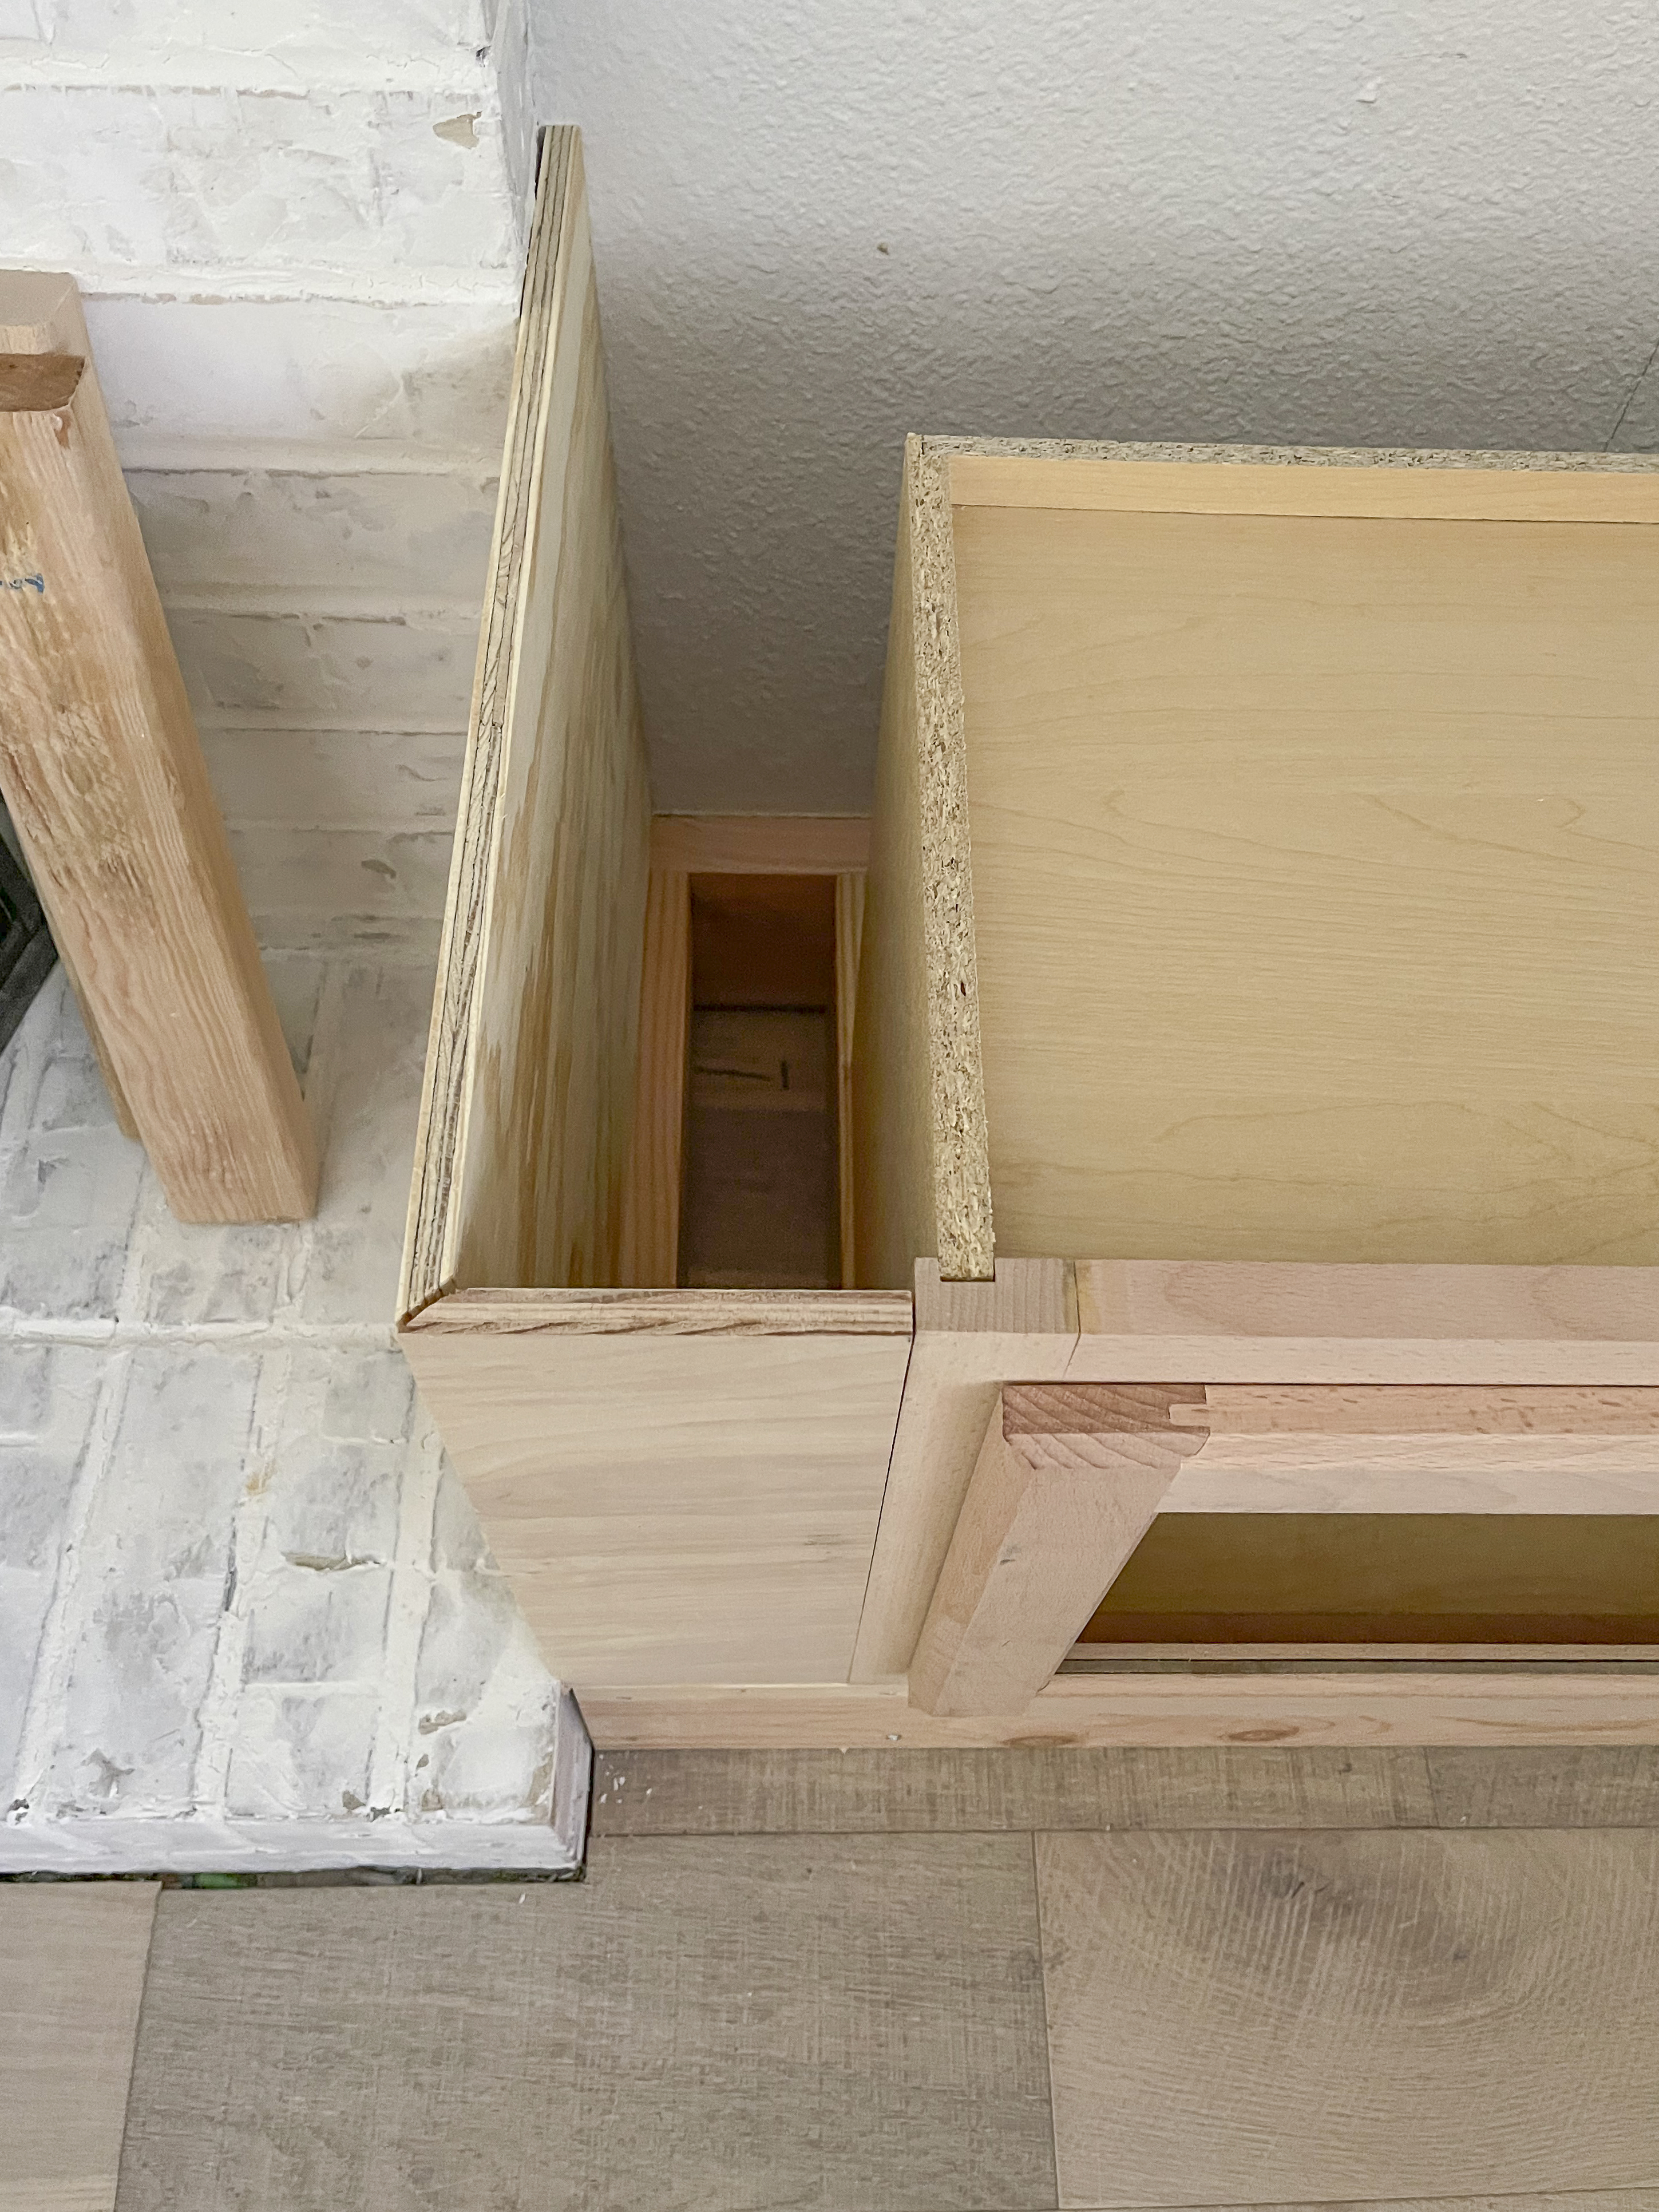
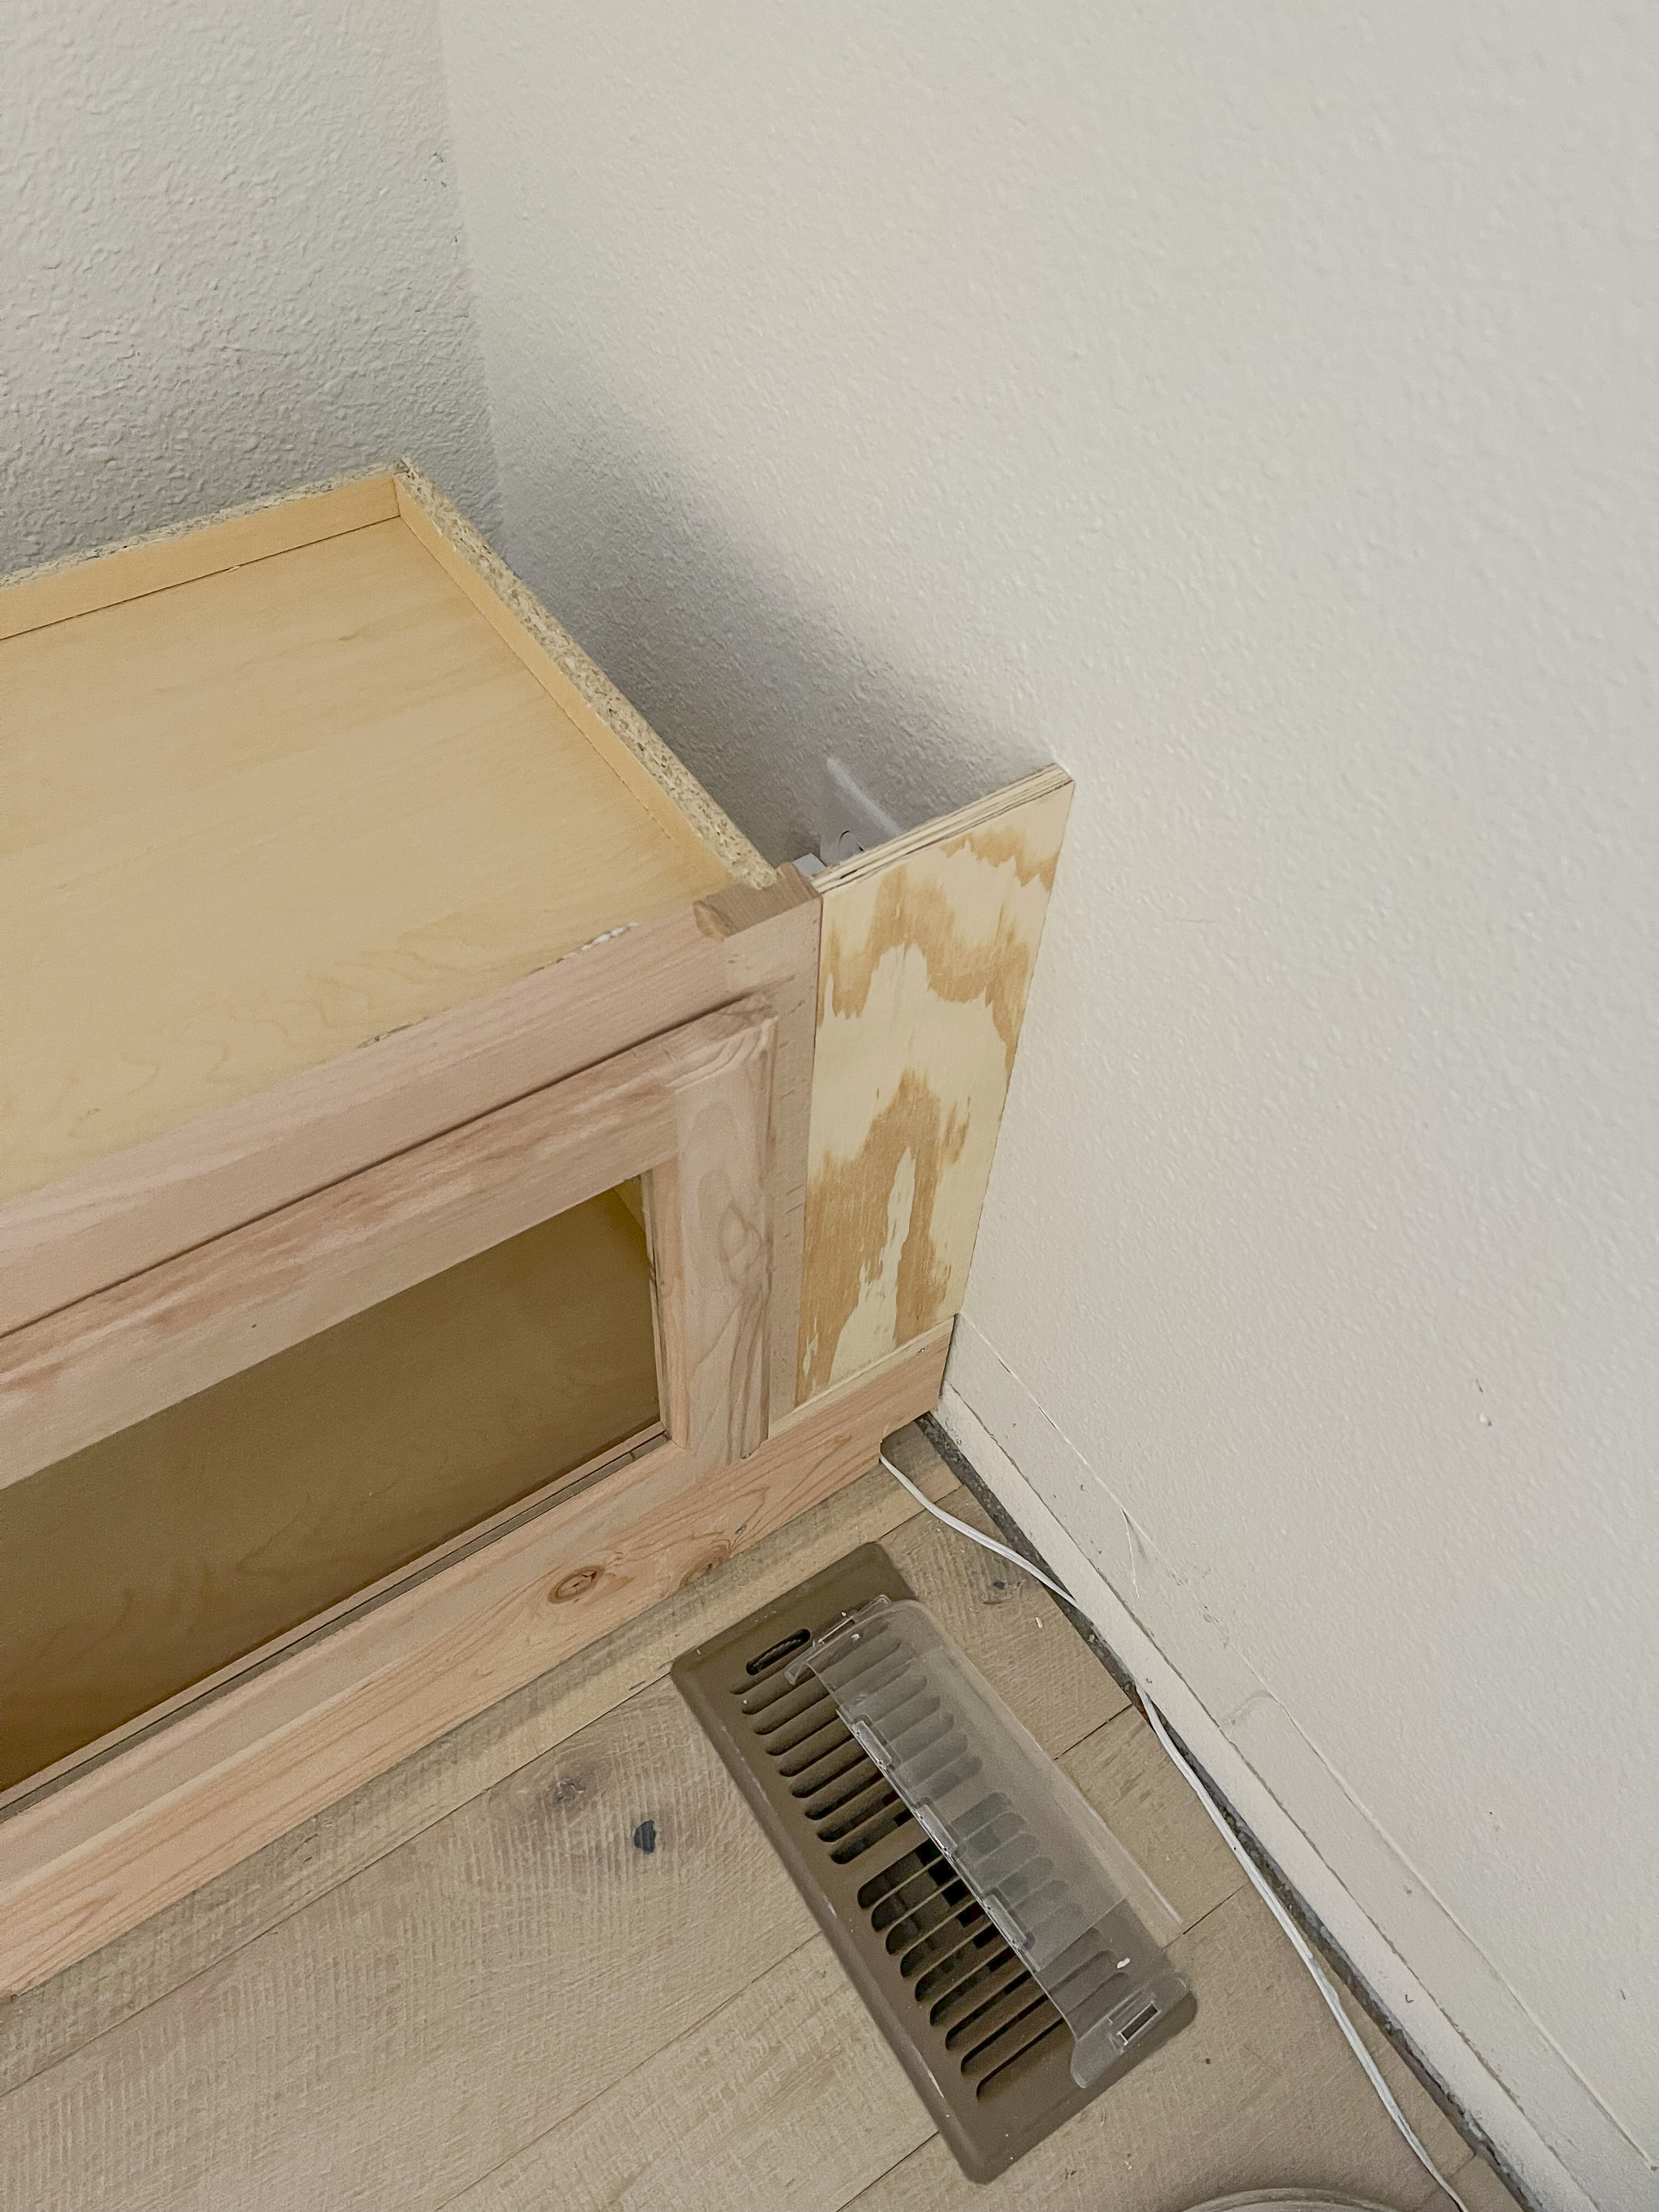
We repeated this process for the side that sat next to the wall except we only needed one plywood panel.
5. Build Supports at the Back
At this point I was so excited to see my vision starting to come together! But before we could add the tops, we needed to build a support for the back. We started by attaching two 2x3s with pocket holes at the bottom on either side, then cut a piece to go between them and secured it to the standing 2x3s that we just attached as well as to the studs. We used a level to make sure it was all nice and straight.
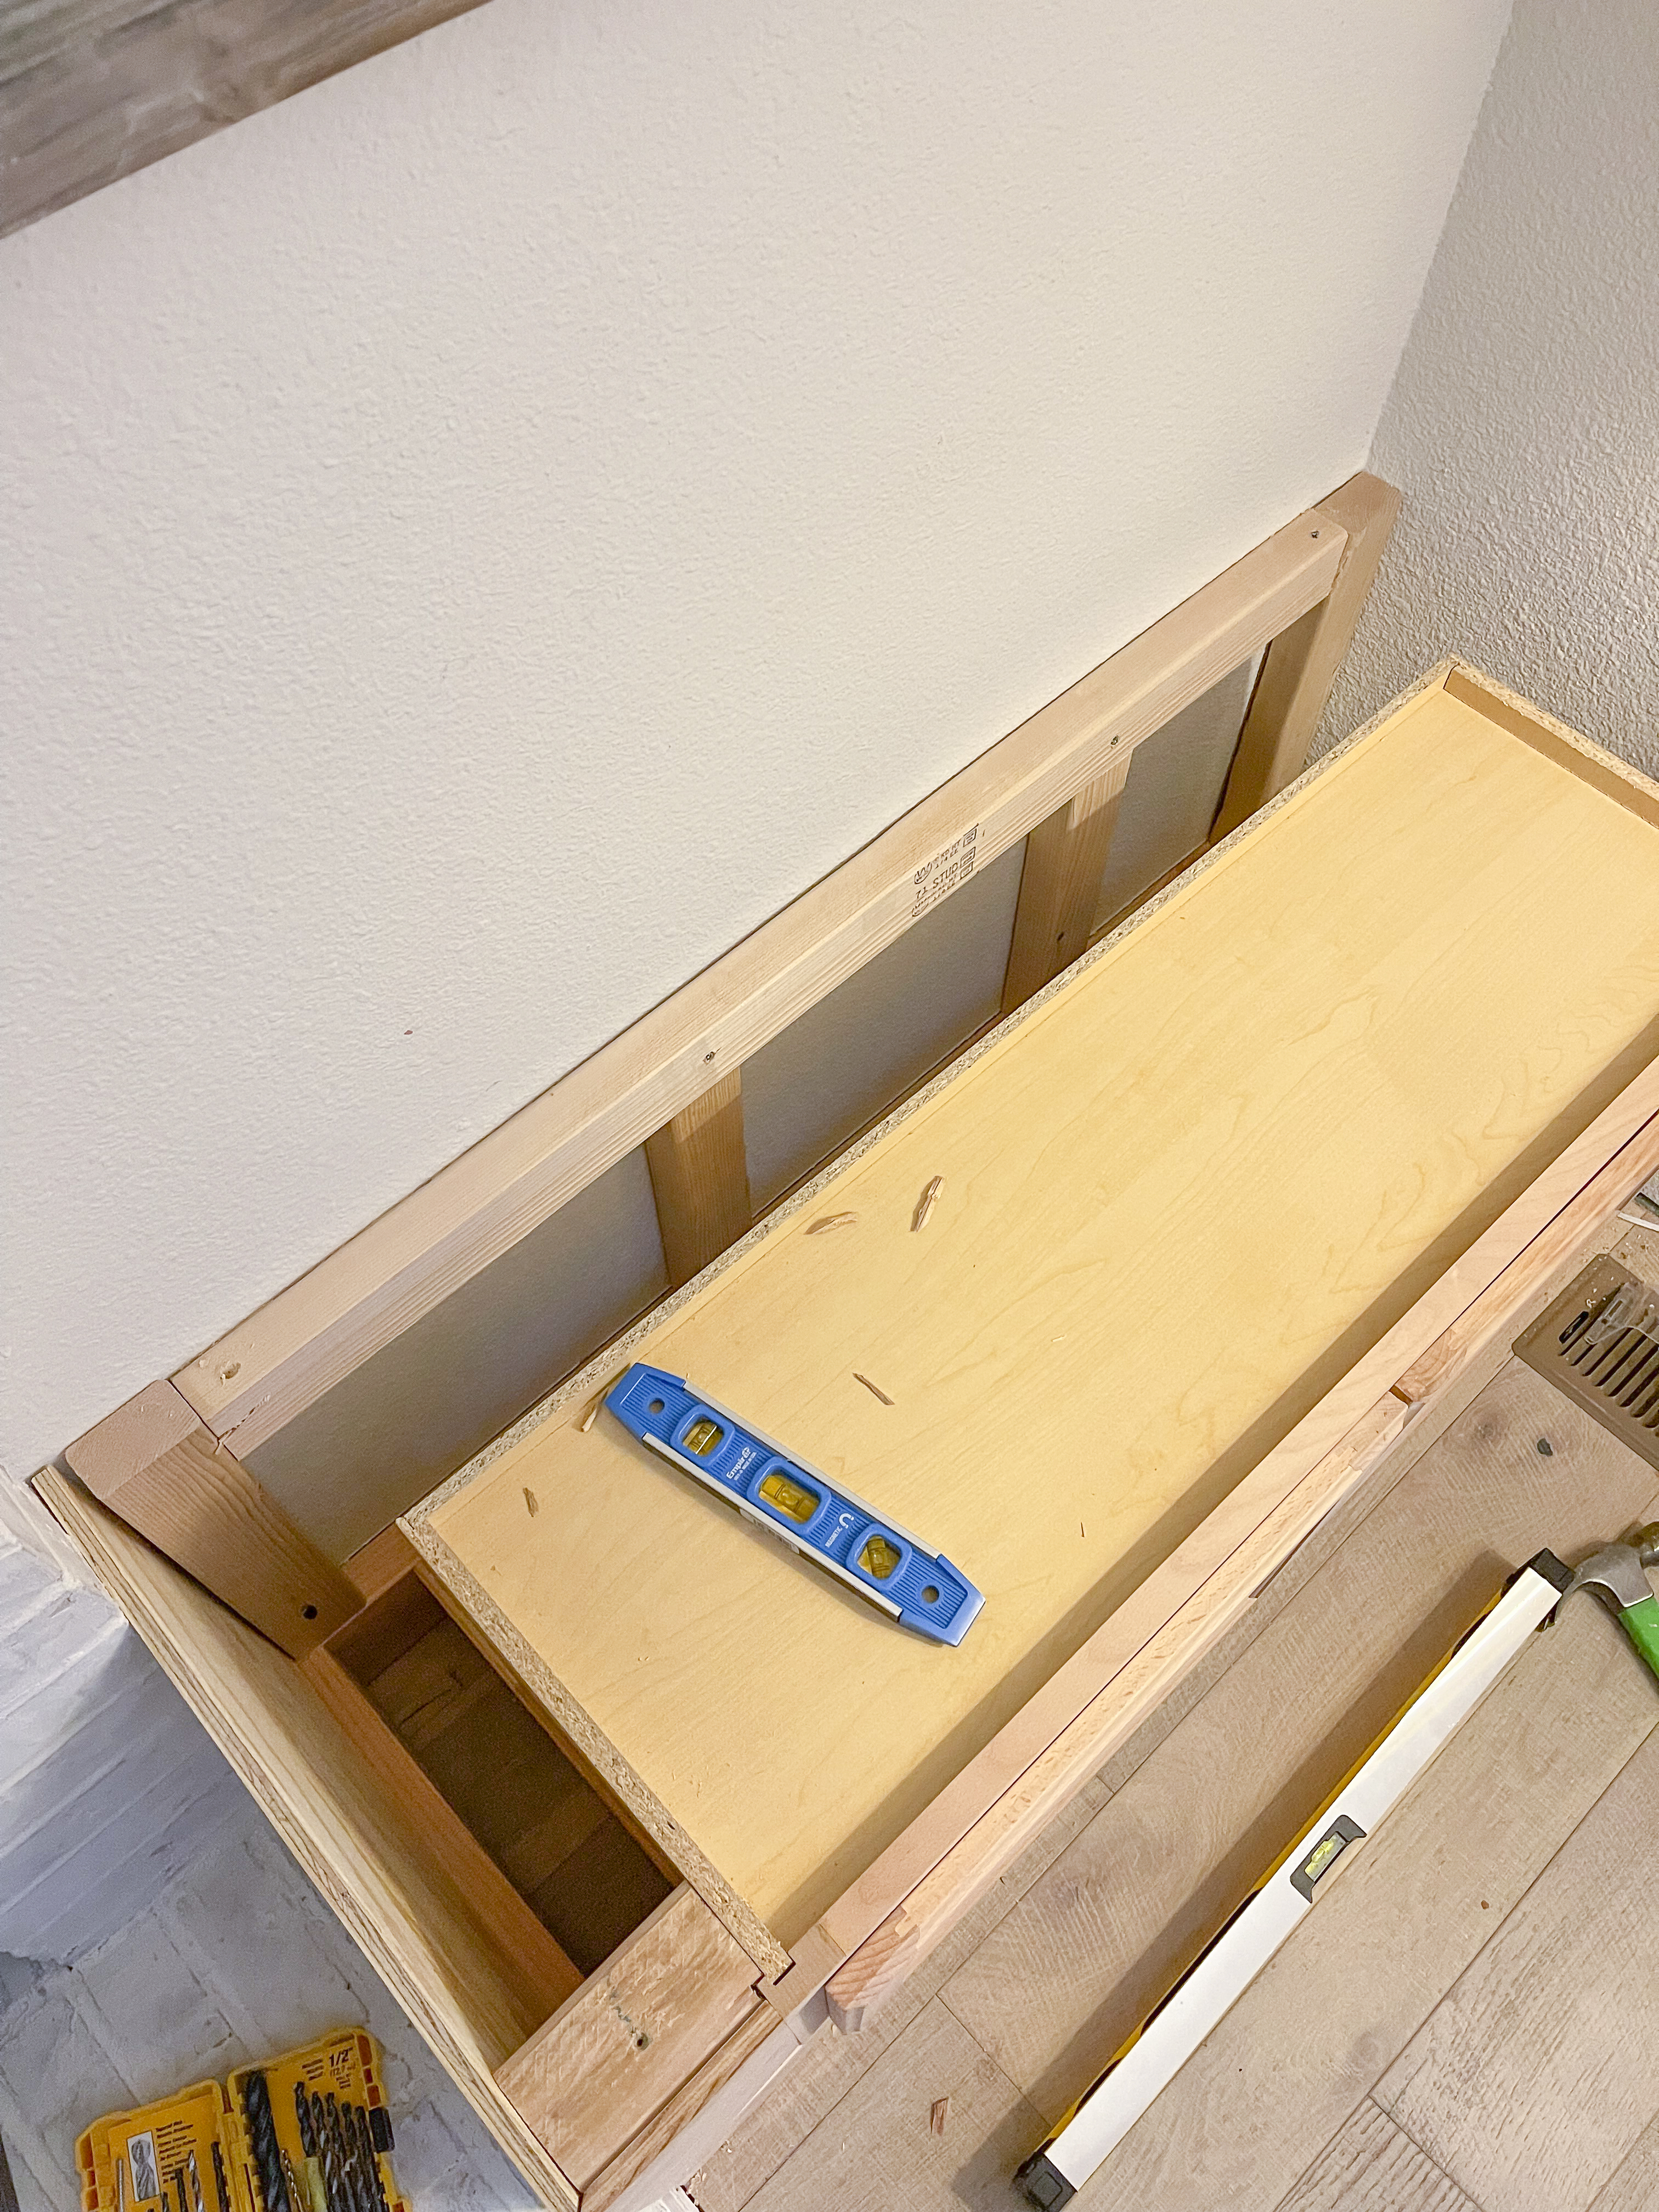
We finished it up with two more 2x3s in the center for added stability. As you can see, our fireplace was not totally straight (not a big surprise for a builder grade house!) so the plywood did not meet up with the 2×3 once screwed together. We slid in a couple of wood shims to fix this.
Once both sides were completely built, I went back and filled all the counter-sunk screw holes with wood putty, sanded, primed and painted.
6. Put Metal Sheeting in the Doors
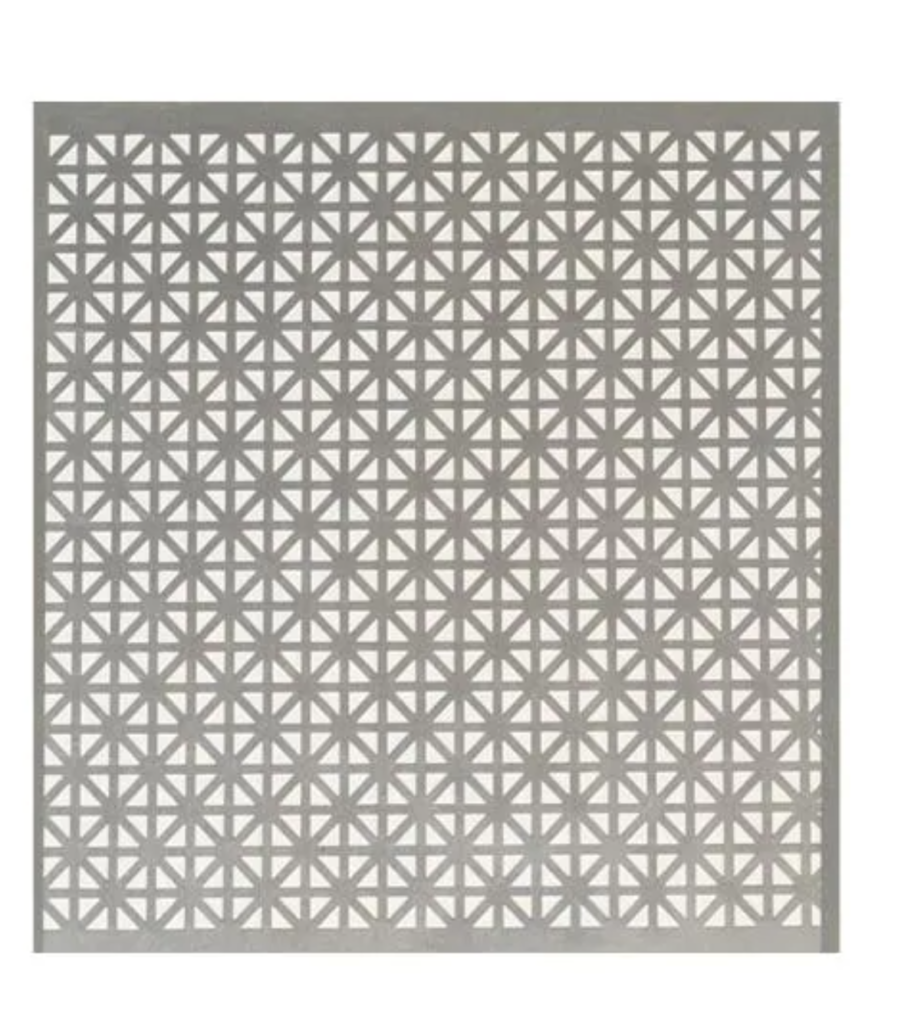
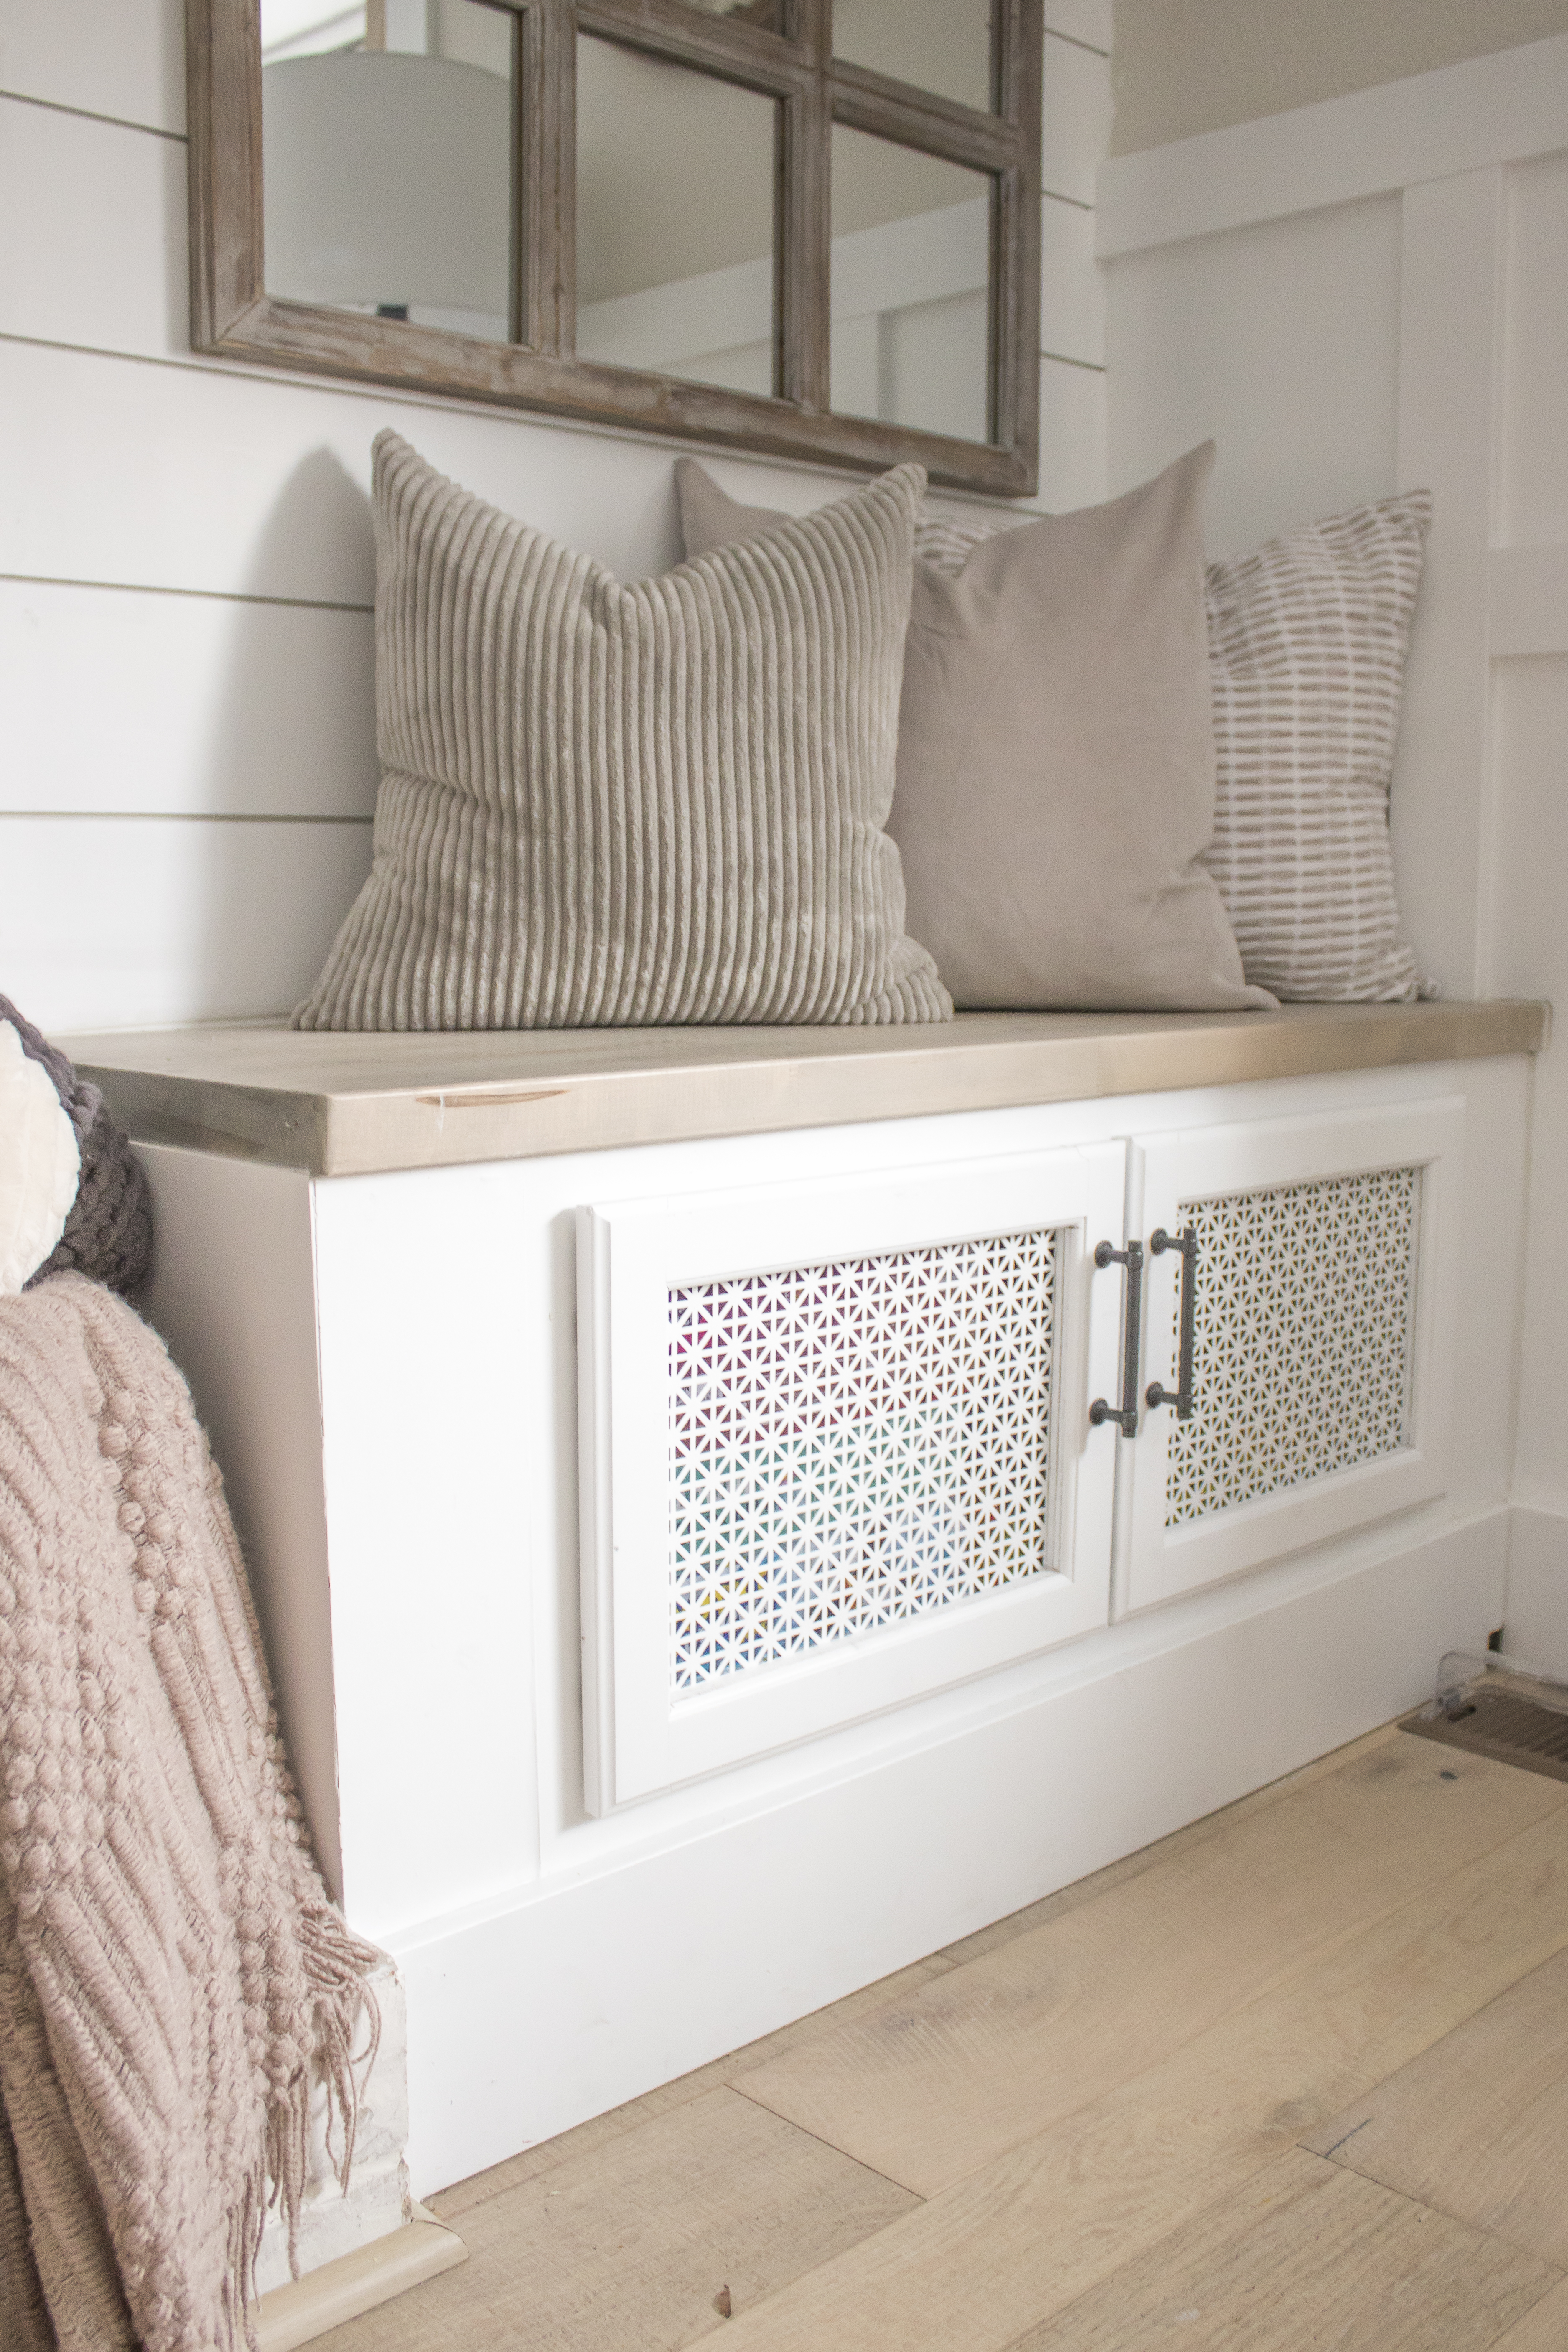
I mentioned previously that we had cut the door fronts out so that the electronics didn’t get too hot. I decided that the perfect solution to cover them up and still get airflow would be decorative metal sheeting. There are many different patterns available, but I fell in love with this one when I spotted it.
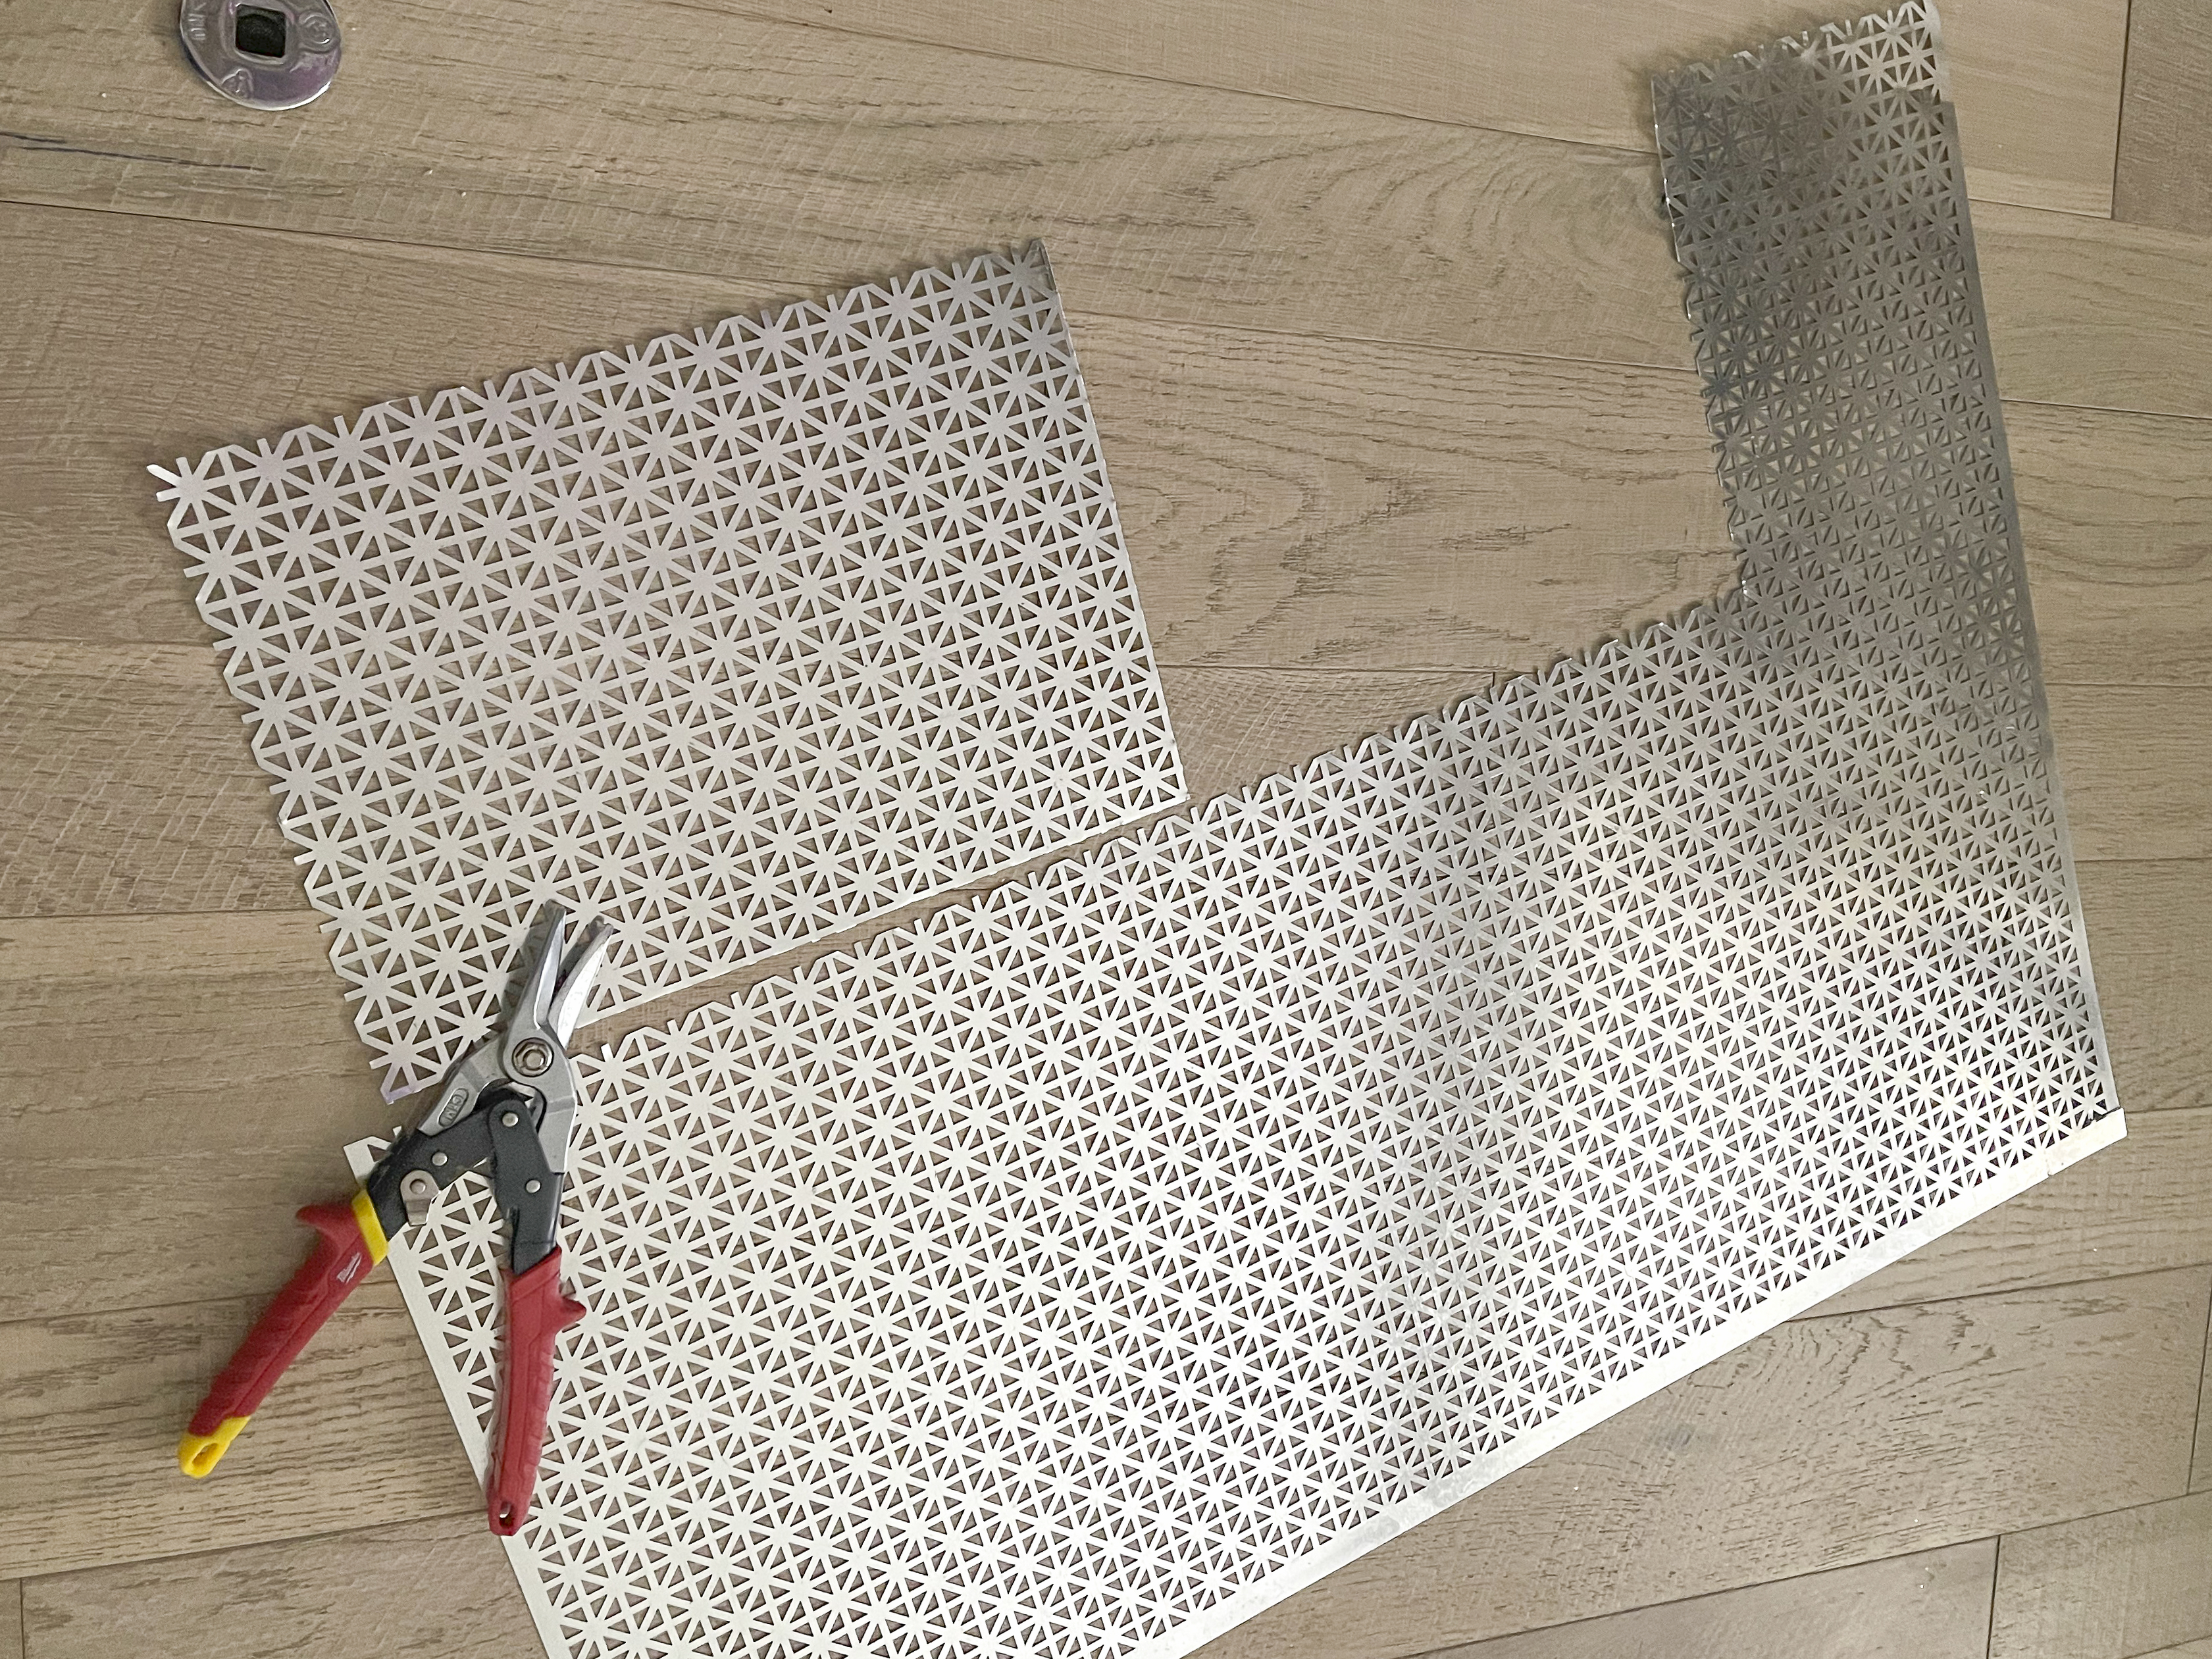
I was a little intimidated when it was time to cut it, however I found that using the tin snips was as easy as scissors cutting paper.
These sheets had a small amount of machine oil on them so after I cut out the pieces, I brought them over to the sink and scrubbed them with dish soap which seemed to remove most of it. After I dried them off, I used a staple gun to attach them to the back of the doors.
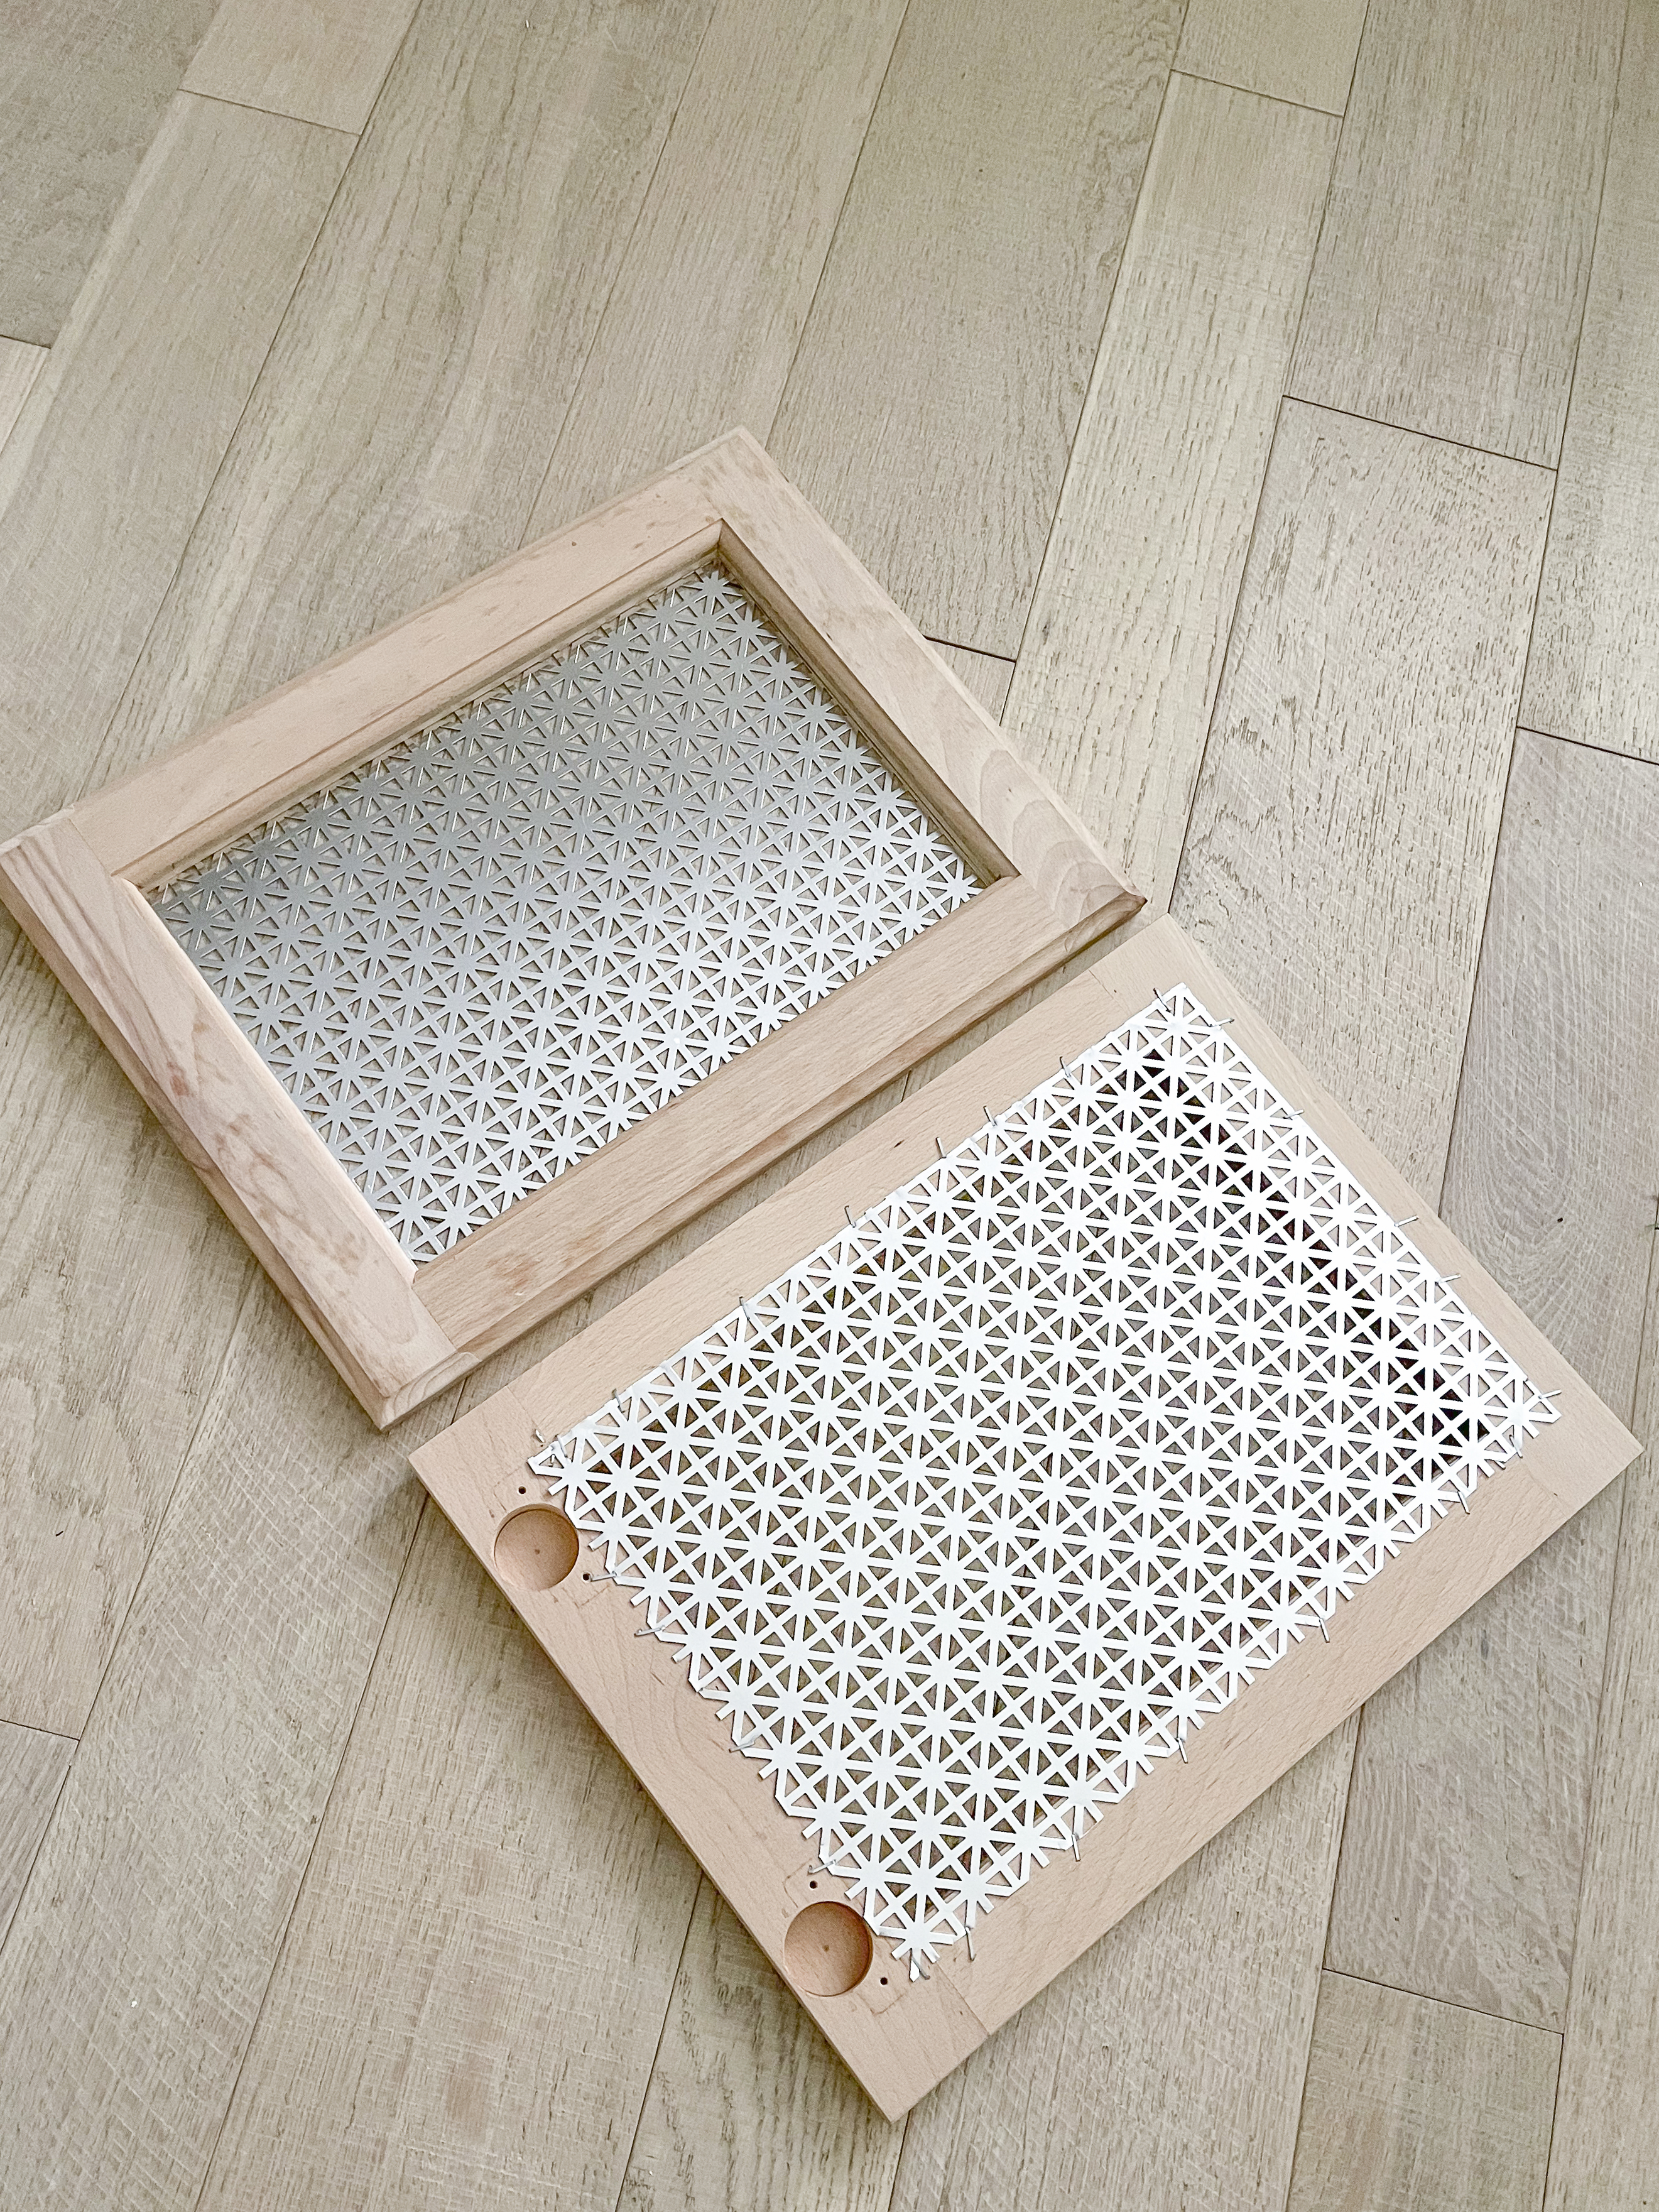
I then used my paint sprayer to give each side a coat of primer and two coats of white paint.
7. Cut, Stain and Seal Butcher Block
I decided to go big and use butcher block for the tops. They do sell large pieces of pine which would be much cheaper, but I like the thickness and look of butcher block more and figured that it was worth the splurge. We cut them down to size on the table saw and then I got to work on staining them. I wanted them to match our floors, so I first applied a coat of whitewash which makes the stain go on lighter.
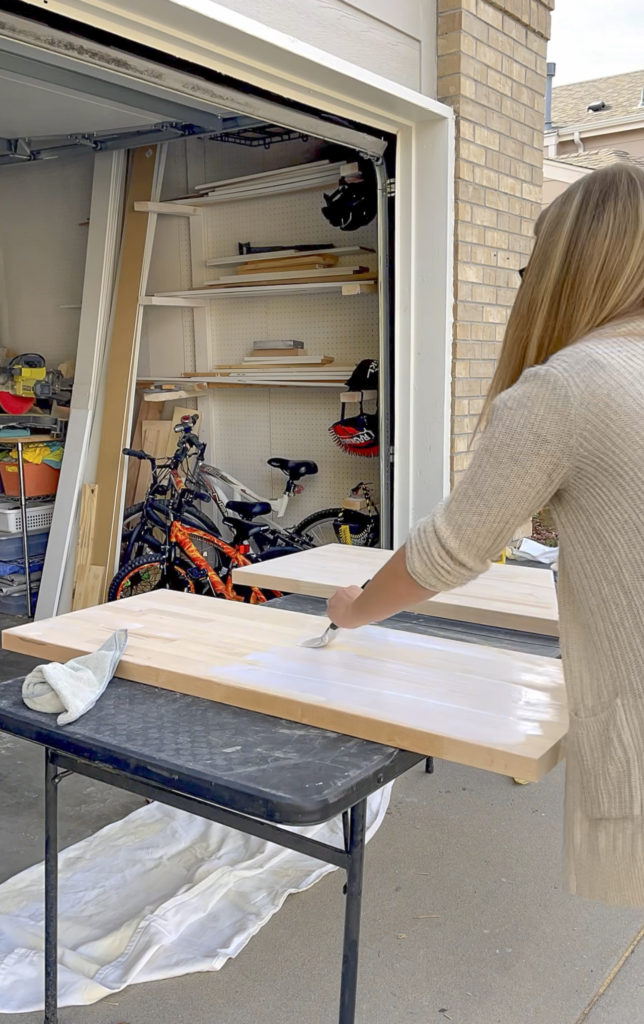
I applied one coat of Weathered Oak stain followed by a couple coats of matte polyurethane on all 4 sides to seal them.
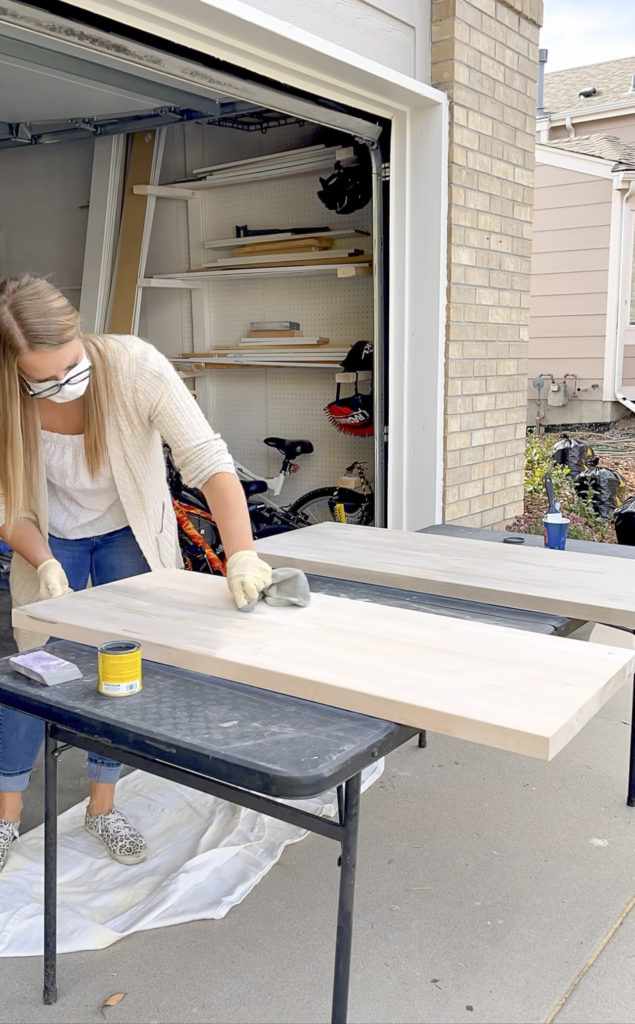
They ended up being a perfect match! We cut them so snuggly that we didn’t need to screw them down –we actually had a bit of trouble hammering them in to place!
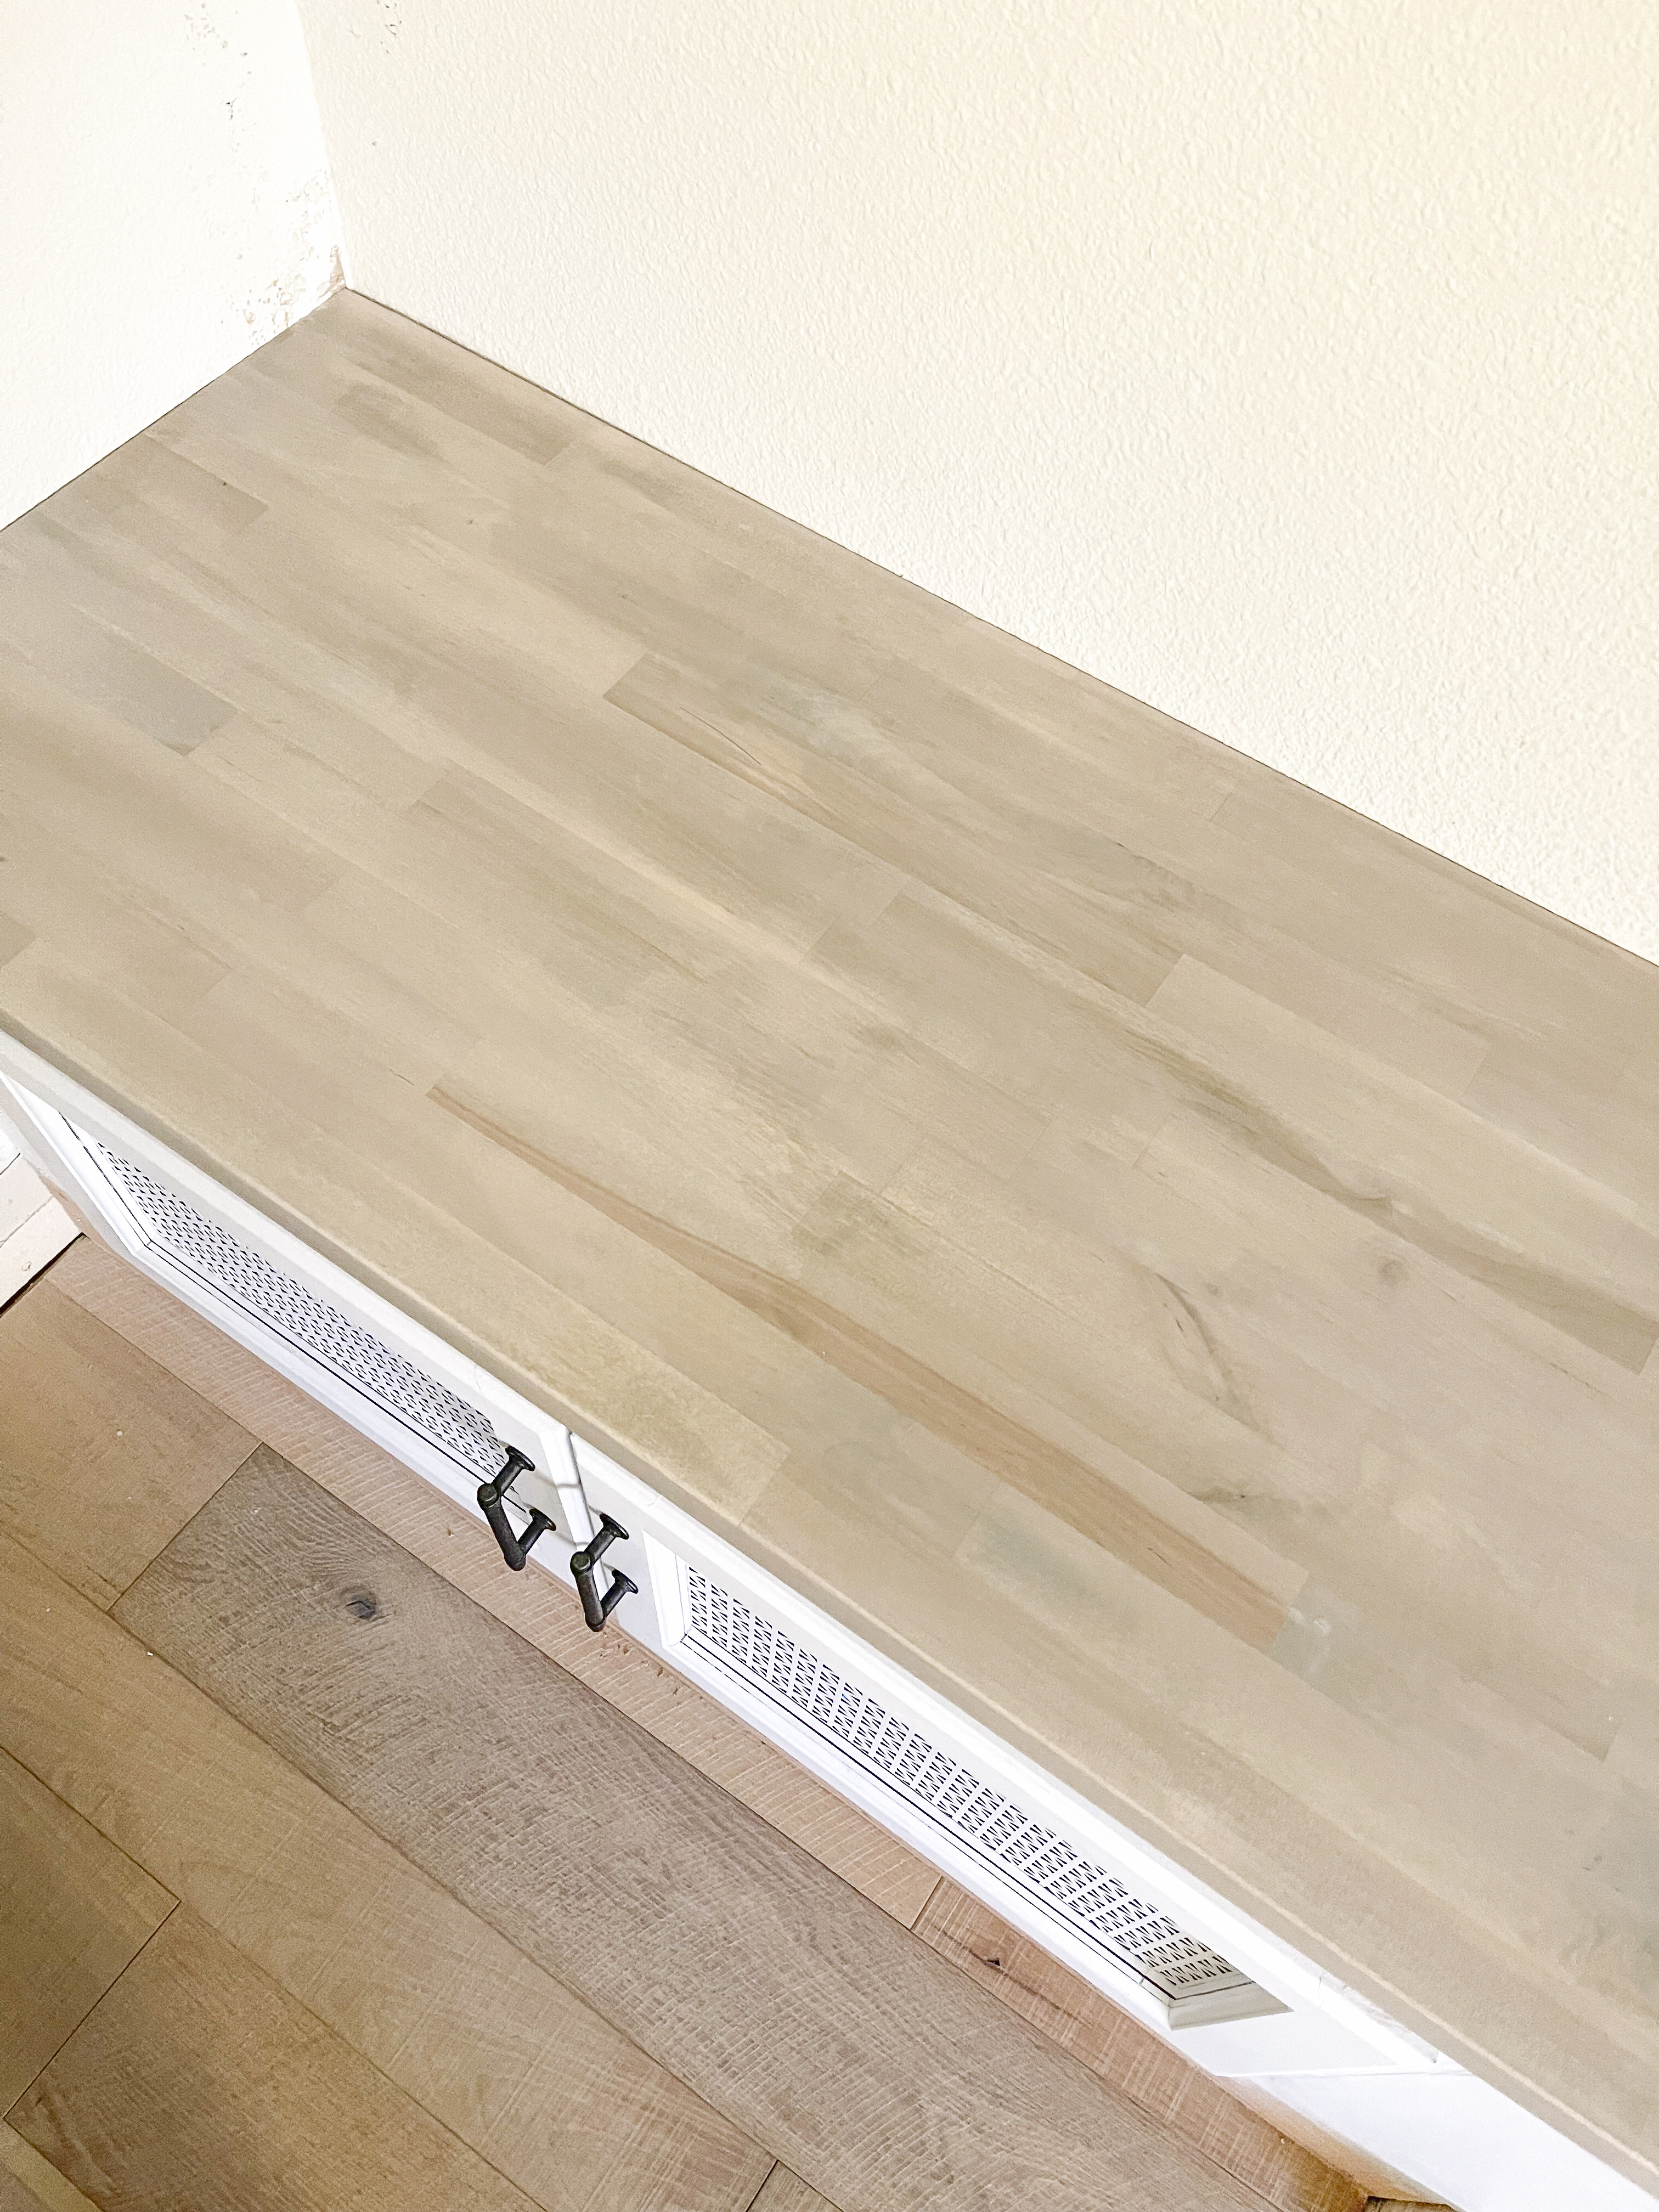
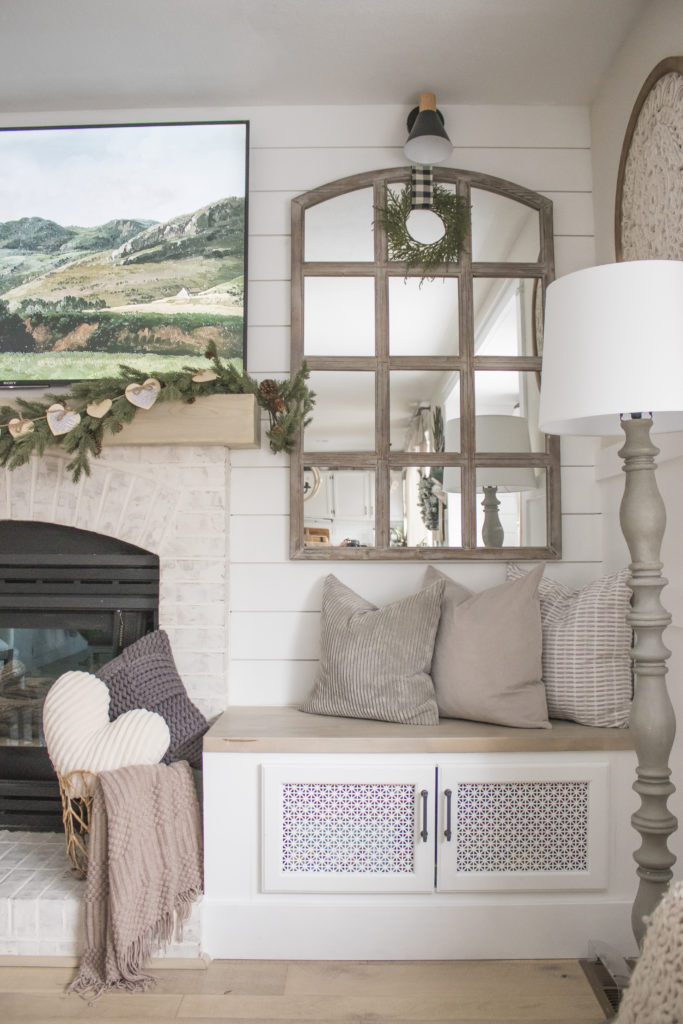
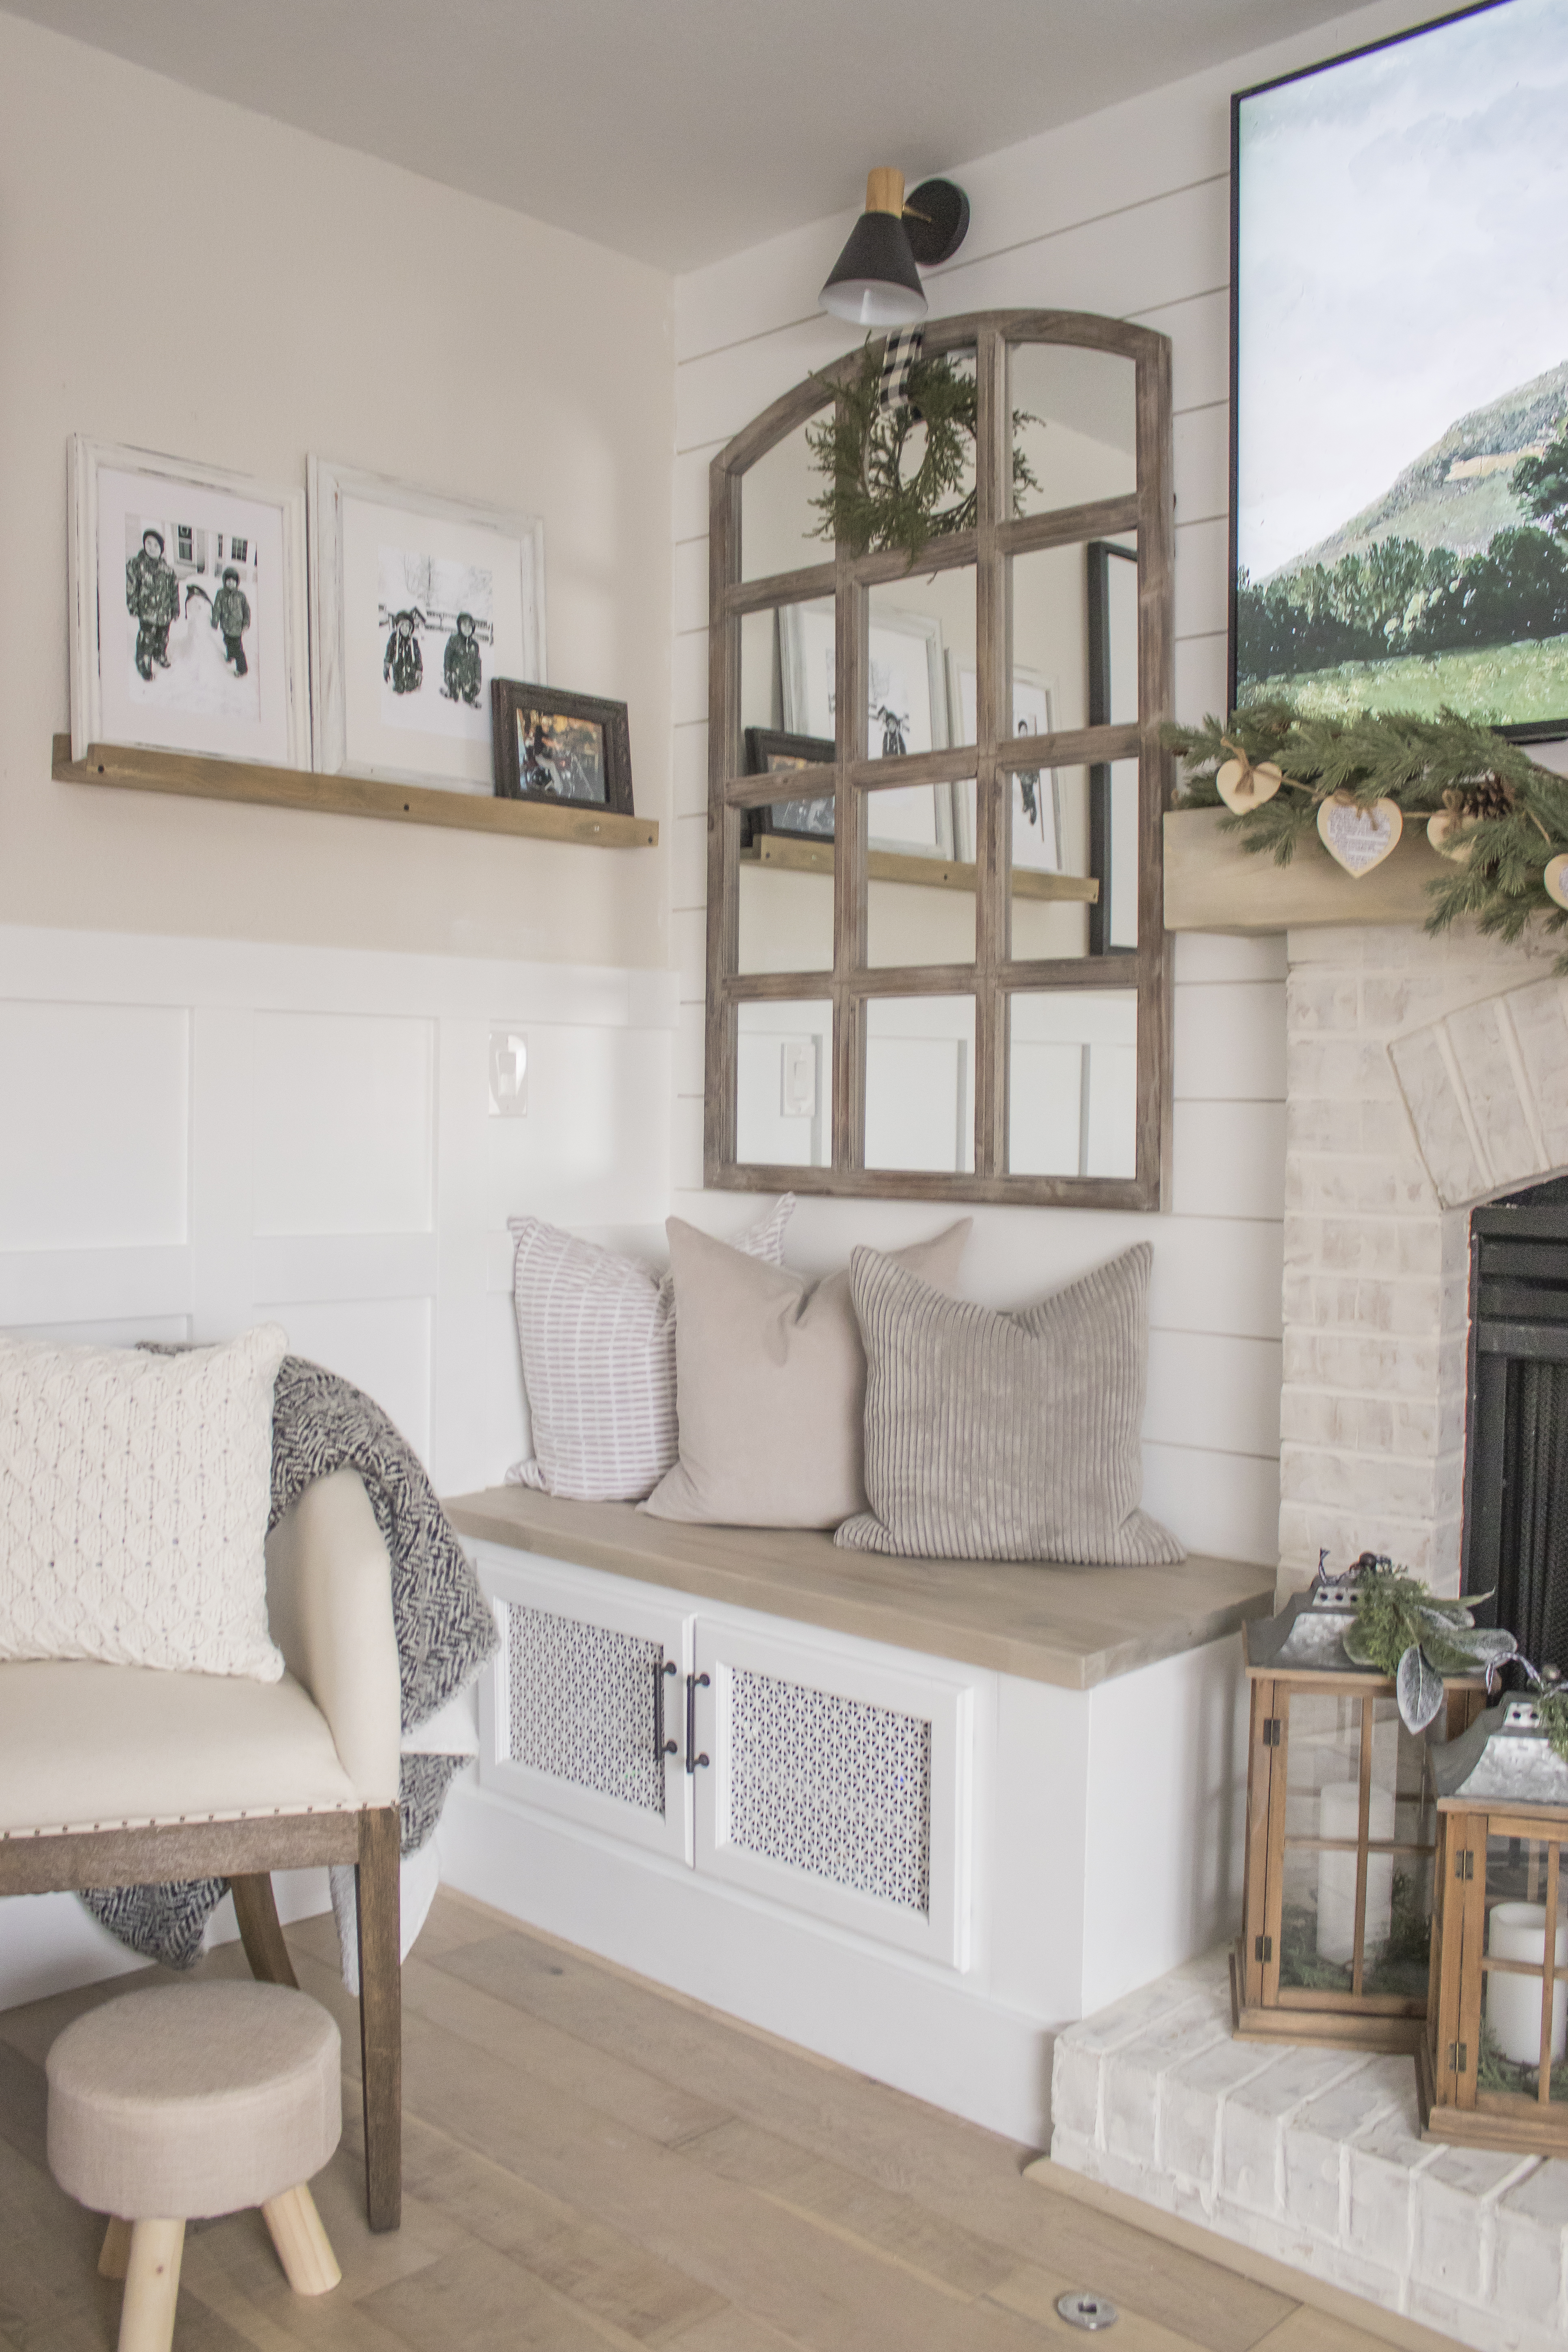
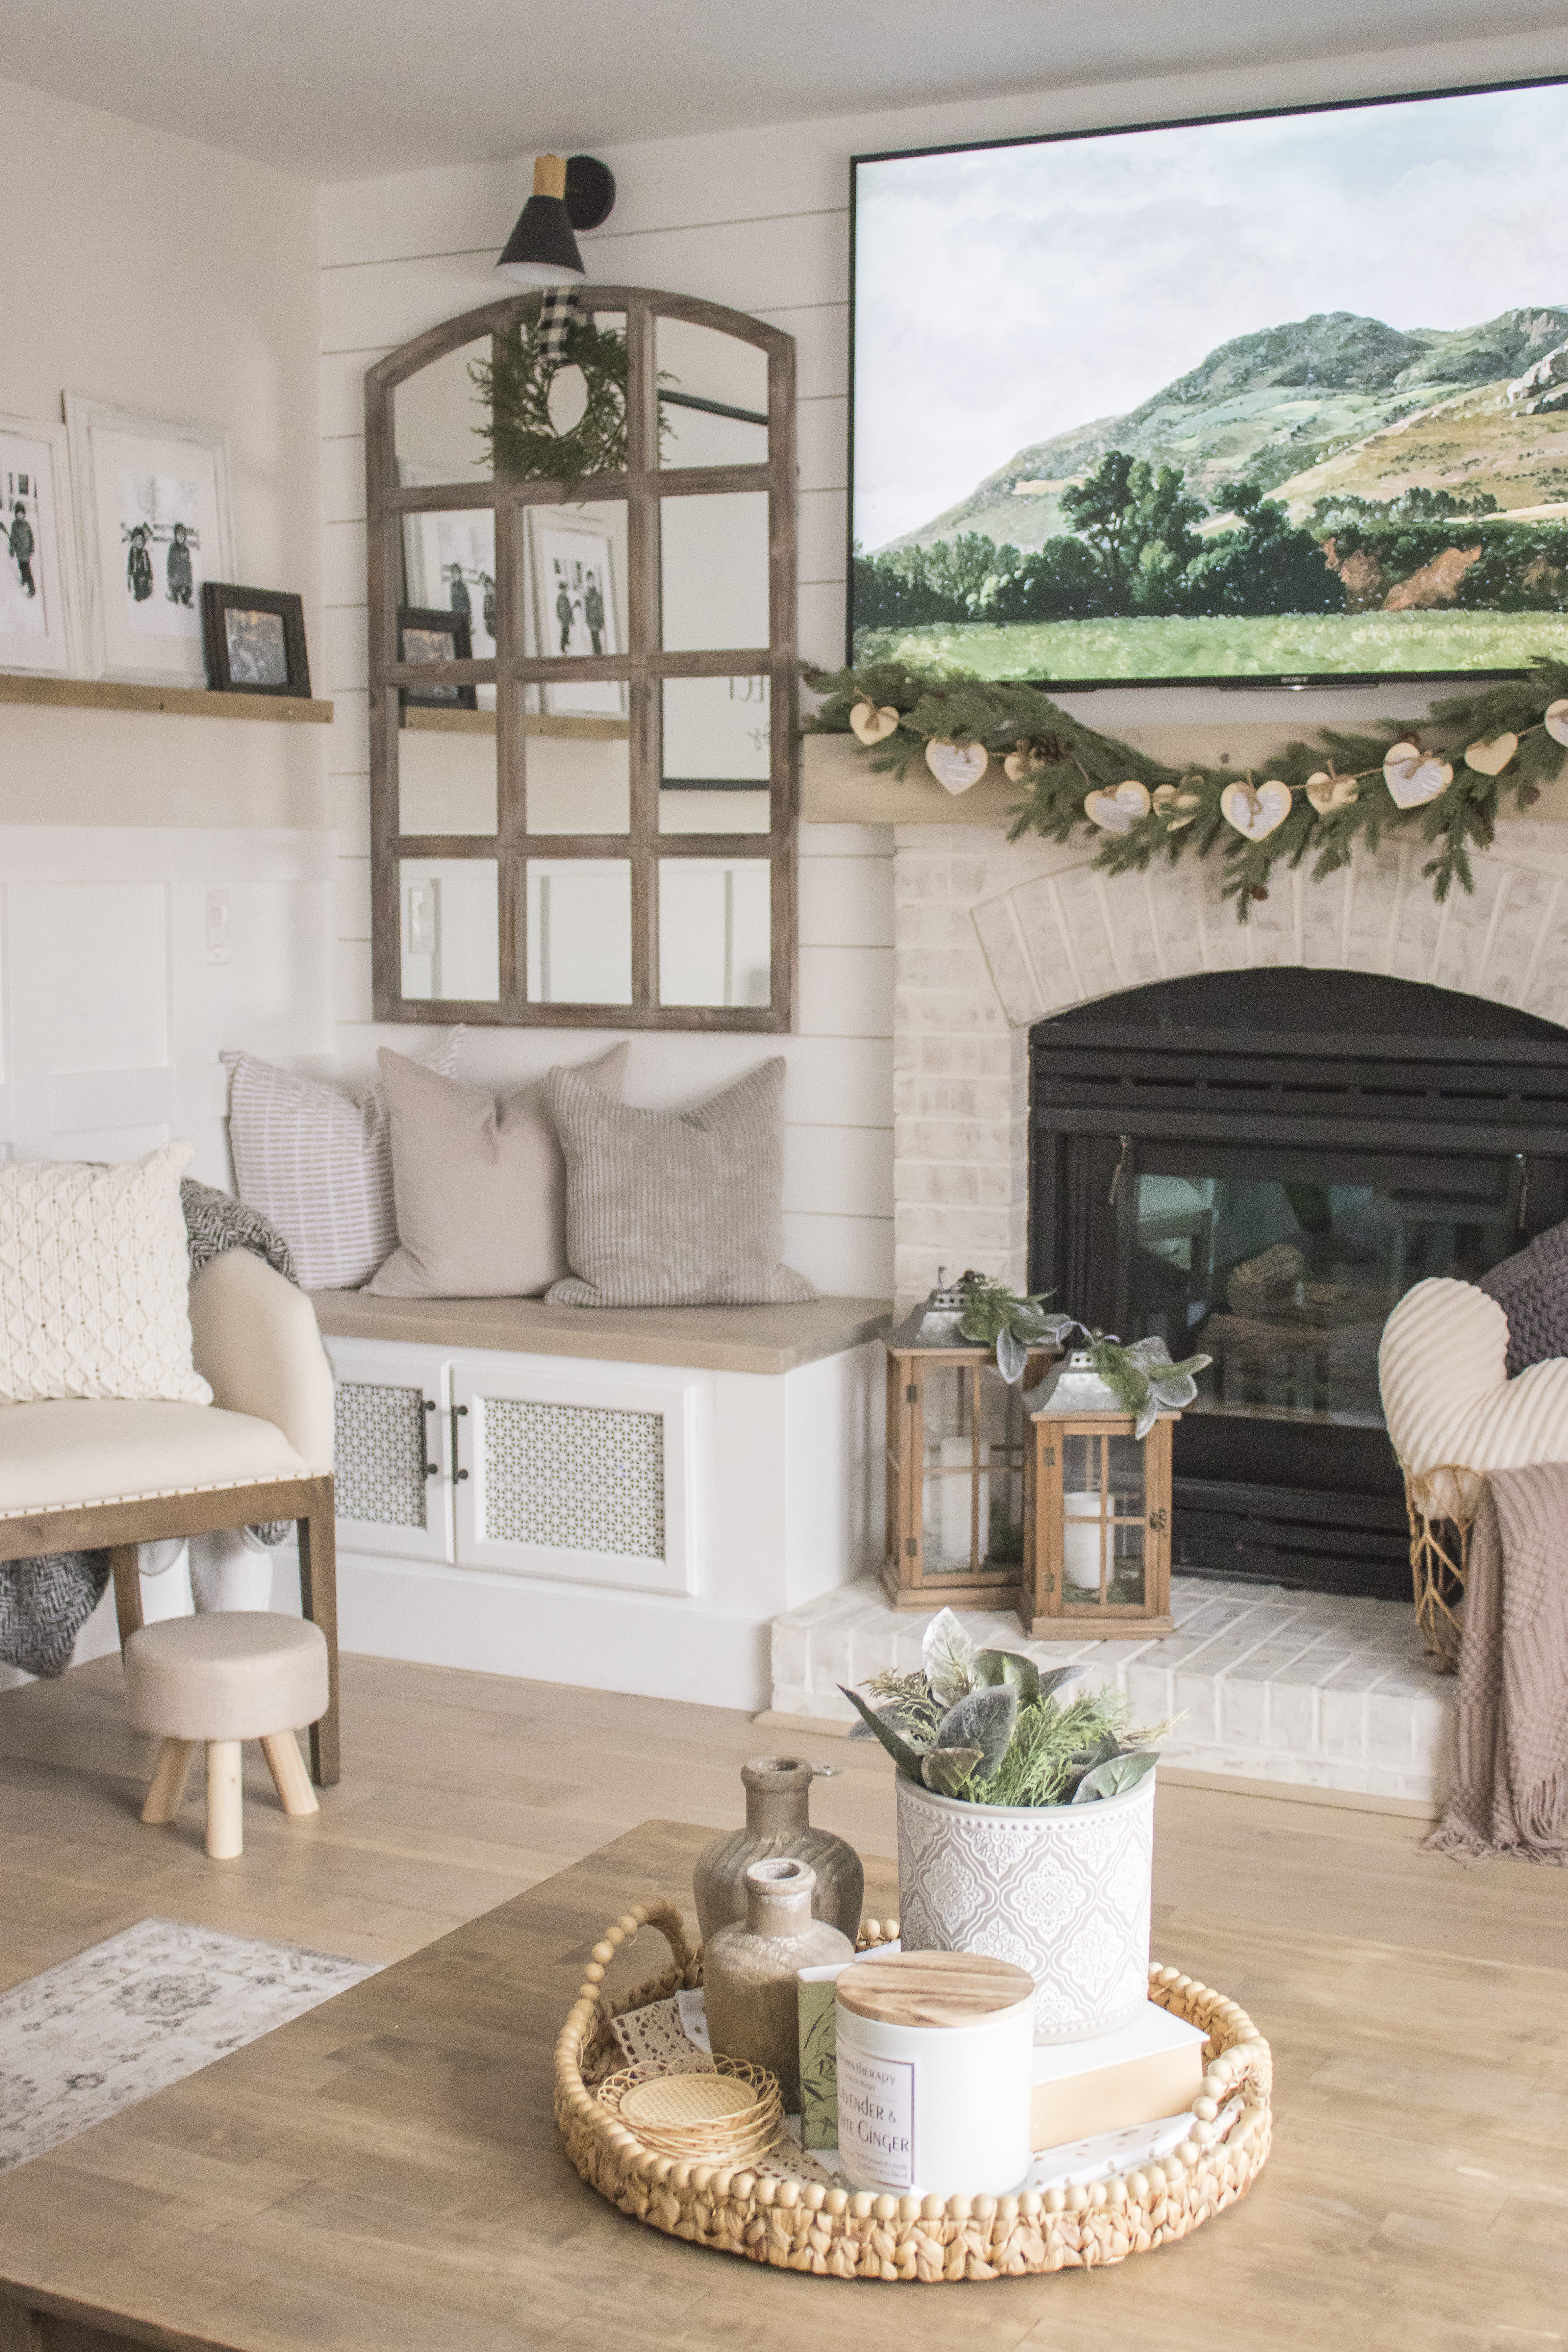
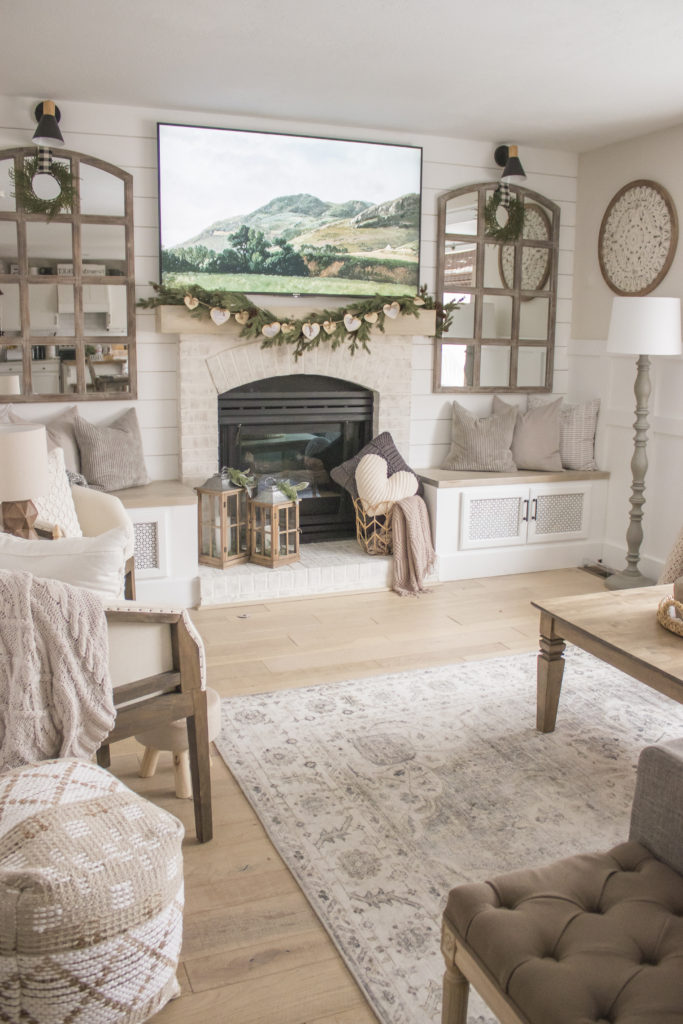
I added some pulls to the doors and attached baseboards to the fronts to finish them up and this is how they turned out!
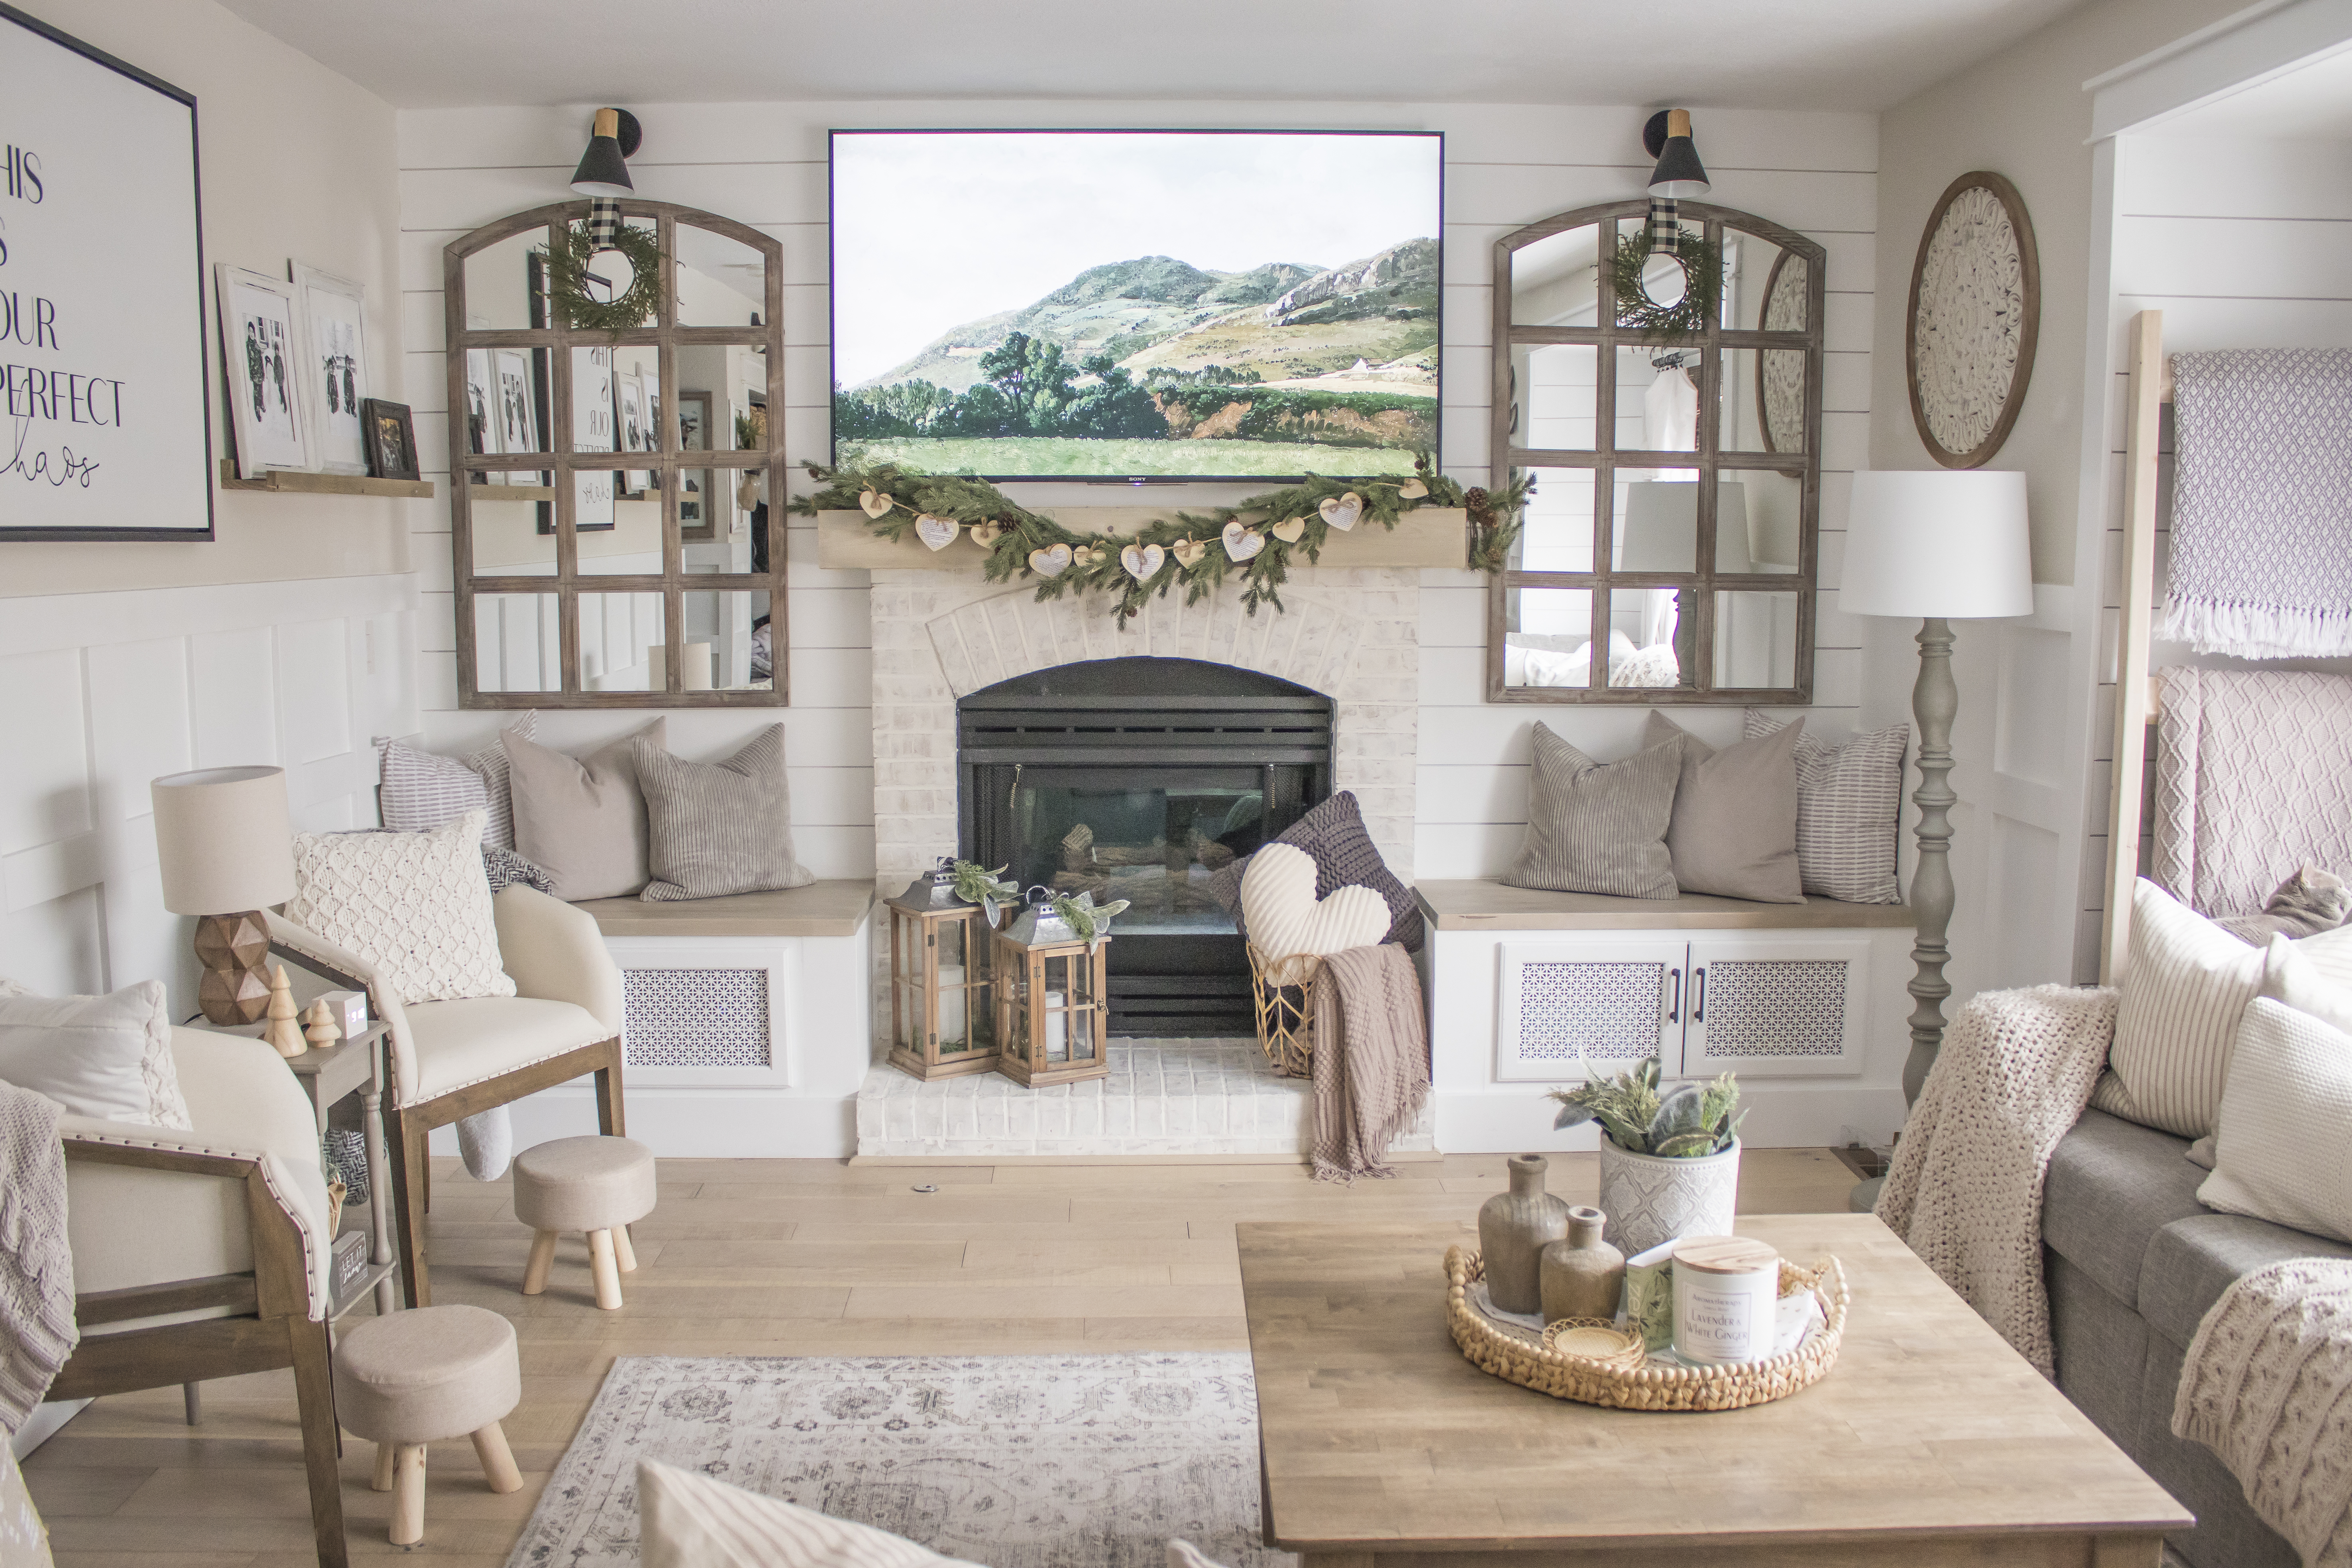
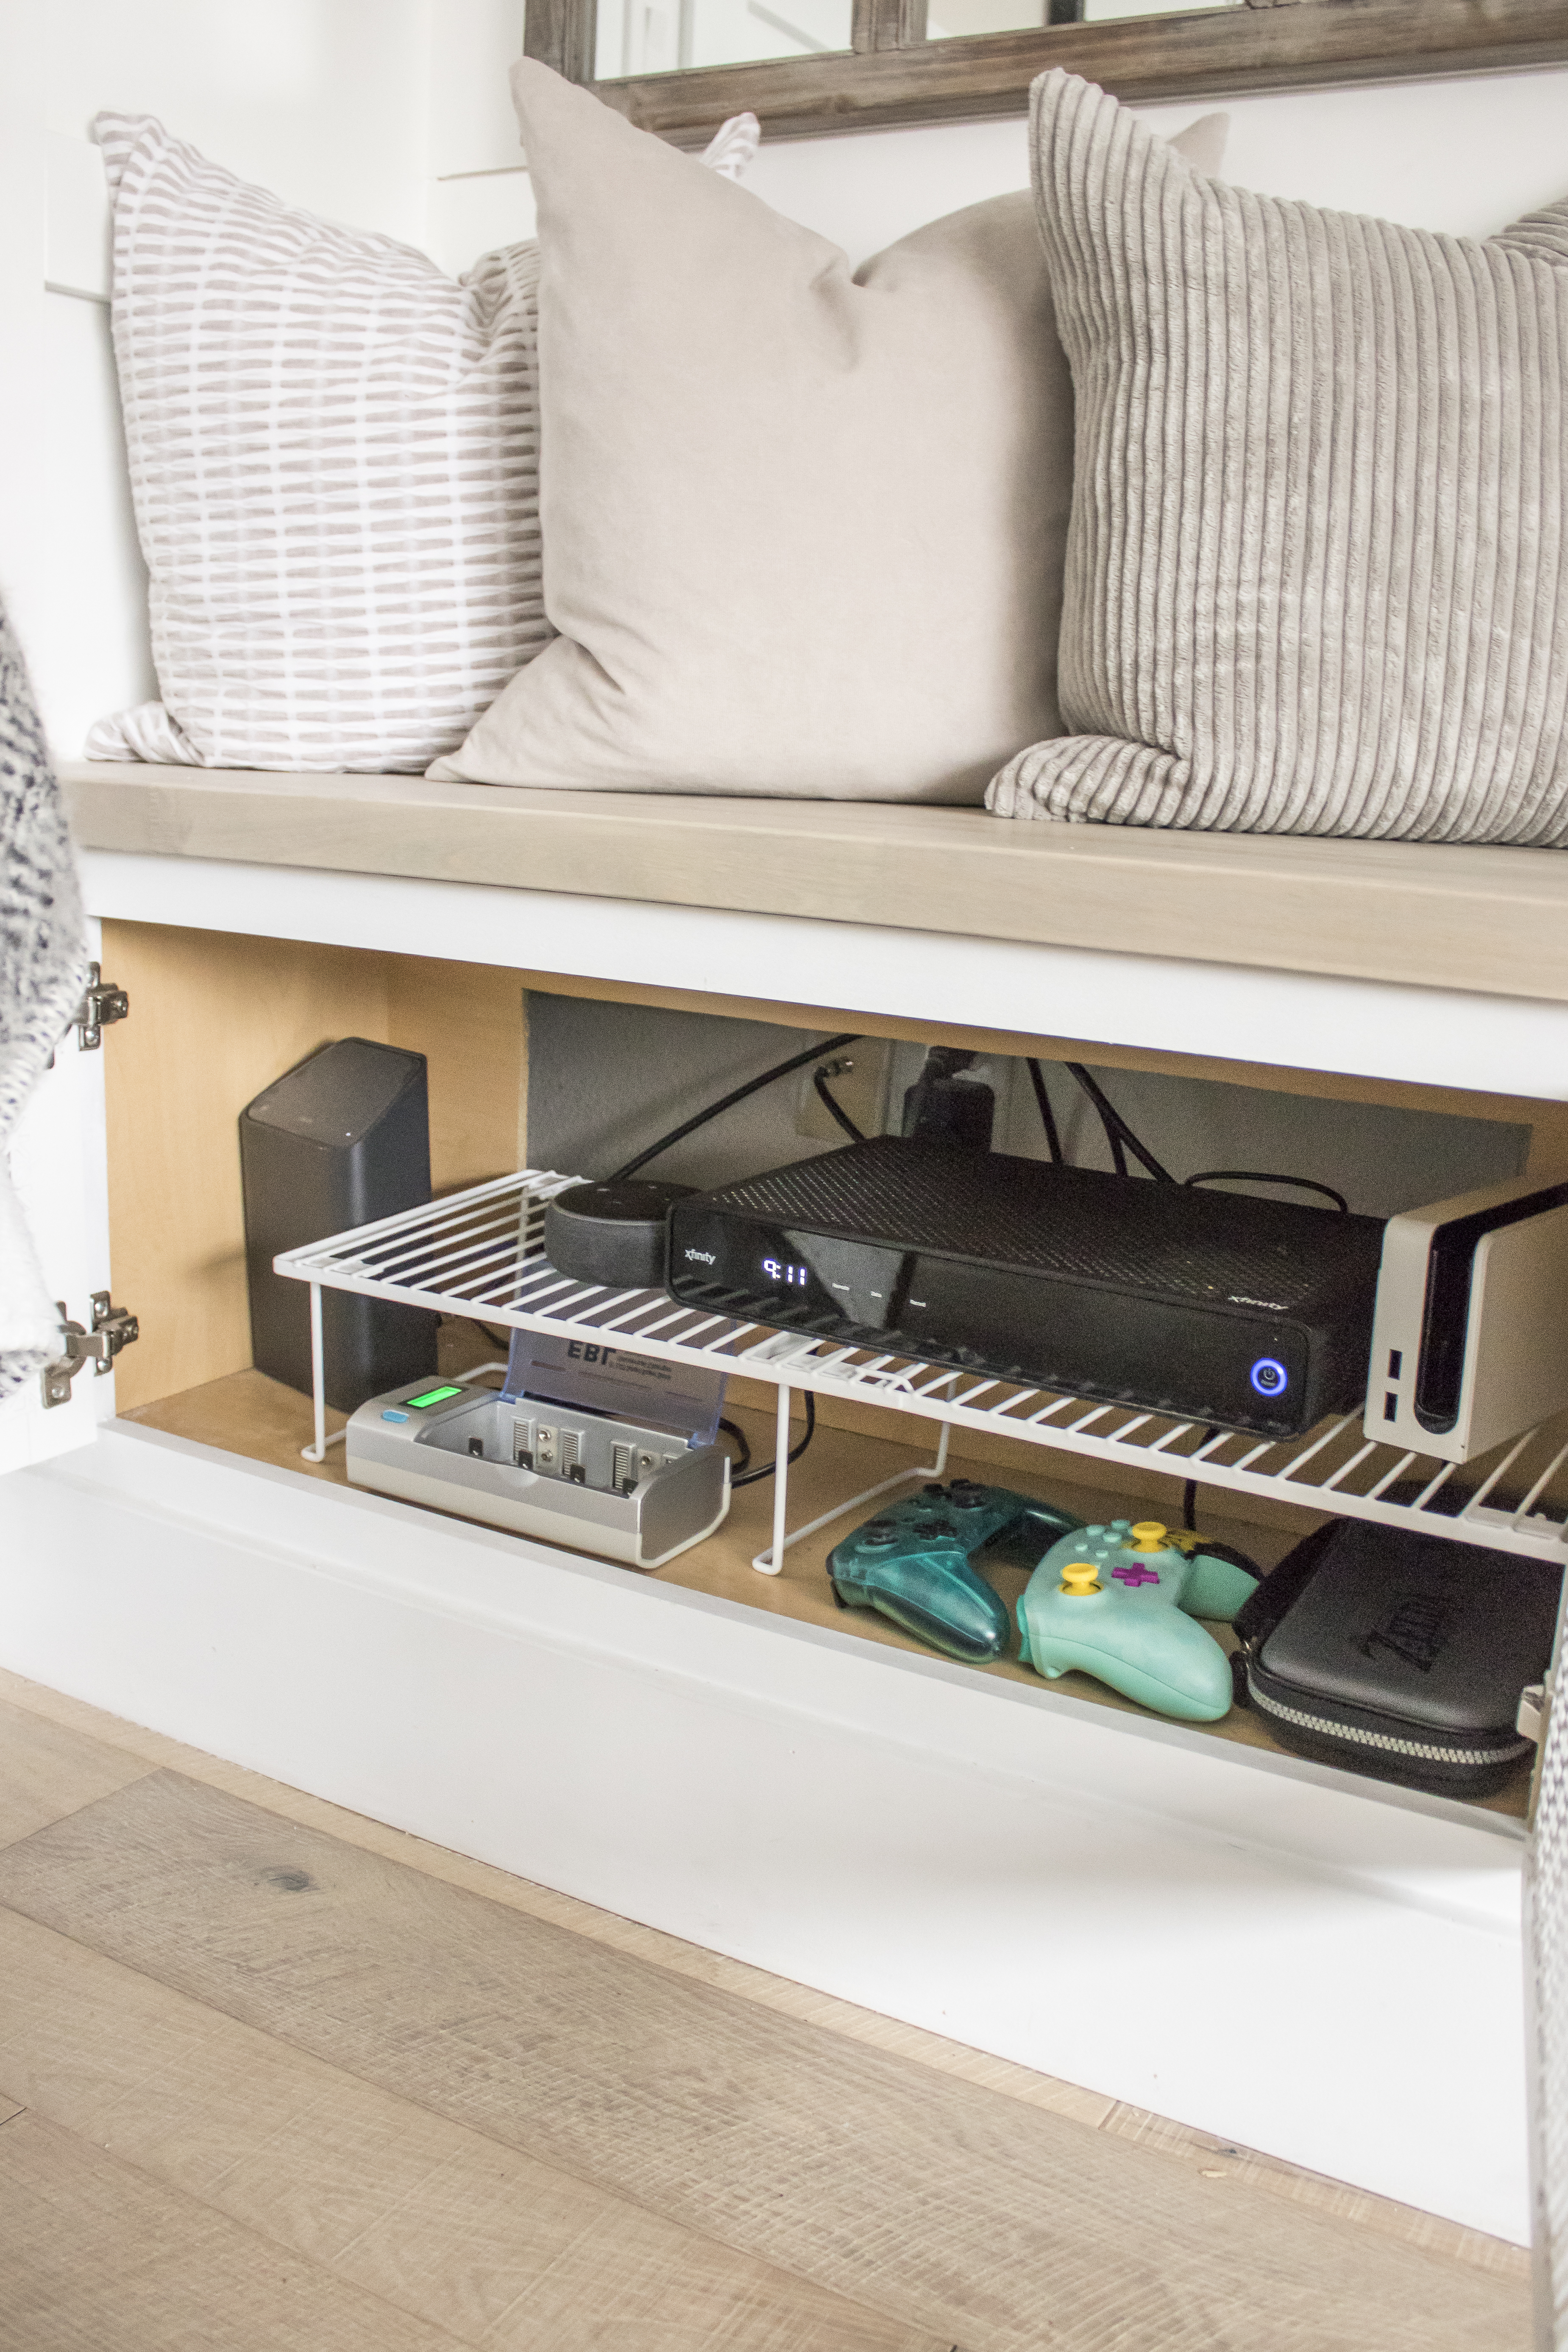
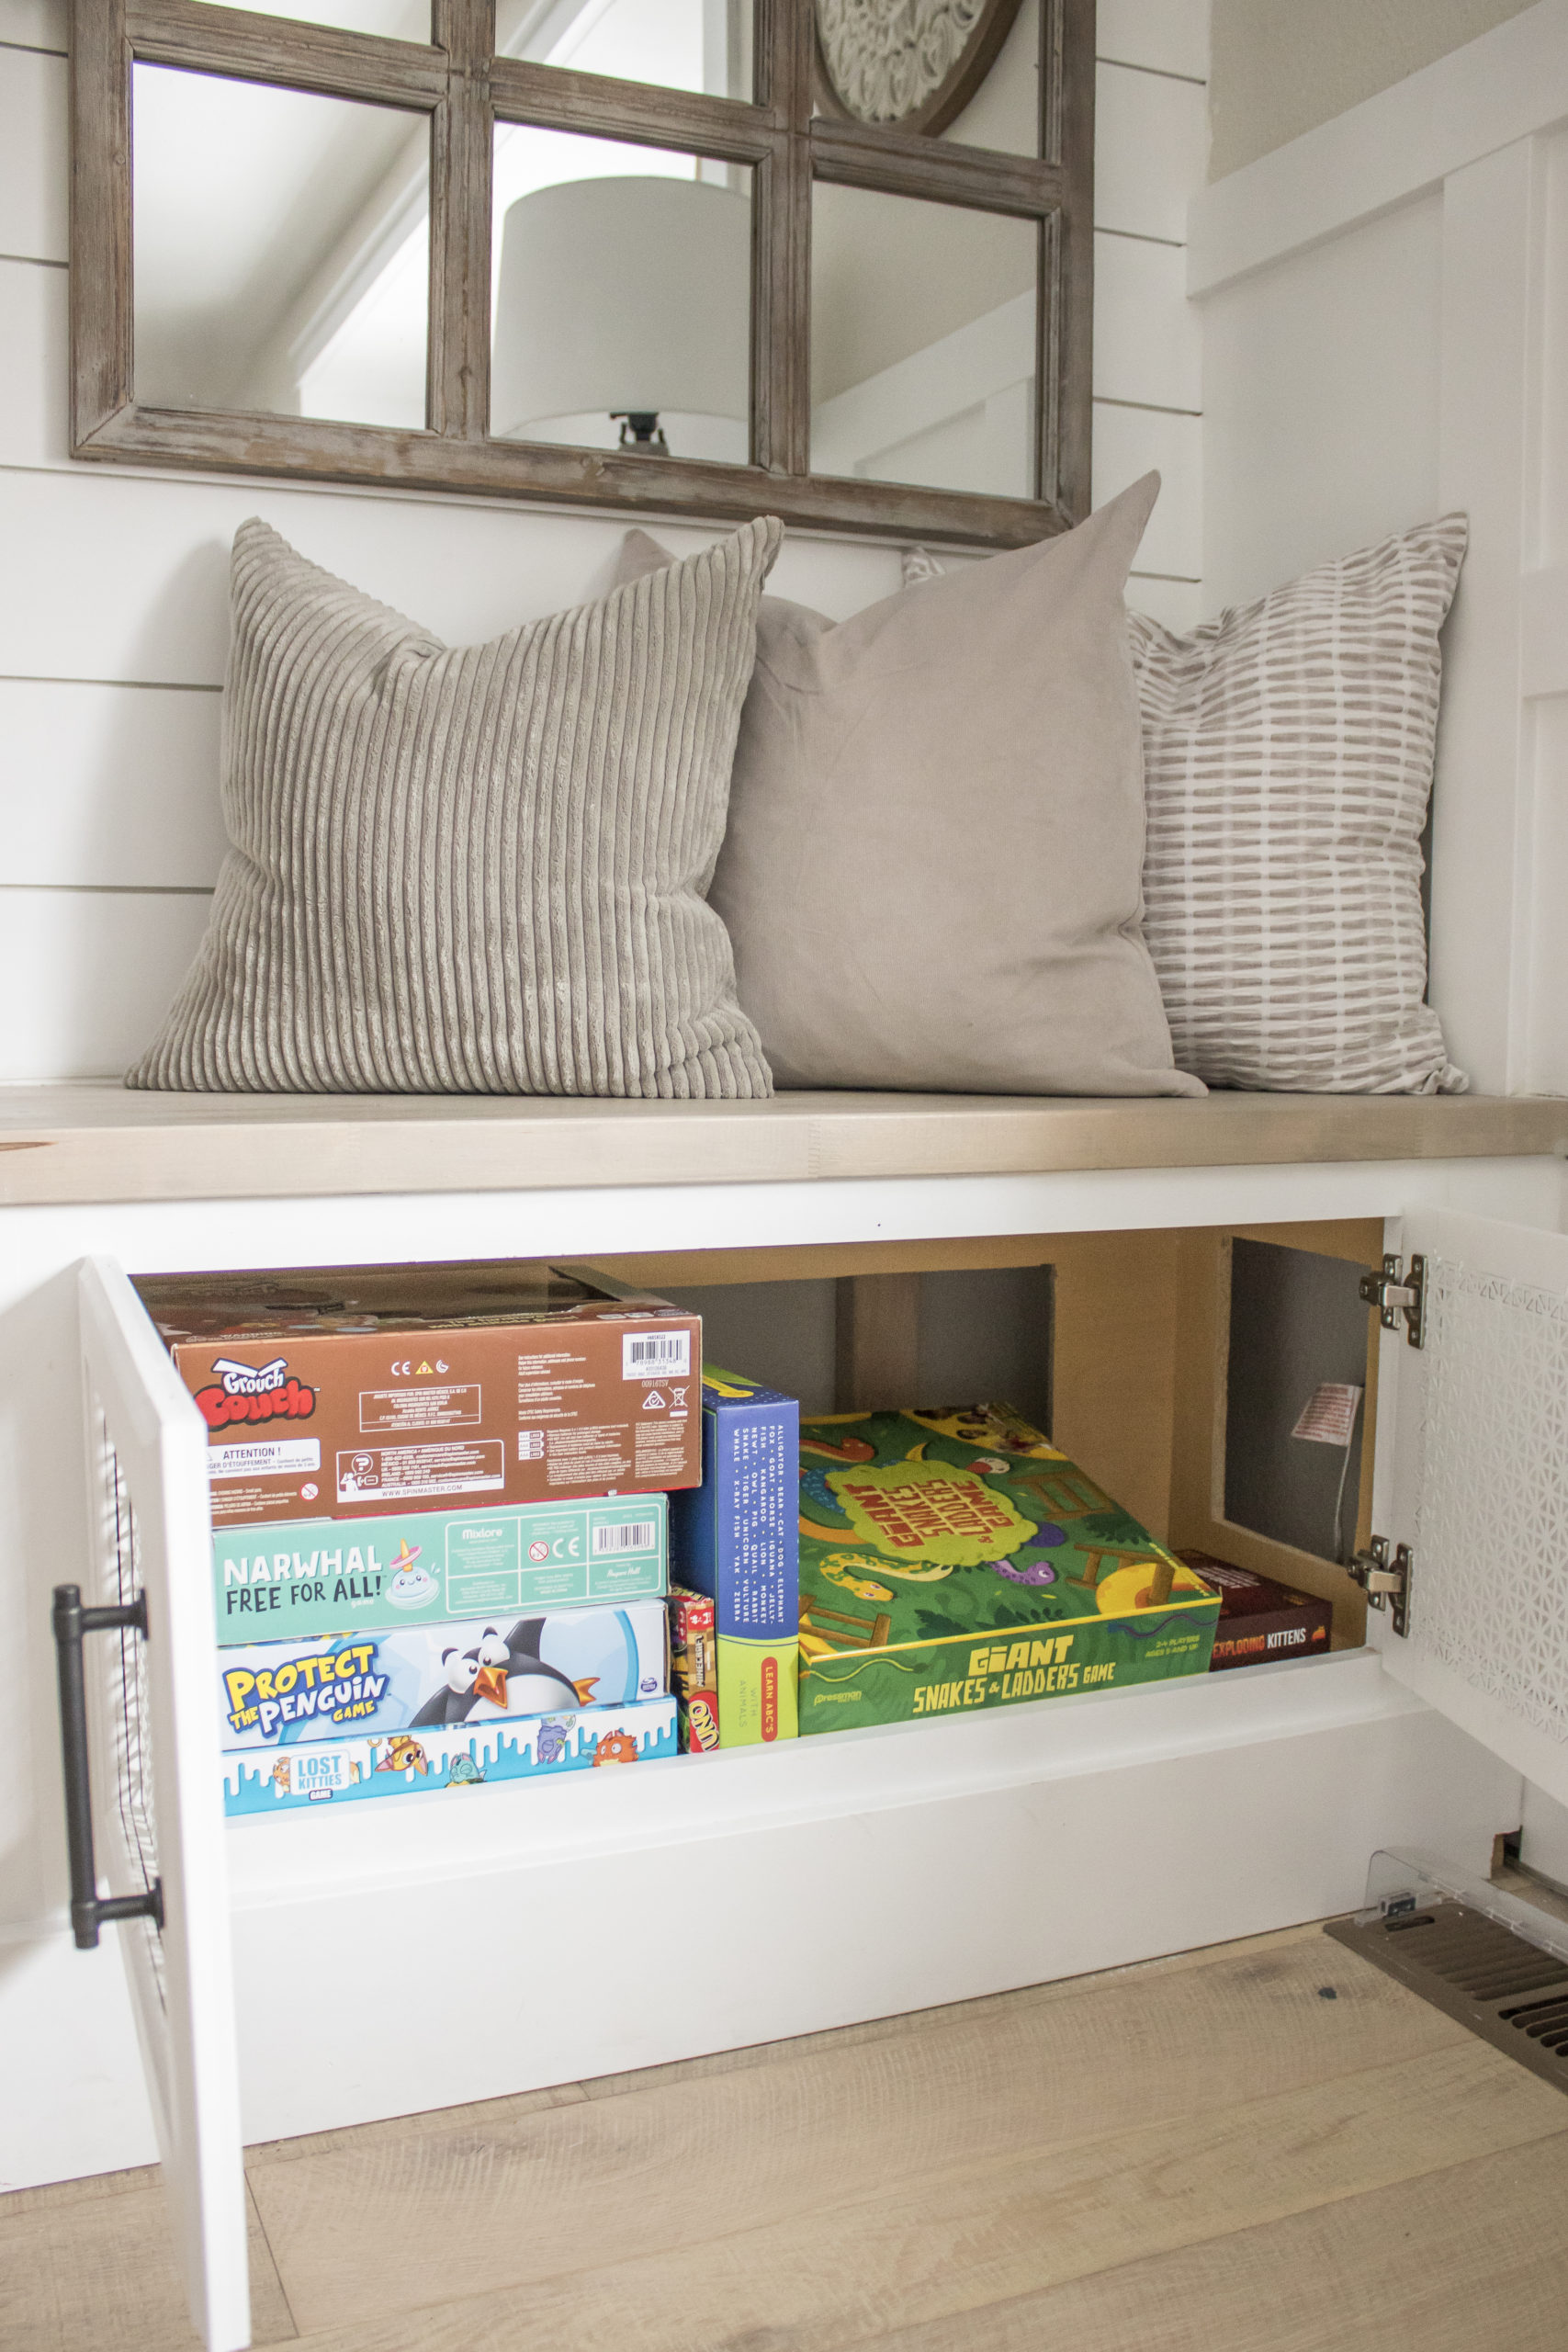
The electronic boxes are neatly organized in the one on the left (I was even able to get our rechargeable battery unit in there!) and the ones on the right are perfect for storing board games.
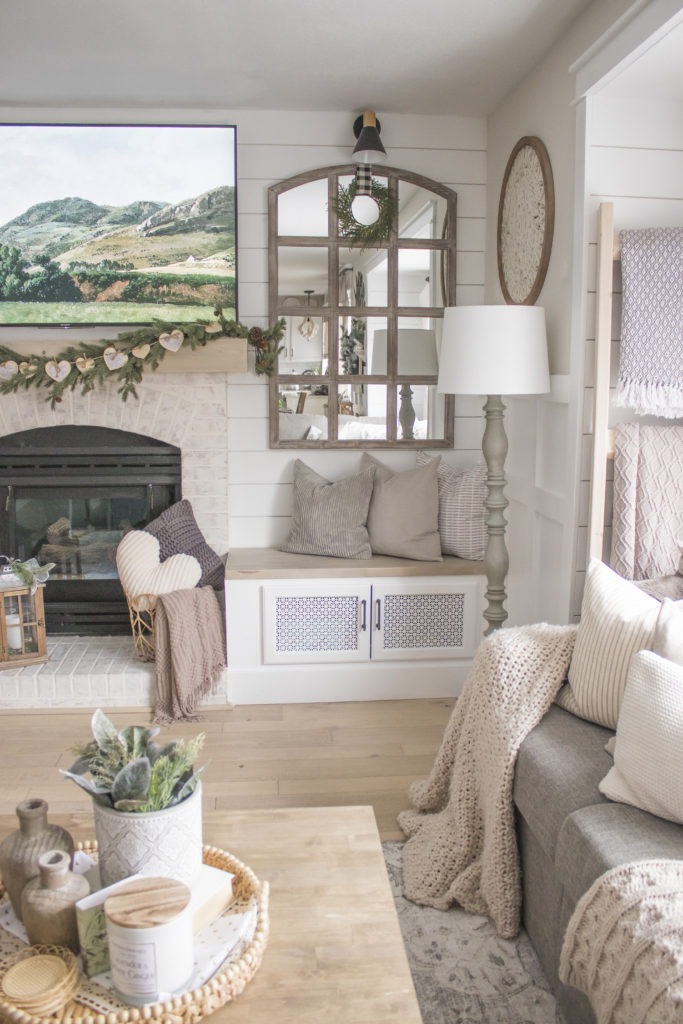
Not only do they add much needed storage and seating in here, but they also seem to pull the room together nicely and make it feel custom.
I am happy to report that the boxes receive plenty of air and signal through the pretty metal screening.
Thanks for swinging by today, I hope you have a fantastic weekend and I’ll catch up with you all next week 🙂
Sources for this room can be found in the living room reveal post here: One Room Challenge: The Reveal!
Linking up to these awesome parties!
(Affiliate links may be provided for convenience. For more info, see my full disclosure here.)
PIN FOR LATER!
These turned out awesome!
Thanks so much for this tutorial….it is absolutely fabulous!!!!!!!!!
I like to use stock cabinets for storage in our home as well, but I have not added the mesh to the cabinet doors. What a great idea.
And the styling is gorgeous:)
GORGEOUS! What a great project, and you did a beautiful job. Thanks for showing the step-by-step process.
Thanks so much for joining the Grace at Home party at Imparting Grace. I’m featuring you this week!
I LOVE this!! what a great project ! I adore that you do not have bare walls!! LOL!! So many homes have nothing on their walls and in my opinion, lack character but you have filled your walls with wonderful decor items and shelves!! Kudos to you because it looks so charming…LOVE the fireplace area too!! Thanks for sharing!!
hugs,
Debbie
Omgoodness, what an amazing project! The cabinets are such a great idea! Pinned 🙂