Hello and happy Friday my friends! I hope you all had a nice week. I felt a lot more productive this week and am ready to head right on in to the weekend.
As promised, I’m swinging by today to share the tutorial on our DIY fireplace beam mantel that we made for our living room makeover. This was the last DIY for the room and although I hit a few snags, it was actually quite simple to do and has made such an impact in here.
Supplies Used:(Affiliate links may be provided for convenience. For more info, see my full disclosure here.)
- 1×6 Common Board (front)
- 1×8 Common Board (top and bottom)
- 2×3 Stud
- 2 1/2″ Wood Screws
- Cordless Nail Gun
- Wood Putty
- Weathered Oak Wood Stain
- Matte Polyurethane
As a reminder, this is what our fireplace mantel looked like when we first began this room makeover. It was originally an orange-toned wood that I painted white and applied dark wax/dry-bushing to as a temporary fix right after we moved in.
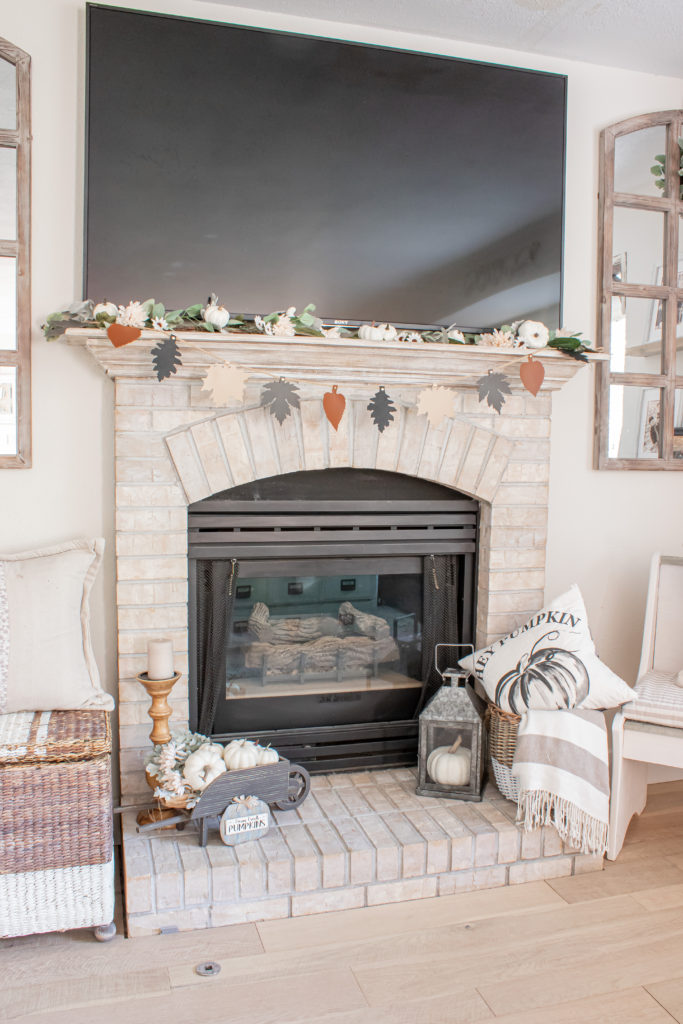
I knew that I wanted to rip it out and build our own beam mantel and was so excited when we finally began this project!
1. Attach a 2×3 to Studs
We began by attaching a 2×3 to the studs so that we could anchor it to the wall once it was built.

2. Cut the Front/Top/Bottom Pieces
I chose to use a 1×6 for the front since it fit our space best, however a 1×8 or a 1×10 could be used for a chunkier look if you have the space. I measured the width of our fireplace and then added 8″ to get a 4″ overhang on either side. Once all three pieces were cut the hubby ran them through the miter saw to get a 45 degree angles. The top and bottom pieces were mitered on one side and the front piece was mitered on both sides.

3. Jigsaw Bottom (If Wrapping Around Fireplace)
Because we were tight on space, we actually had to wrap our mantle around the fireplace brick as opposed to just setting it on top. To do this, I held the bottom piece up to the fireplace and marked where it needed to be cut, then used my jigsaw to remove that piece.
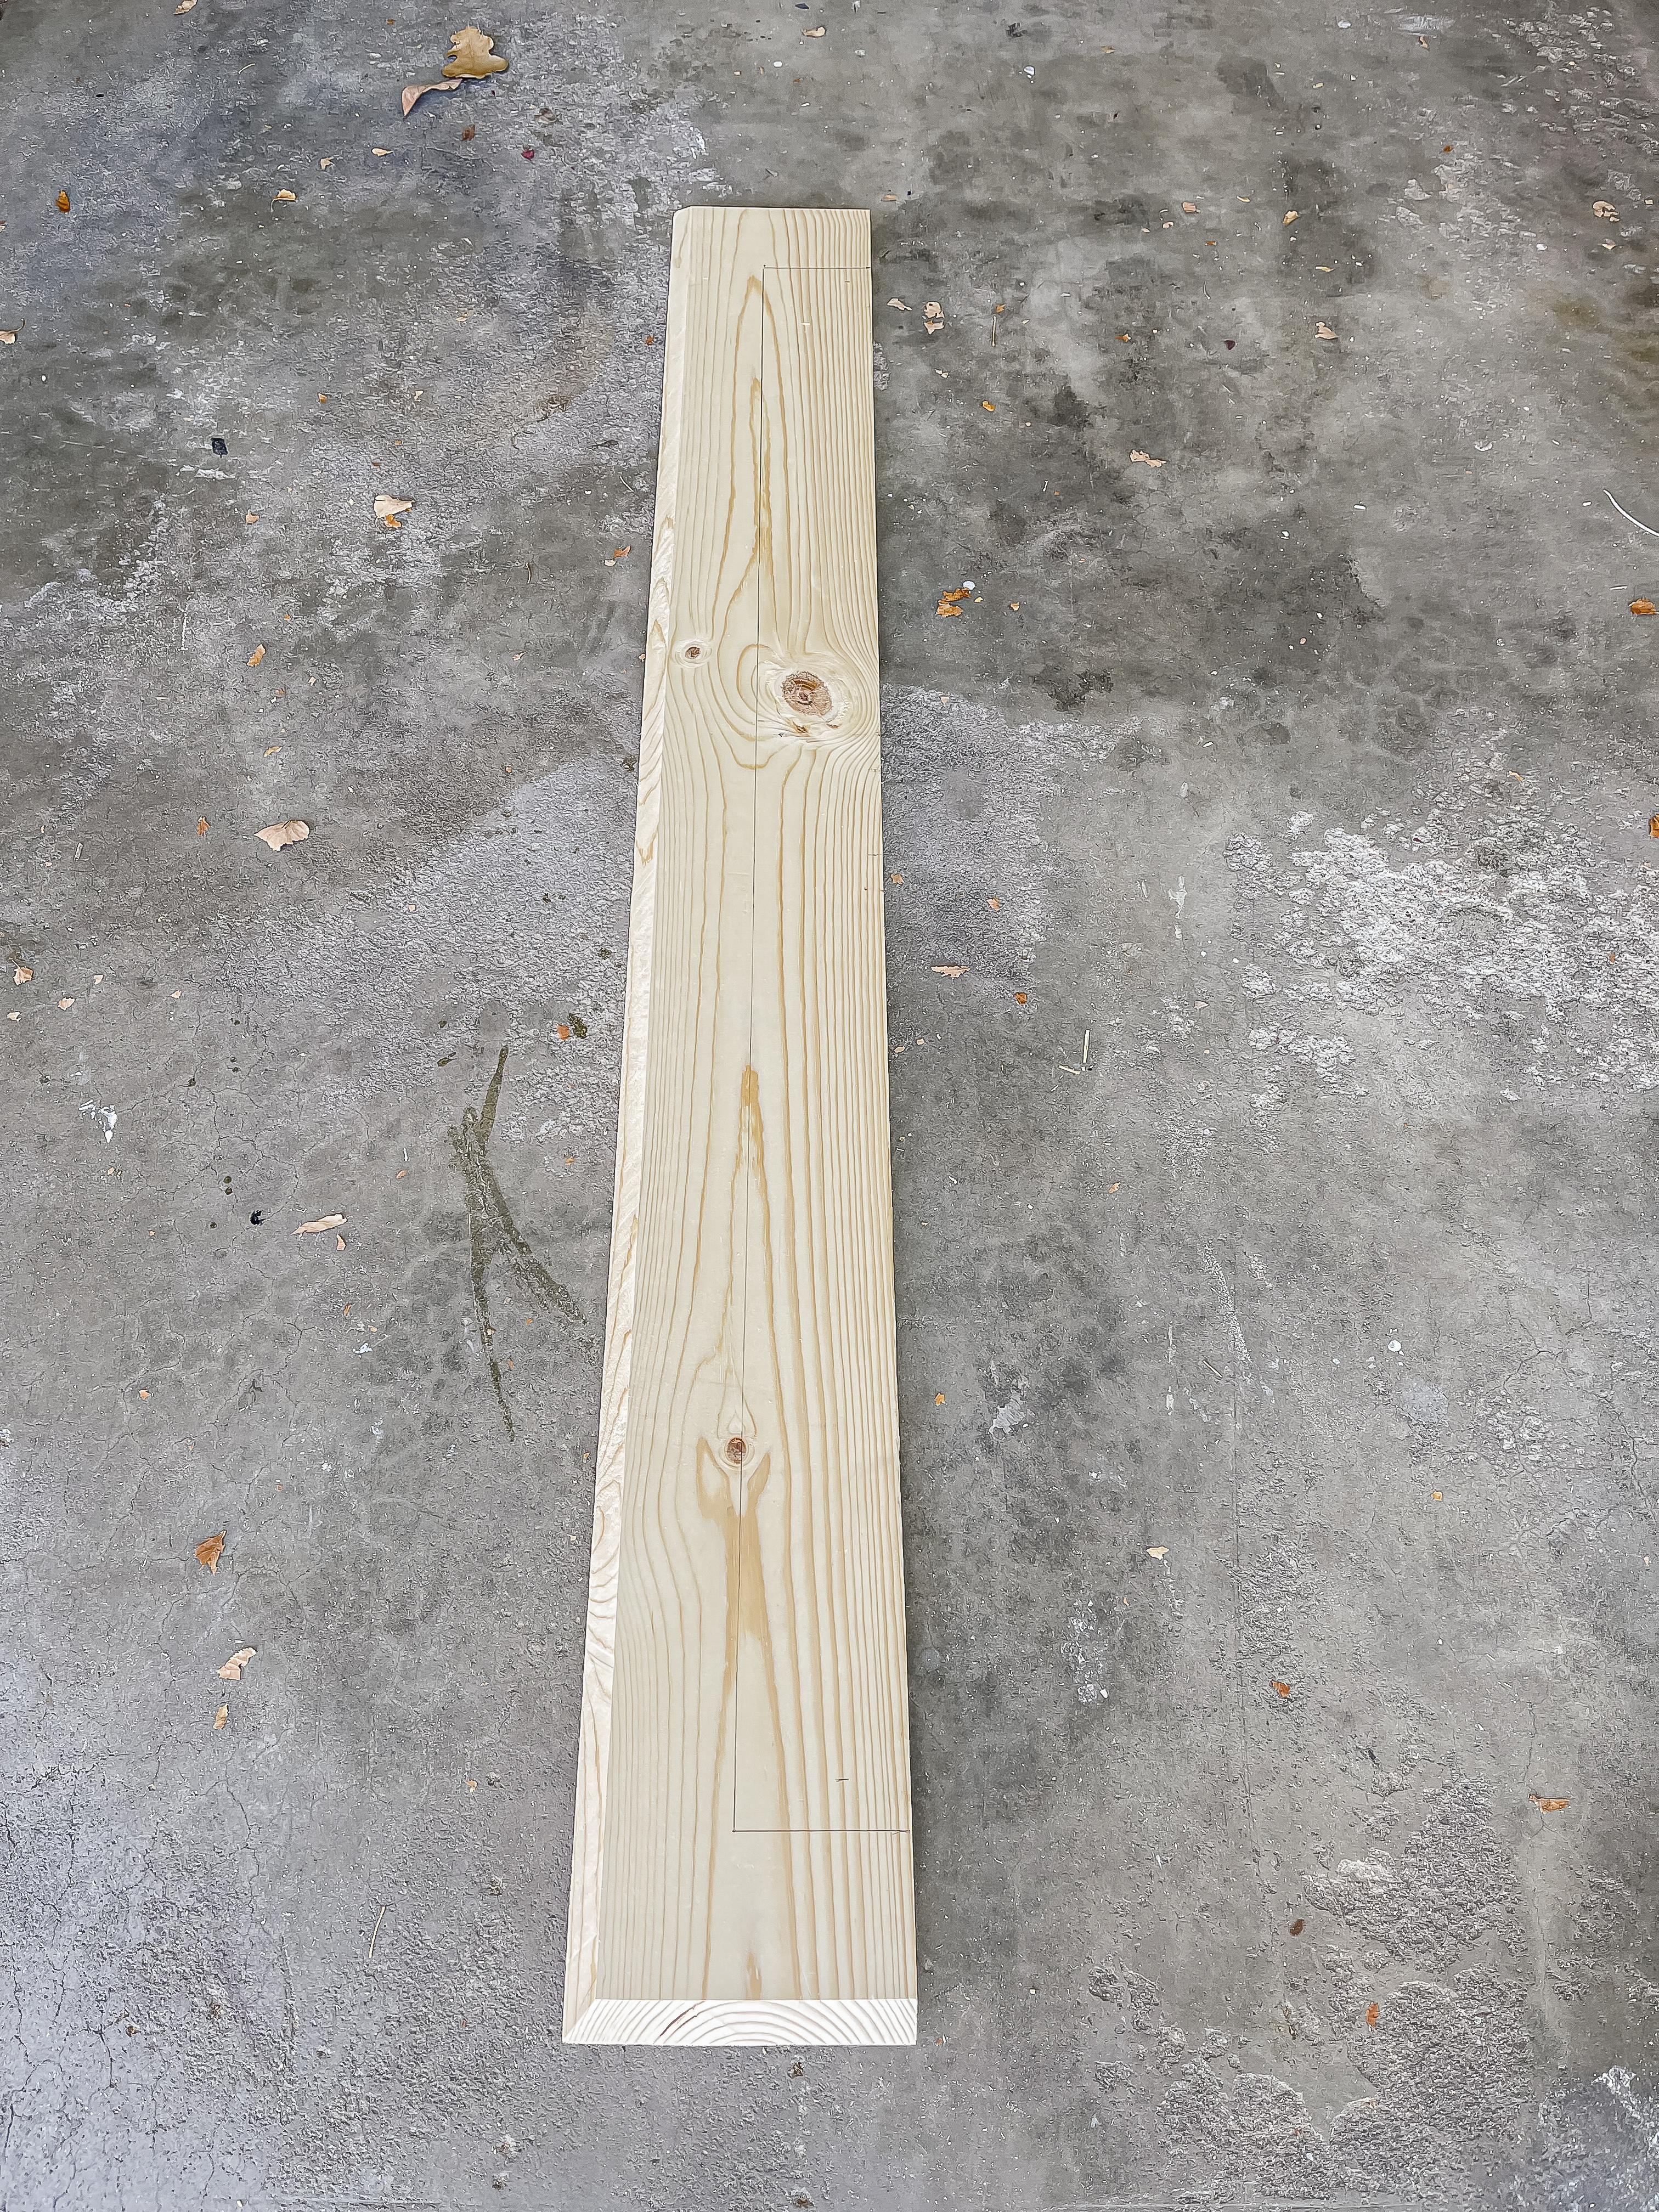

Once it was cut I held it up to make sure that it fit nicely.
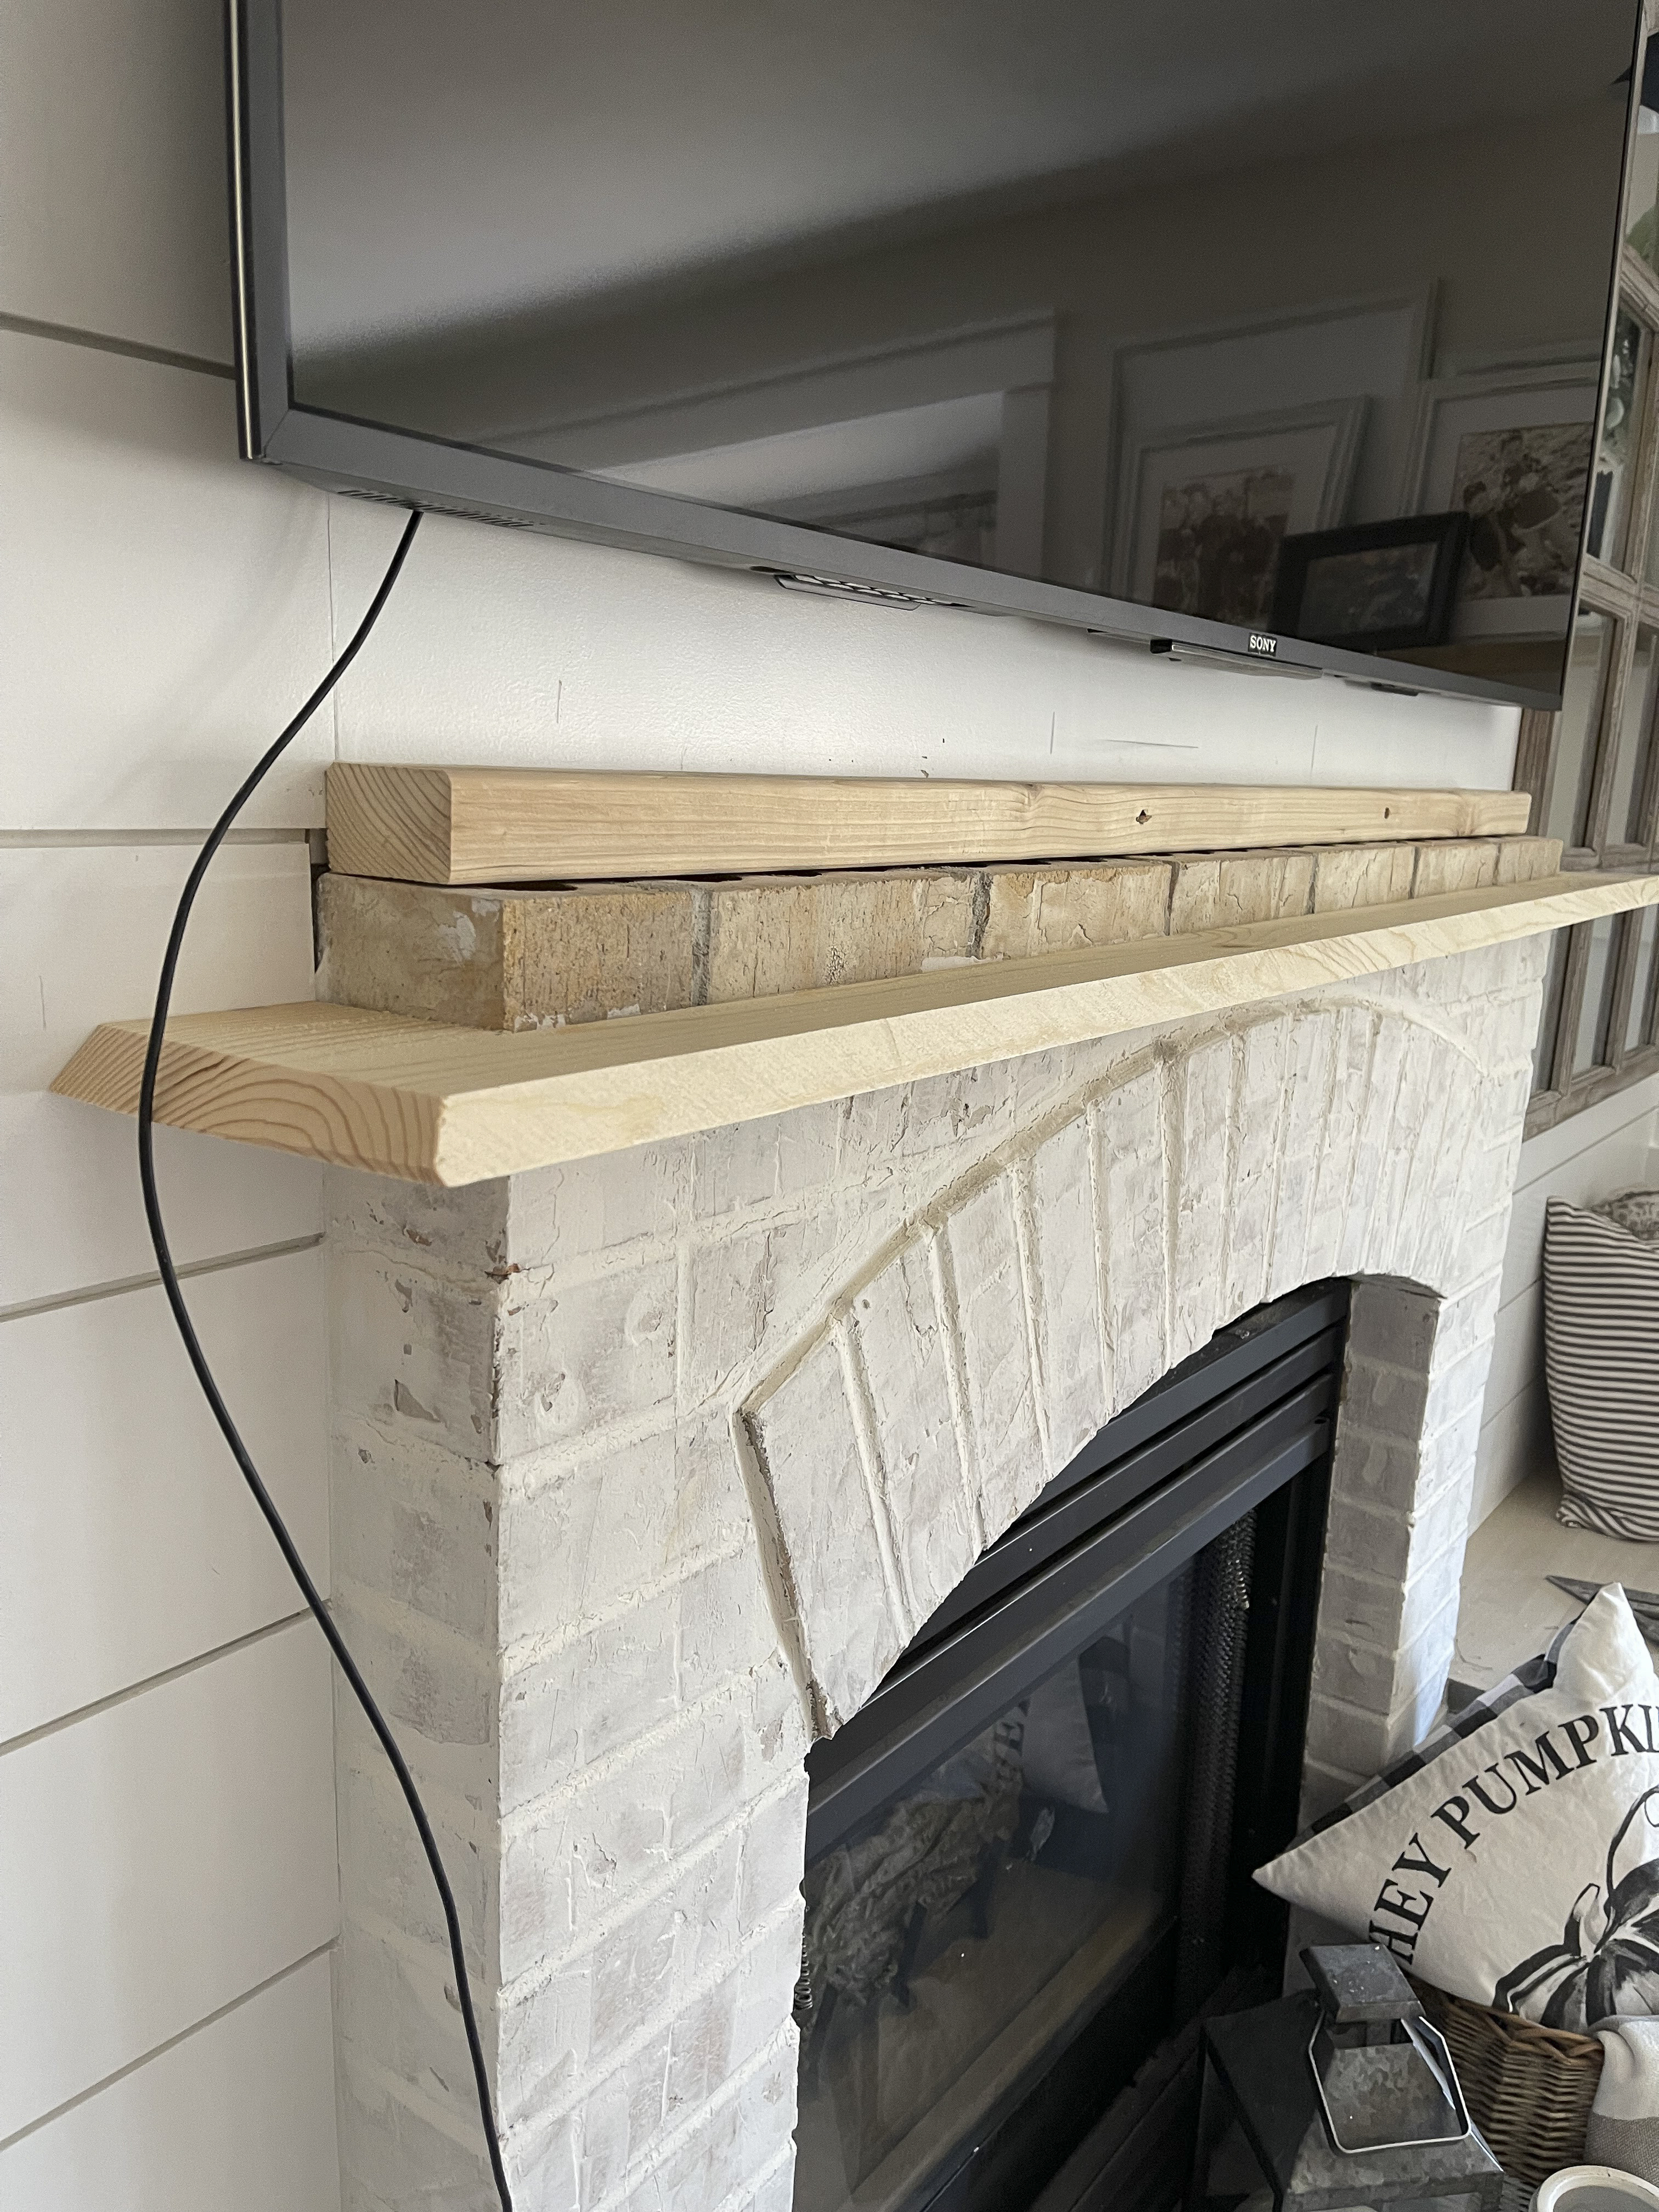
4. Attach Top/Bottom/Front using Support Blocks
This next part is where I initially messed up. From here I tried to attach the top and bottom to the front piece while it was all sitting on the fireplace. There were two problems that I ran in to–first it wasn’t level since the fireplace brick wasn’t level and second it started to collapse on itself! Even after I stuck some support blocks inside I still had the issue of it being unlevel.
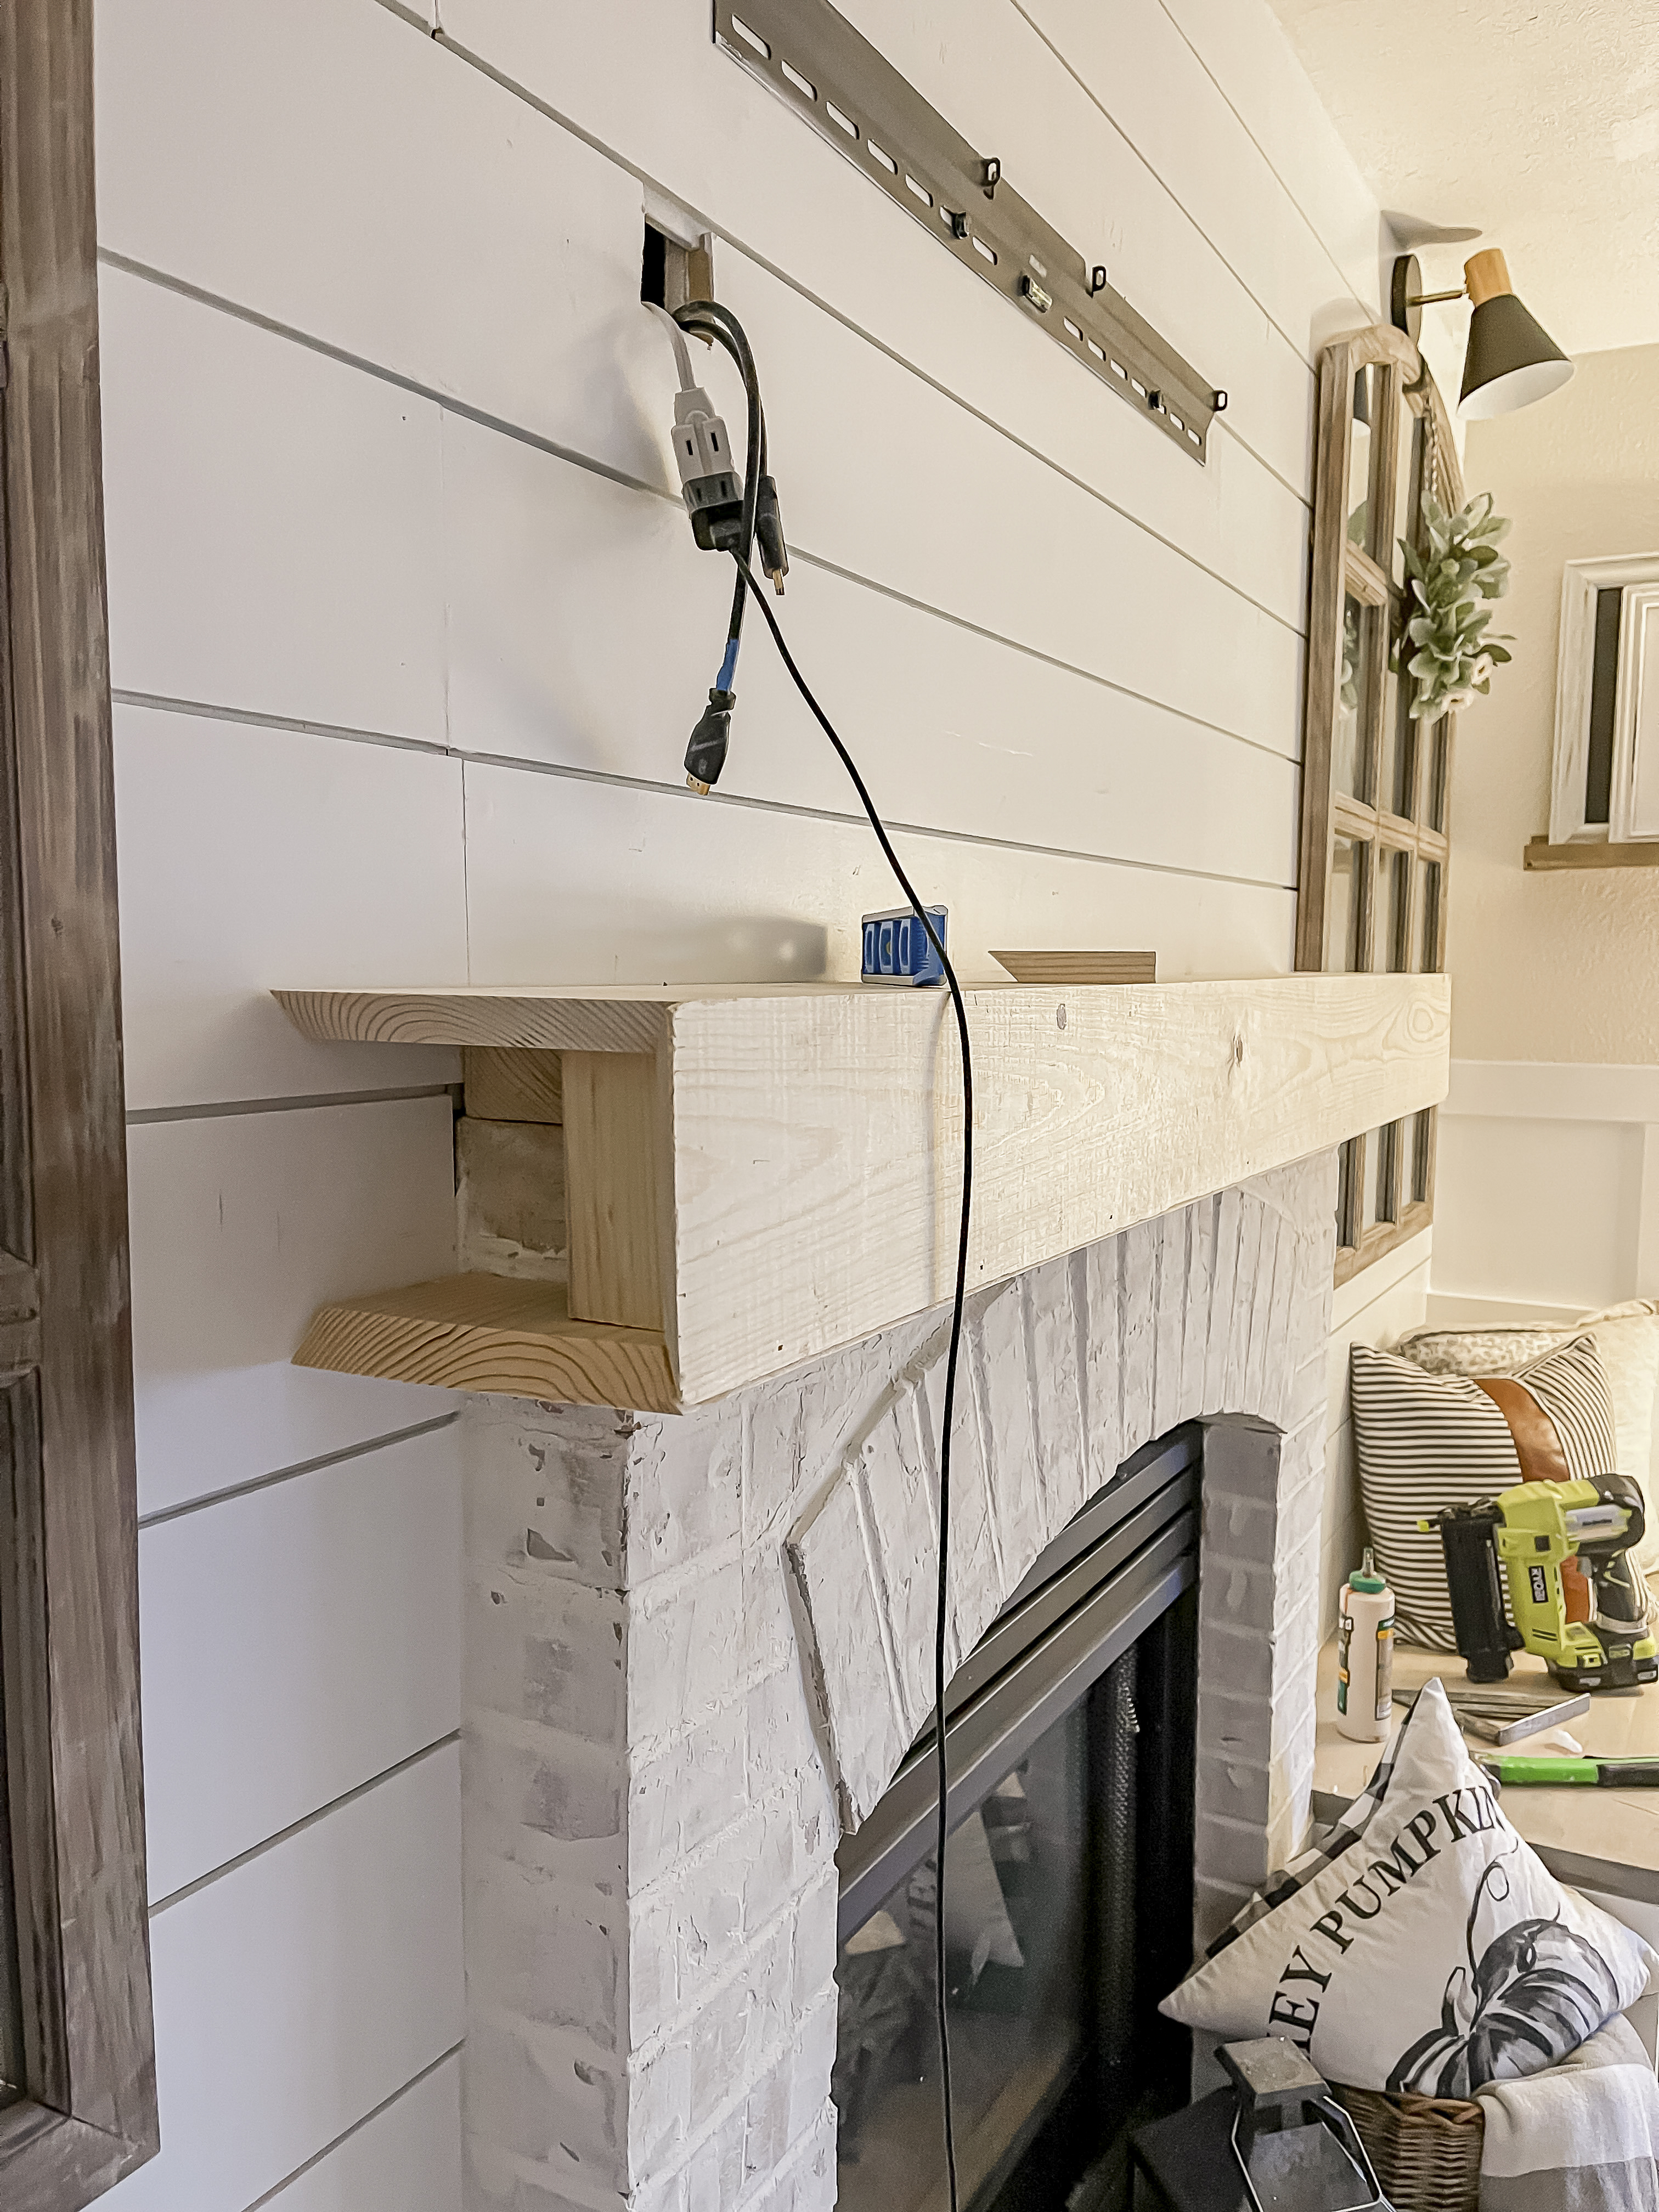
So down it came and I called for back up! Anthony used wood shims and a level to first get the support 2×3 nice and level.
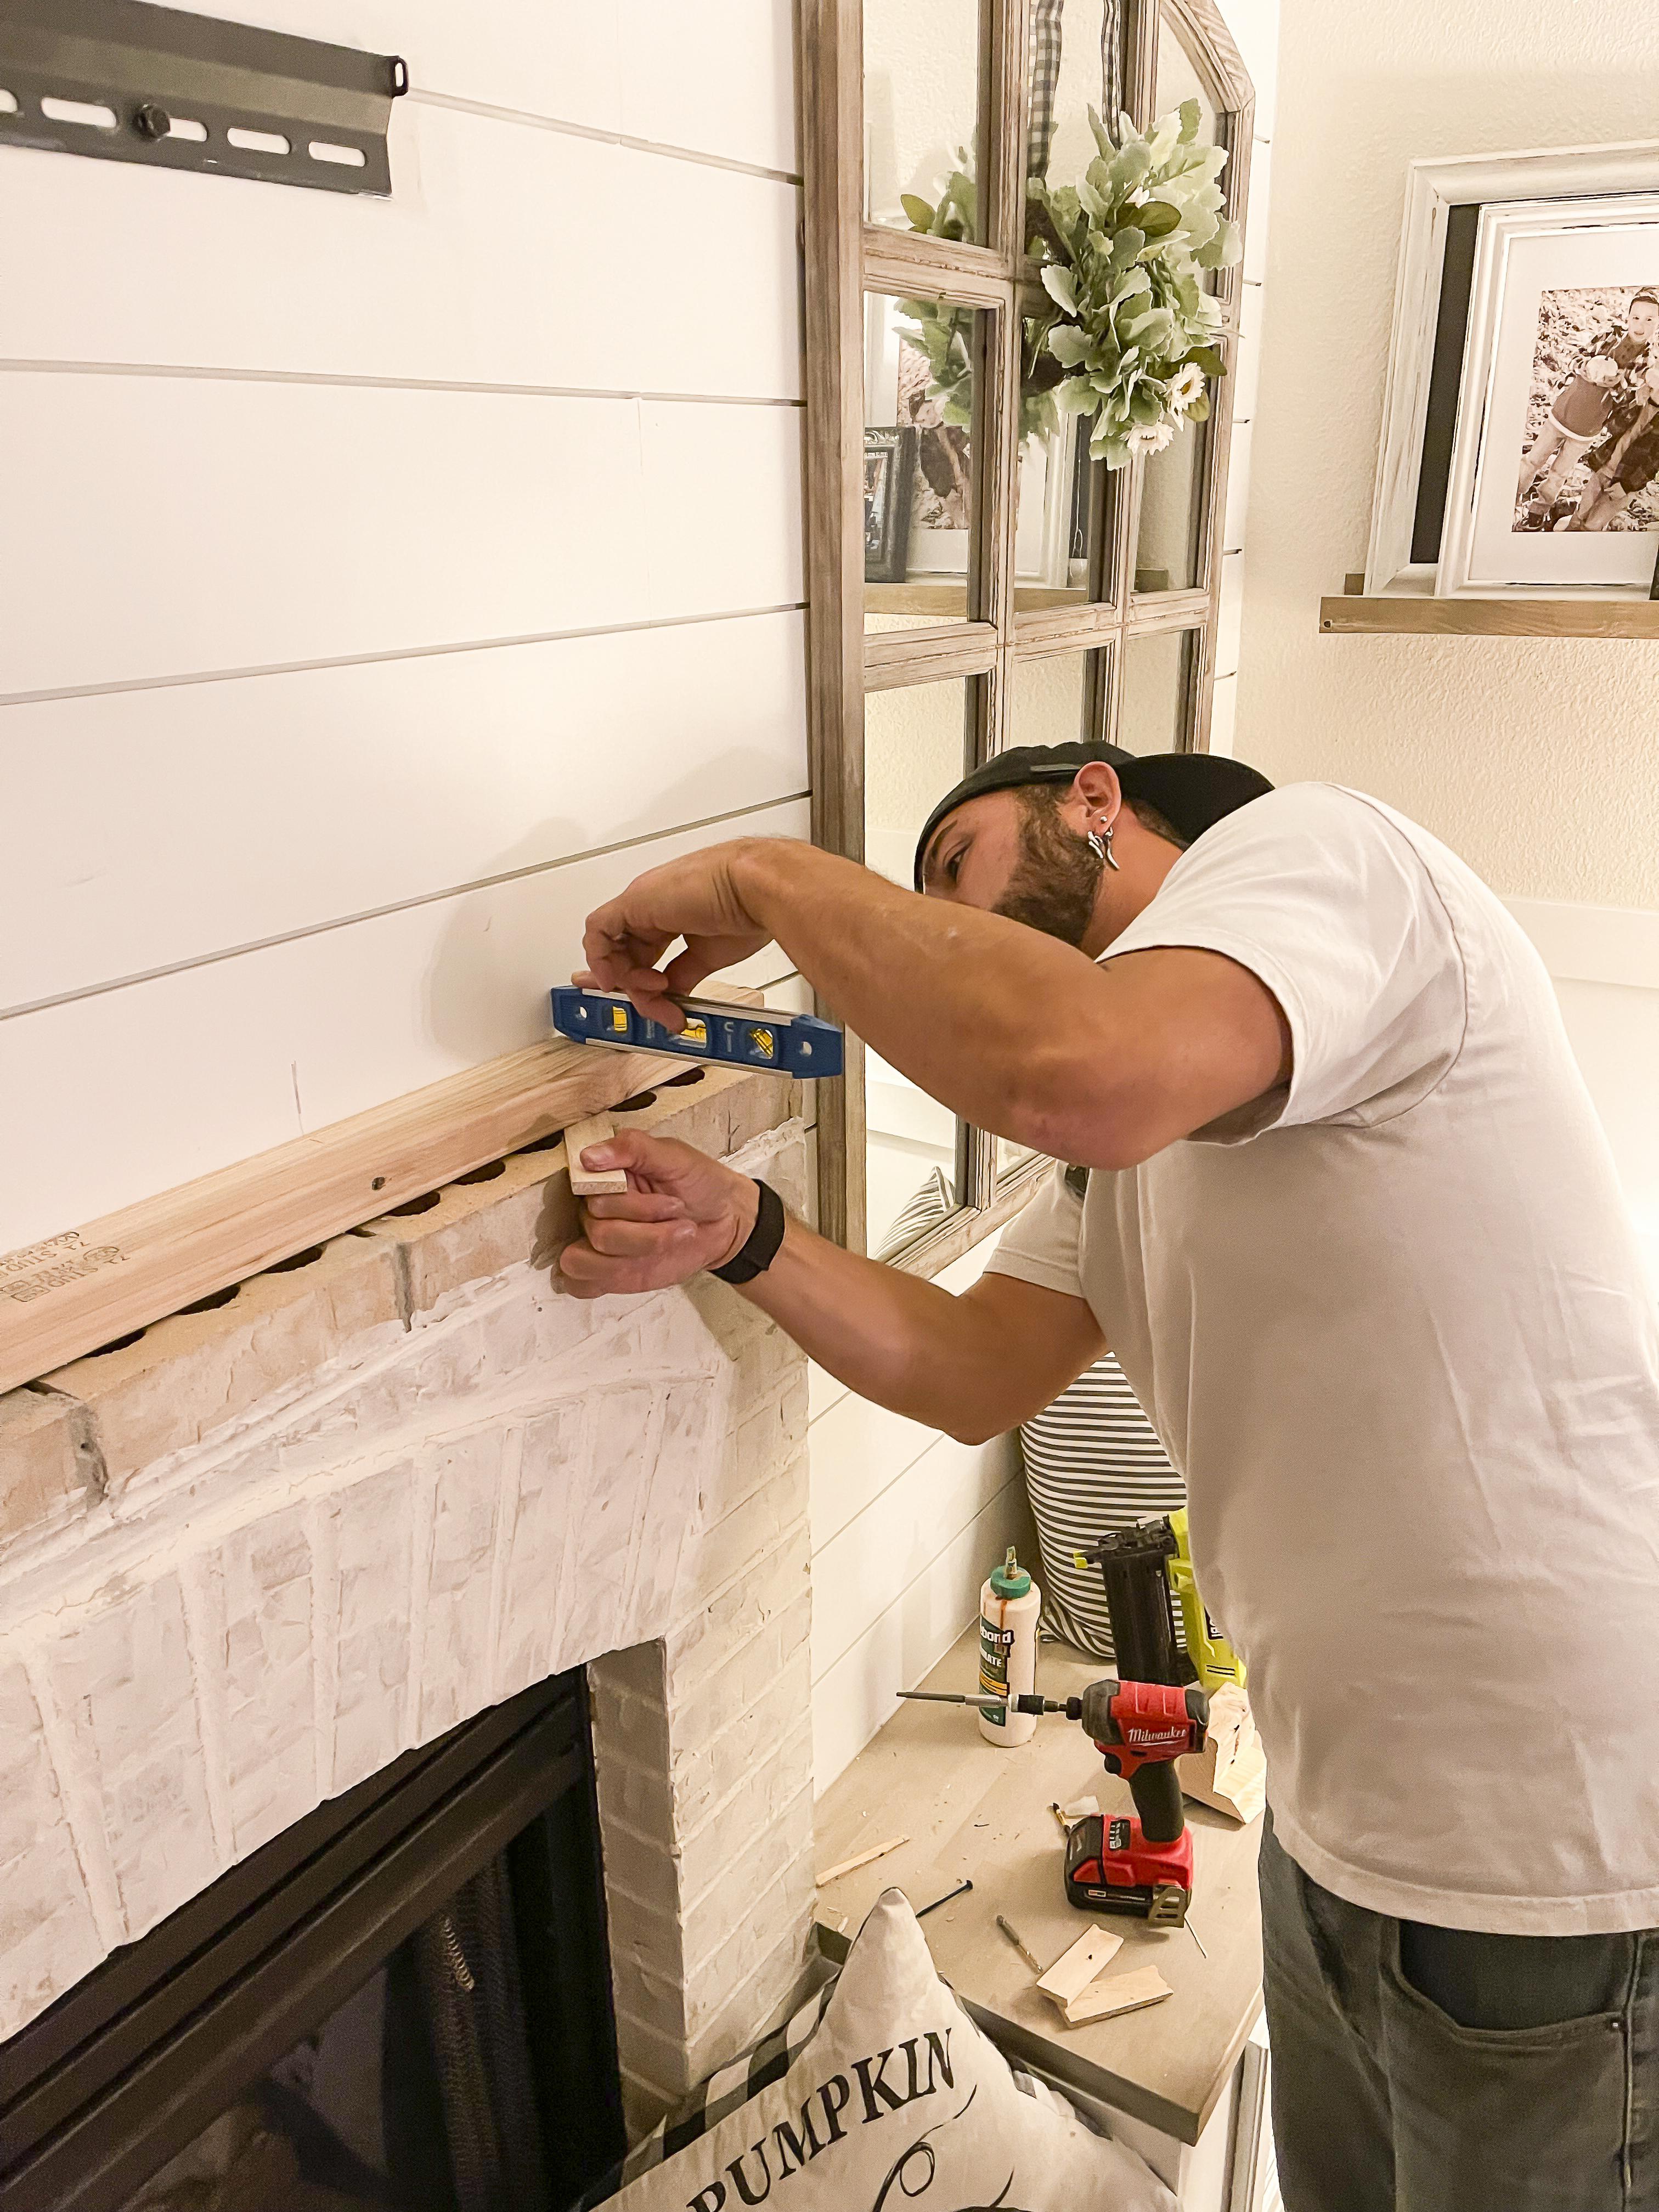
Then we assembled everything on the ground using the nail gun to attach the pieces to each other as well as to the support blocks inside.

5. Cut Sides and Attach
Once it was assembled and attached to the 2×3 support piece, we measured and cut out the sides making sure to miter them on the three sides that would be going in next to the other mitered edges. We then used the nail gun to secure it in to place.
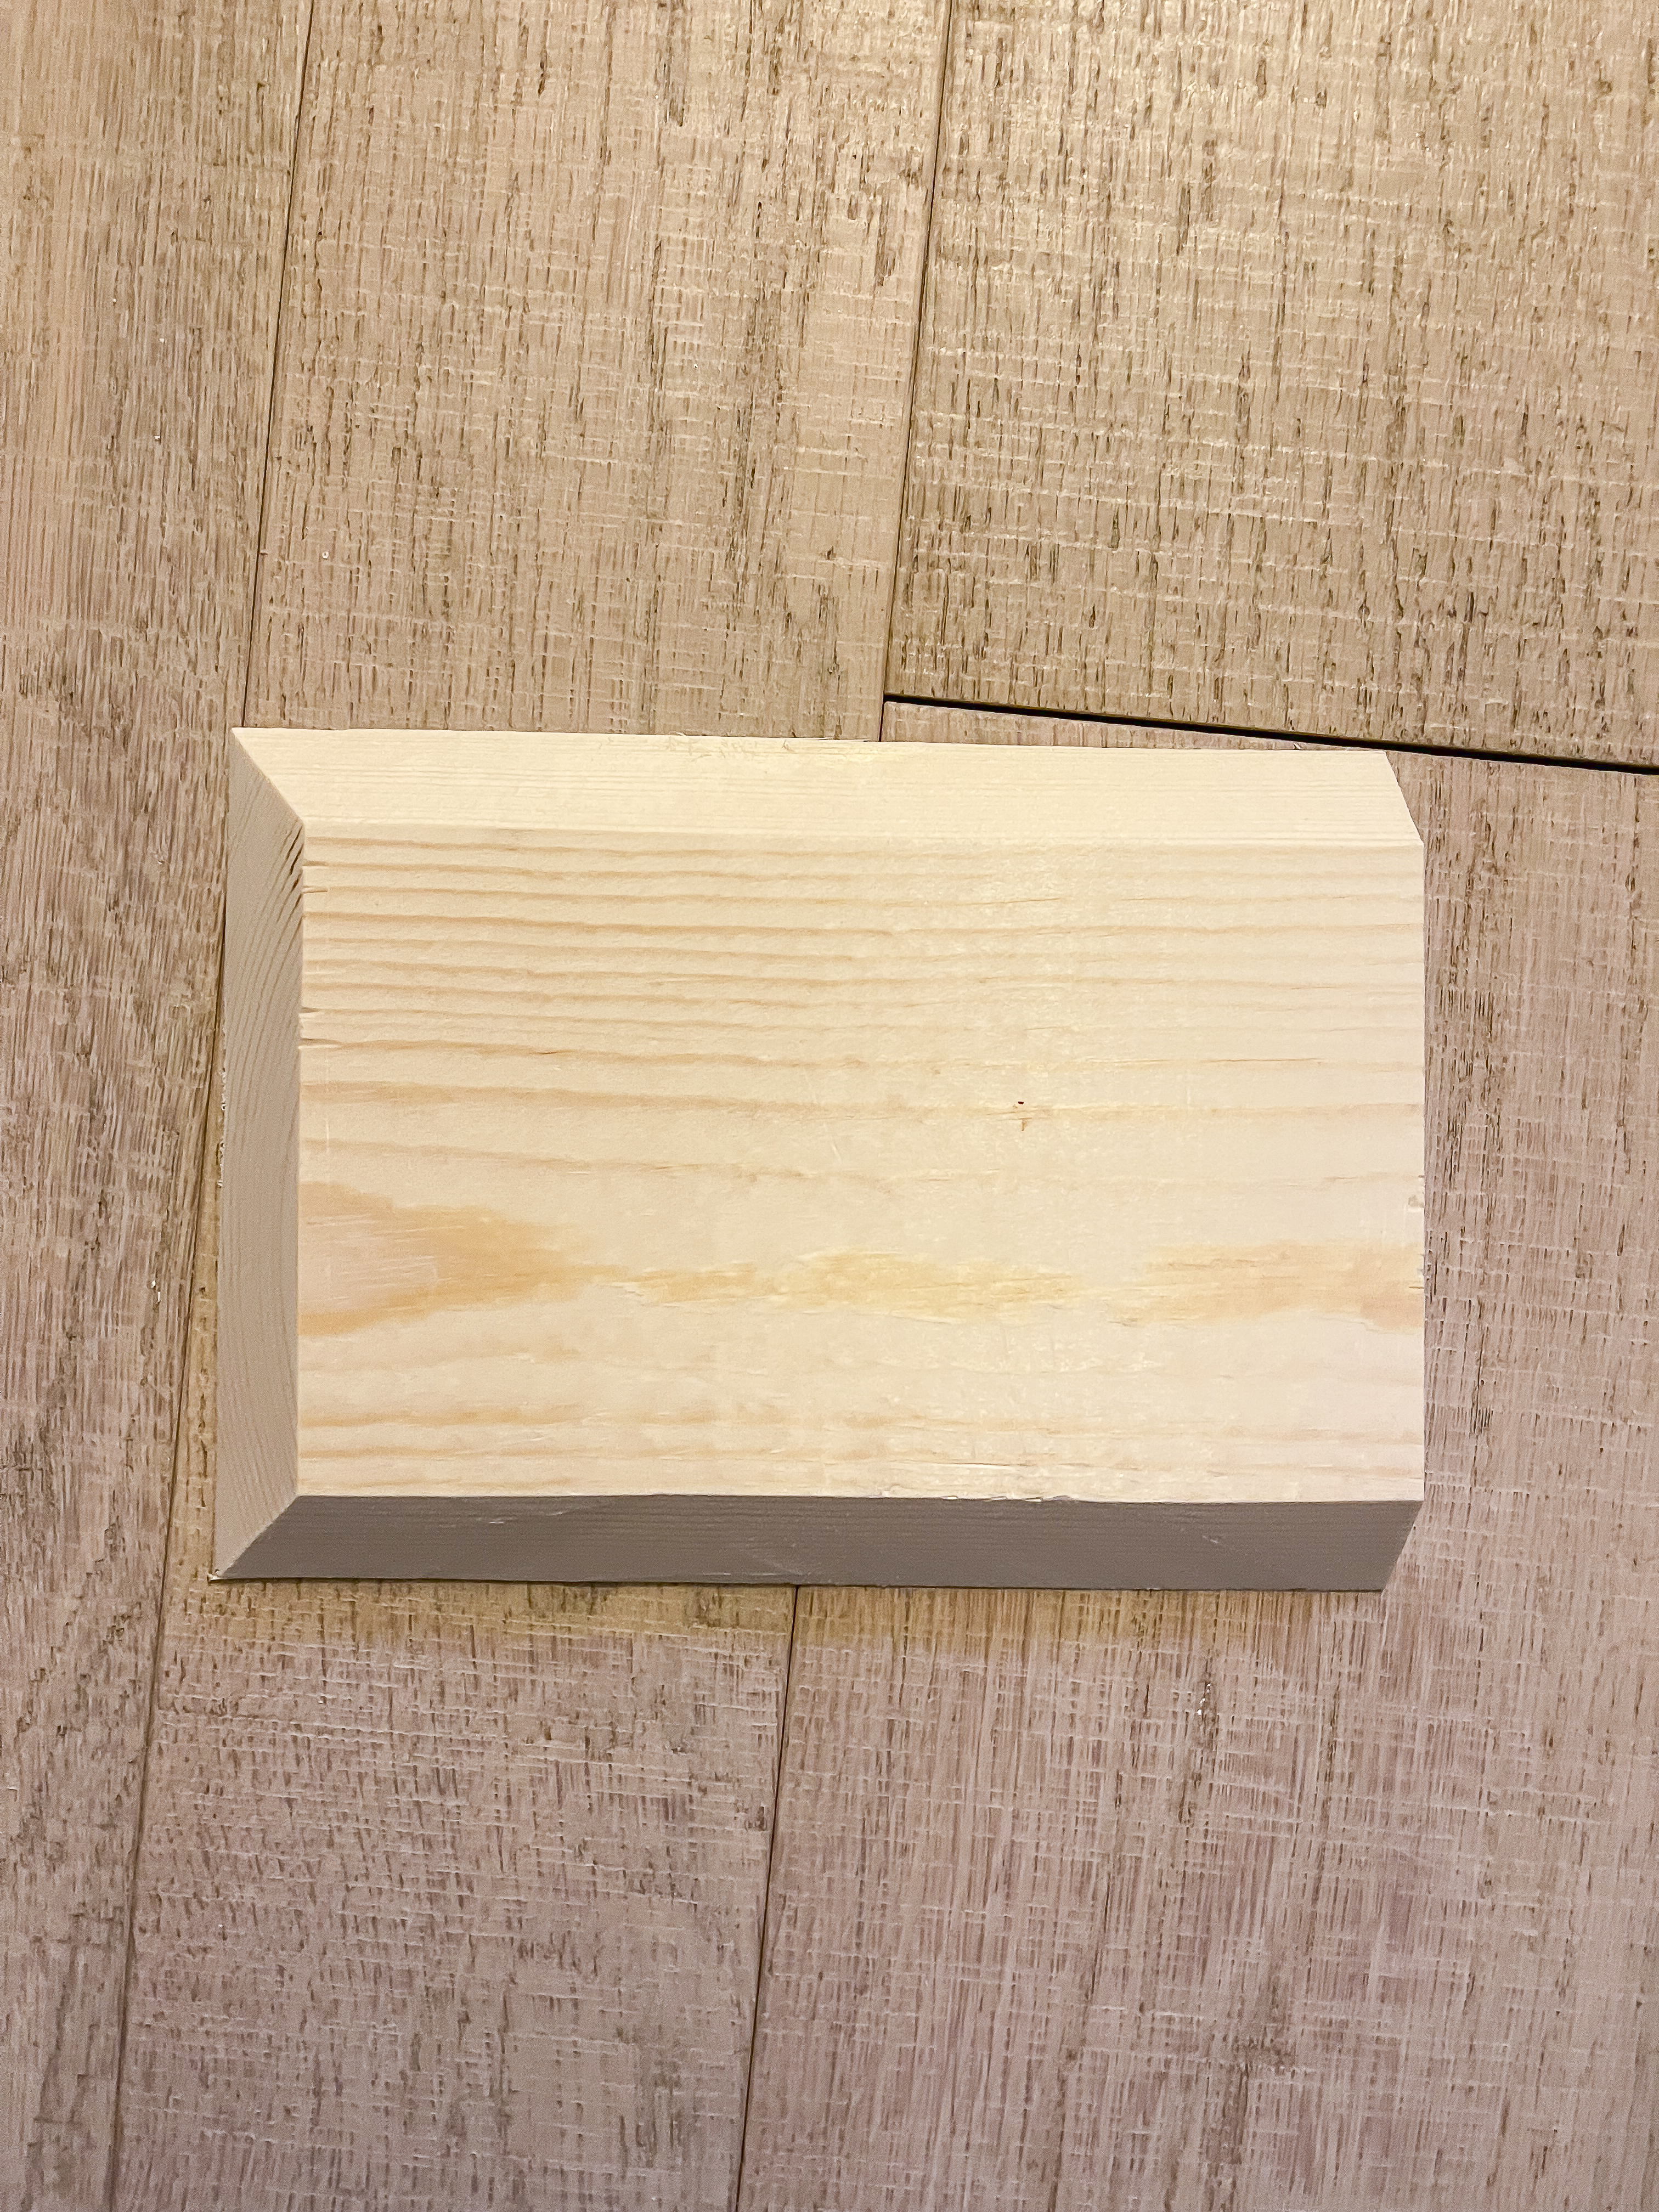
6. Fill Nail Holes and Sand
I filled all of the nail holes with wood putty and then went back and sanded them smooth. I also filled in the seams where the boards met to make it nice and seamless.
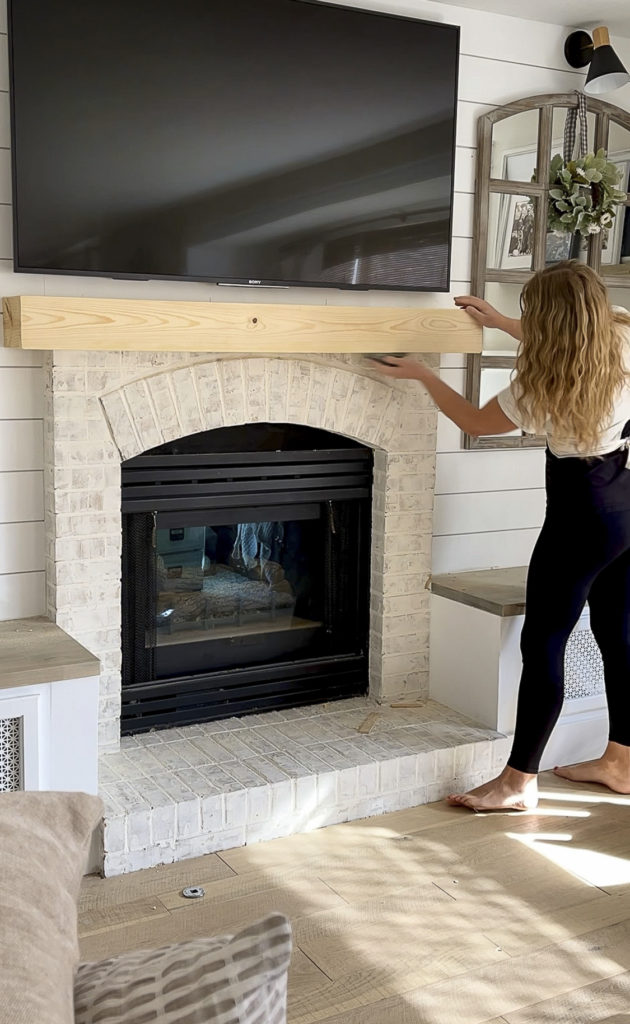
7. Stain and Seal
The final step was to stain and seal. I wanted to get a color very similar to the floors so I started with two coats of white wash followed by a coat of stain. The whitewash makes it so that the stain doesn’t go on as dark.
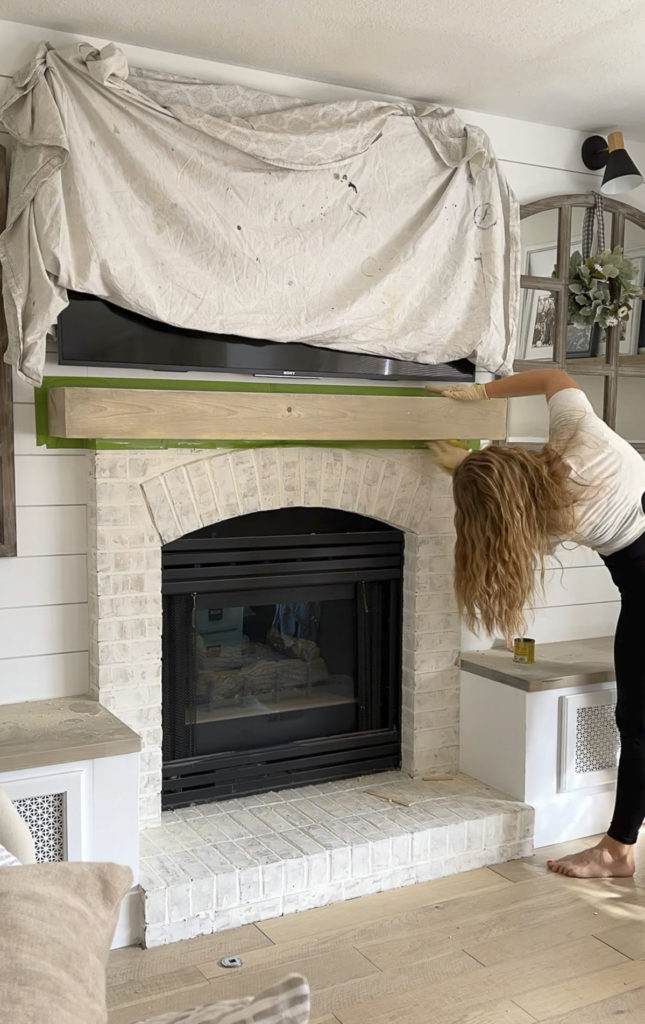
Once it was all dry I gave it two coats of matte polycrlyic, then stood back and admired our work!
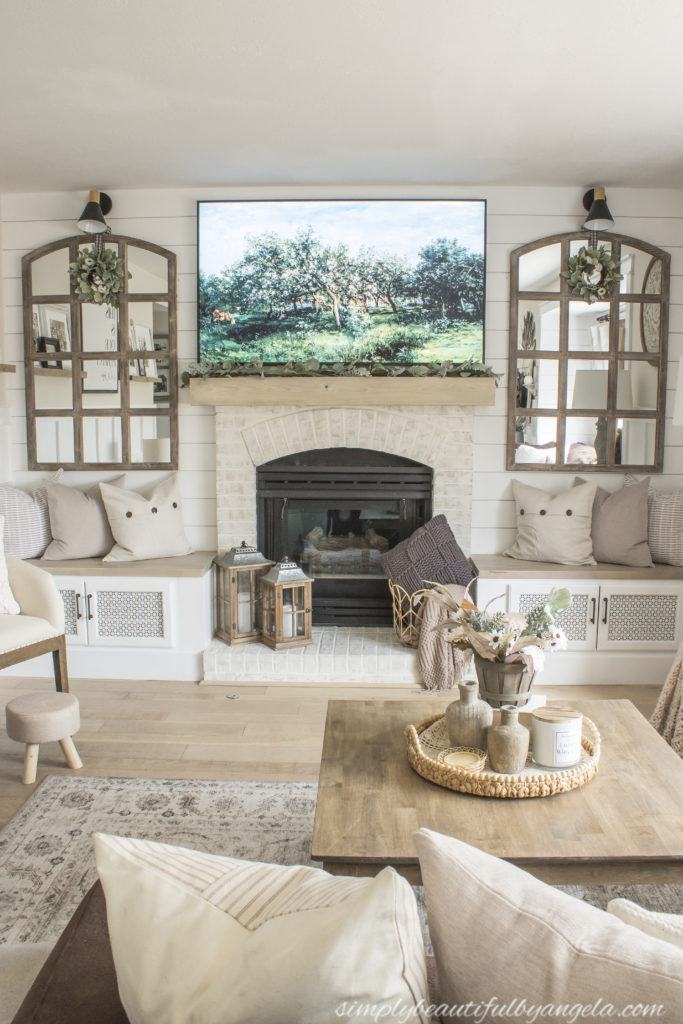
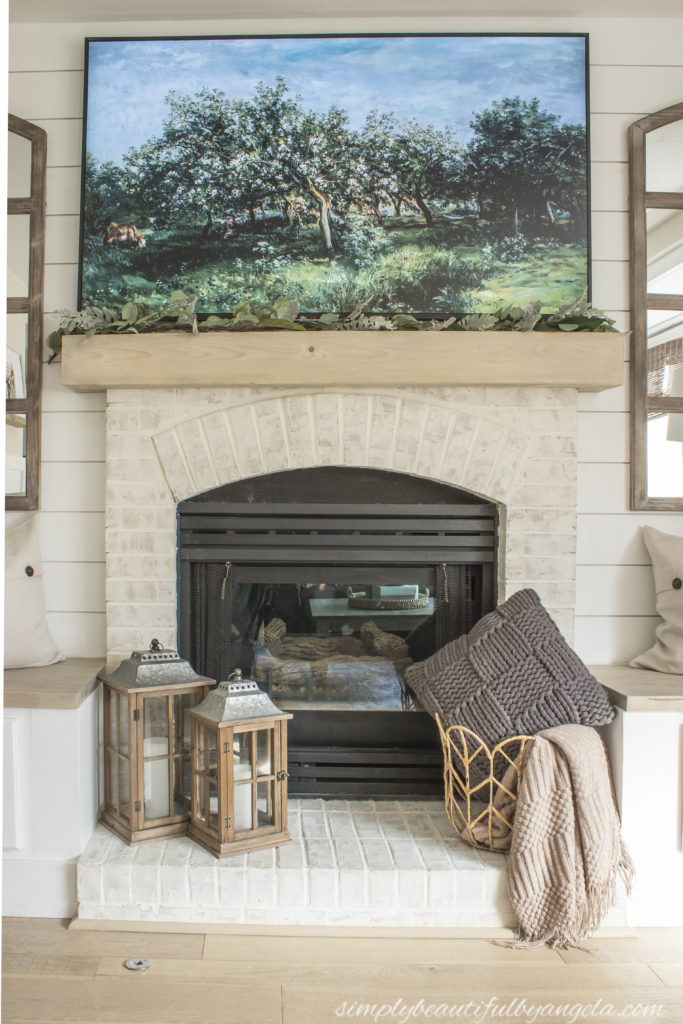
The color turned out so beautifully and blends with the floor and the top of the built-in benches so nicely.
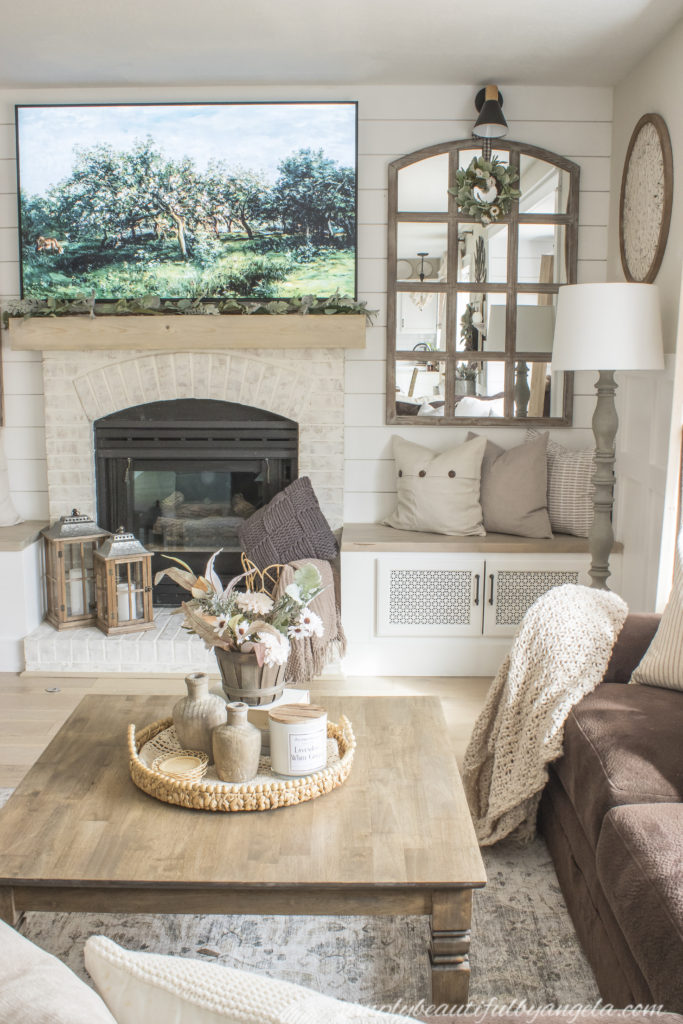
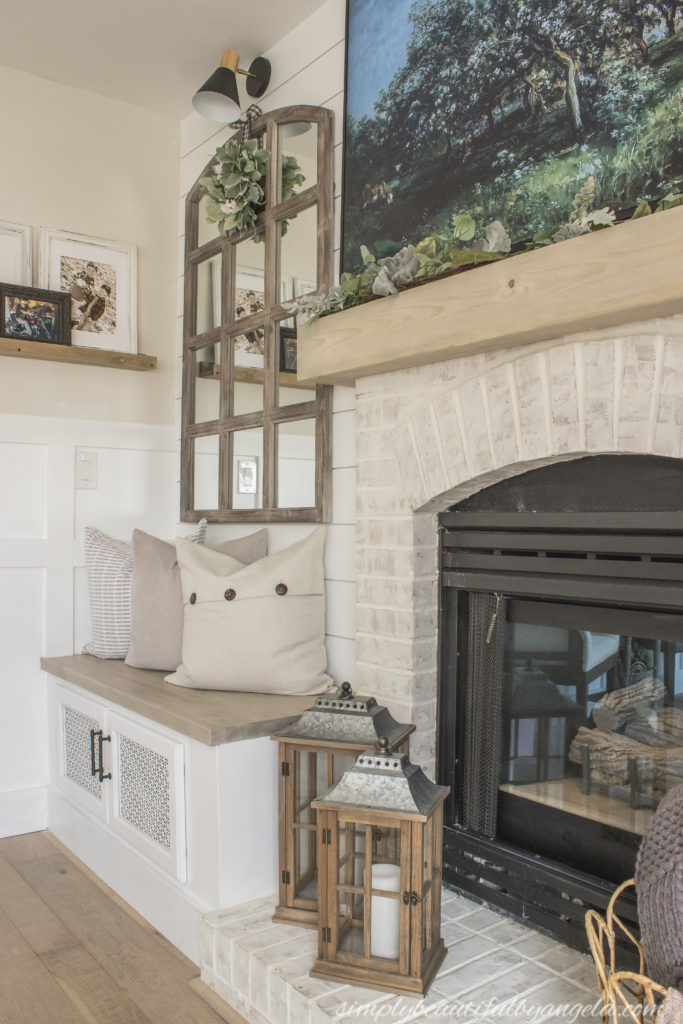
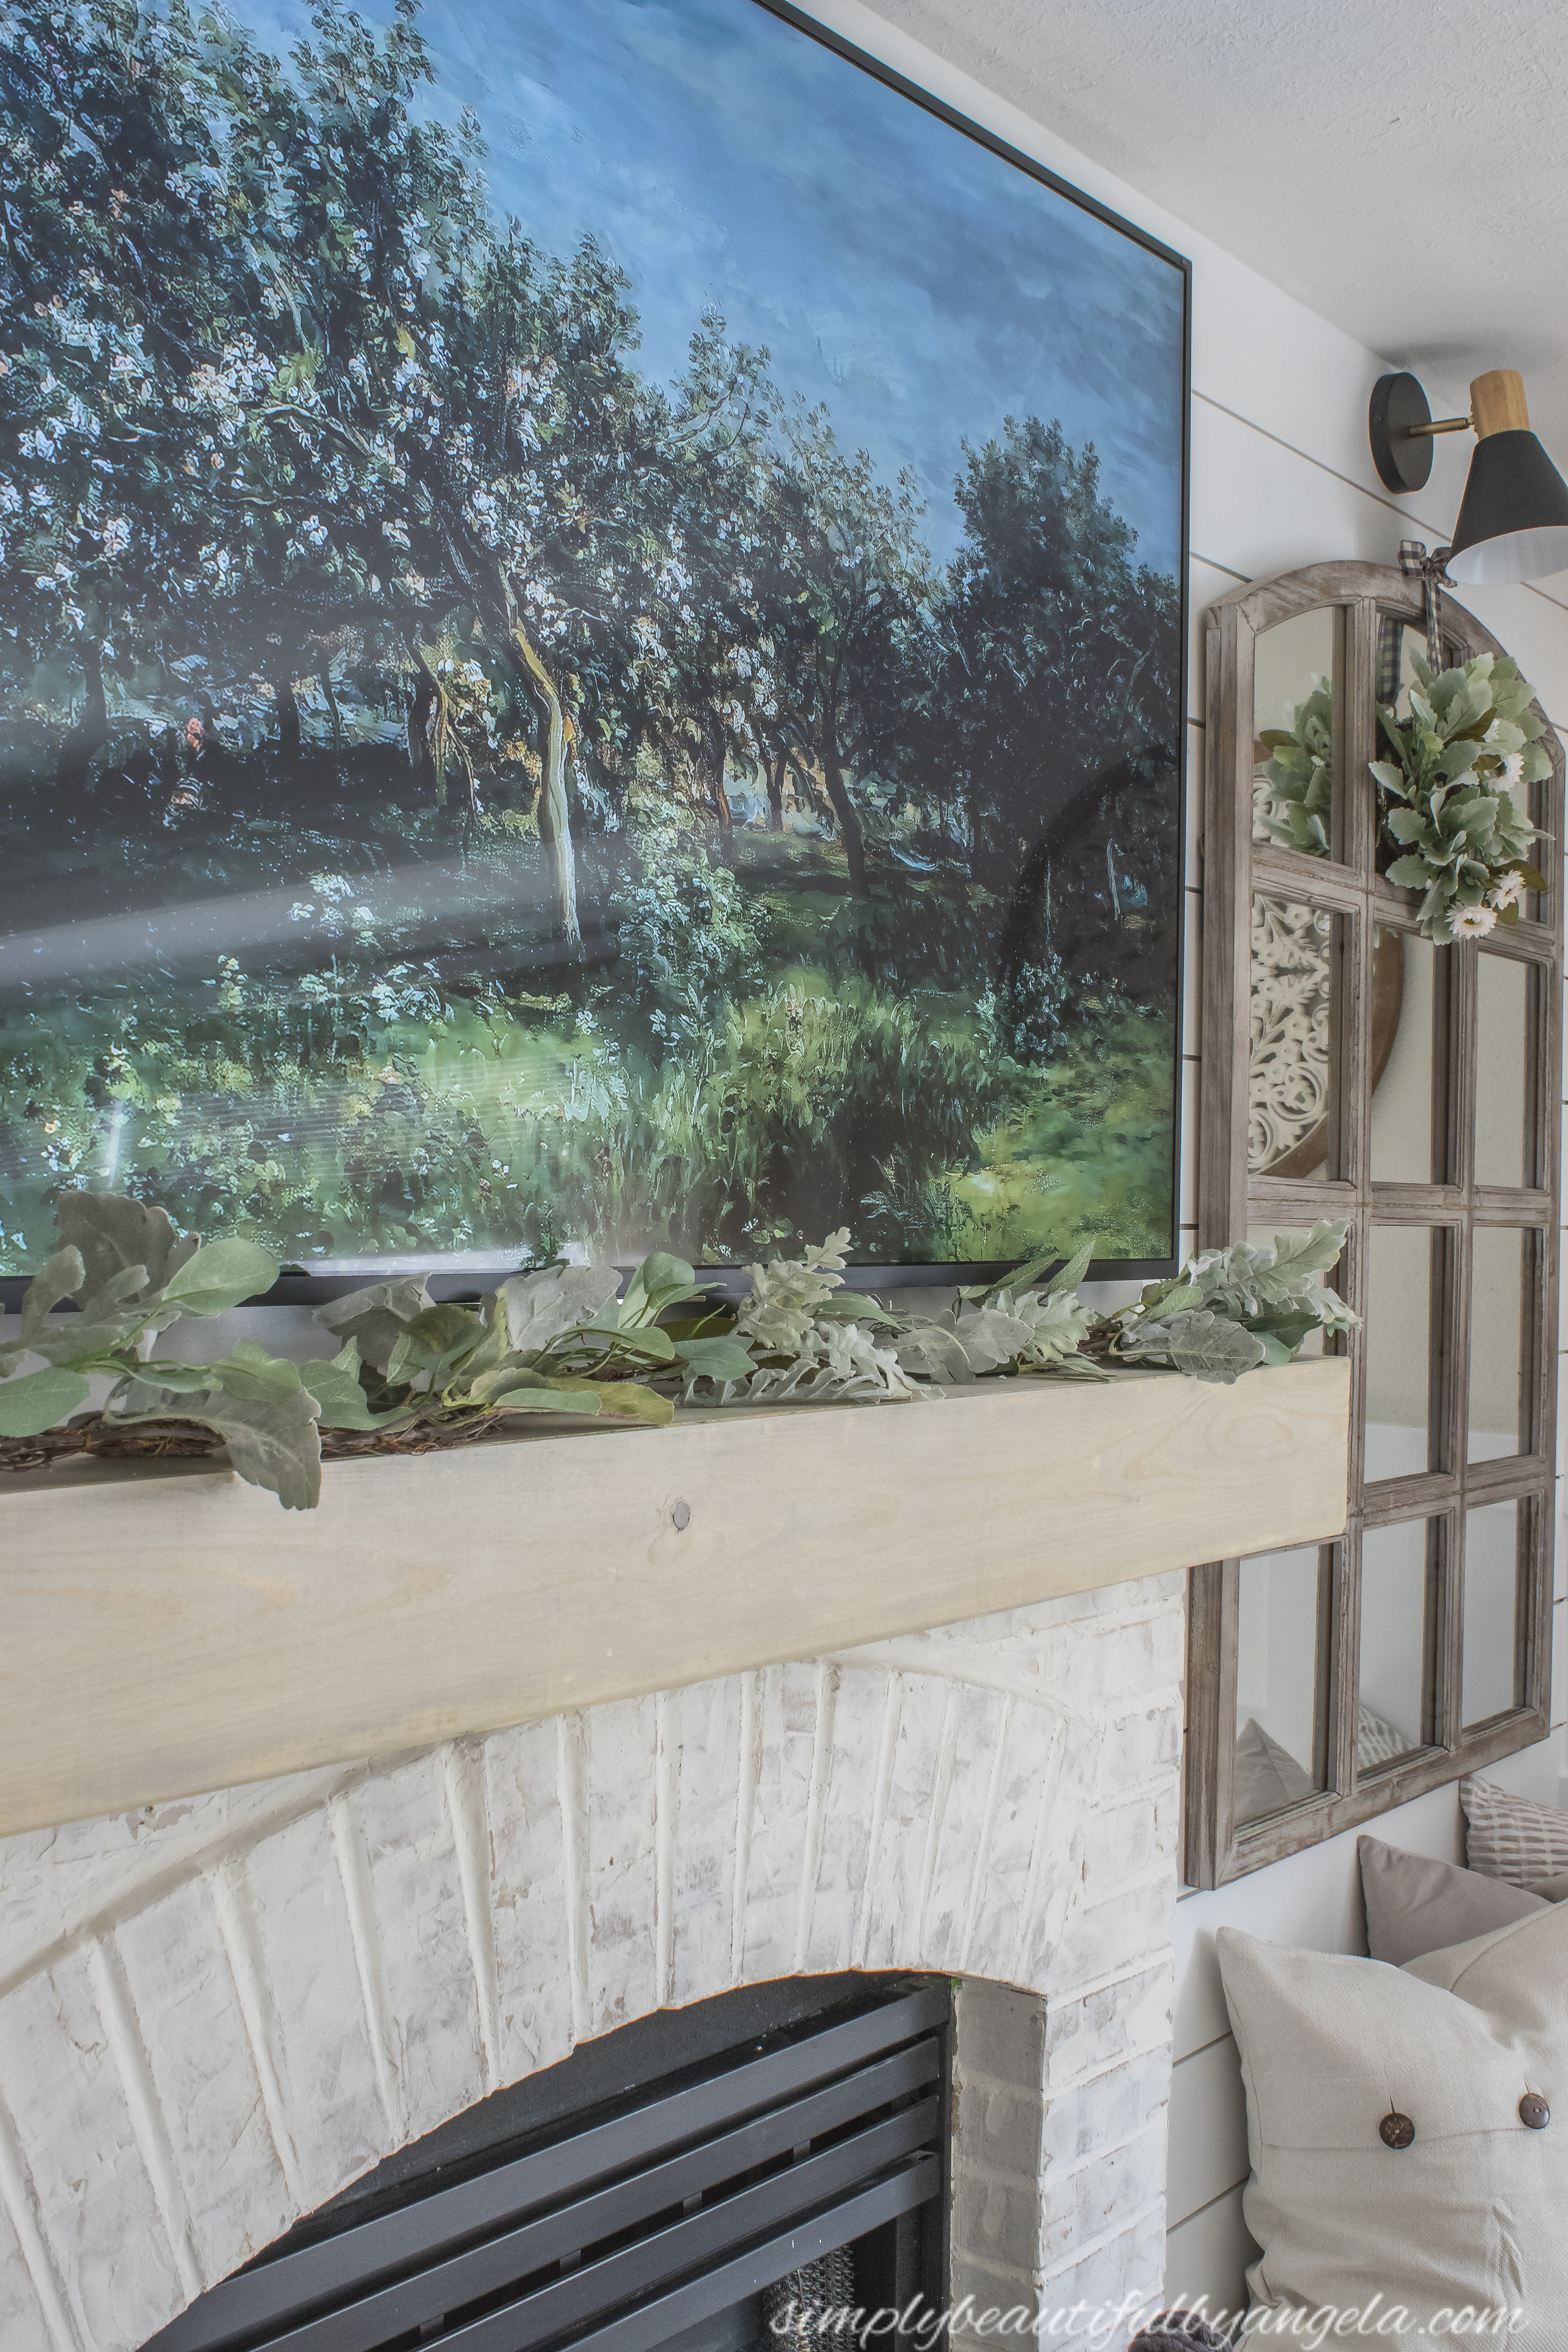
Whenever I dream about a project for a long time it’s always an amazing feeling to see it finally finished and that is exactly how I felt about this!
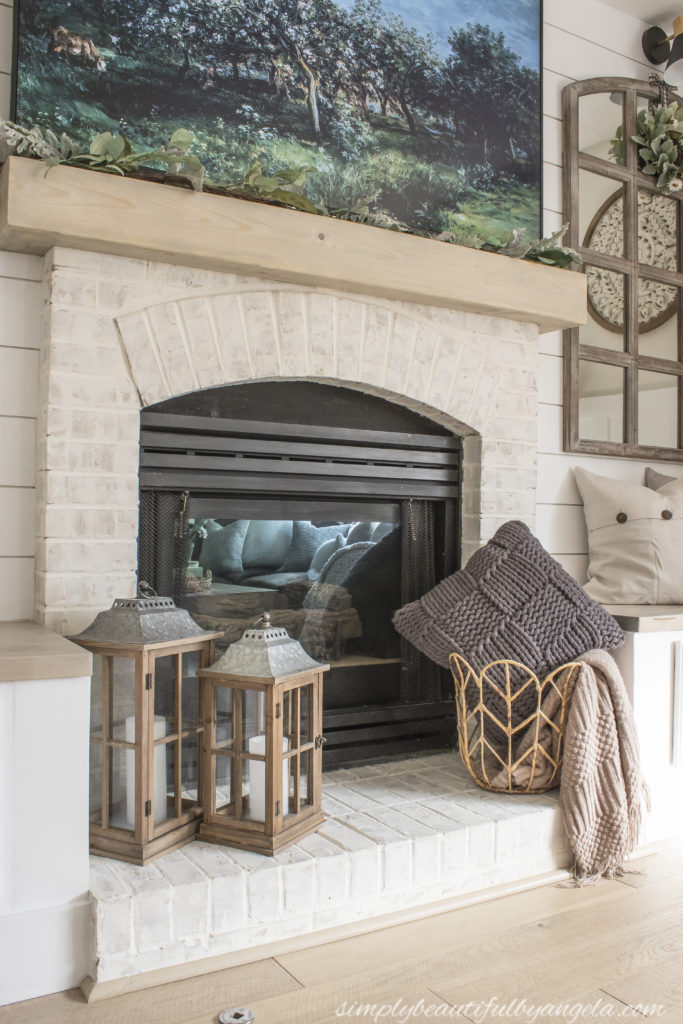
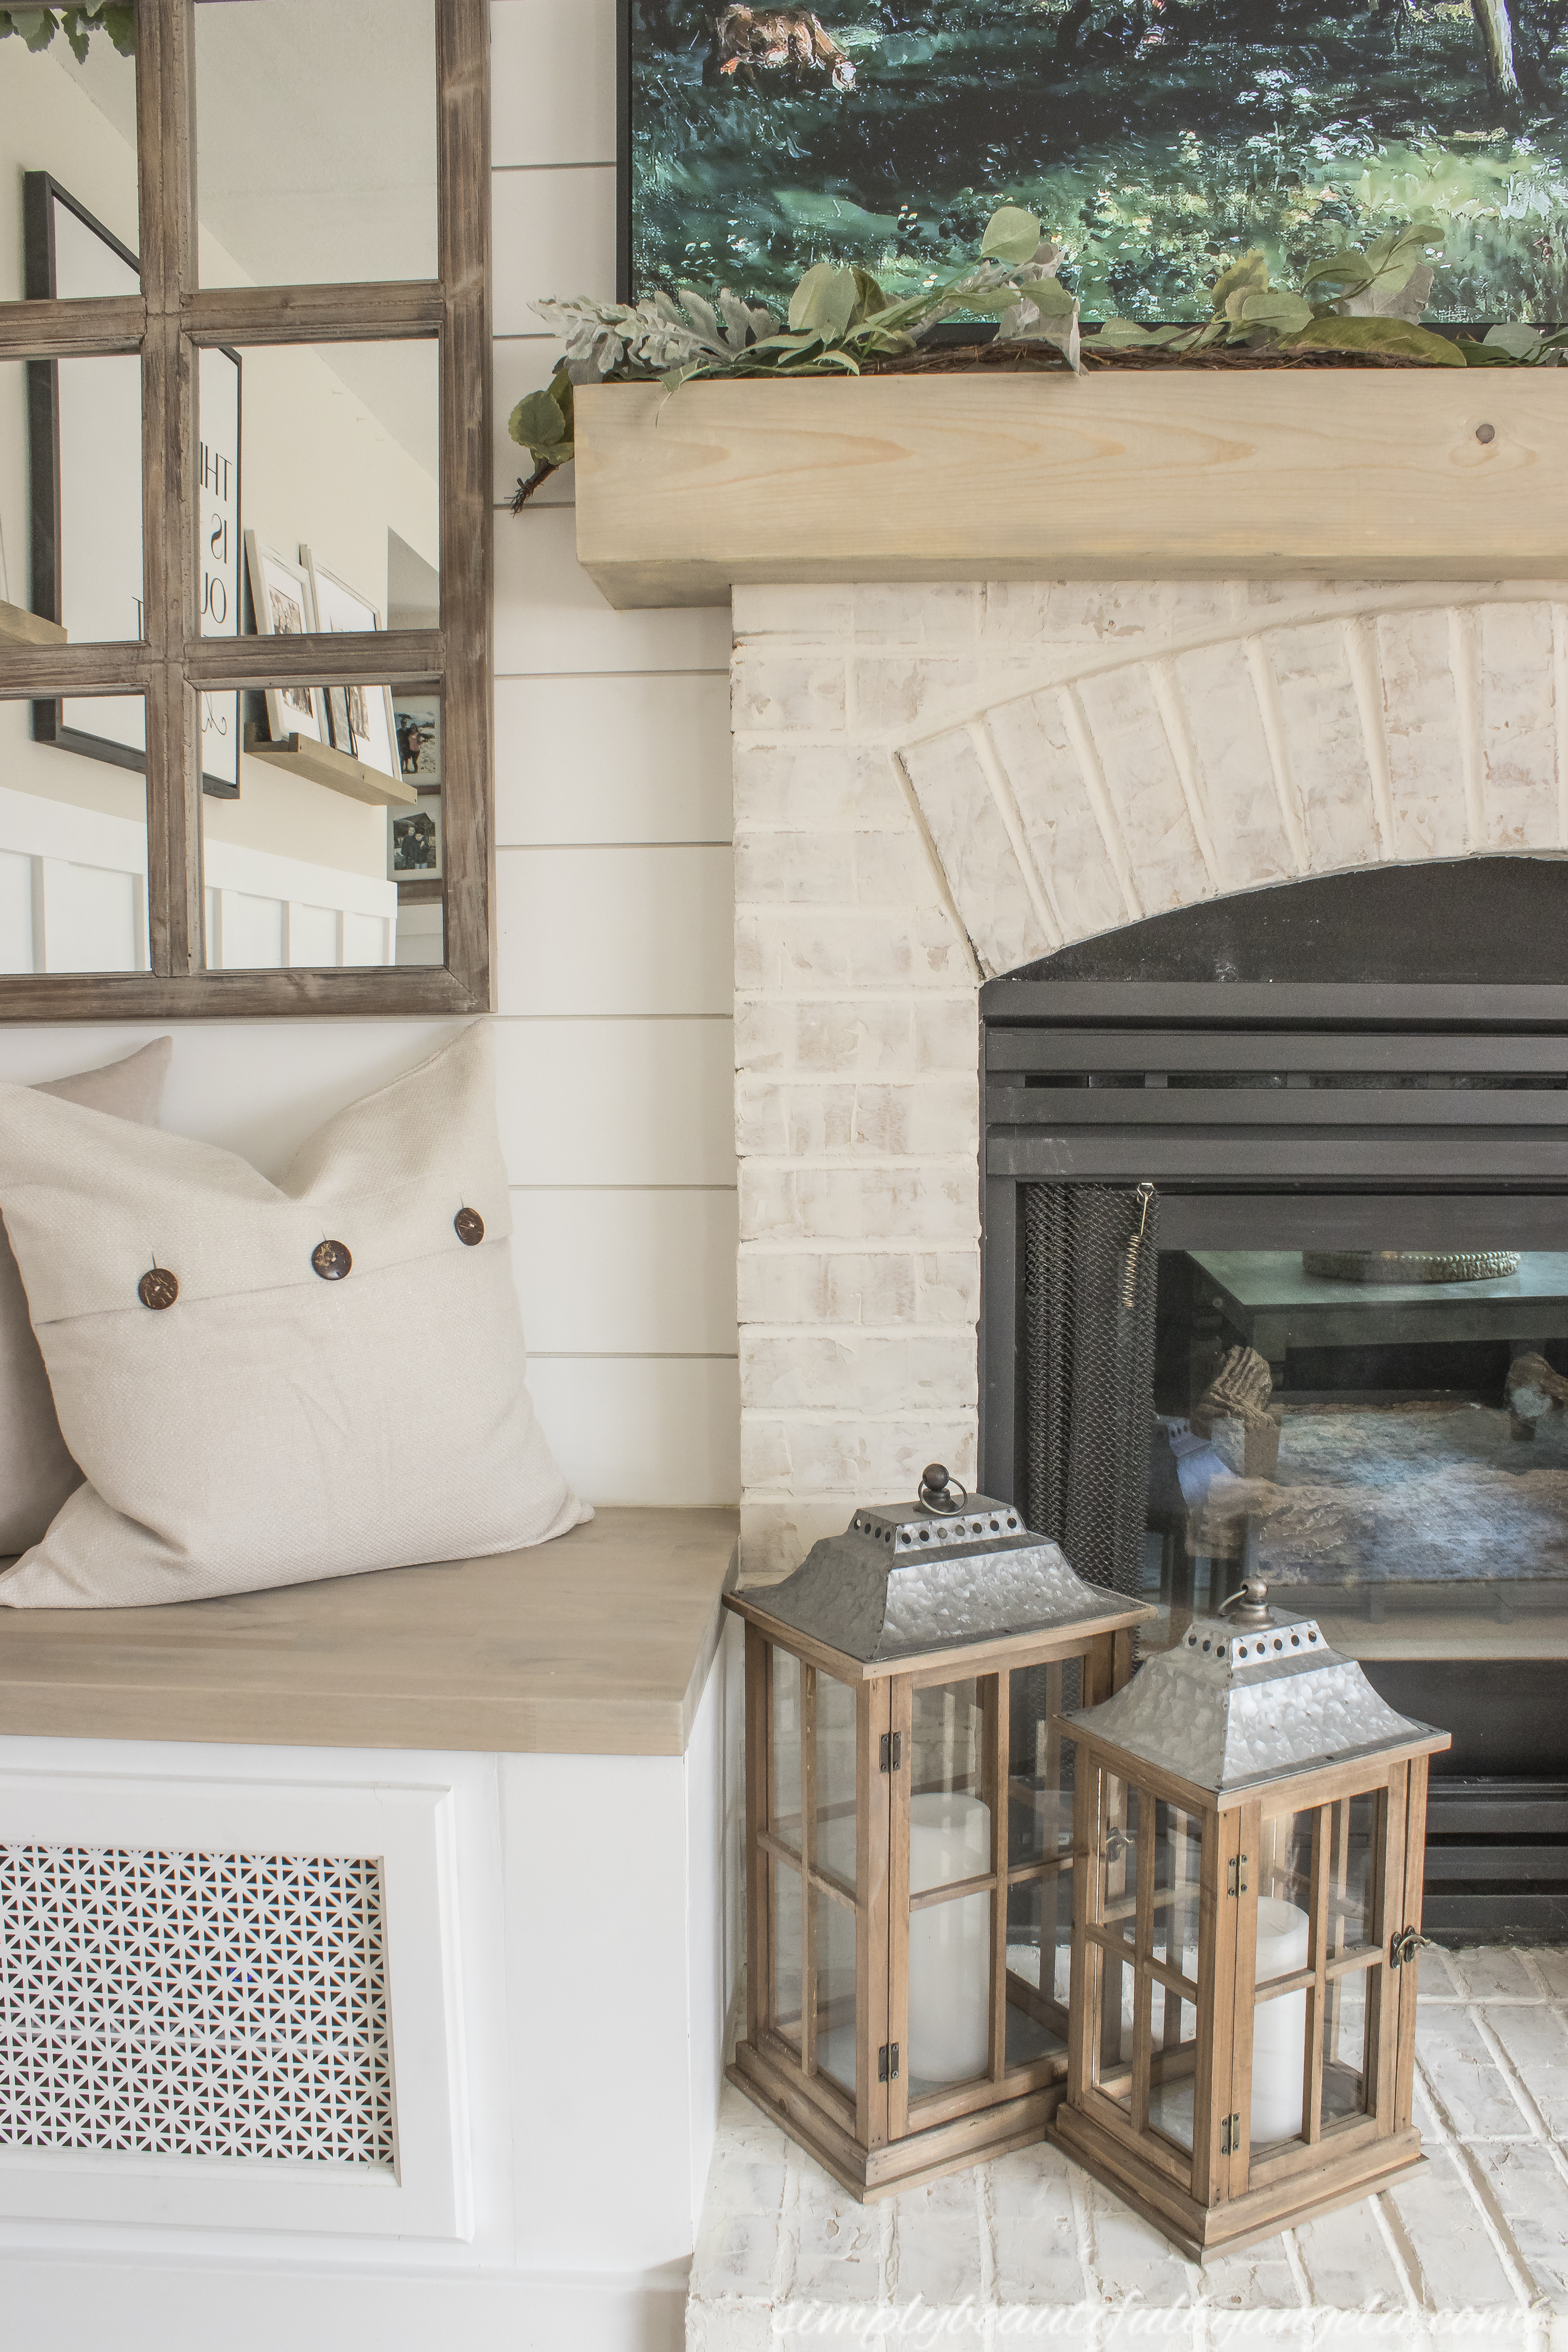
Have a happy weekend everyone, I will catch up with you all next week 🙂
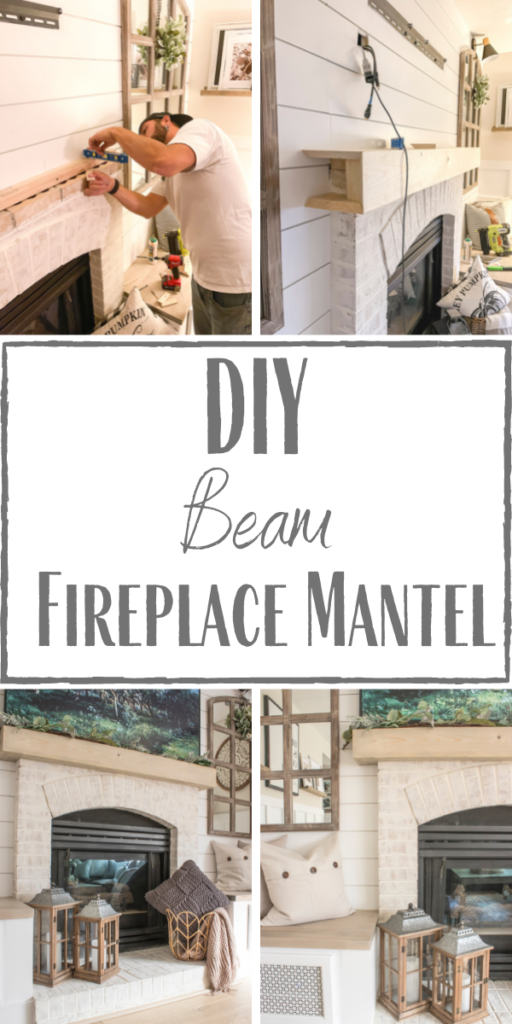
PIN FOR LATER!
Linking up to these awesome parties
(Affiliate links may be provided for convenience. For more info, see my full disclosure here.)
Another great makeover element! it looks amazing and I really appreciate the detailed how-to!
I’m featuring you this week when the next To Grandma’s house we go party starts! Thanks for sharing with us!