
Hey guys, happy Wednesday! We are officially at the halfway mark of the One Room Challenge, and I am feeling pretty good about wrapping up in time for the big reveal.
In case you missed any previous posts in this challenge I will link them here for you to catch up:
- One Room Challenge (Week 1): Kitchen Refresh Plans
- One Room Challenge (Week 2): Choosing a Cabinet Color
- One Room Challenge (Week 3): Painting the Cabinets
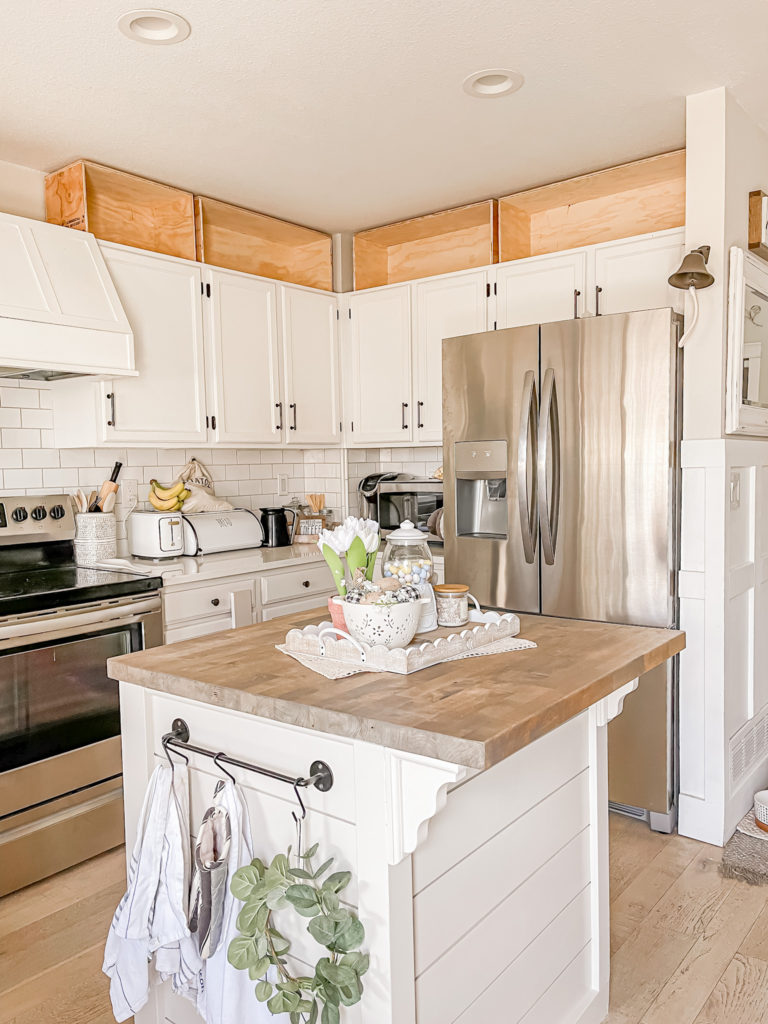
Last week I left off explaining that I was absolutely in love with the new lower cabinet paint and was getting ready to put everything back together. So I did…
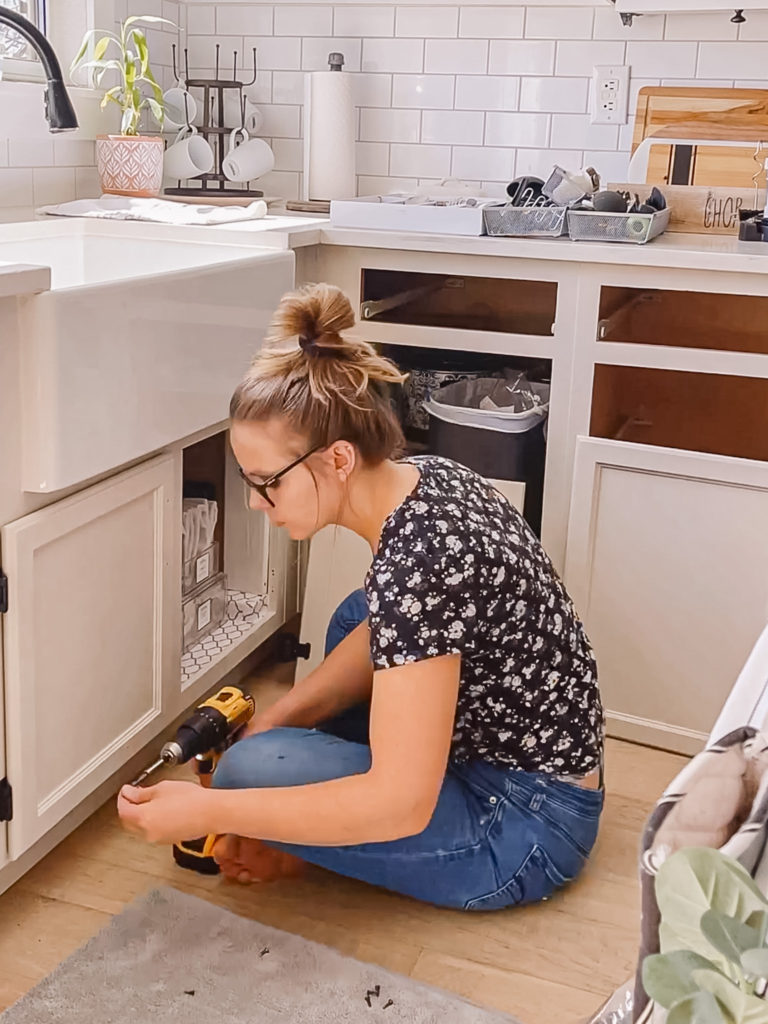
But when I stood back to analyze it all I was worried that the color may not be dark enough after all.
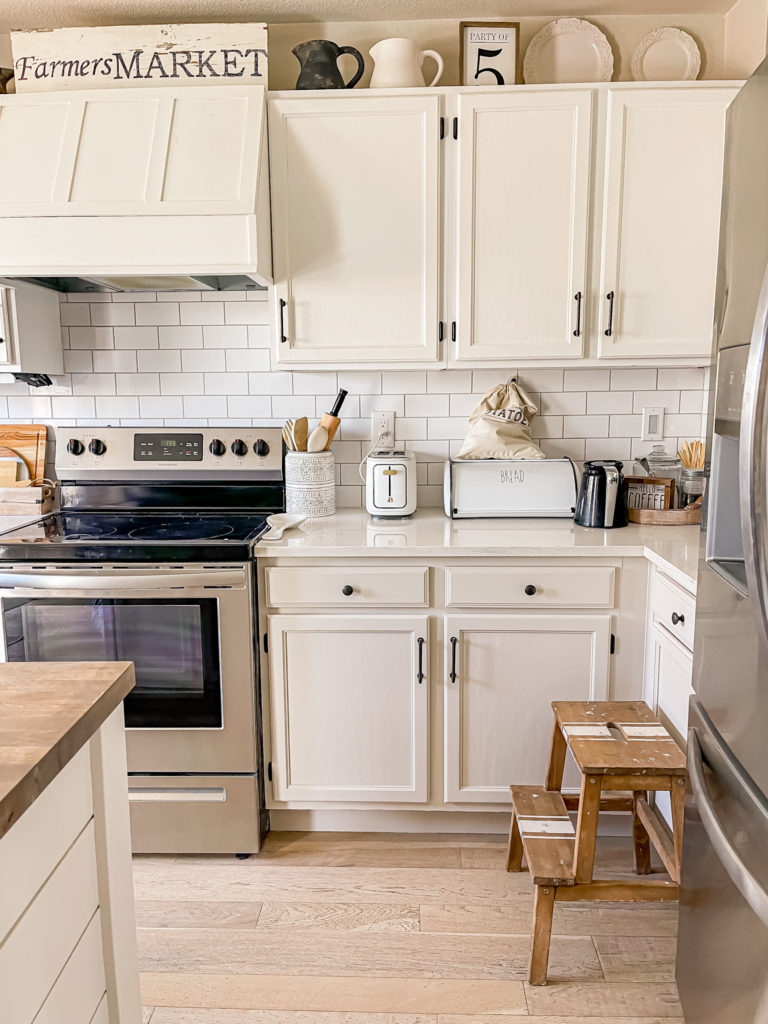
It’s a little darker in person, however in photos it’s hard to tell that I painted them at all! I was so frustrated.
I pulled out the sample of Benjamin Moore Stone Hearth that I had previously passed over and decided to try a bigger swatch on an MDF board. I quickly realized that it’s exactly the color I have been wanting. It’s the top portion in the picture below.
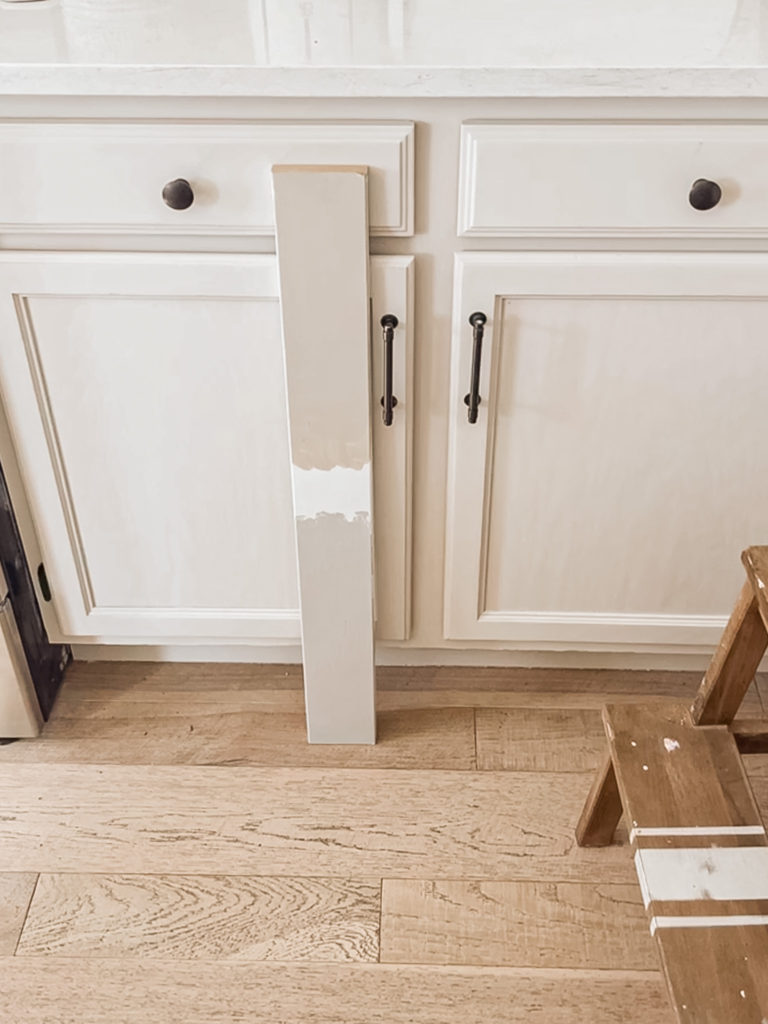
I am going to grab a sample of Benjamin Moore Ice Formations to be sure, but it’s safe to say that it’s all coming back down and getting a new coat of paint in a darker color. Thankfully the prep work is done so I simply need to spray the doors/drawers and roll out the new color on the frames and it should go relatively quickly. It will be worth it in the end!
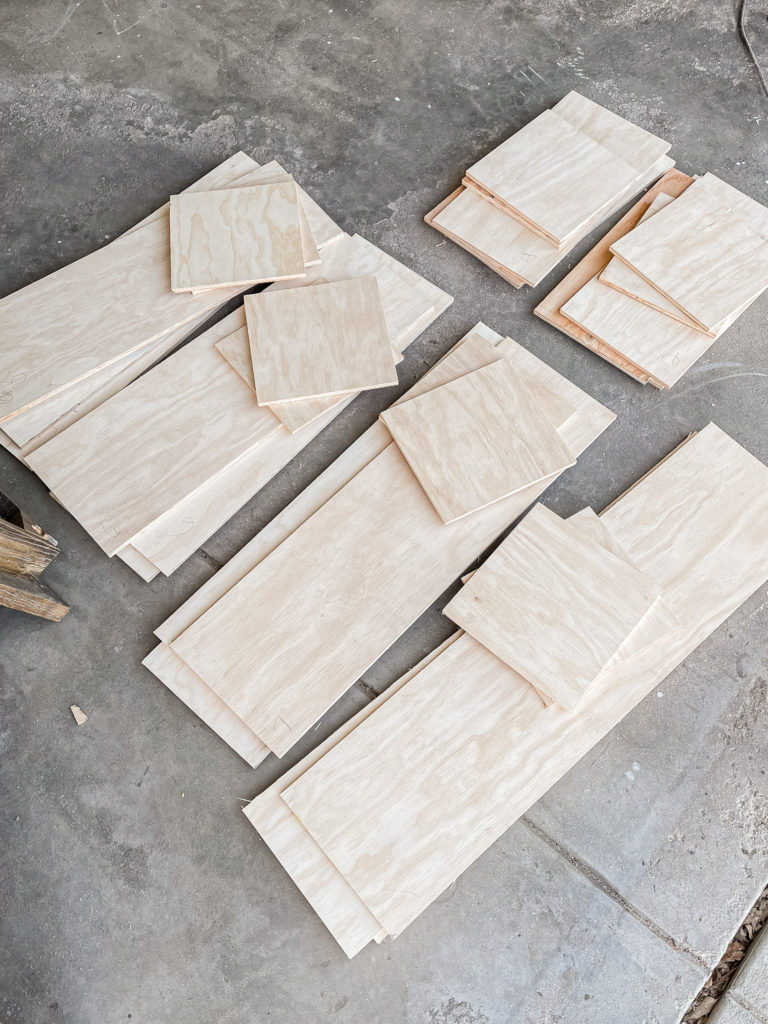
In the meantime, I decided to start working on the upper cabinet boxes. I drew up some plans by getting the measurements for each box and then planned how to cut the pieces on two sheets of plywood.

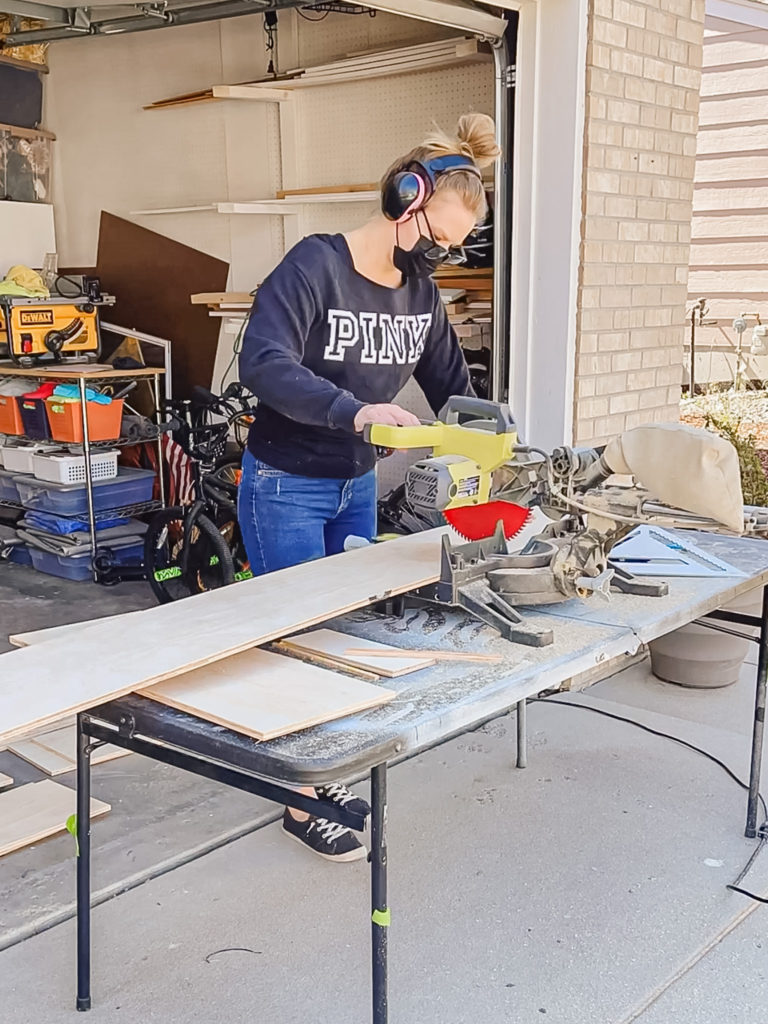
I had the hubby help me cut the strips of plywood in to 10.75″ strips on the table saw since that would be the width of all the boxes.
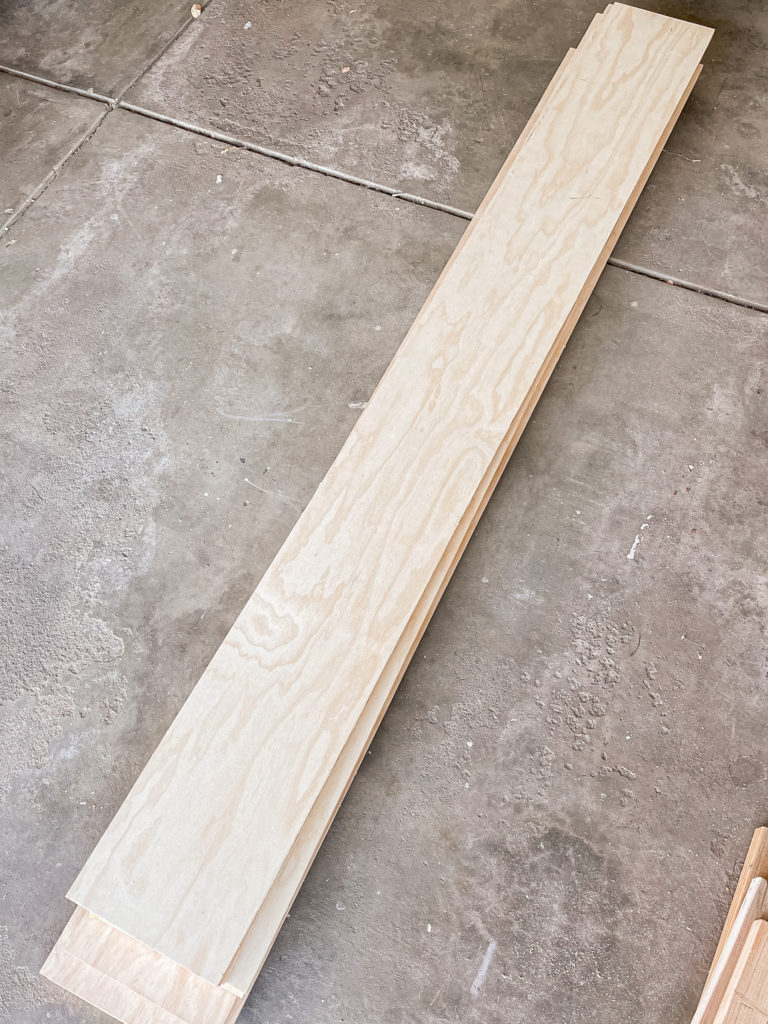
I then cut down the lengths on the miter saw.
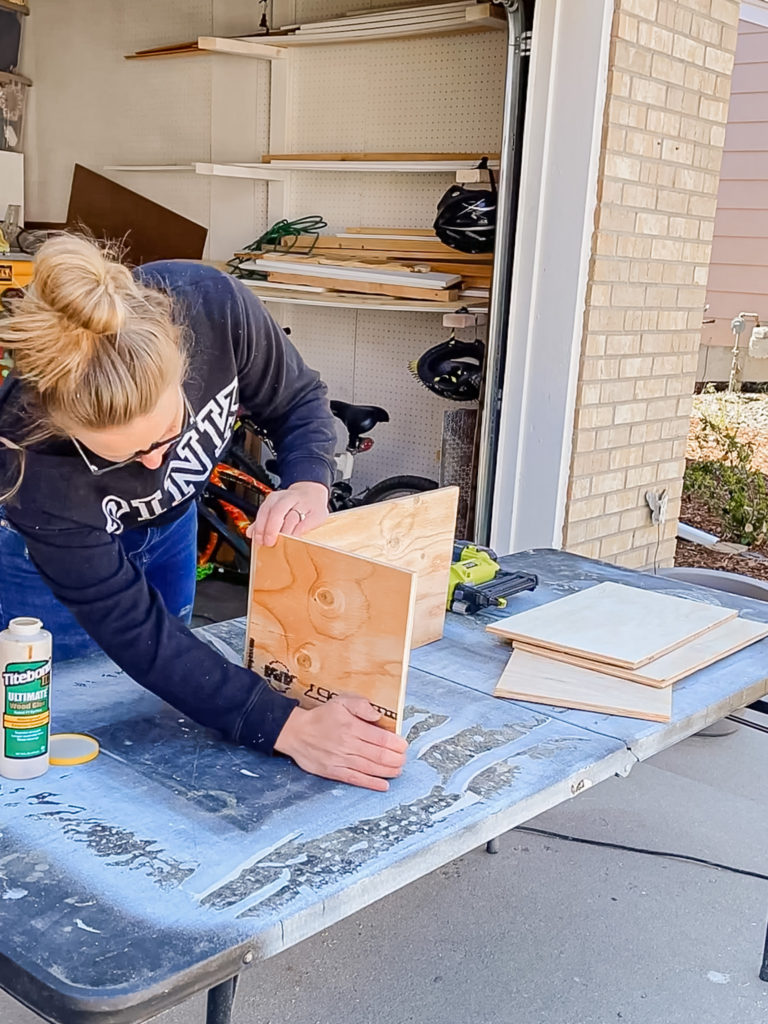
Once they were all cut it was time to start assembling!
I used wood glue and my nail gun, and I realized that geometry is not my strong suit haha. I had to take them apart a couple of times because I would often put the pieces in the wrong direction or the wrong order.
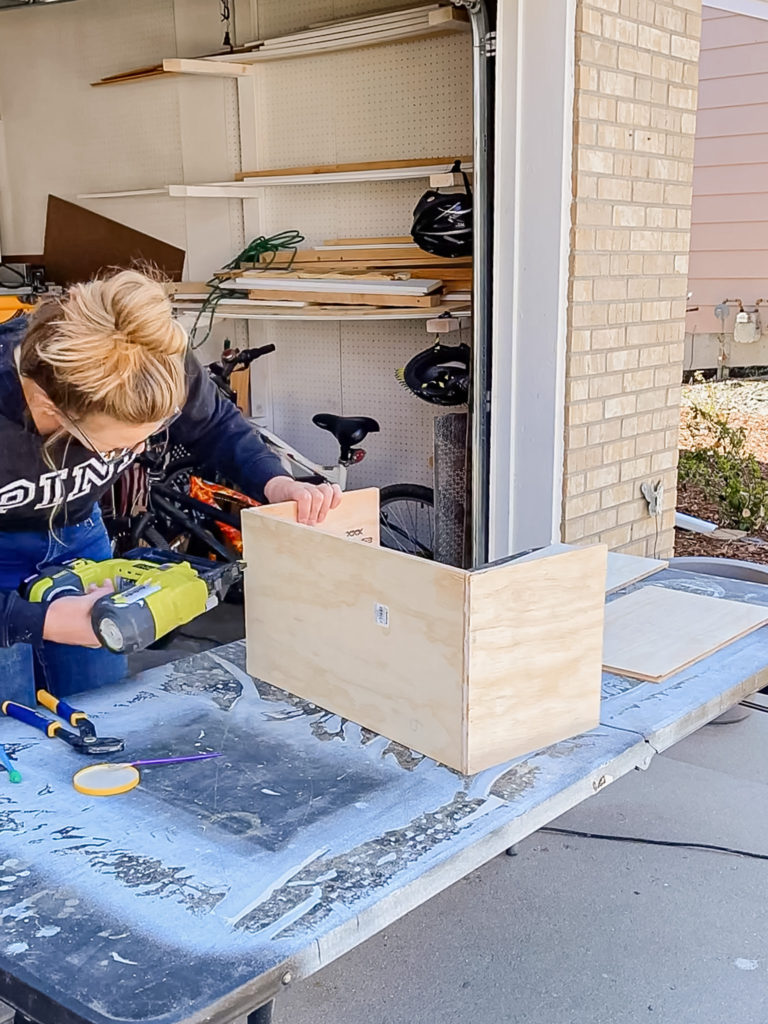
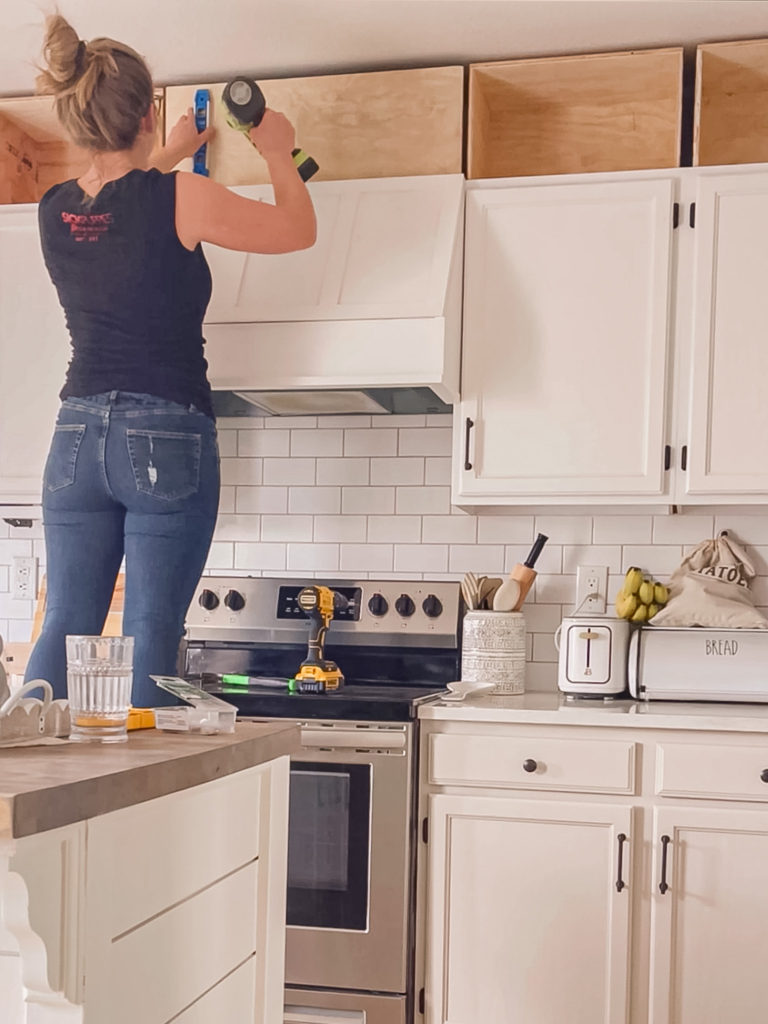
I stuck to it and got them all done and set them in place to make sure that they fit properly. This was such an exciting step to finally see my vision starting to come into place!
I also decided to close off the space above the DIY hood vent cover that I made so that it looks like a more authentic vent. I will decide how to trim it out later on.
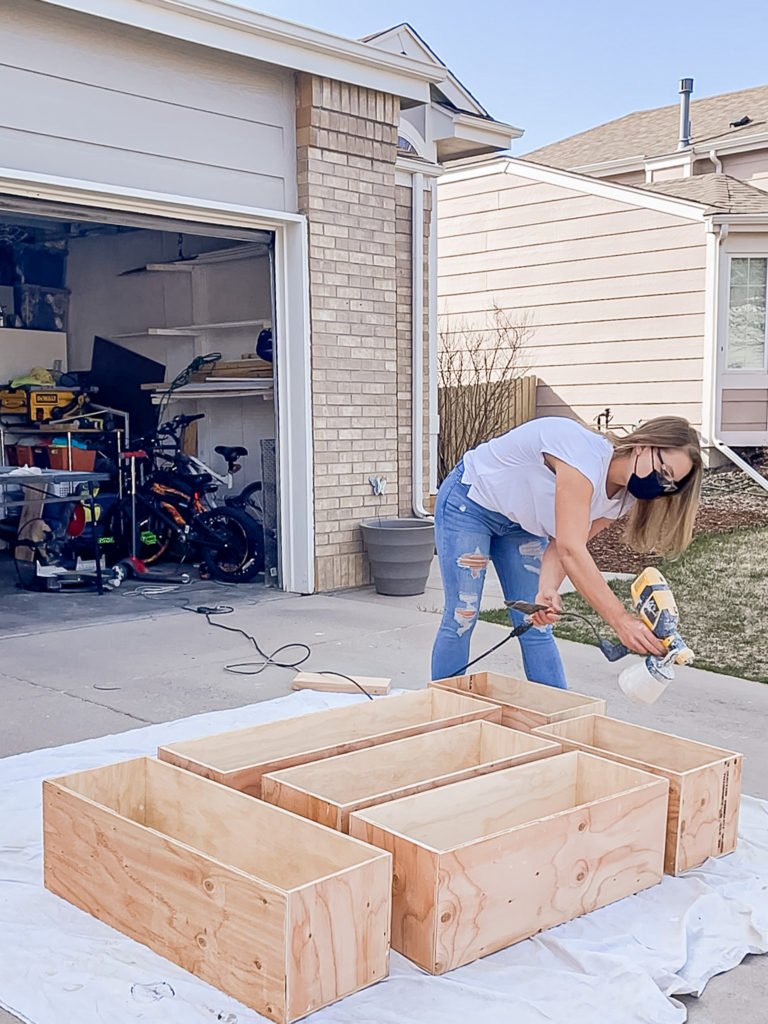
The next day I took the boxes back down so that I could take them outside and spray them with primer and paint.
Here they are all set back in place and ready to be trimmed out!

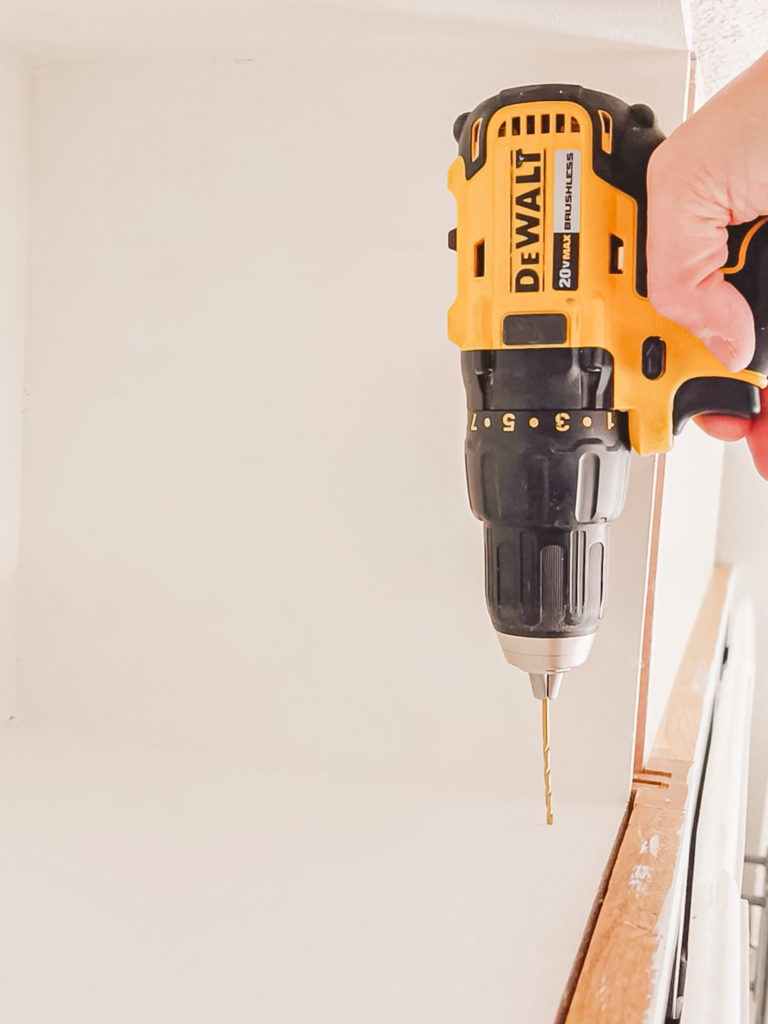
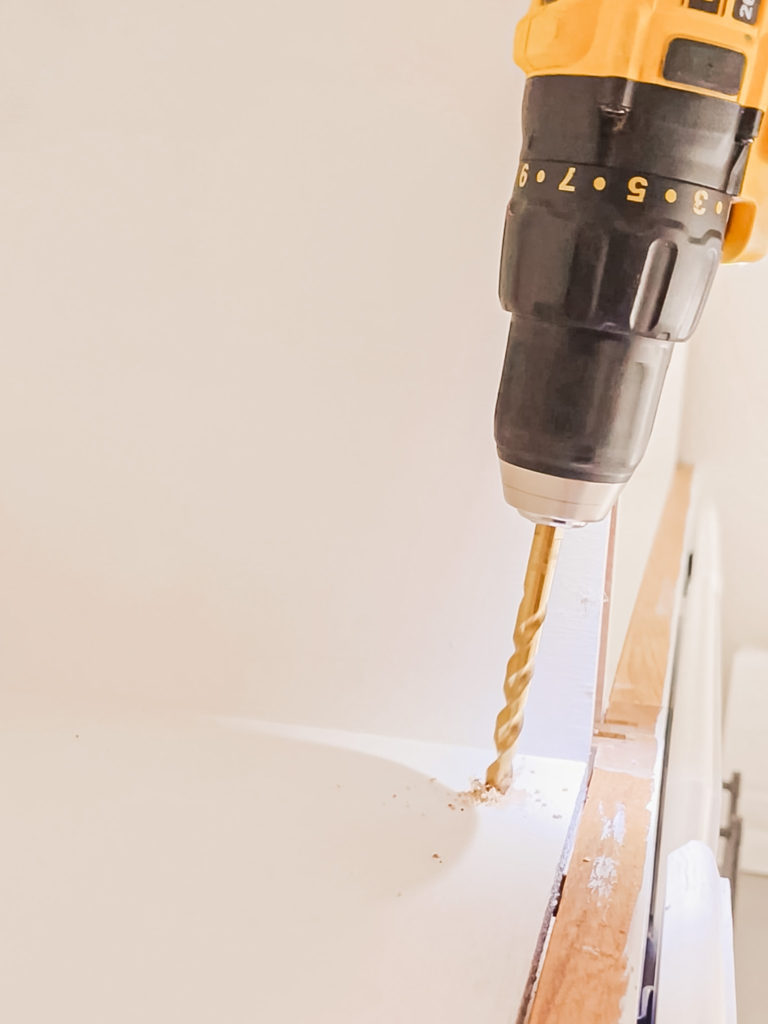
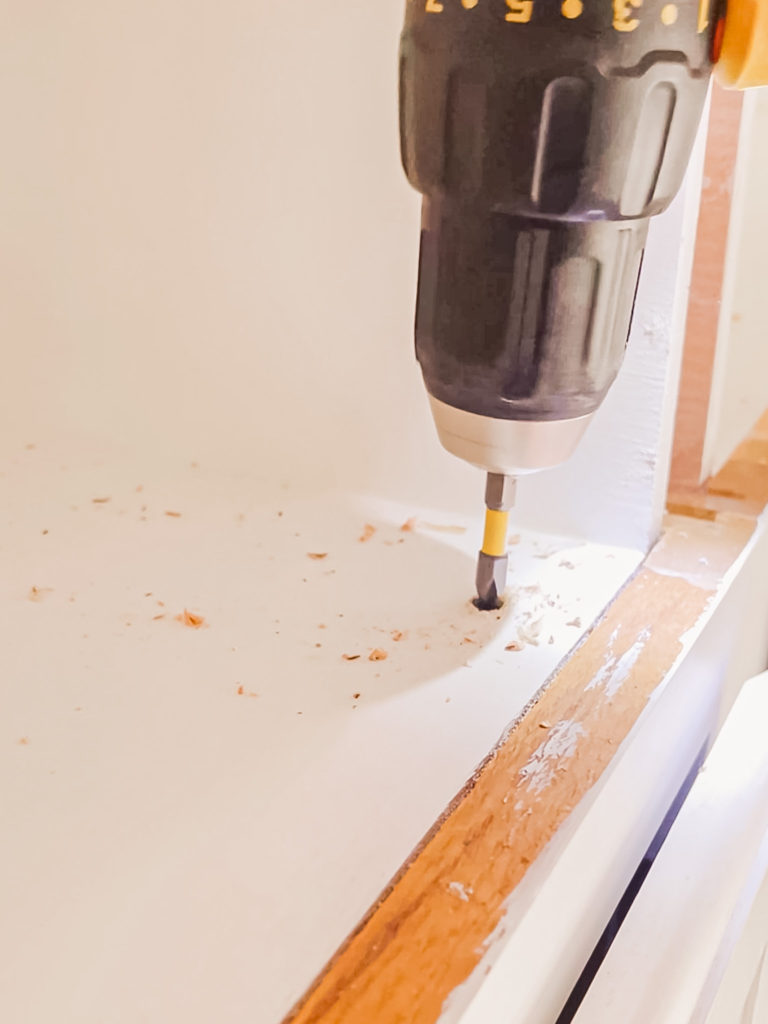
I want them to sit flush with the cabinet frame below, so I placed pieces of scrap 1/2″ plywood under each one on either side.
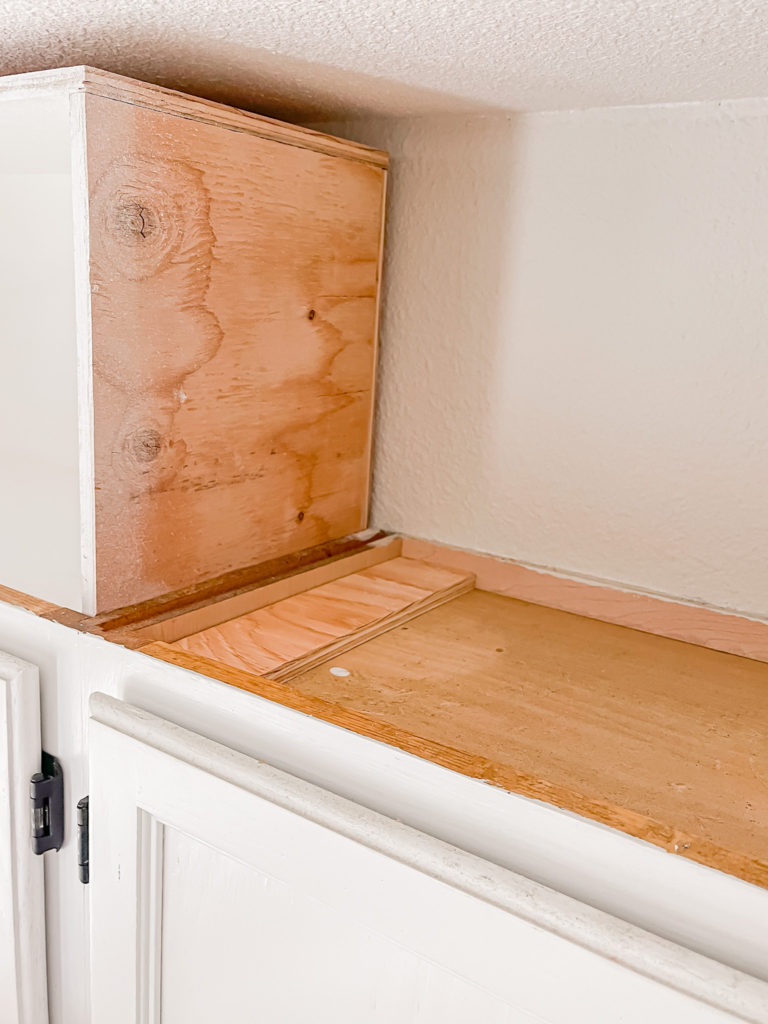
I then countersunk a screw into each corner to secure them to the cabinet below.
Today I am working on getting the trim installed and then I just need to spackle, sand and paint! I am going to leave them open for now however if I decide to add doors later on, I will be able to attach them to the 1×2 trim.
I will be back next week to hopefully show you the finished product as well as the beginning of the next phase of the refresh which is installing a wood beam. Have a happy rest of the week my friends!
Linking up to these awesome parties
(Affiliate links may be provided for convenience. For more info, see my full disclosure here.)