Hey friends, happy Tuesday! I know I’ve been sharing a lot of furniture flips lately, but this week and next I’m taking a break from those to catch up on a couple of DIY tutorials from the most recent One Room Challenge that I shared waaaaay back in May. Today is going to be all about the DIY wood ceiling beam, so let’s get right to it!
Supplies Used:(Affiliate links may be provided for convenience. For more info, see my full disclosure here.)
- Laser Level
- 1×6 Common Boards
- 2×3 Stud
- Table Saw
- Miter Saw
- Cordless Nail Gun
- Wood Glue
- Sander
- Chisel
- Wire Brush
- Hammer
- Wood Putty
- Weathered Oak Wood Stain
- Dark Wax
- Ultra Flat Polyacrylic
- Aluminum Strap
- Flat Black Spray Paint
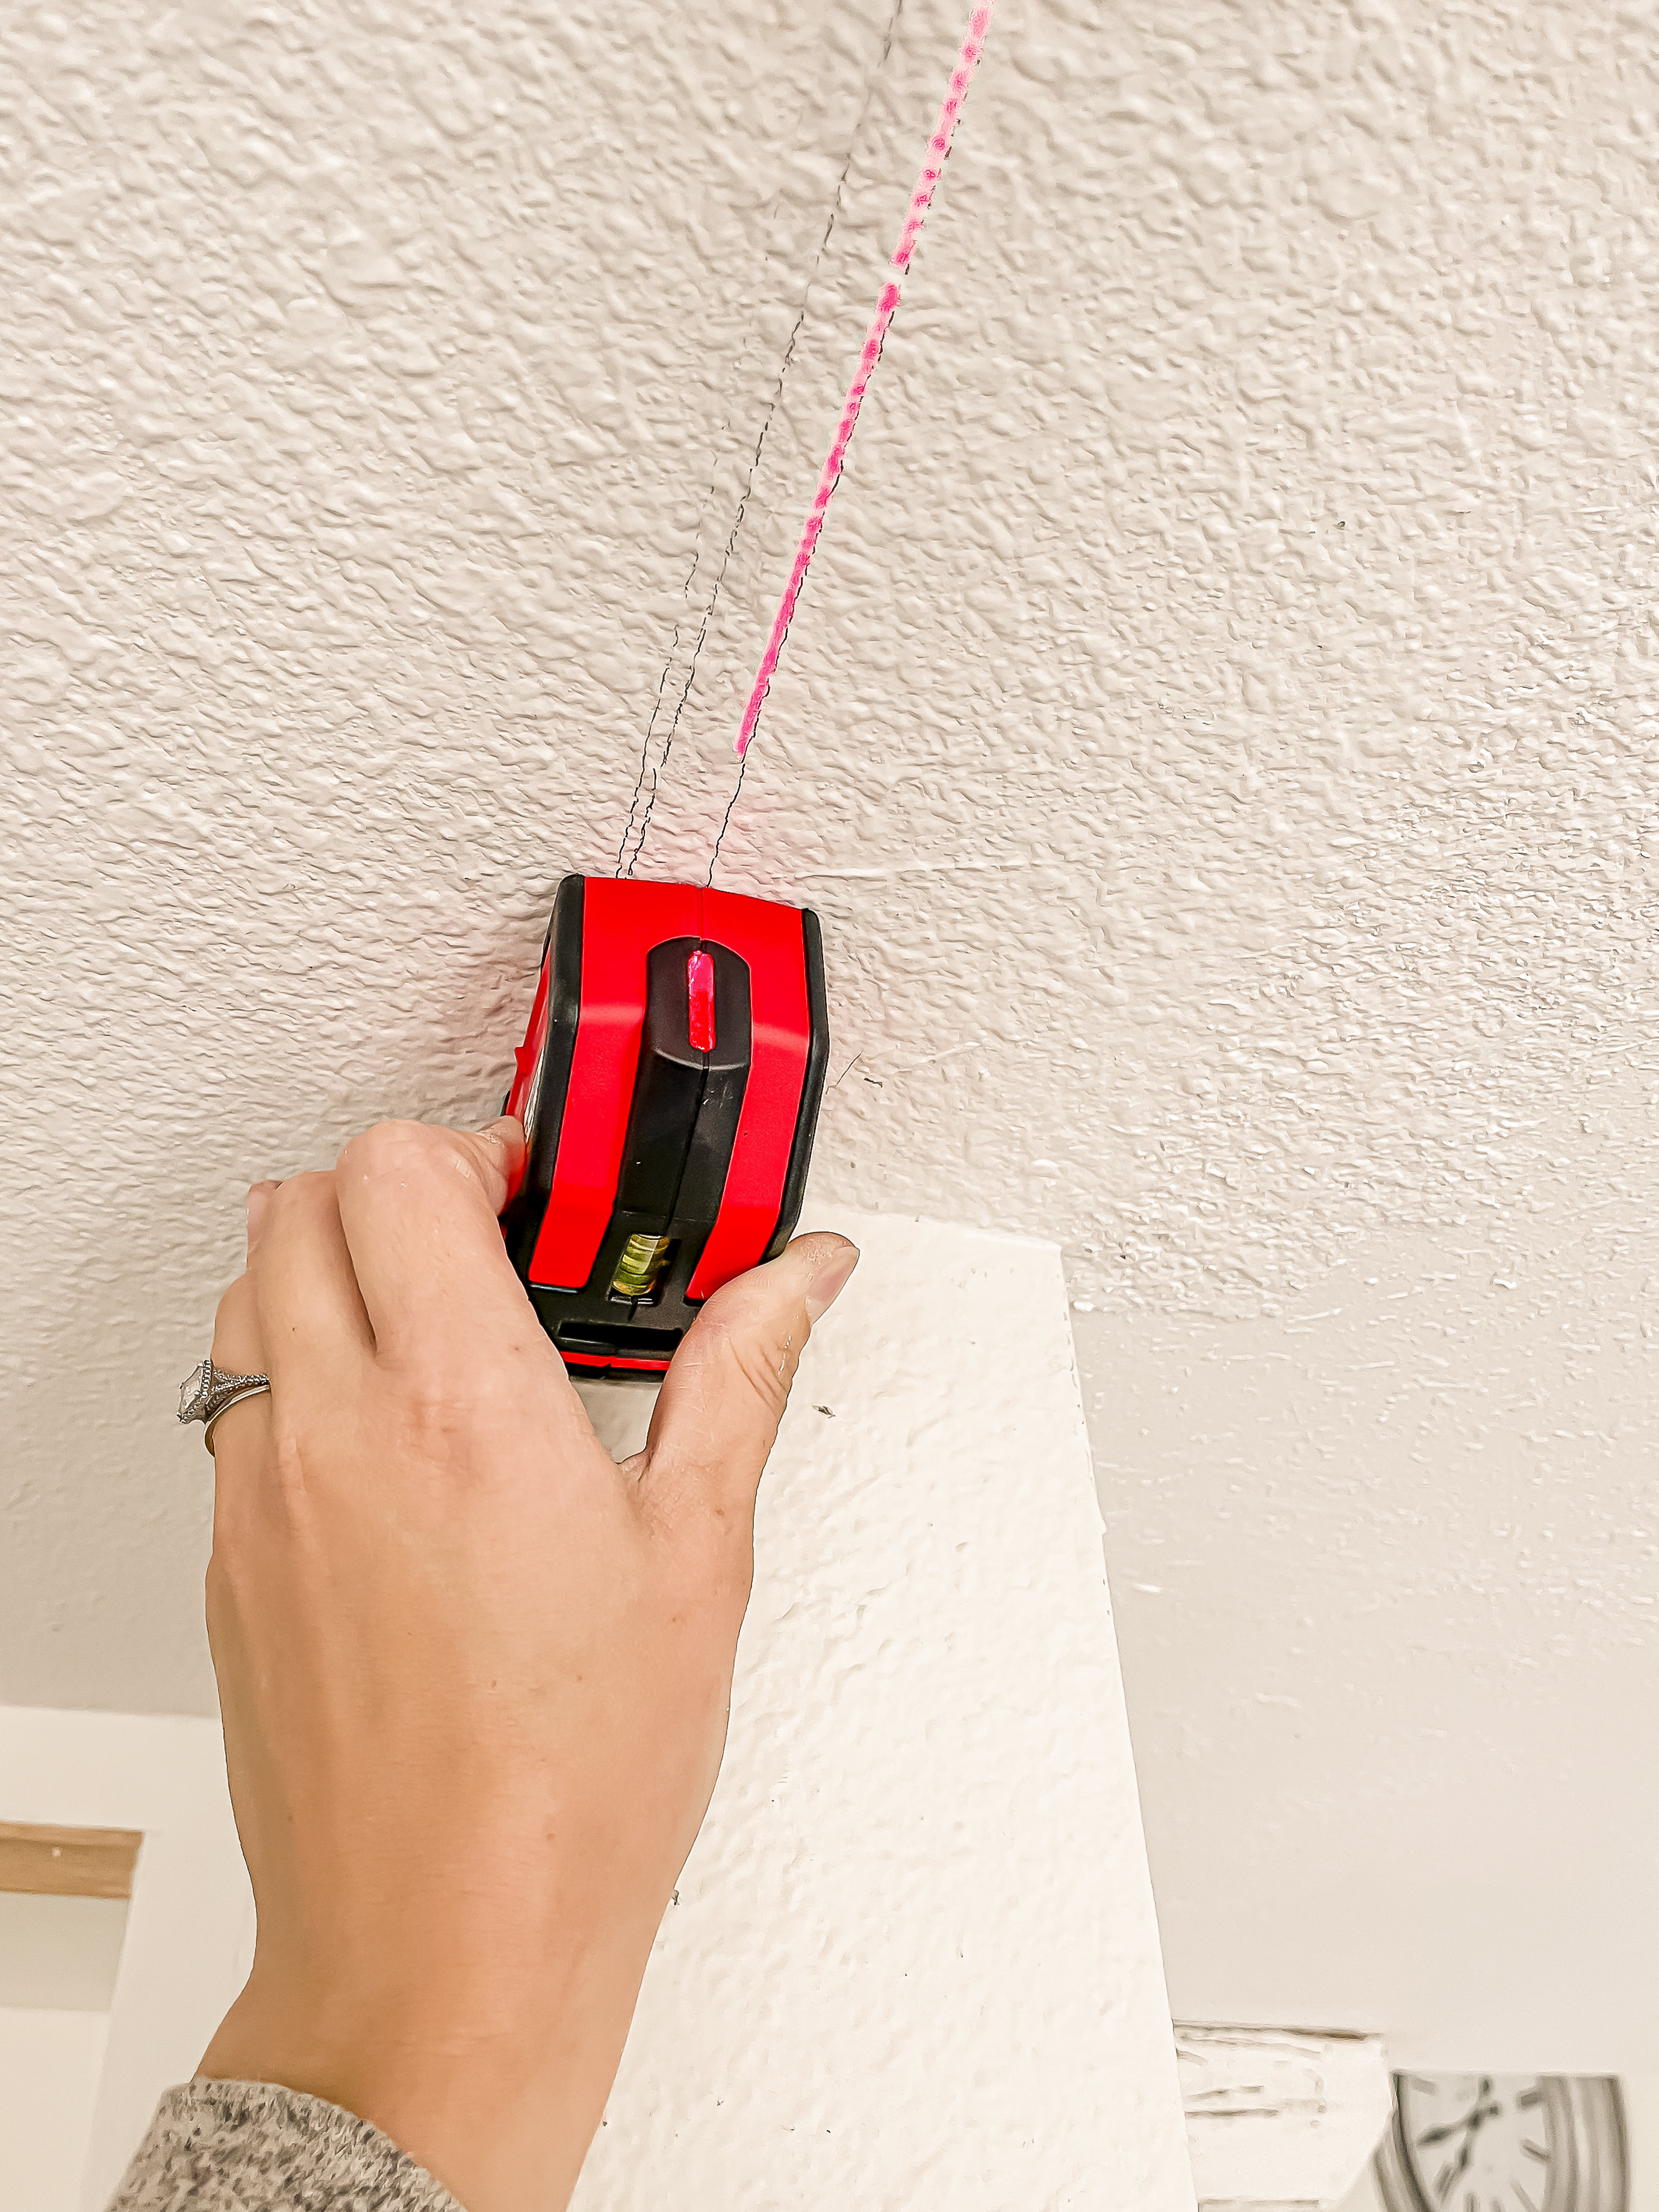
1. Mark Level Line on Ceiling
I knew that I wanted the beam to be flush with the side wall, so I needed to draw two lines–one flush with the wall and a second 3/4″ inches in so that I could see where to attach my mounting board. After multiple frustrating attempts to get a nice level line on the celling, I finally purchased a laser level for this project which made this much easier!
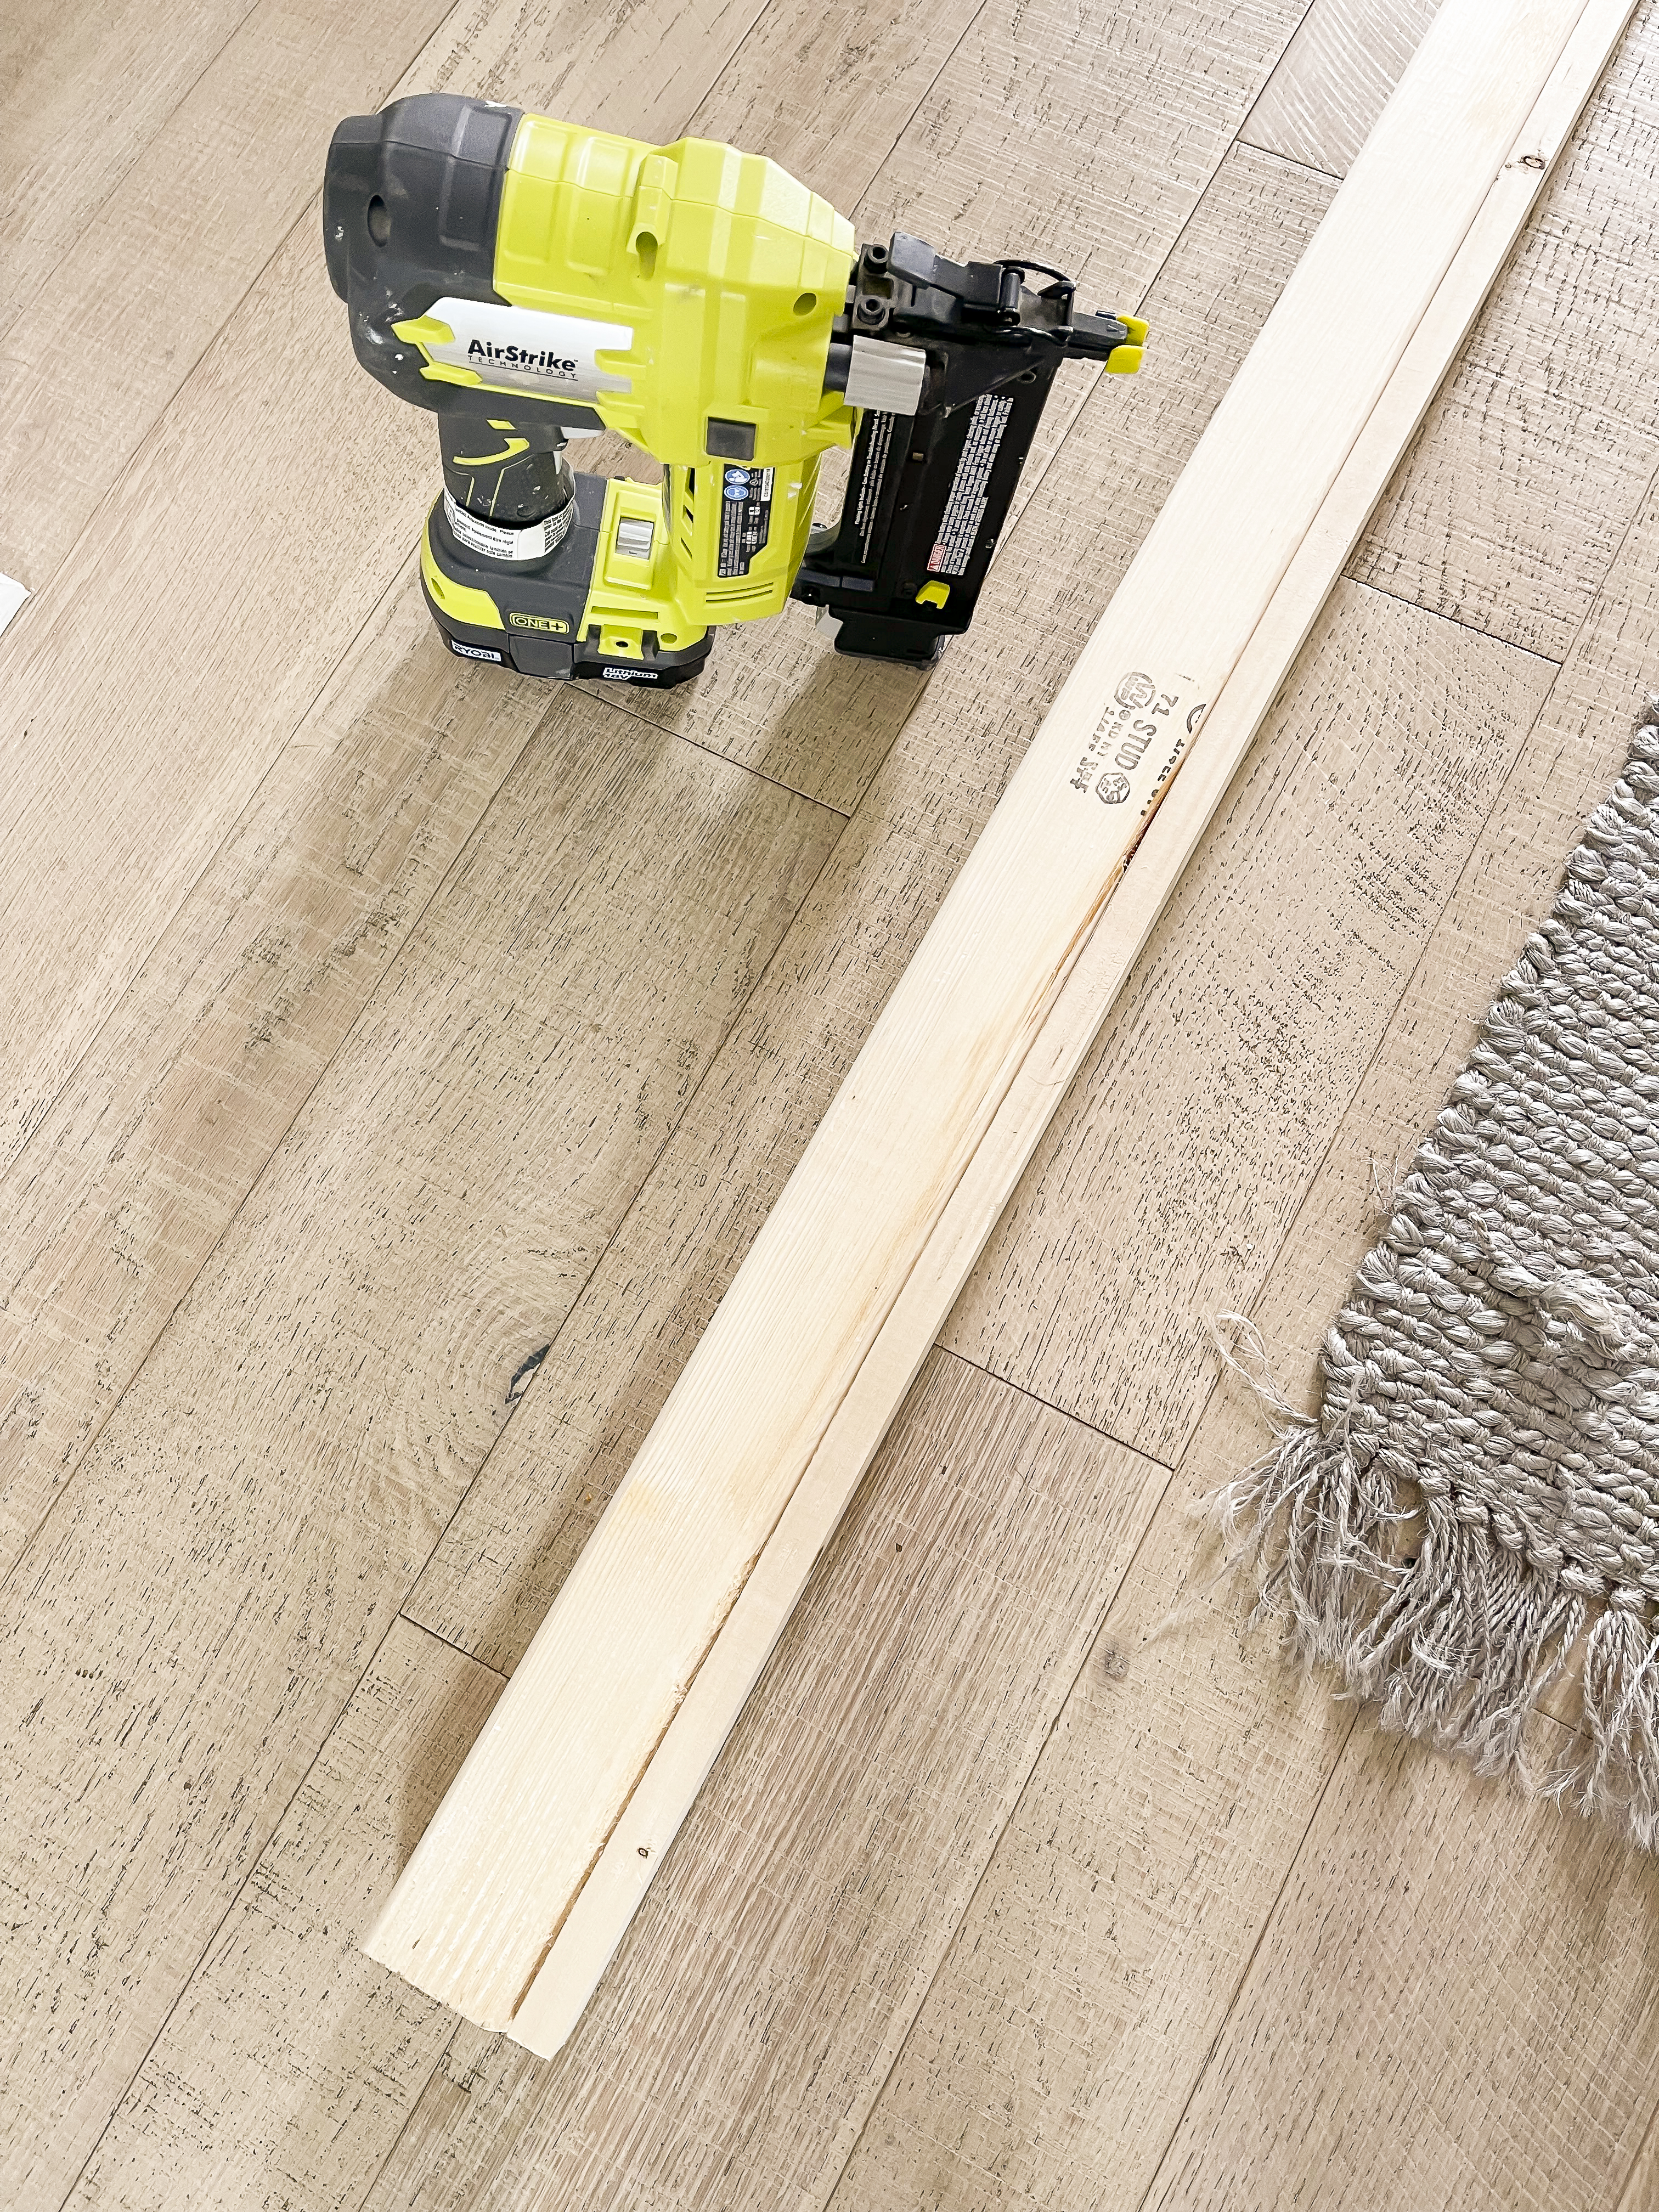
2. Get Mounting Board Ready
In my case, I needed the mounting board to be exactly 3.25″ wide since the beam needed to be 4.75″ total wide to be flush with the side wall (4.75″ minus .75″ for the sides of the beam). So, I secured a 2×3 and a 1×2 together using a nail gun. If you aren’t aiming for a specific width, you could simply use a 2×6 as your mounting board.
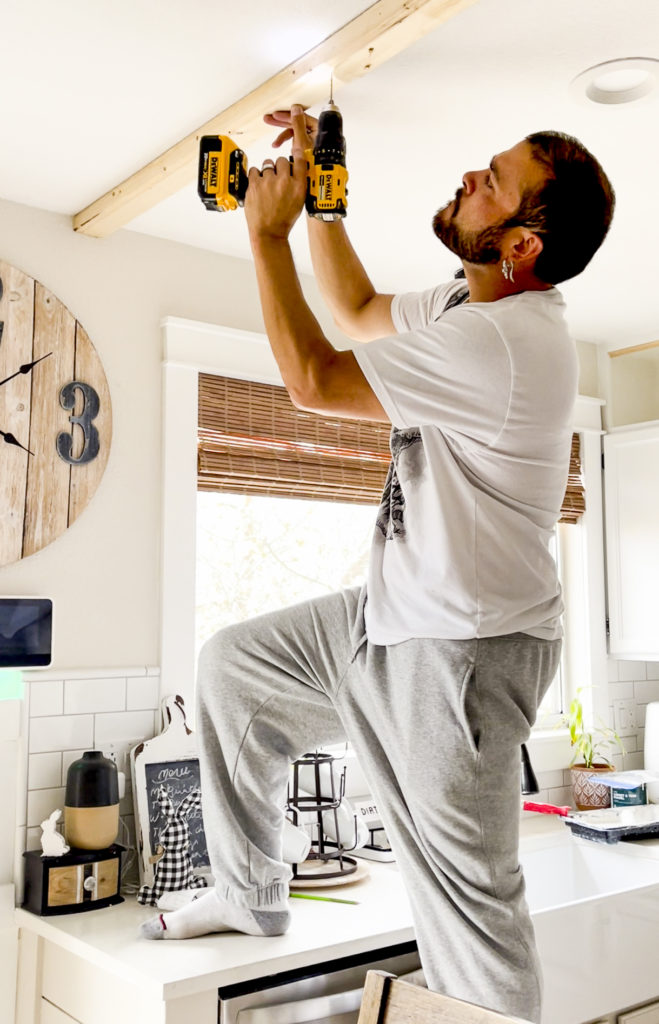
3. Attach Mounting Board to Ceiling
Here was another step that was a little trickier since I wanted it to be flush with the side wall. If you aren’t picky about placement, you could make this a lot simpler by attaching it directly to studs. Since our studs run parallel with where we wanted it and we weren’t going to be hitting any, we used drywall anchors to attach it to the ceiling. This was a two-person step; I held while the hubby drilled through to mark where the anchors needed to be attached.
Once the anchors were in place, we then went back to screw it through.
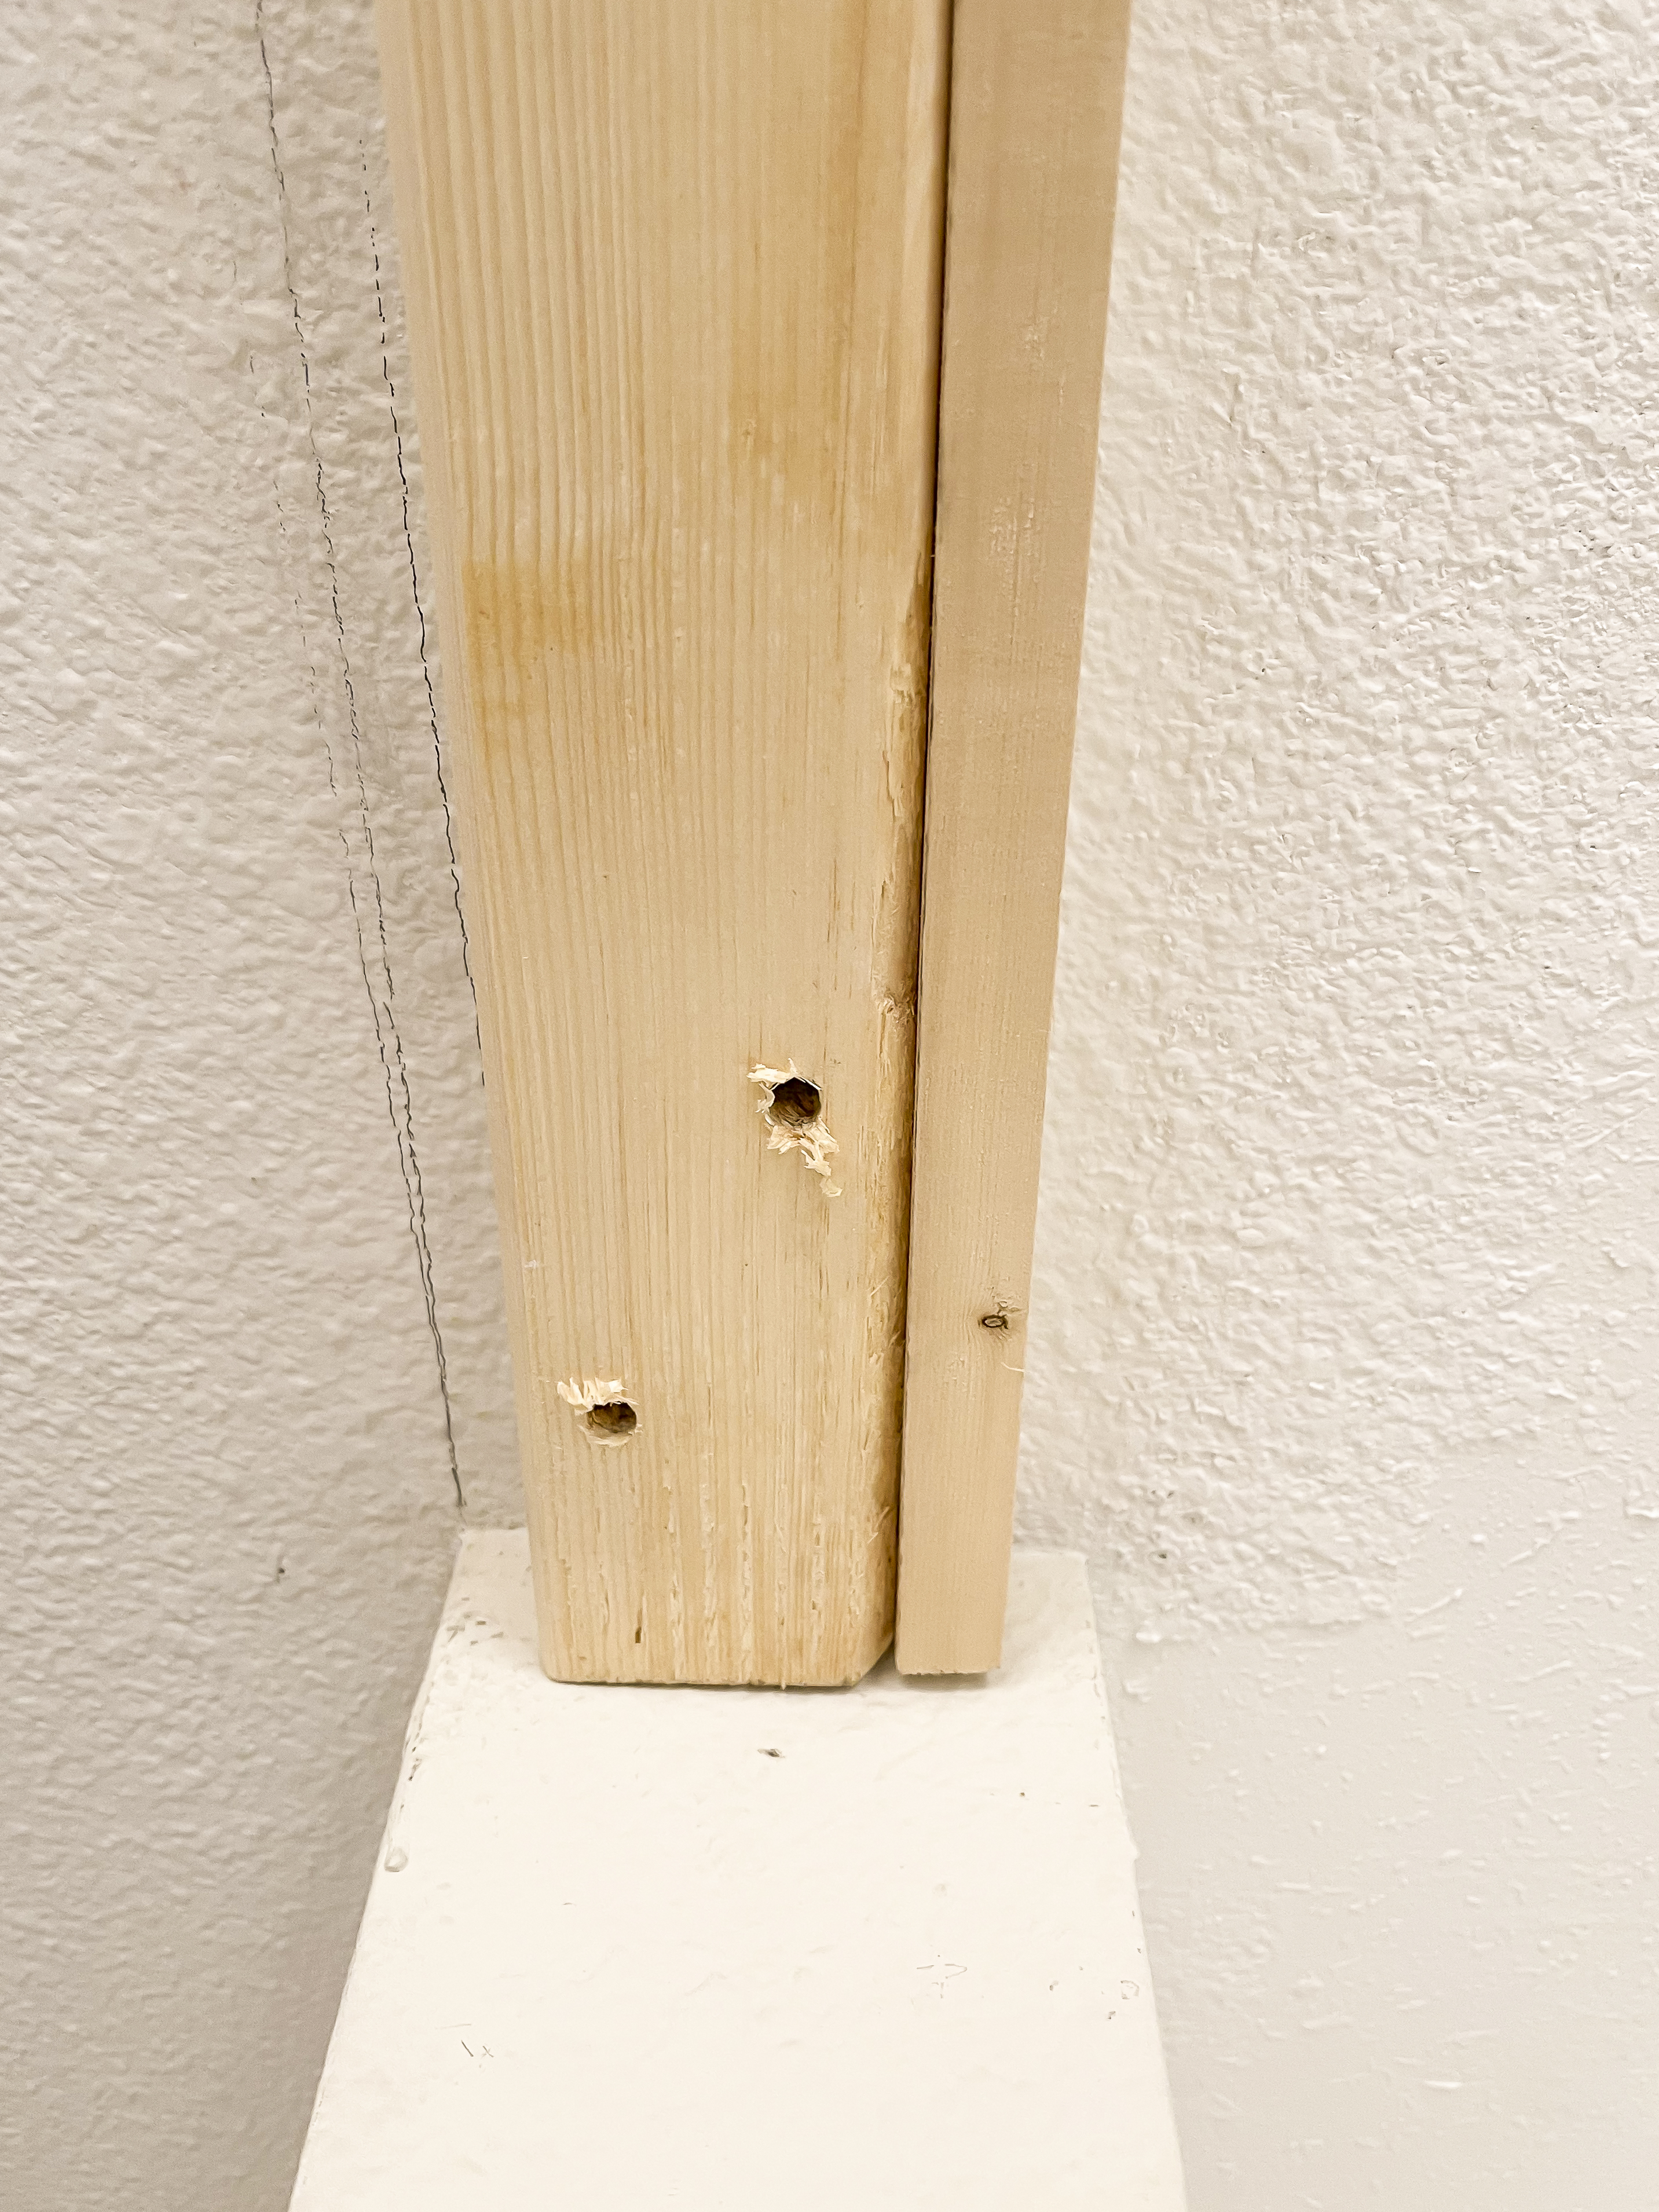
We made sure to use large anchors that overcompensated the weight and pulled and tugged once it was up there to make sure that it was nice and secure.
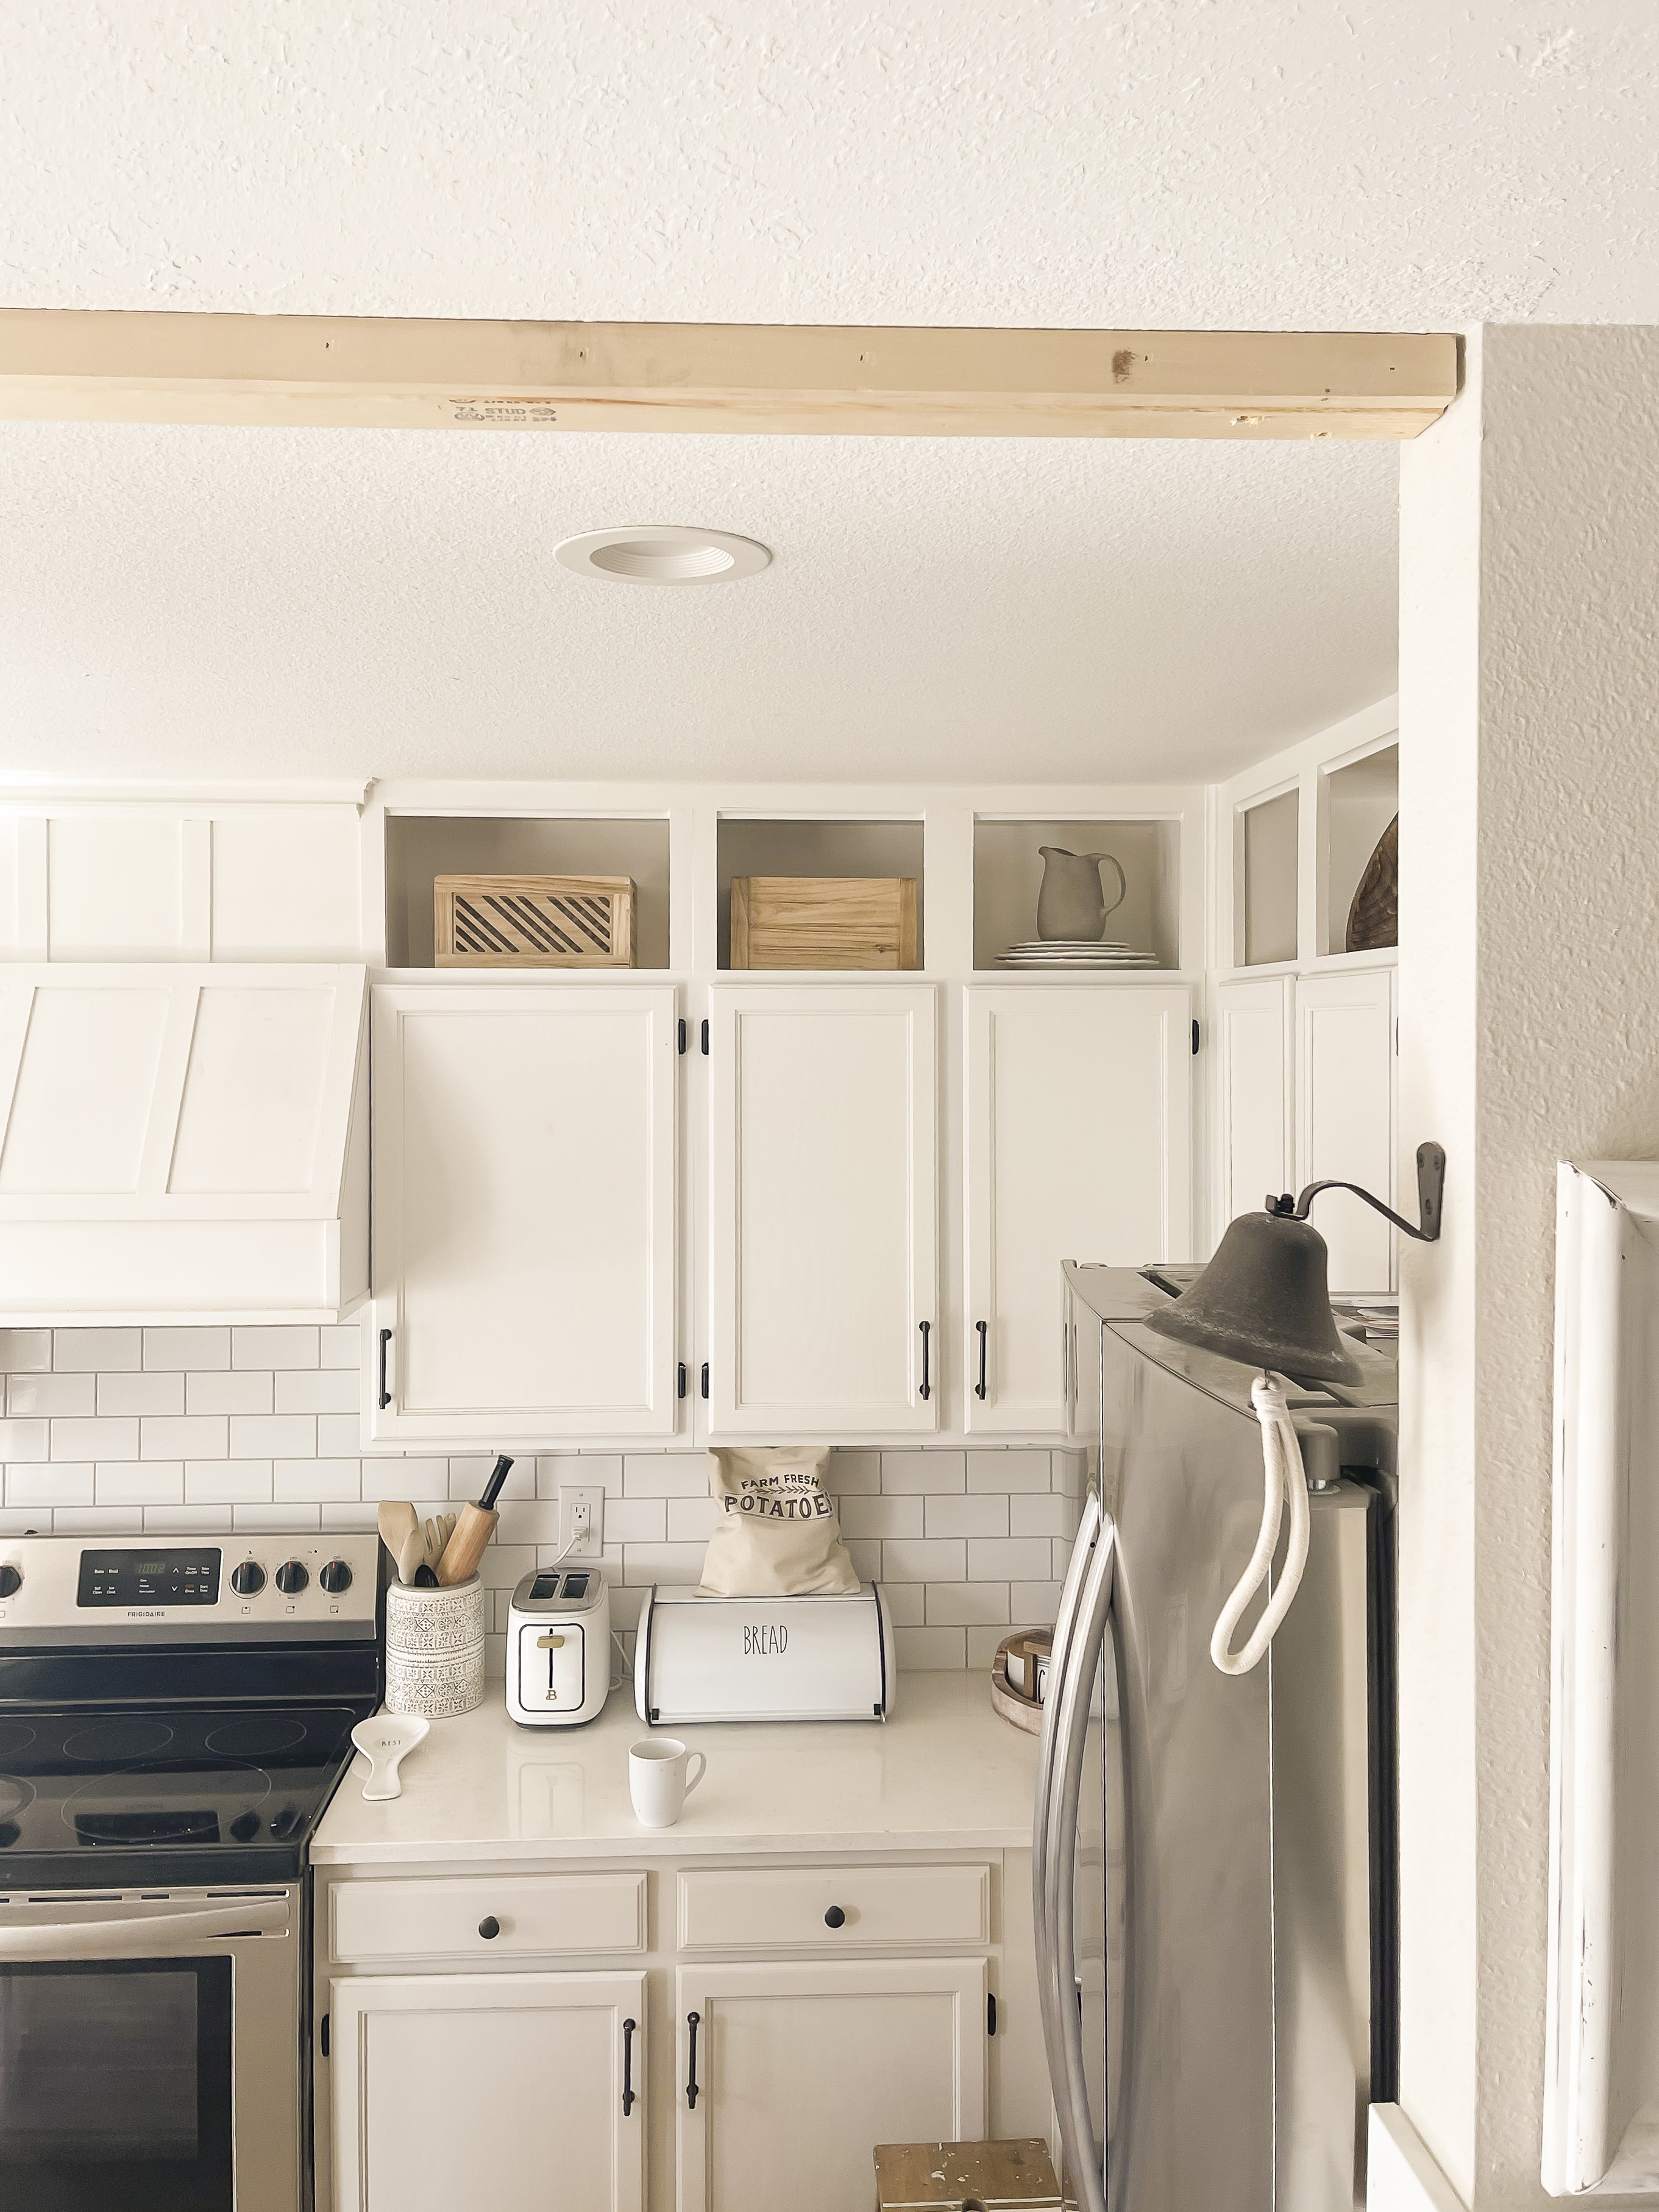
4. Cut 1x6s at 45-Degree Angles and to Length
With that in place, it was time to start assembling the beam. If you are doing a smaller beam, you could probably cut it all to one length, however our beam was going to be about 14′ so I needed to split it up into three pieces. Don’t worry–I had a plan to hide the seams!
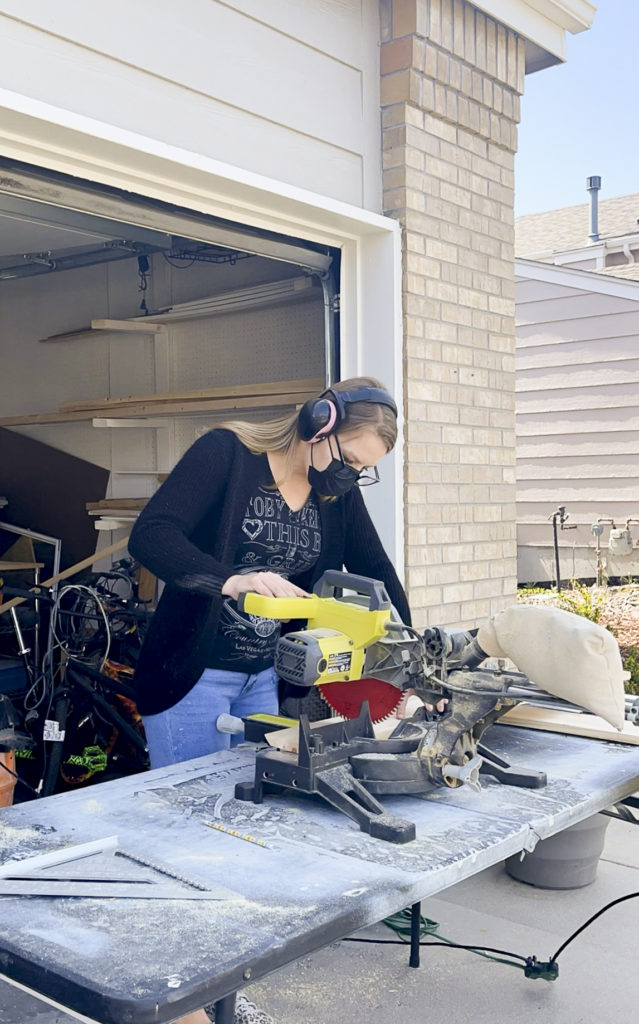
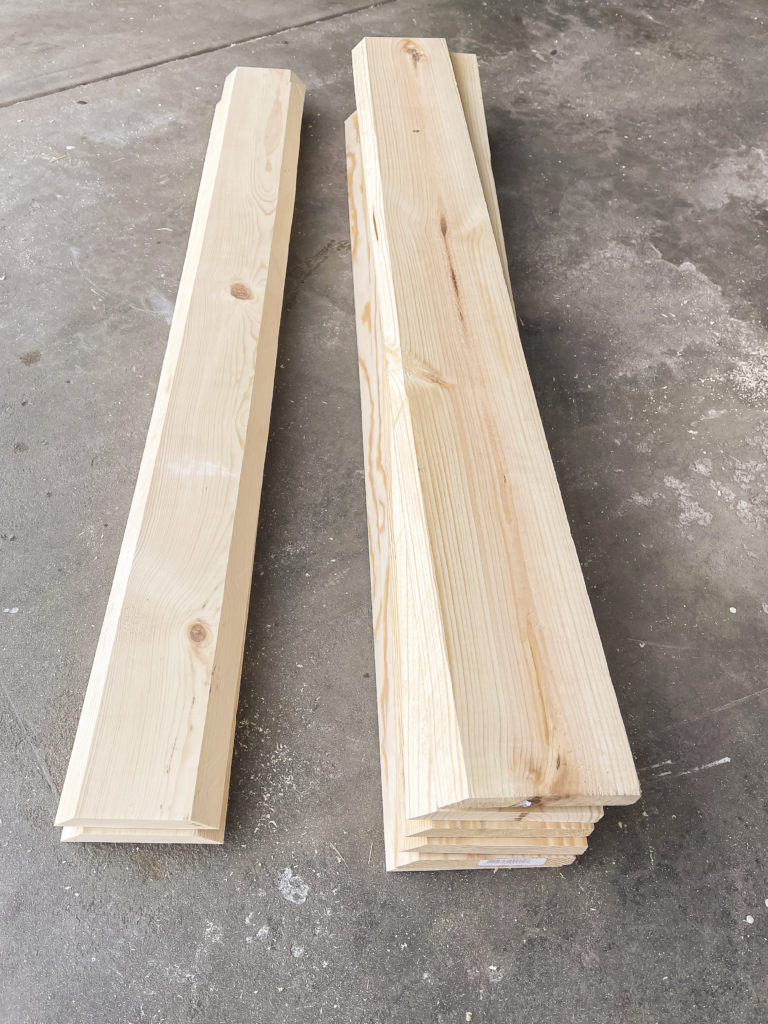
I first helped the hubby run the boards through the table saw to get a 45-degree angle on one side for the sides of the beams, and a 45-degree angle on both sides of the bottom pieces.
Important side note: we cut the bottom piece to be 4.75″ wide so that it would end up fitting flush with that side wall, but if you are just using a 2×6 for your mounting board this wouldn’t be necessary.
I then took them to the miter saw and cut them to the right length.
Don’t worry, this should all make more sense in a second.
5. Assemble Beams
To assemble each piece of the beam I essentially created a U-shape. I started with the bottom piece (angled on both sides) and cut supports out of 2x3s to sit in the middle.
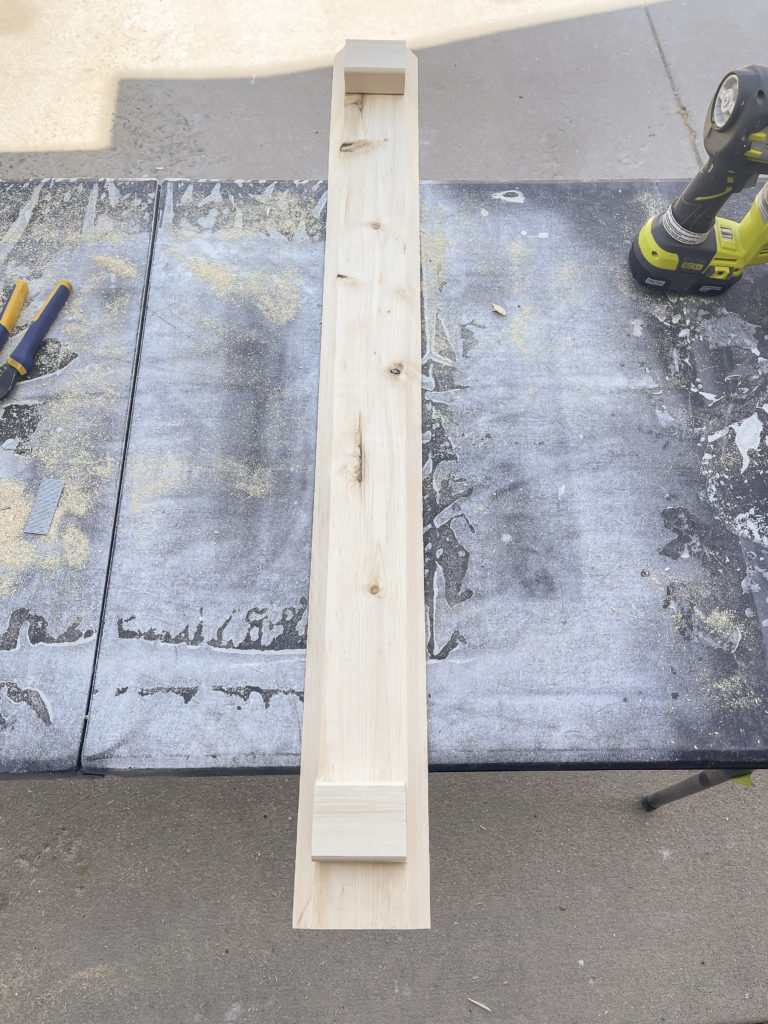
I then held up a side, one at a time, and applied some wood glue before securing it with the nail gun.
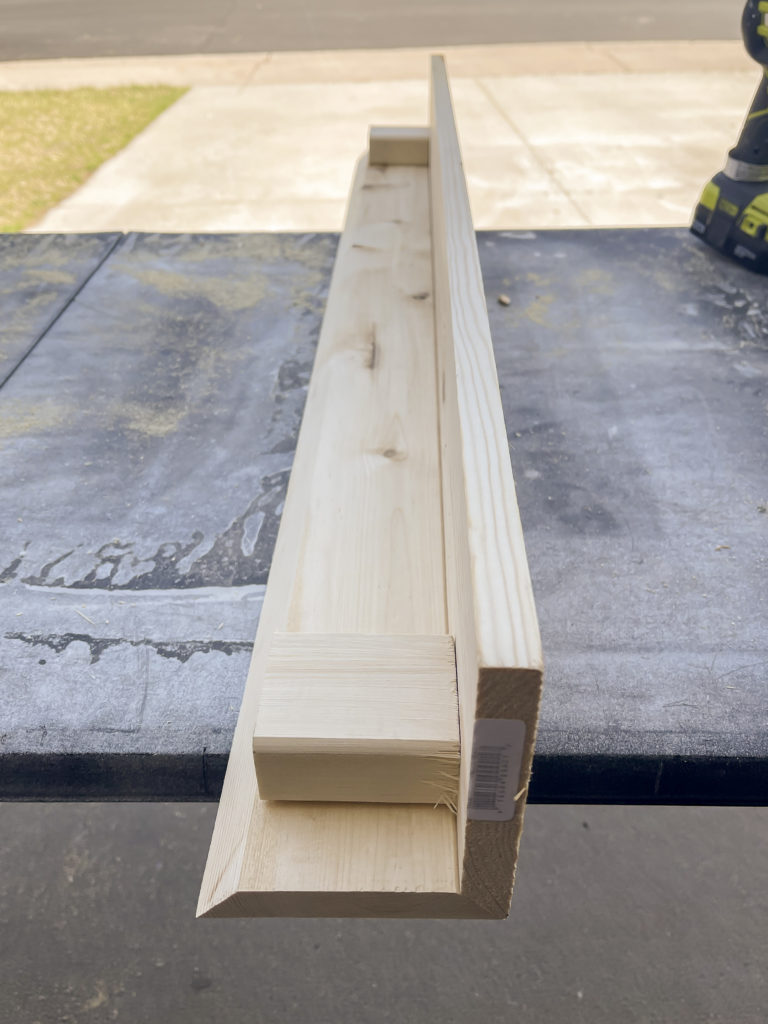
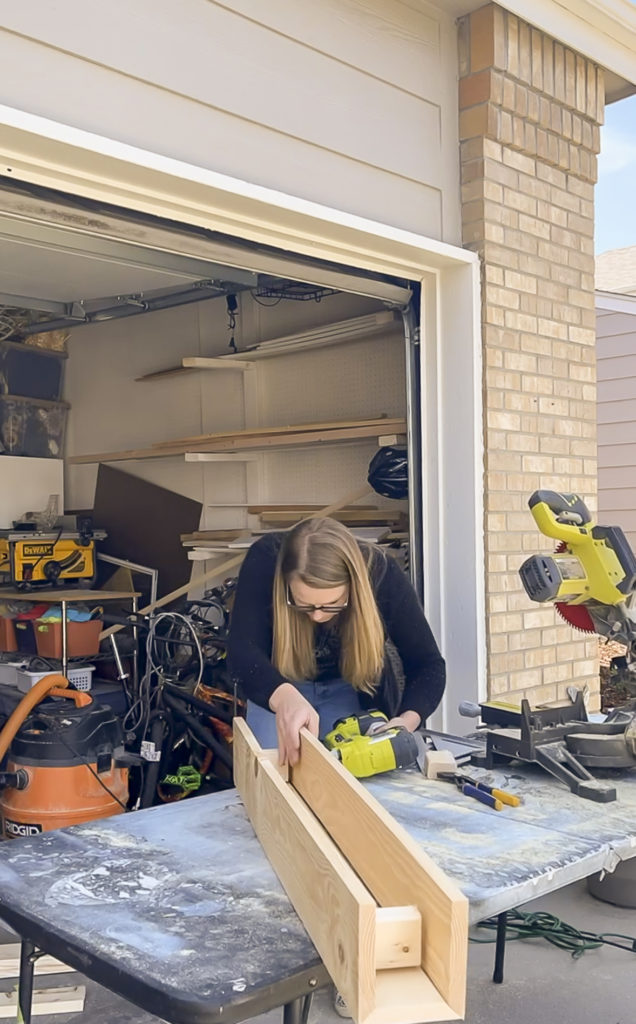
The 2×3 supports helped it from collapsing on itself–I learned the hard way when I assembled our beam fireplace mantle!
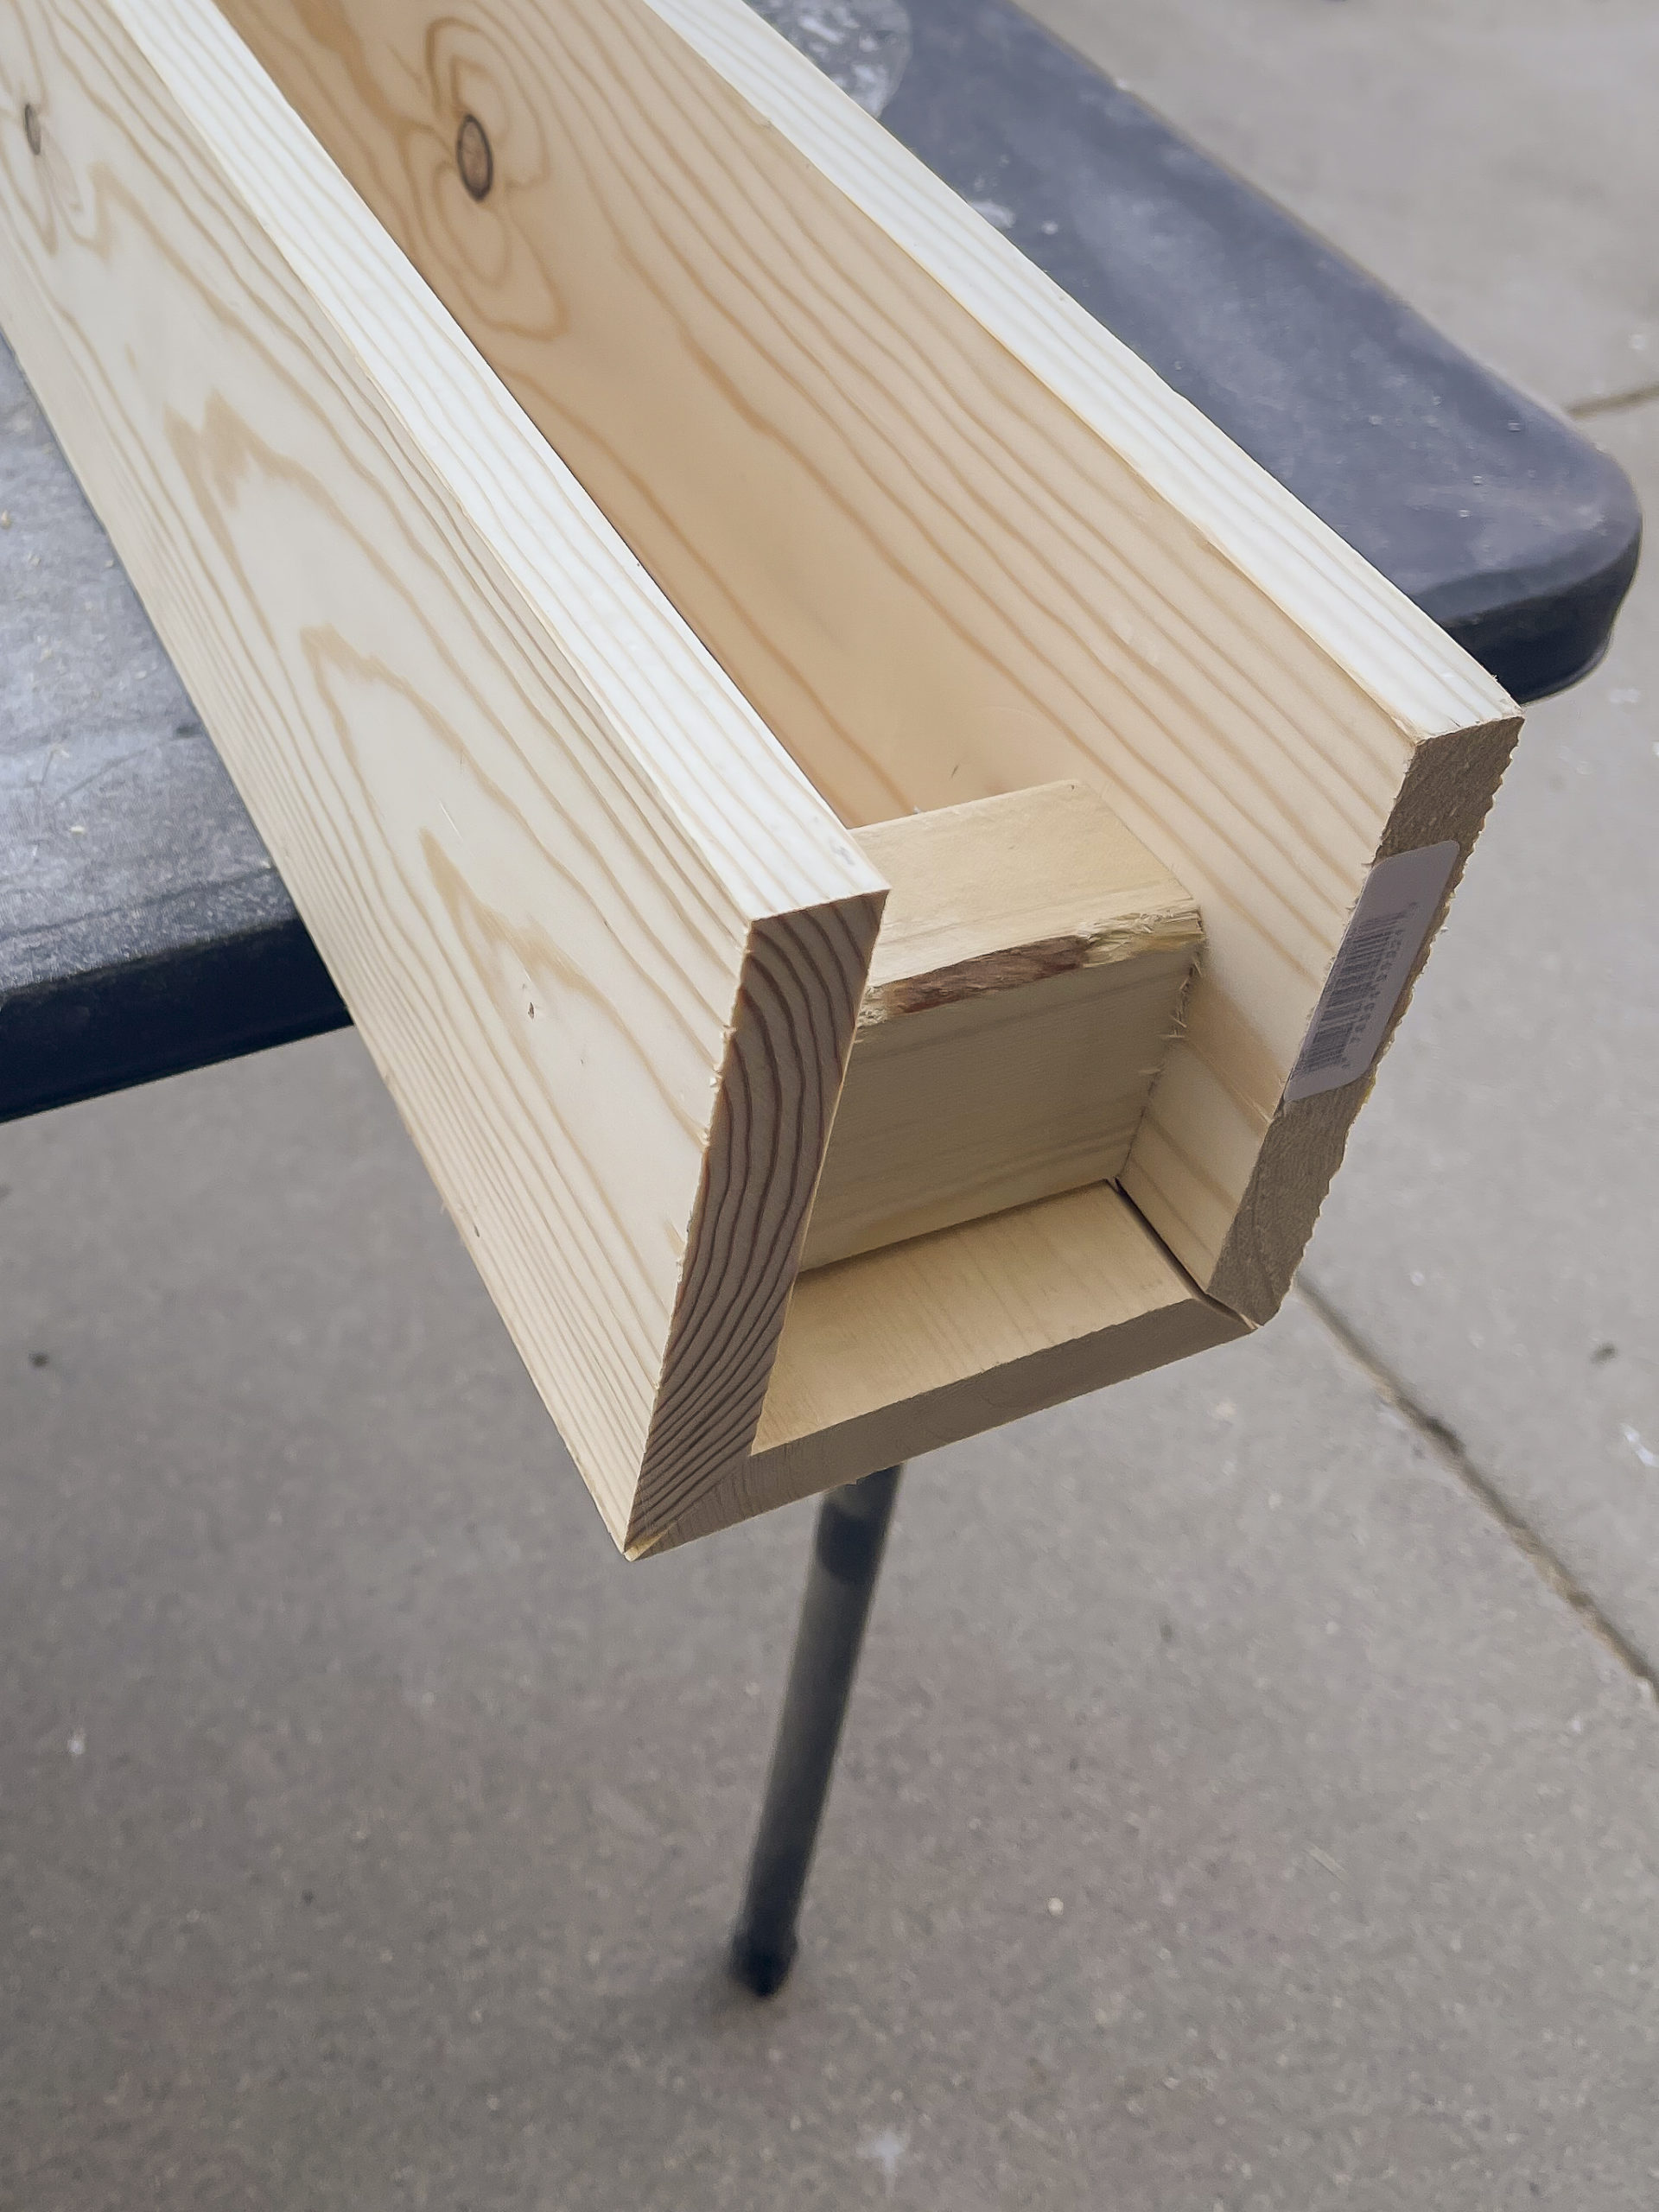
Once I had both sides done, I then flipped it over and added some more nails through the bottom to make it all nice and sturdy.
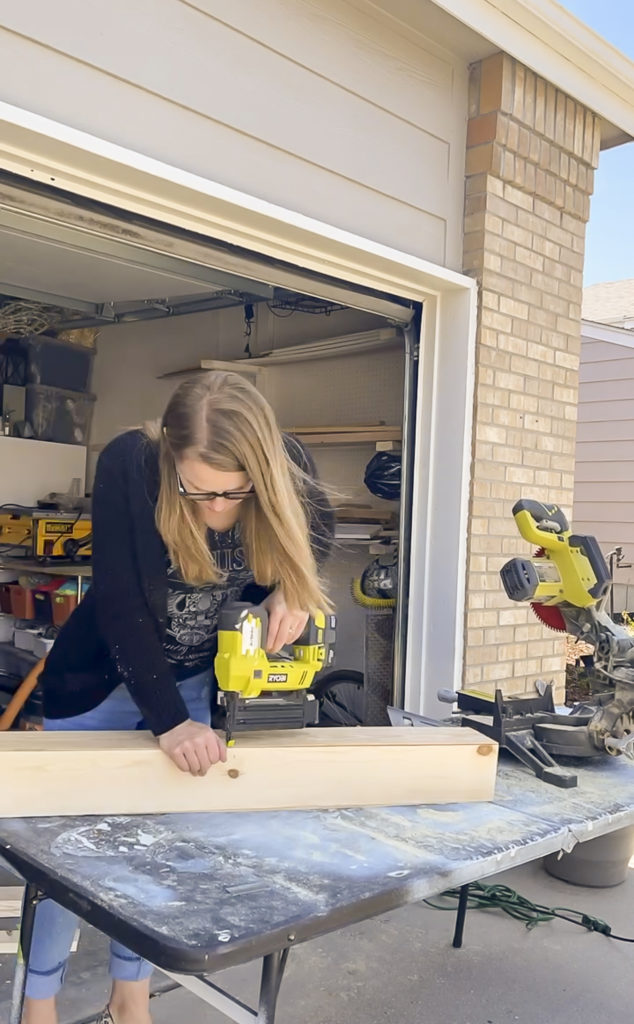
6. Fill and Sand
I didn’t grab a picture, but I went over all of the seams with wood filler and then used my electric sander to smooth it all out. The goal was to make these appear as one solid piece and the filler did an excellent job at doing that.
7. Beat it up!
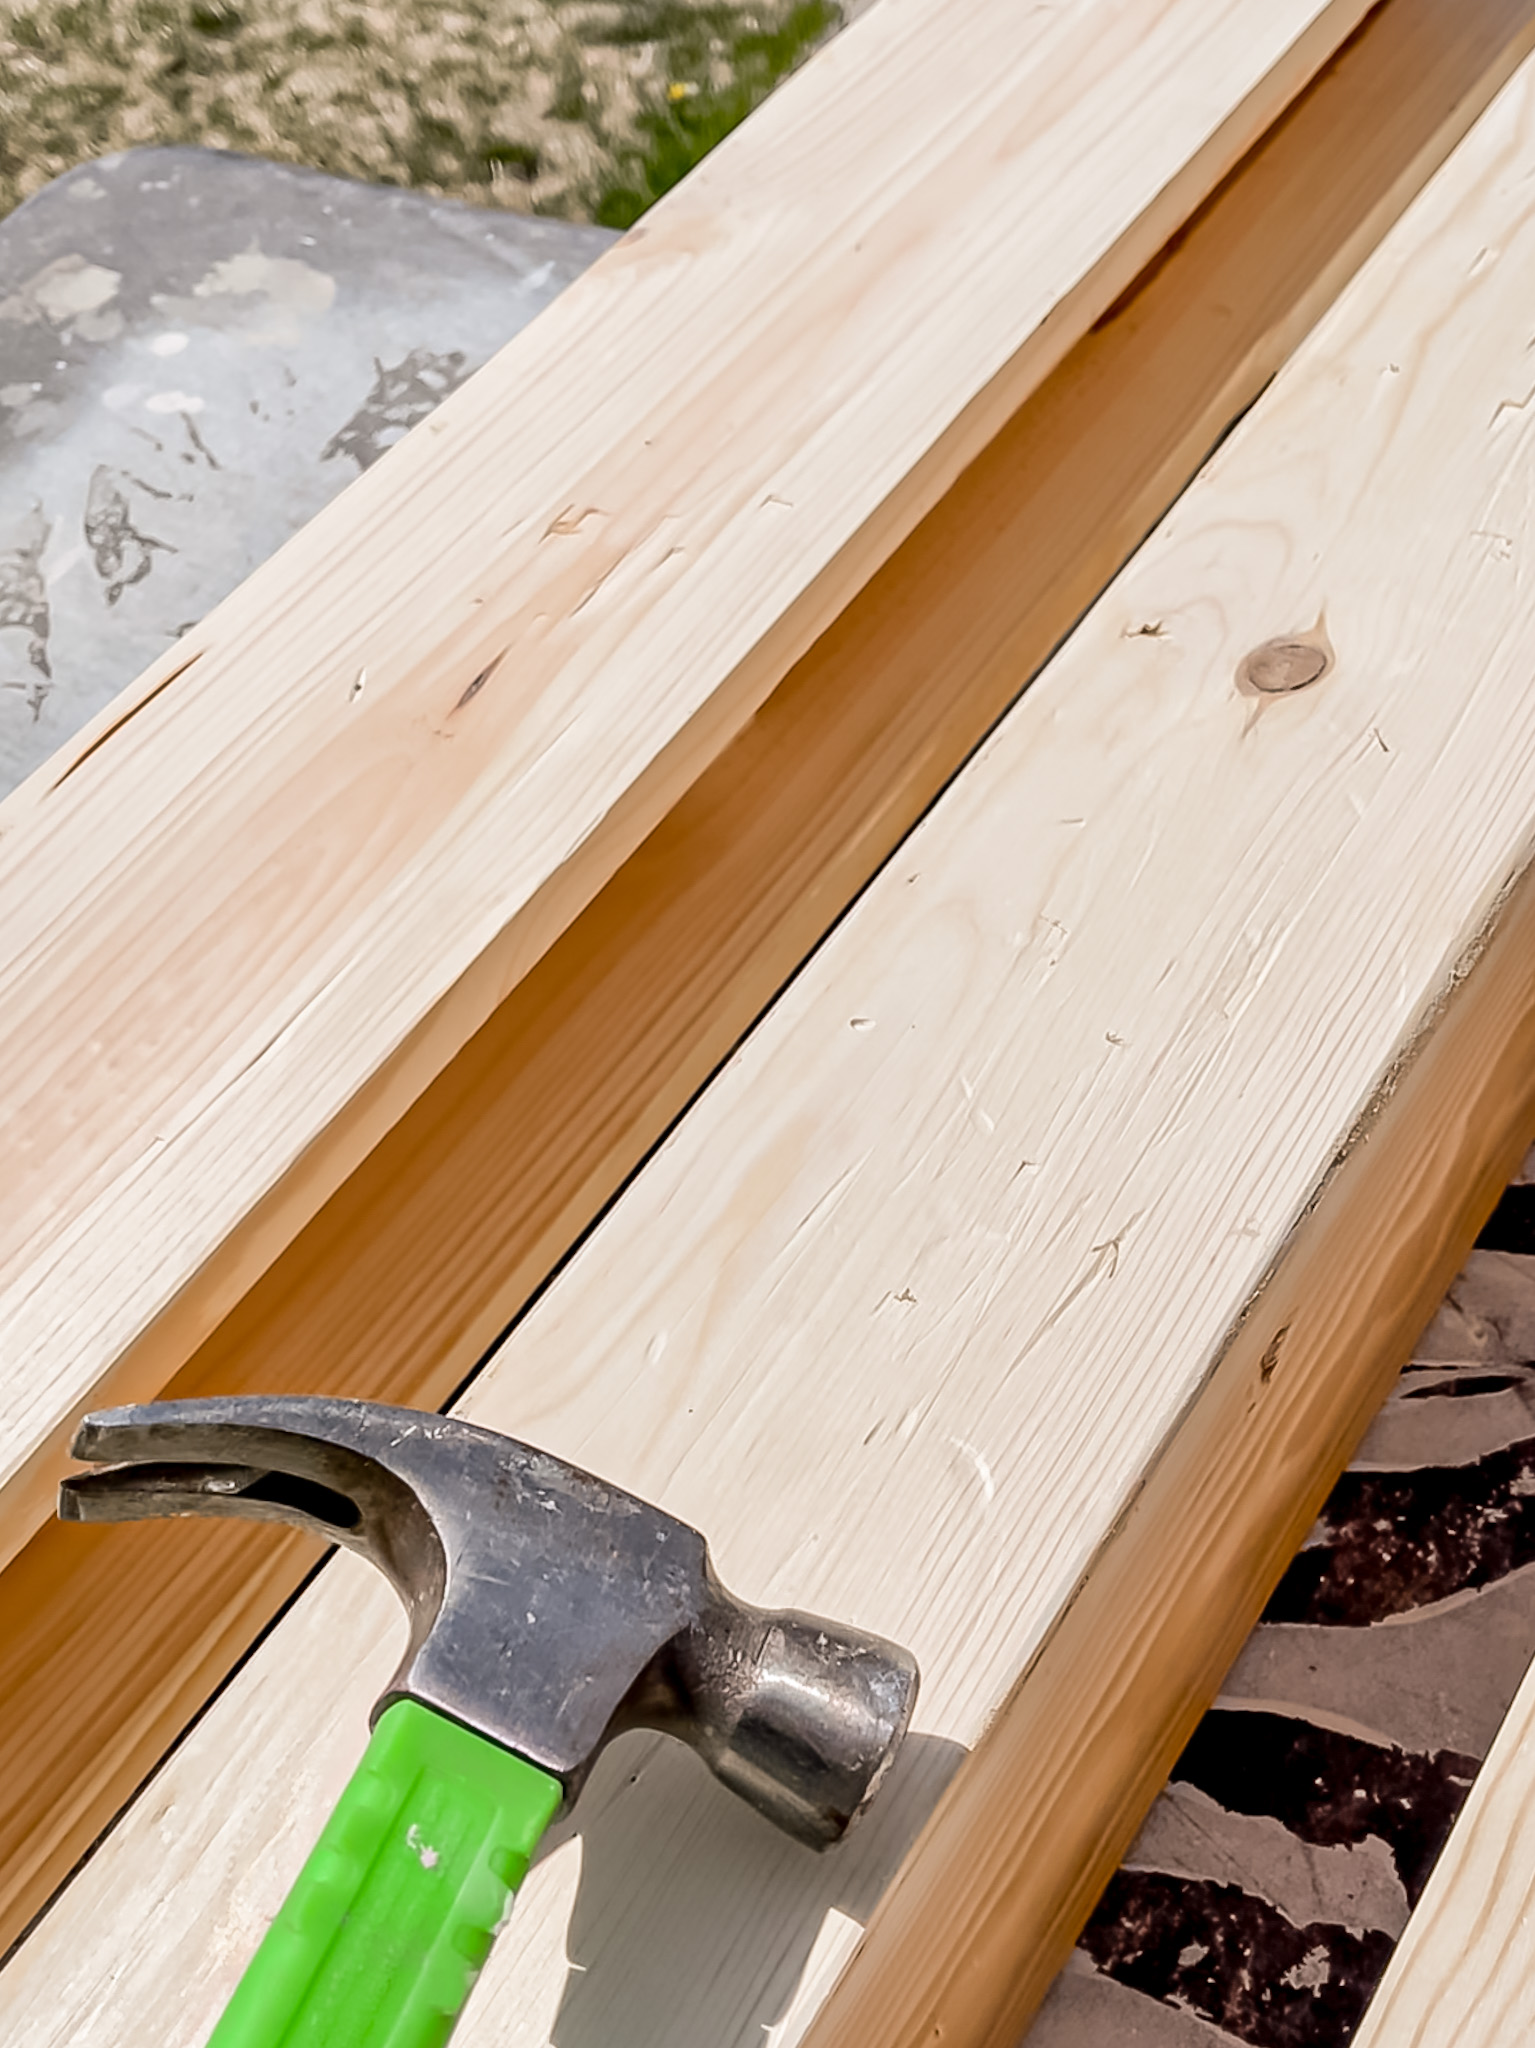
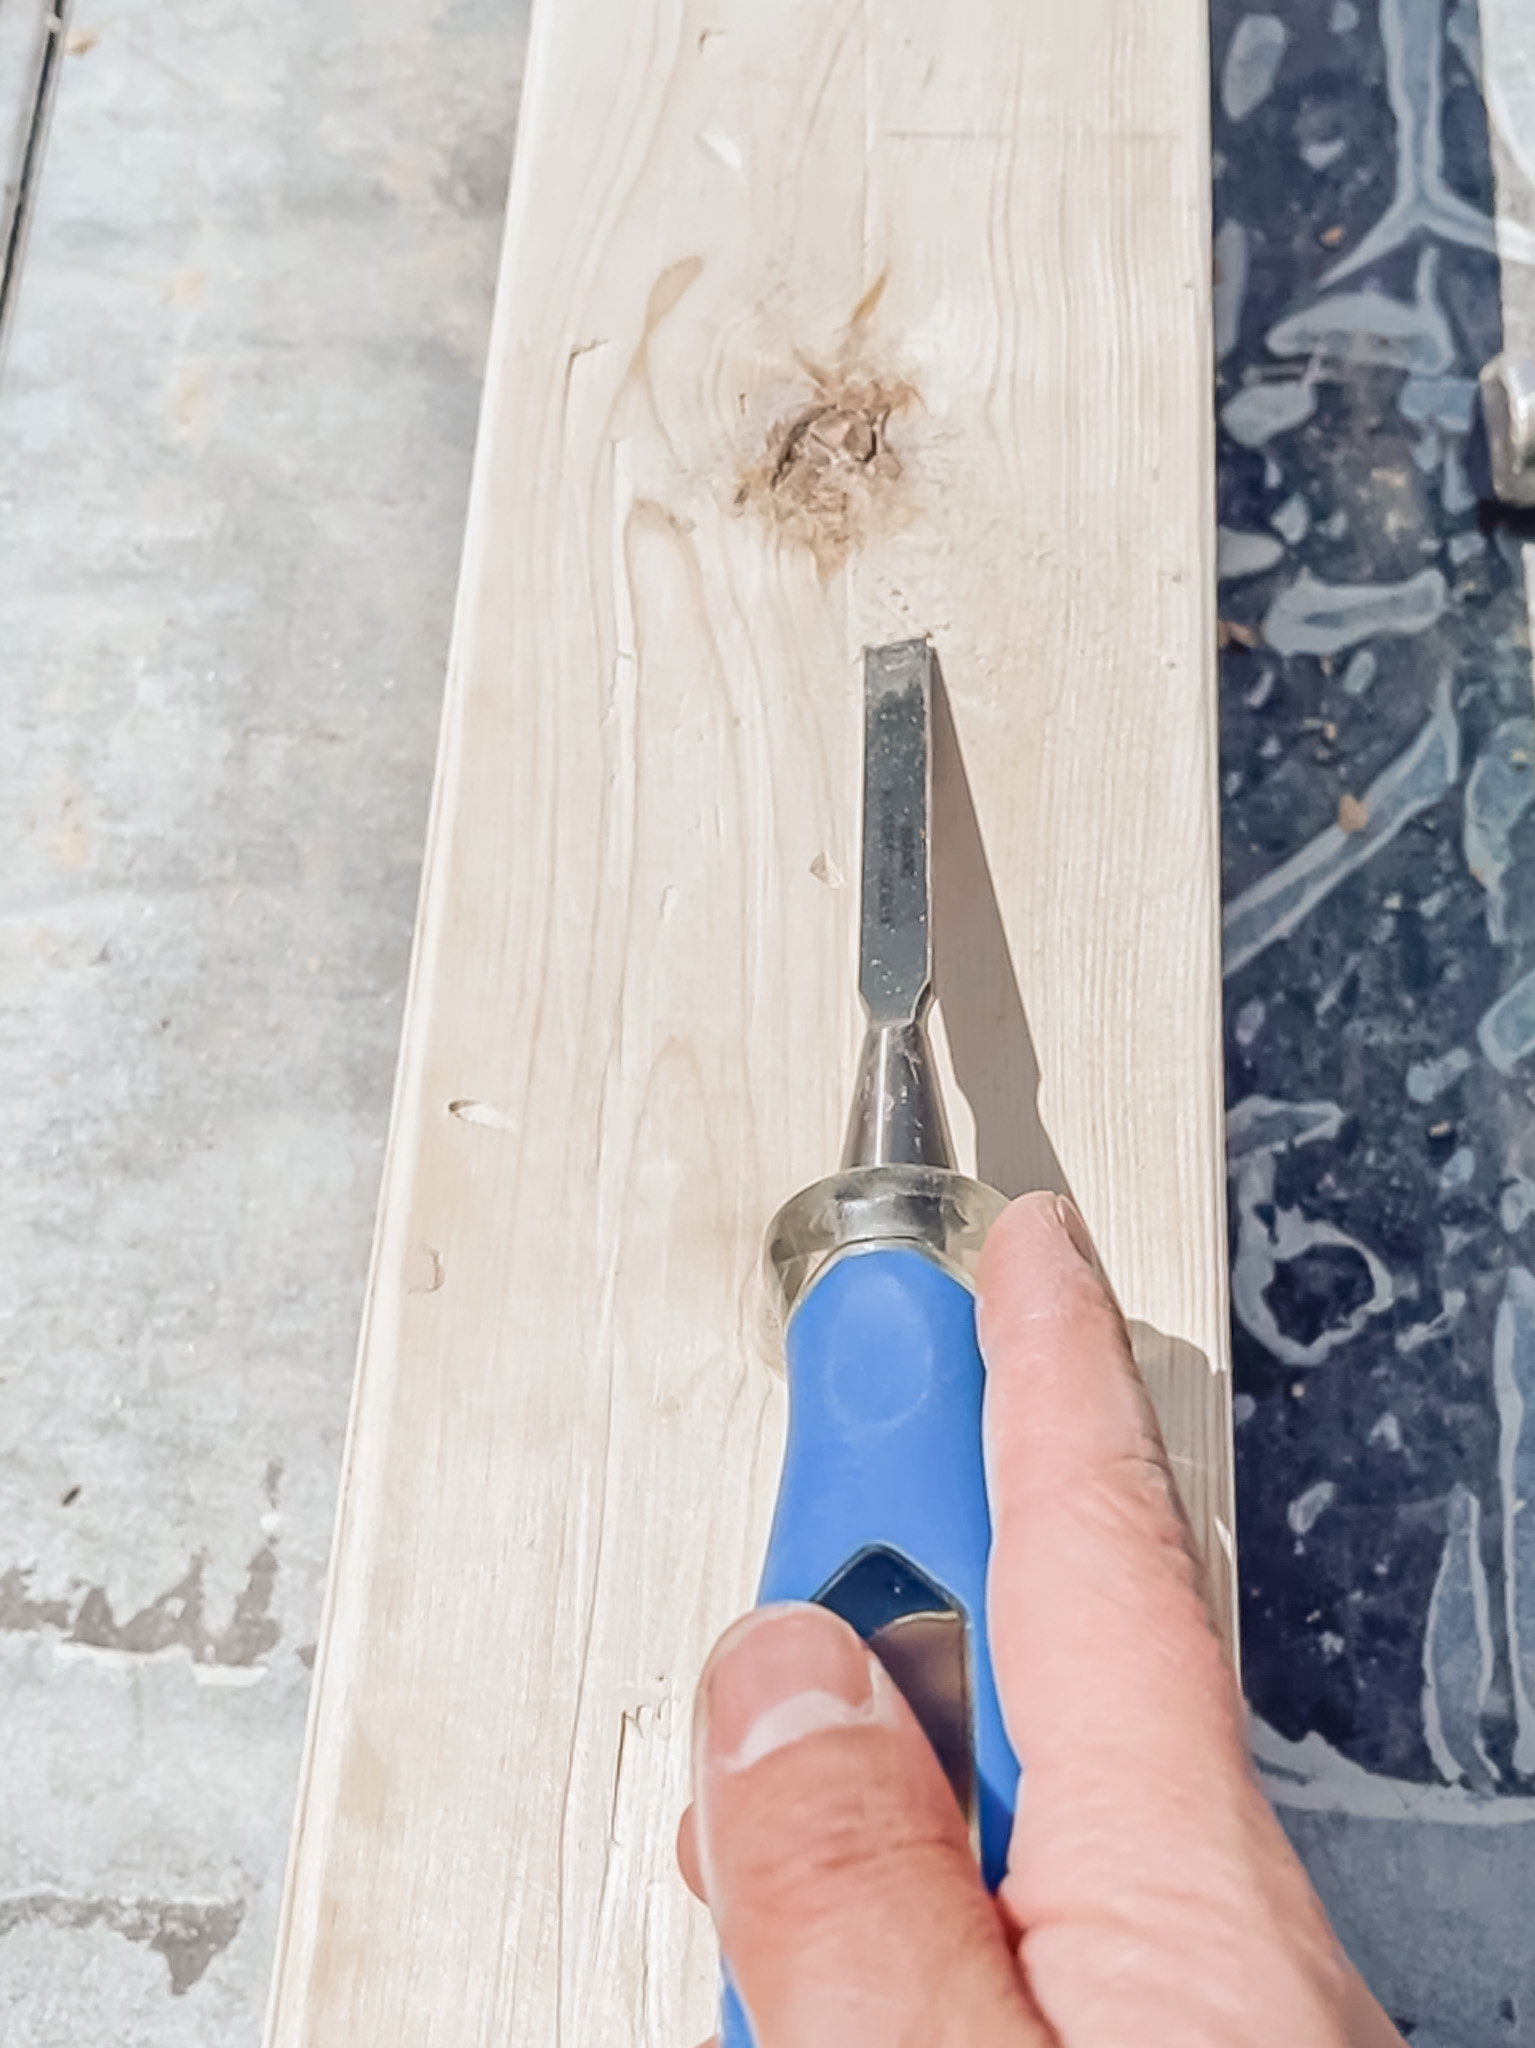
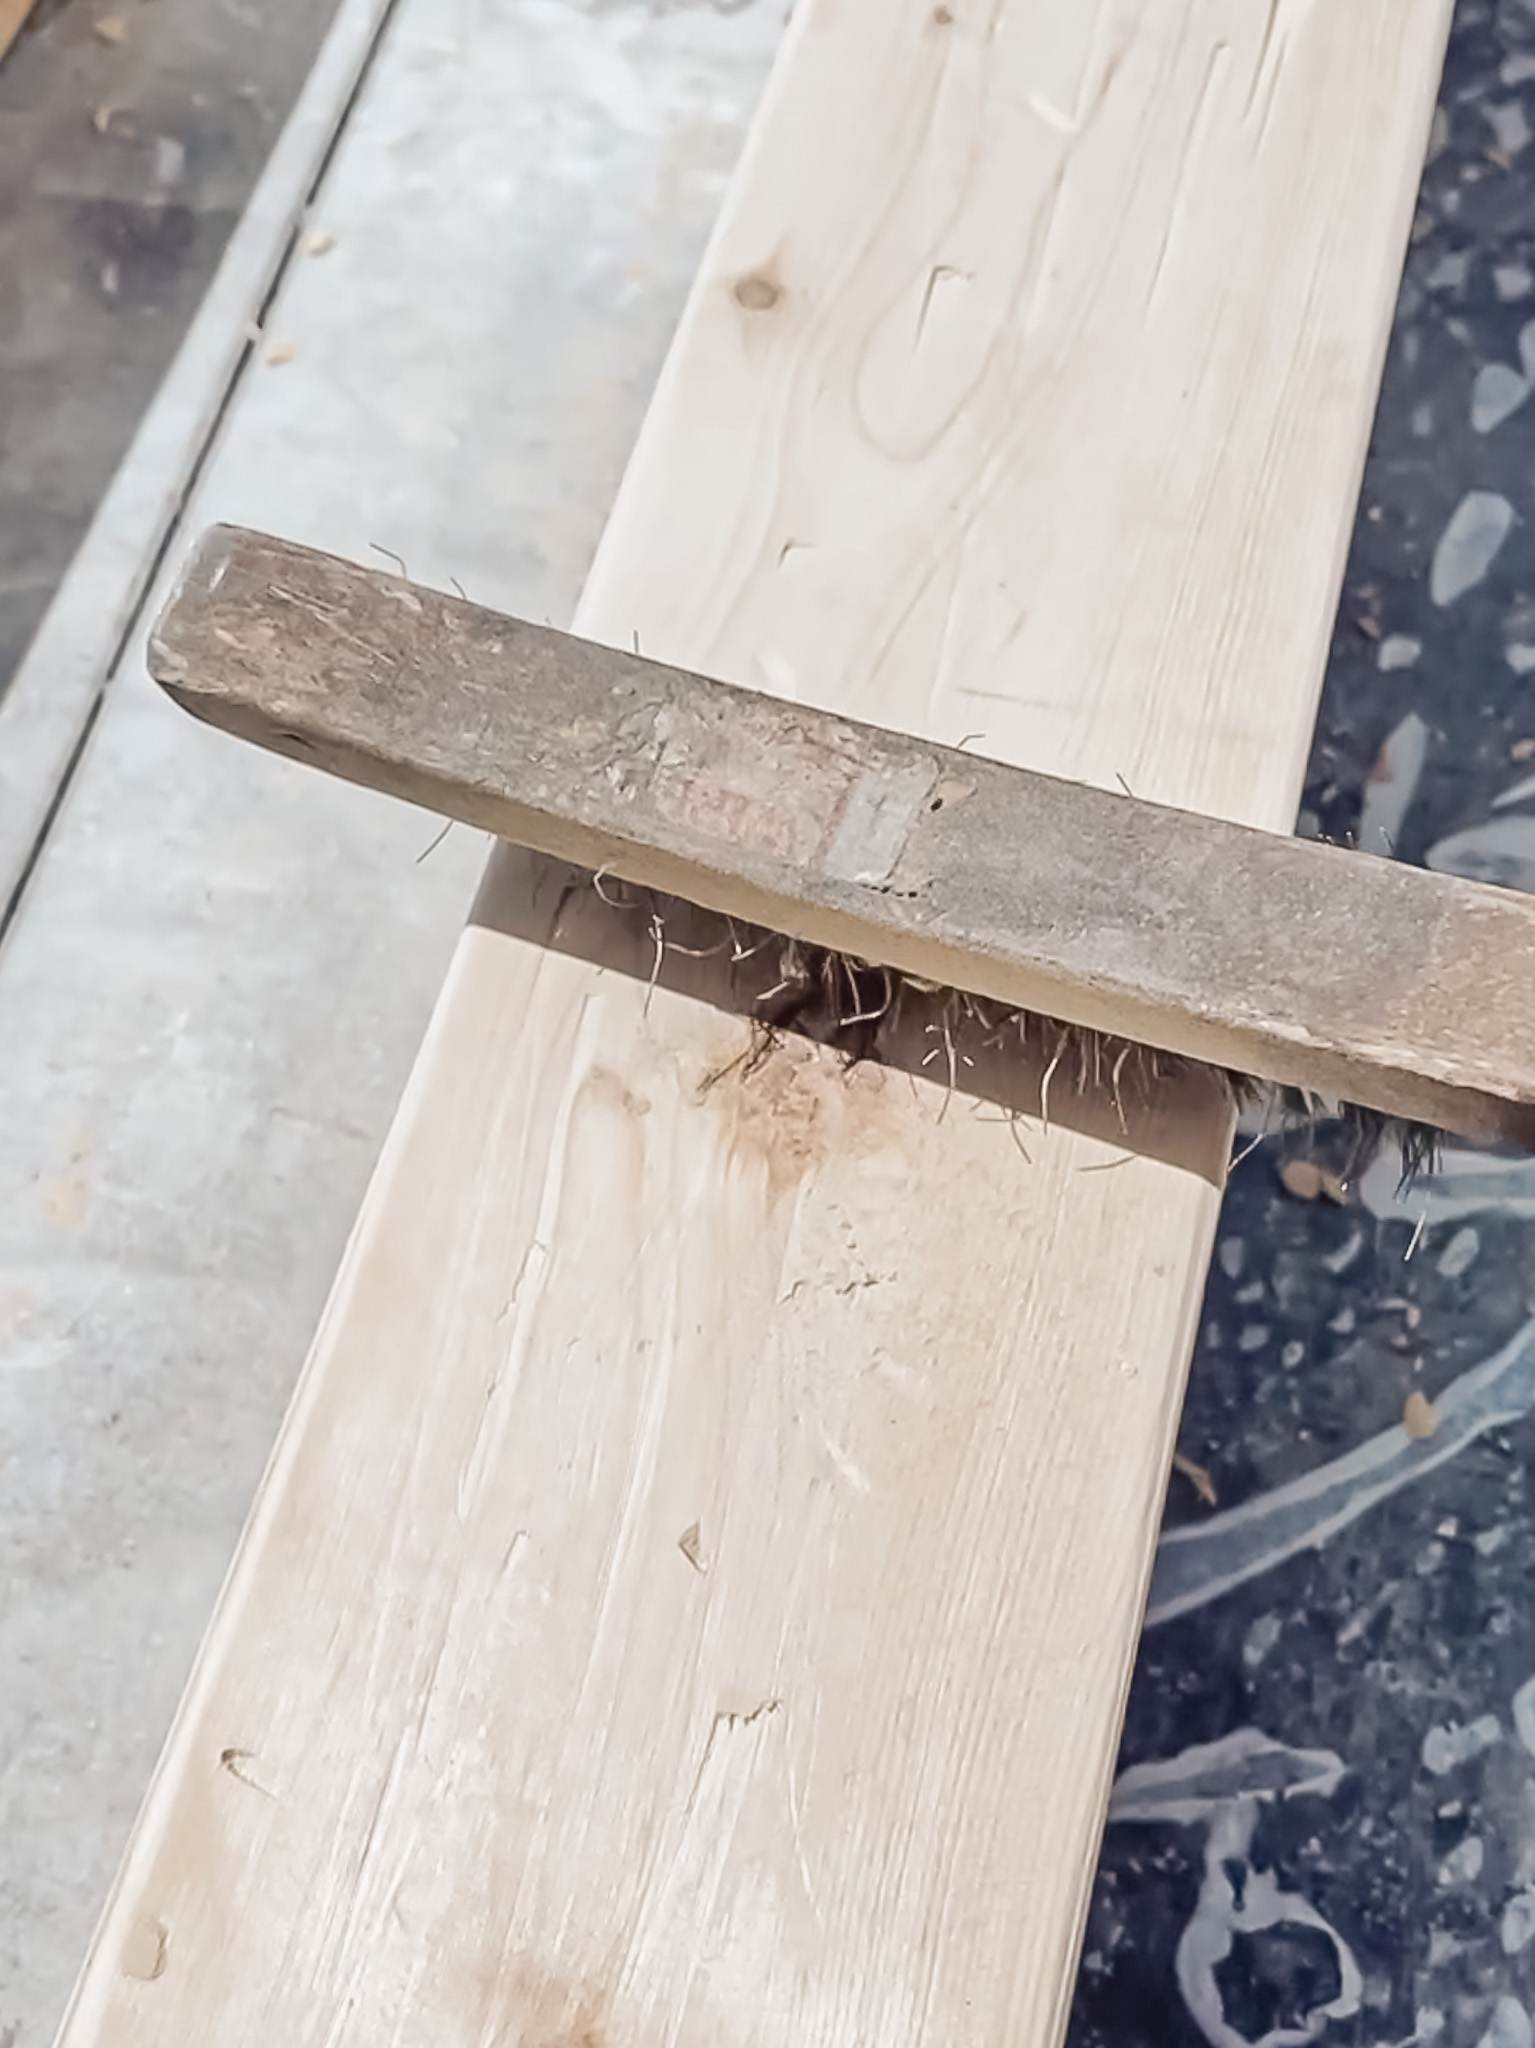
I wanted these beams to look traditional with a bit of wear on them, so I used a combination of a hammer, chisel and wire brush to get the look that I wanted. The whole process is actually quite a lot of fun and impossible to mess up!
8. Stain and Seal
I did a bit of trial and error until I found the perfect combo of finish. I started with a coat of whitewash (watered down white paint), followed by a coat of Weathered Oak stain and finished with a coat of dark wax using a wet rag. It gave me the perfect warm shade with gray undertones, and I love how it all settled into the dings that I made. I sealed it all up with polyacrylic and let everything dry before moving to the install.
9. Attach to Mounting Board
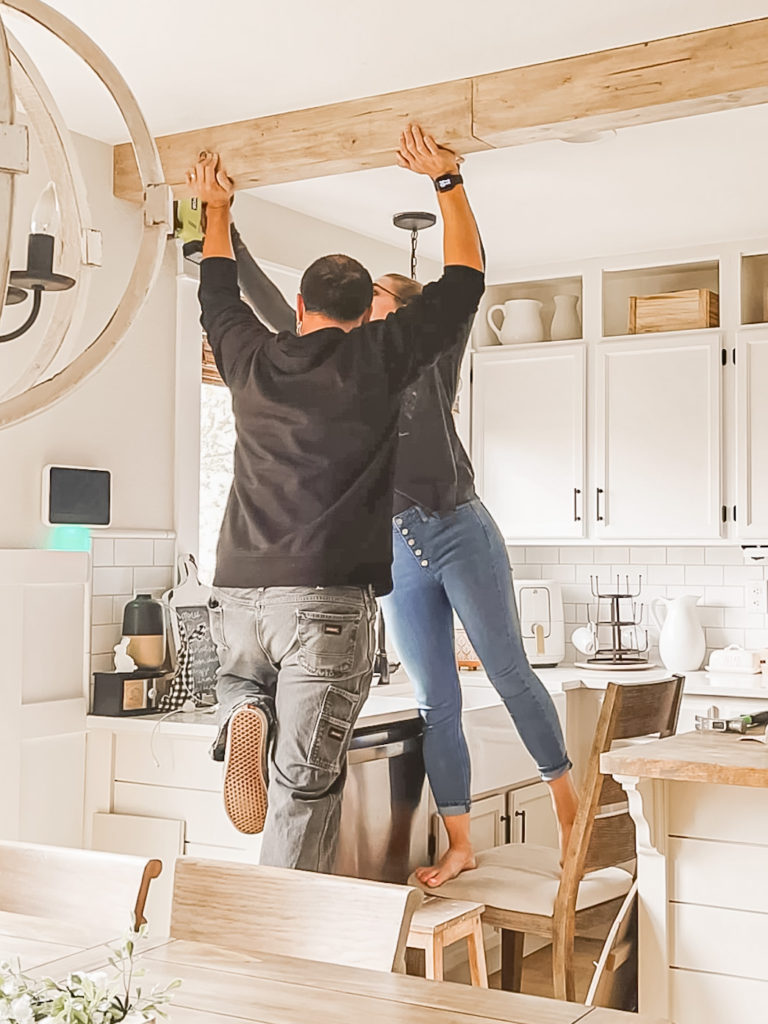
This was another two-person step, the hubby held each piece in place while I used the nail gun to secure it to the mounting board.
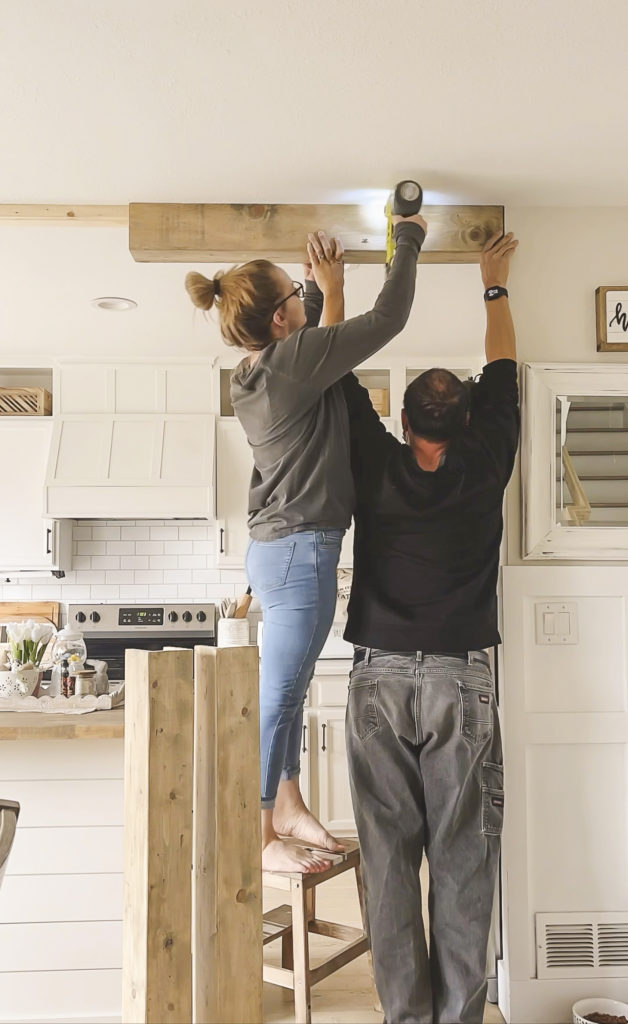
We started at one end and went all the way down, piece by piece.
10. Attach “Beam Straps”
We were almost there, and it was so exciting to see it finally in place! But we had to do something about those seams.
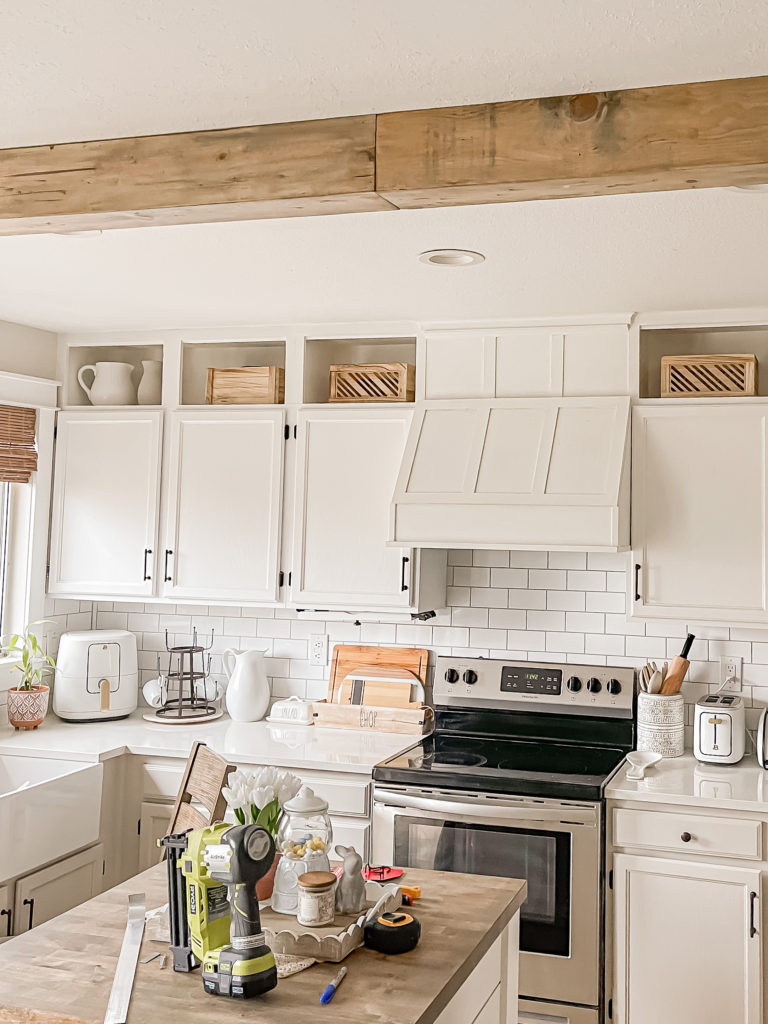
I purchased a thin strip of aluminum and used tin snips to create some “beam straps” which are traditionally found on real beams. I didn’t get a great picture, but this one that I snapped in our dark garage will hopefully give you a good idea of how we shaped them using a hammer.
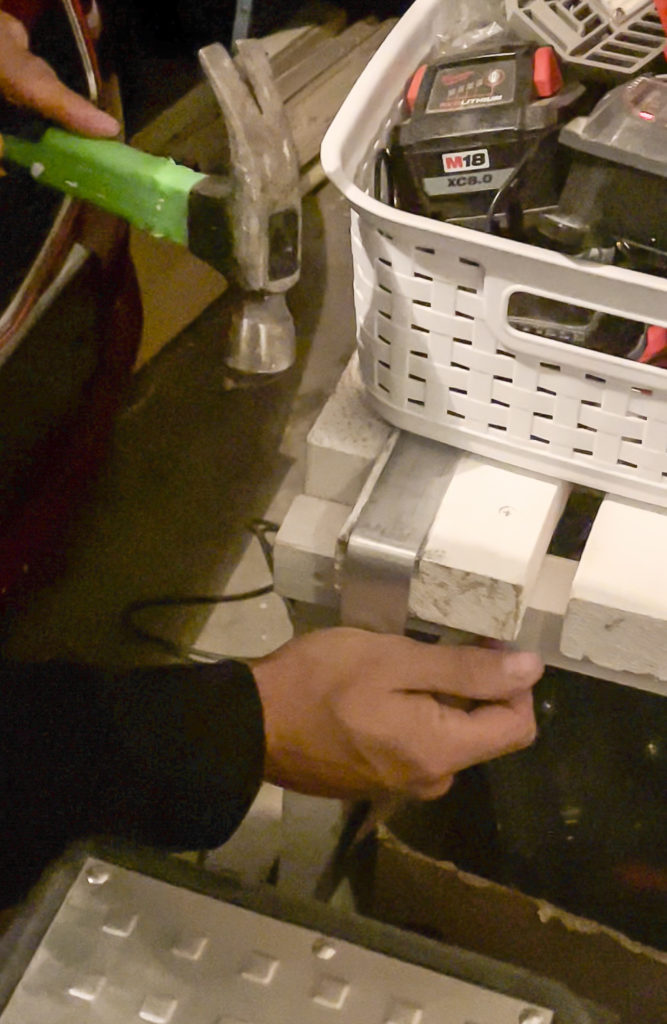
Once they were shaped, I painted them with flat black spray paint and then screwed them over each of the seams.
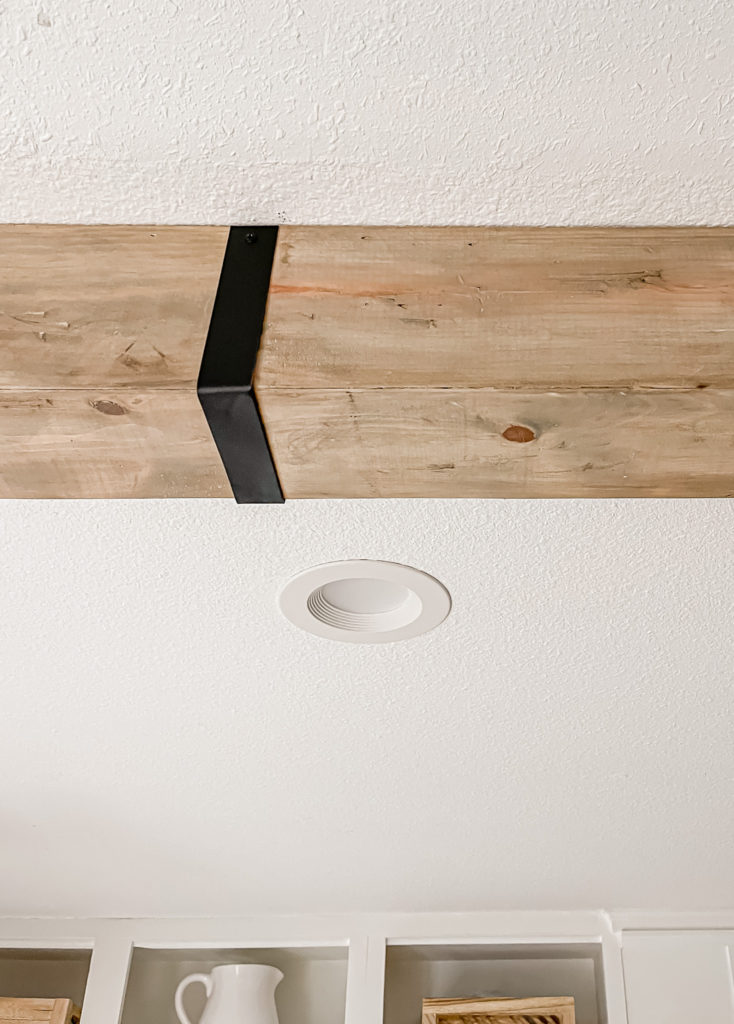
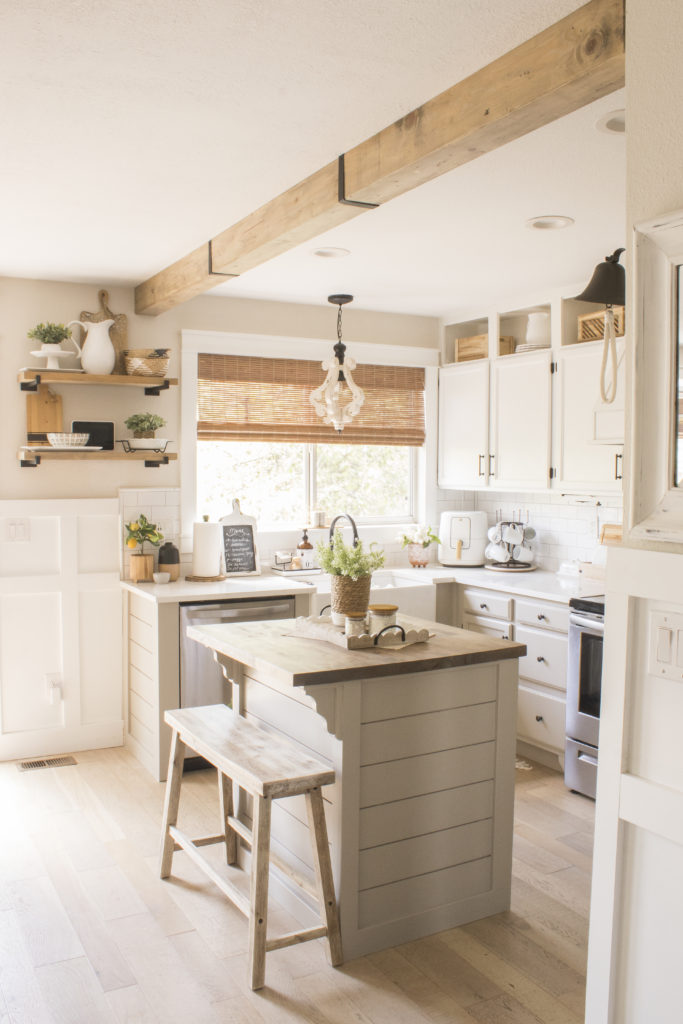
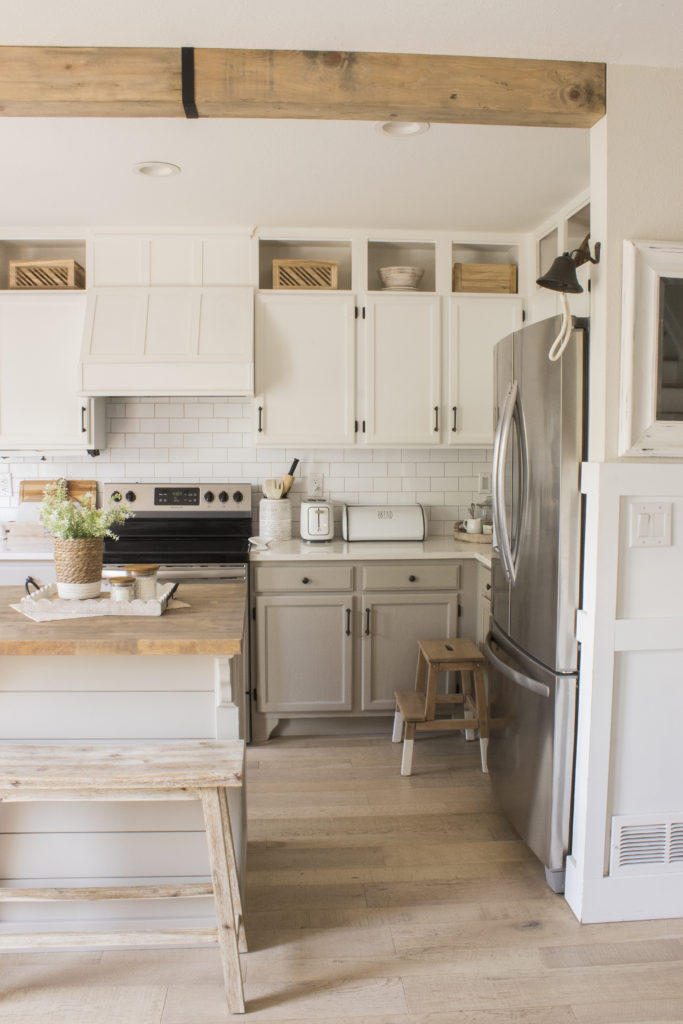
Here is how it turned out!
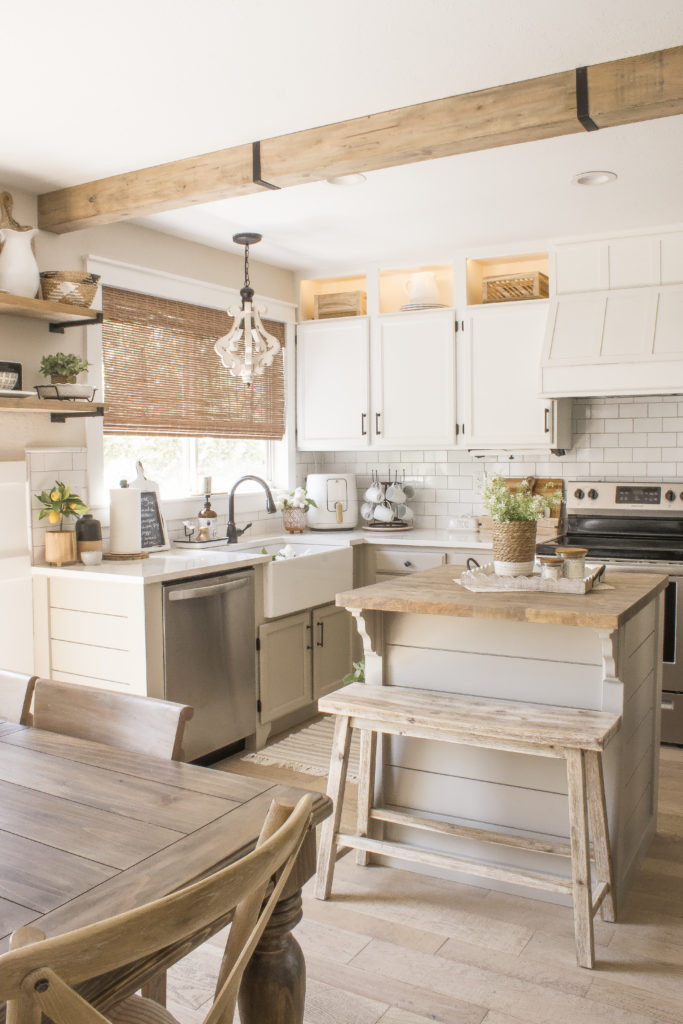
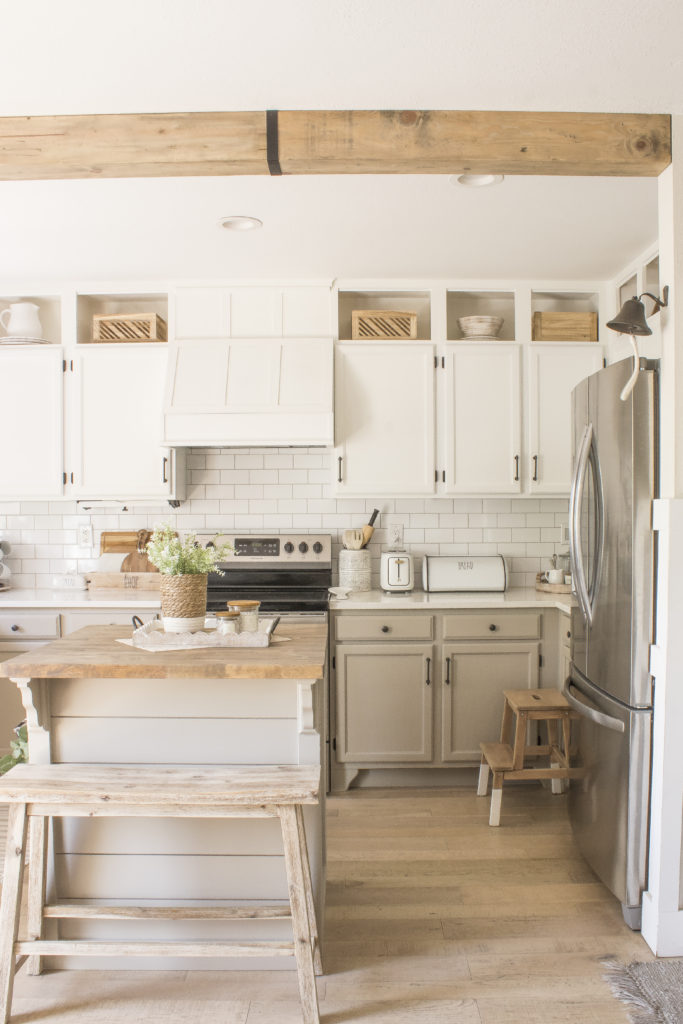
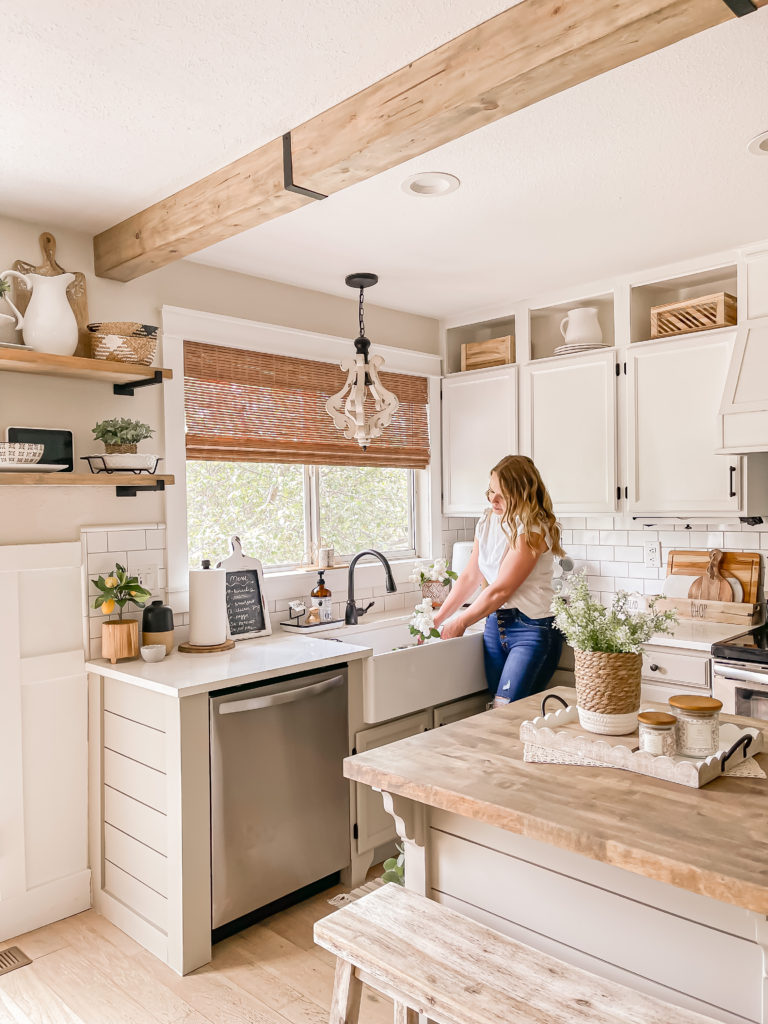
I love how much it cozies up our kitchen and it gives it such fun flair and character. I’ve only been dreaming about having a beam along here since you know…we first saw this house!
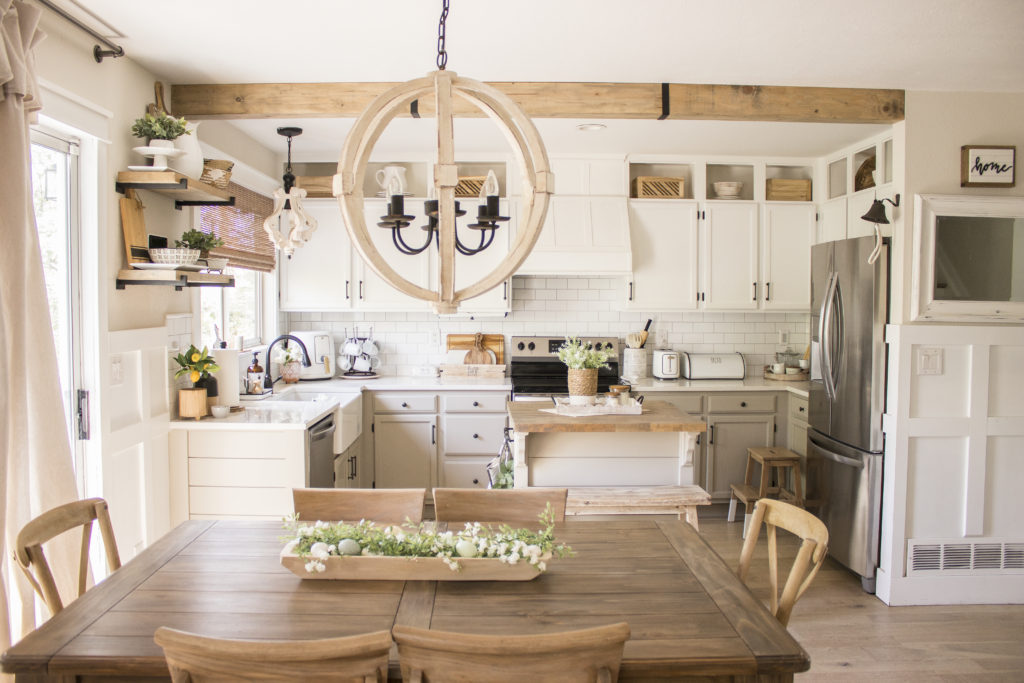
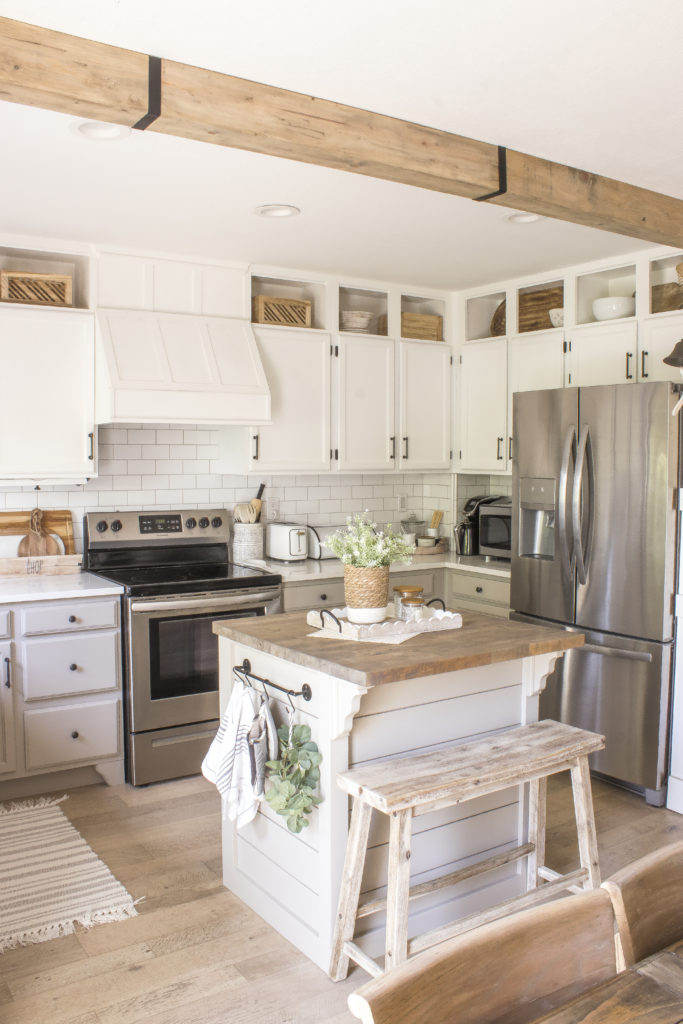
This project turned out to be a million times simpler than I had always imagined that it would be, and I only regret that we didn’t complete it sooner!
Thank you so much for swinging by today, I’ll be back next week to share the next tutorial on the list!
PIN FOR LATER!
Linking up to these awesome parties
(Affiliate links may be provided for convenience. For more info, see my full disclosure here.)
Fabulous project Angela and I especially love the teamwork between you and your hubby!
Congrats for your feature at Inspire Me Monday at Create With Joy!