
After eight weeks of anticipation, we have finally arrived here—it is One Room Challenge reveal day!
If you have missed any previous posts in the series, you can catch them all here:
- One Room Challenge (Week 1): Kitchen Refresh Plans
- One Room Challenge (Week 2): Choosing a Cabinet Color
- One Room Challenge (Week 3): Painting the Cabinets
- One Room Challenge (Week 4): Building the Upper Cabinet Boxes
- One Room Challenge (Week 5): Installing a Faux Wood Beam
- One Room Challenge (Week 6): Painting the Lower Kitchen Cabinets…Again!
- One Room Challenge (Week 7): The Final Details
Although I originally planned to sit this season out since the room that I had wanted to work on was out of budget, I decided last minute to participate so that I could give our kitchen a little refresh. I actually gave our kitchen a full makeover back in 2019 which took it from this:
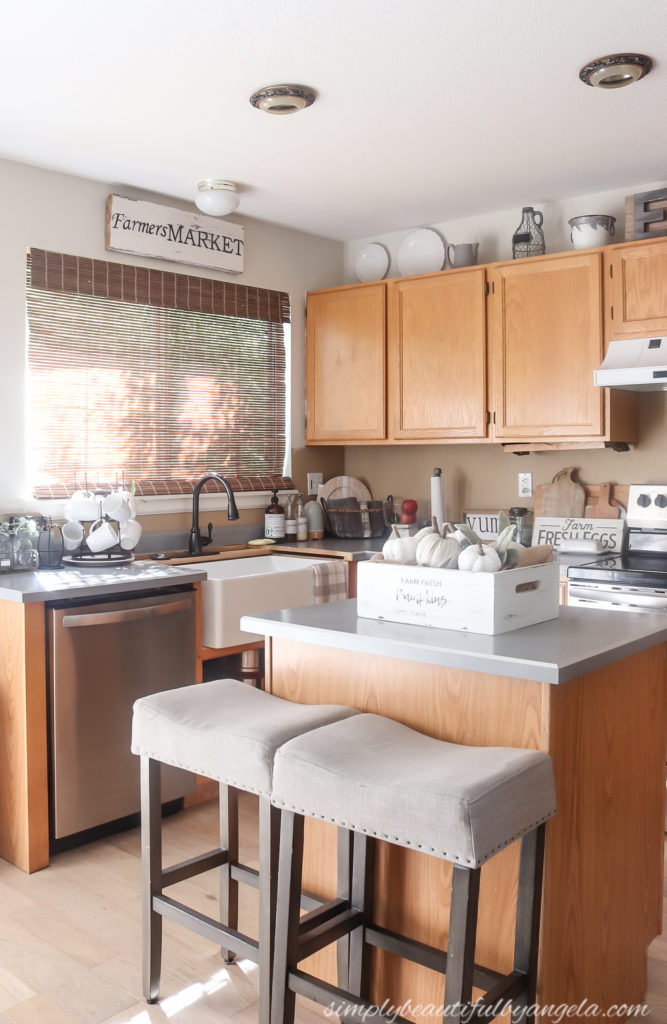
to this:
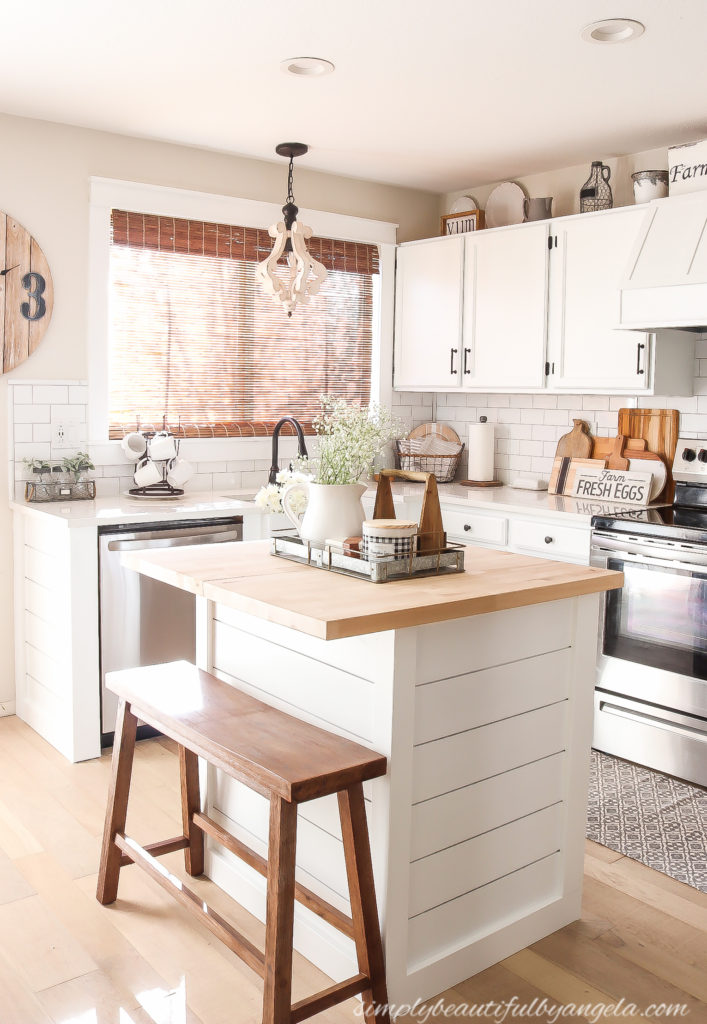
The details behind that makeover can be found in this post. We’ve enjoyed our updated kitchen over the past three years, but I’ve been accumulating a small list of dream projects that I could just never get around to. I knew that this challenge was the motivation that I needed to knock them all out.
So I drafted up a mood board to put my ideas all together.

[cabinets] [extended cabinets] [light] [shelves] [tray] [pitcher] [candle] [chairs] [rug]
And got started! A lot of sawing, building, painting and sanding has taken place over the last eight weeks.
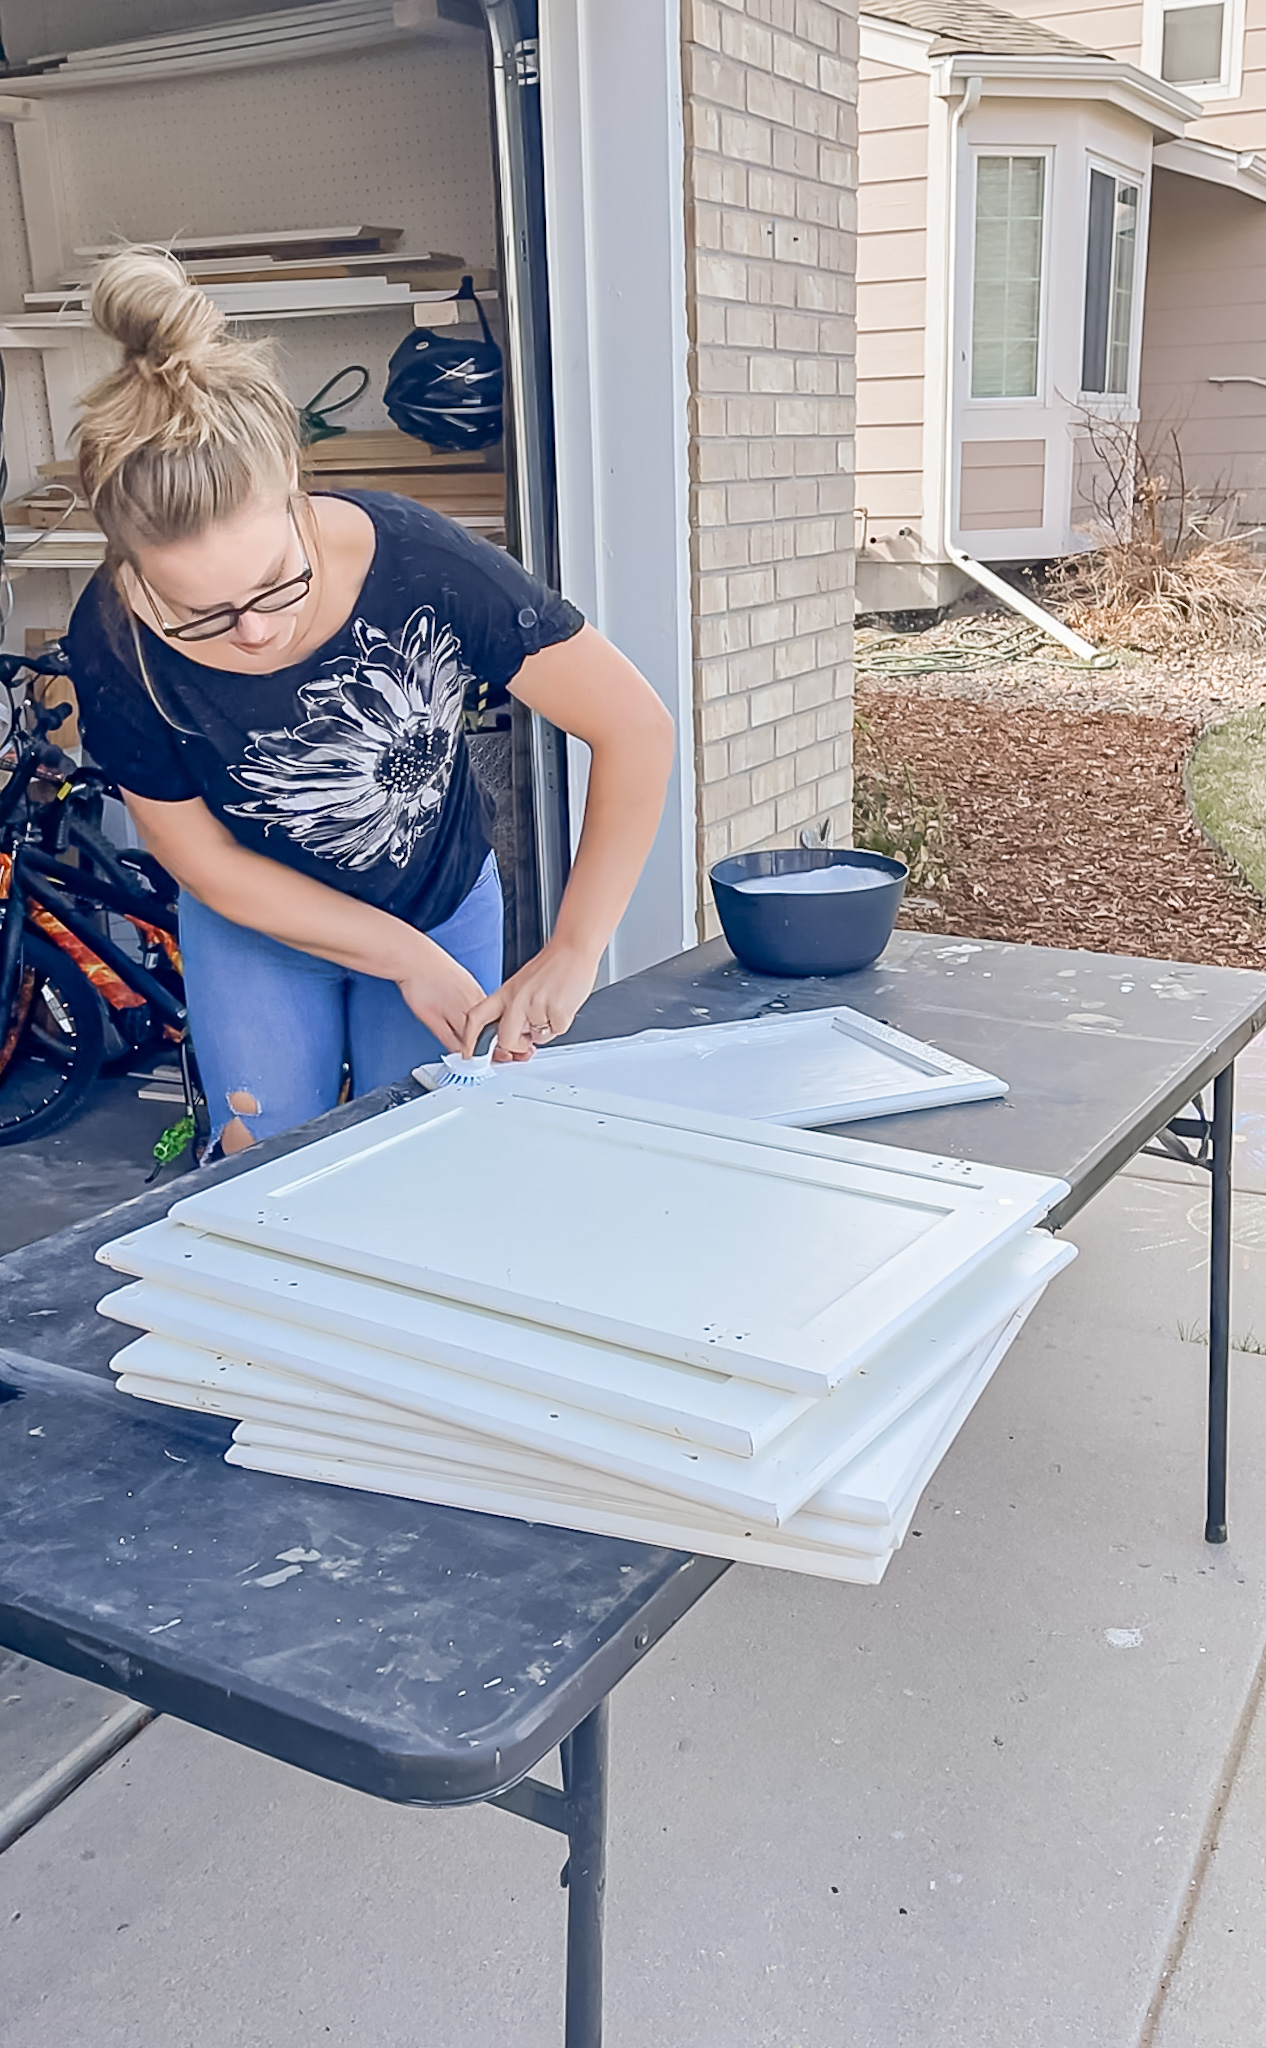
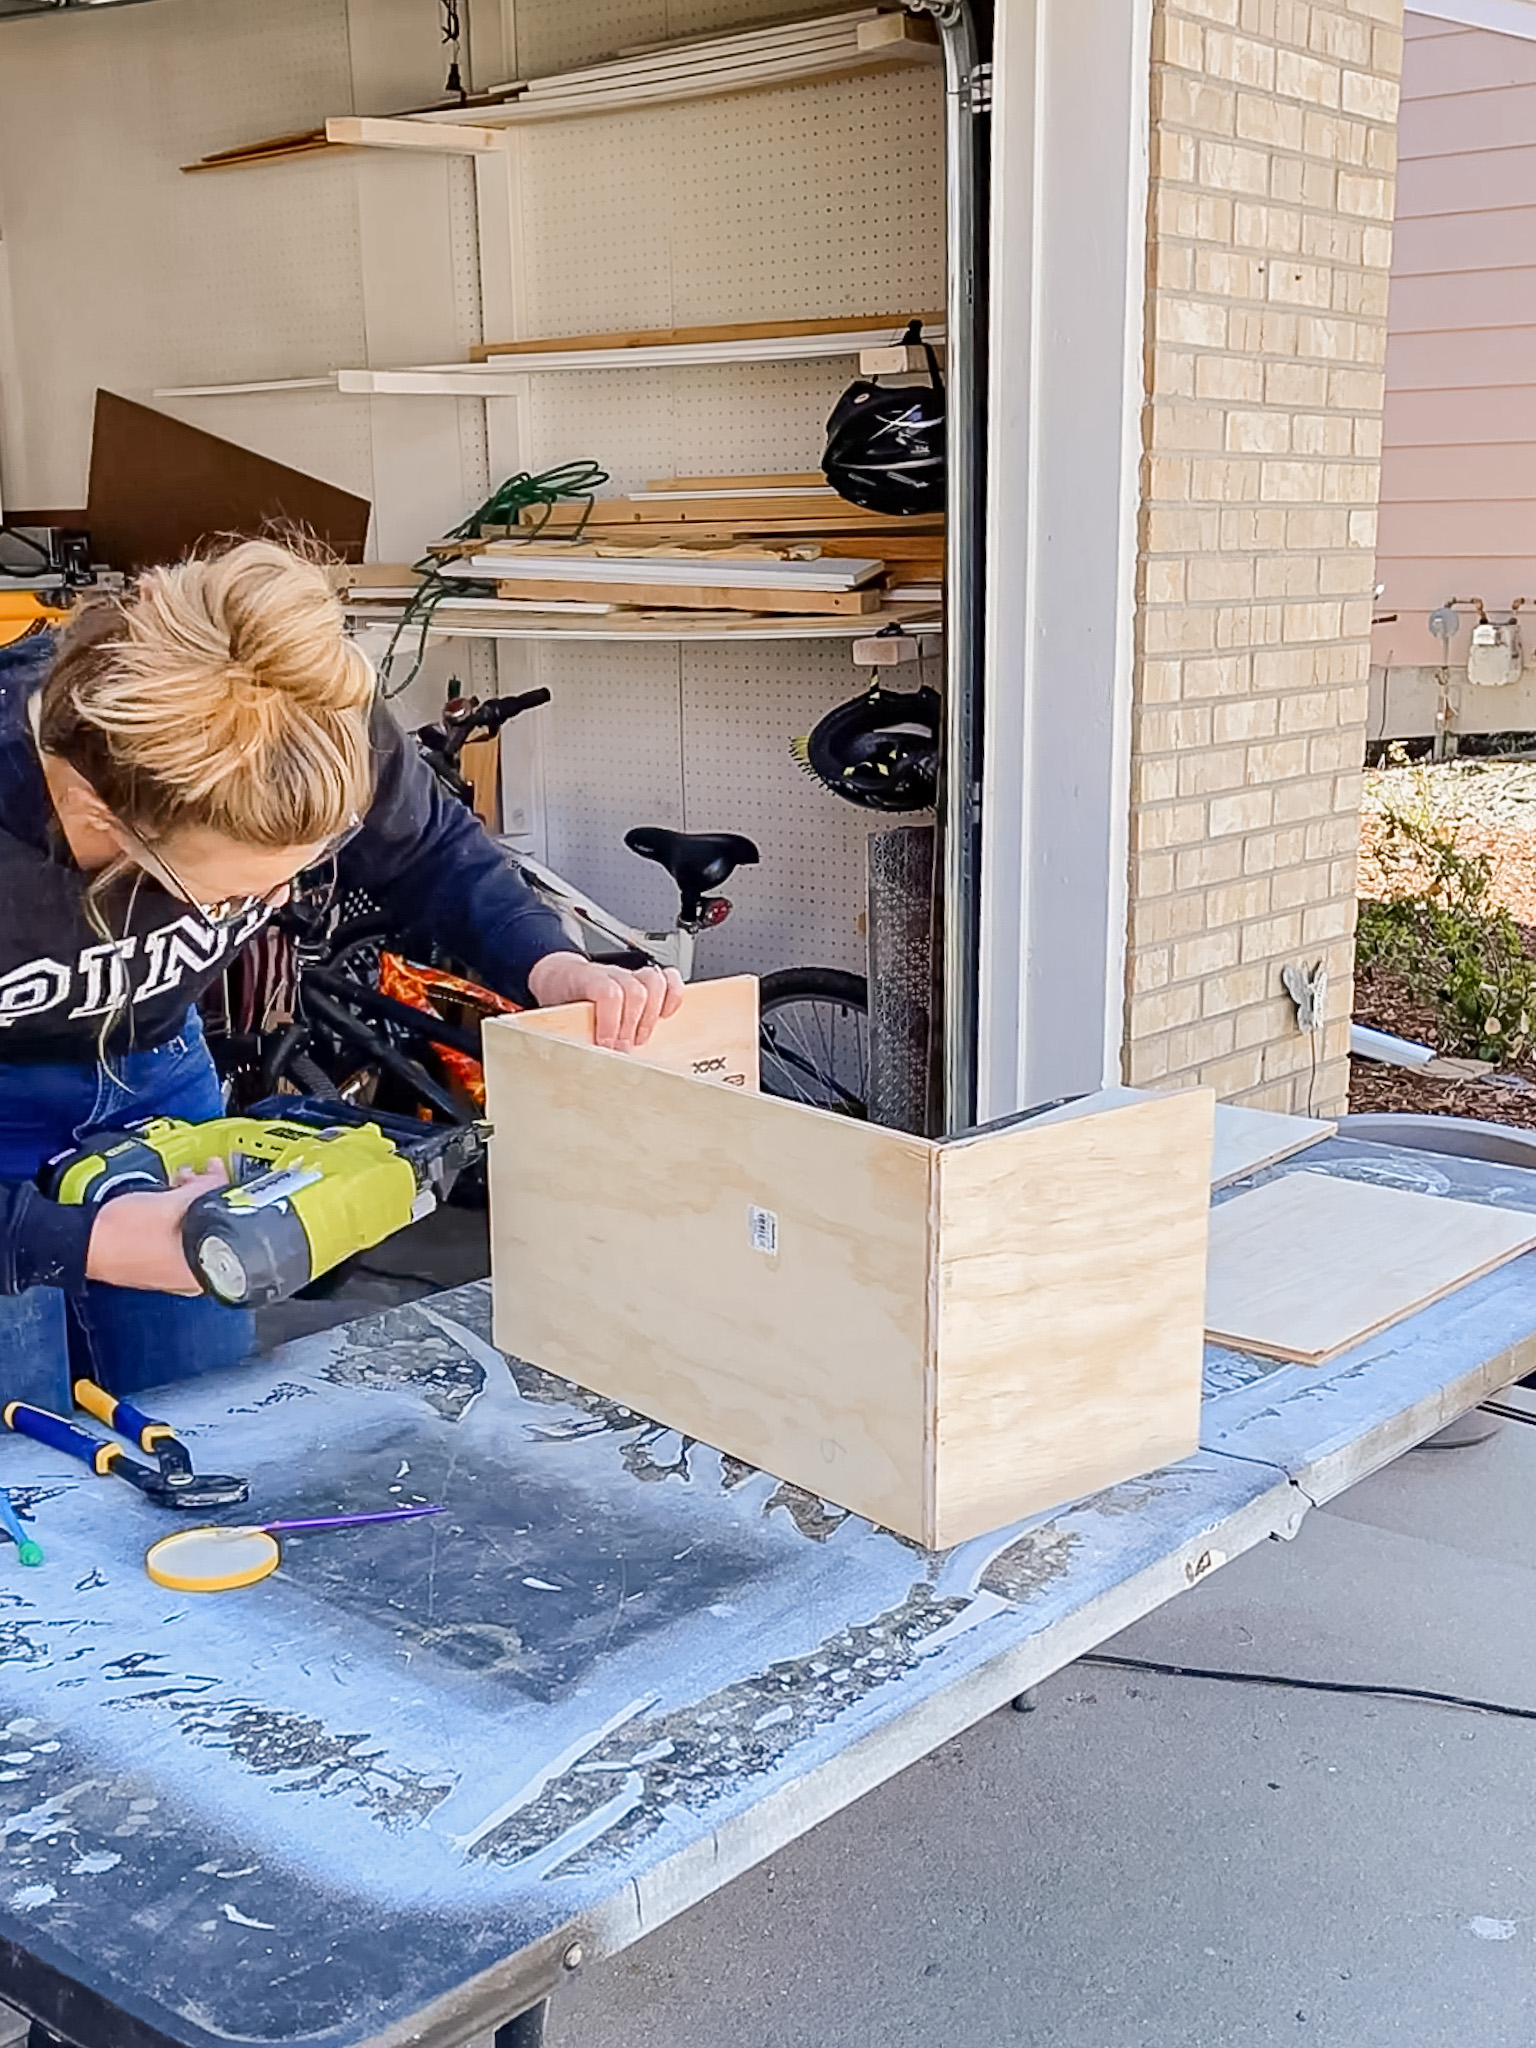
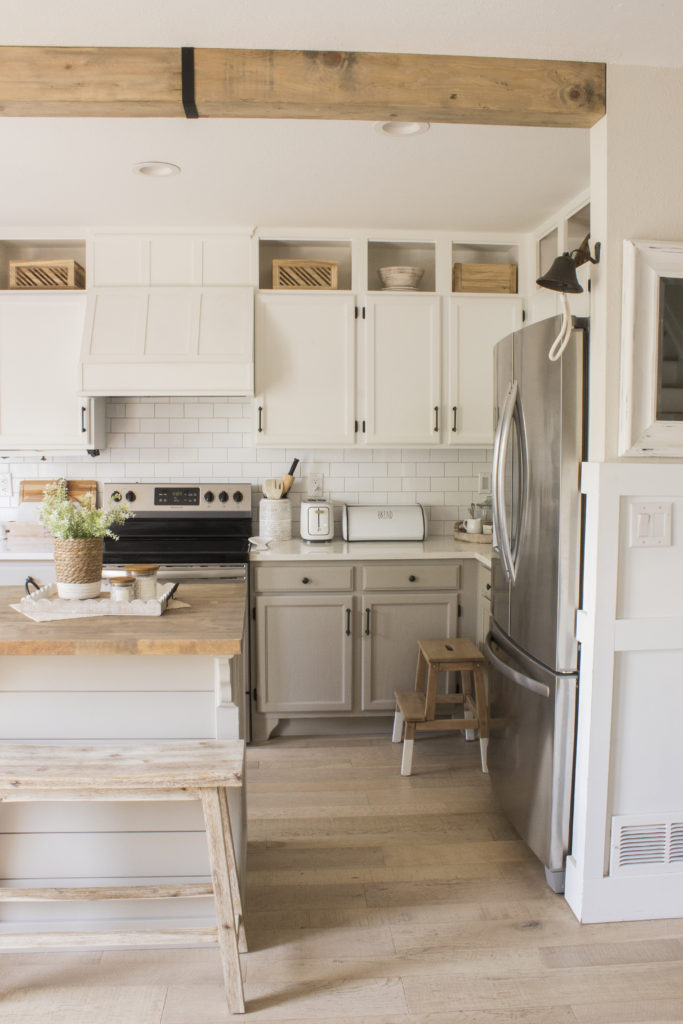
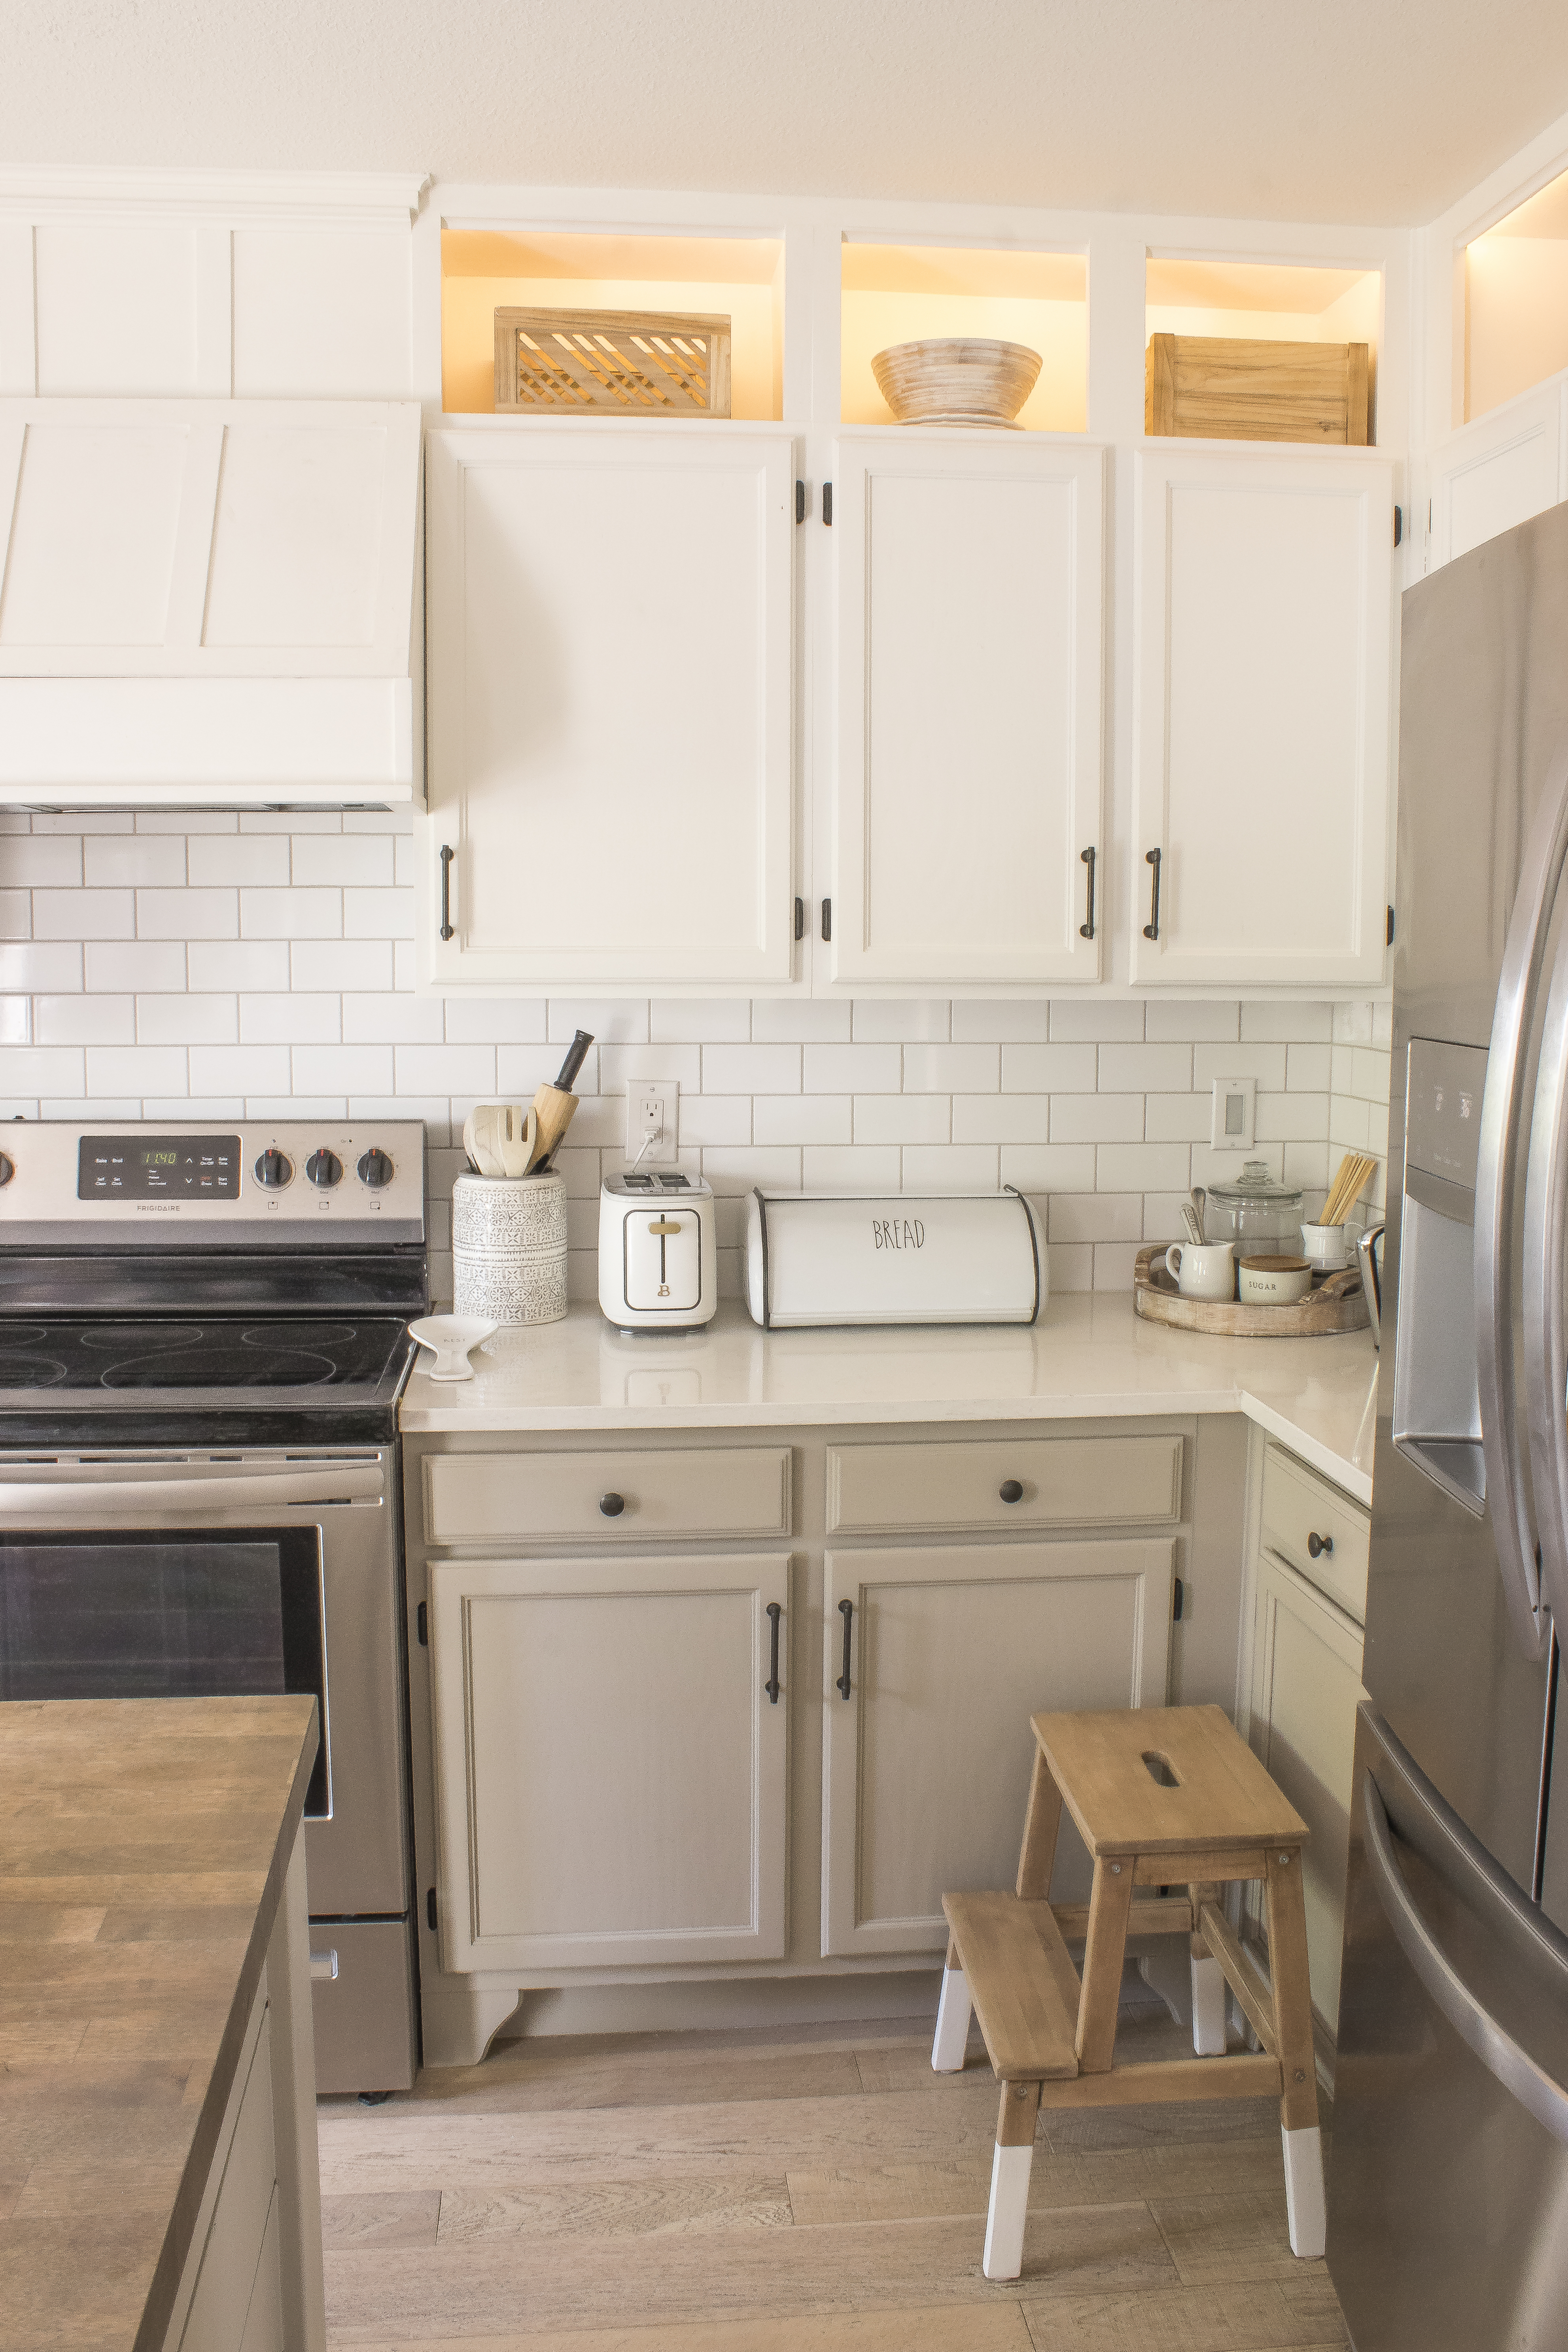
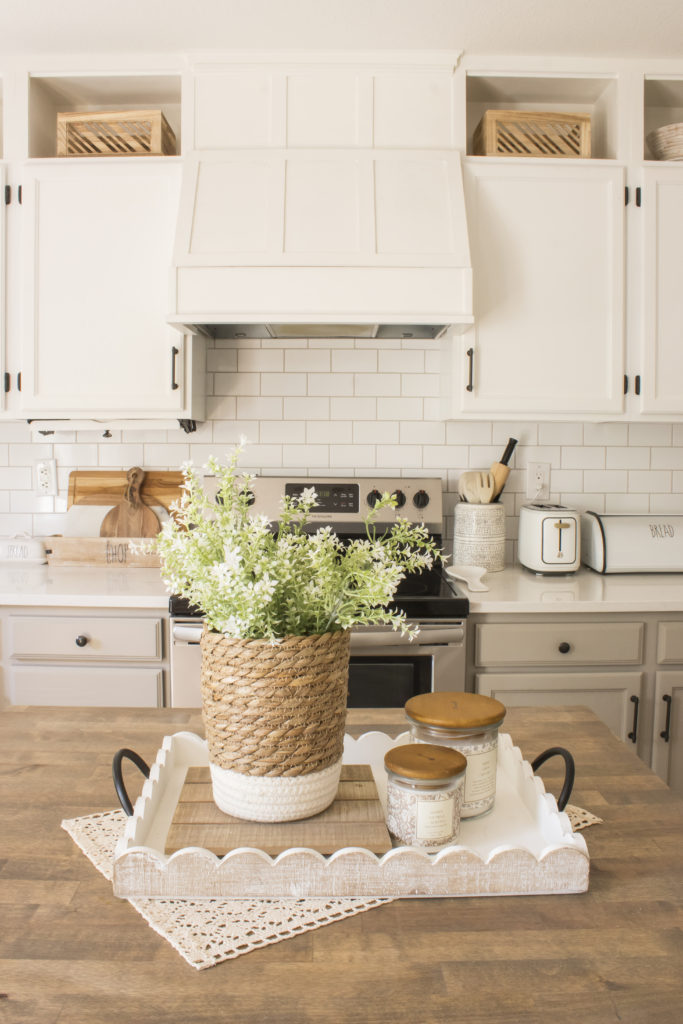
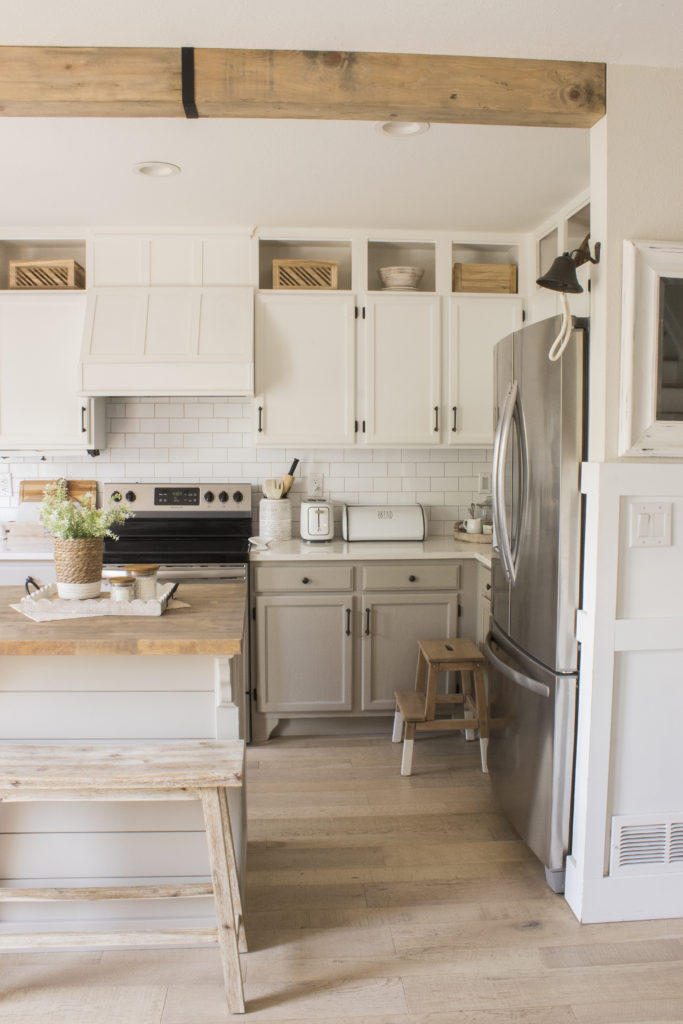
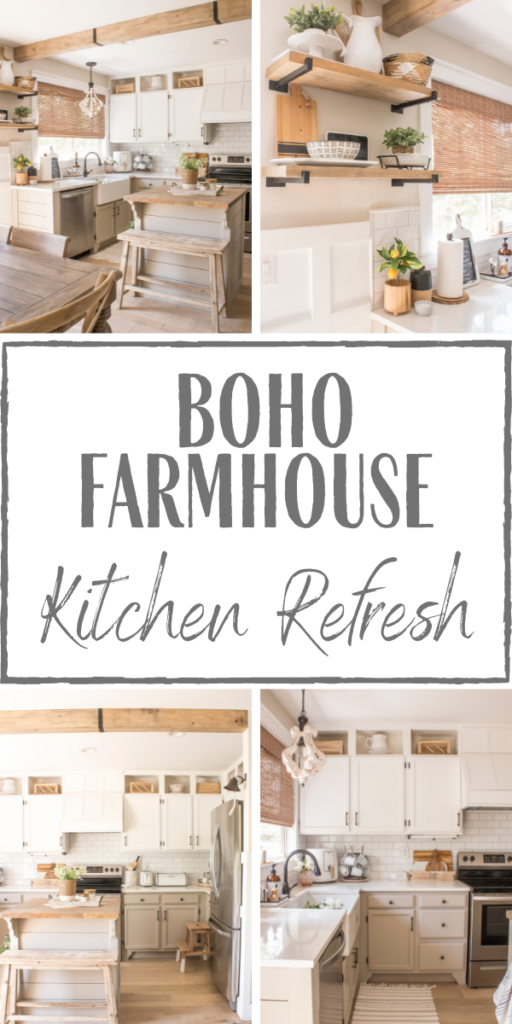
Without further ado, welcome to our refreshed kitchen!
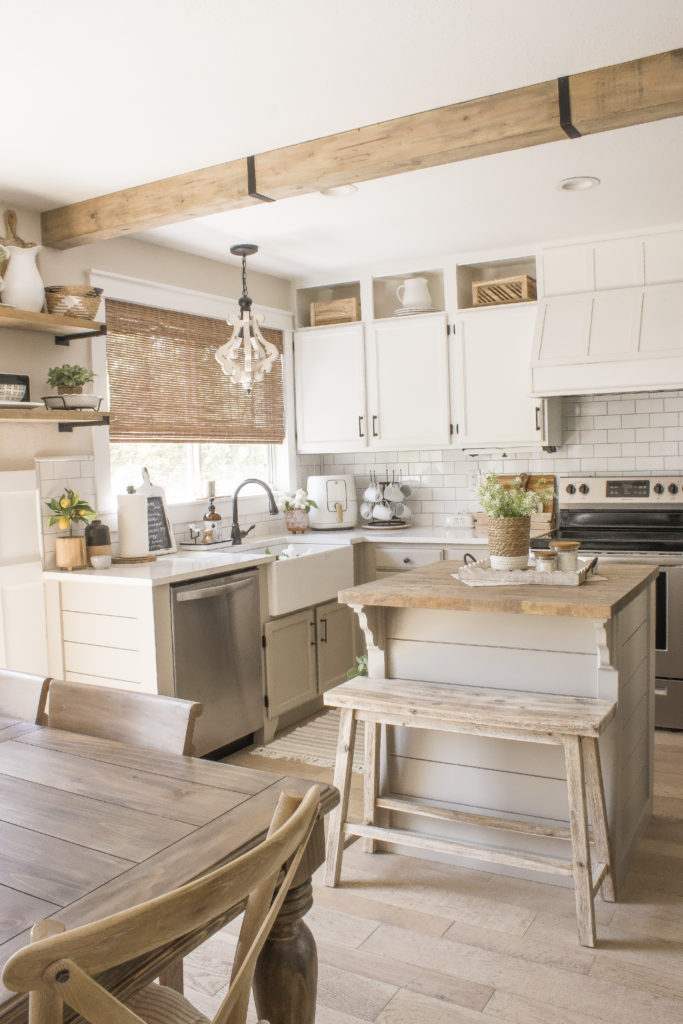
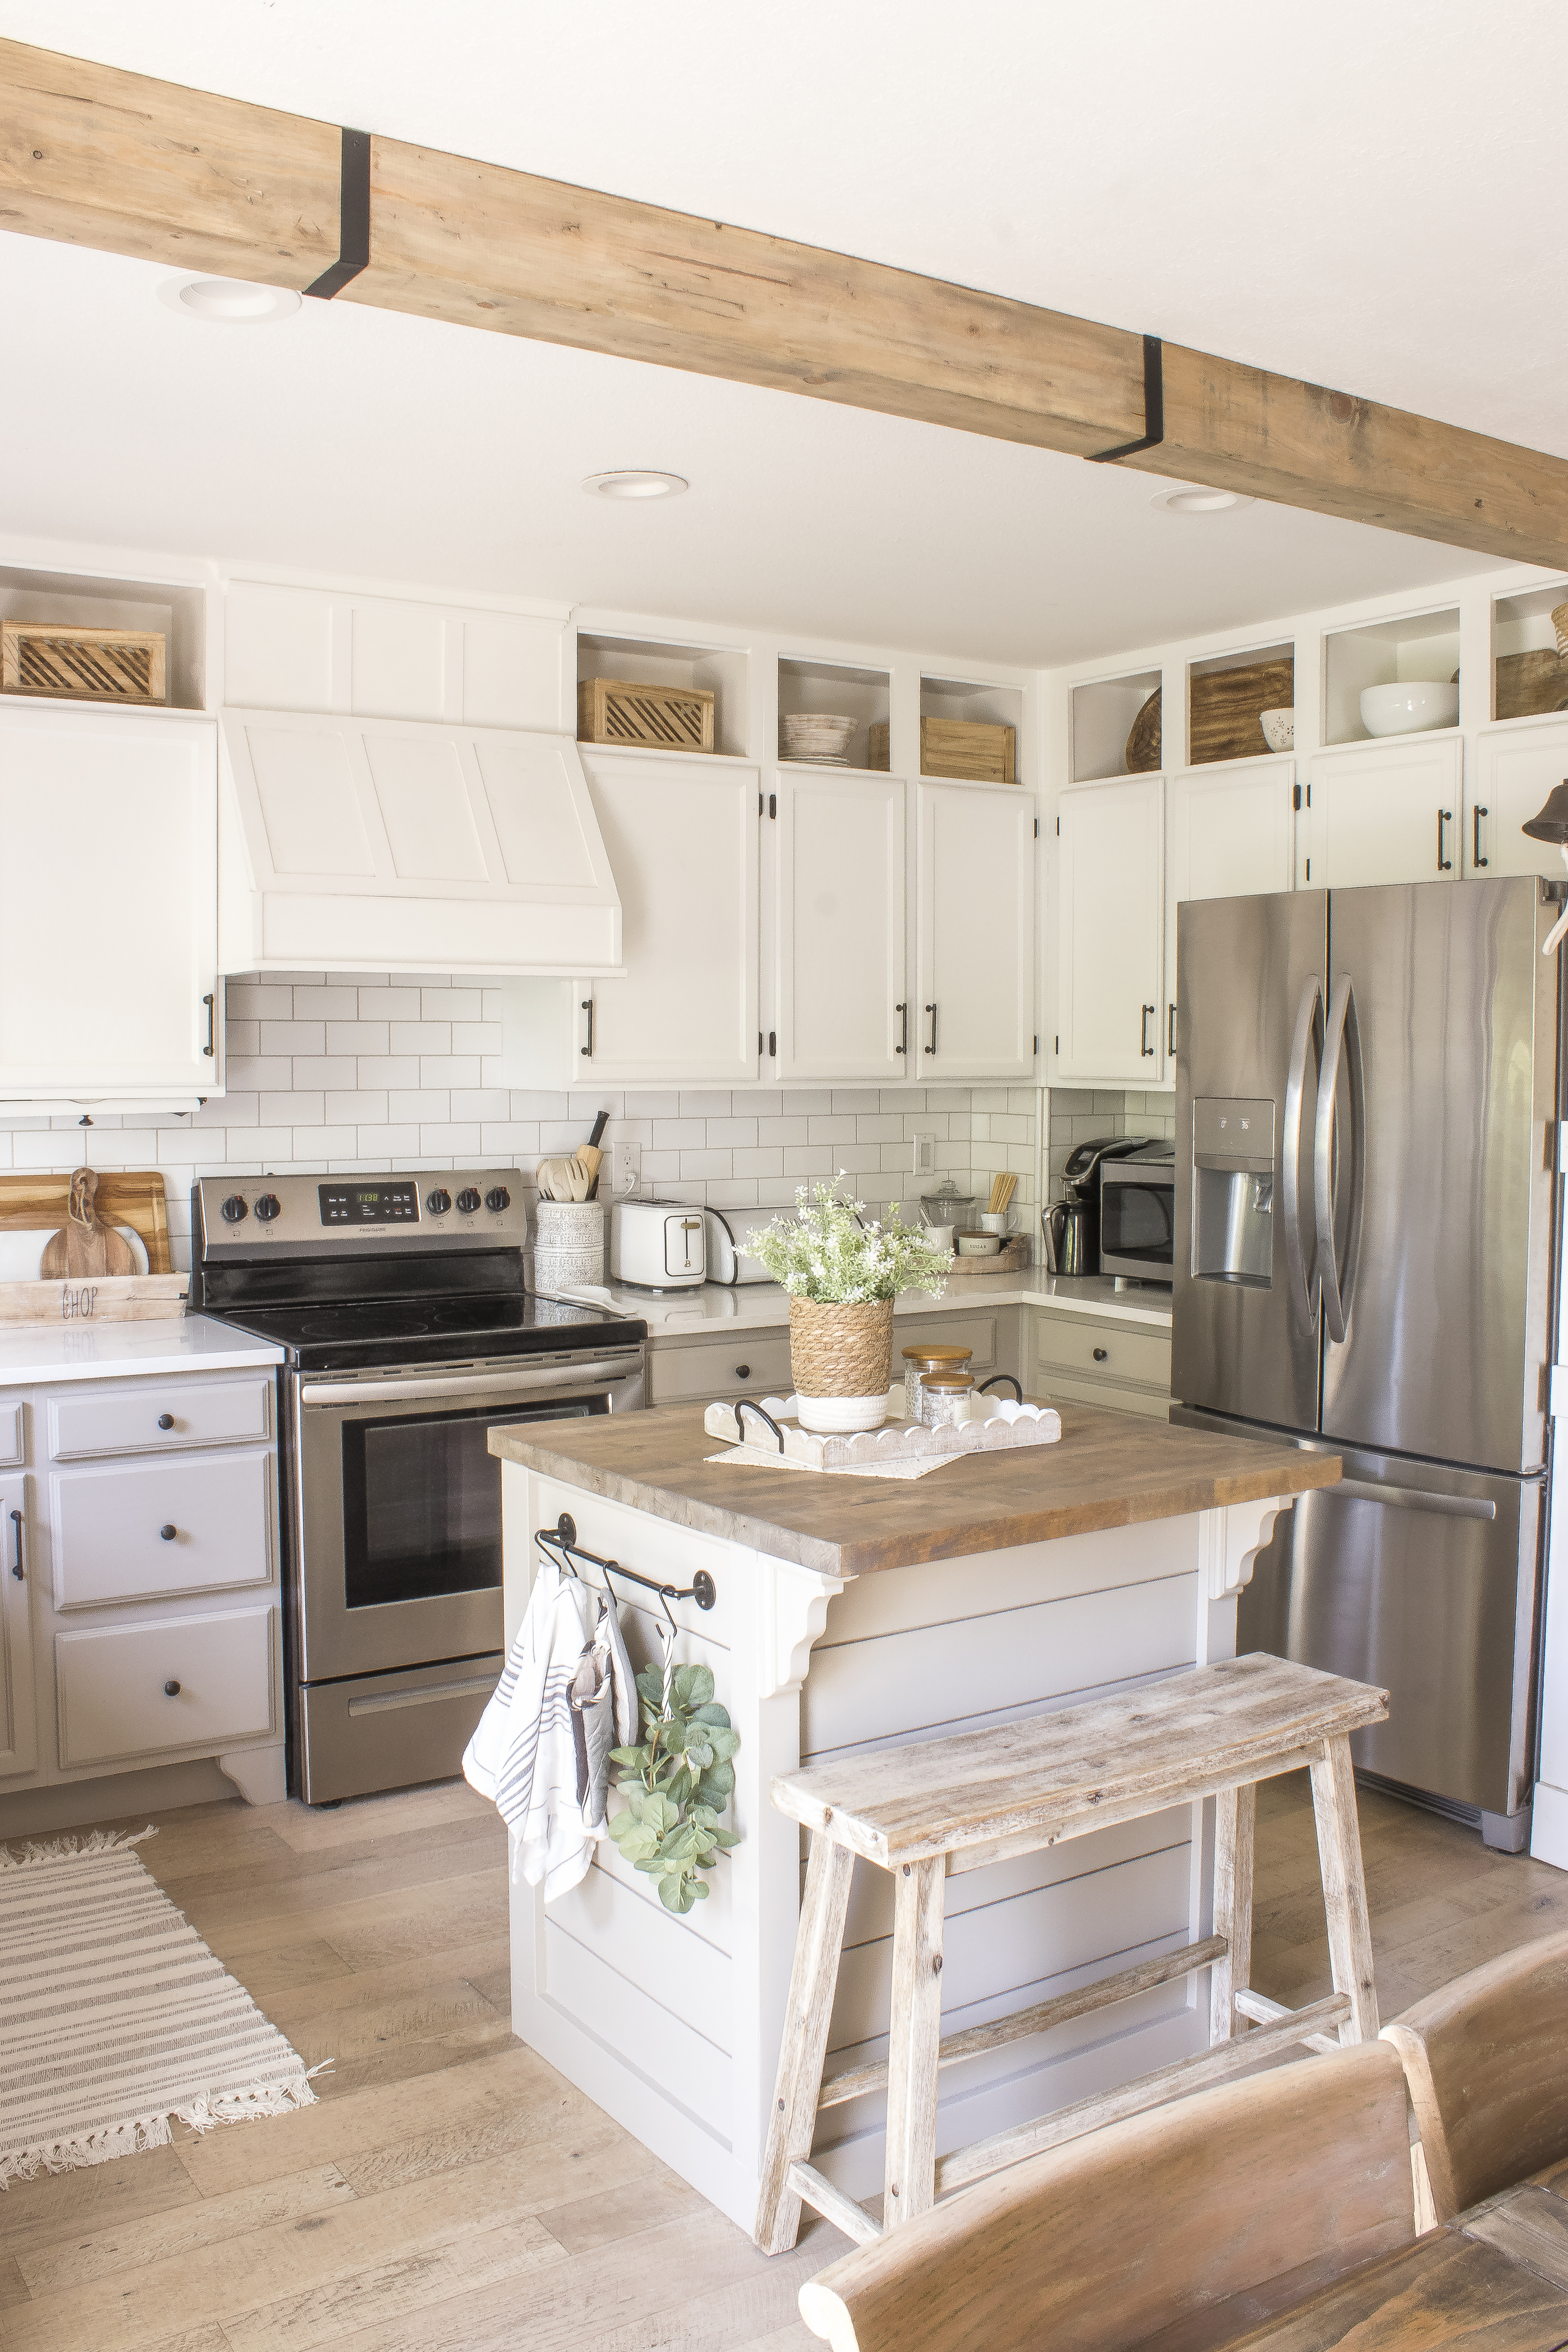
This refresh was broken down into four phases so let’s chat about them one at a time.
1. Painted Lower Cabinets
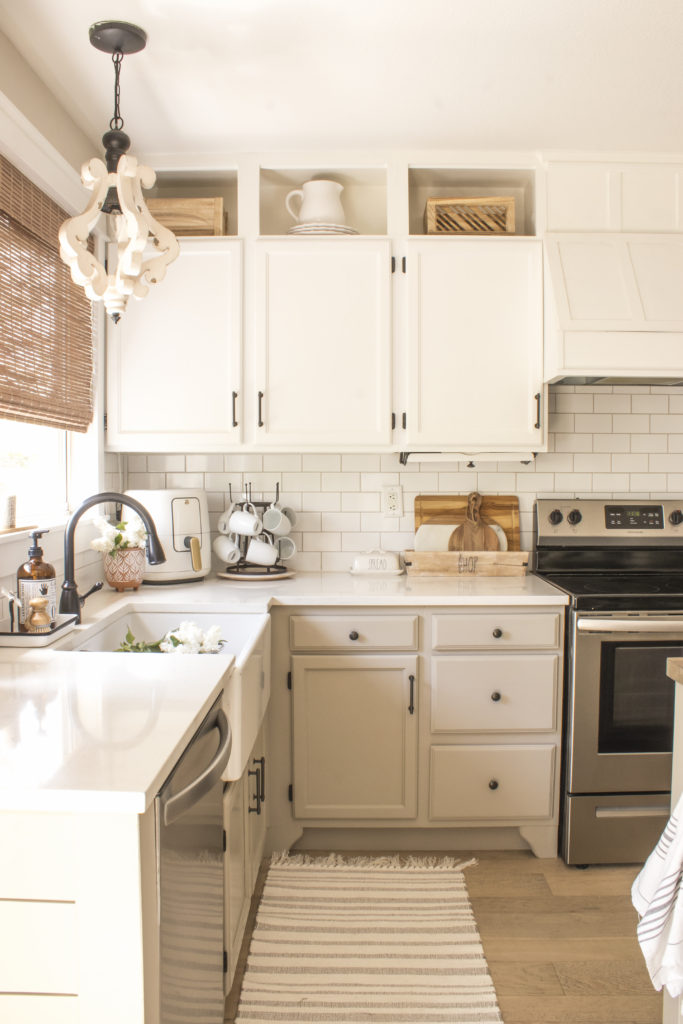
The first project on the list was repainting the lower cabinets. I have always loved the look of two-toned kitchens and I thought that a new color would give our kitchen a fun new look.
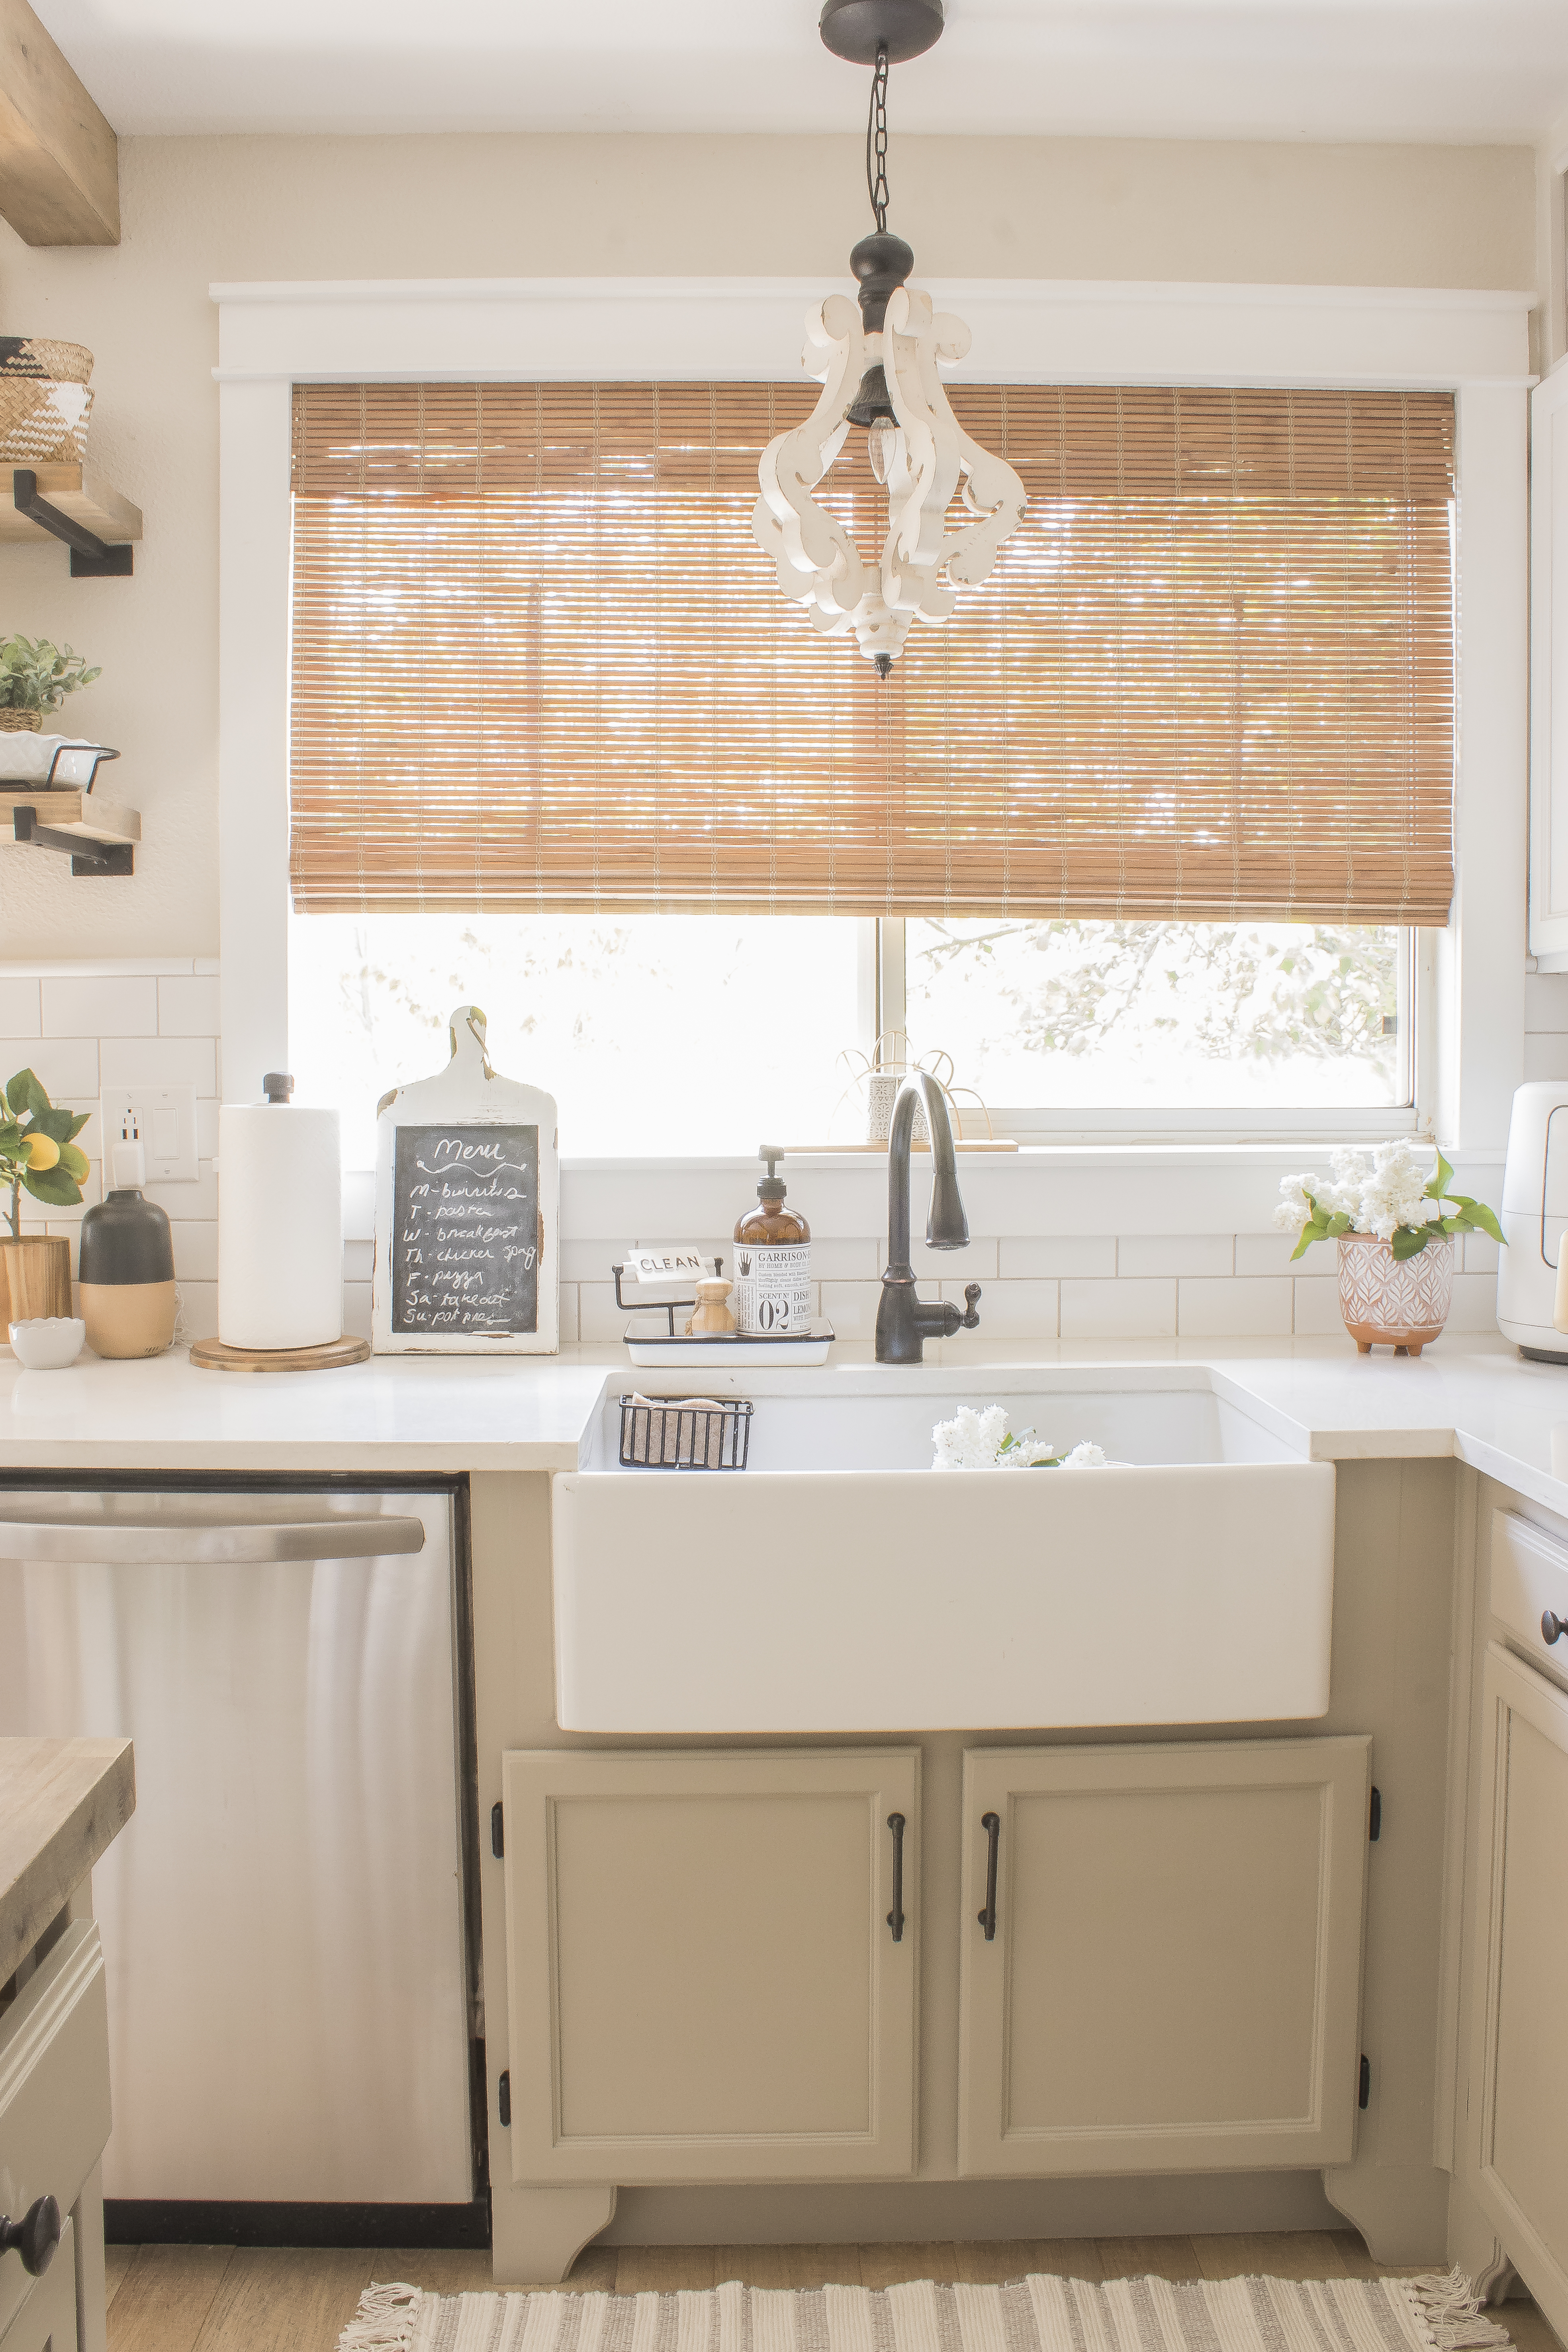
I first painted them Benjamin Moore Alaskan Skies but decided that they were way too light. So, I took all the doors and drawers back out and re-painted them with Benjamin Moore Pashmina. It was totally worth the extra work because the new color is pefect!
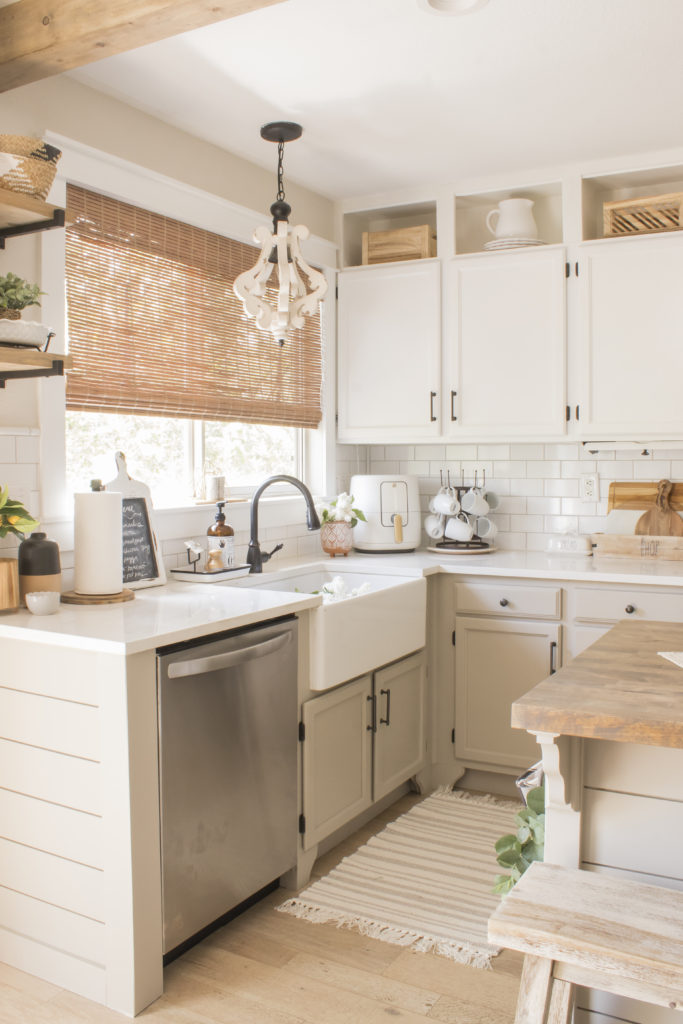
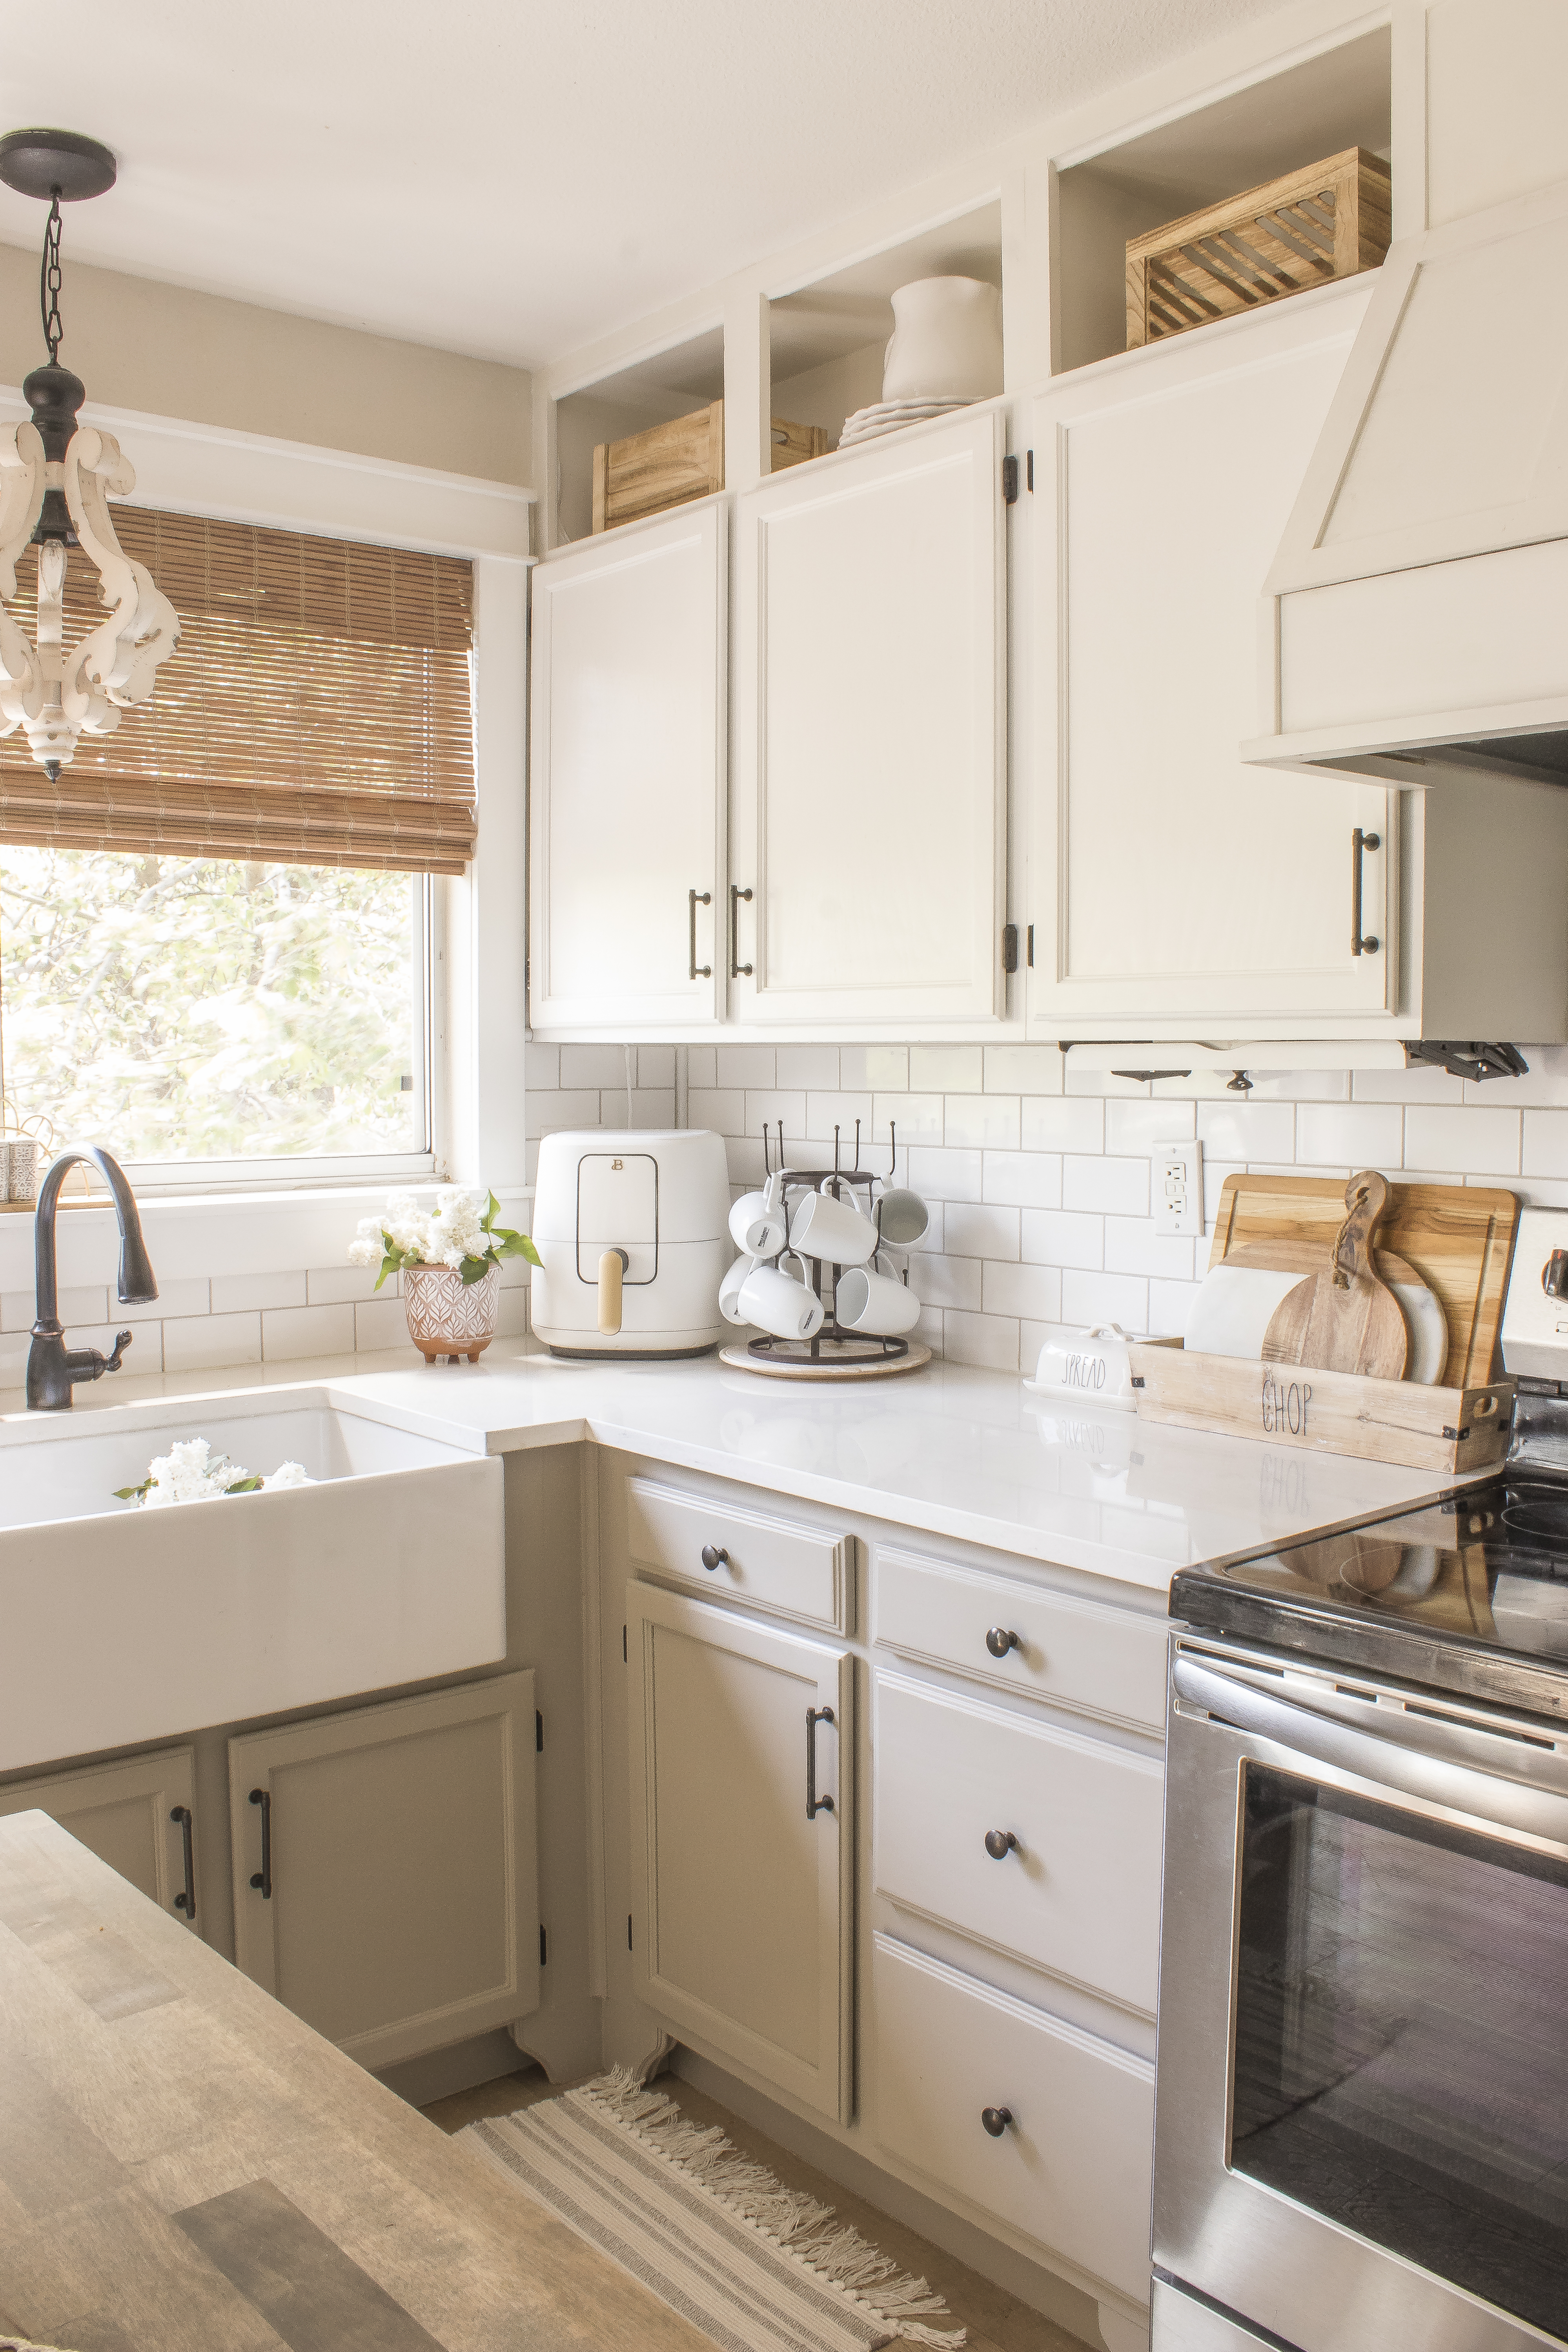
I also decided to add some cabinet feet using some cheap wood corbels and I love the extra character that they give our builder grade cabinets.
2. Upper Cabinet Boxes
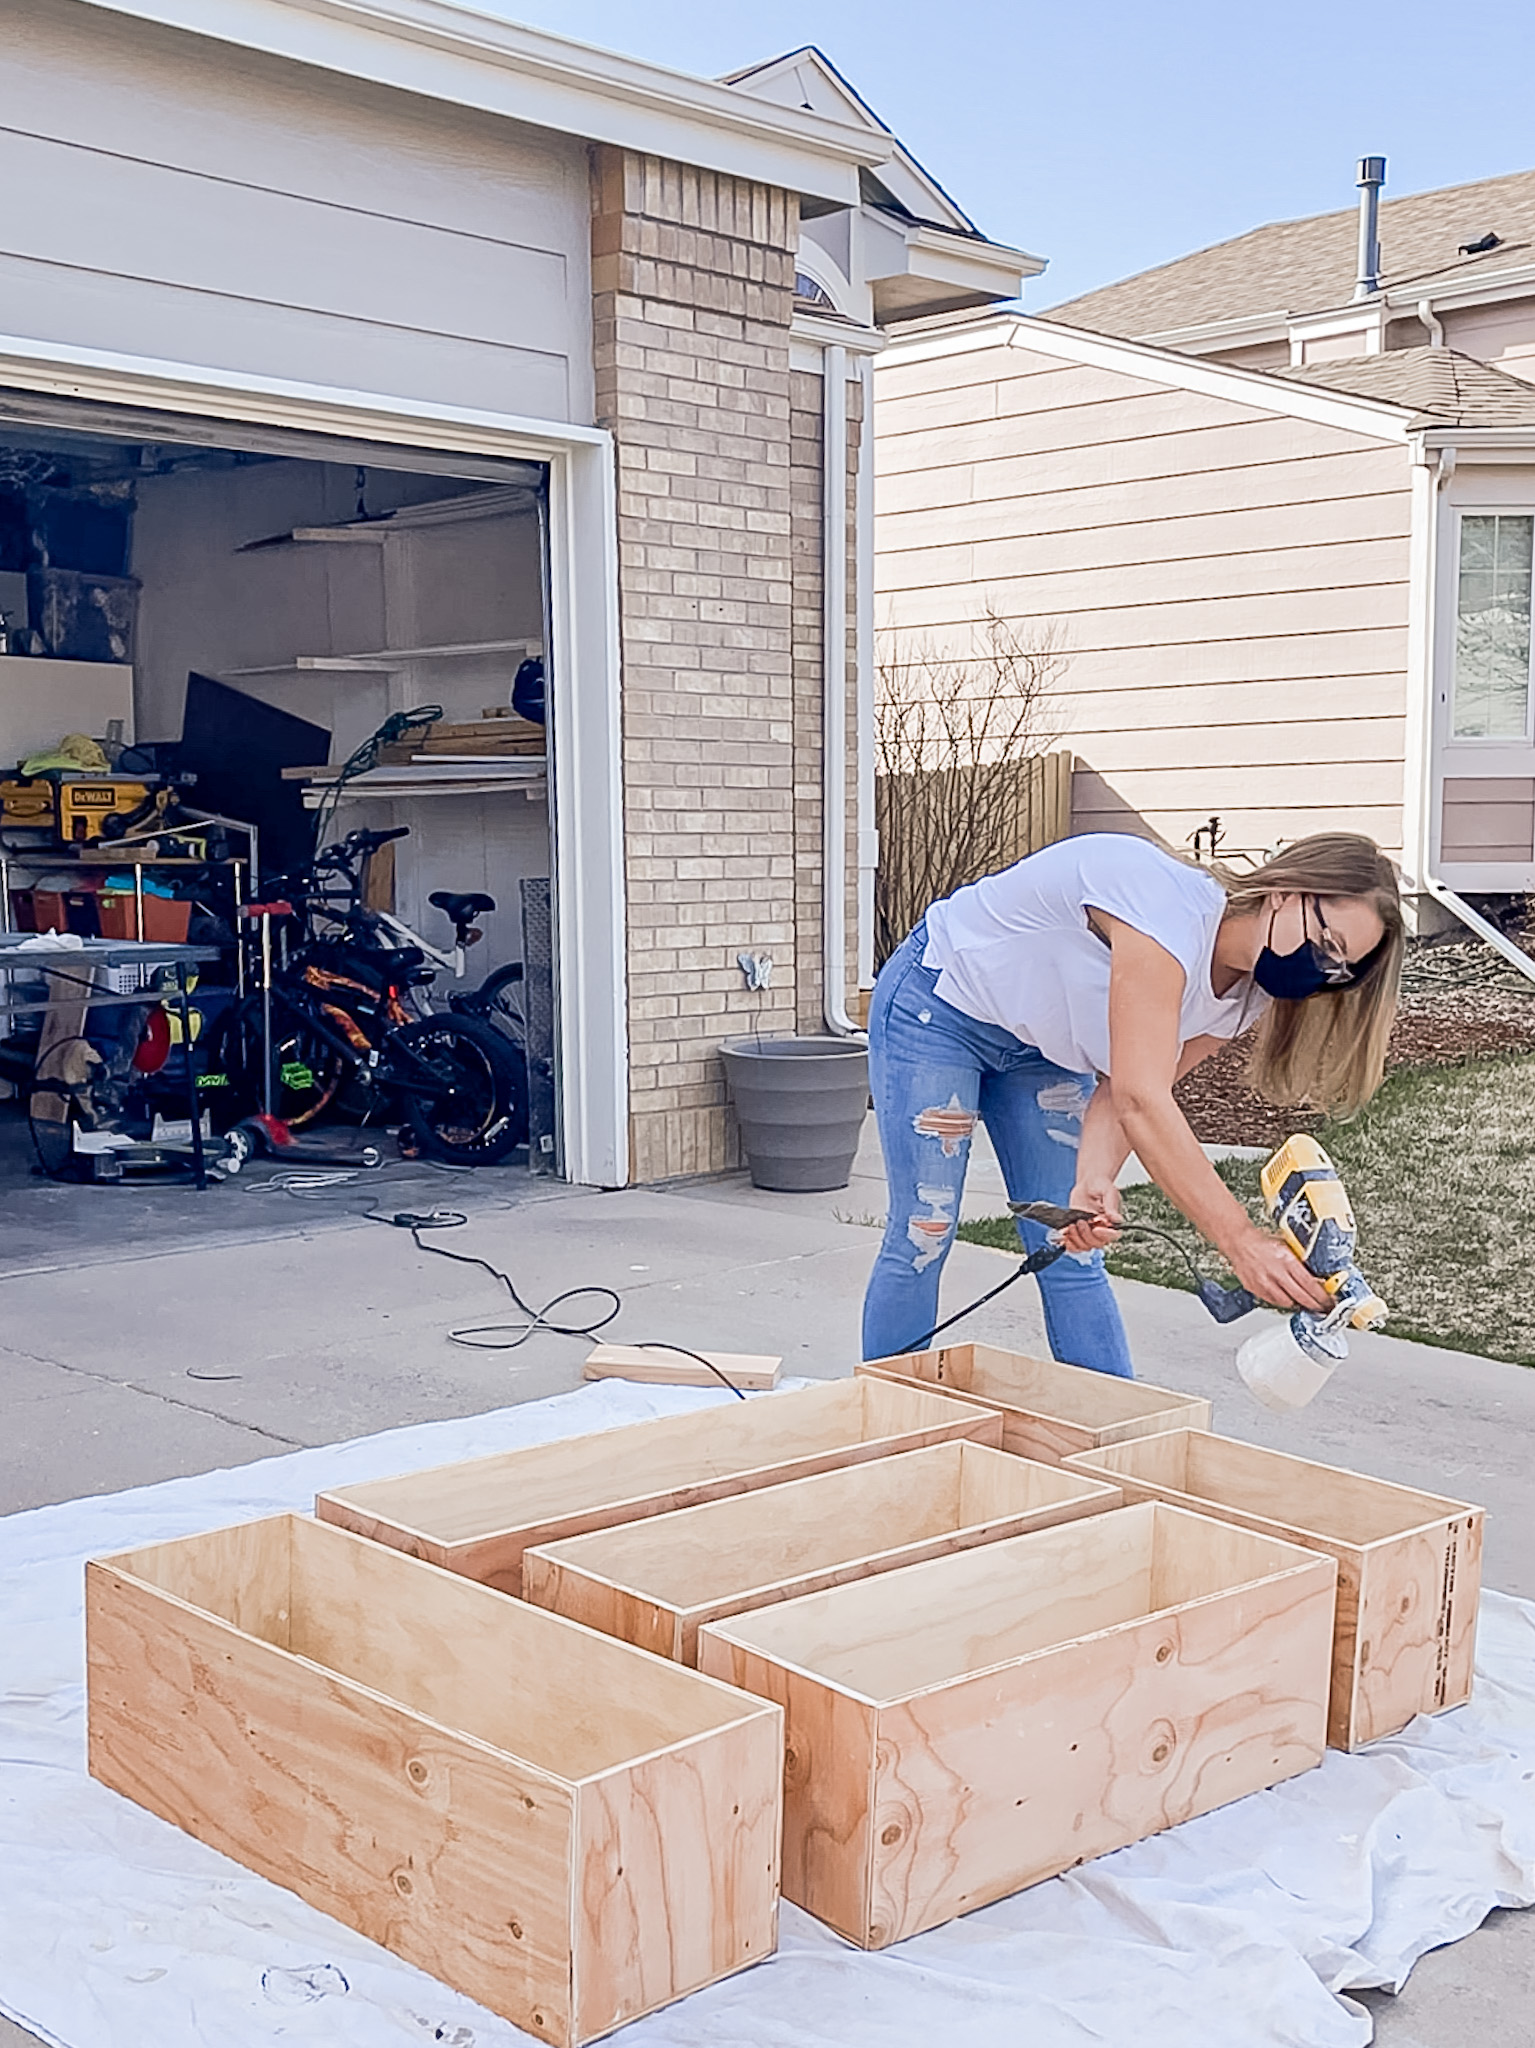
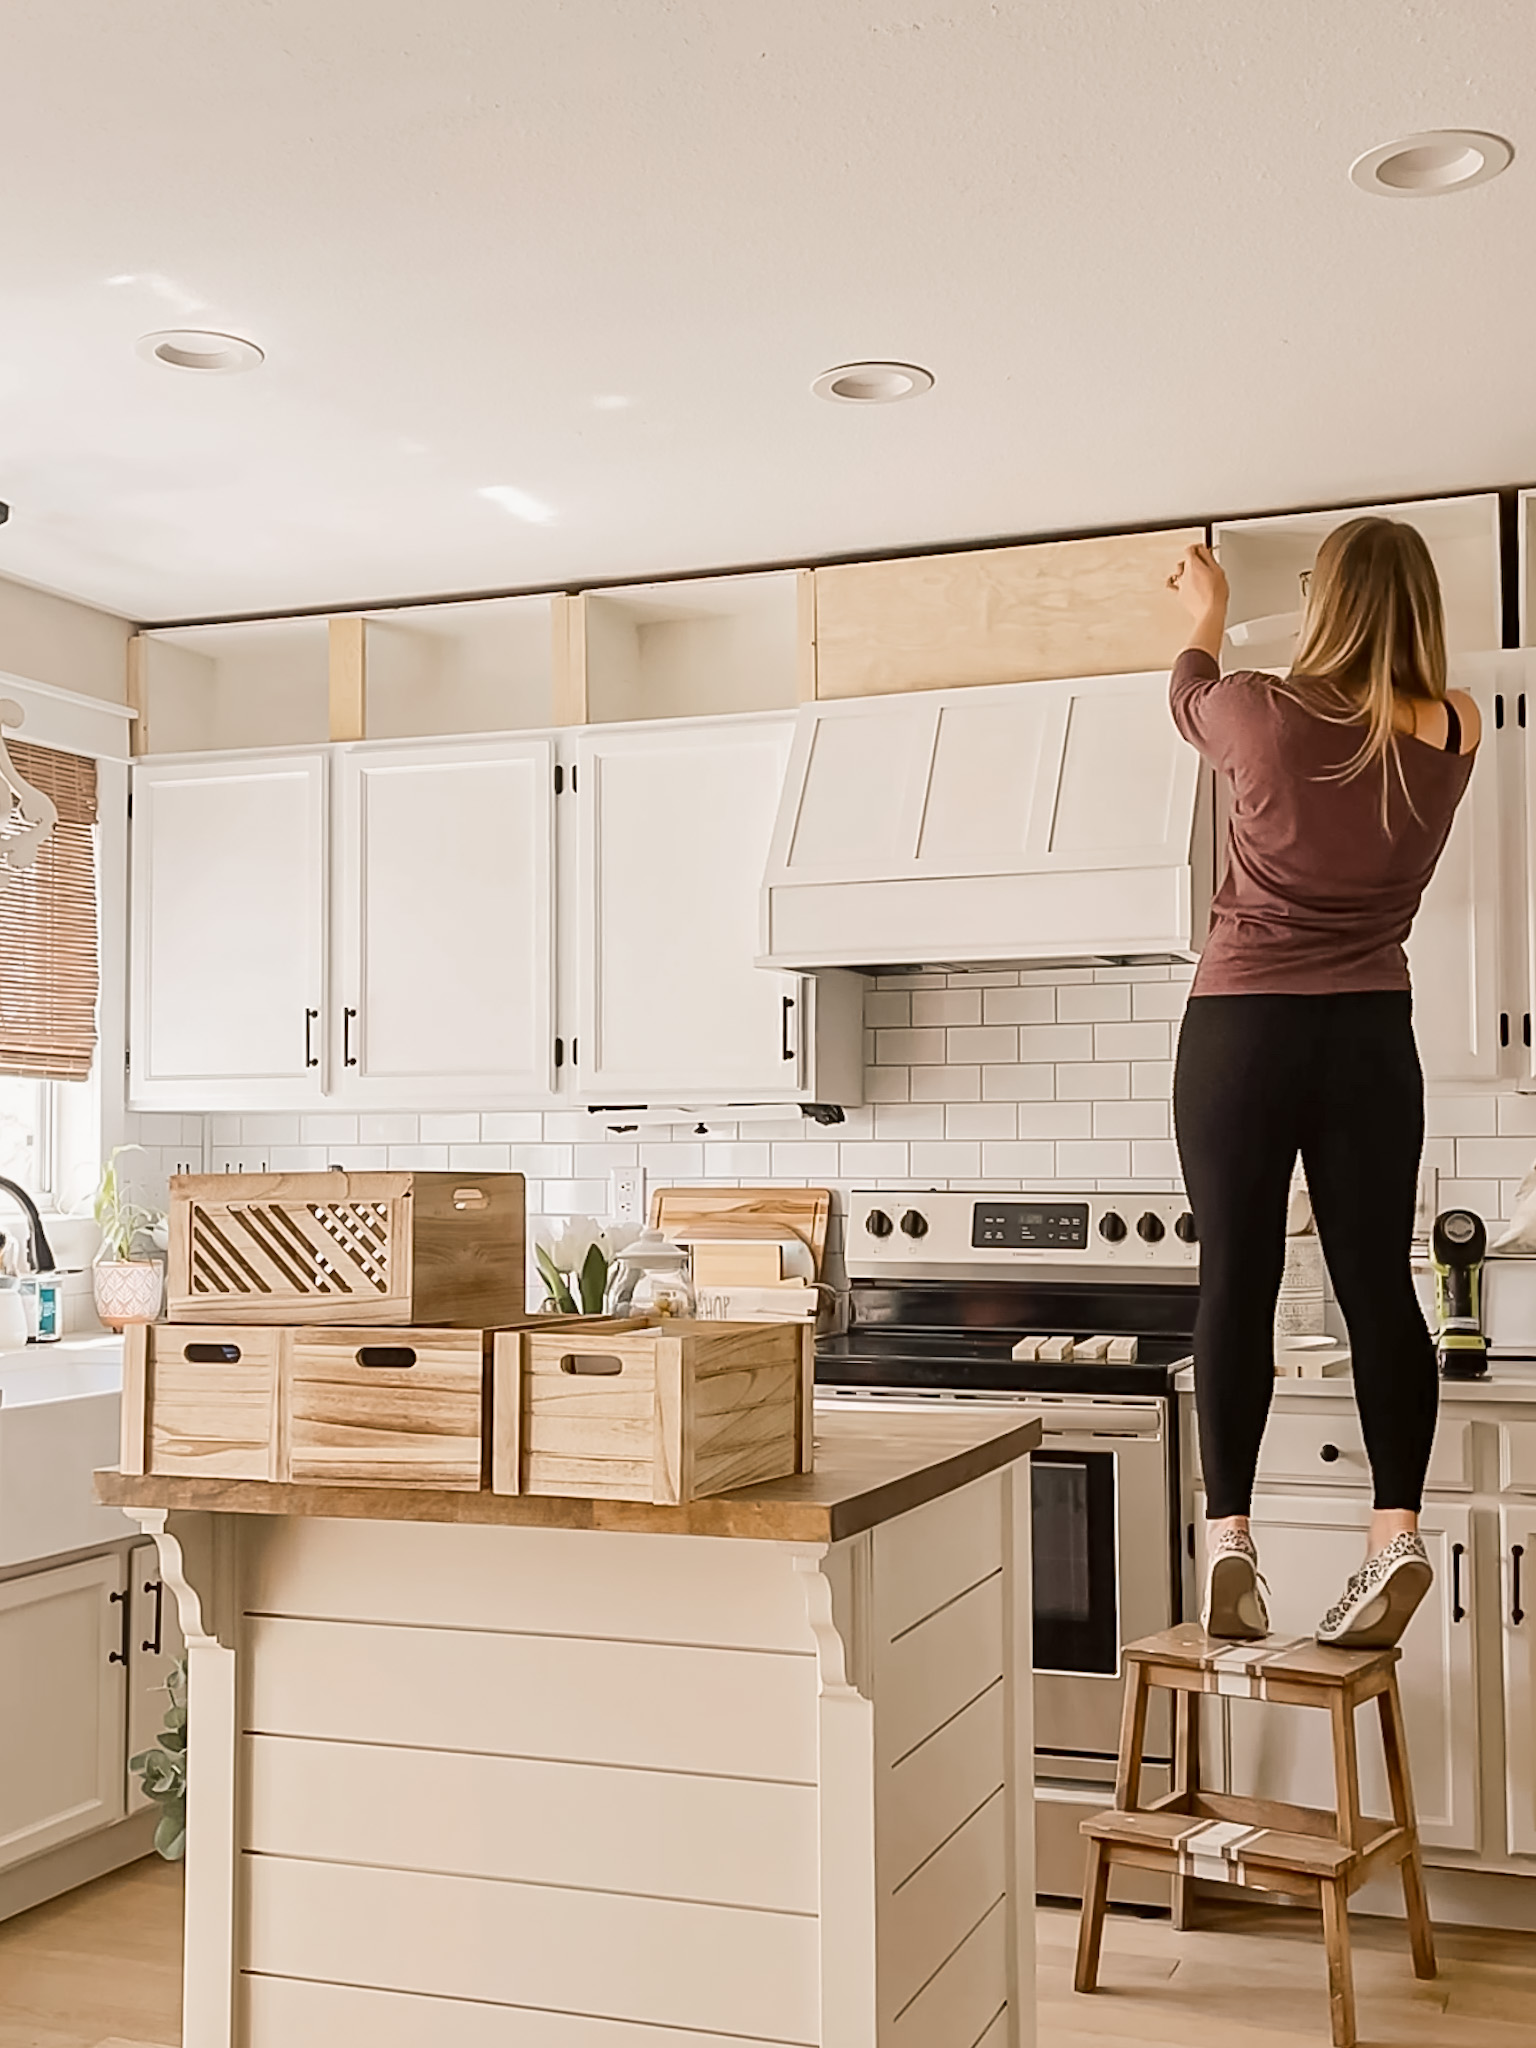
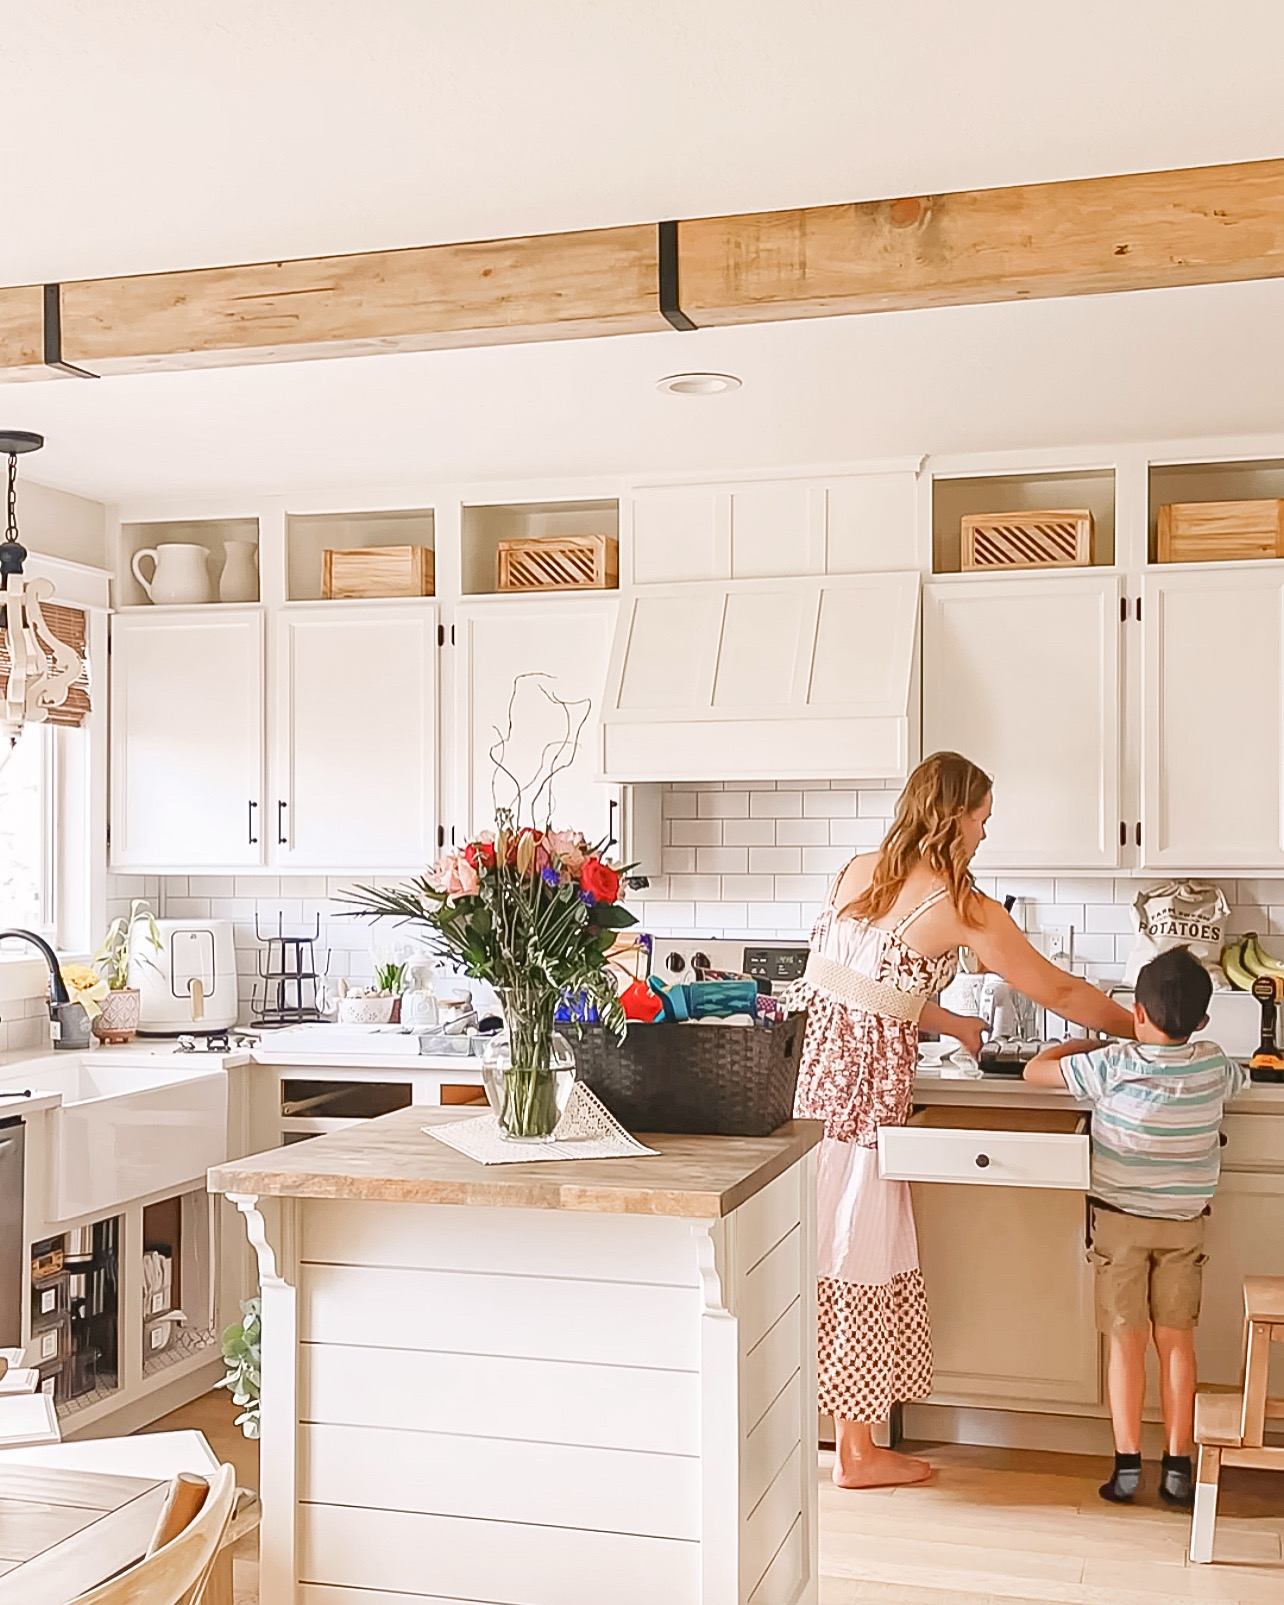
Next up was building upper cabinet boxes. I’ve always dreamed of having upper cabinet boxes inside the empty space above our cabinets, but to be honest I was always very intimidated to attempt it. It turns out that it was as simple as building plywood boxes, painting them and trimming them out with 1x2s!
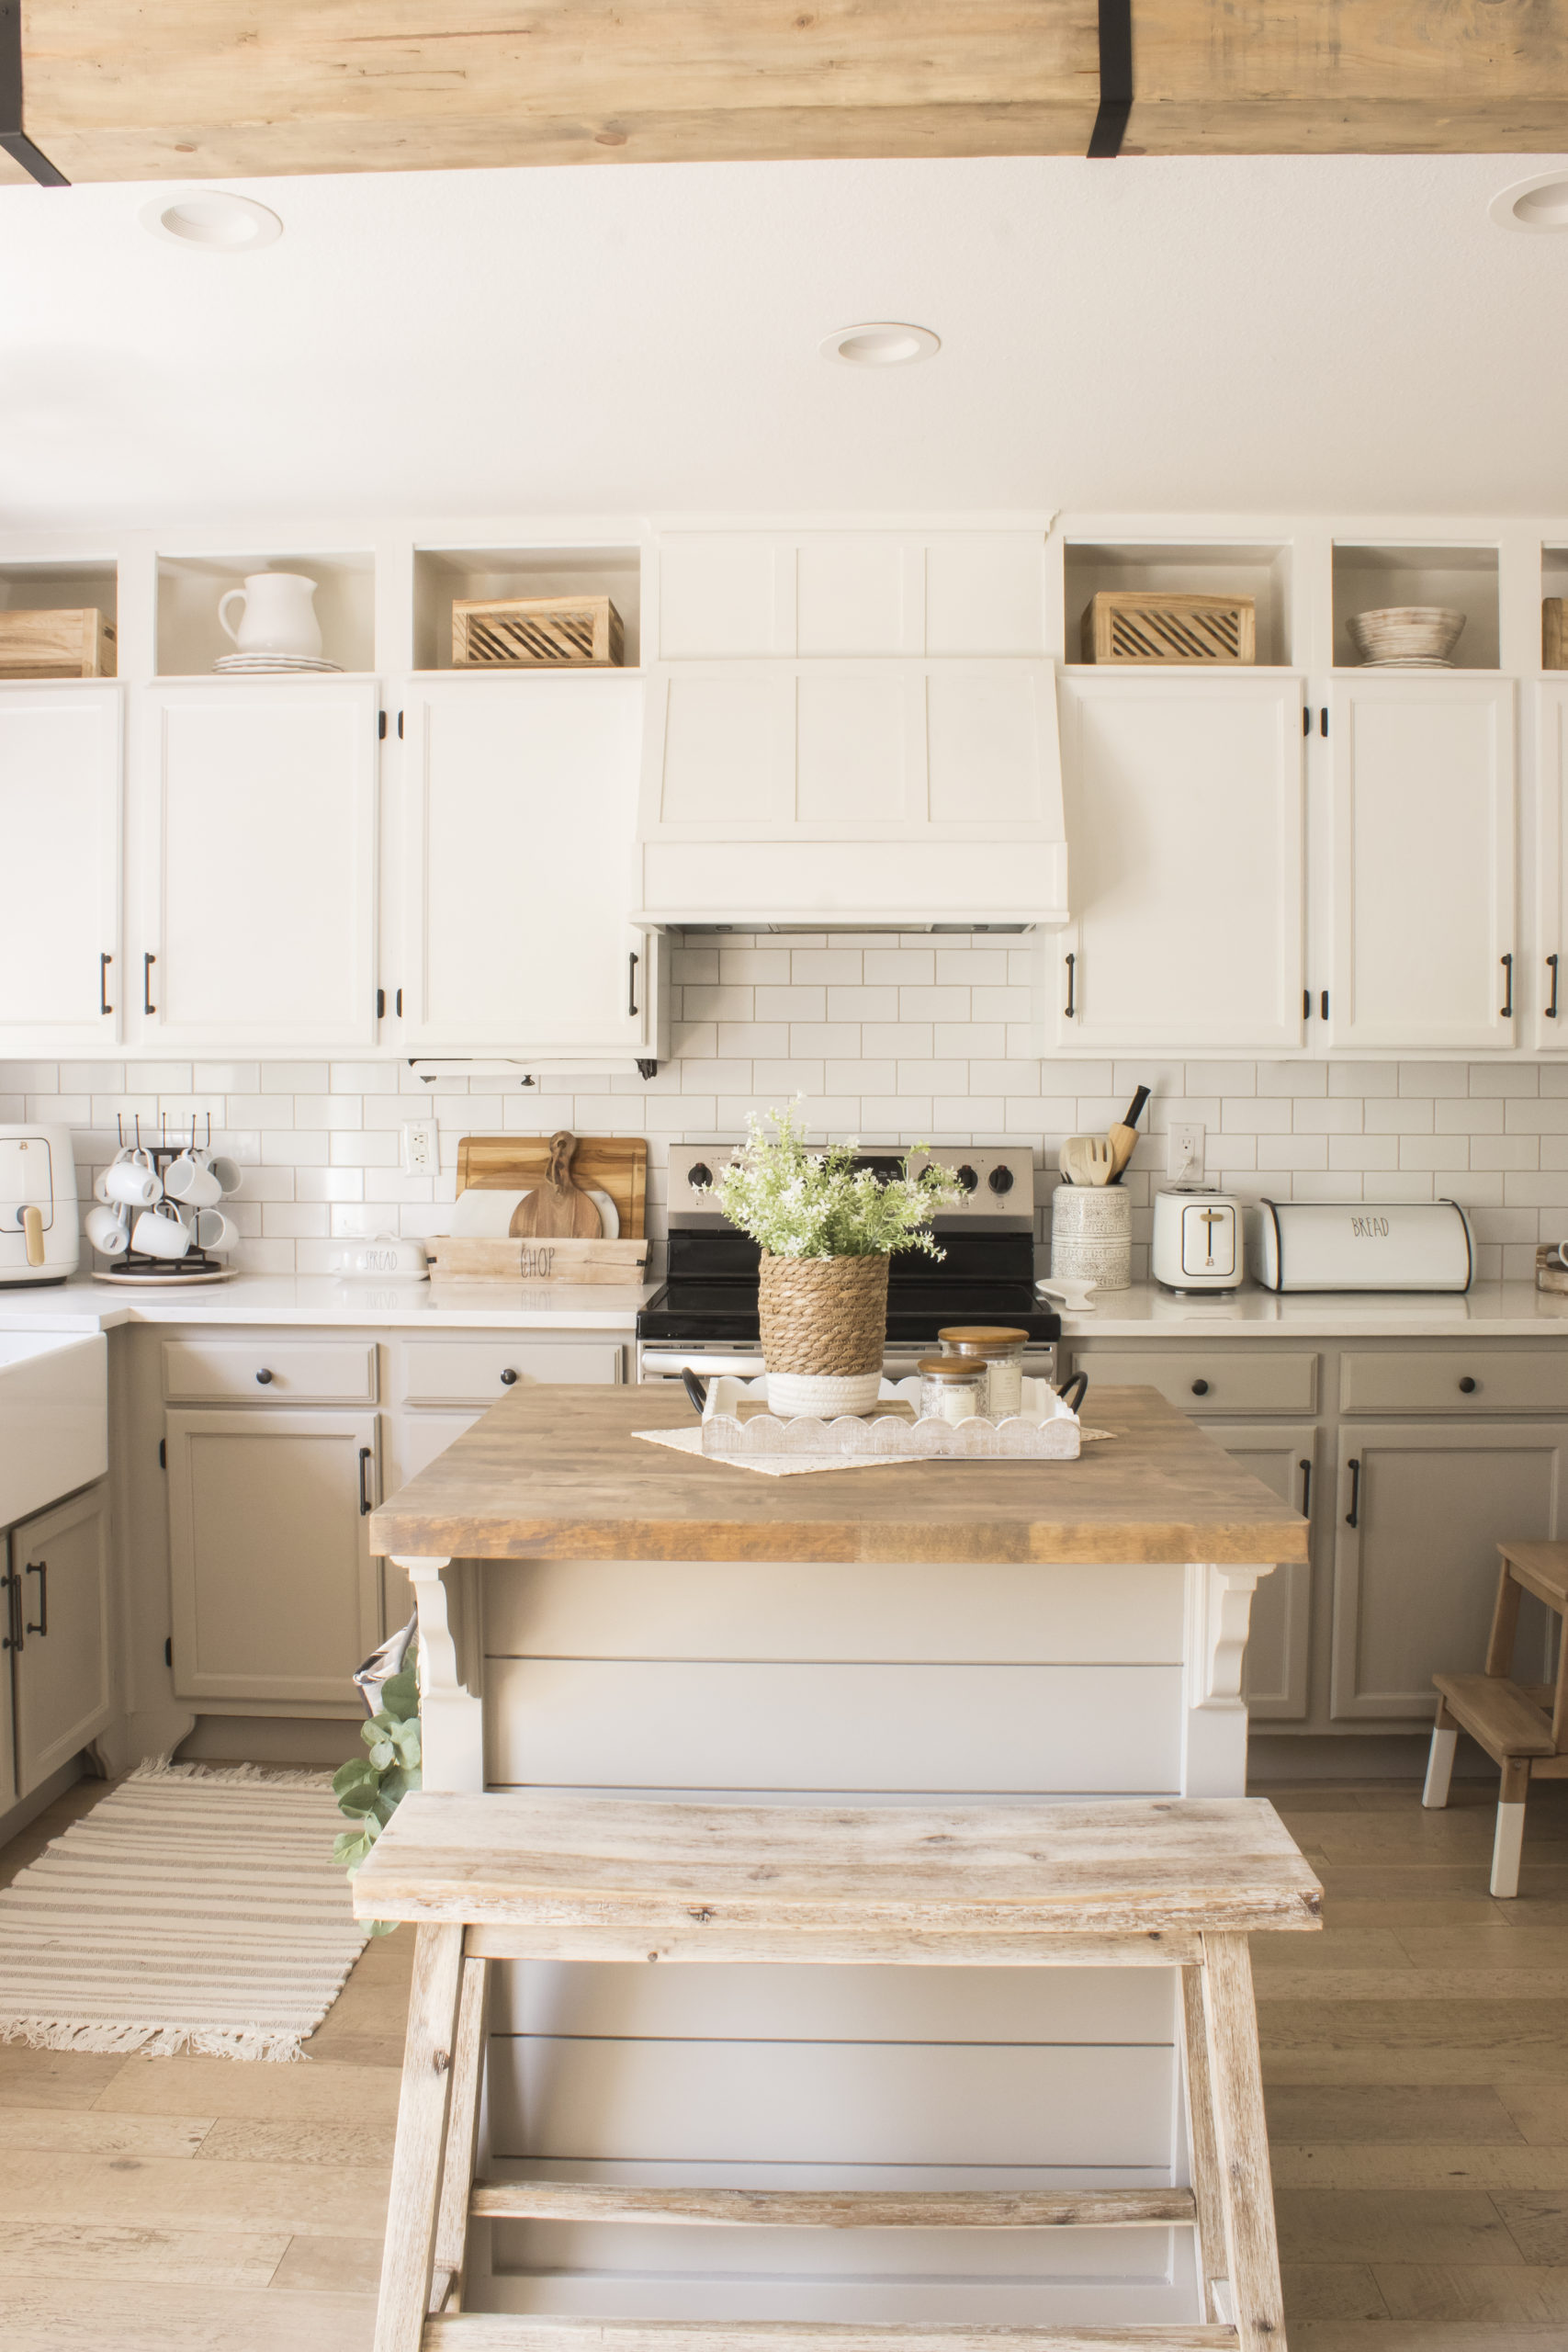
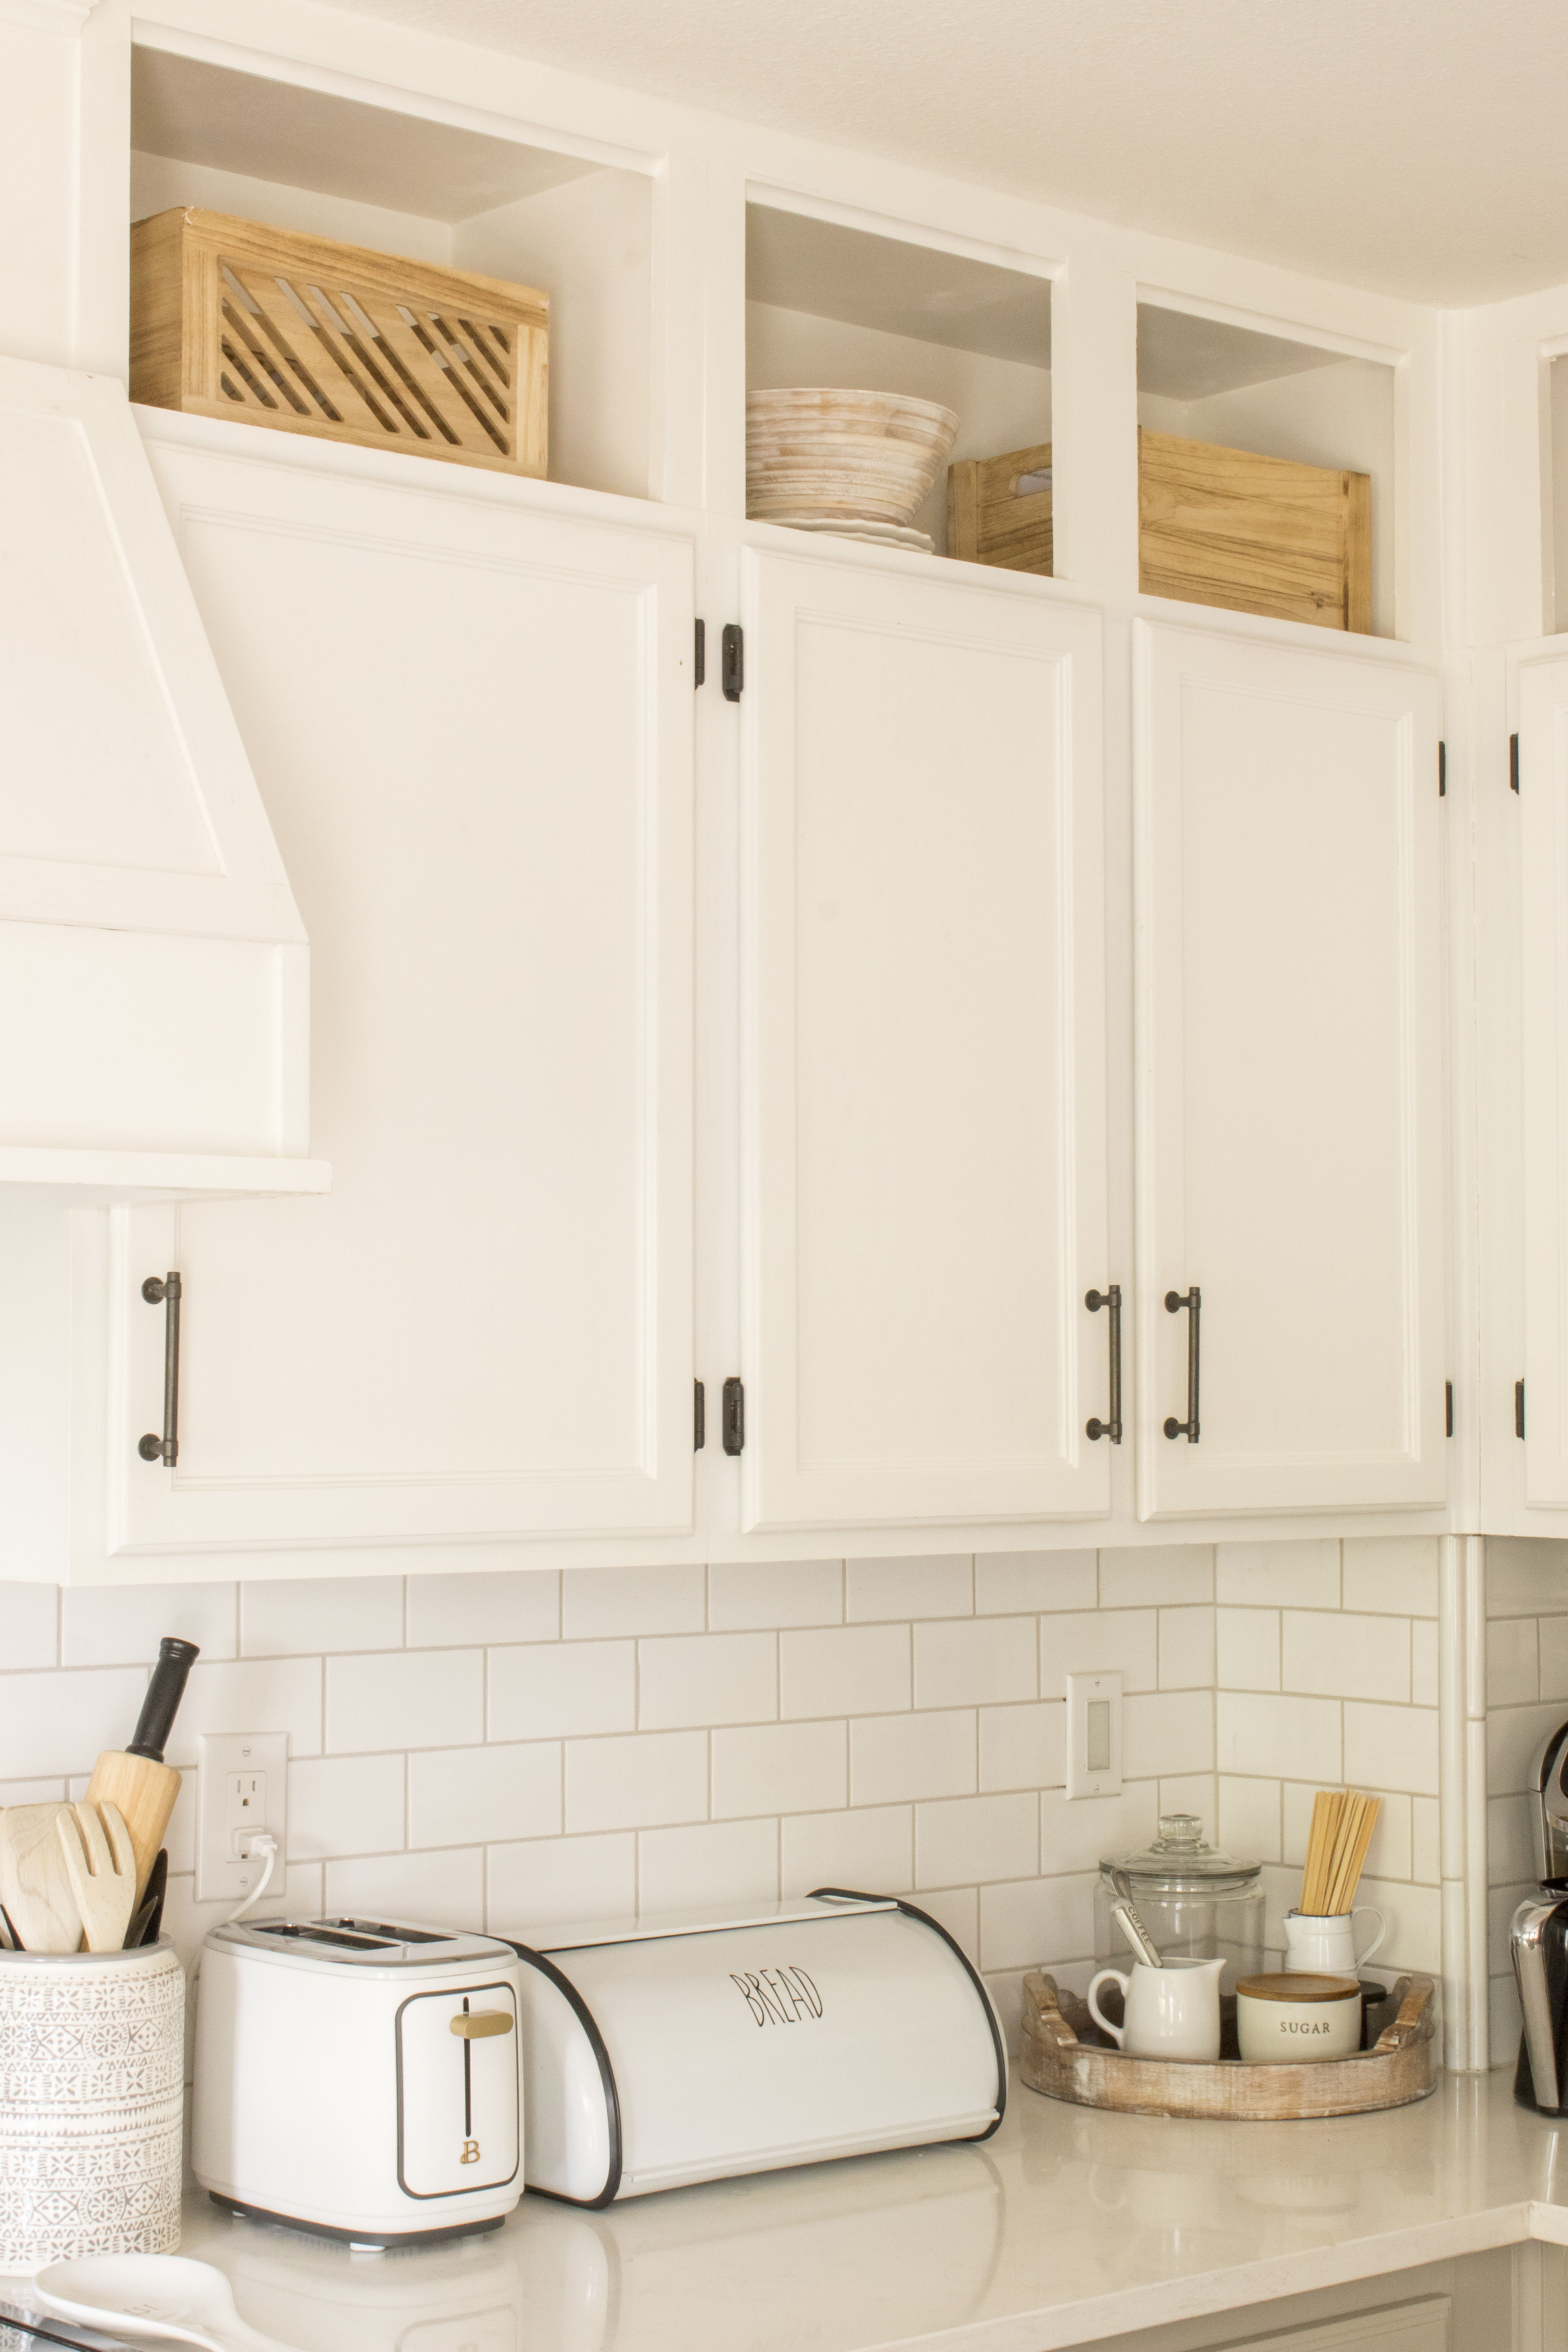
I also added some cove molding along the top so that I could run an LED lighting strip inside.
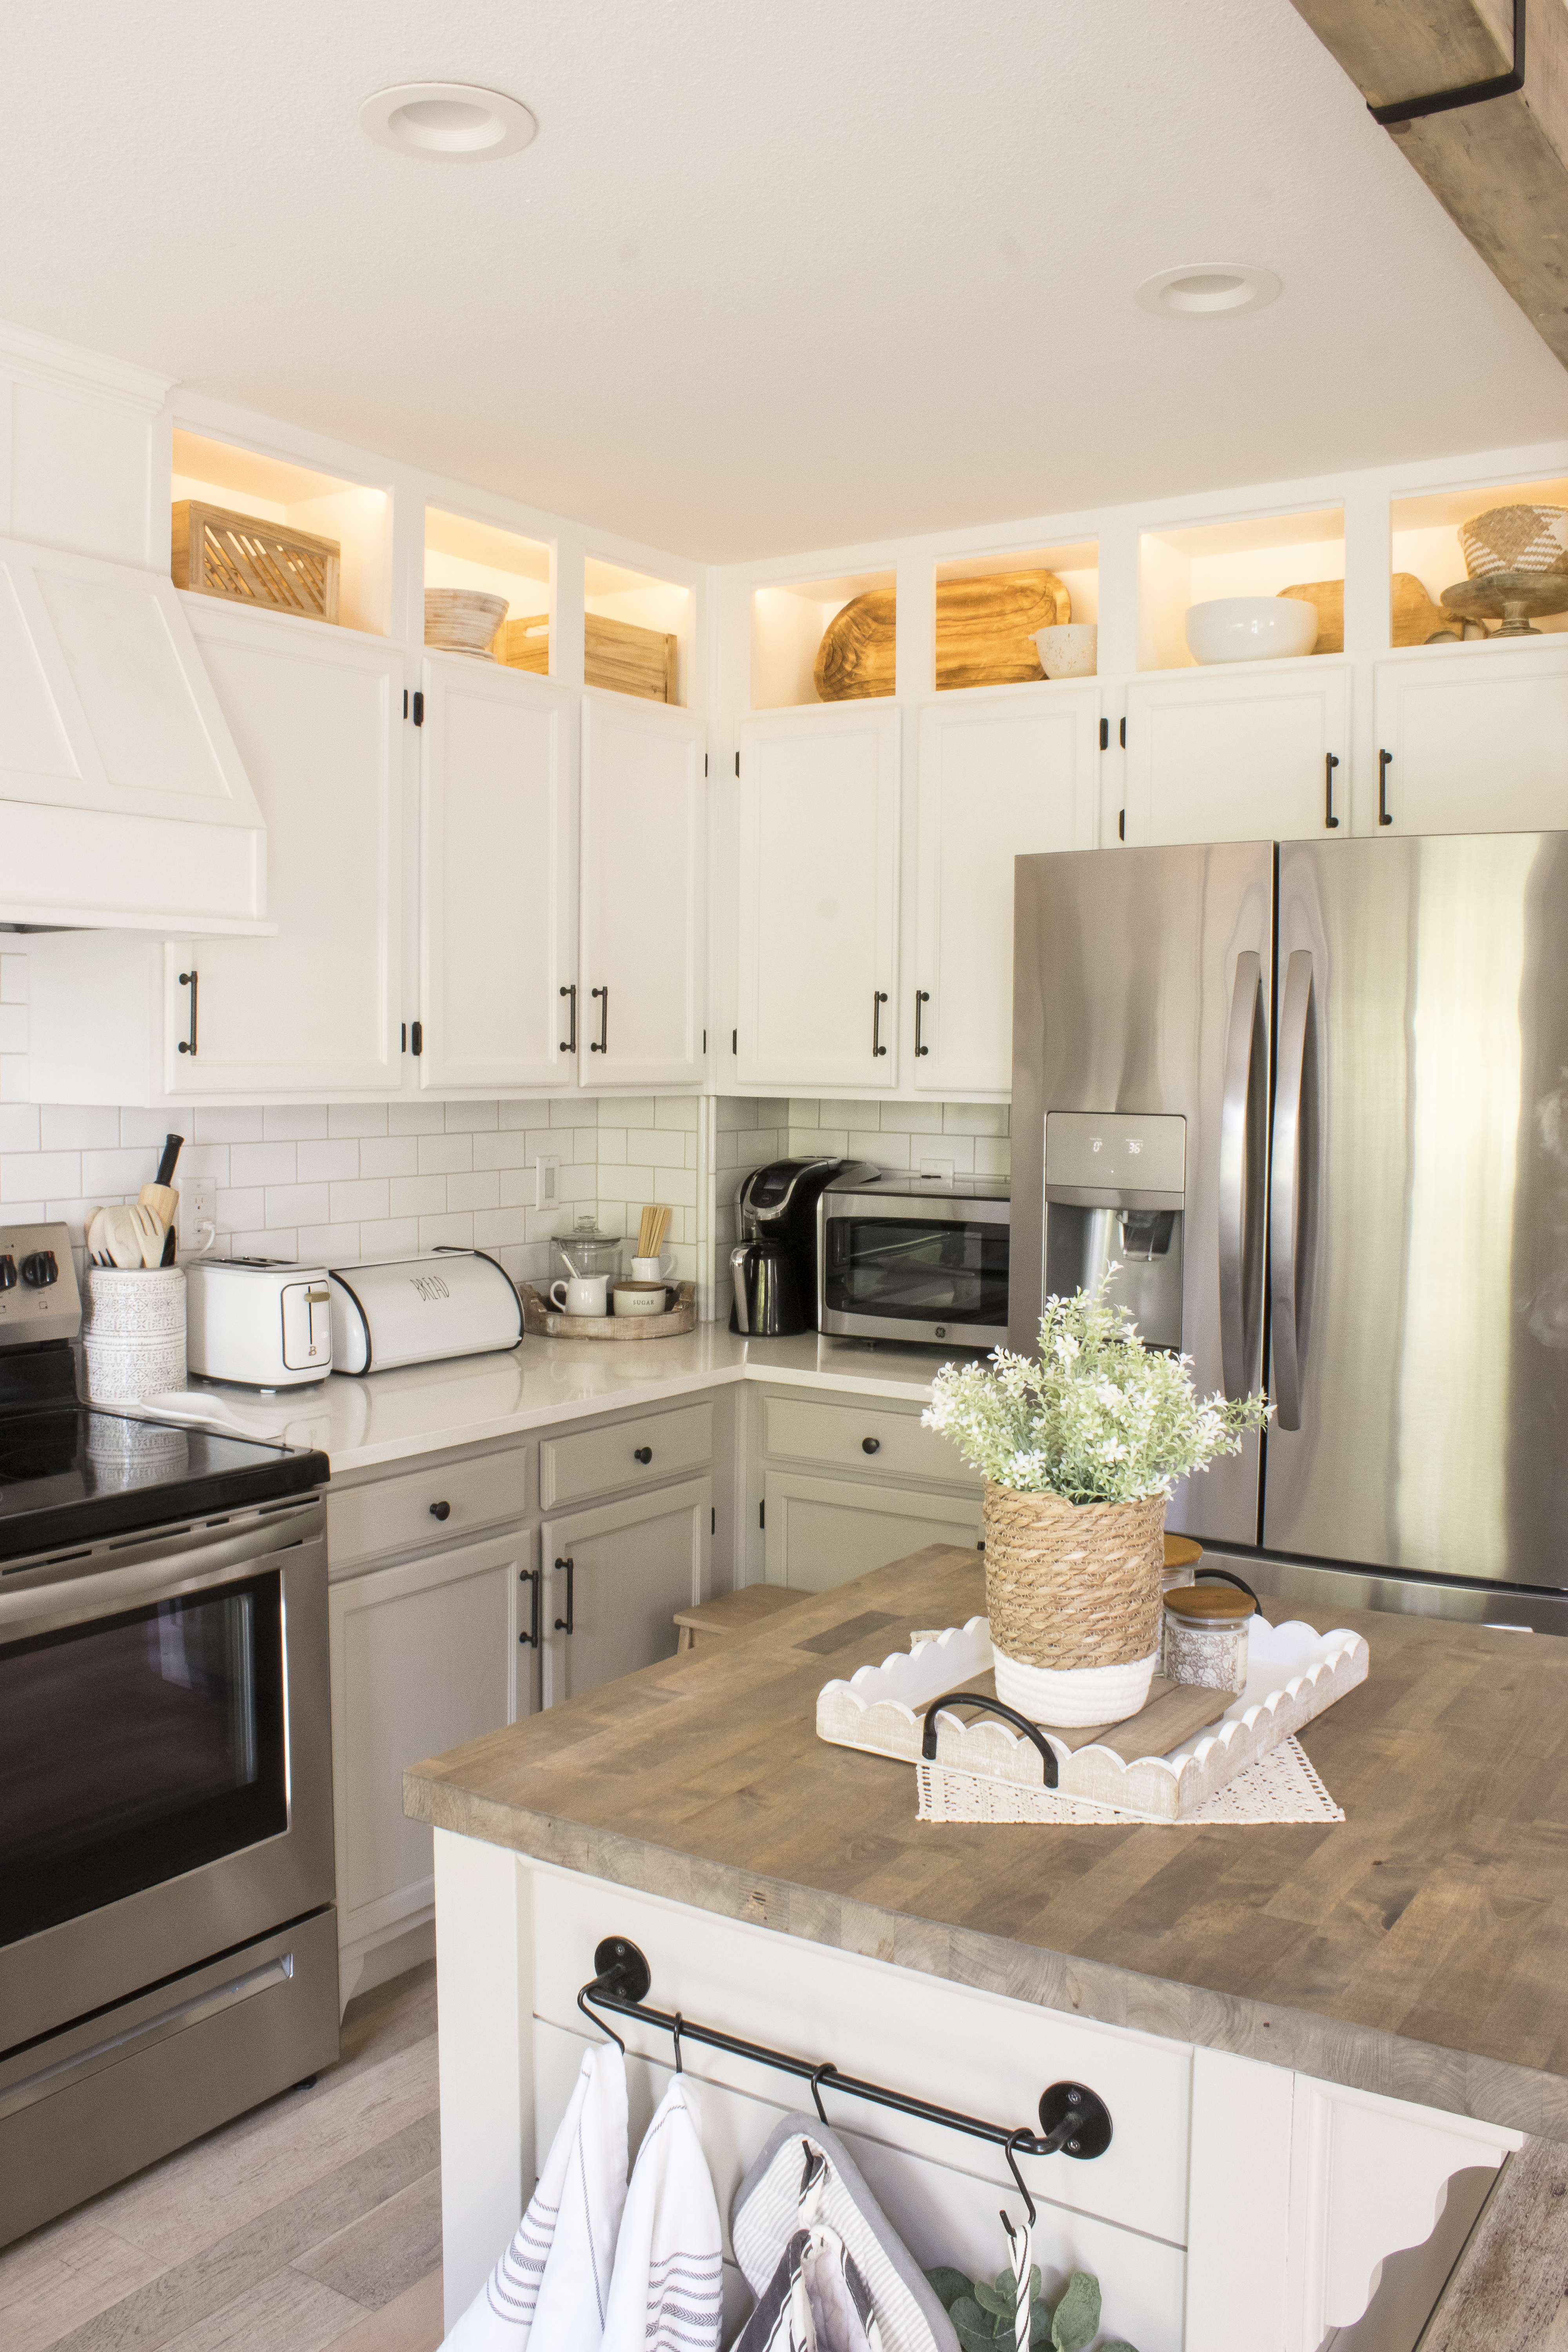
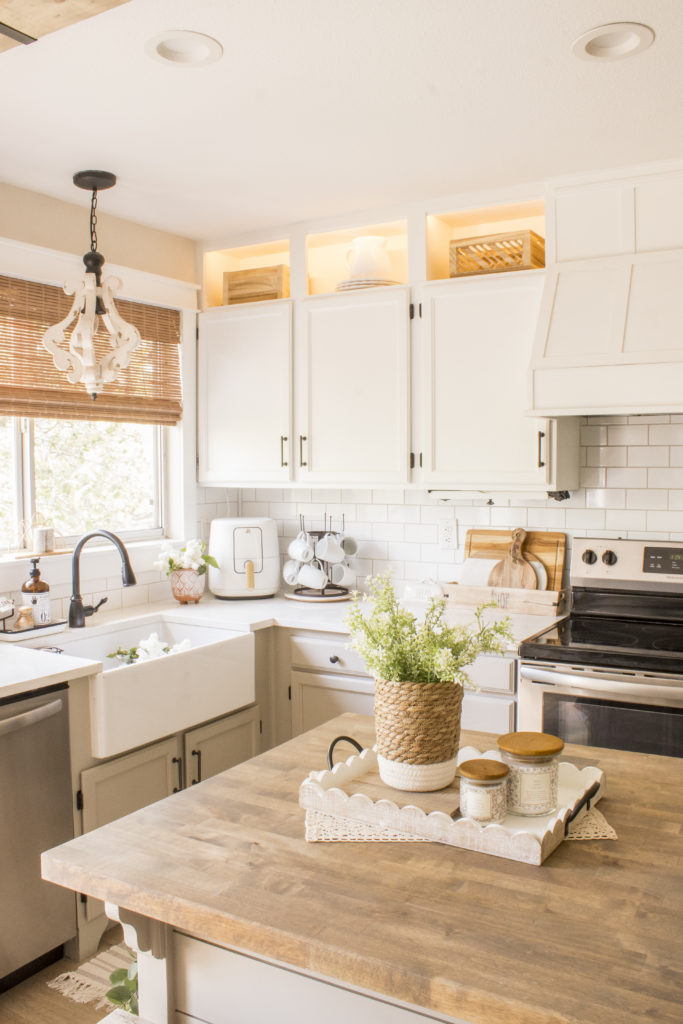
They look especially beautiful lit up at nighttime!
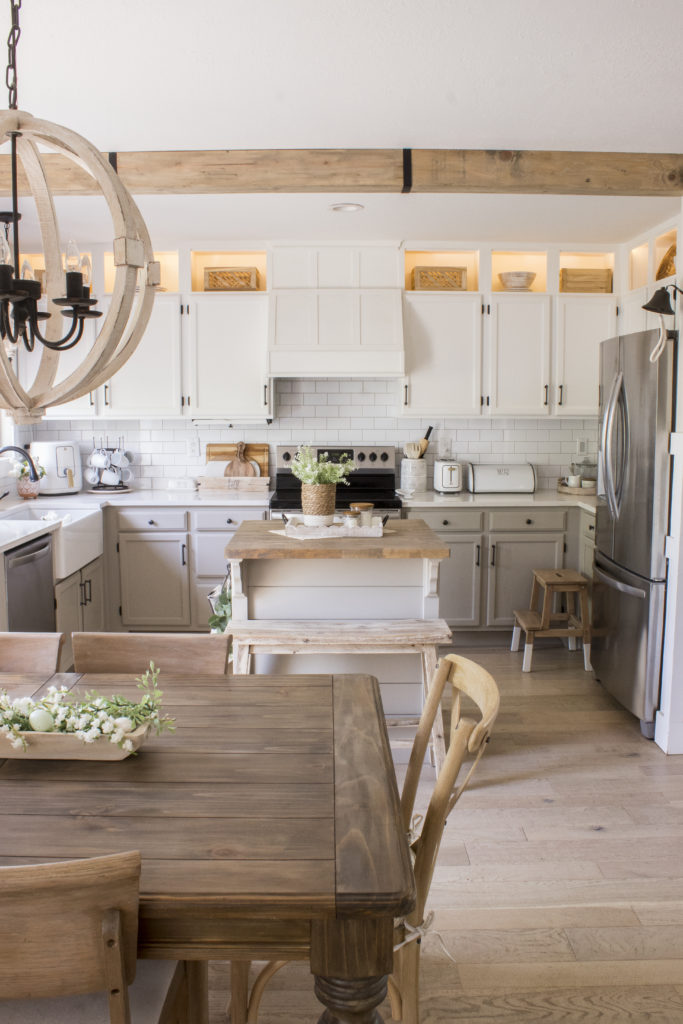
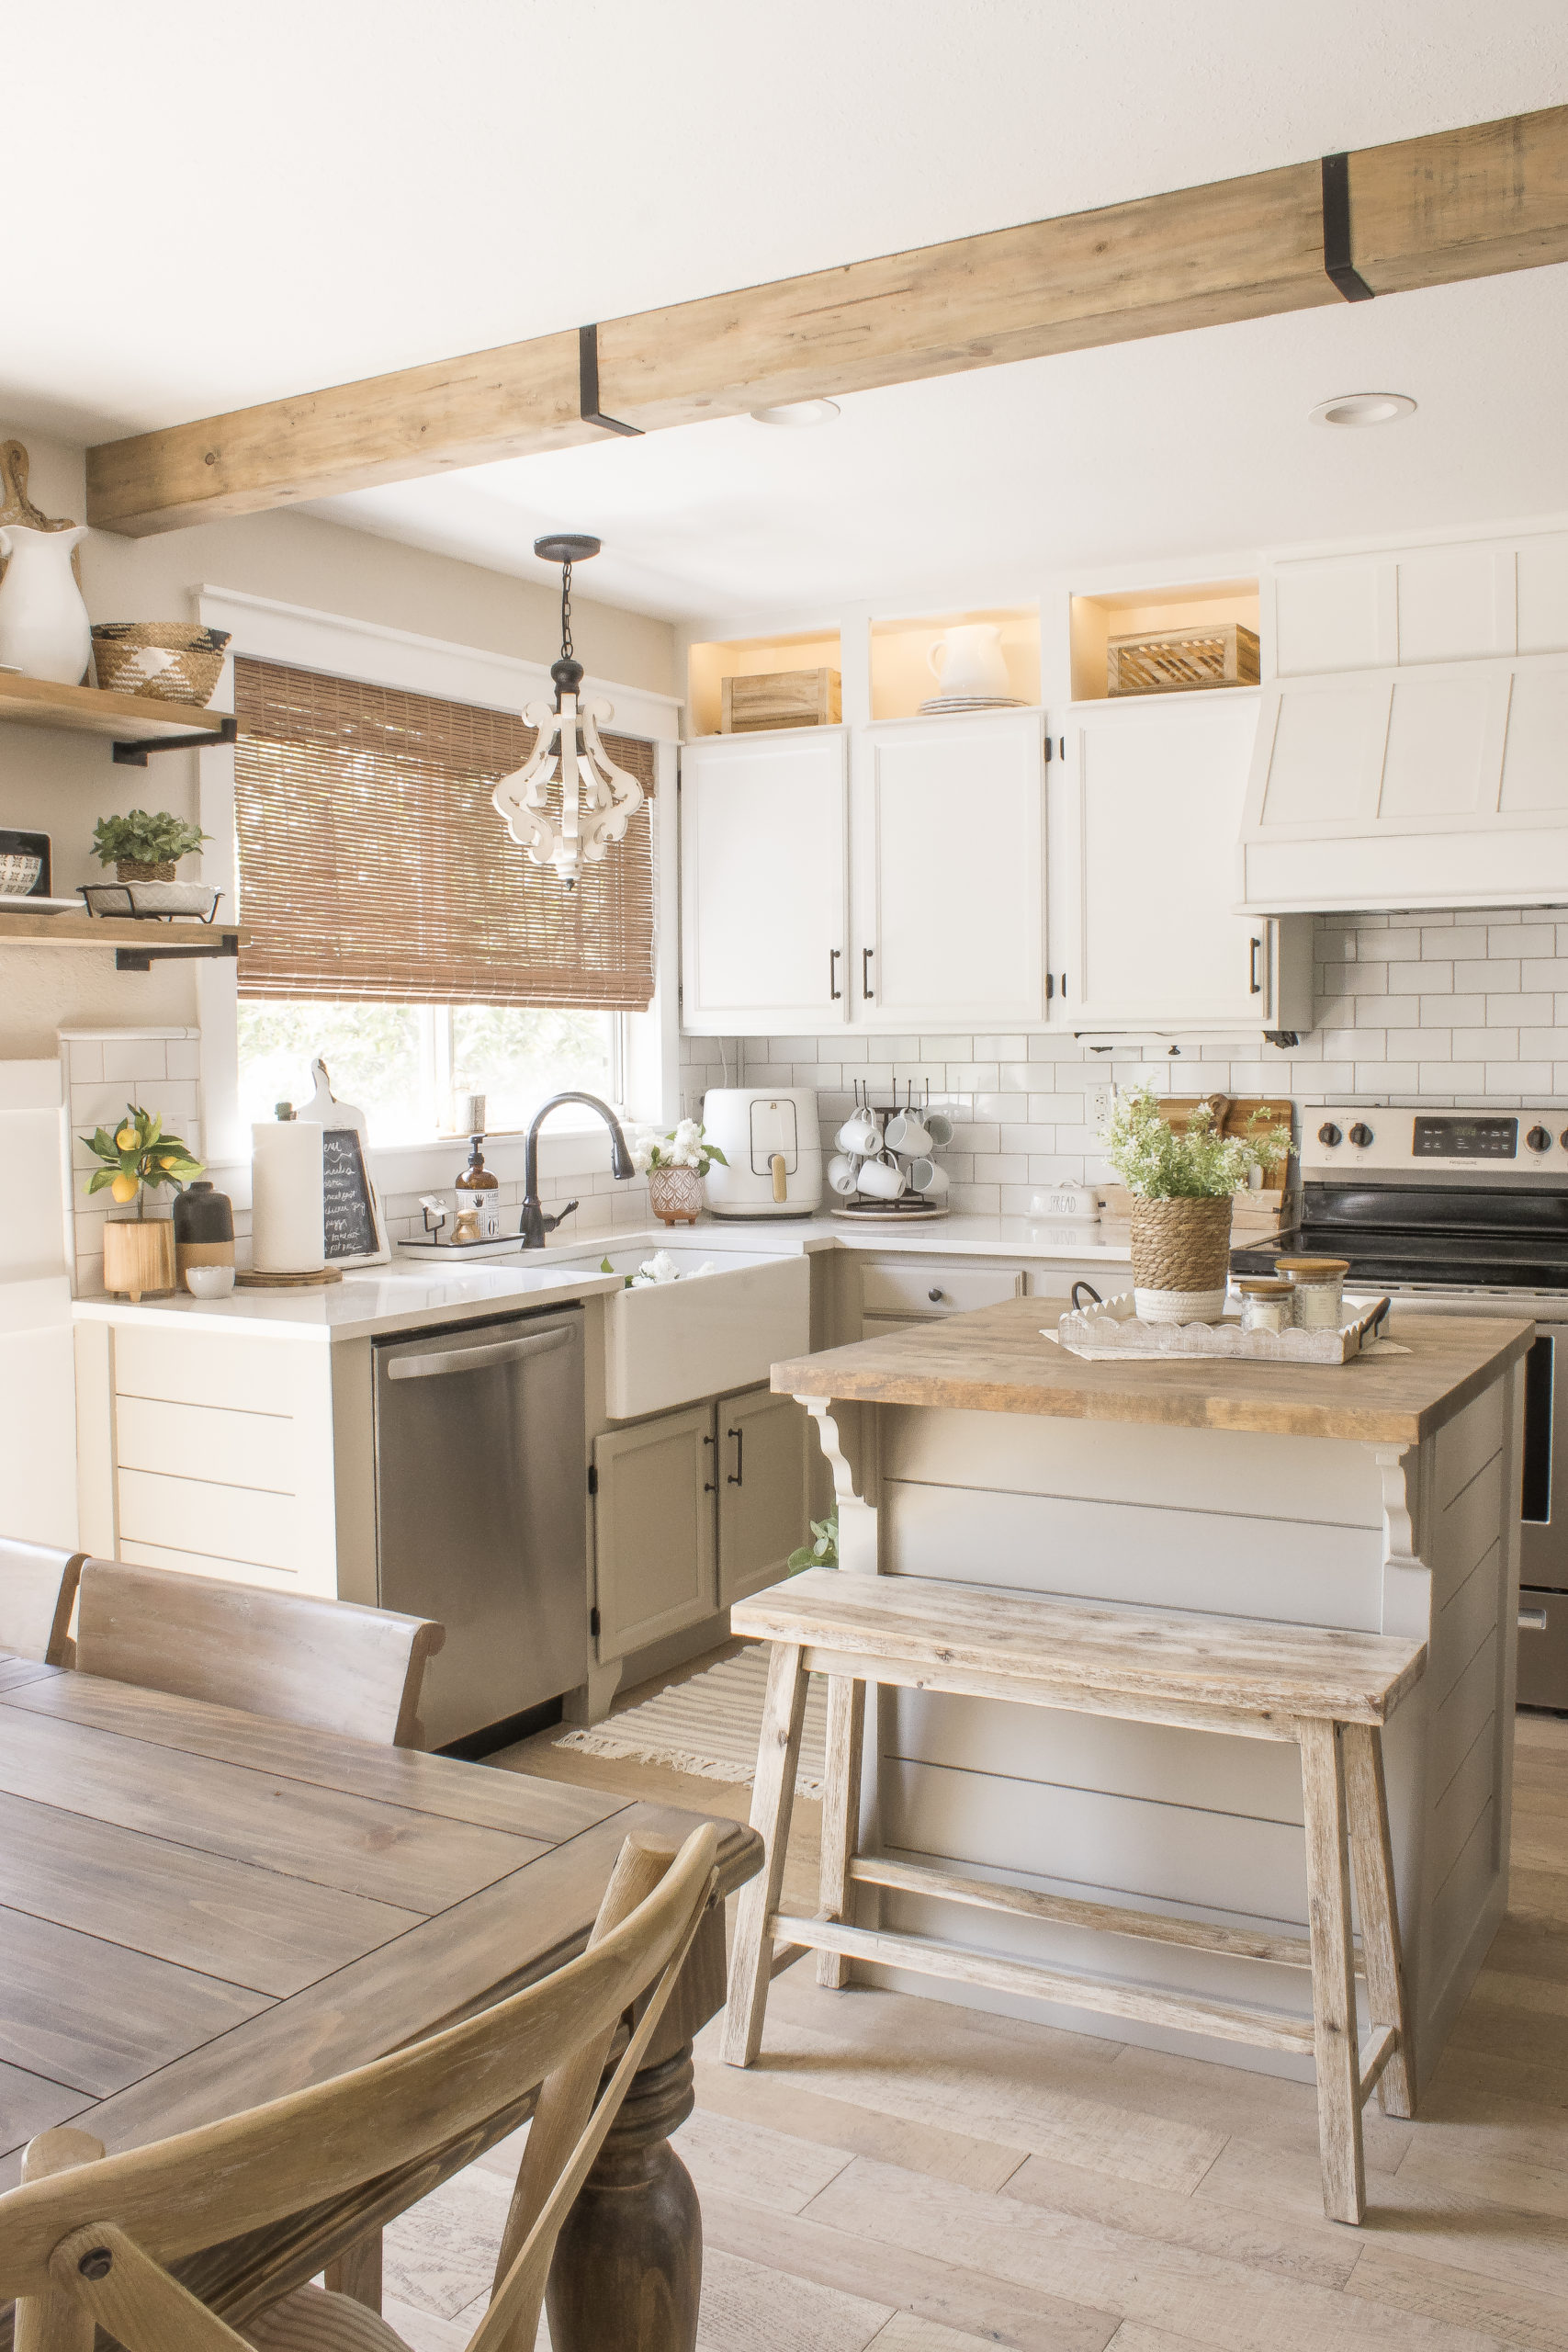
I may decide to install doors down the road, but for now I’m really enjoying having them open.
3. Faux Wood Beam
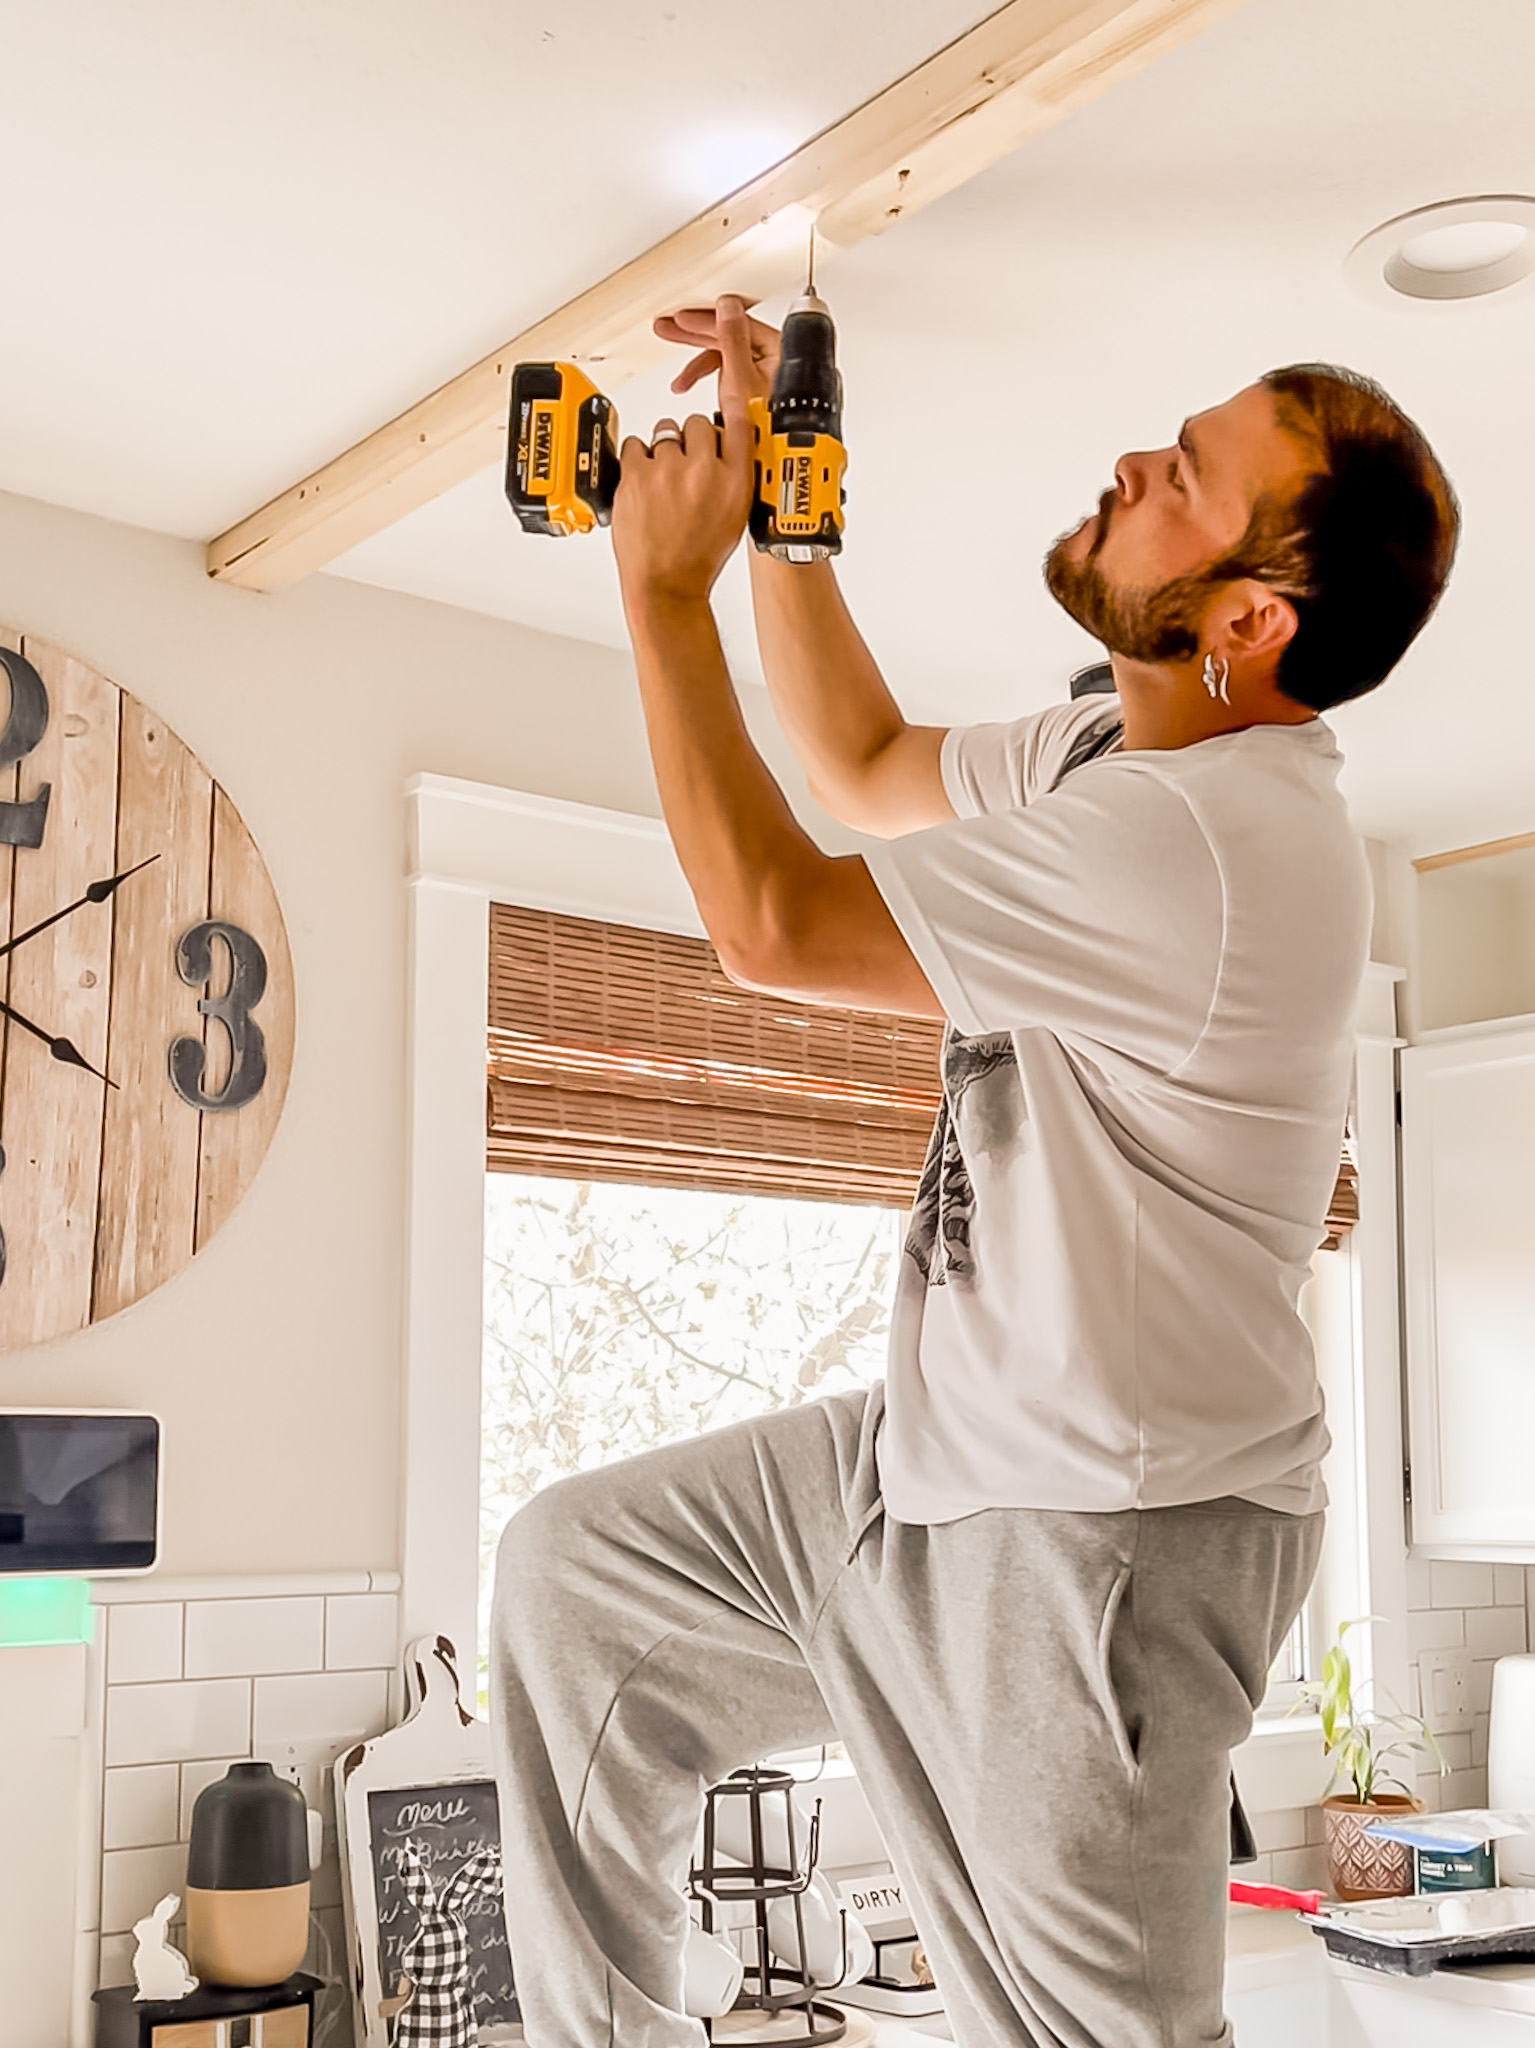
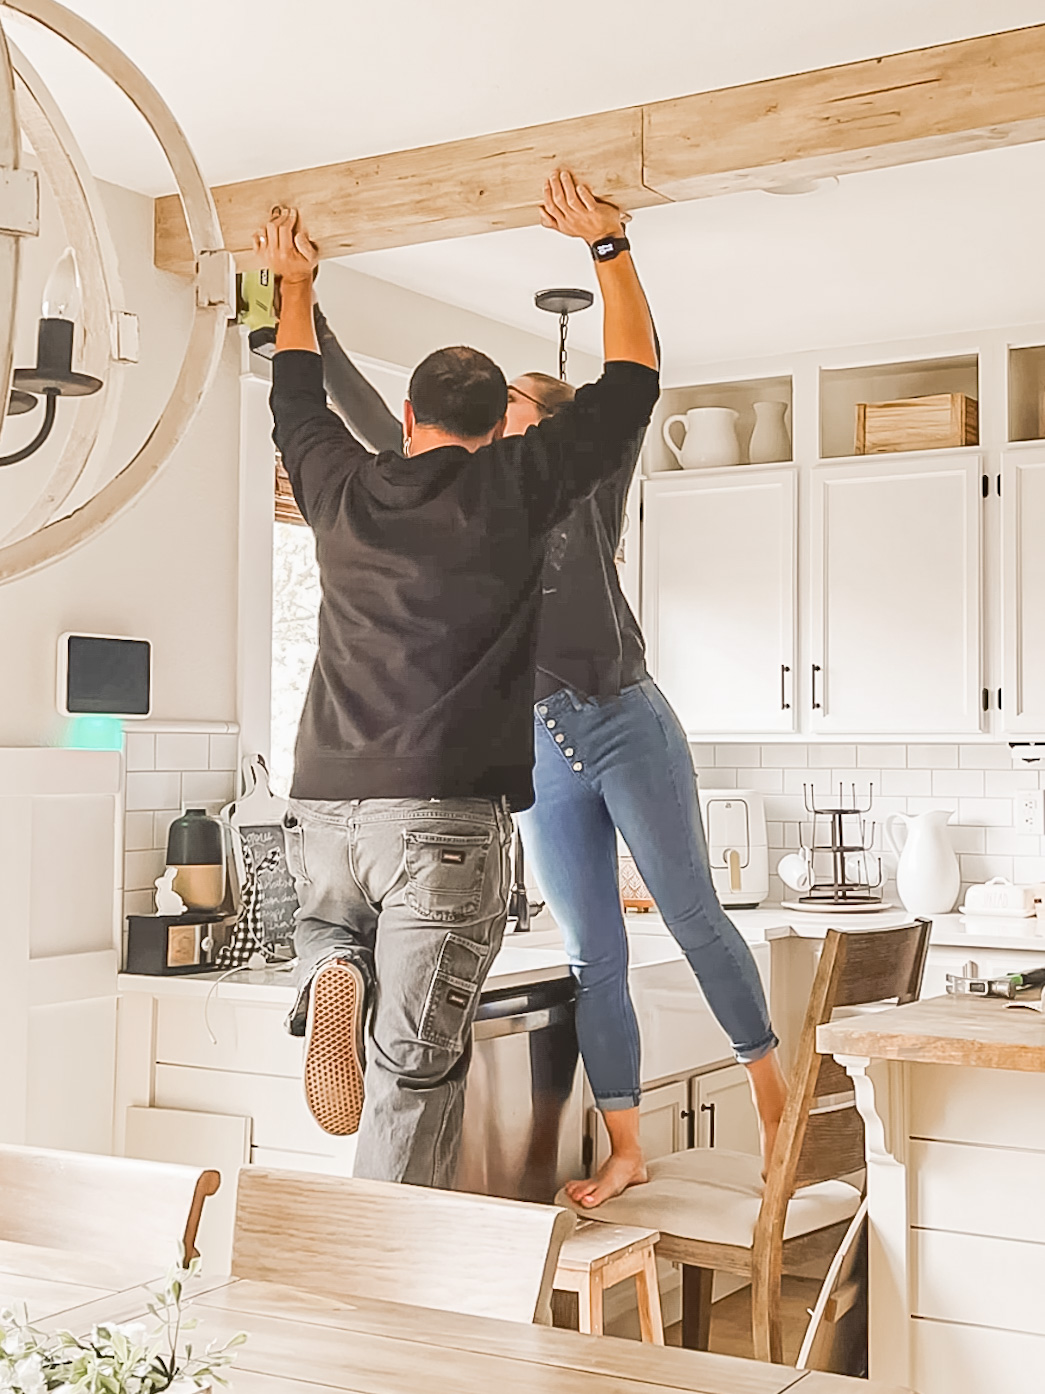
The other item that I have dreamed about adding was a wood ceiling beam. I was nervous about it being a difficult DIY, but it actually ended up being so much easier than I thought it would be.
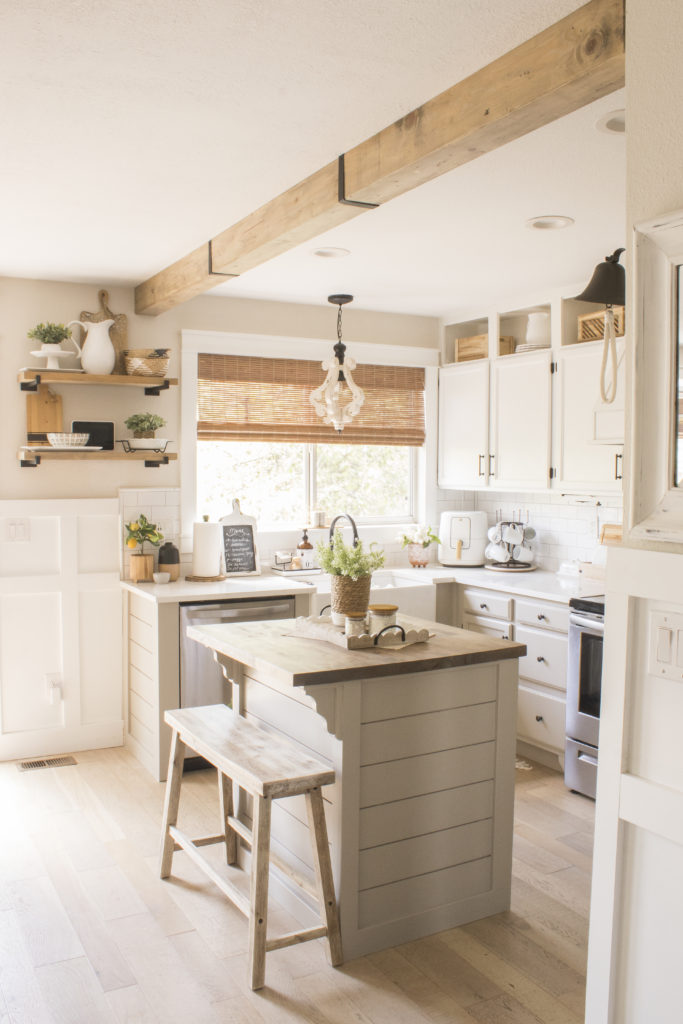
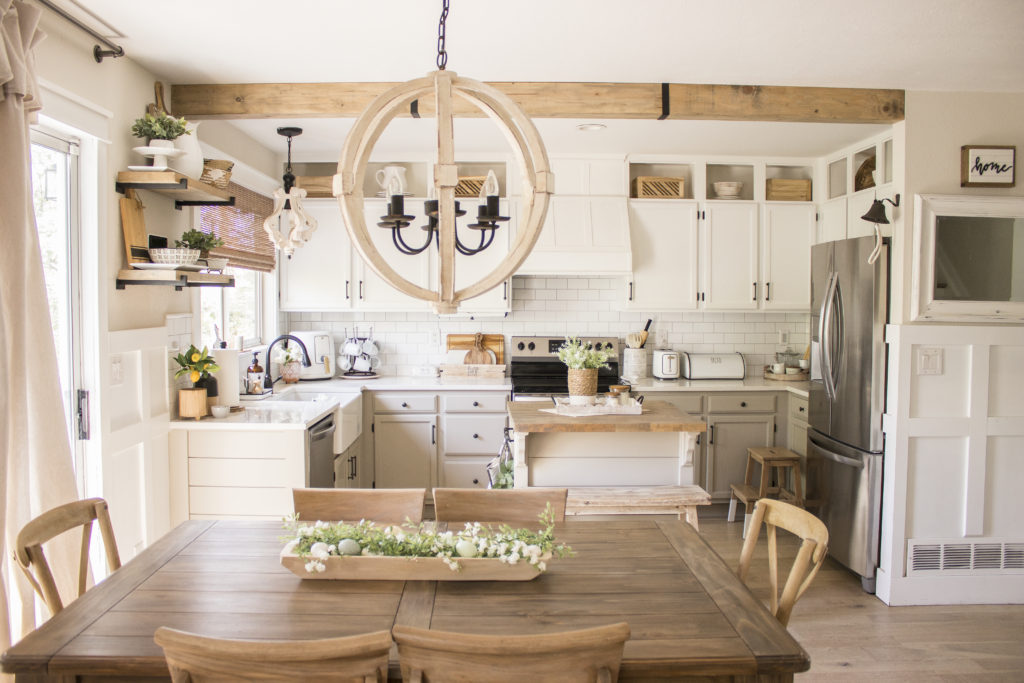
I love how it sort of defines the kitchen and the charm that it adds to the entire space.
4. Shelving
And finally, it was time to do something on this little wall. This wall was always sort of a stumper for me, so years ago I just put a big clock on it and called it good. However, when we had our security system installed, they placed it off-center, and it drove me absolutely nuts! I knew that some shelving would be the perfect solution to help disguise it a bit.
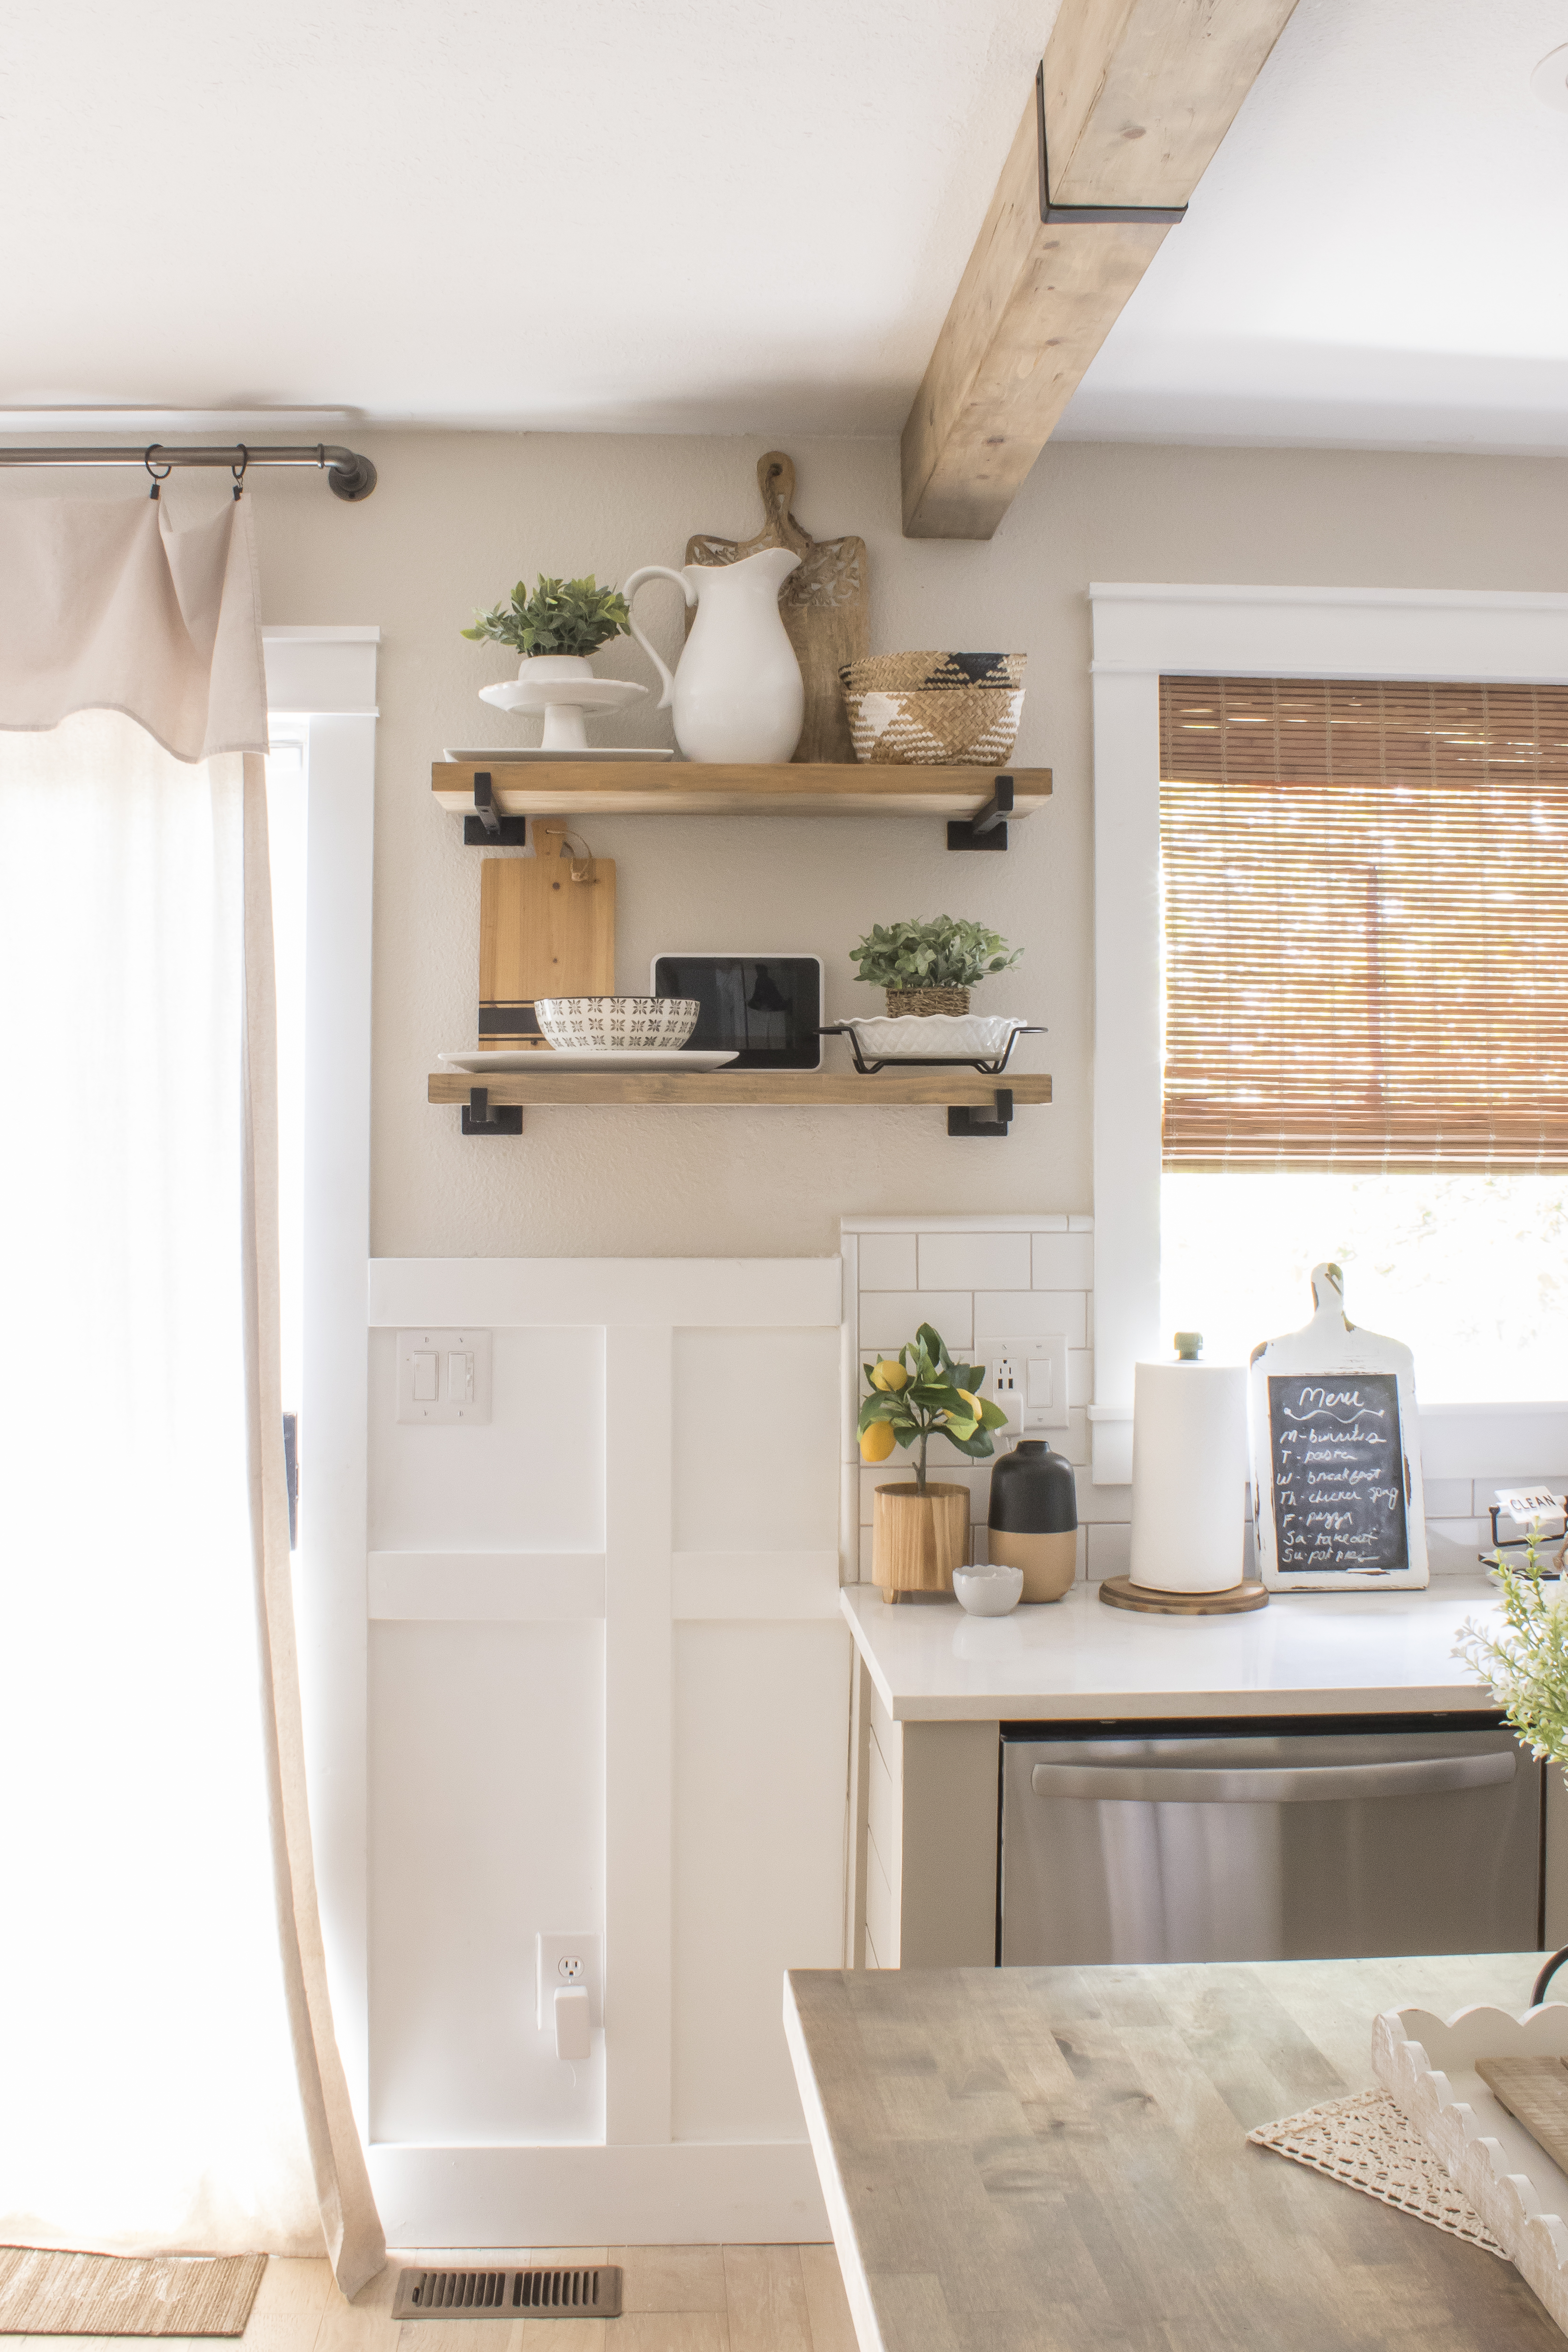
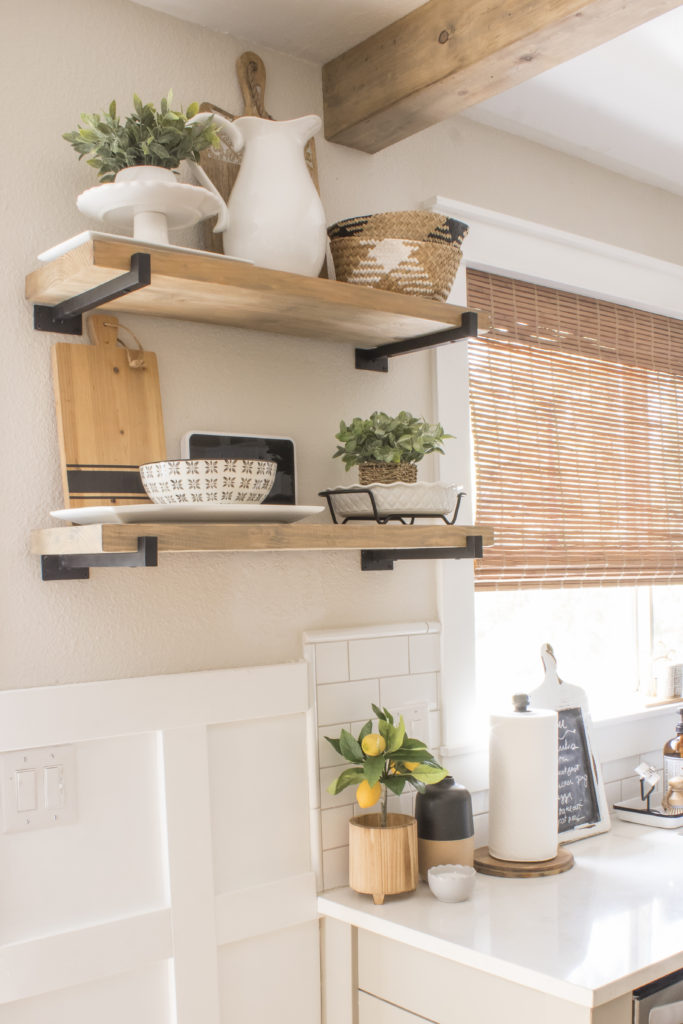
We relocated it so that it would sit in the center of the shelf and I’m so much happier with it now. Plus we also have some nice added storage!
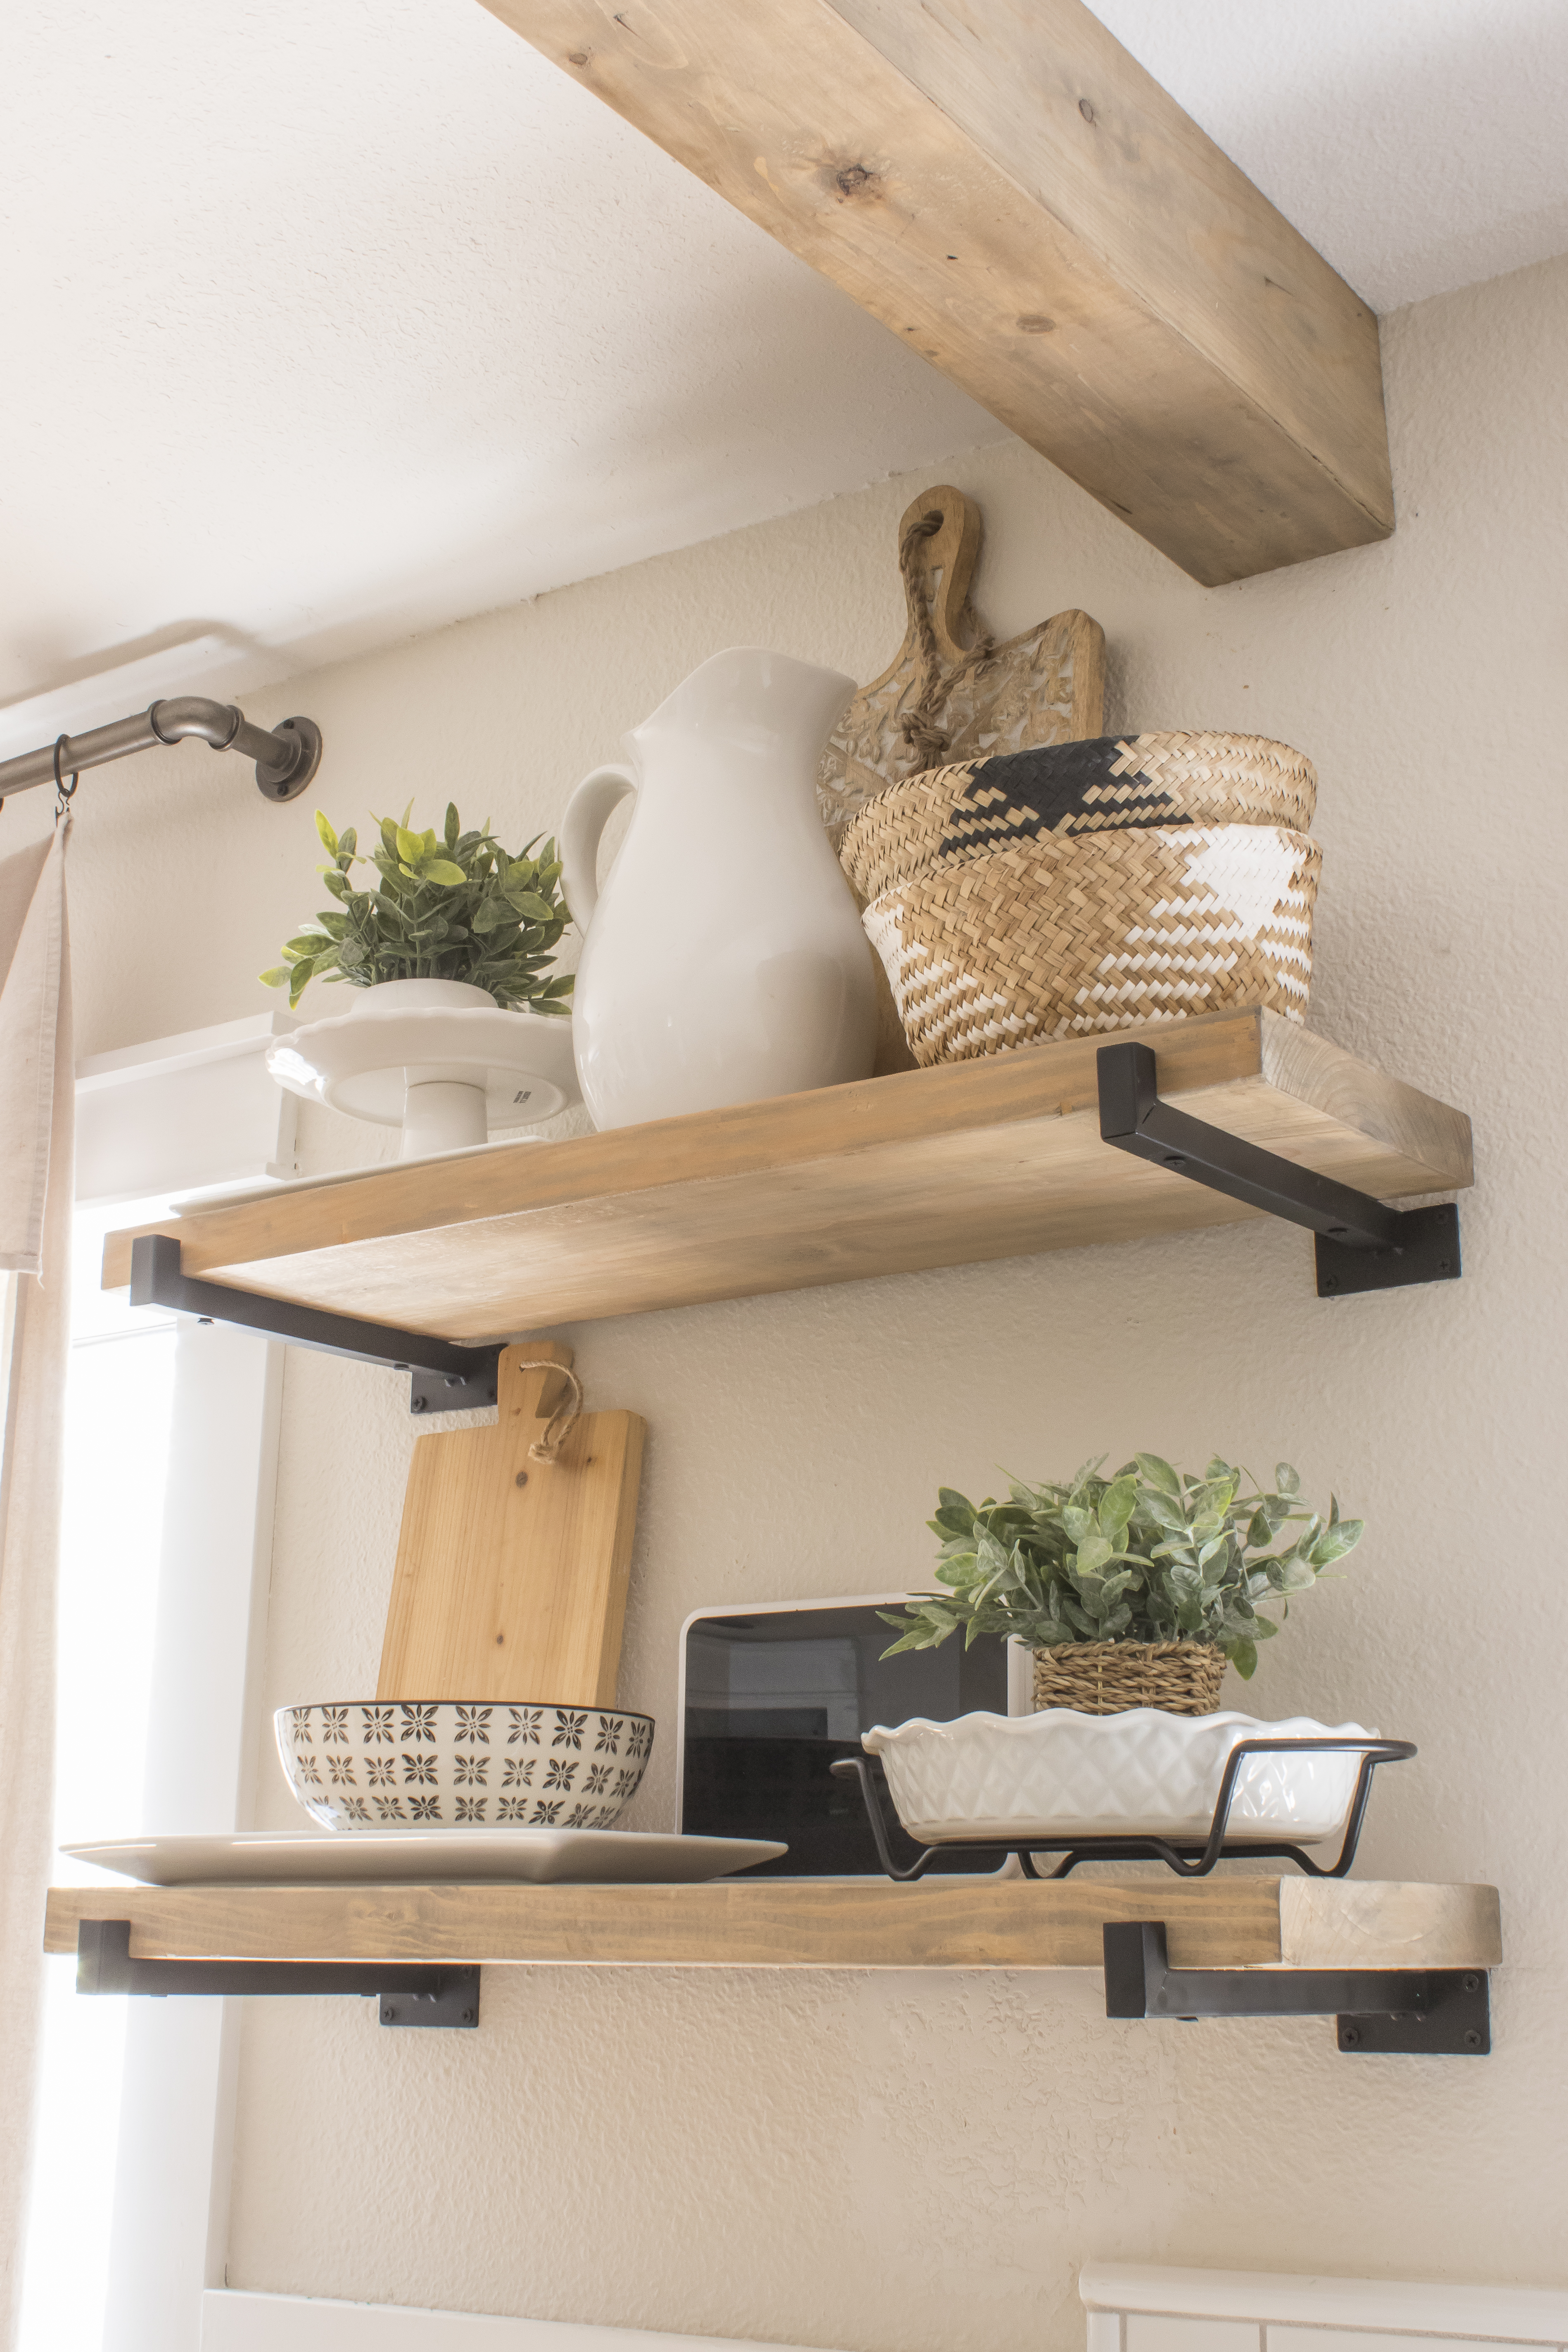
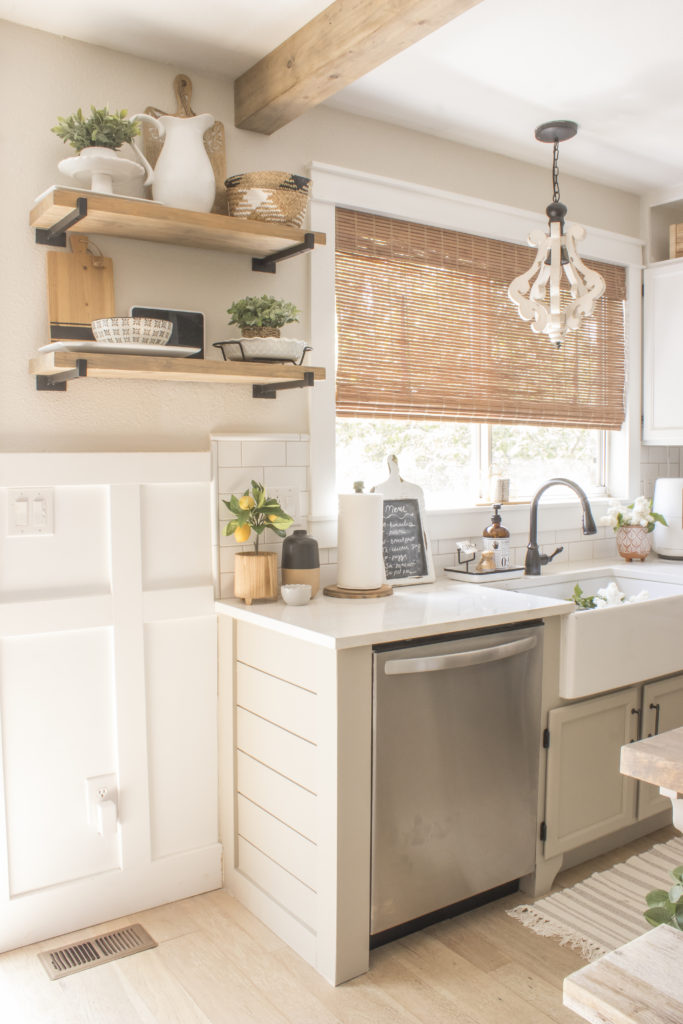
It’s truly amazing what an impact all of these small little changes have made in here!
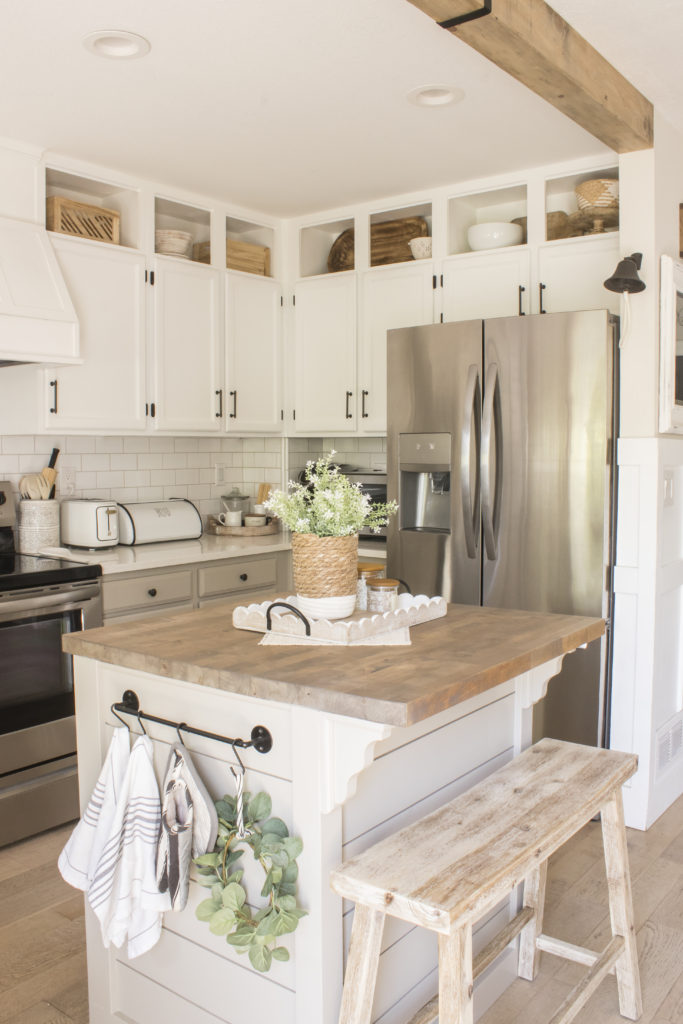
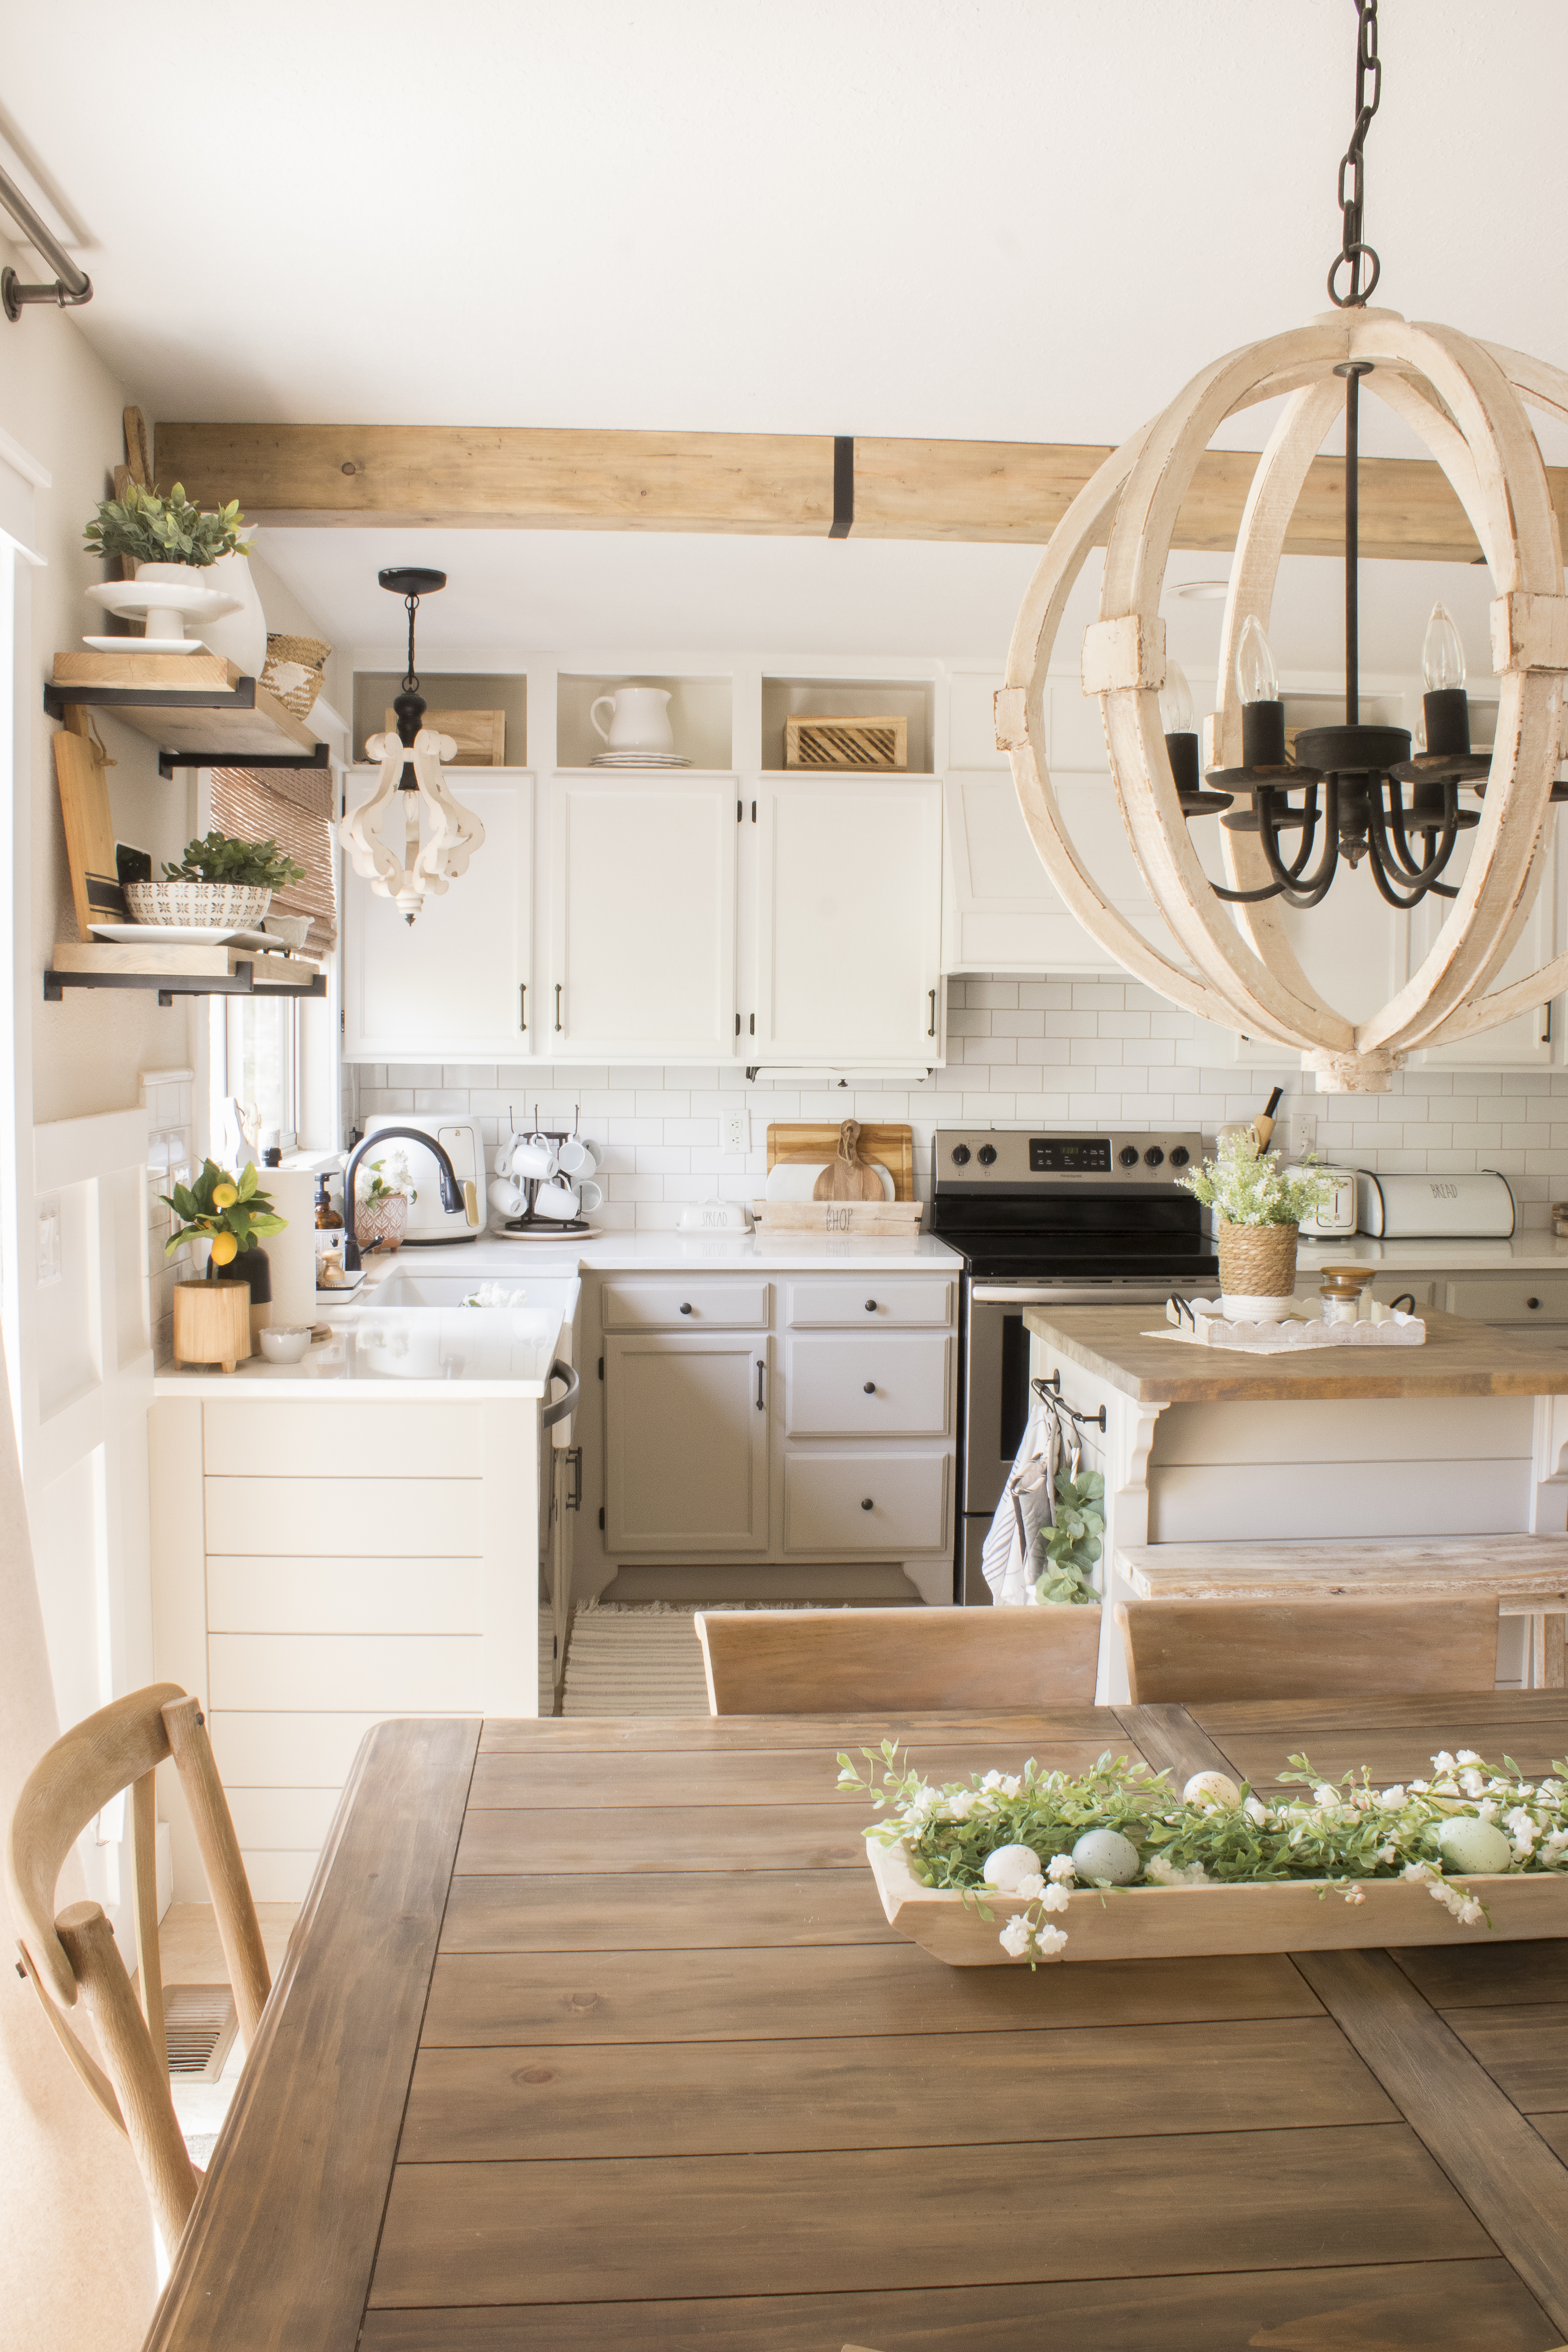
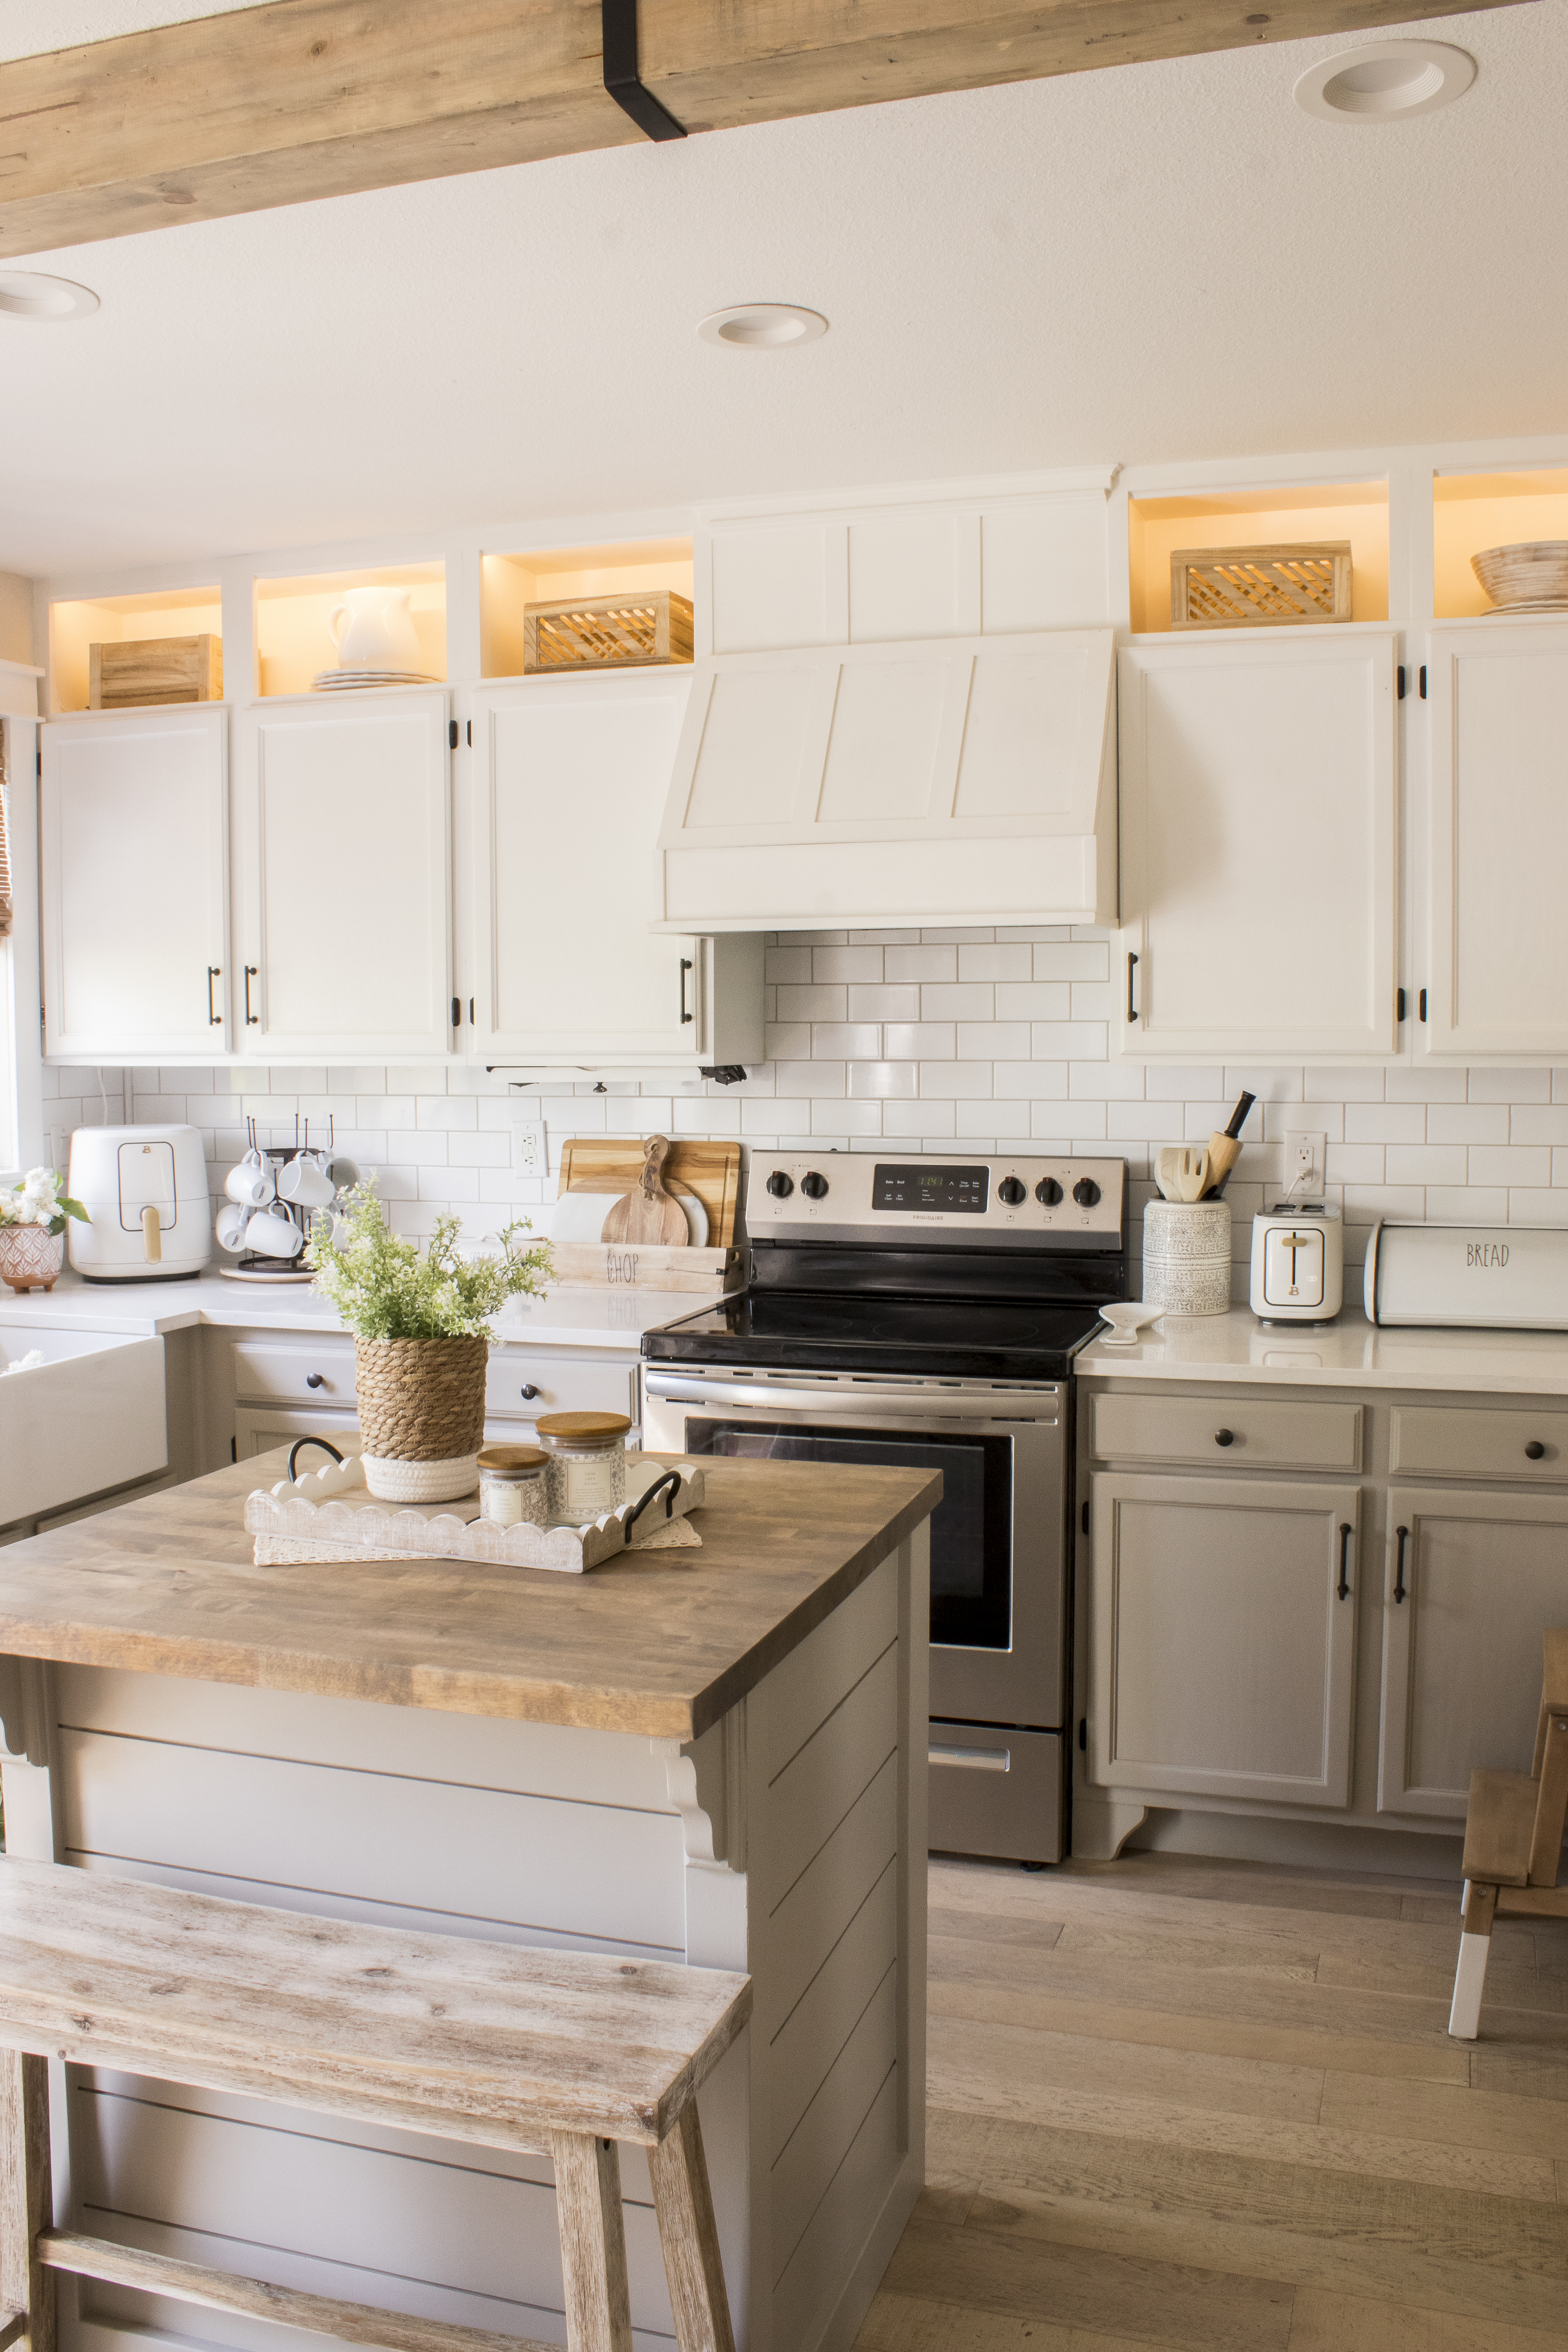
I will include a full source list at the bottom of this, post but please feel free to reach out and let me know if I miss something!
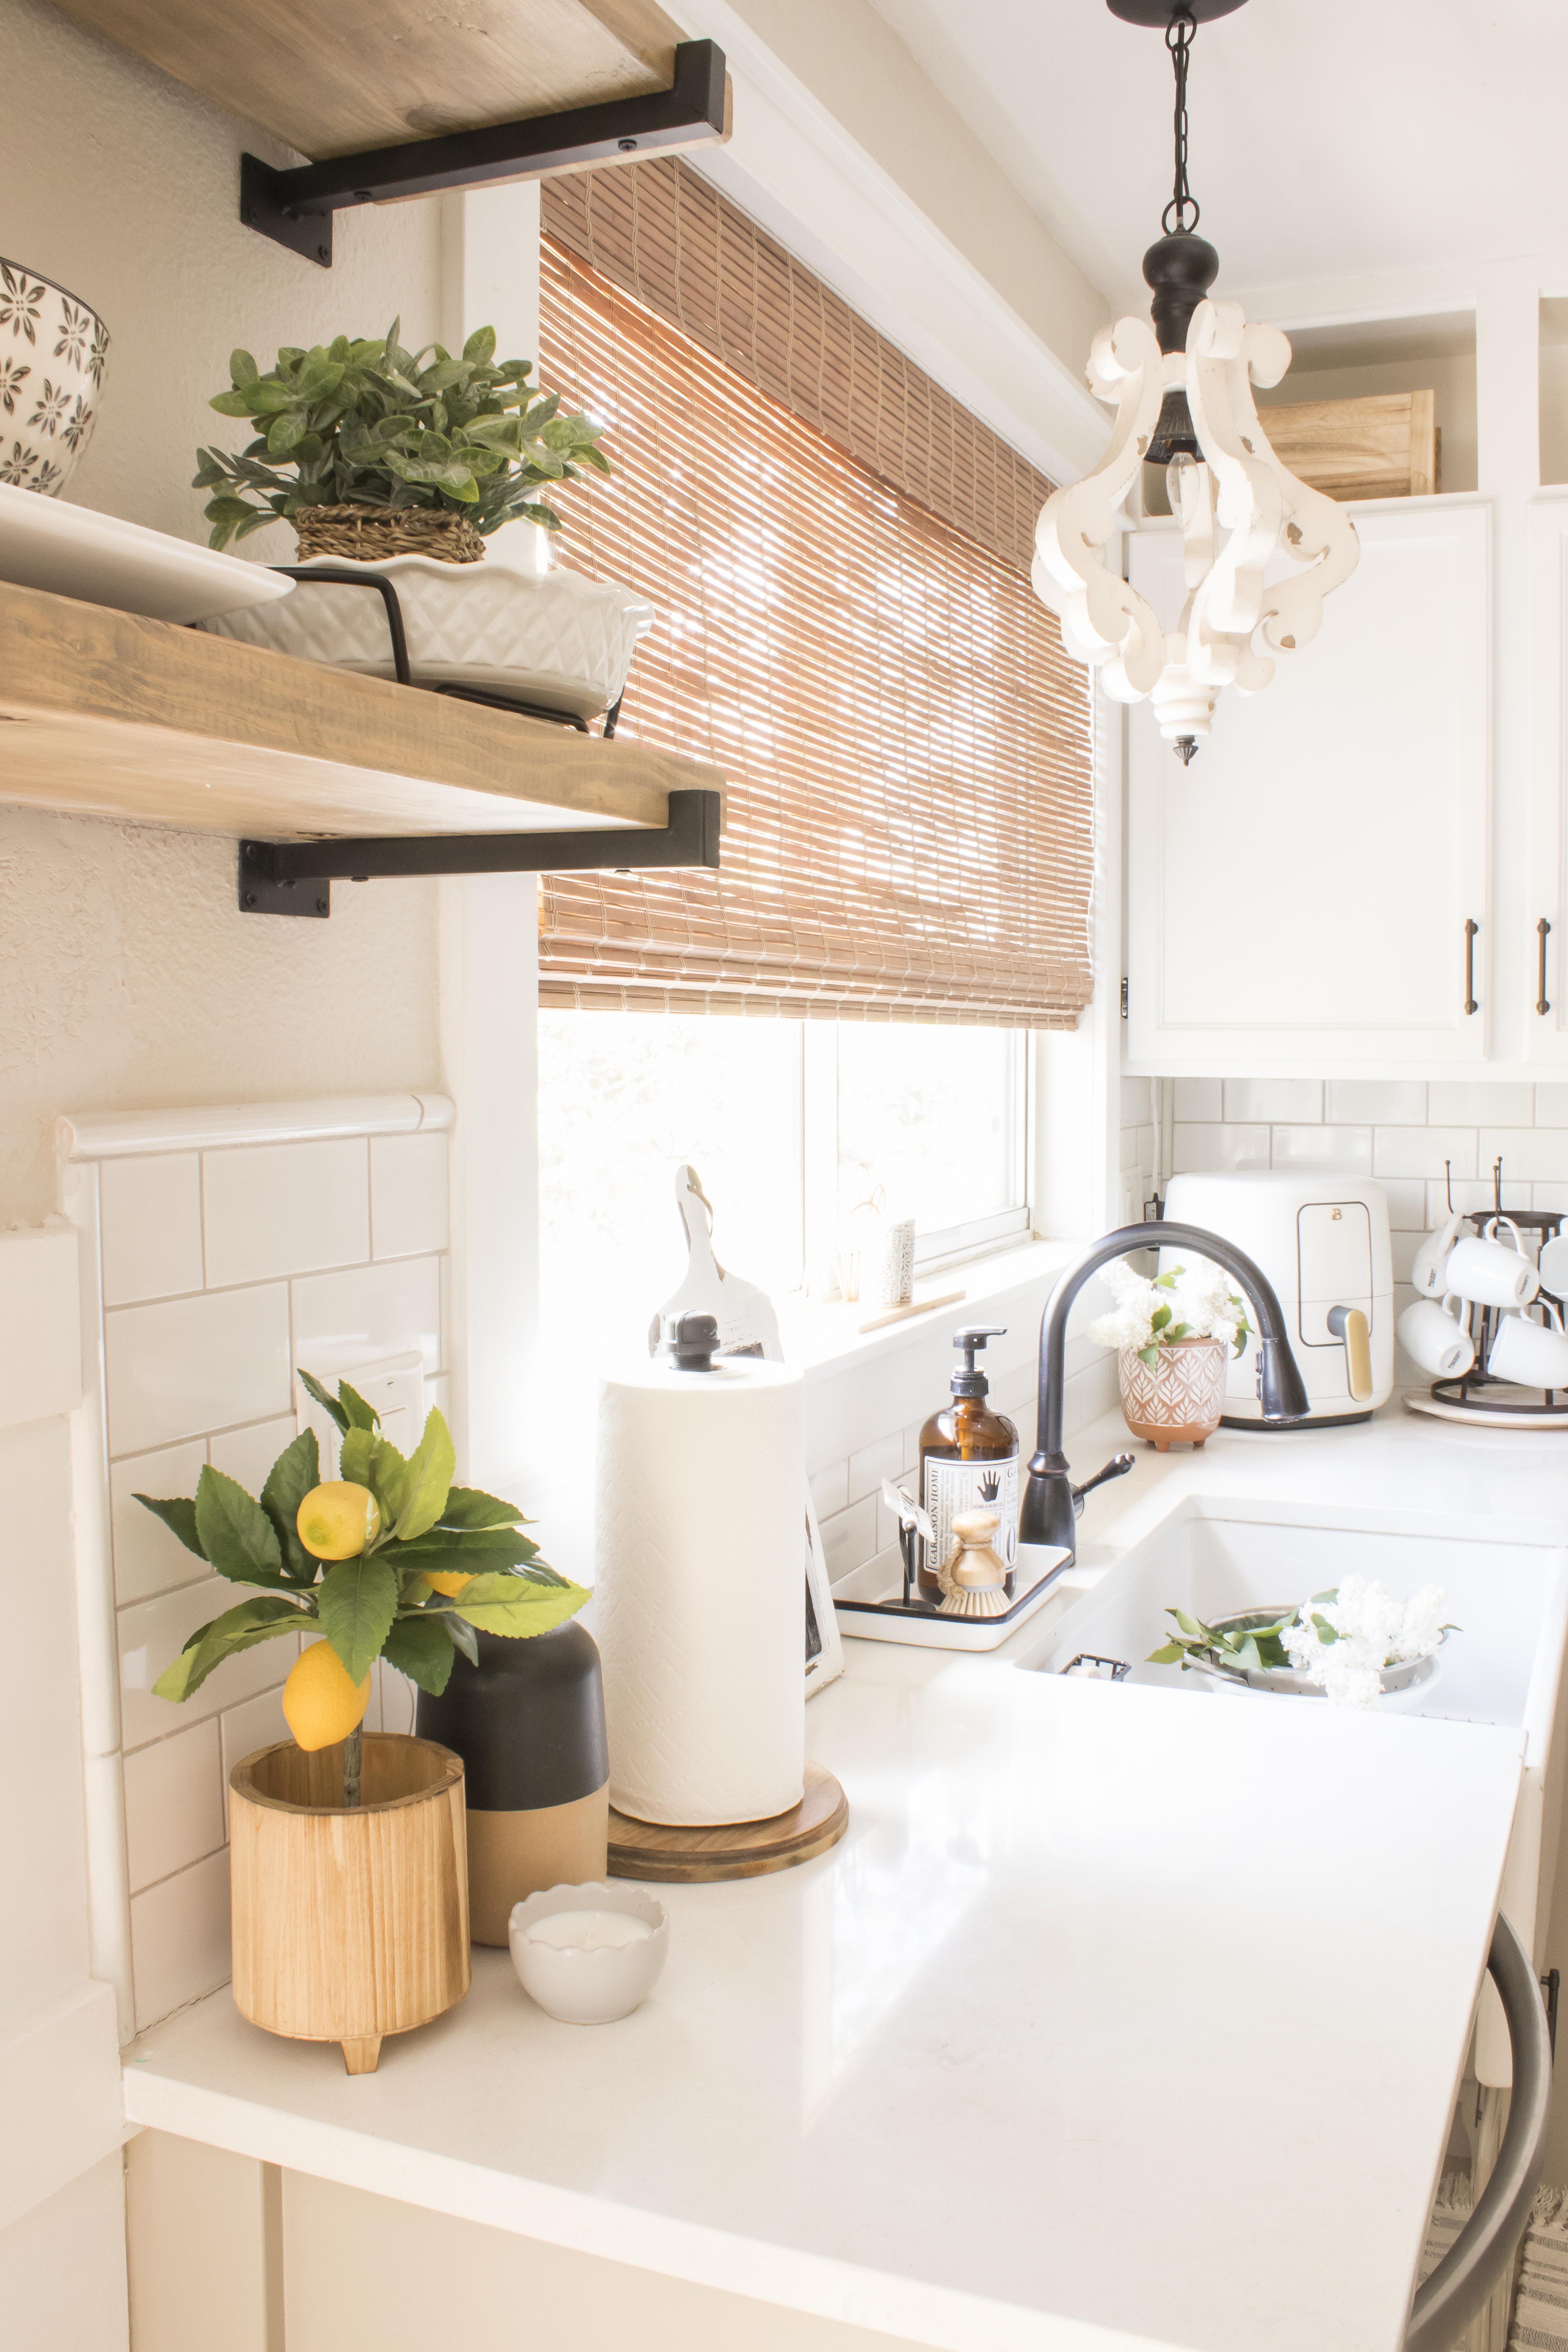
For fun let’s take a quick comaprison peek back at where this kitchen started when we first bought the house versus today!
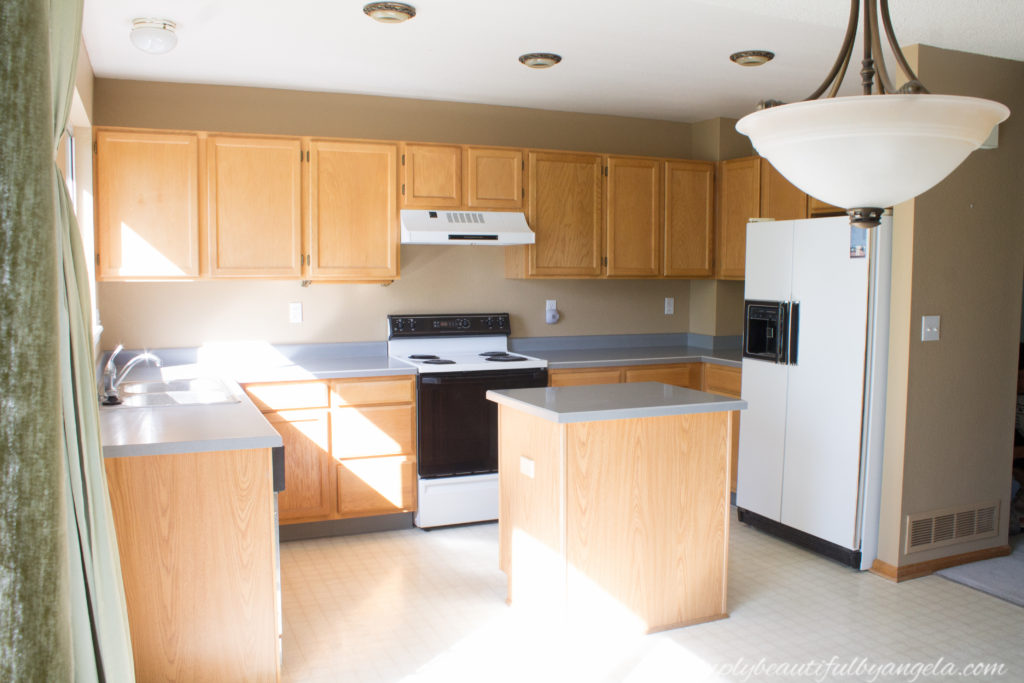
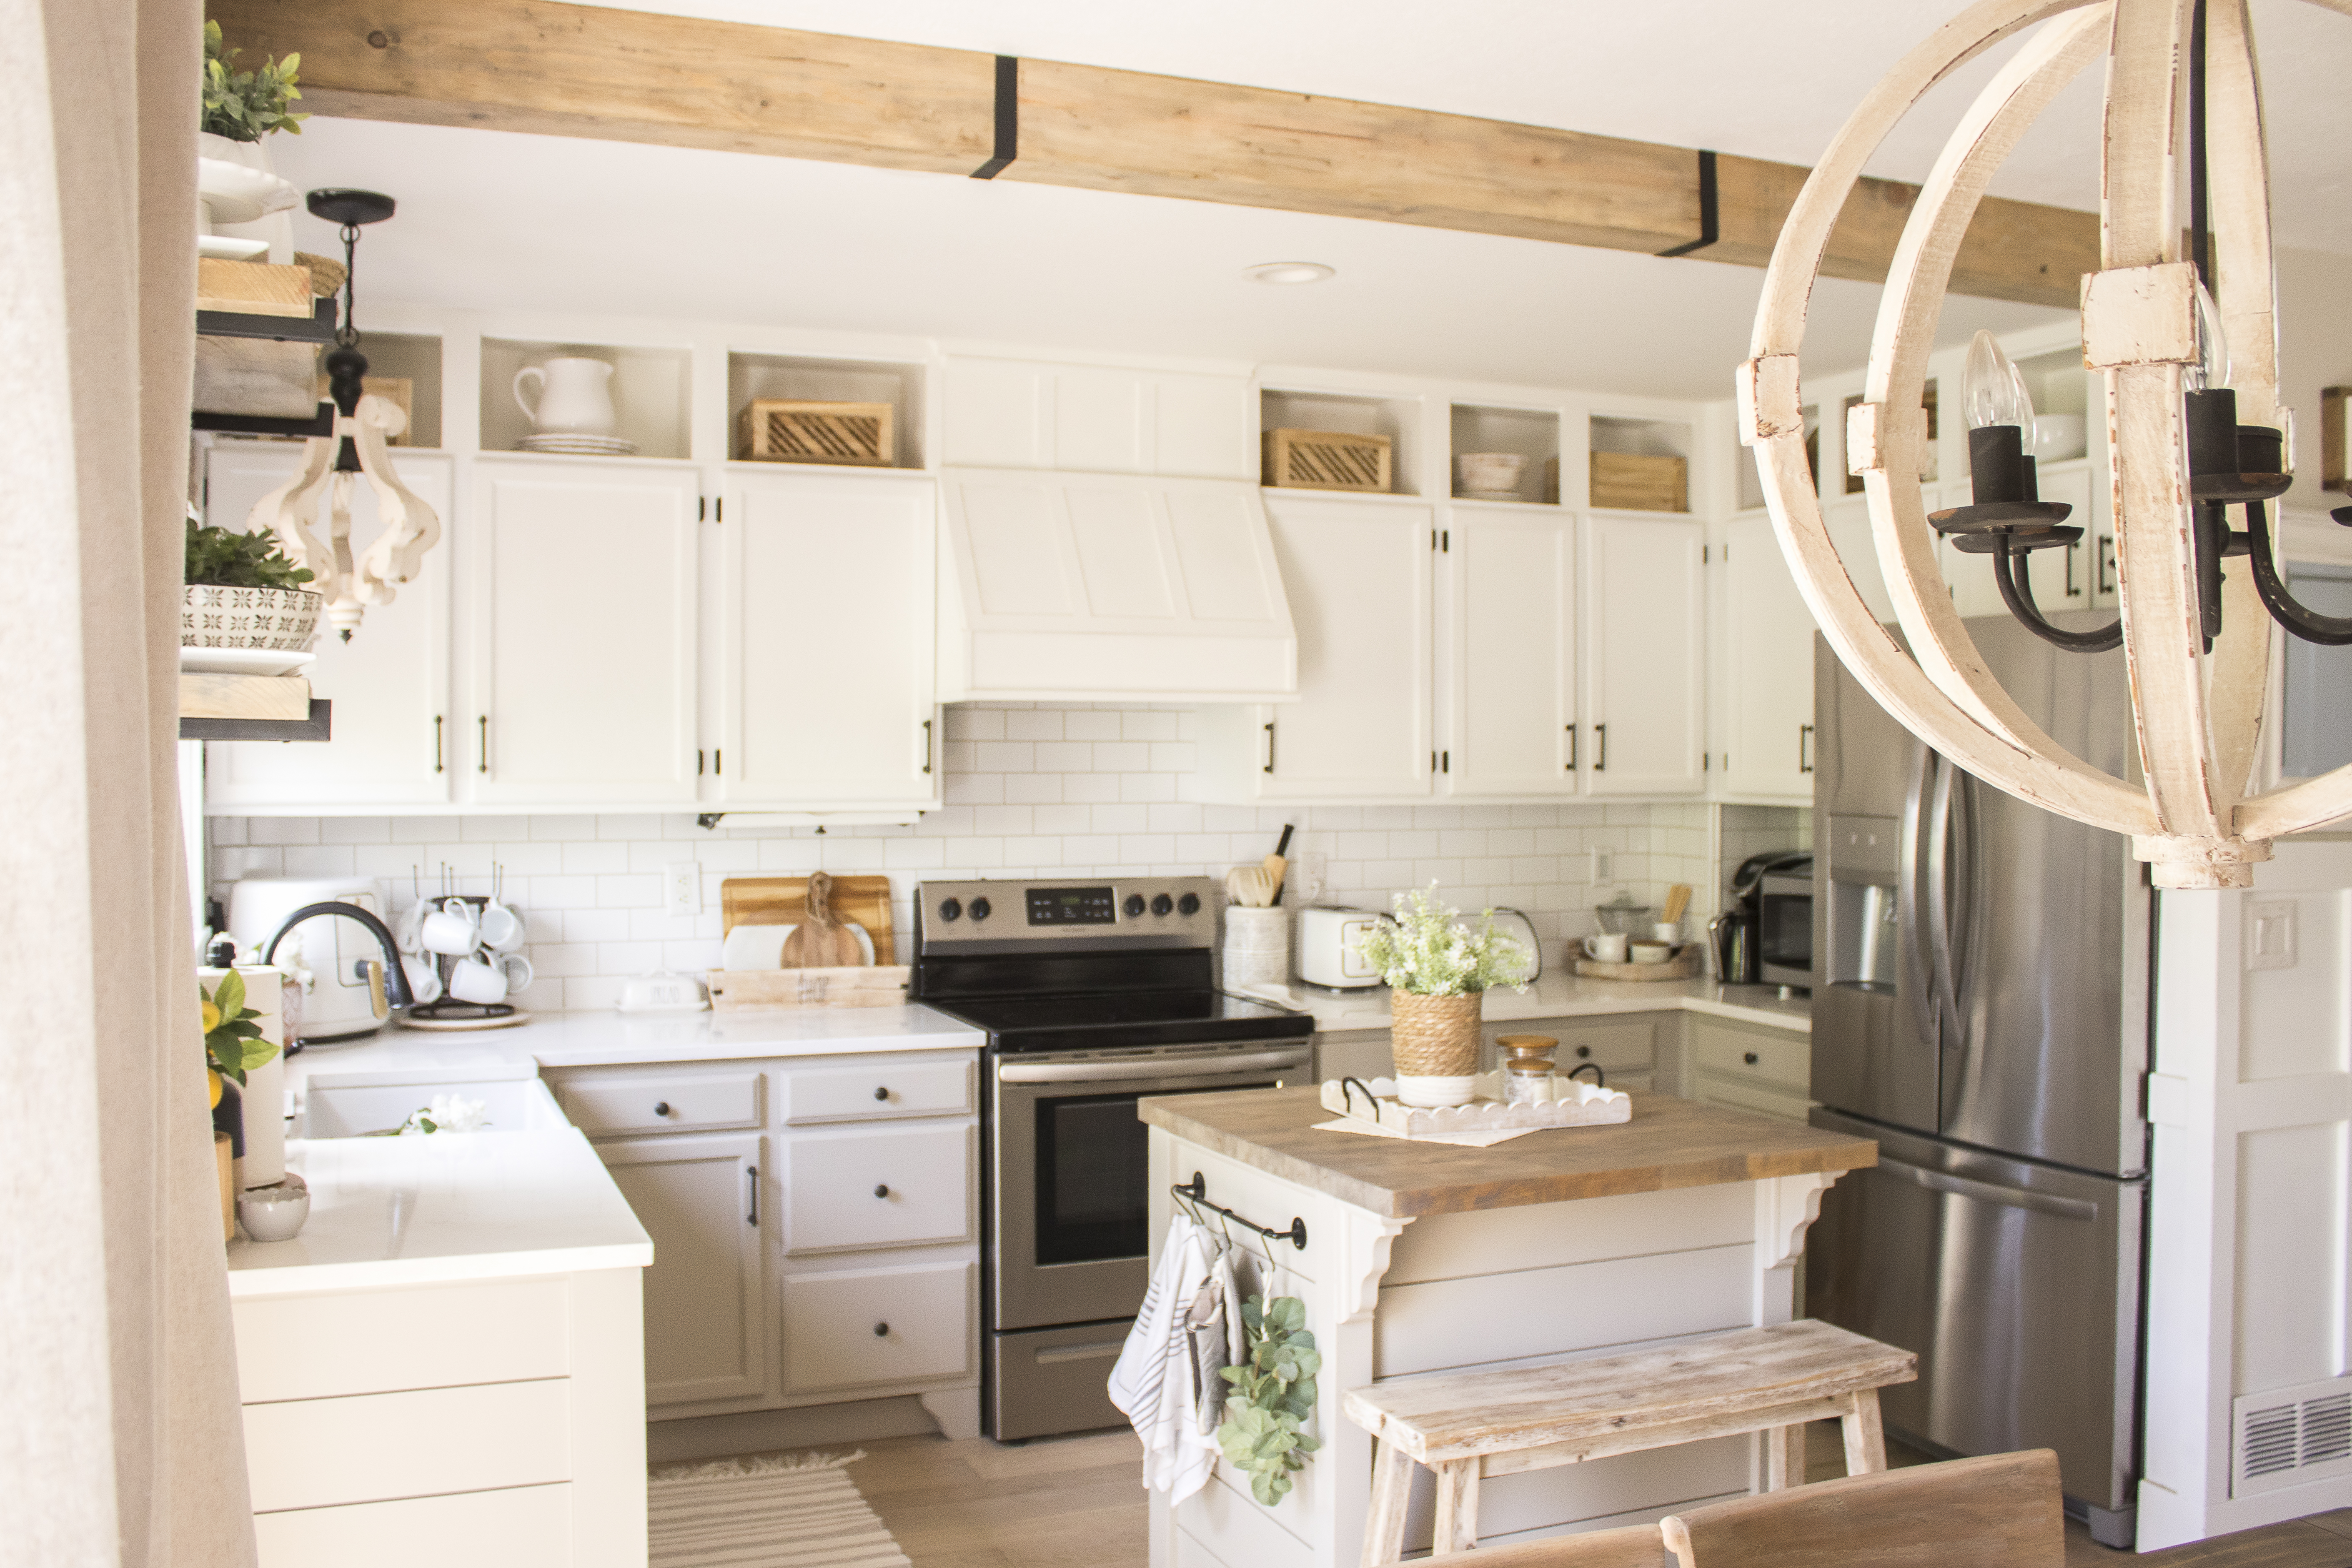
Quite the change! Thank you so much for stopping by today and I hope you get a chance to hop over to the link up to check out all of the other amazing room makeovers 🙂
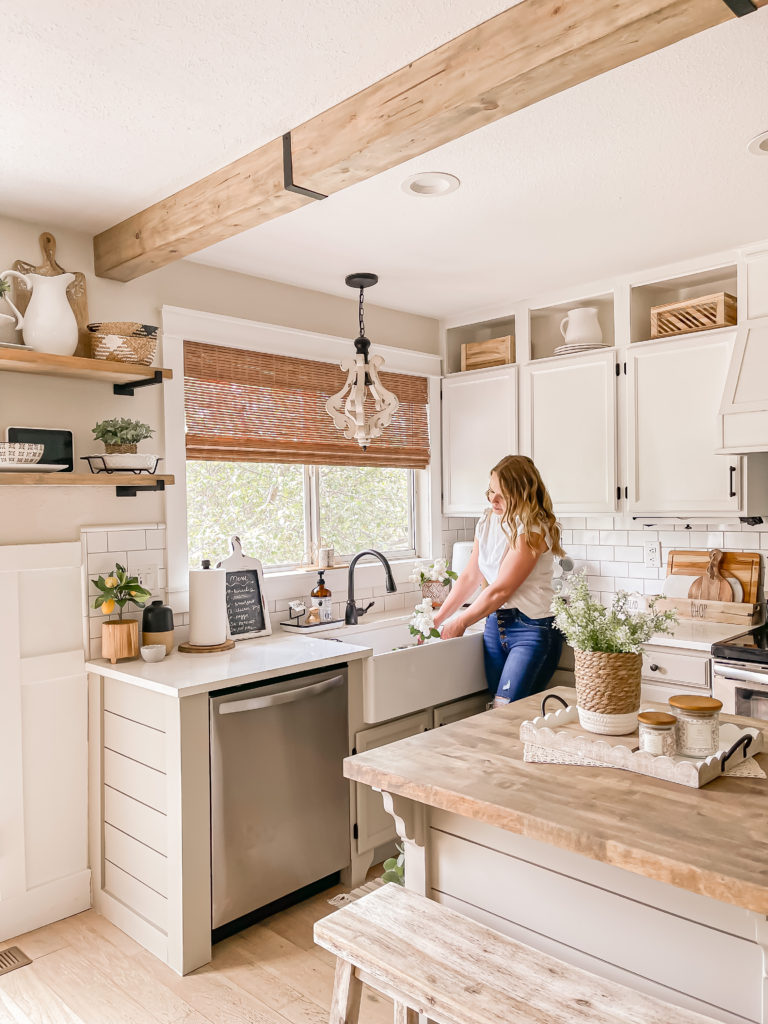
PIN FOR LATER!
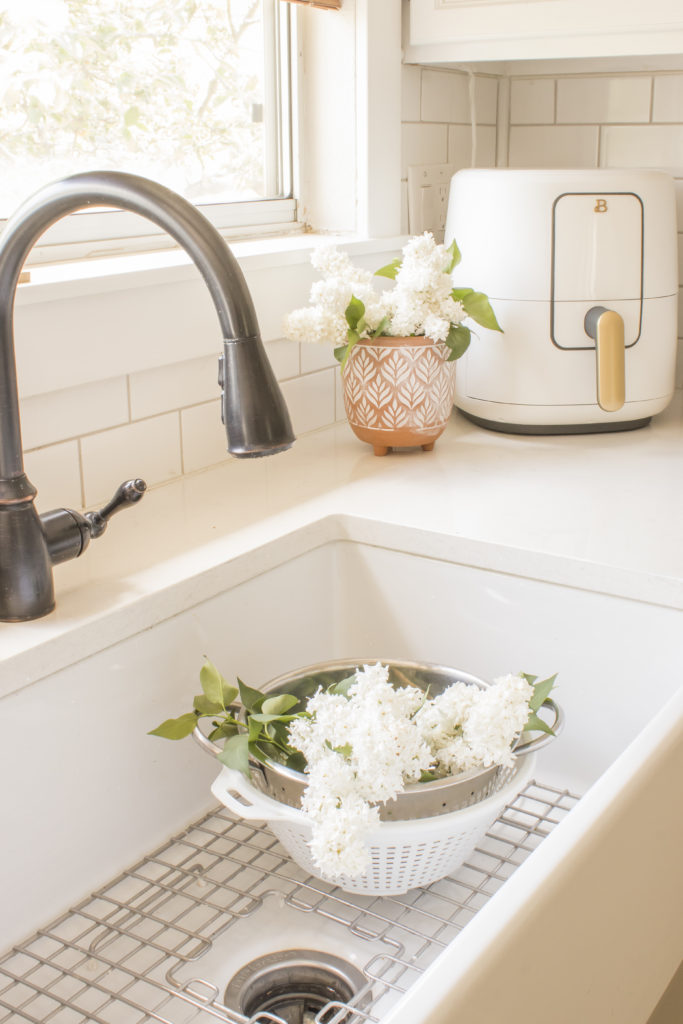
SOURCES
(Affiliate links may be provided for convenience. For more info, see my full disclosure here.)
- Cabinets: Snowfall White by Benjamin Moore (uppers) and Pashmina by Benjamin Moore (lowers)
- Hardware: Iron Pull Bars and Iron Flat Top Knobs
- Sink: Bradstreet II Sinkology
- Faucet: Pfister Canton
- Blinds: Home Decorators Collection in Driftwood
- Light: A & B Home Perth Wooden Pendant Light
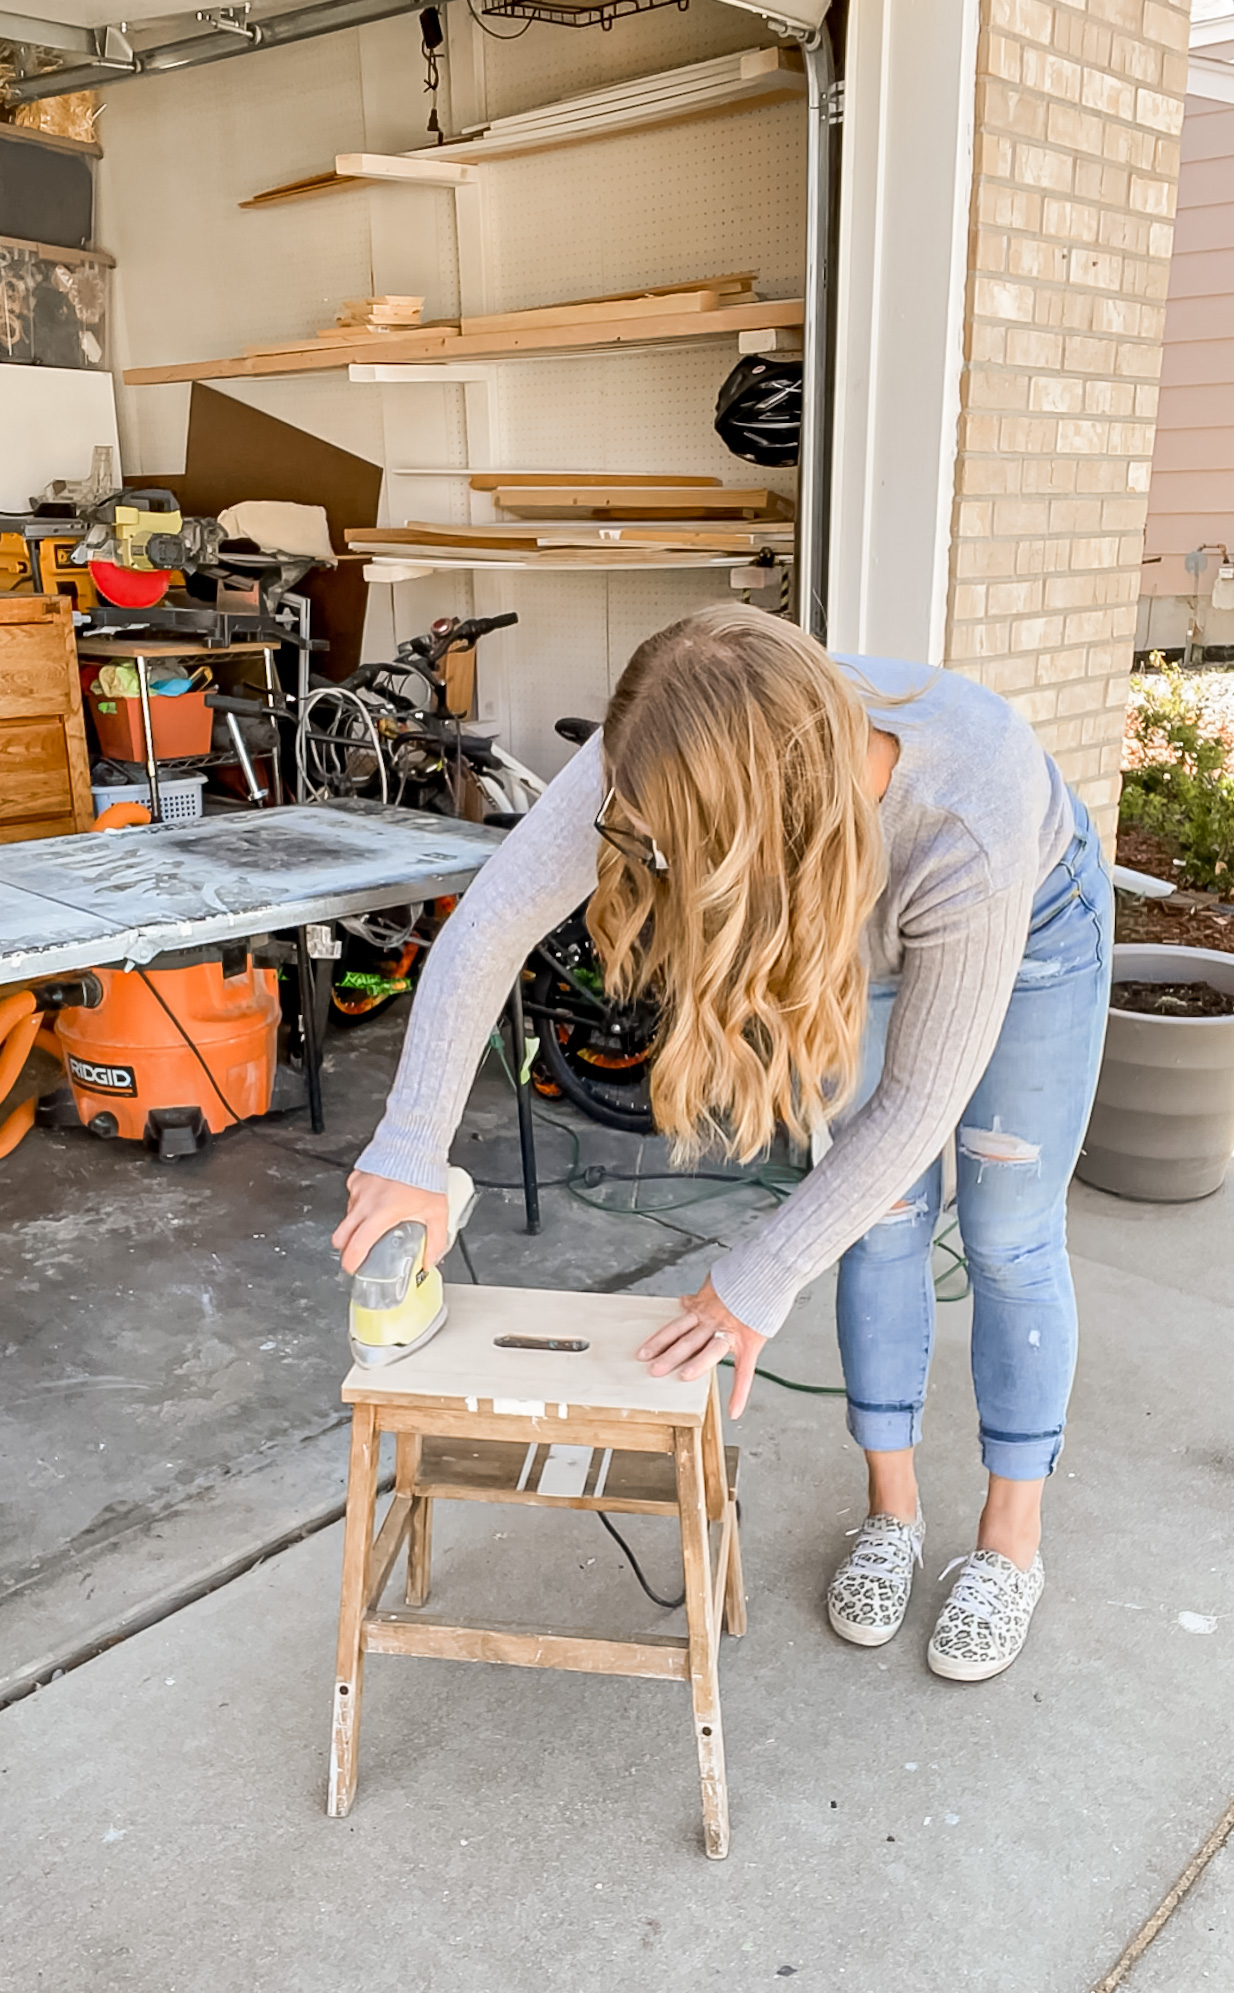
- Bench: Sonoma Saddle Bench (I sanded it down to make it lighter)
- Shelf Brackets
- LED Lighting Strips
- Rug
- Patterned Serving Bowl
- Large White Pitcher
- Lemon Tree and Wood Planter
- Diffuser
- Clean/Dirty Sign
- Air Fryer
- Toaster
- Utensil Holder
- Rolling Pin
- Bread box (I added this vinyl decal)
- Mug Rack
- Bar with Hanging Hooks
Linking up to these awesome parties
That’s what call a transformation #alittlebitofeverything
That beam! The paint colors. The light and airy feel. So stunning!!! Well done.
Hi Angela, please to meet you and thank you for finding our party to share on Oh My Heartsie Girls’ #omhgww last week. I’m sure happy that you made it over to share your blog with us, and this week I will be featuring your post on our party, so be sure to stop by and share with us more of your projects.
What an great job you have done on your challenge, you took amazing detailed pictures for sharing. I love everything and what a change form when you first bought your home. IF I had one wish is that I had a nice kitchen, I rent and the landlord has no interest in updating the kitchen, if only just the counters. But I will appreciate your hard work.
I hope you have a lovely week!
Hi Angela, your kitchen makeover is absolutely amazing! You all had so many great and creative ideas to really give it one of a kind look. I’ll be featuring this post on All About Home this evening. Thanks so much for joining in on the party!