
Hello everyone and welcome to Week 5 of the One Room Challenge! Last week we left off starting on the upper cabinet boxes and since then I’ve been a busy little bee getting those finished up. Ive also starting on the next phase of this kitchen refresh.
In case you missed any previous posts in this challenge I will link them here for you to catch up:
- One Room Challenge (Week 1): Kitchen Refresh Plans
- One Room Challenge (Week 2): Choosing a Cabinet Color
- One Room Challenge (Week 3): Painting the Cabinets
- One Room Challenge (Week 4): Building the Upper Cabinet Boxes
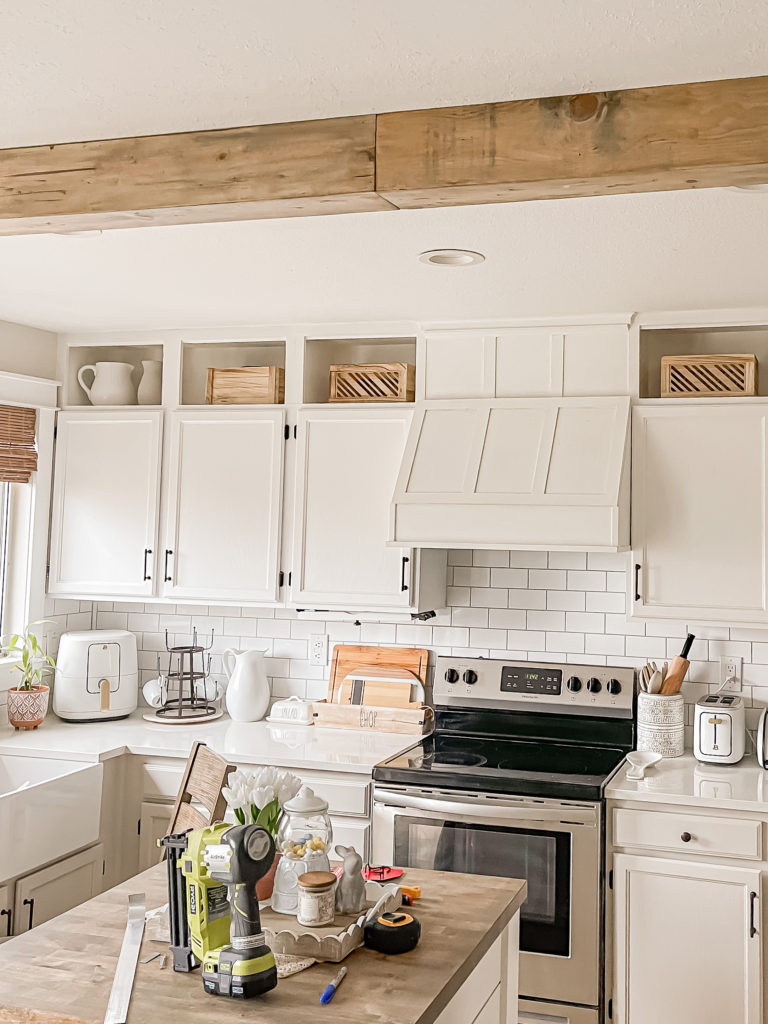
Once the boxes were primed and painted, I attached them to the top of the cabinets with a screw in each corner. I then went back and trimmed them out using 1x2s.
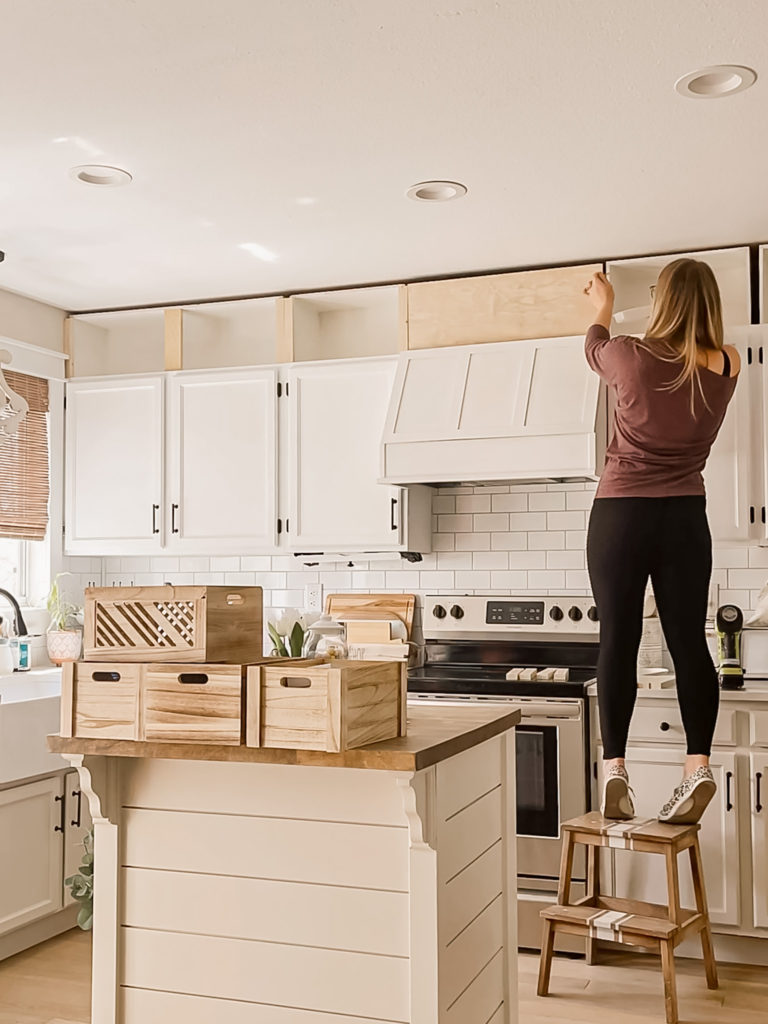
Once those were all painted and caulked, I decided to go back and add cove molding trim along the top of each box.
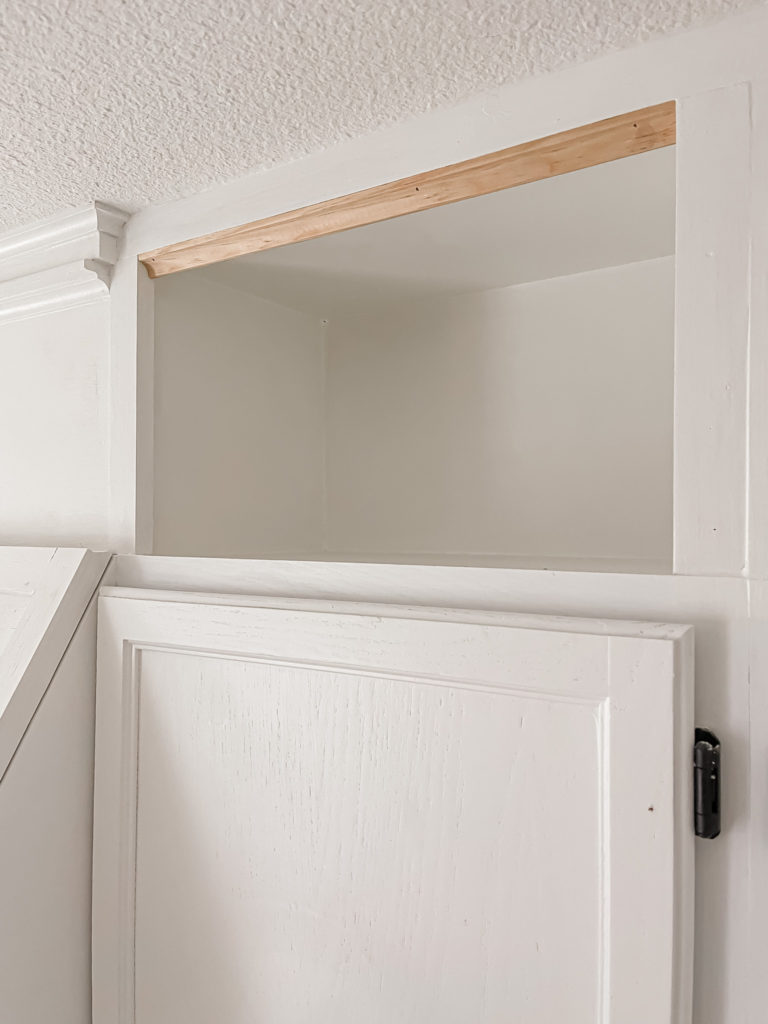
I like the extra flair that it adds visually, but the main reason I did this is because I decided to run some lighting strips up here and they will attach to the back of this molding. I have a slight idea of how I am going to do this, but I think I will need to pull the hubby in on this one since he’s usually a bit better at figuring things like this out. I can’t wait to see how it turns out!
Ok, let’s chat about the faux wood beam. I have dreamed of having a wood beam over our kitchen since we first bought this house, so it’s been super exciting starting to see it finally to come to life.
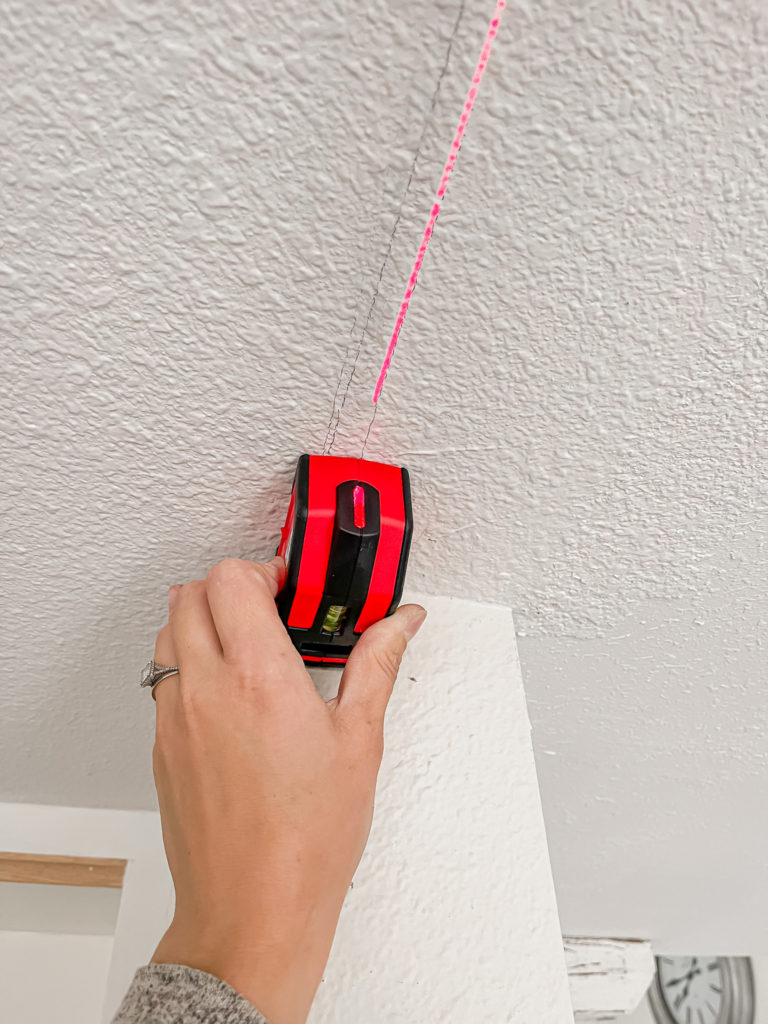
I began by drawing a straight level line along the ceiling using a laser level.
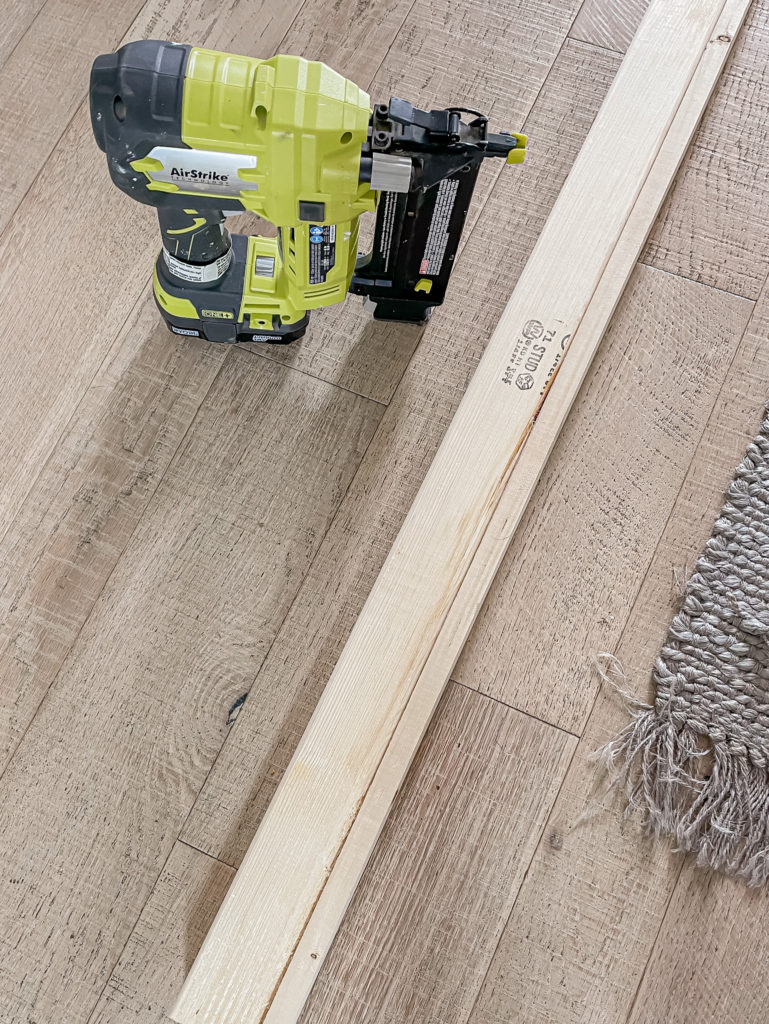
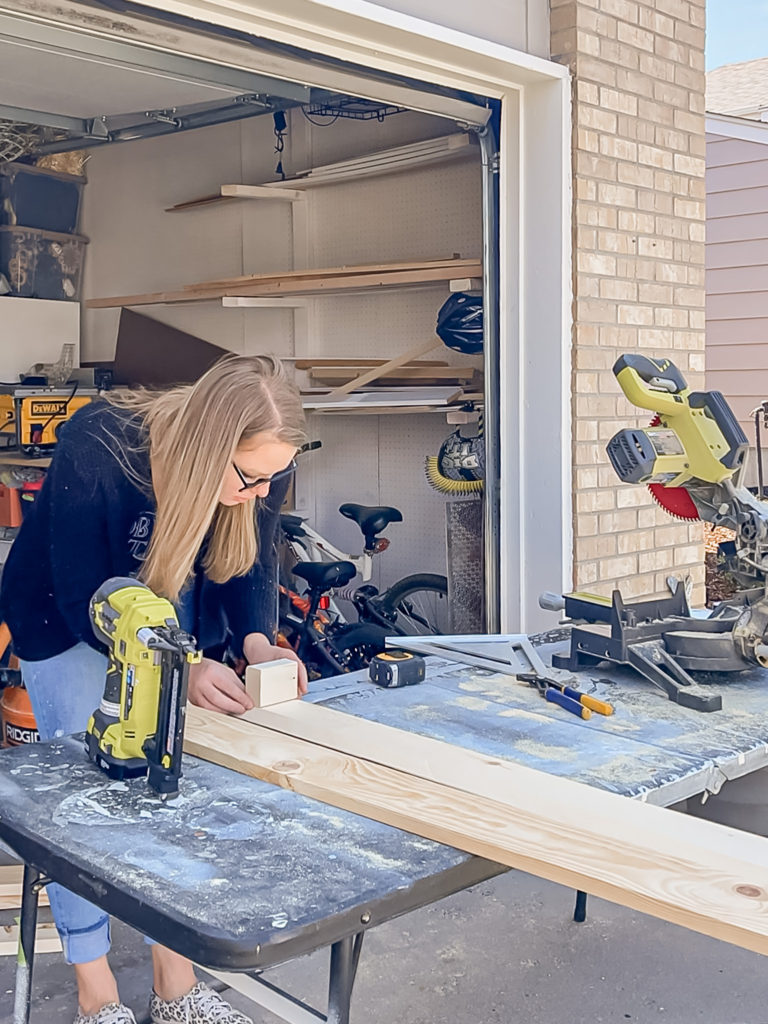
Once that was in place, I started preparing the mounting board. I knew that I wanted the beam to be flush with the wall, so I figured out that the mounting board needed to measure 4.25″ to allow 3/4″ on either side for the beam to slide over. Using my nail gun, I attached a 2×3 to a 1×2 to get this width.
The next part was a two-person job. While I held the mounting board in place, Anthony attached it to the ceiling using drywall anchors.
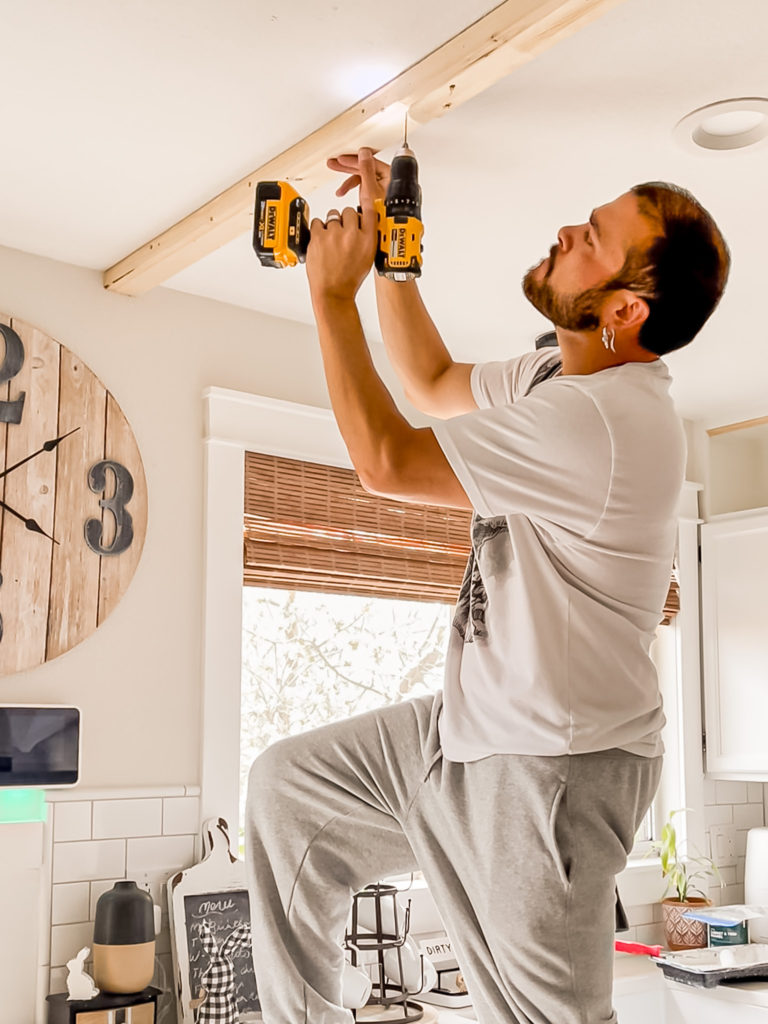
Attaching them to studs would have been easier, but we don’t have one here—so anchors it was! Each drywall anchor holds 65 pounds and we put two staggered next to each other. This thing isn’t going anywhere!
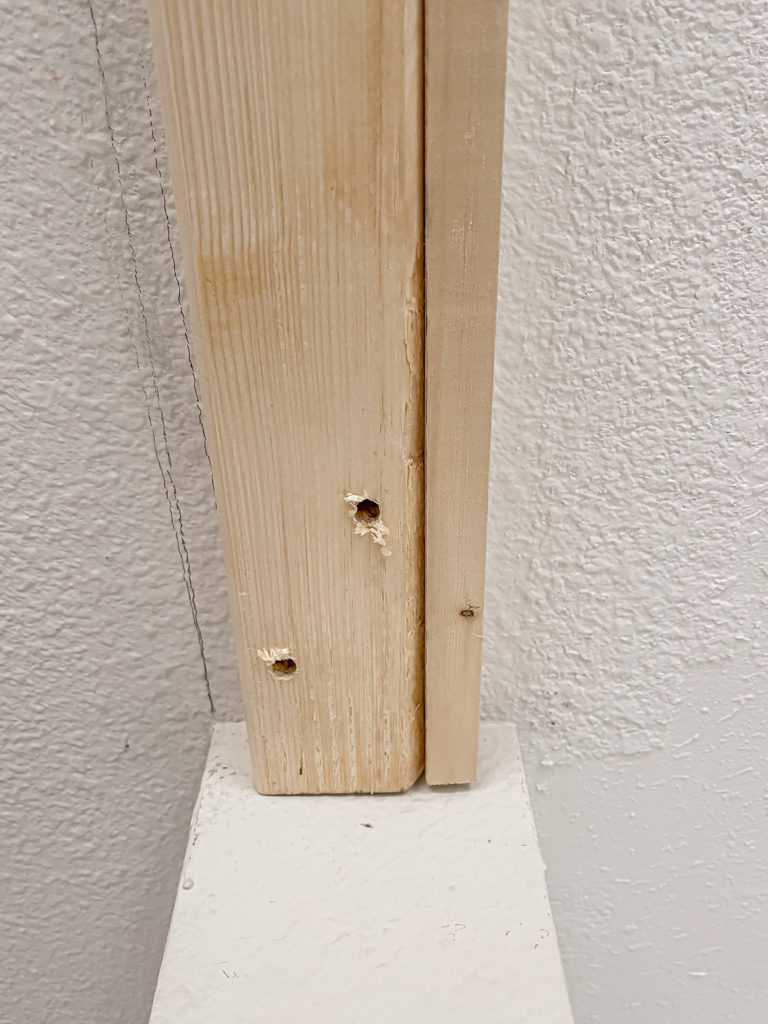
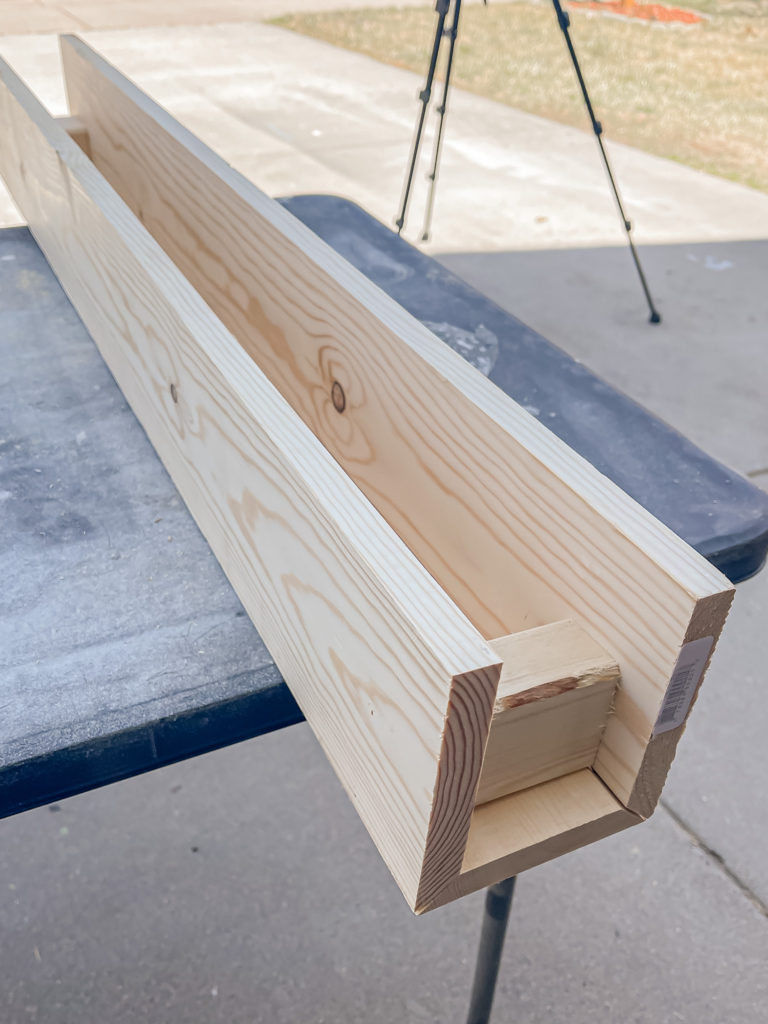
With that in place, I started working on the “beam” which is essentially a U-shape that is going to slide over the mounting board.
I will share a more detailed tutorial at some point, but in the end, this is what the U-shape beam looked like.
I used a hammer, chisel and wire brush to beat it up a bit and absolutely love the final look. It really does feel like an authentic old beam.
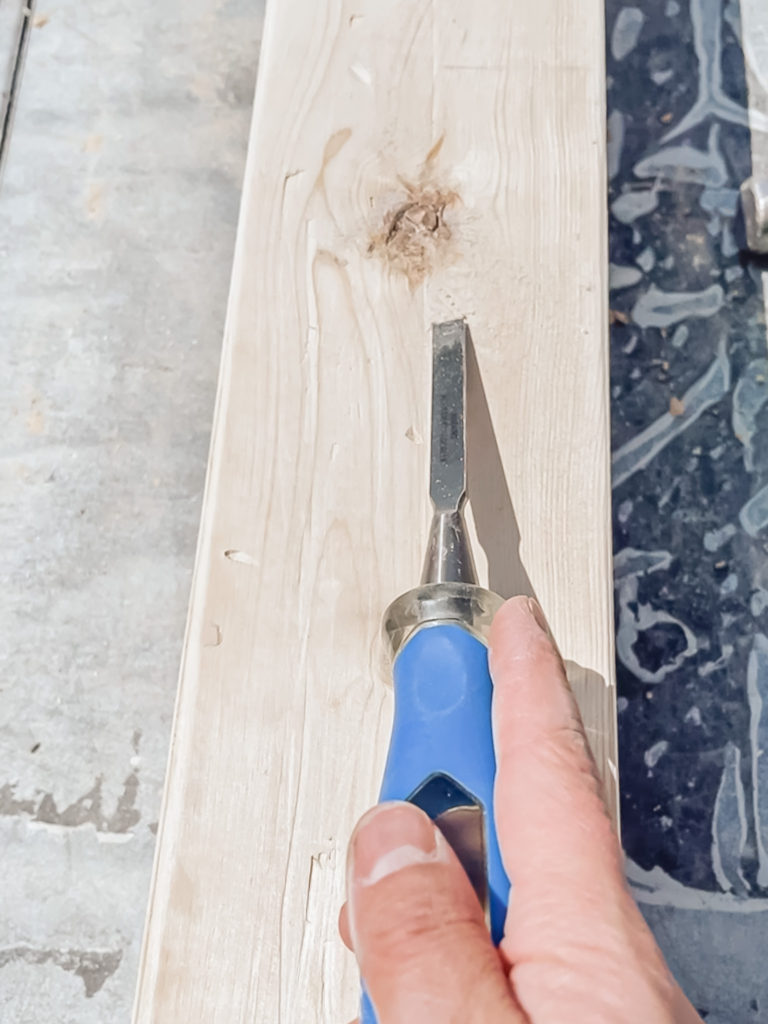
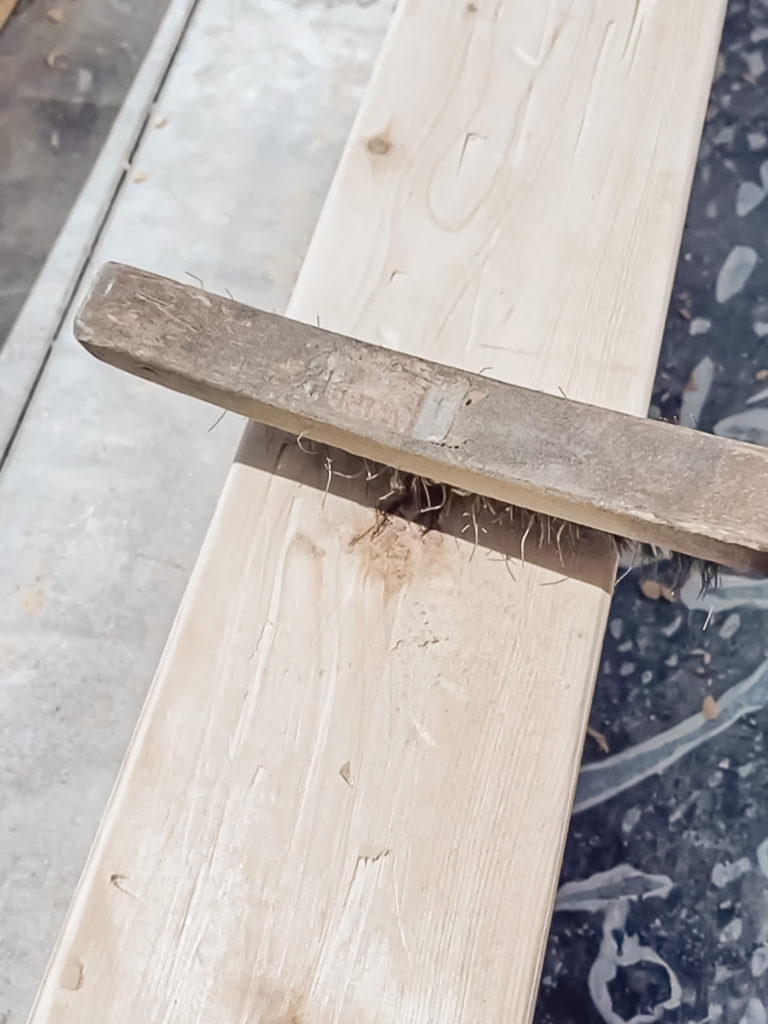
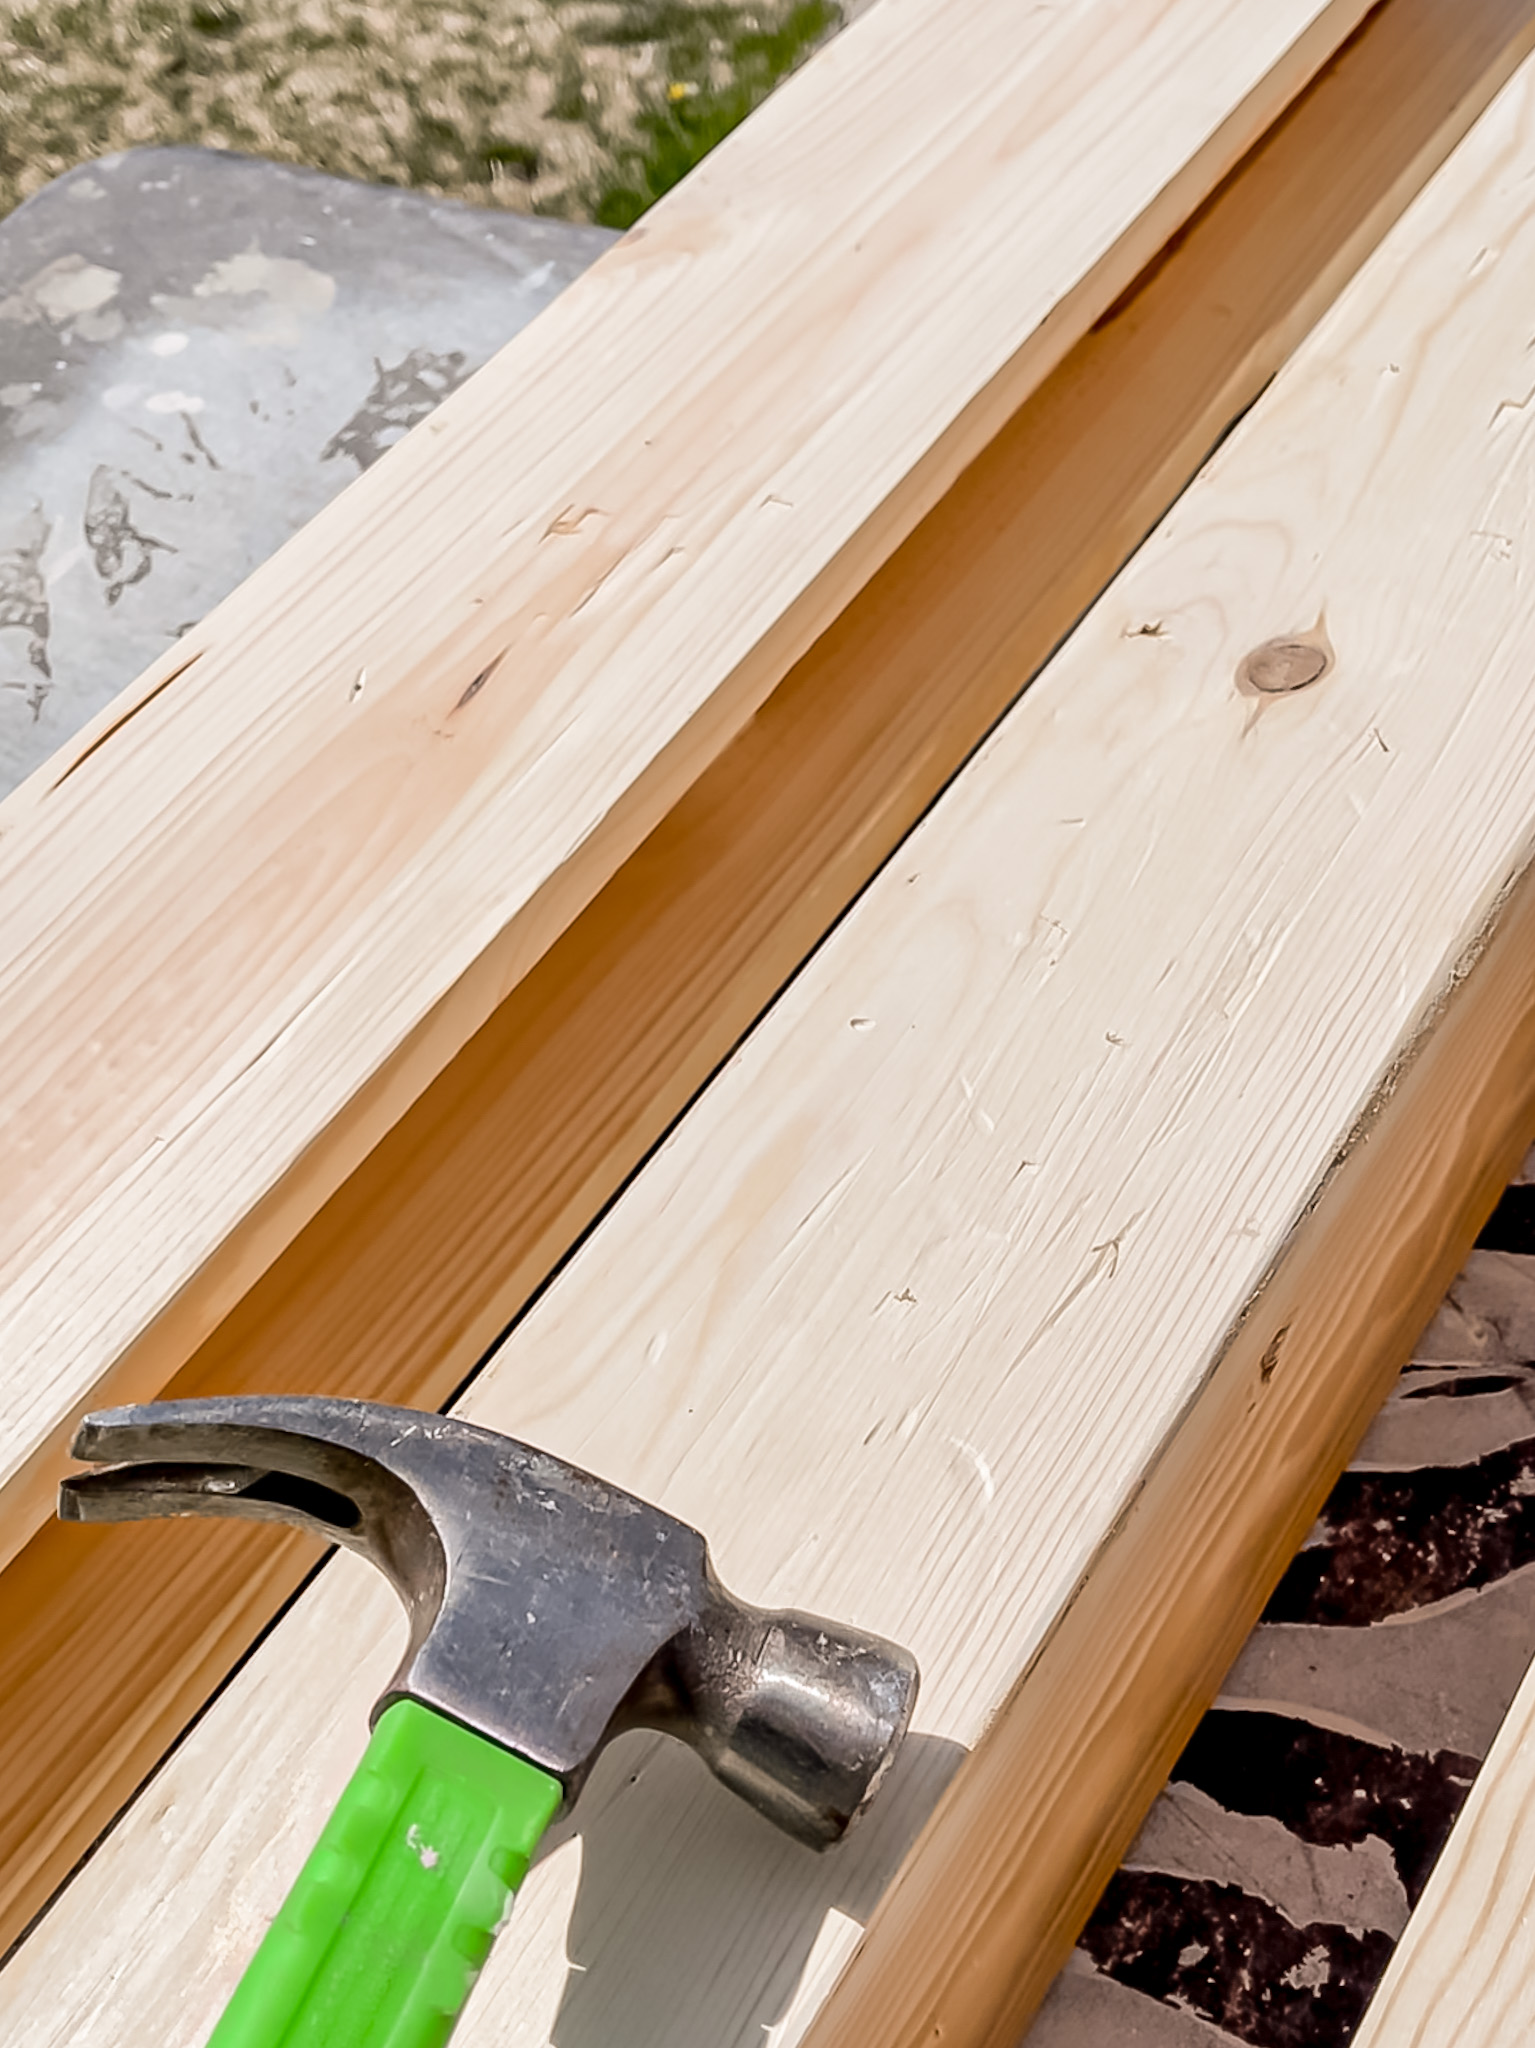
After a bit of experimenting, I finally got the perfect stain color down and after it was all stained and sealed we started attaching it to the mounting board.
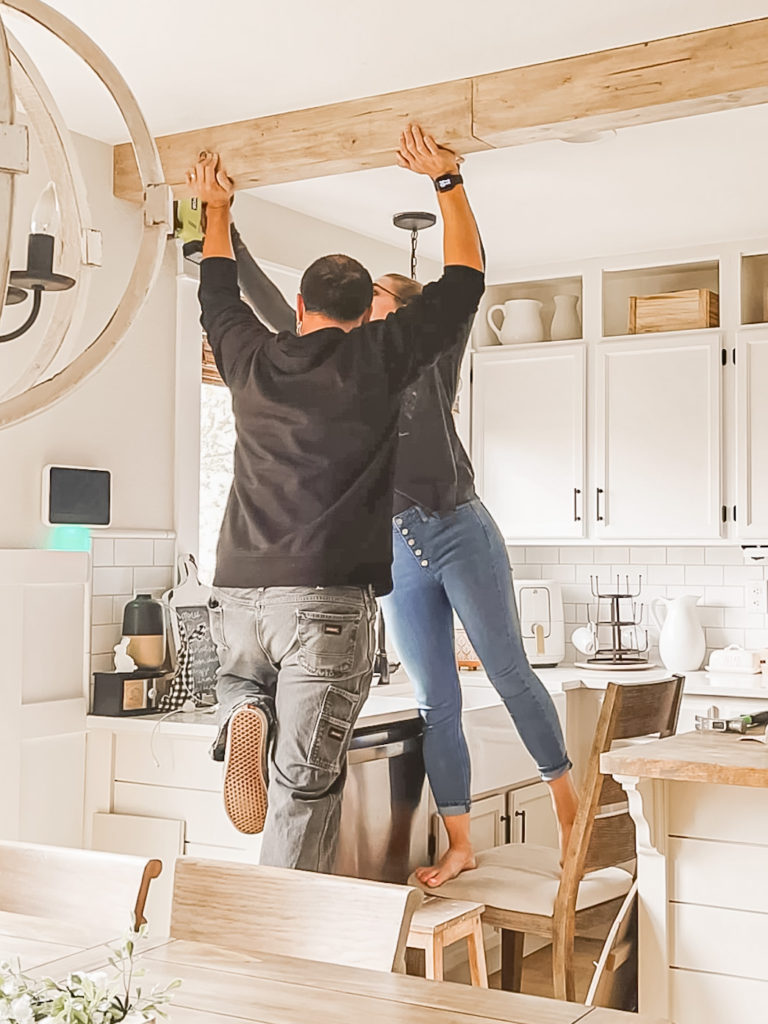
I still need to add the beam straps to hide the seams but it is already looking soo good!
I will be back next week with another update, have a happy rest of the week my friends!
Linking up to these awesome parties
(Affiliate links may be provided for convenience. For more info, see my full disclosure here.)