Hello friends! Sorry about the radio silence last week, COVID had me struck down pretty hard so I was taking it easy as much as possible. I am so happy and thankful to report that I’m feeling much better now and ready to take on the new week!
I promised a few weeks ago to write up the tutorial for the DIY upper cabinet boxes that I built during our recent kitchen refresh, and although I got a little sidetracked–now is finally the time!
Supplies Used:(Affiliate links may be provided for convenience. For more info, see my full disclosure here.)
- 1/2″ Plywood
- 1x2s
- 1x4s
- 2×3 Studs
- Table Saw
- Miter Saw
- Cordless Nail Gun
- Wood Glue
- Sander
- Spackle
- Behr Cabinet Paint
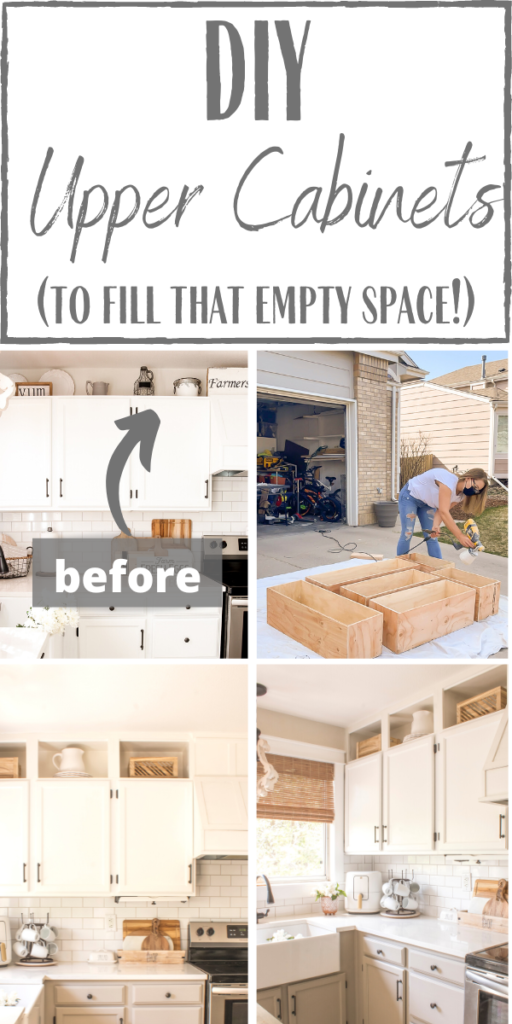
When we first bought this house I would look at that empty space above the cabinets and dream of having pretty cabinets up there. However I knew that it would cost a small fortune to have them installed, so I simply stuck some decor up there and called it good.
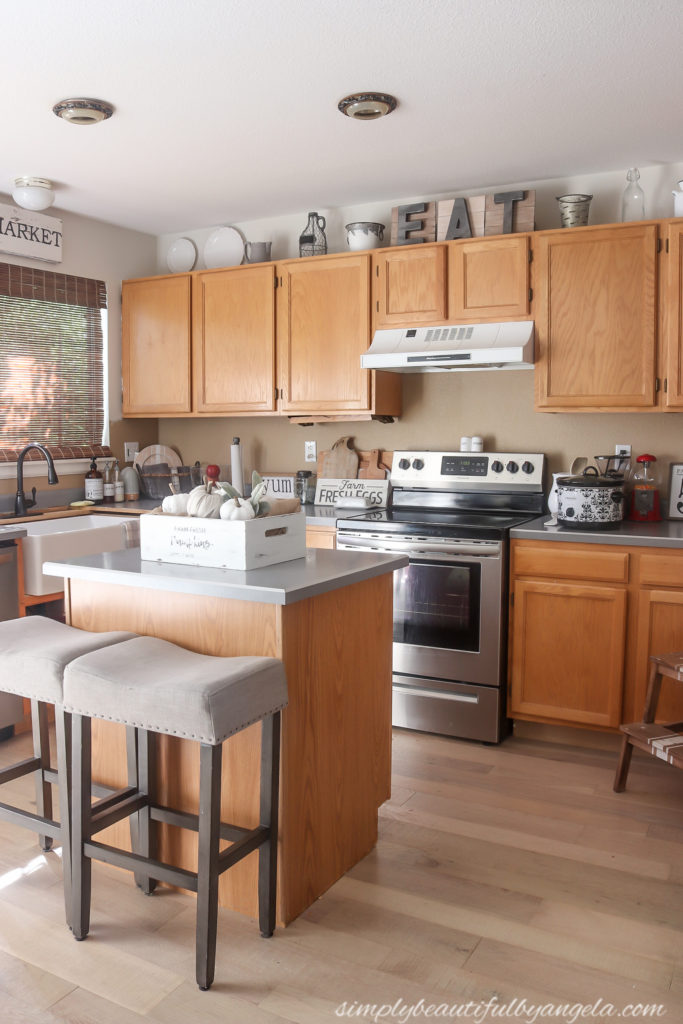
I started brainstorming ways to build our own upper cabinets and used the recent kitchen refresh as an opportunity to finally bring my vision to life!
1. Measure and Plan
I drew up my plans by getting the measurements for each individual box and then planned out how to cut the pieces on two sheets of plywood. I measured my boxes to sit inside the tops of the existing cabinets.
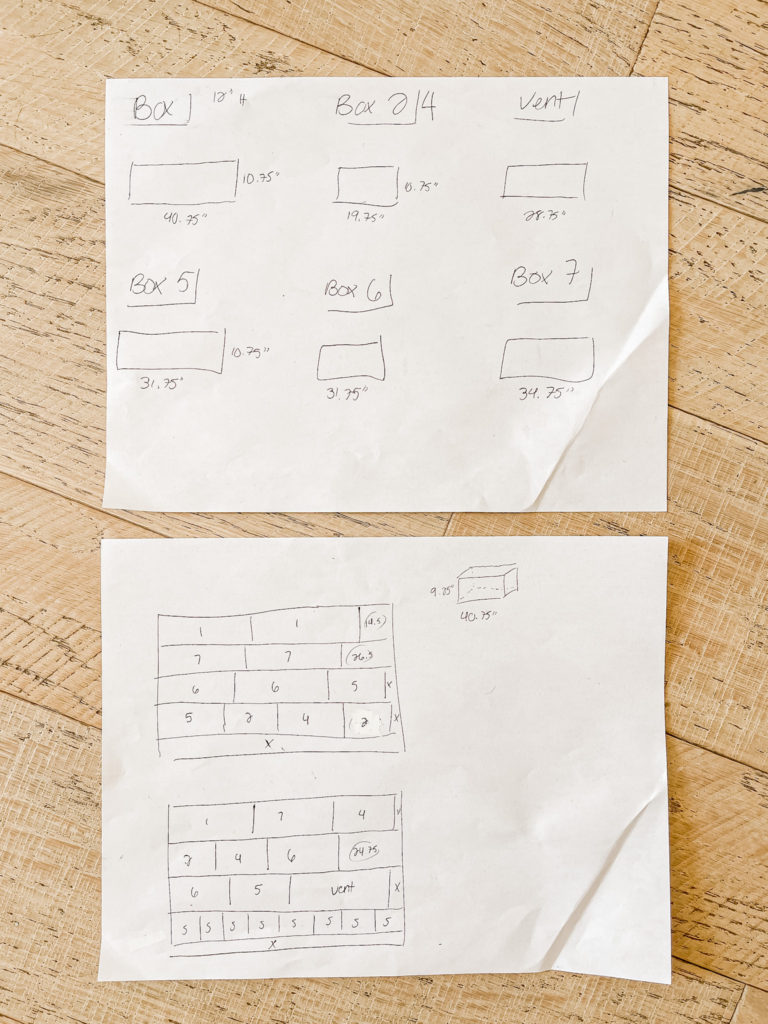
These plans look a lot more confusing than they actually were haha! I promise once you have the measurement of each of your boxes and start drawing it should make a lot more sense!
2. Cut Plywood
I had the hubby help me cut the strips of plywood in to 10.75″ strips on the table saw since that would be the width of all the boxes from bottom to the top.
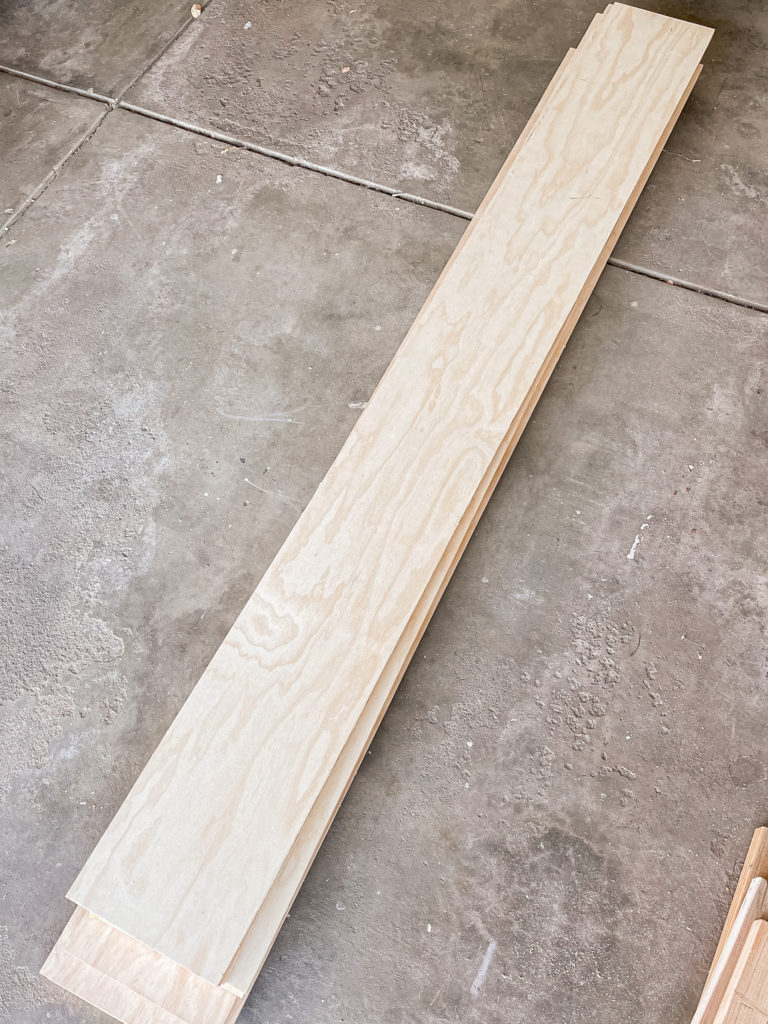
Once we had those, I was able to go back and cut down the lengths on the miter saw.
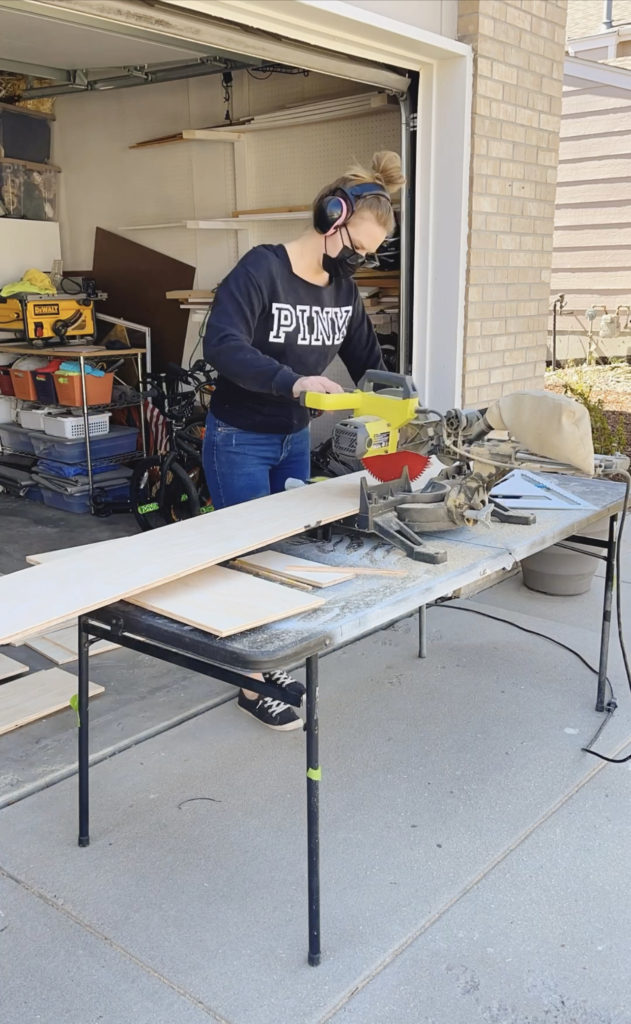
I kept the piece in stacks according to which number box it was, but I also marked them with pencil just in case!
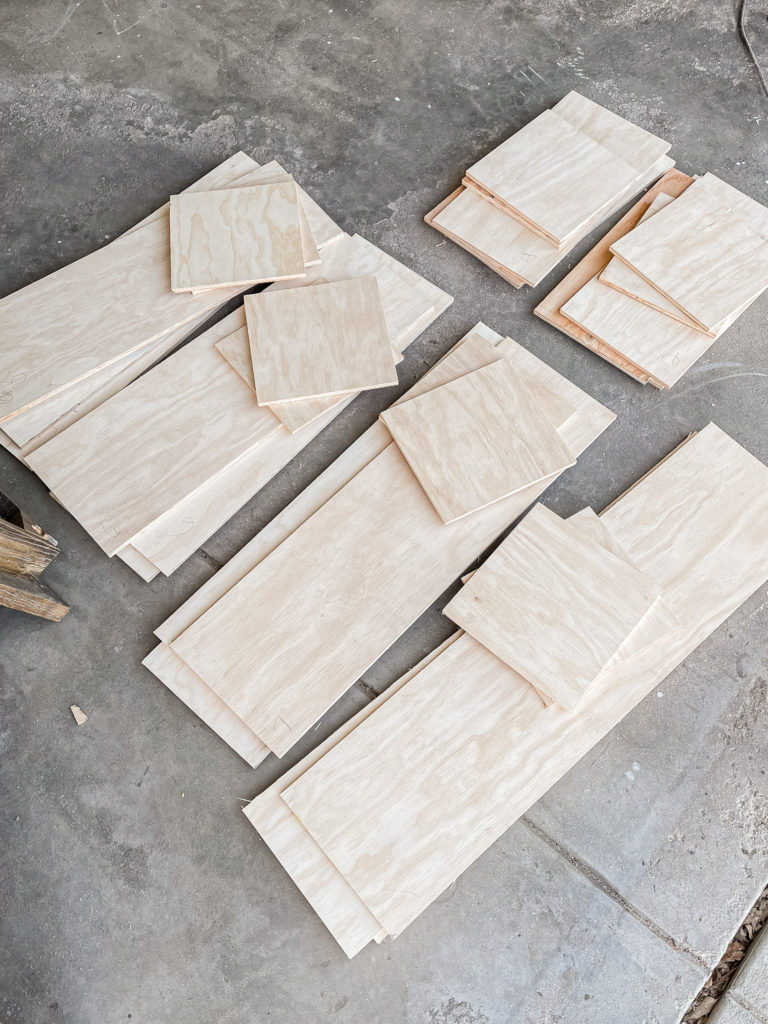
Once all of the pieces were cut, it was time to start assembling!
3. Assemble the Boxes
It was here that I quickly realized that geometry is not my strong suit haha. I had to take them apart a couple of times because I would often put the pieces in the wrong direction or the wrong order. If I did this again I would probably mark the sides (front, back) to help me with this step.
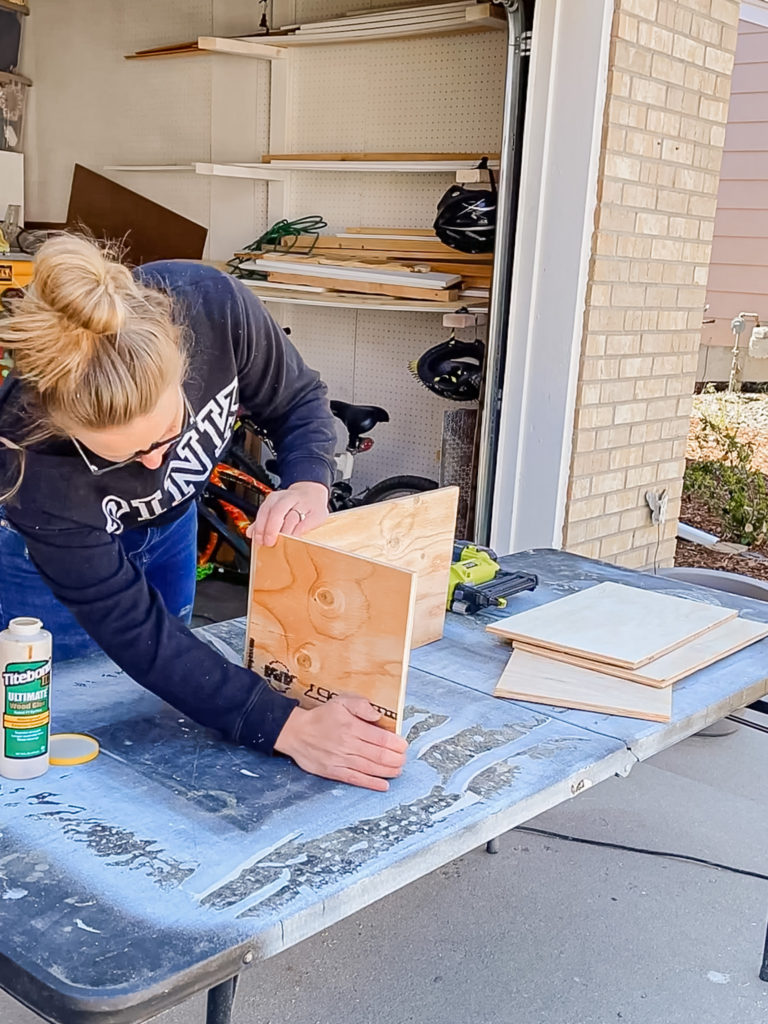
Although I had originally planned to use wood screws, I found that wood glue and my nail gun made these babies super secure!
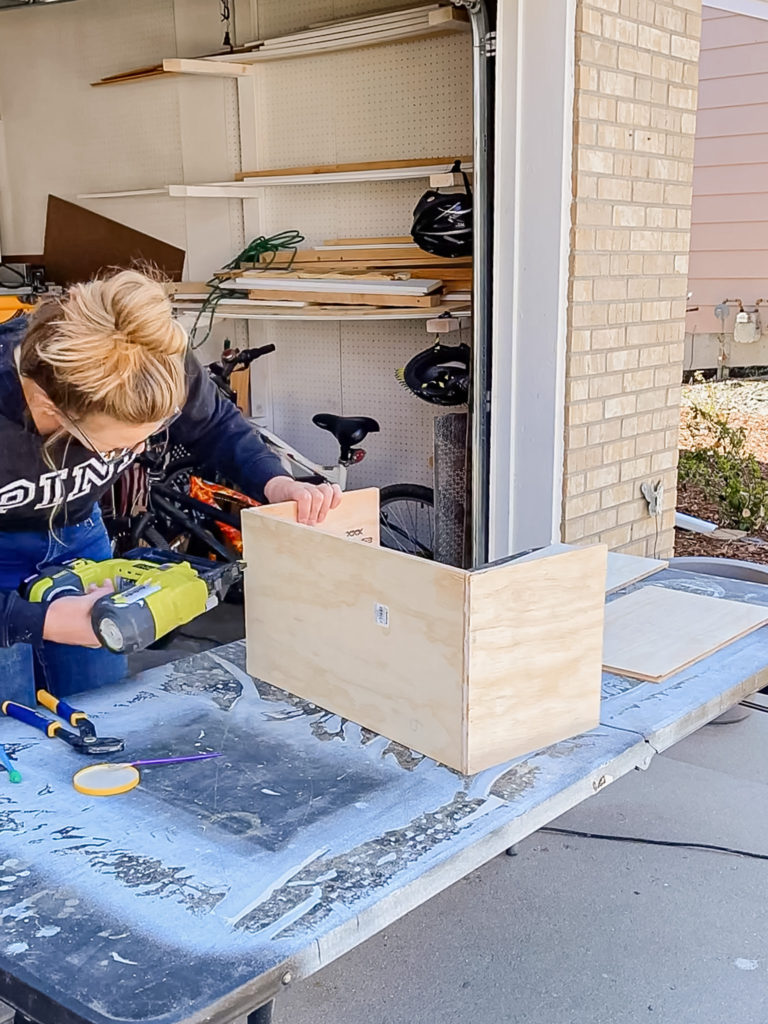
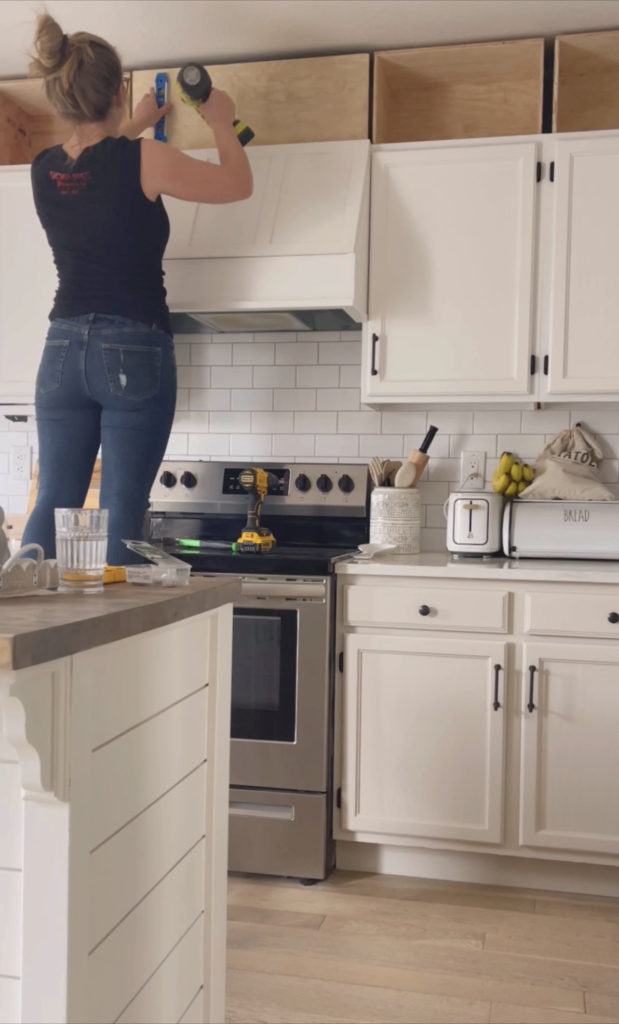
Once they were all assembled, I set them all in place to make sure that they fit properly.
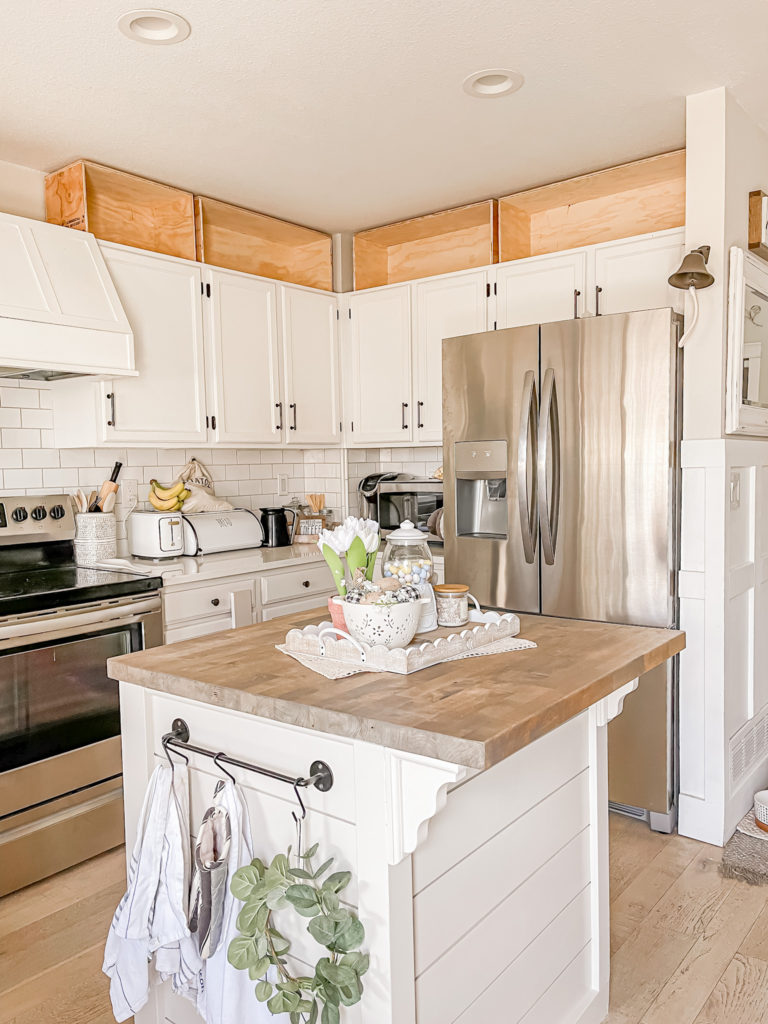
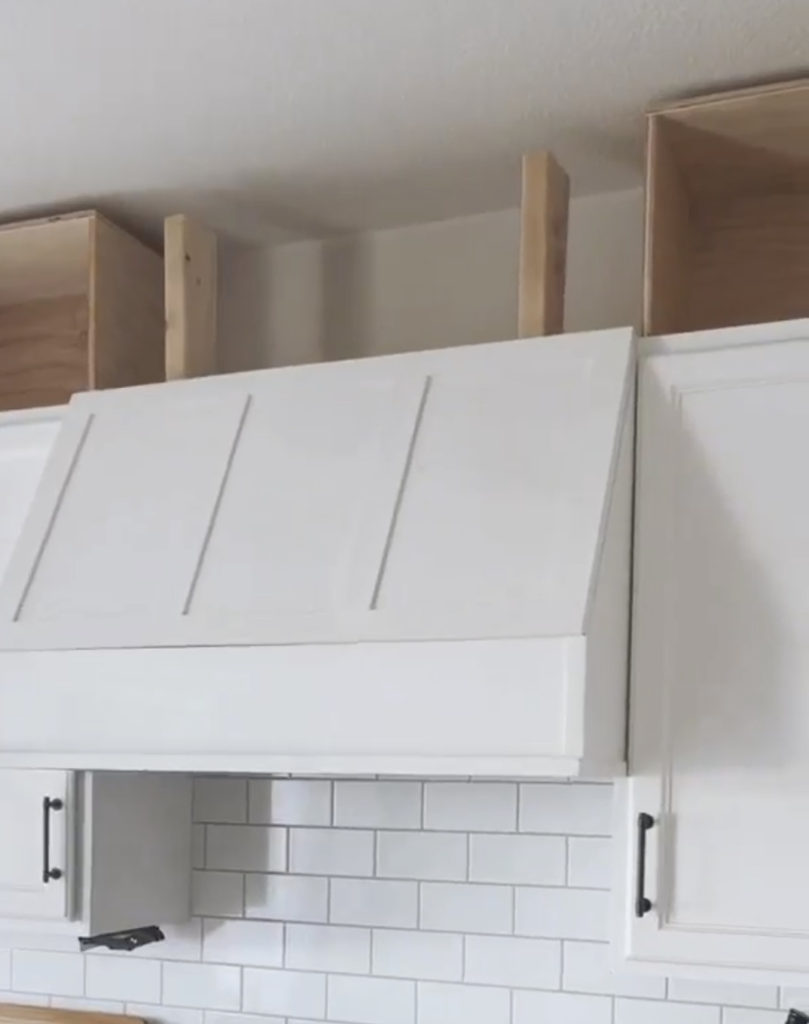
If you are doing cabinet boxes all the way across, this next step won’t be necessary. But since I wanted my DIY hood vent cover to look like a more authentic vent, I decided to close this space off. In order to do so, I secured some 2×3 studs in an “L” shape to the existing cabinet, and then attached a piece of plywood to them.
4. Prime and Paint
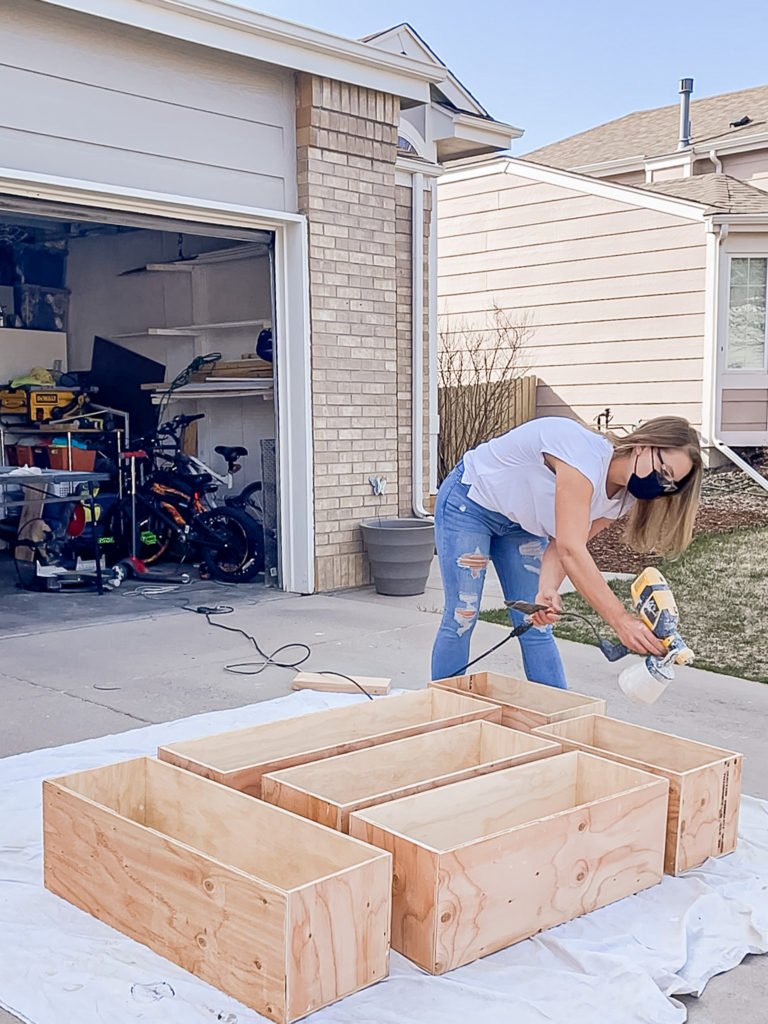
I found that it was easiest to prime and paint them with the sprayer outside, however you could also just roll some paint on once they are installed.
5. Secure to Existing Cabinets
Once the boxes were dry, I brought them inside to install them.
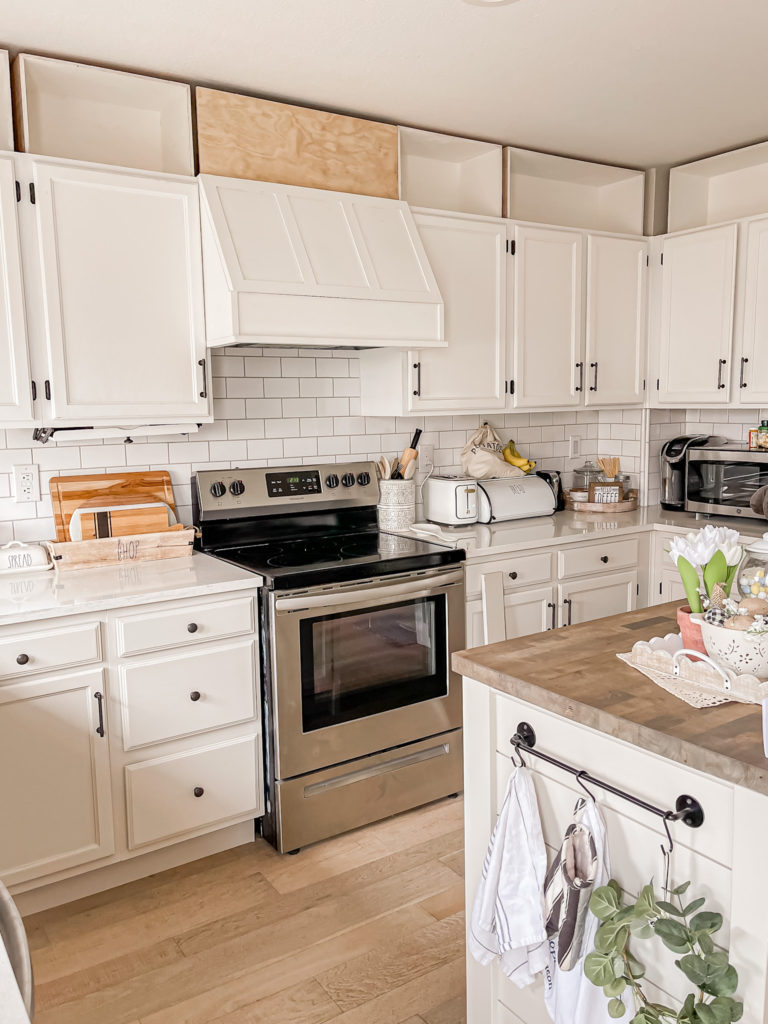
I cut down scraps of the 1/2″ plywood to tuck underneath each one to bring them flush with the lip of the existing cabinet.
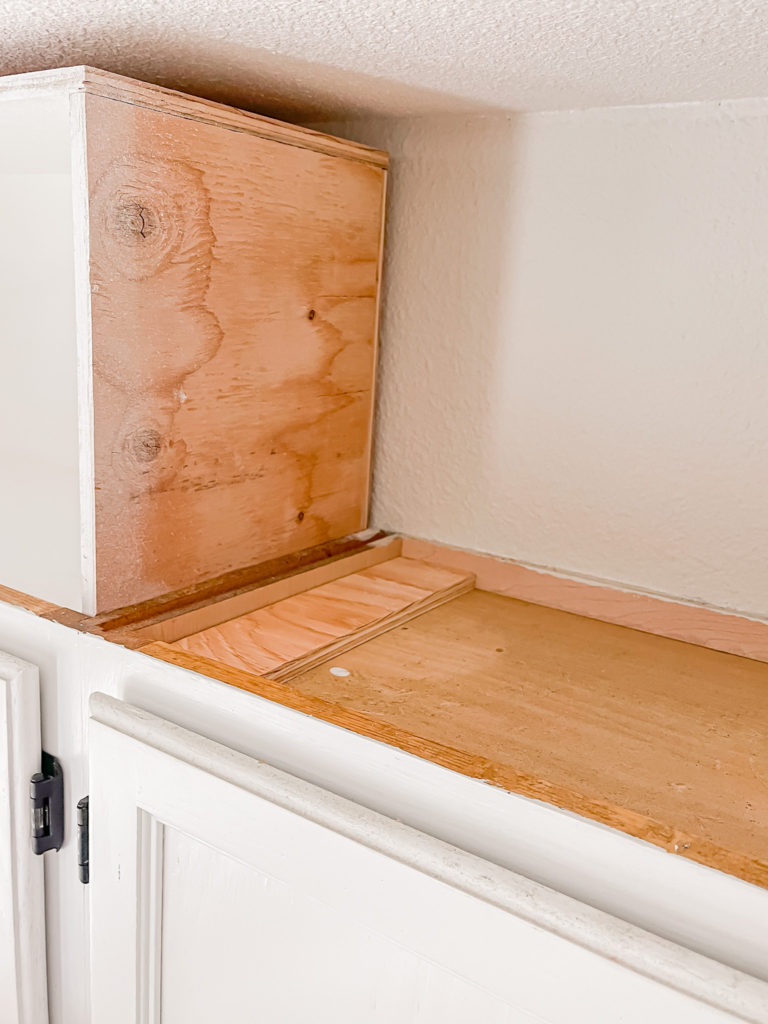
I then countersunk a screw into each corner to secure them to the cabinet below.
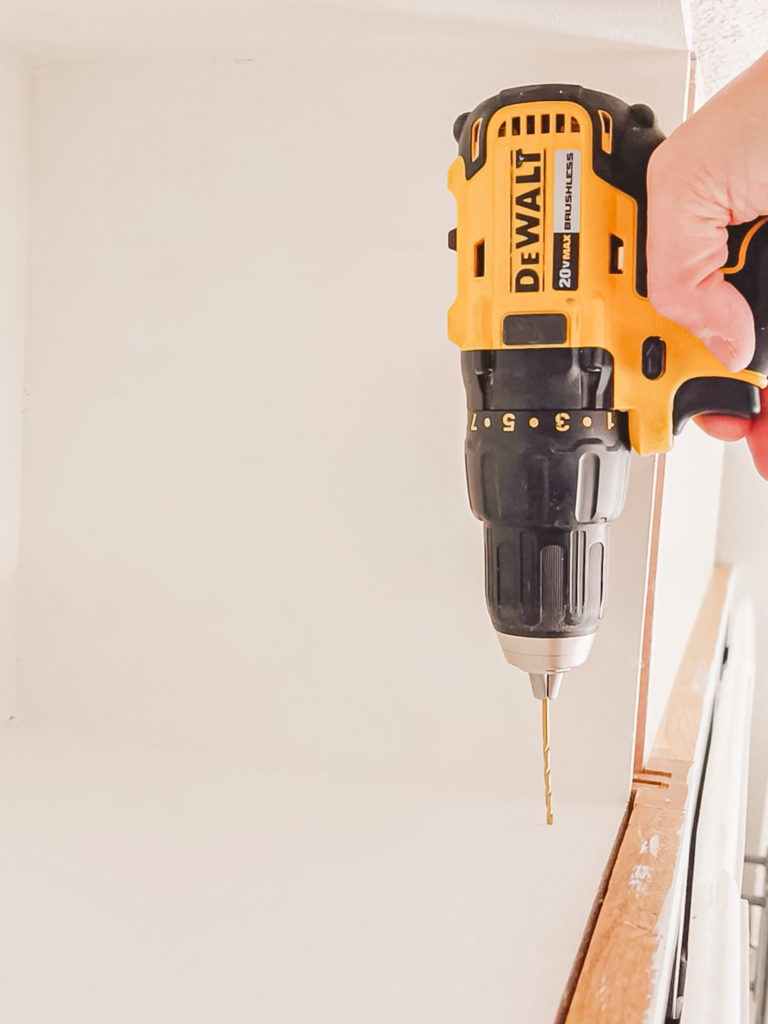
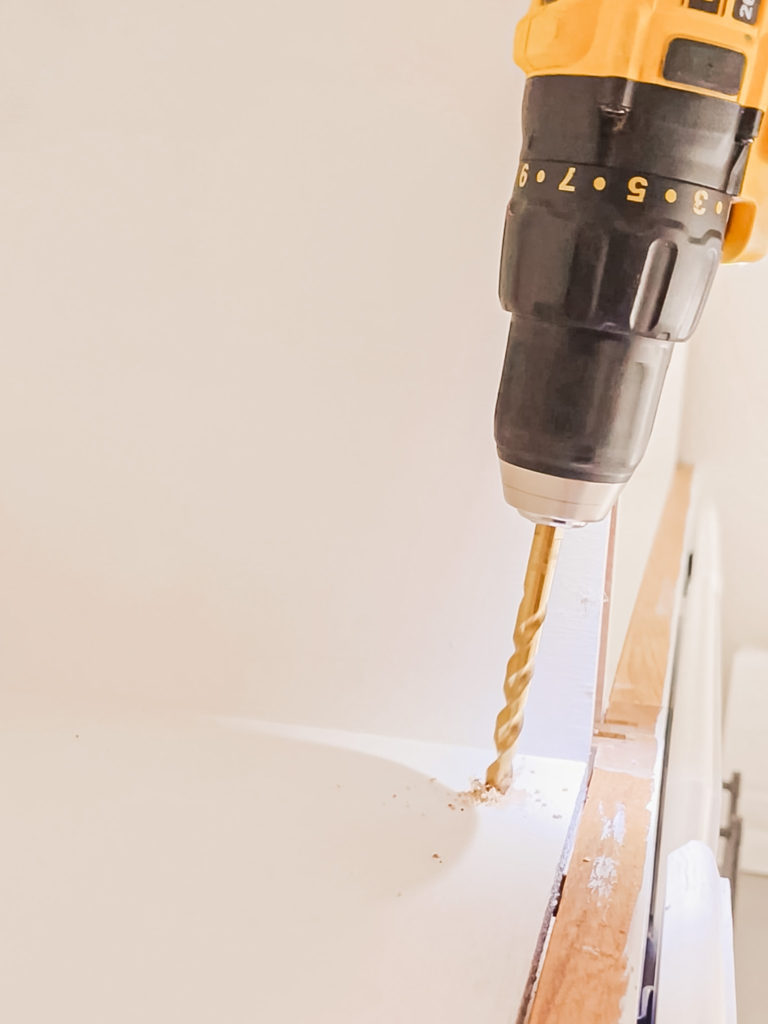
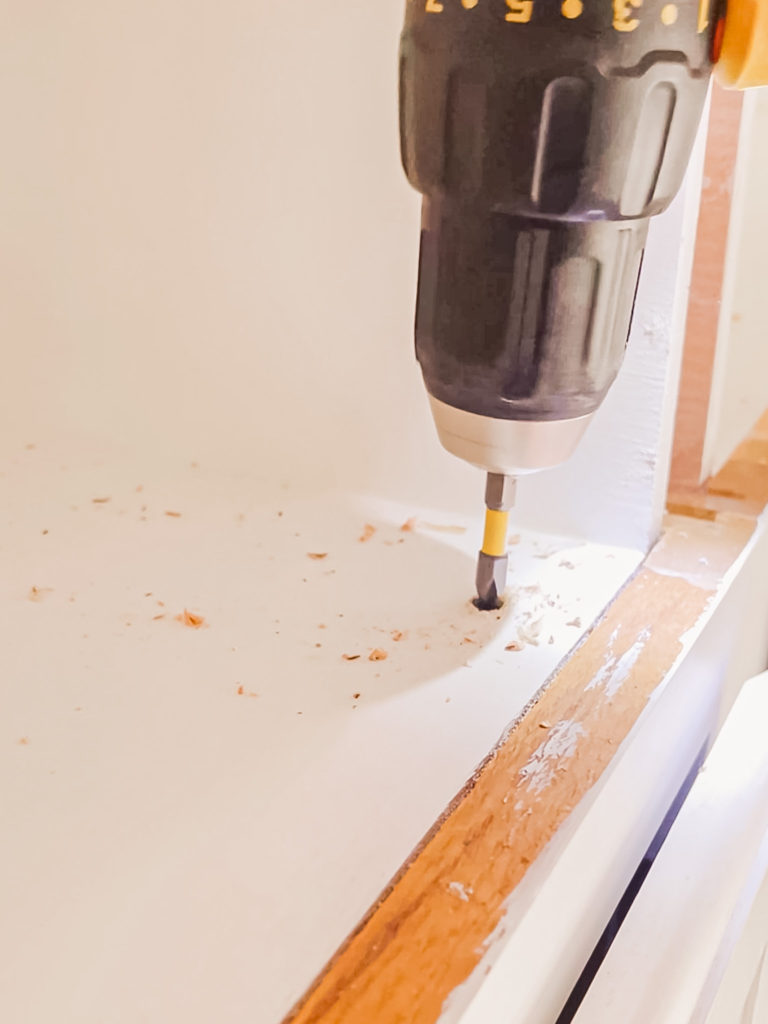
I went back over each hole with some spackle to fill it, then sanded it smooth once dry and applied some touch up paint.
5. Attach 1×2 and 1×4 Trim
I applied wood glue to the backs of 1x2s before securing to the sides of the boxes with my nail gun. I built a single box above the double cabinets and decided that it looked silly, so I went back and attached a 1×4 in the middle of those so that it would match with the existing cabinet underneath.
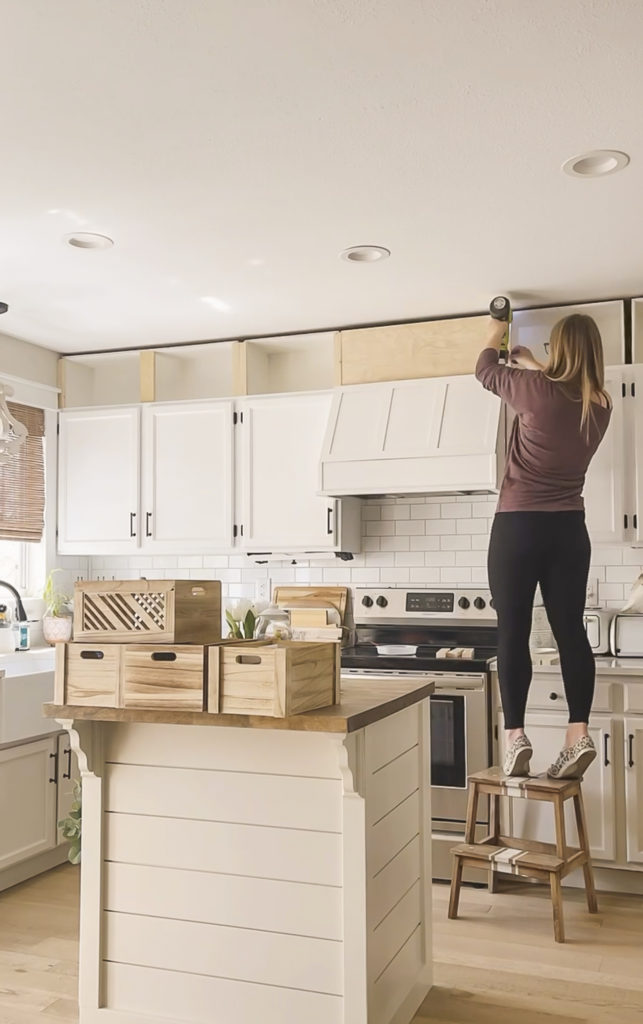
I also added a 1×2 along the top and some additional trim on the vent cover.
6. Prime and Paint Trim
Once all of the nail holes had been filled and sanded, I went over everything with primer and paint.
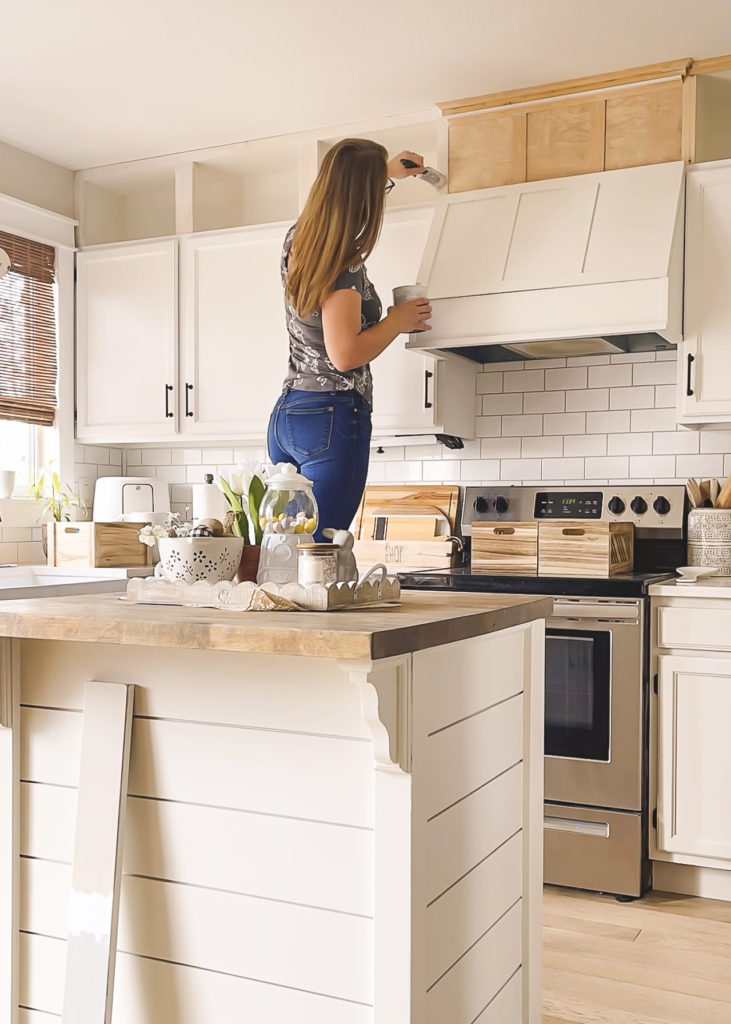
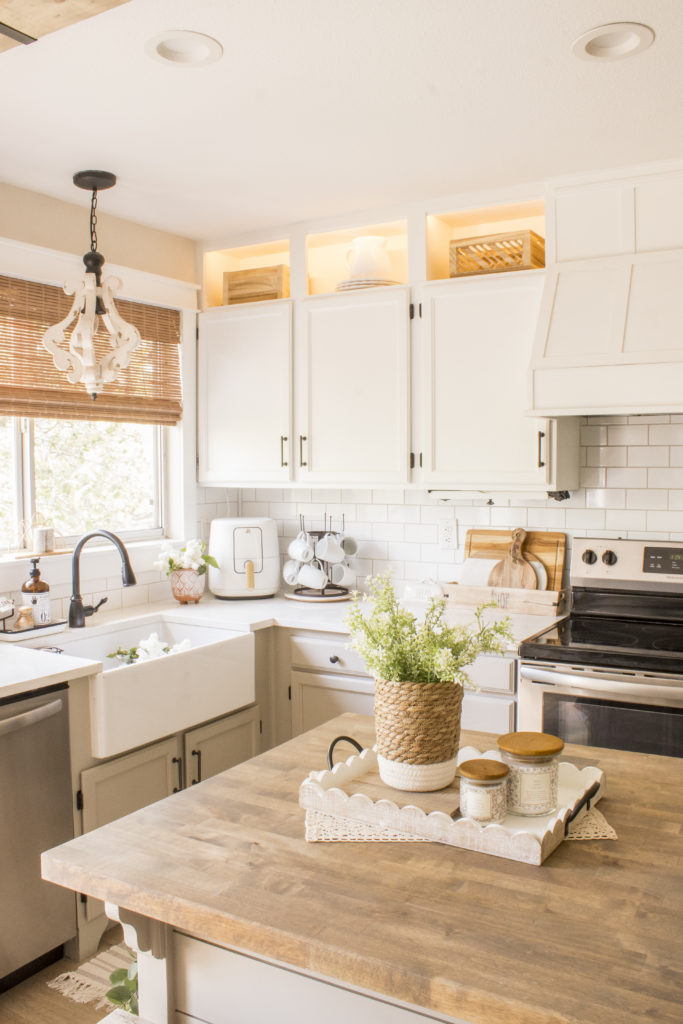
Here is how they turned out!
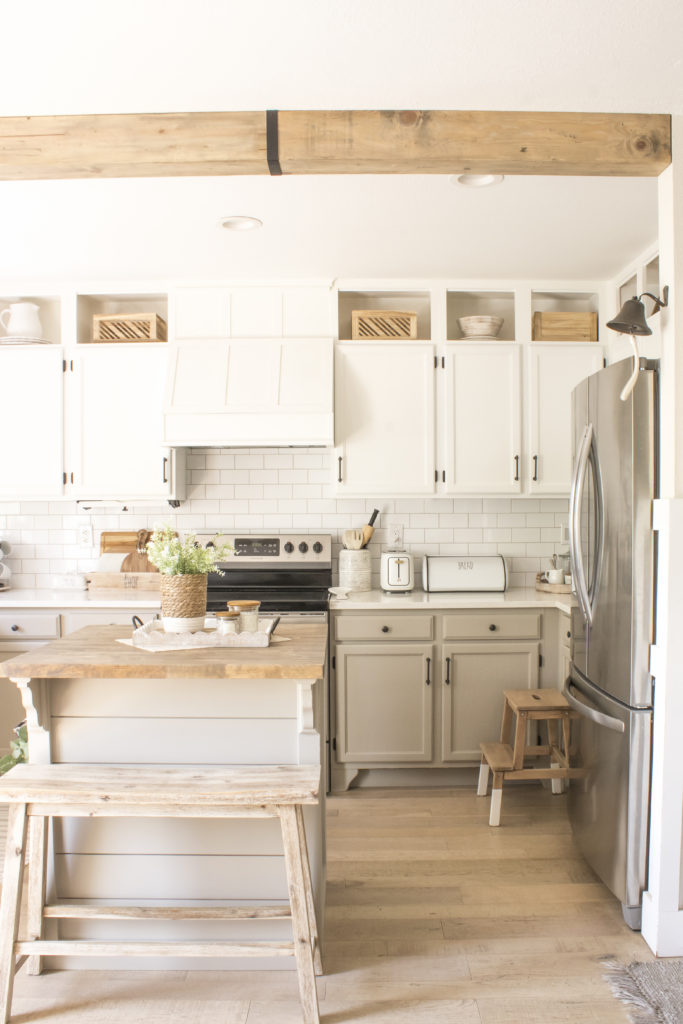
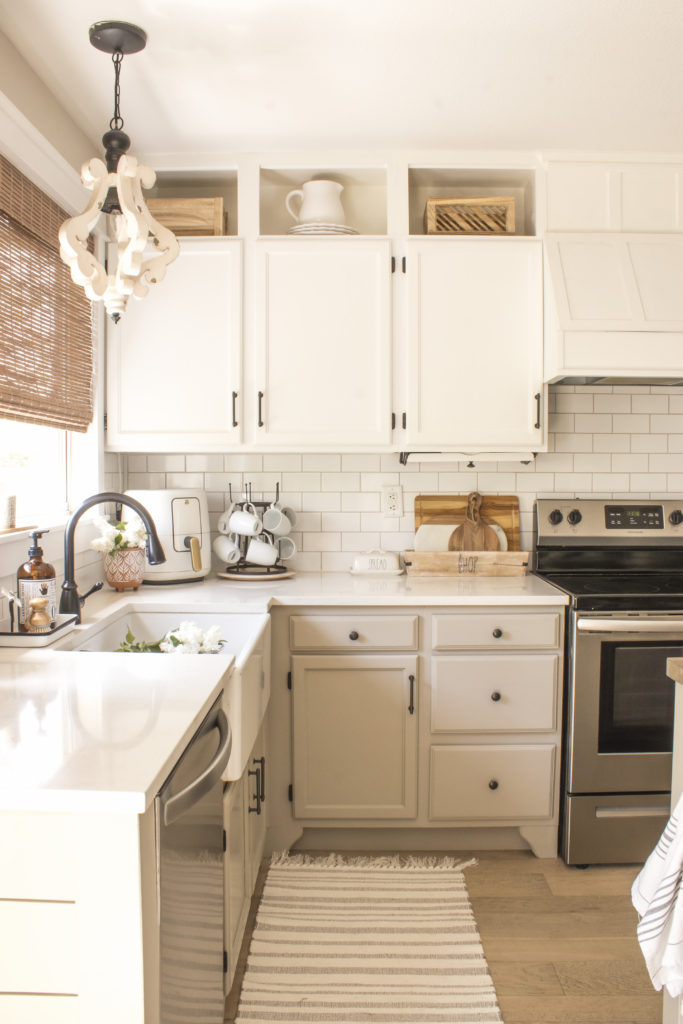
I have dreamed of having that empty space filled for what feels like so long, and I’m so happy that I finally accomplished my dream for up there!
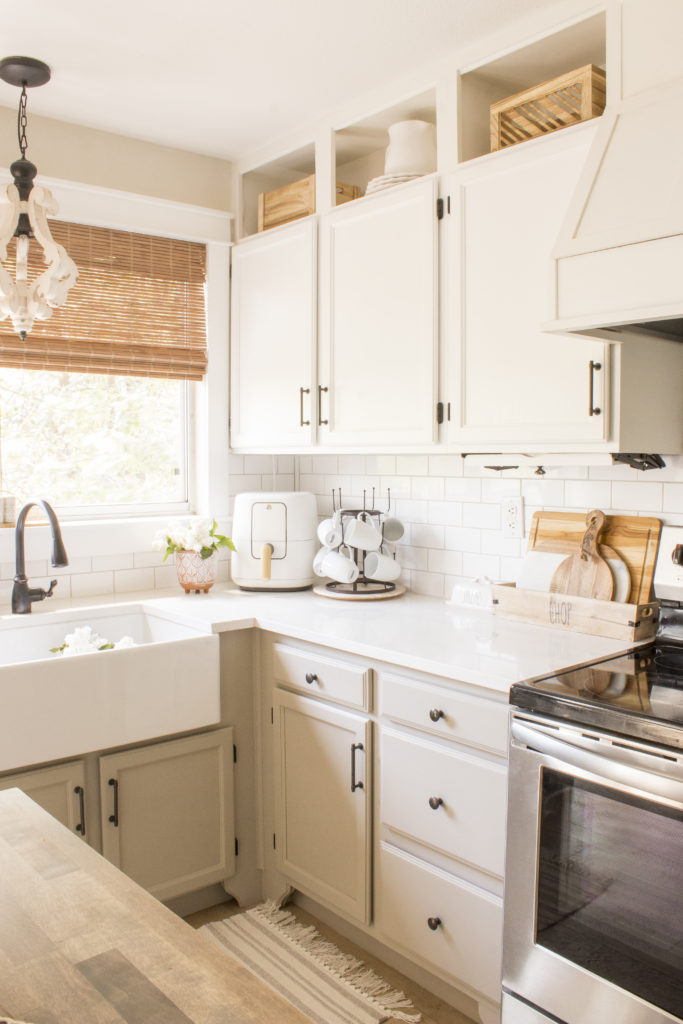
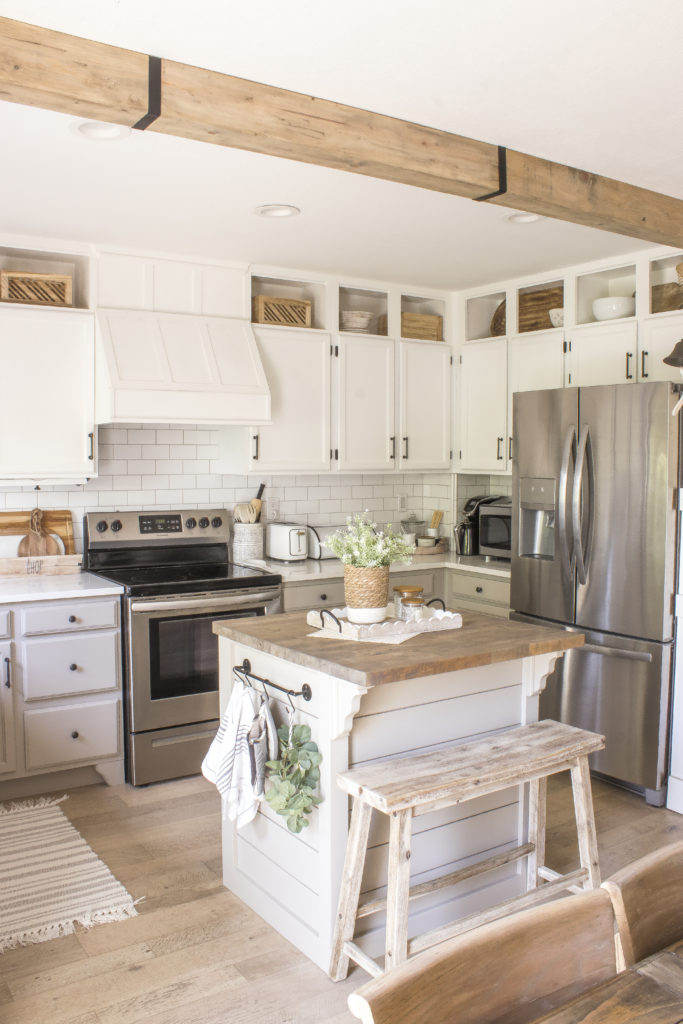
I keep a couple of wooden storage boxes to hold miscellaneous items in some, and then pretty dishes in the others.
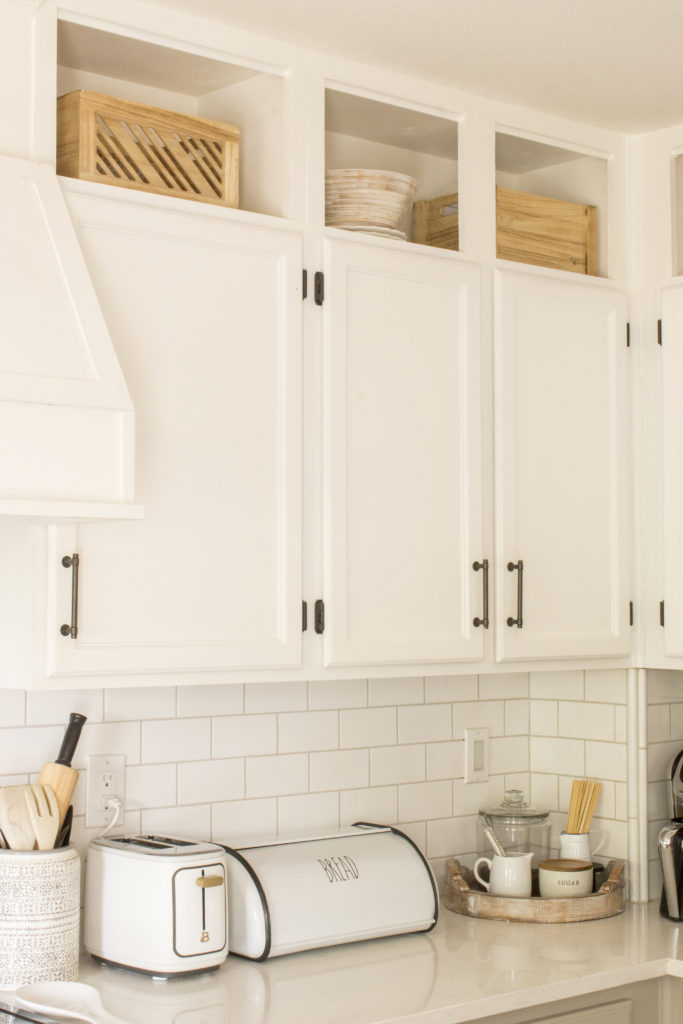
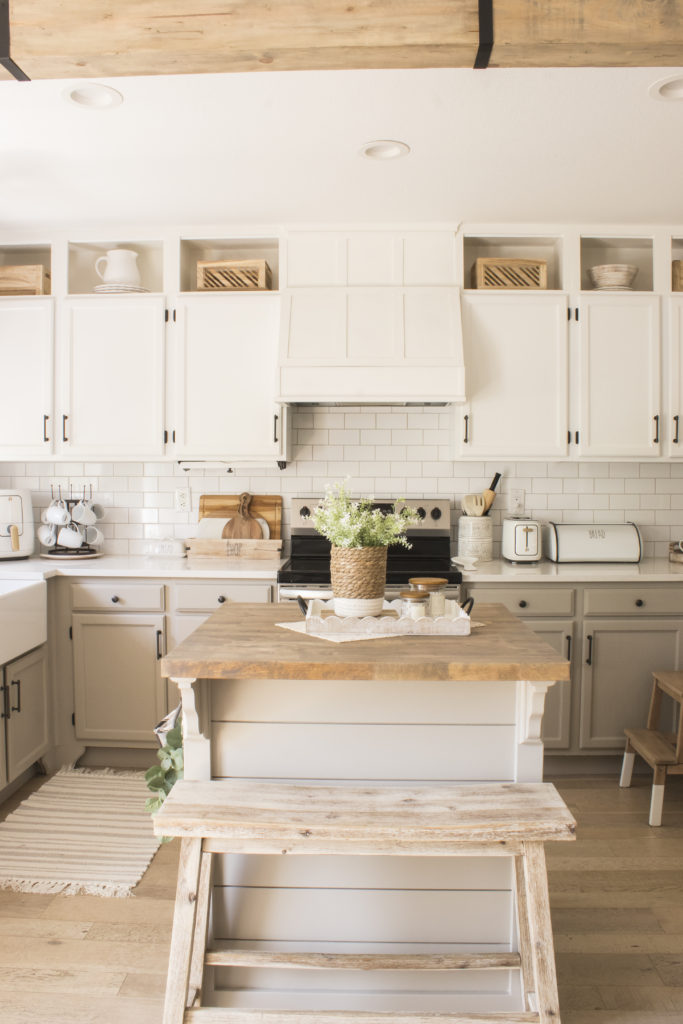
I also decided to add some LED lighting strips and will do another tutorial on how I did those.
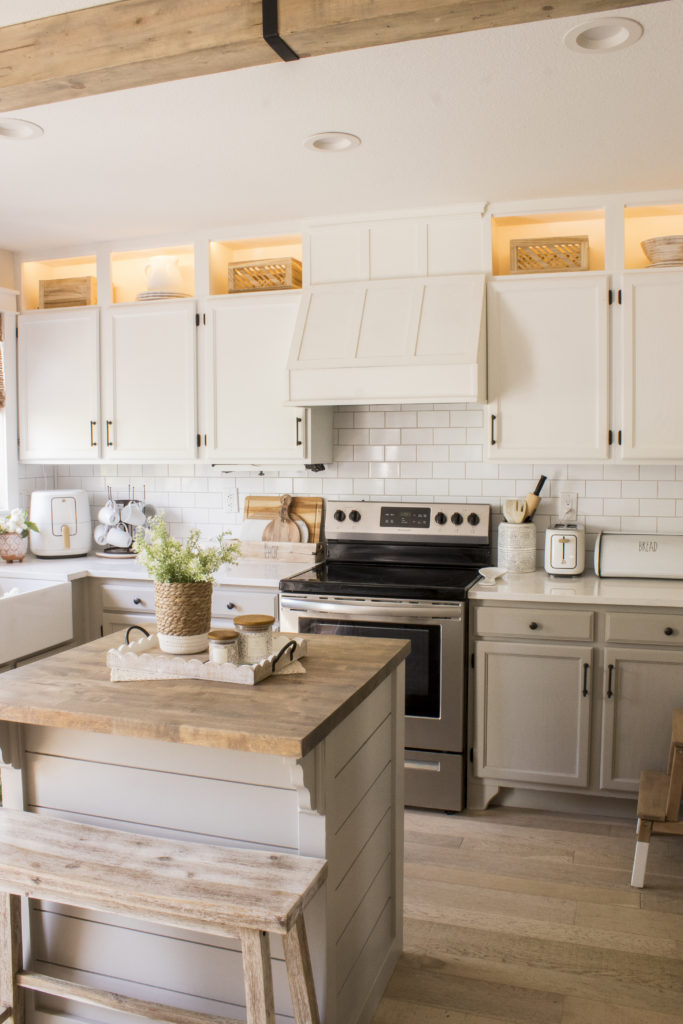
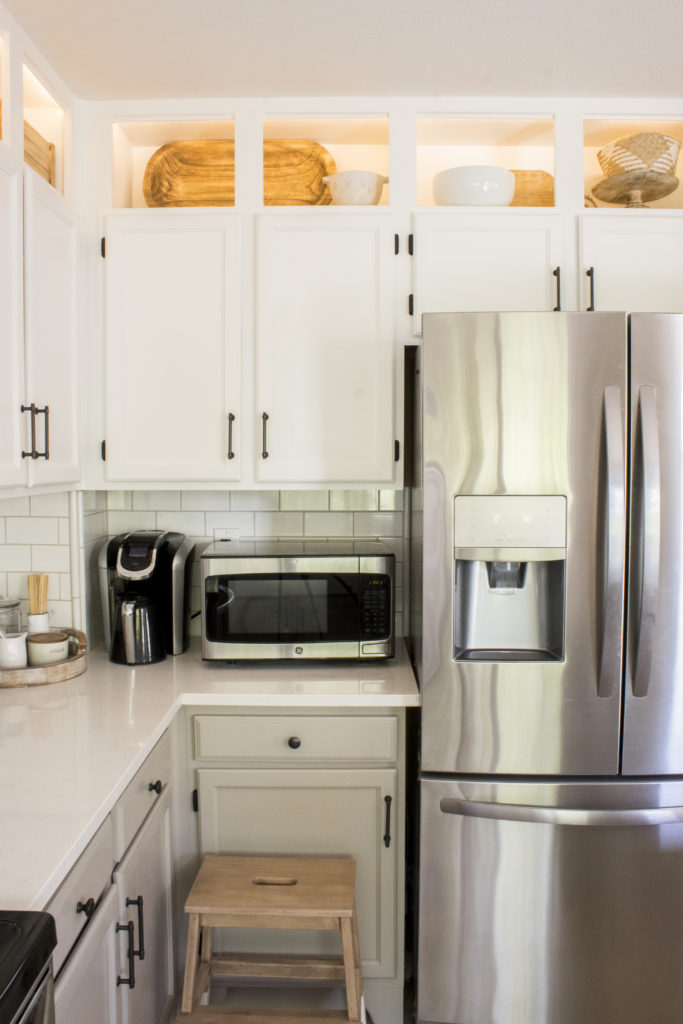
I originally planned on only having them lit up at night, but I decided that it even looks pretty in the daytime so I usually just leave them on all the time!
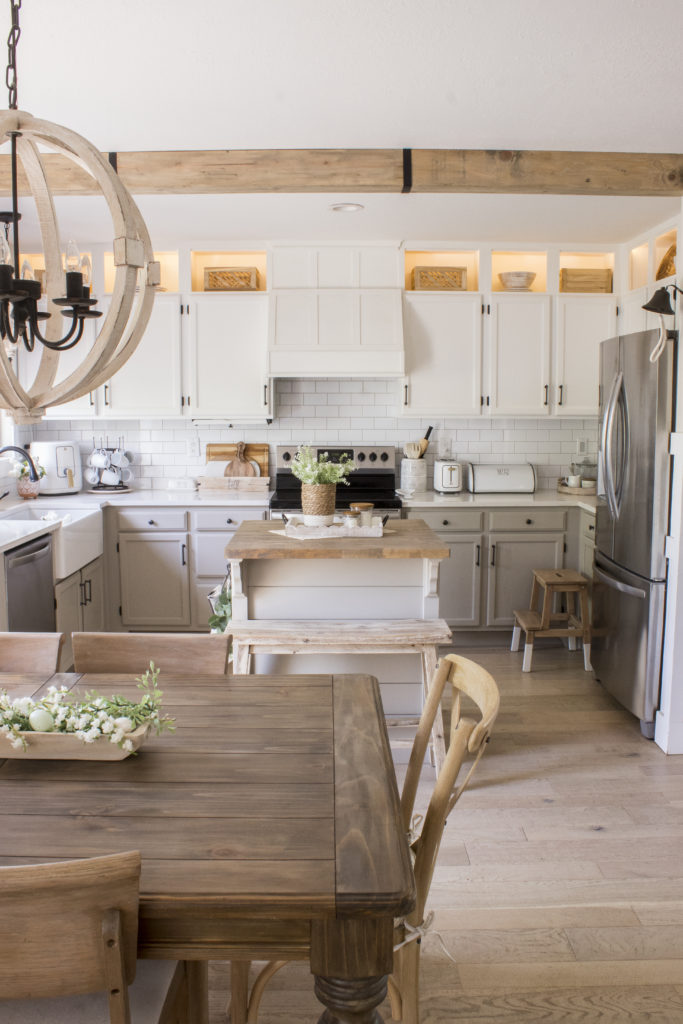
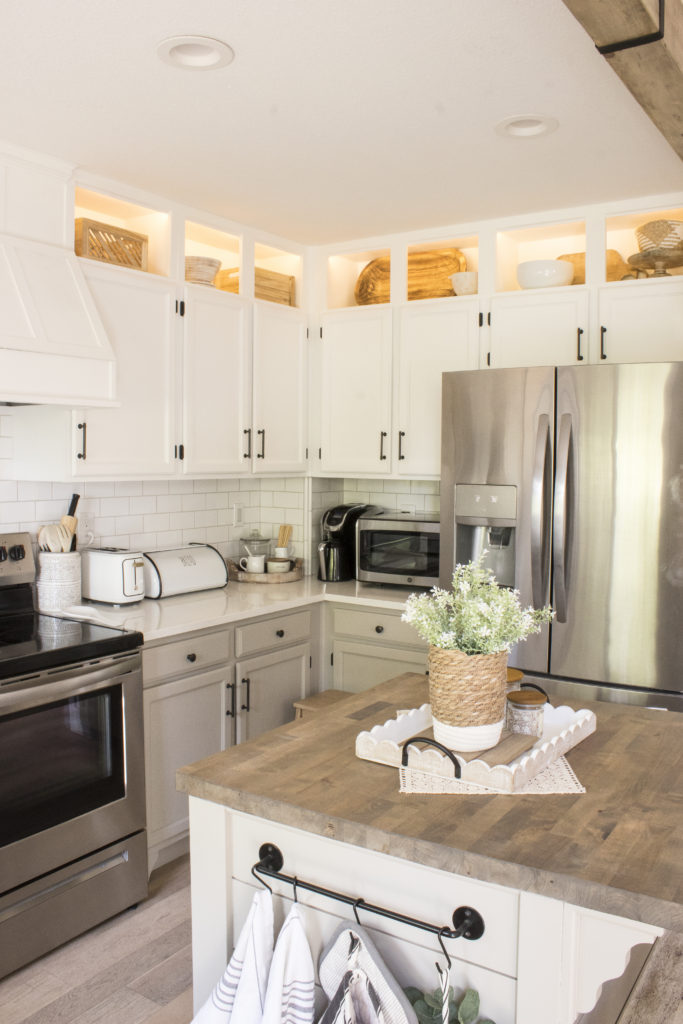
If we decide to install some doors later on it would be easy to secure the hinges directly to the 1x2s, but for now I am enjoying the open look!
Have a happy week, I’ll catch up with you all next week 🙂
Linking up to these awesome parties
(Affiliate links may be provided for convenience. For more info, see my full disclosure here.)
PIN FOR LATER!
Have a
This.is incredible!
Thank you so much Michele!
Oh wow!!! This looks amazing!! I can’t believe you made these yourself. It looks like they have been fitting professionally. #Alittlebitofeverything
Oh my goodness! I love what you’ve done here. I wish I were good with power tools. The kitchen is gorgeous. Thank you for sharing at #omhgww. See you next week.
I love this concept! What a great way to make the space above the cabinets look incredible. pinned! I think will be on my list to do in my own kitchen.
I’m featuring you when the next To Grandma’s house we go link party starts. Thank you for sharing with us, happy autumn!
Okay, Angela, by now I’m familiar with your DIY skills. . . but this is absolutely amazing! What a beautiful kitchen you’ve created by the work of your hands. Thank you for the step-by-step instructions and photos. You’ve inspired us, for sure!
Thanks so much for joining the Grace at Home party at Imparting Grace. I’m featuring you this week!
Love your kitchen!