
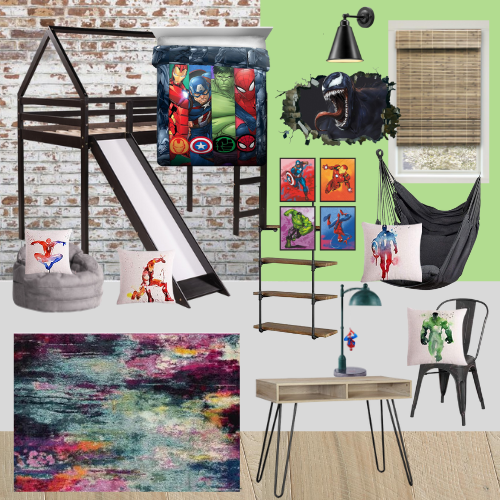
Well hello and welcome to week 2 of the One Room Challenge! In case you missed the post for week 1 you can catch up here on all of the plans that I have for Lucas’ superhero themed room.
As usual, I’m getting a little bit of a slow start. It’s pretty common for me to get a snail’s pace start on these challenges, but it always comes together in the end (I think I perform better under pressure haha) so I’m not too worried about it.
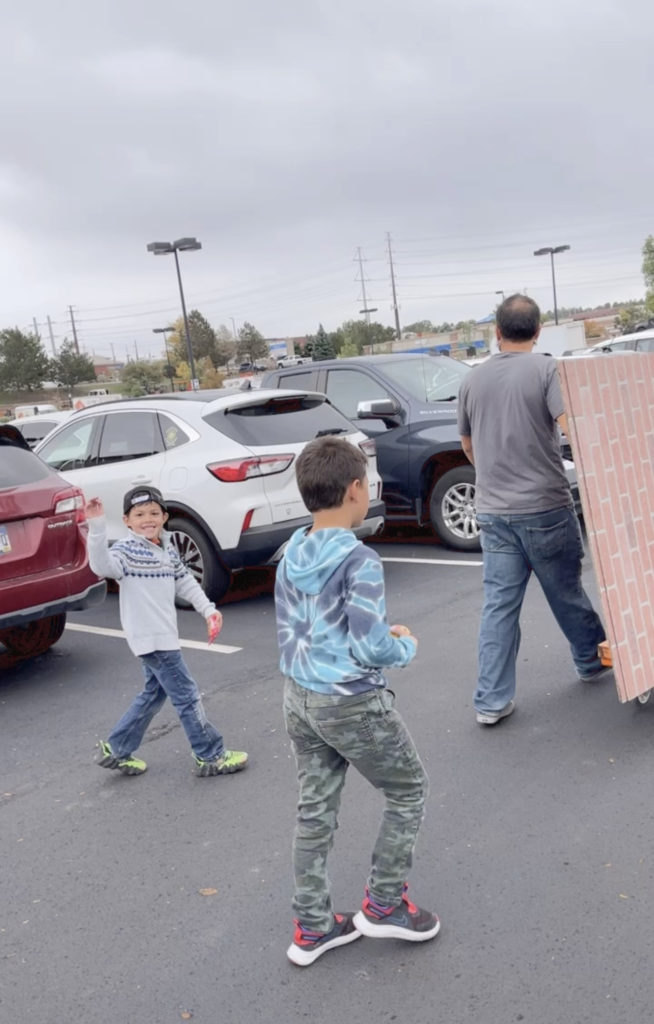
On Sunday we adventured over to Home Depot to get the brick wall panels. Lucas is super excited to be getting a brick wall like his brother has.
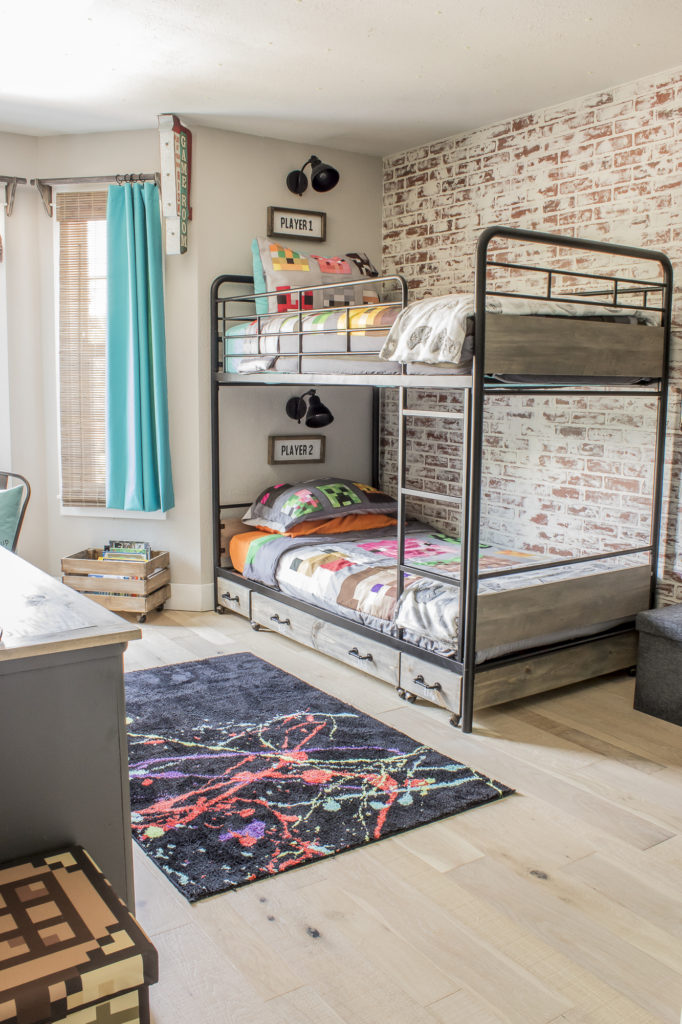
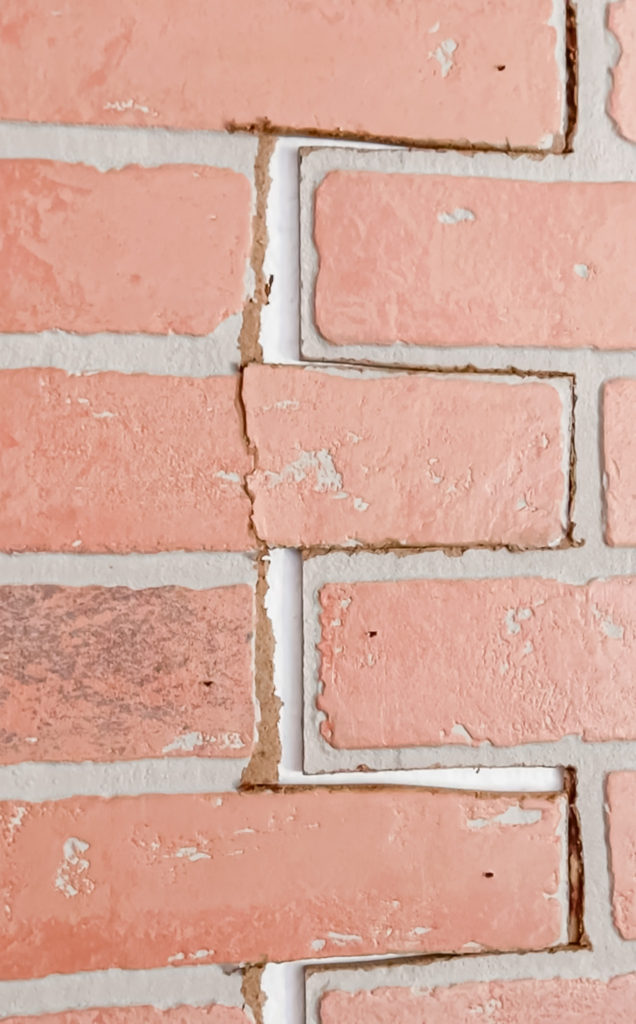
These panels are so cool because once you get the spackle on to create a German Schmear effect, it looks so realistic. From the tutorials that I’ve seen, I personally think it looks more realistic when they are puzzled together rather than installed seam to seam since I feel like the straight seam is more noticeable. Here is an example of how they turned out in Tristan’s room.
Even though it takes a bit more work and patience, it’s totally worth it. I started by jig sawing out the half bricks. I just made the vertical cuts, and then went back and snapped off the last piece by hand.
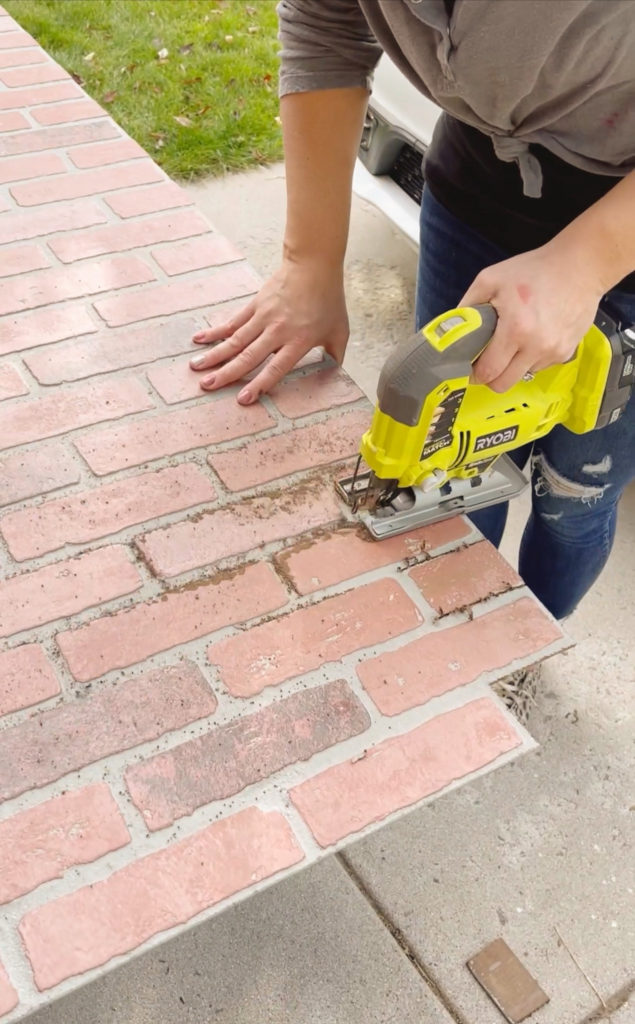
For the first panel I cut along the brick and left the grout line, for the next I would be cutting along the grout line so that only the brick was left. This ensures that they puzzle together.
We then marked out the studs and used a level to mark the ceiling so that we had a guide on where to nail.
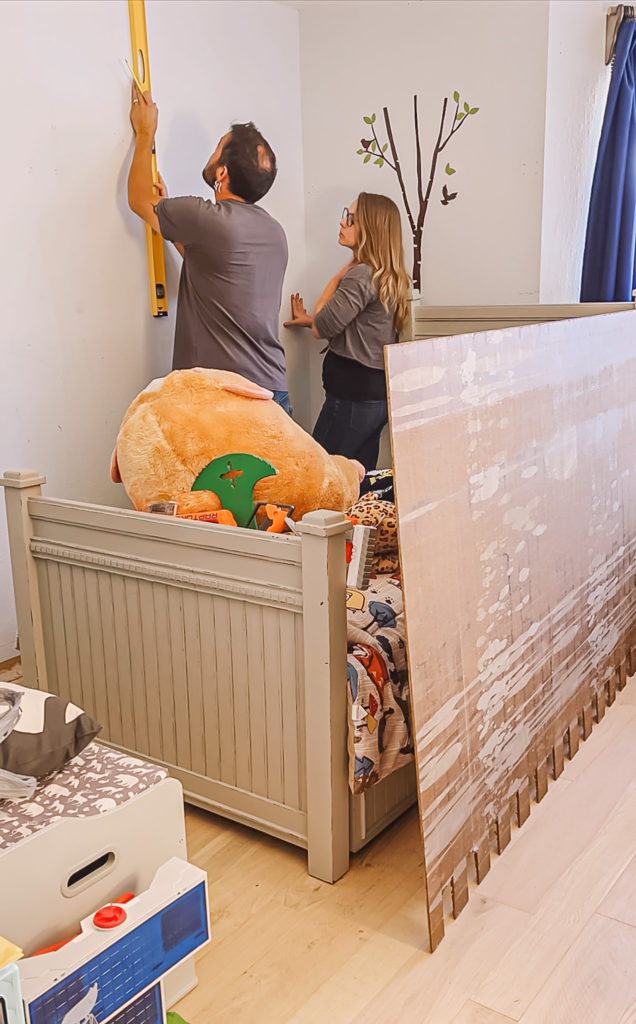
We used the nail gun to secure it to the studs and then called it a day.
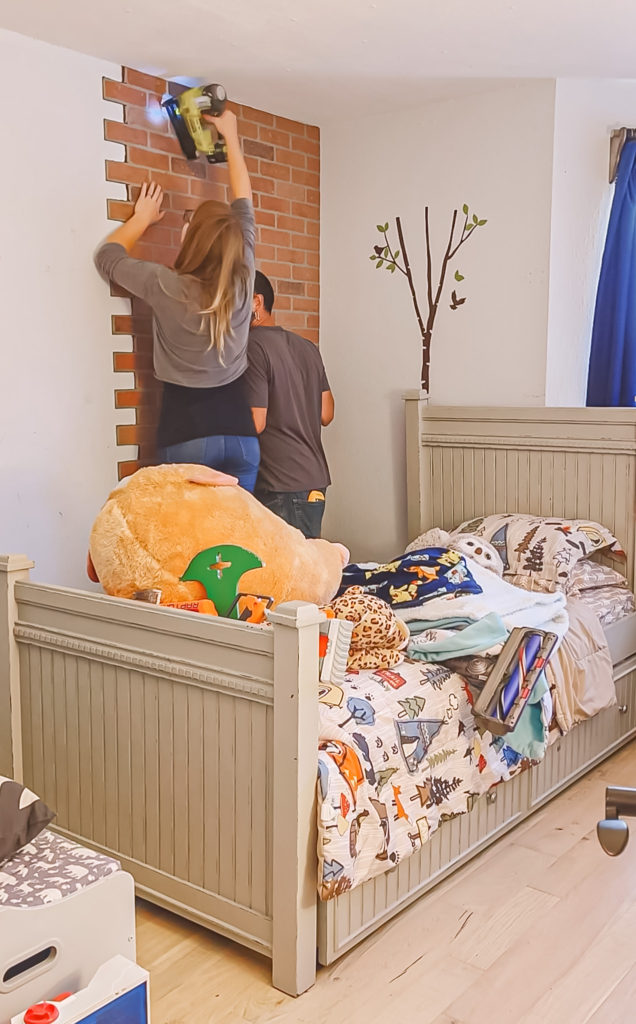
I will say, this is much easier to to with two people! I had Anthony’s help with this panel but was flying solo the following day for the rest of them.
It’s not impossible, just trickier! I cut my next panel (again, removing the grout on this one) and although they puzzled together well in most places, there were a few problems spots that didn’t fit together. For those, I would simply snap off the brick and then hammer it in until it fit, sometimes needing to cut it down little bit. The seam where they are broken won’t matter in the end, nor will the gaps since we are going to be spackling like crazy over everything.
Before I get to the spackle, I am actually going to use a little bit of Feather Finish concrete in the gaps to give the spackle a nice solid base which will prevent it from cracking.
Then it will be time to add the spackle (A.K.A–drywall mud).
So that is where we are at this week, not too far but at least we have a nice little start!
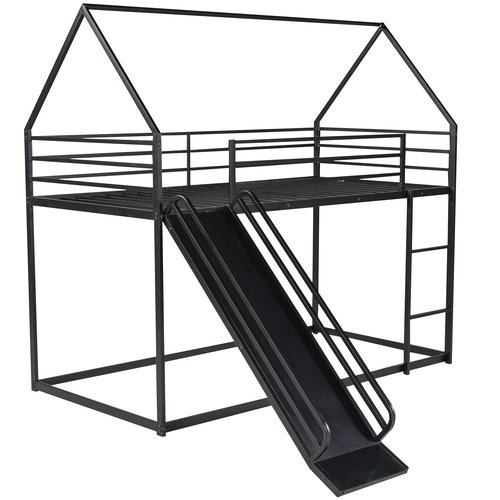
I did order his new bed though! I decided on this one since I realized that the one that I shared in my plans was actually espresso as opposed to black.
It should be here next Tuesday and he is ridiculously excited for it, he keeps asking me how many more days until the 11th! I still haven’t decided how I want to set the bottom area up but I’m sure we will come up with something fun.
Okay my friends, I will be back next week to hopefully share a finished brick wall with you all!
(Affiliate links may be provided for convenience. For more info, see my full disclosure here.)
Linking up to these awesome parties
Love that brick effect and what a cool bed!