Hello everyone and happy Friday! Earlier in the week I shared how I gave an old curbside dresser a second makeover and as promised I am popping back in today to share one more.
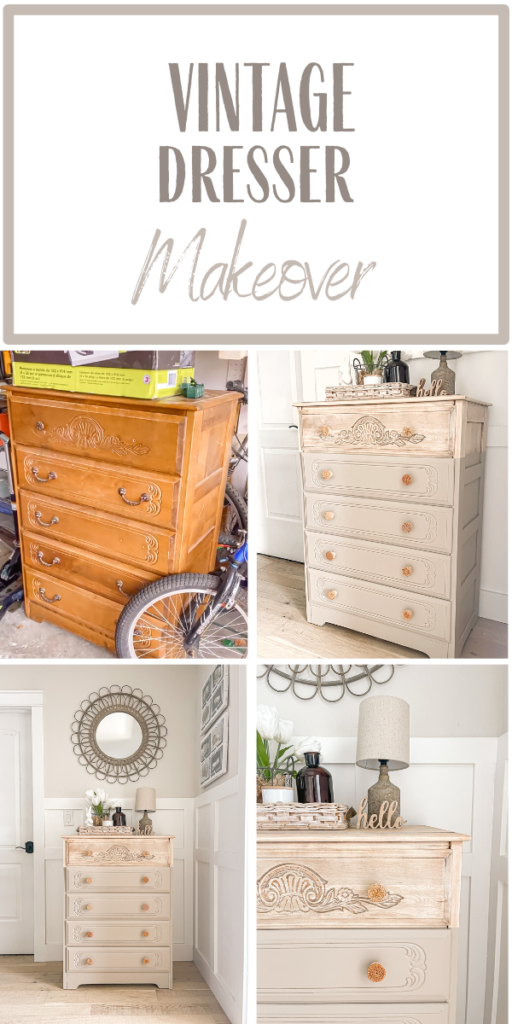
This poor dresser has been neglected in our garage since last summer! Someone was giving it away for free on Facebook Marketplace and I instantly fell for the pretty detailing on the drawers.
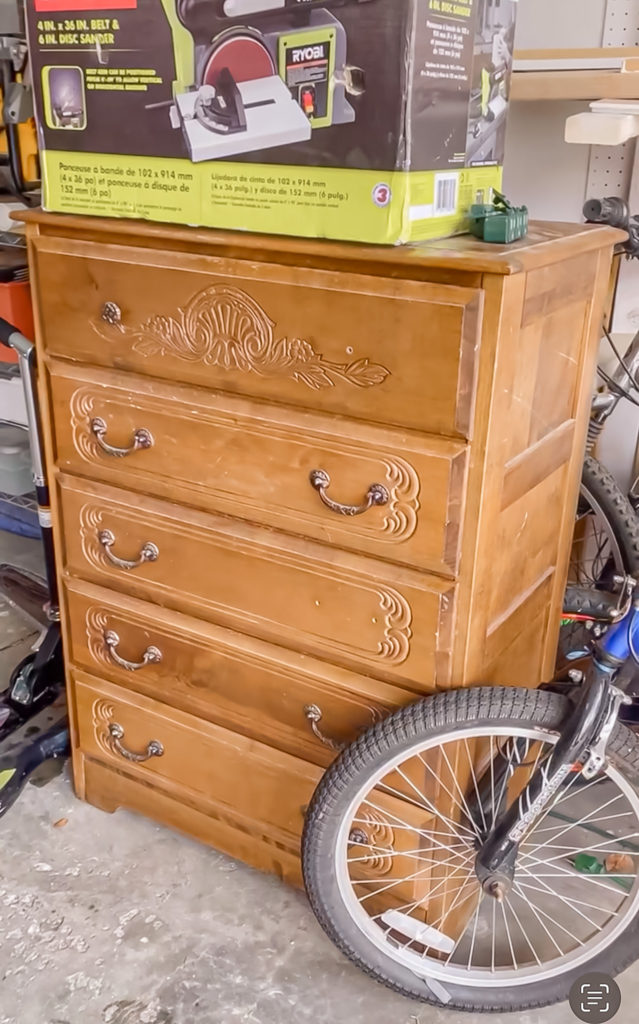
When I went to pick it up they explained that it had been in their family since their son was an infant 40 plus years ago and they were downsizing with no room to take it with them. She was hoping that someone could find the beauty in it and be willing to restore it. I assured her that I was happy to take on the challenge and knew right away that I would likely be keeping this beauty for us.
Supplies Used:(Affiliate links may be provided for convenience. For more info, see my full disclosure here.)
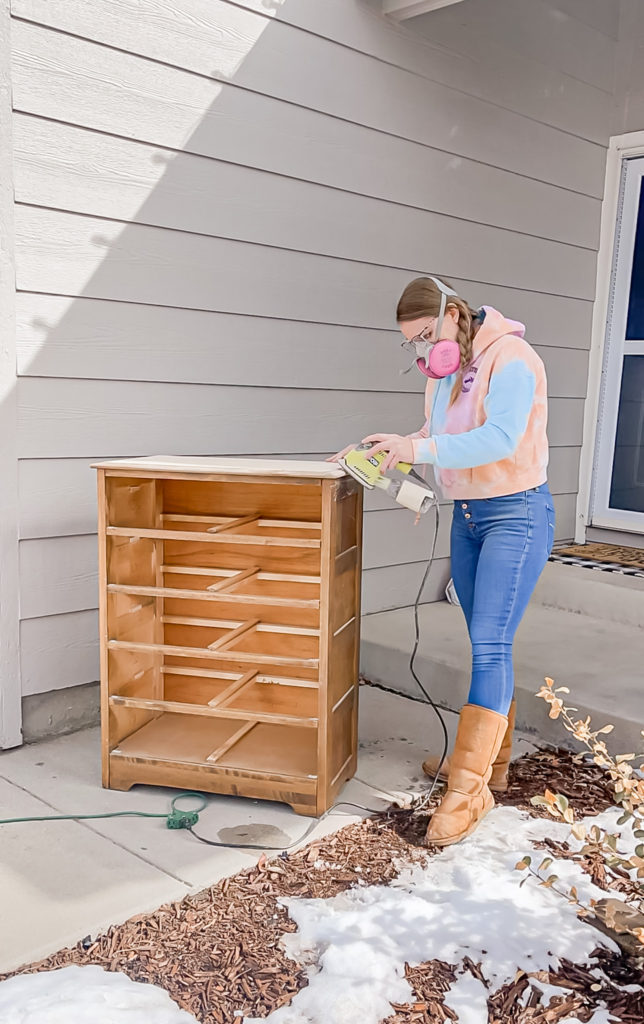
I began by sanding down the top drawer to see what the natural wood looked like.
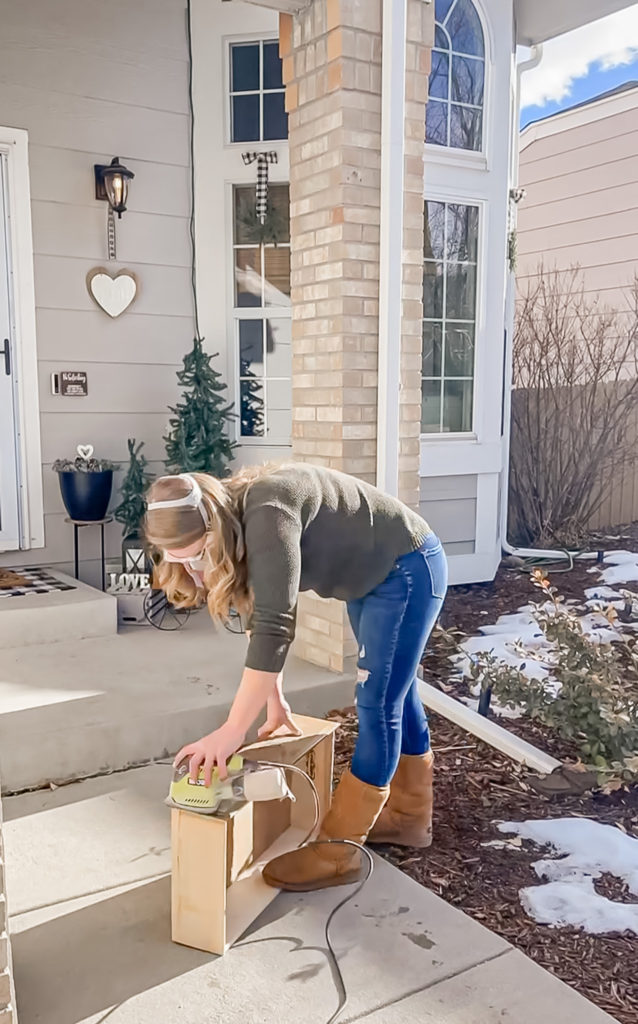
I was happy to find a very pretty tone underneath, however I quickly realized that getting in to the grooves of the detailing was going to be difficult.
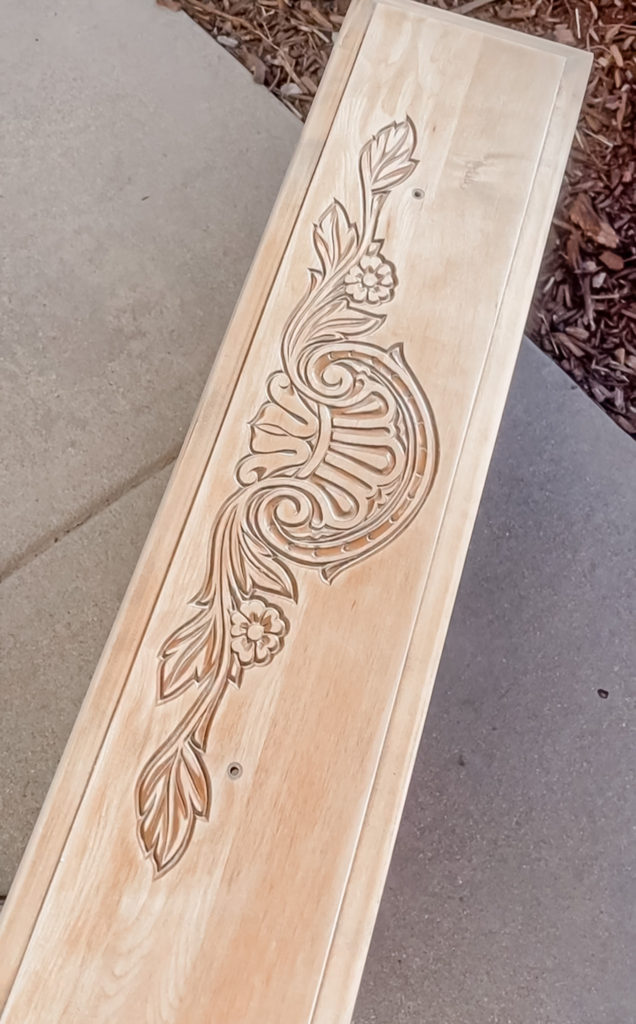
I haven’t had much luck using the Easy Off method in the past, but decided I would try giving it a shot. So I set it aside, ordered some on Amazon and waited for it to come in. Once it arrived, I sprayed some on with my expectations set low and walked away for 20 min.
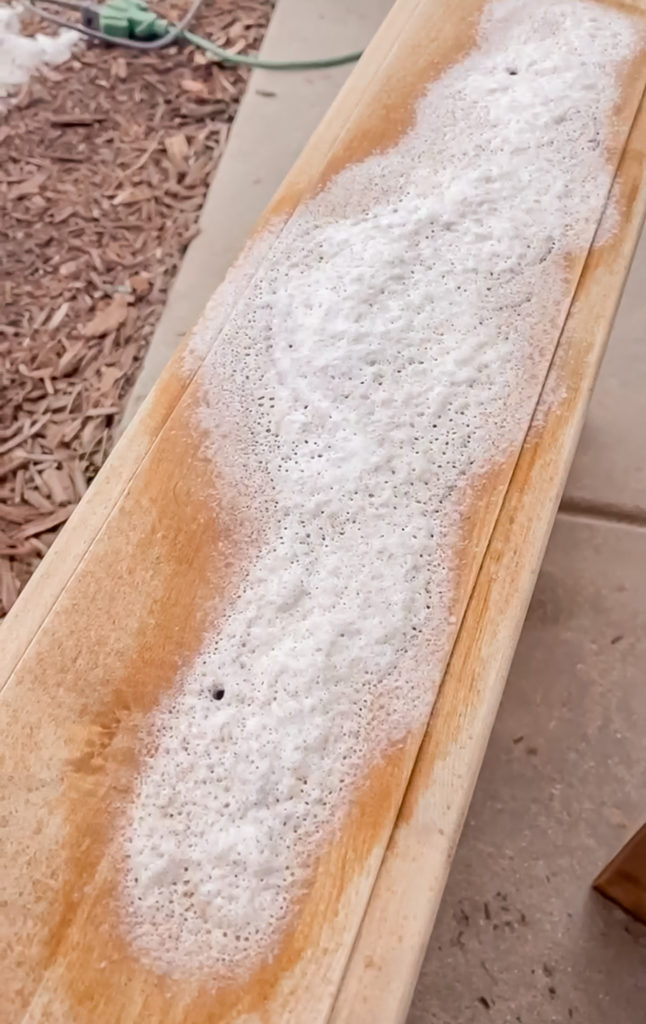
I was completely amazed after scrubbing it with a dish brush and rinsing it off! The grooves were starting to show the natural wood beautifully. I did one more coat, and although it didn’t take it out 100 percent I was happy with the look and decided to move on. I sanded down the top portion of the dresser to the raw rood and scuff sanded the rest since I knew that I wanted a dipped look.
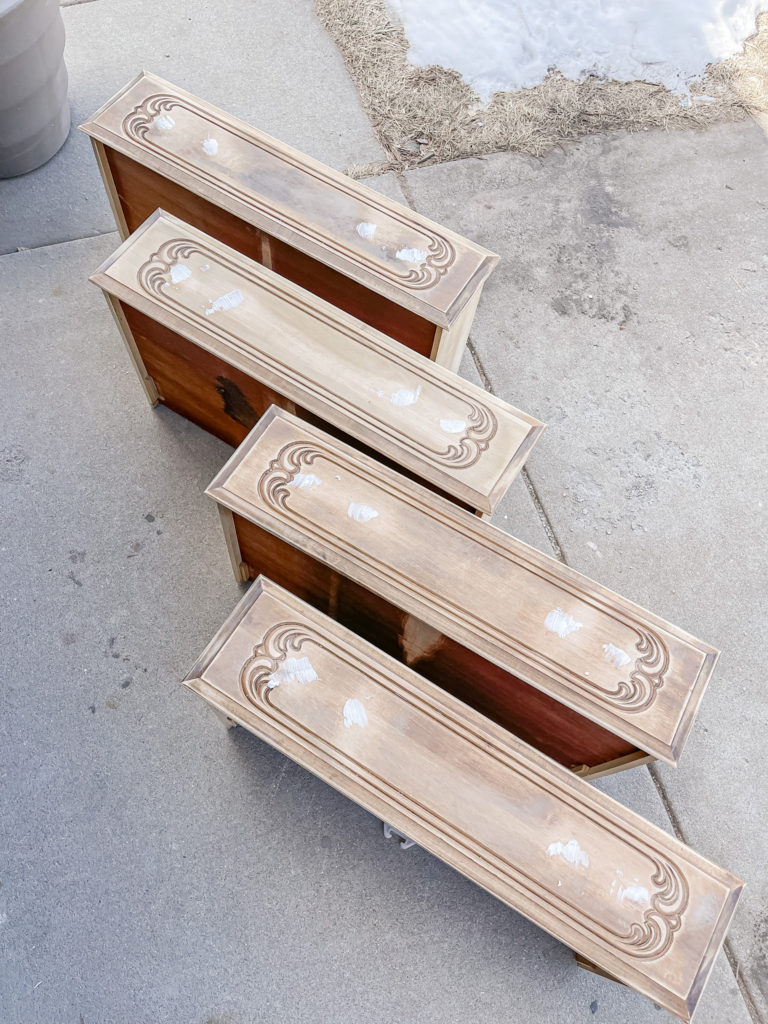
I used spackle to fill the existing holes on the drawers since I knew that I was going to be installing new knobs.
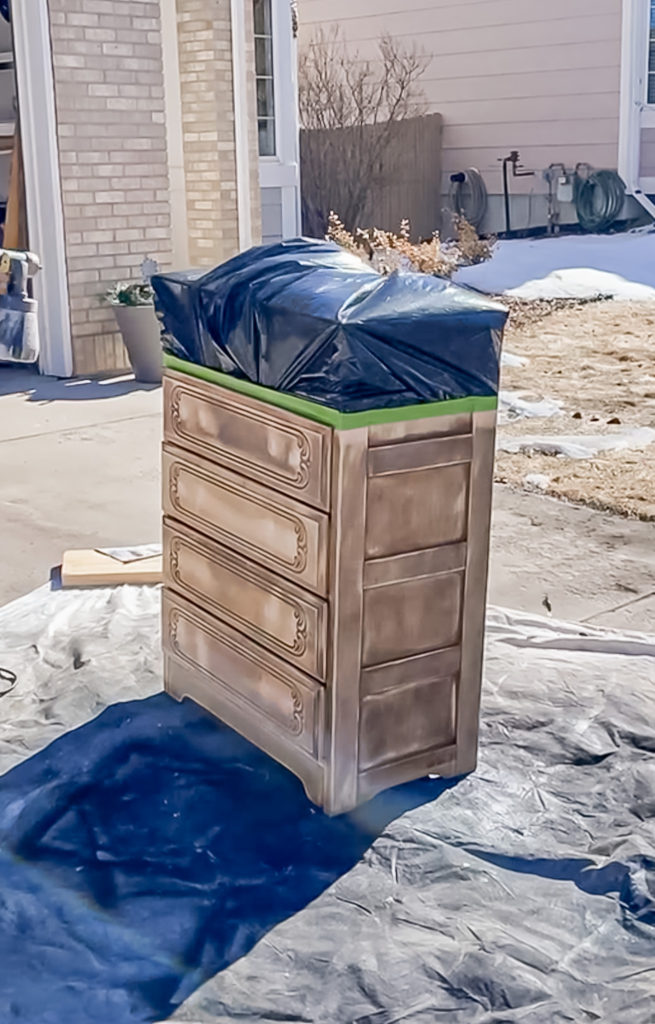
I cleaned all of the dust off, then taped off the top.
I pulled off the tape to reveal a nice crisp line and was so excited with how it was turning out!
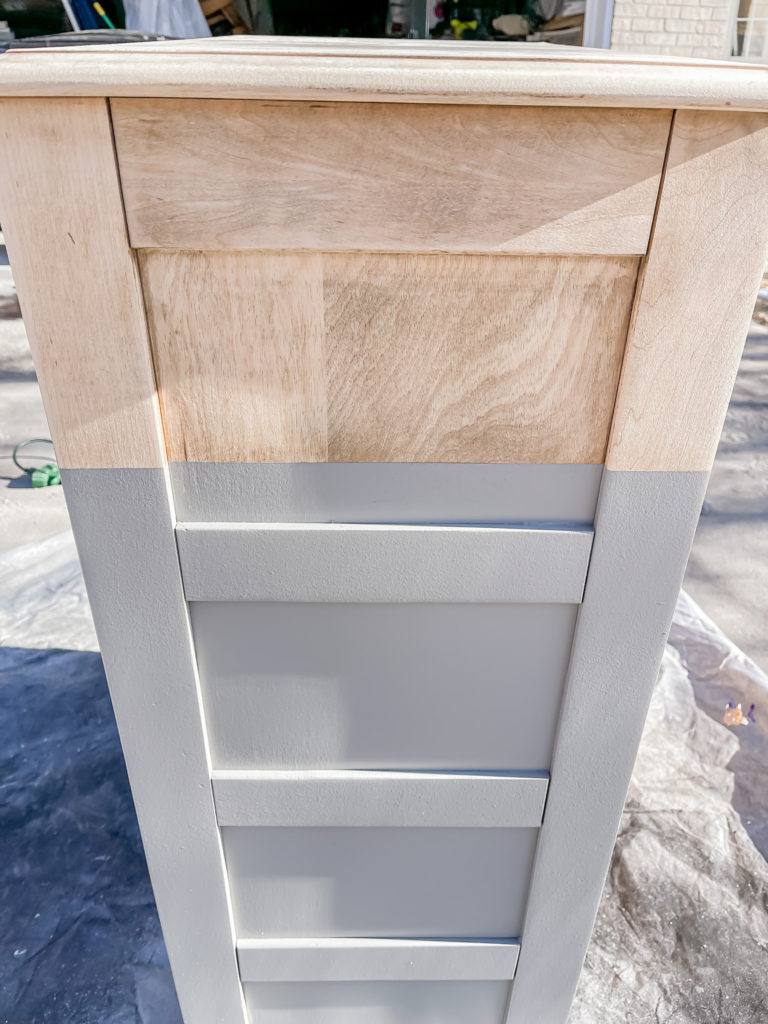
I applied two coats of polyacrylic, however once I brought it out of the sun I realized that I wasn’t so crazy about the color. I had mixed up paint that I had on hand thinking that it was going to be a light warm gray, but I was totally off!
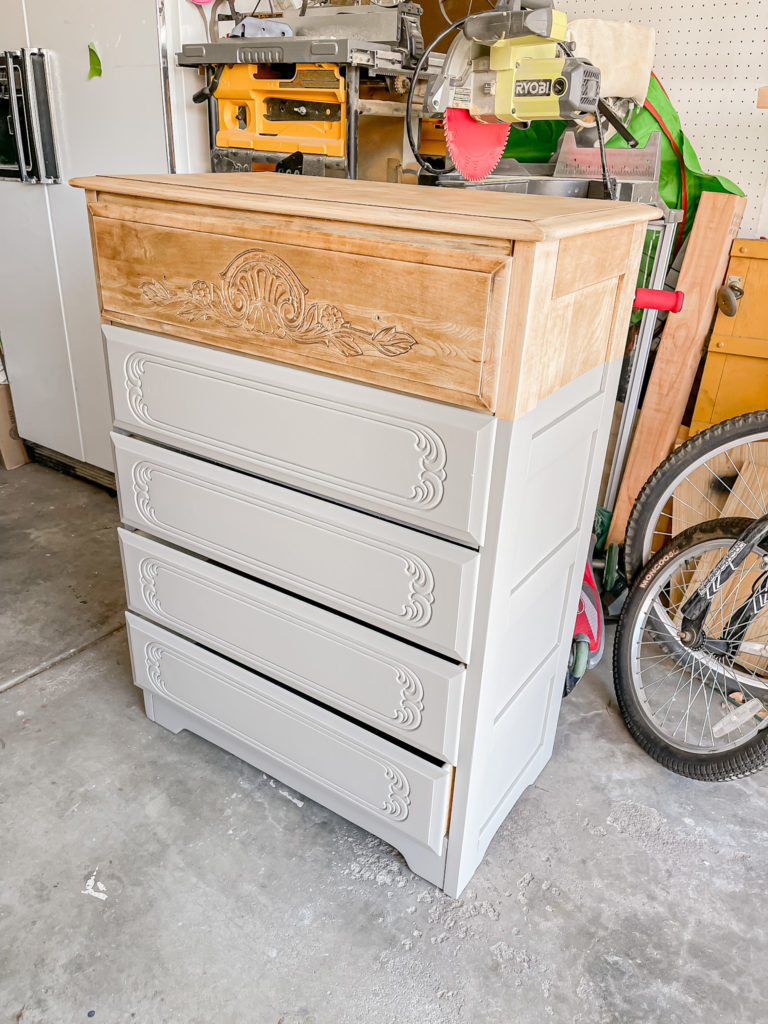
If this were a piece that I was selling I would have left it as is, but since I knew that we were going to be looking at it every day at the top of the stairs, I HAD to fix it!
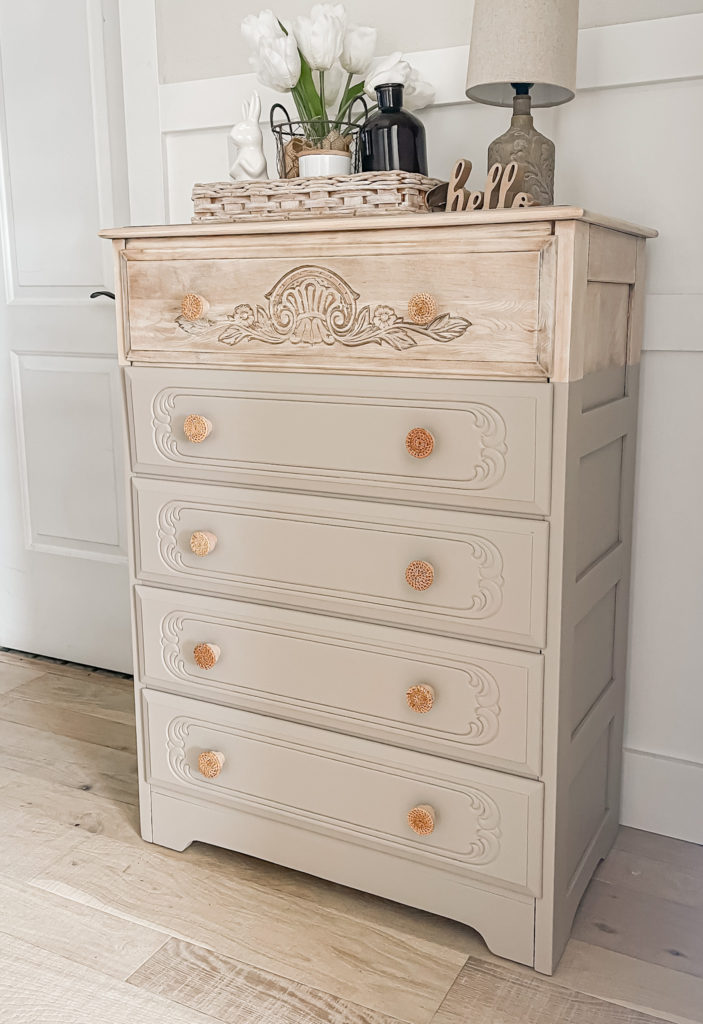
So I scuff sanded up the polyacrylic and taped it off again so that I could re-spray with a much warmer color! I also went over the wood portion with white wax to lighten it up a bit.
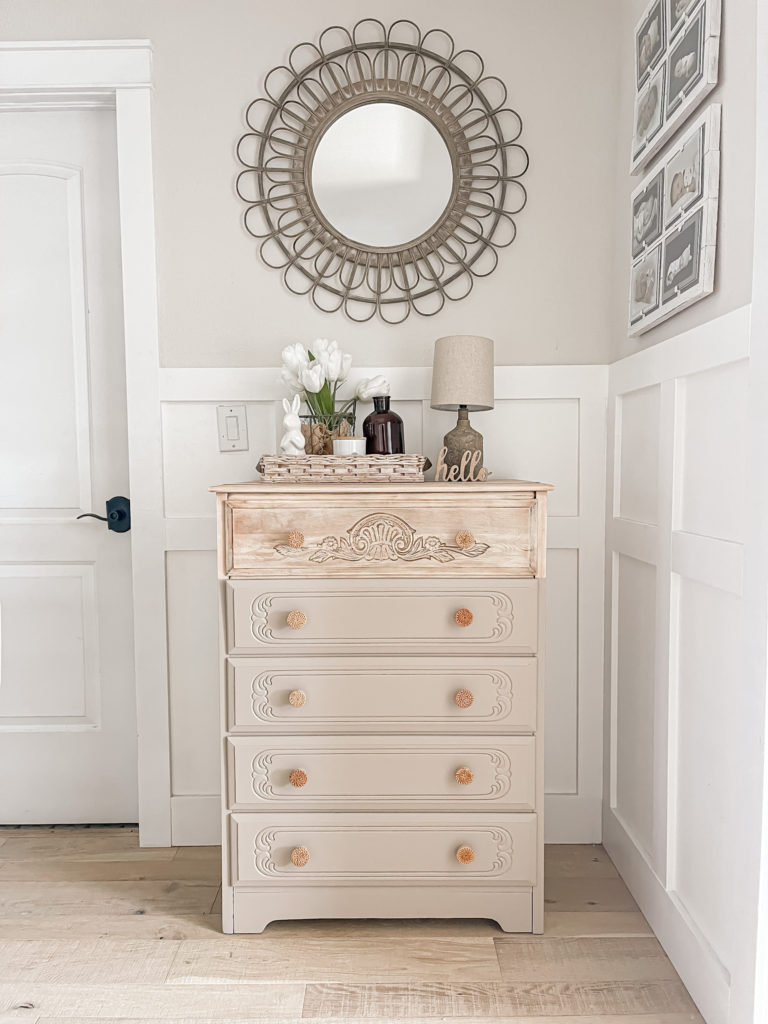
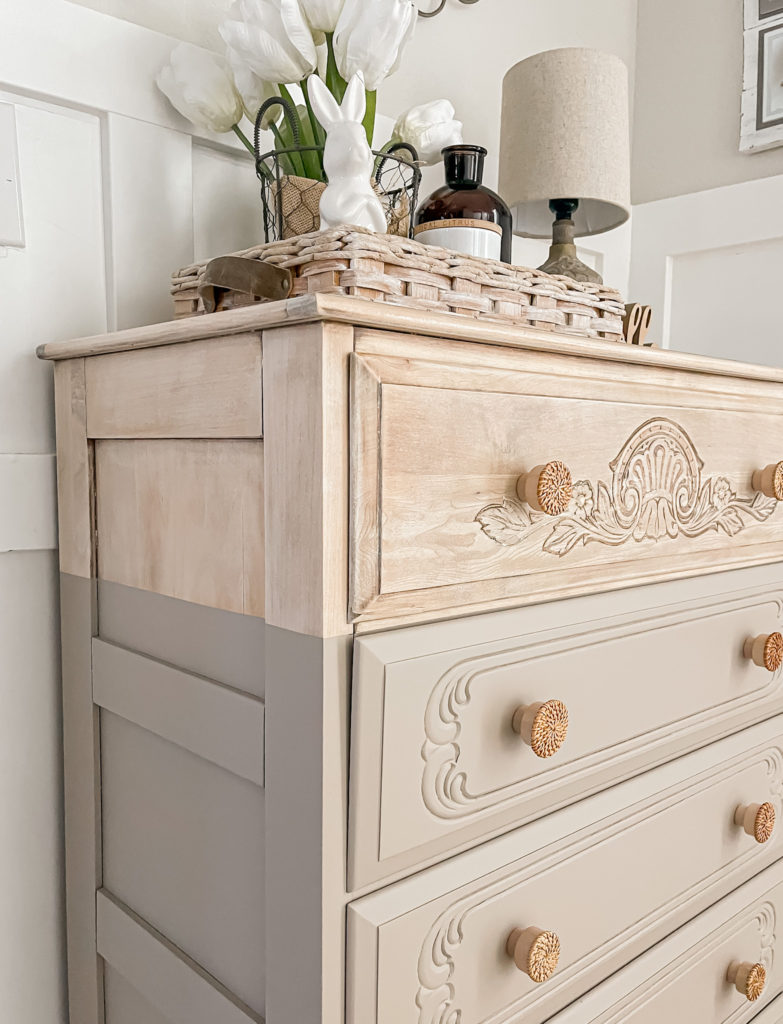
So much better! I wish I could give you a color name, but I completely mixed it up myself until I achieved the color I was looking for (only this time I made sure to apply samples and waited for them to dry haha!)
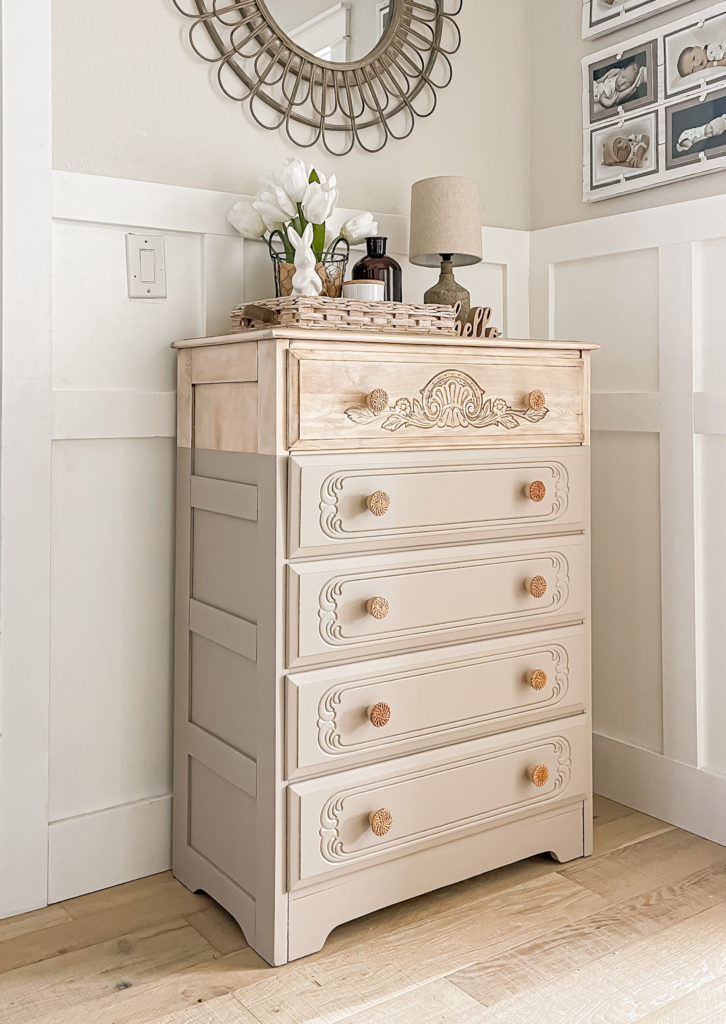
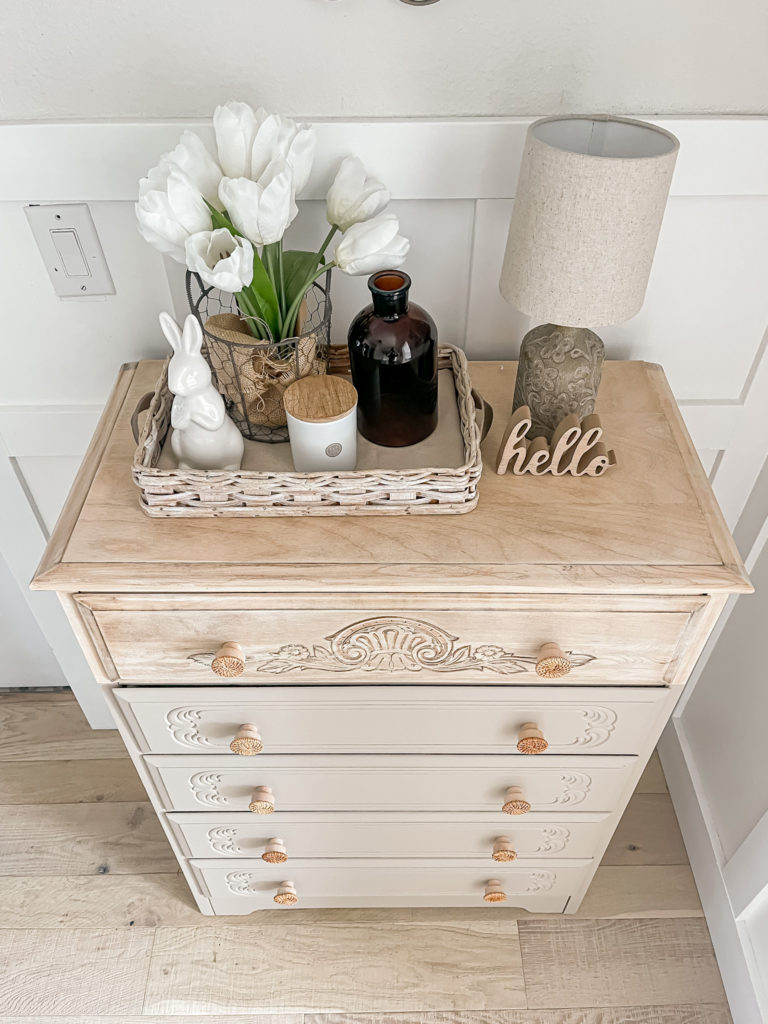
I knew that I wanted it to have a bohemian vibe so these rattan pull knobs worked perfectly.
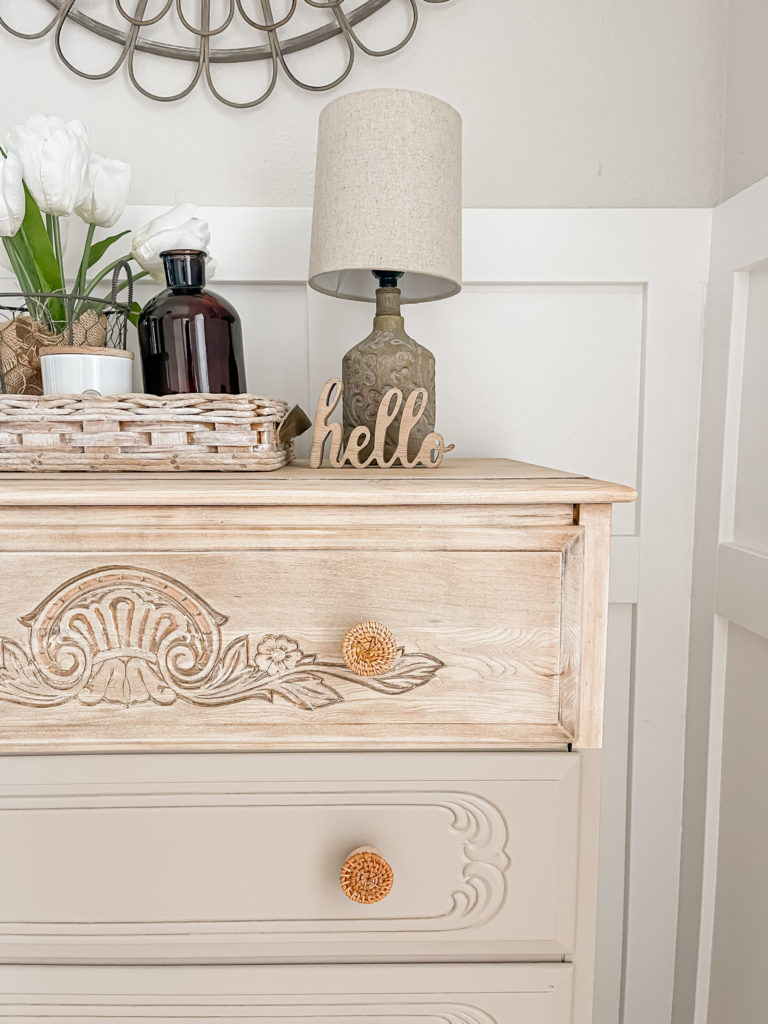
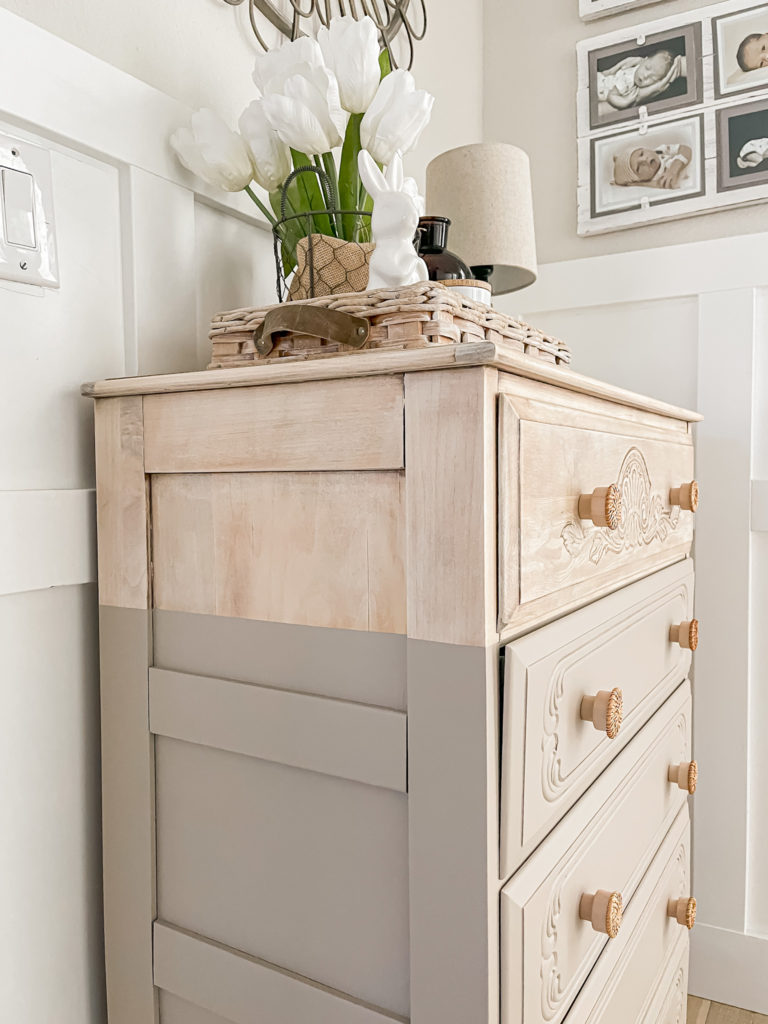
It looks so welcoming at the top of the stairs and I love having the storage for things like extra sheets, toilet paper and toiletries.
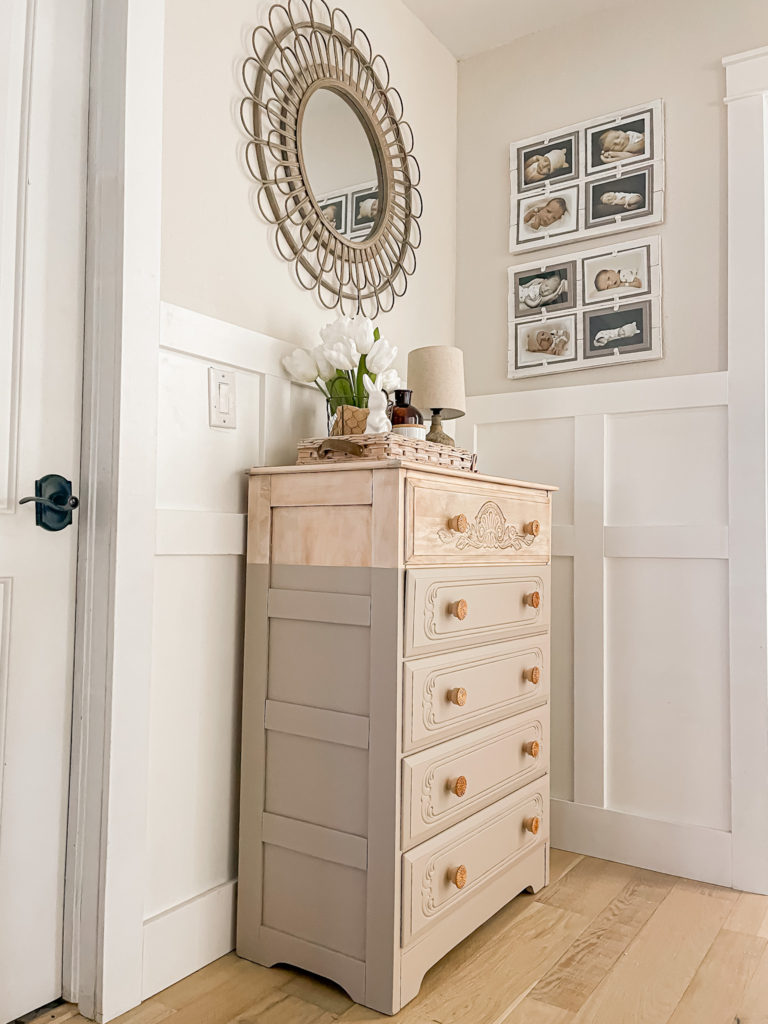
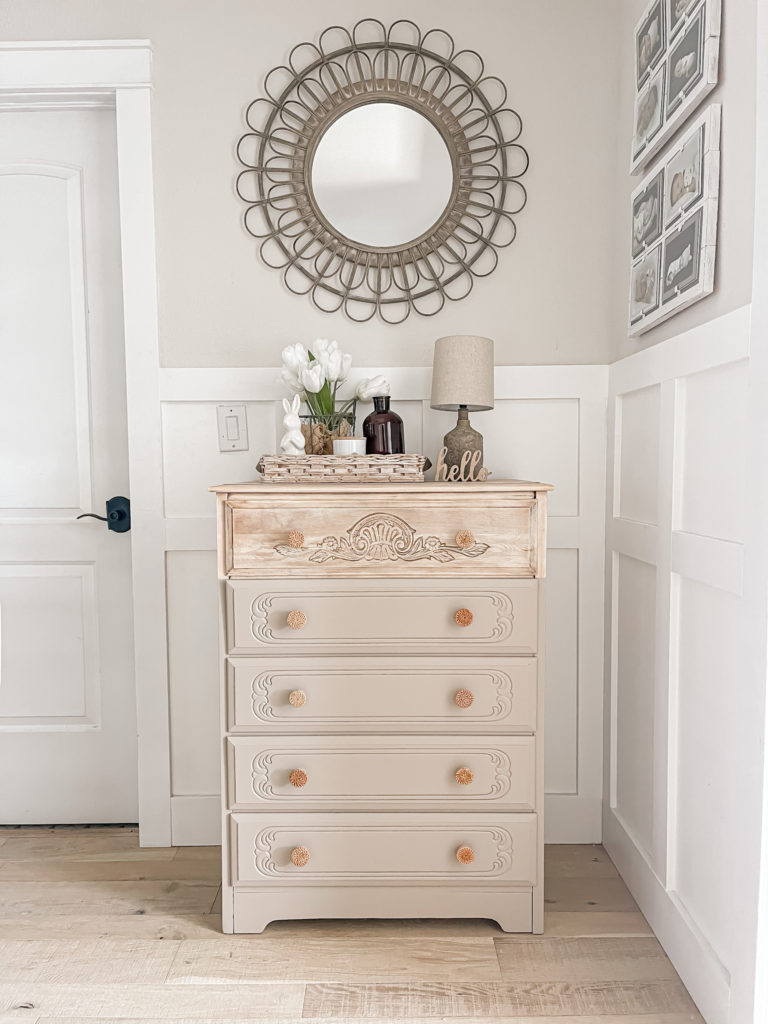
Thanks for stopping by today, I hope you have a fantastic weekend! 🙂
PIN FOR LATER!
Affiliate links may be provided for convenience. For more info, see my full disclosure here.)
Linking up to these awesome parties
This turned out gorgeous! I love it.
I love the wooden knobs . Nice makeover. And styled perfectly. #trendsetter
What a transformation! You did a great job on this dresser. It looks amazing!