Hello friends! It sounds like this wicked cold has spread through the country and I hope you’re staying warm wherever you are! Although we pulled out of it on Tuesday, over the weekend it forced me to keep up on my promise to incorporate more home decor and DIY around here since it was too cold to work on furniture in the garage. Today I’m sharing what we worked on!
When I first created our playroom up in our loft area, I set up a teepee in the entryway.
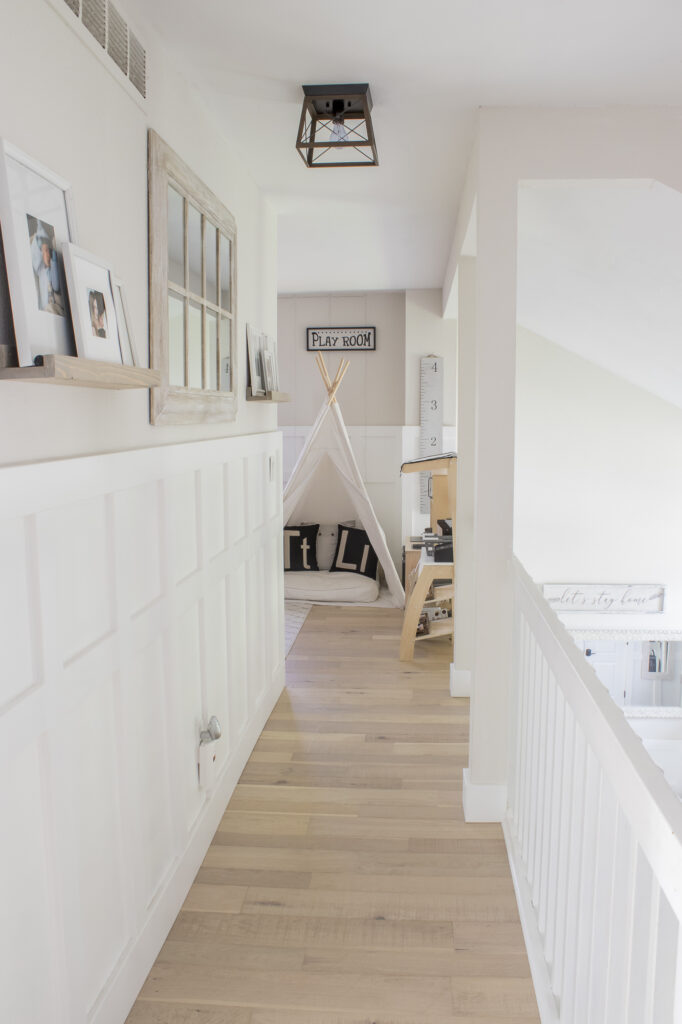
Each Christmas we would move the teepee to the basement so that my work desk could be moved up to make room for the big tree in the front room. This year I decided that I actually liked the idea of the teepee staying in the basement which meant that once my desk moved back downstairs we had a big blank wall that needed something.
I instantly knew that some floating shelves would not only look nice but would provide some extra storage.
Supplies Used:(Affiliate links may be provided for convenience. For more info, see my full disclosure here.)
- Stud Finder
- Level
- Miter Saw
- Table Saw
- 2×2
- Drywall Anchors
- 1/4” Plywood
- 1×3
- 1×8
- Nail Gun
- Wood Filler
- Sander
- Painters Tape
- Sandstone Stain
- Special Walnut Stain
- Polyacrylic
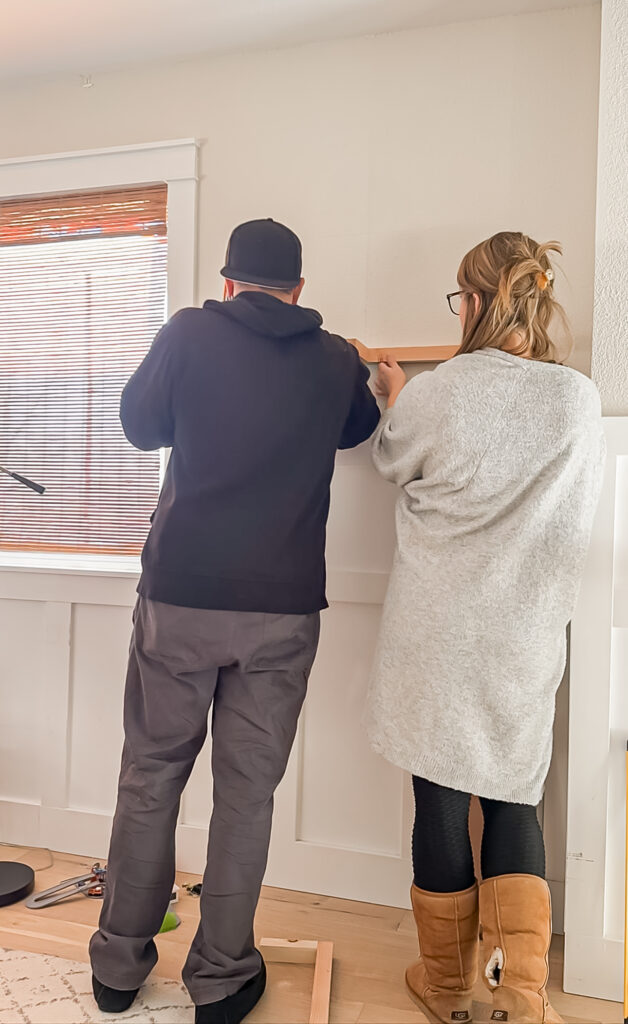
We began by measuring out where we wanted the shelves to sit and where center was—although I didn’t actually measure where center was as you’ll see later on!
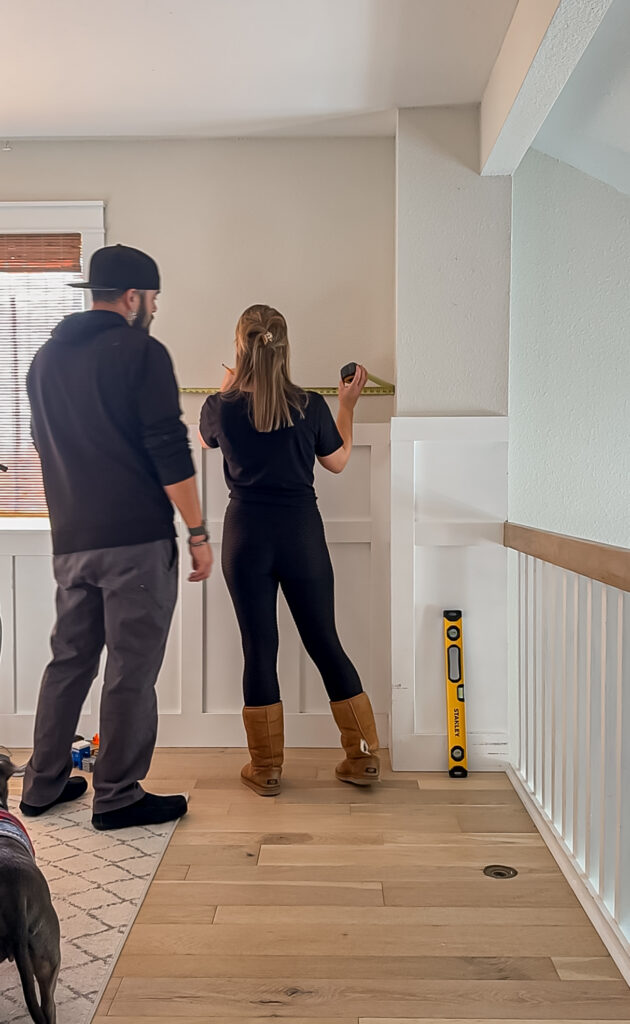
(There’s Anthony observing me and not noticing how off I was haha!)
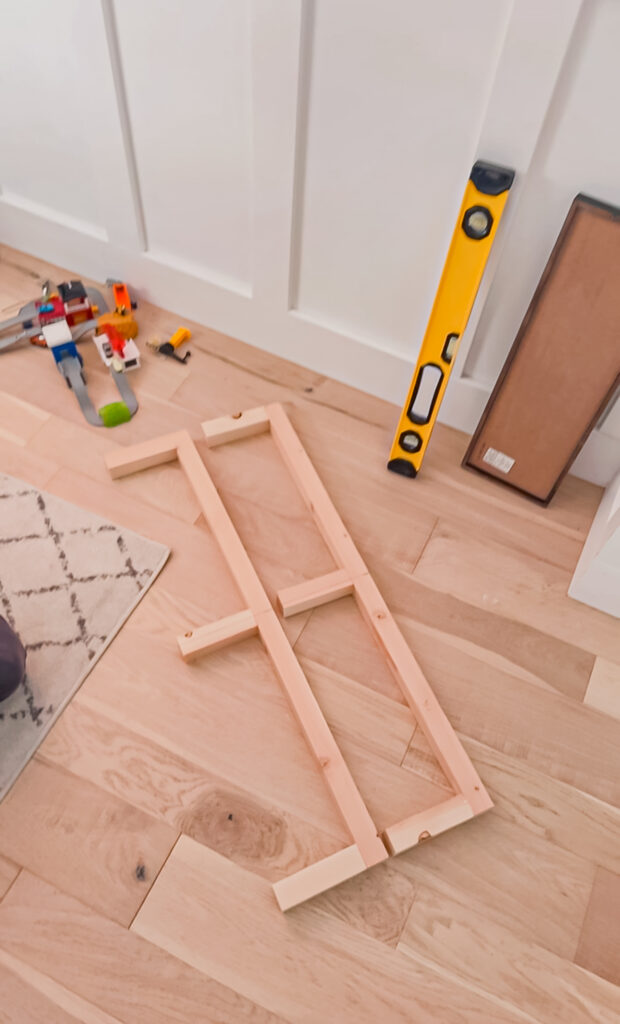
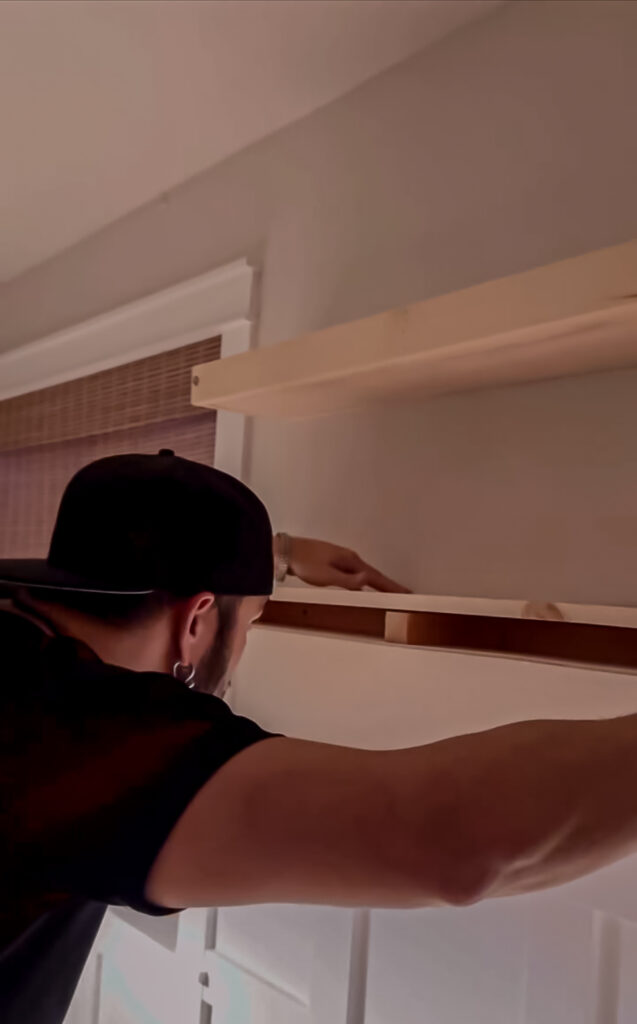
Next we started building the E brackets which were the support for our shelves. We composed these out of 2x2s attached with wood screws from the back of the “E”
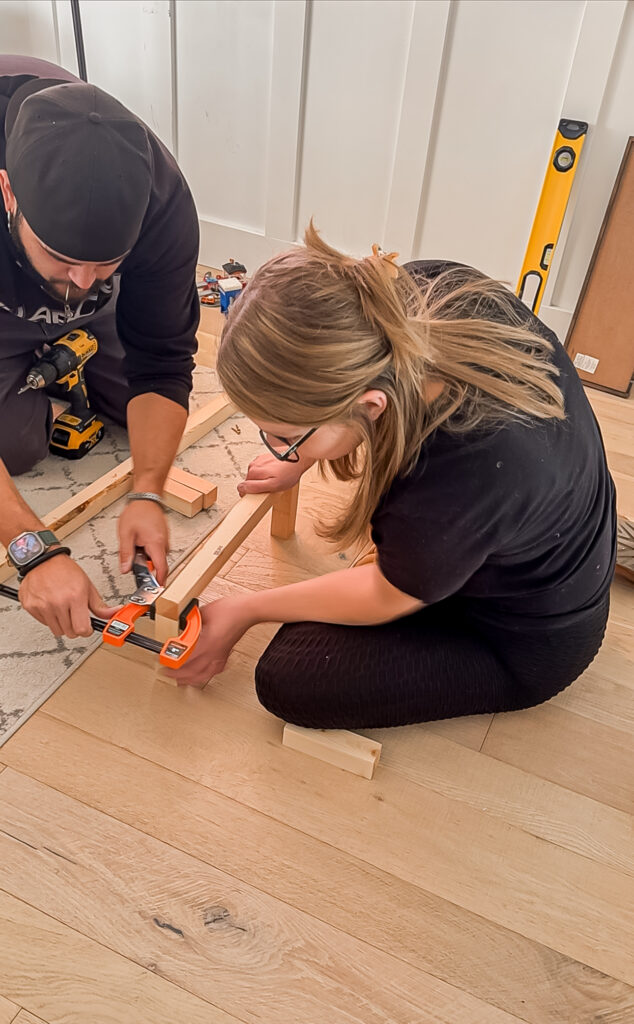
Once those were built we marked the center on each one and secured them to the wall. Unfortunately we could not hit studs because the branches on our E bracket happened to sit in the way, so we used drywall anchors to secure them.
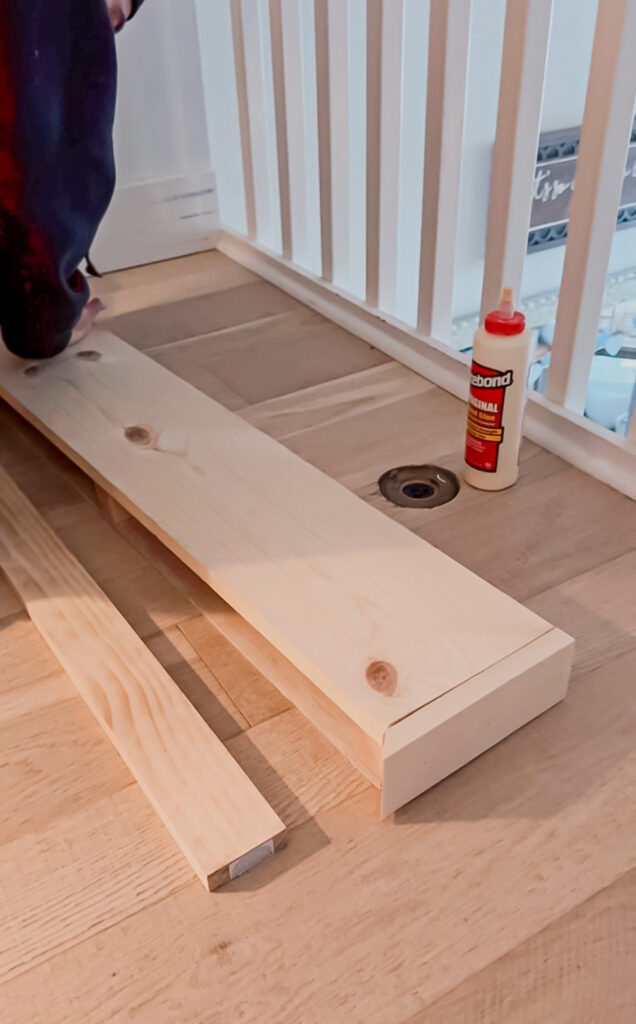
With the supports in place it was now time to start assembling the shelves. We used the miter saw and table saw to cut down our pieces which included:
- 1×8 for the top
- 1x3s mitered at 45 degrees for the sides
- 1/4” underlayment for the bottom.
We did a dry fit on the ground to make sure everything was cut correctly.
Just as we got the first shelf assembled, I noticed that they were not centered at all!
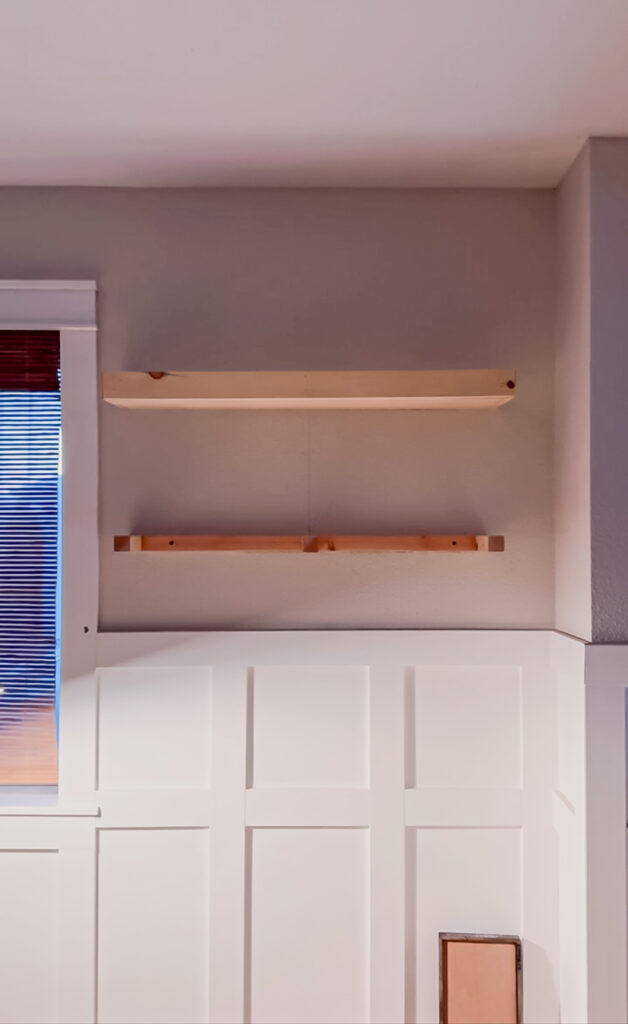
The issue was that I measured from the inside of the window trim—whoops! Fortunately we had only done one so we pulled the nails out and moved the brackets over.
I would like to start the next part of the tutorial by apologizing for these crummy nighttime pictures! I only grabbed videos, but I figured that screenshots were better than nothing so that you could get an idea of the process.
We started with securing the bottom with nails straight into the E bracket supports.
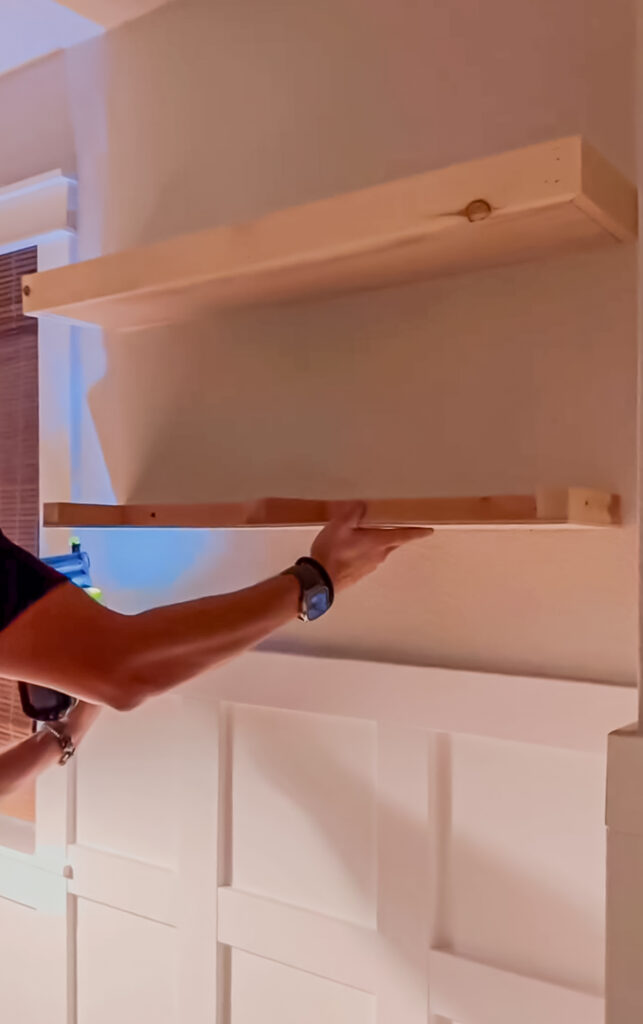
Then we added the sides. Usually we drive the nails in from the 1×3, but here the side wall prevented us from doing that so we used longer nails to go through the 2×2.
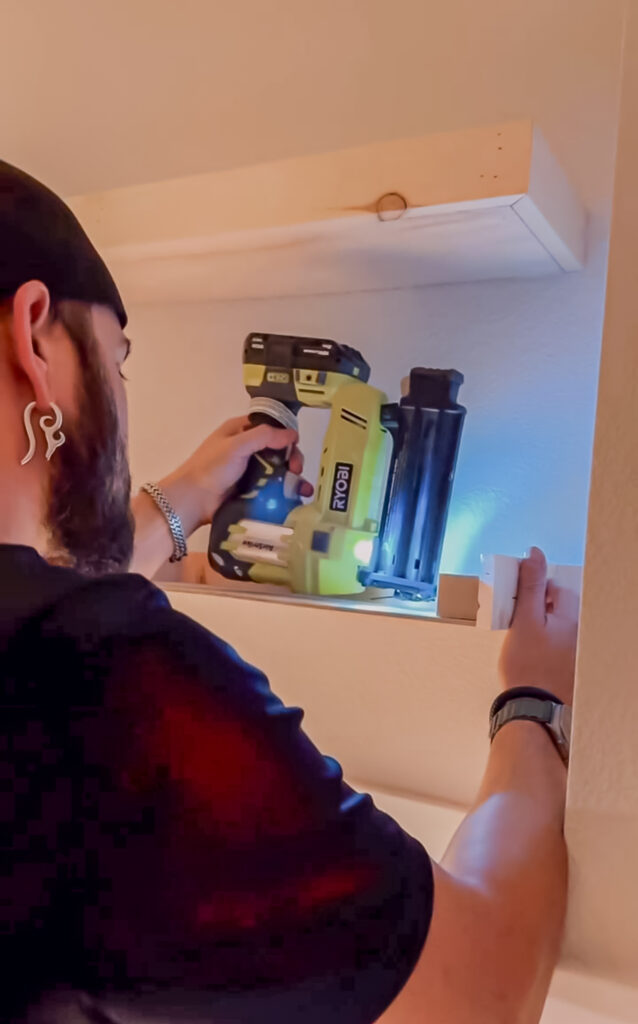
Next was the top which we secured with countersinking screws to pull it in to the support nice and tight.
We finished it up with the front 1×3.

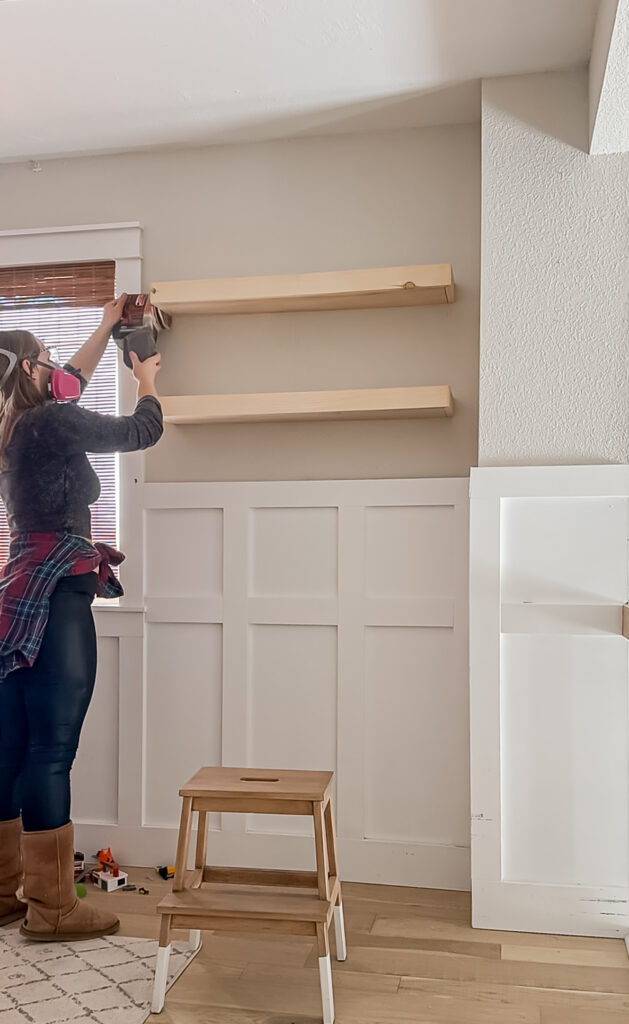
I filled all of the nail and screw holes with wood filler and then called it a night. The following day I came back with my sander to smooth everything out.
I wiped off all of the sanding dust, then taped off the wall and began applying stain.
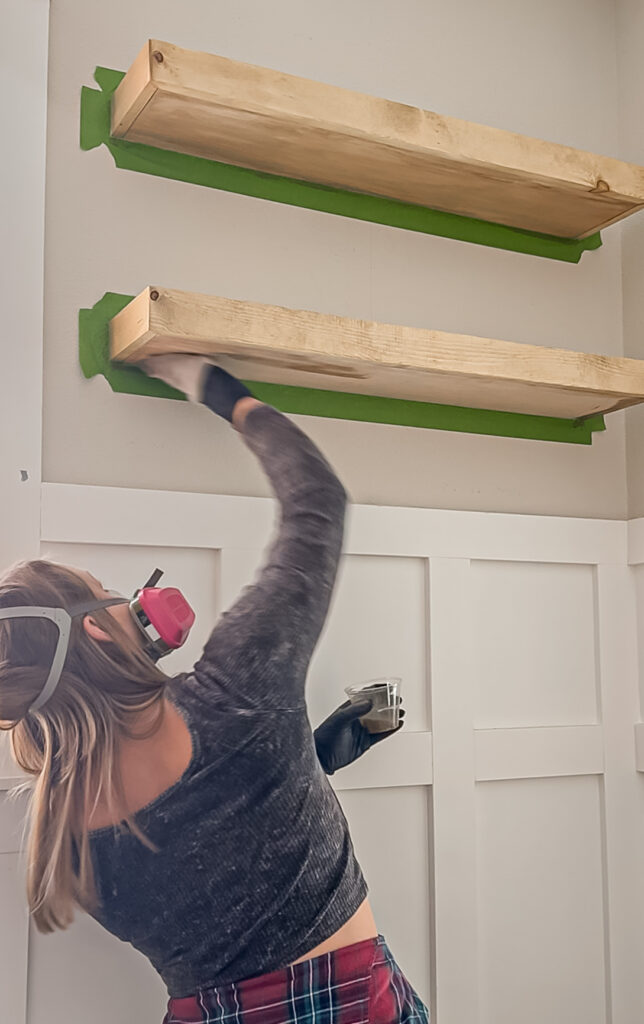
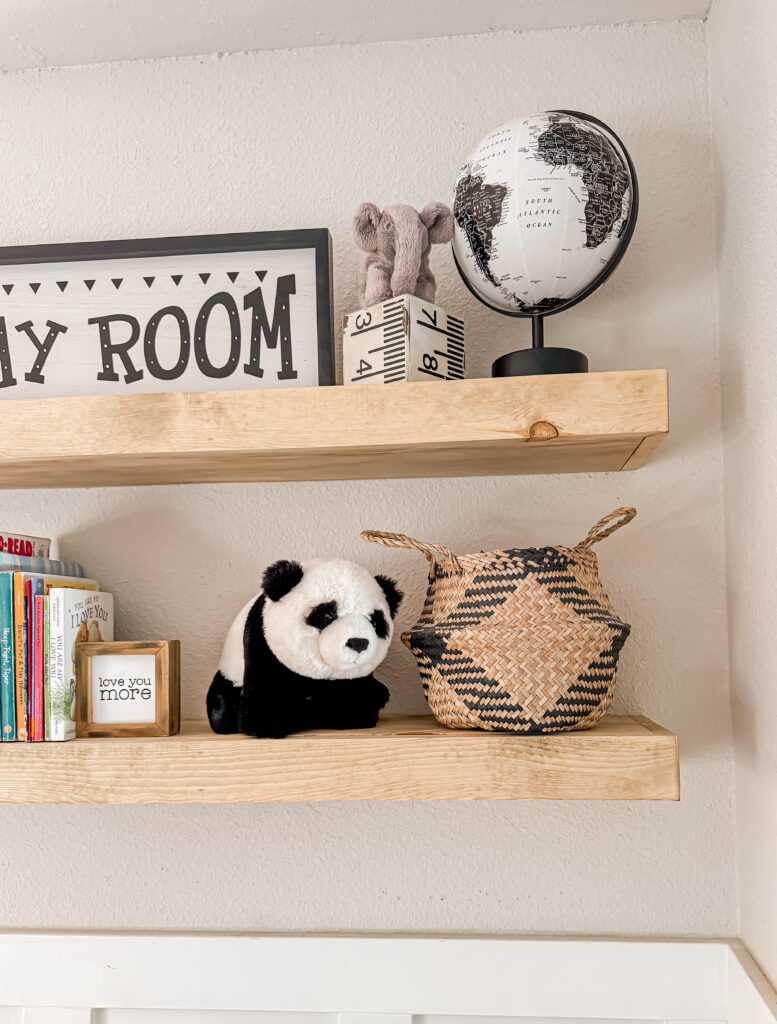
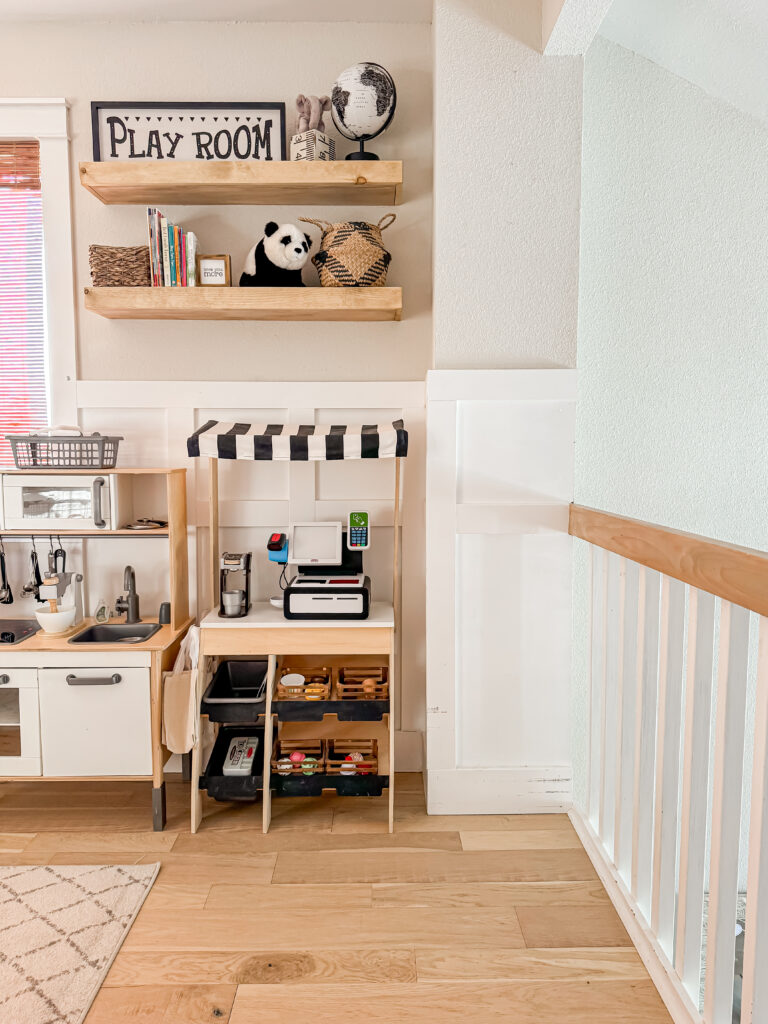
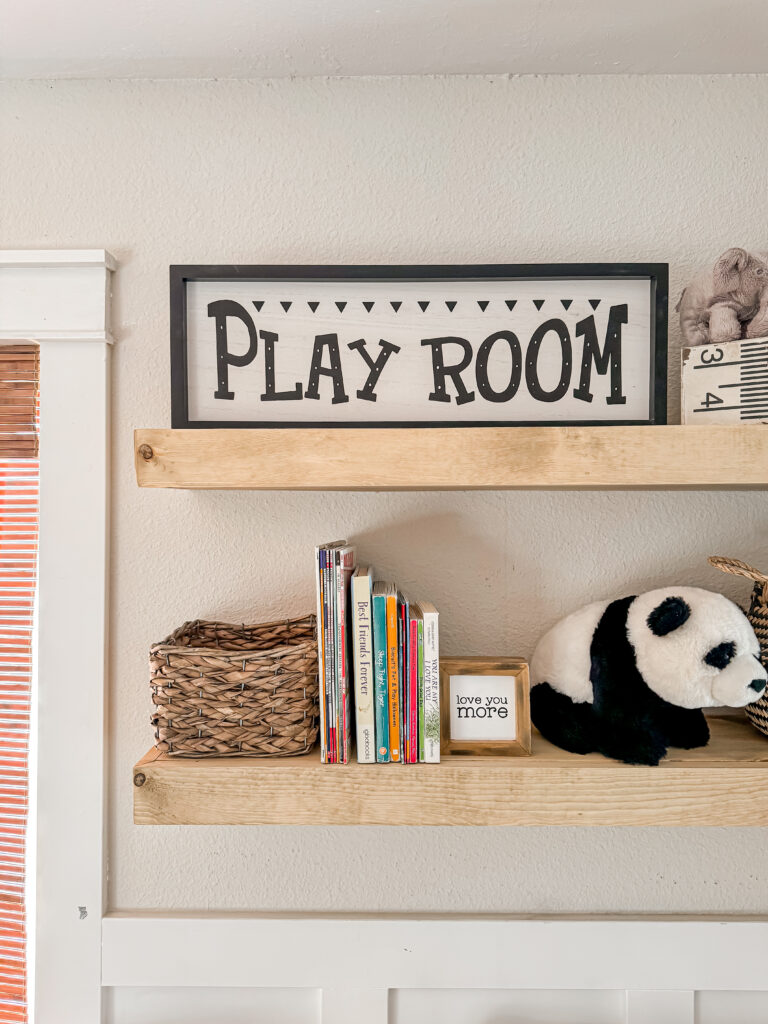
I sealed them up with polyacrylic and here is how they turned out!
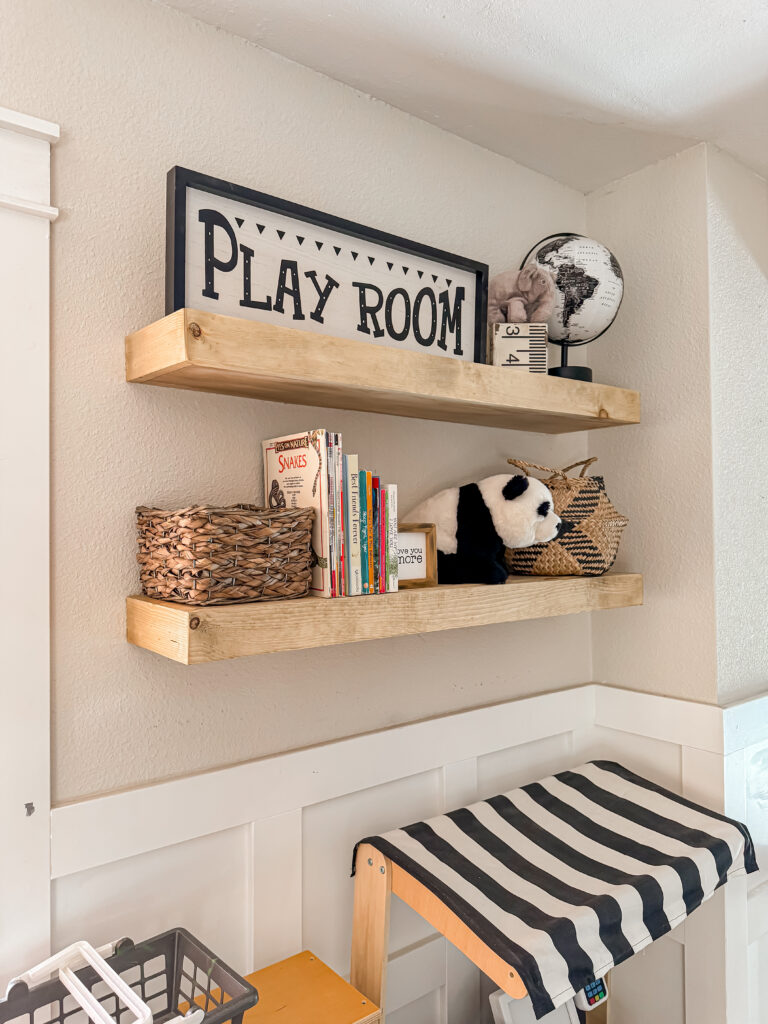
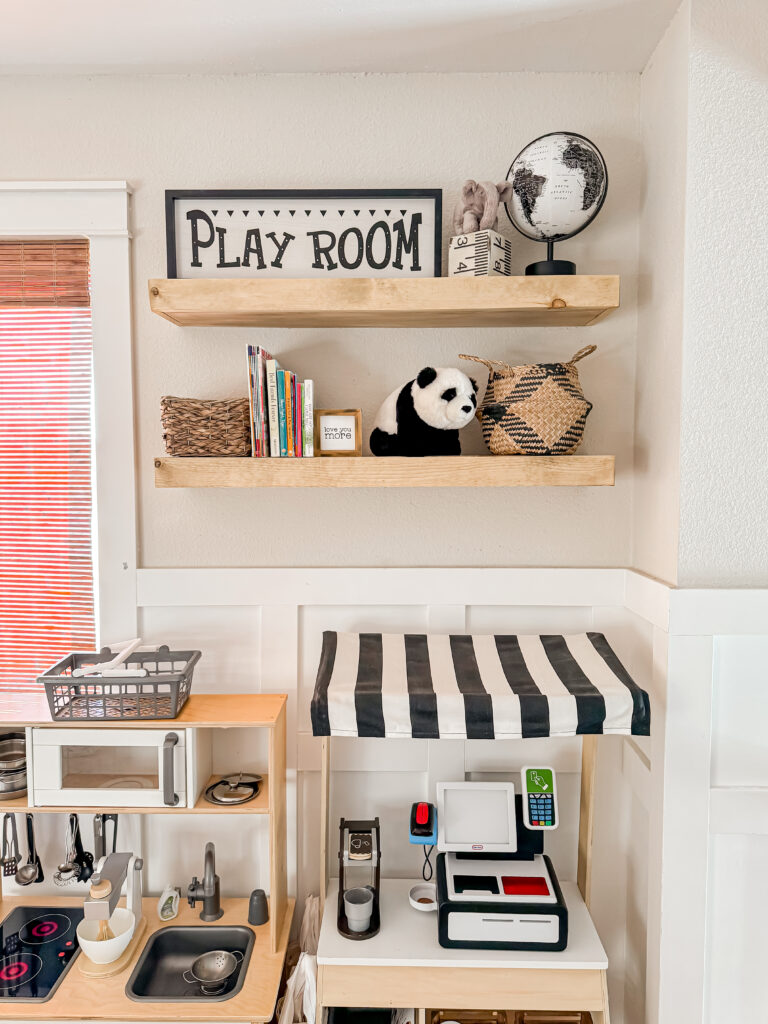
I probably will play around with styling them differently later on since I threw this together quickly for these pictures!
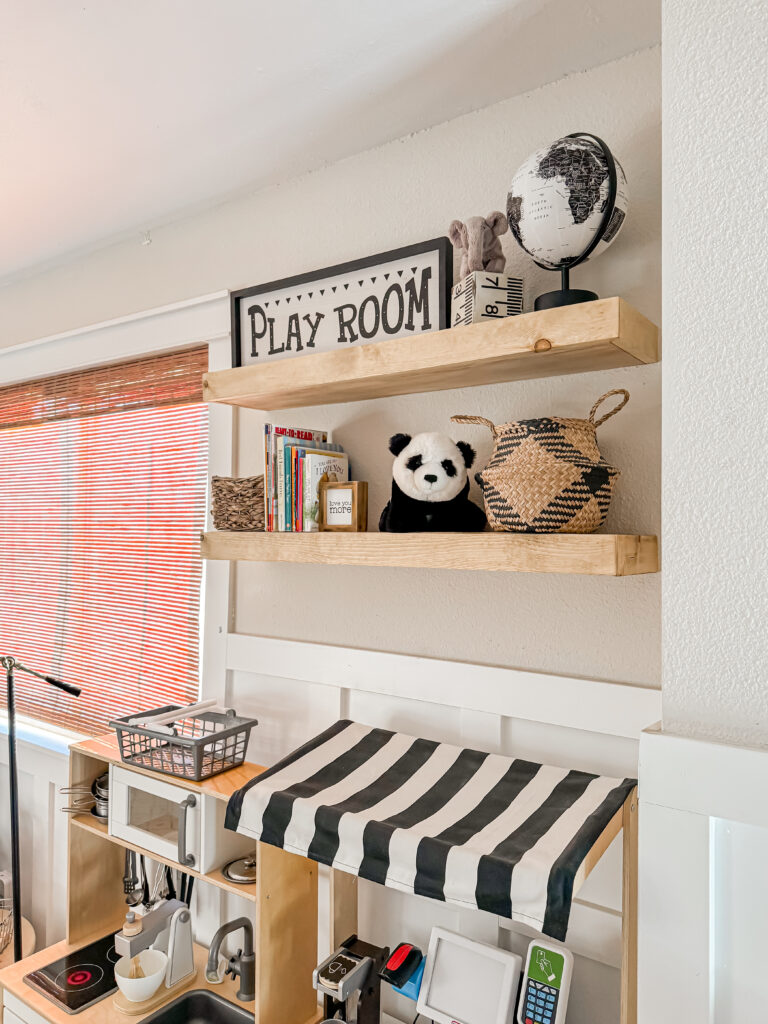
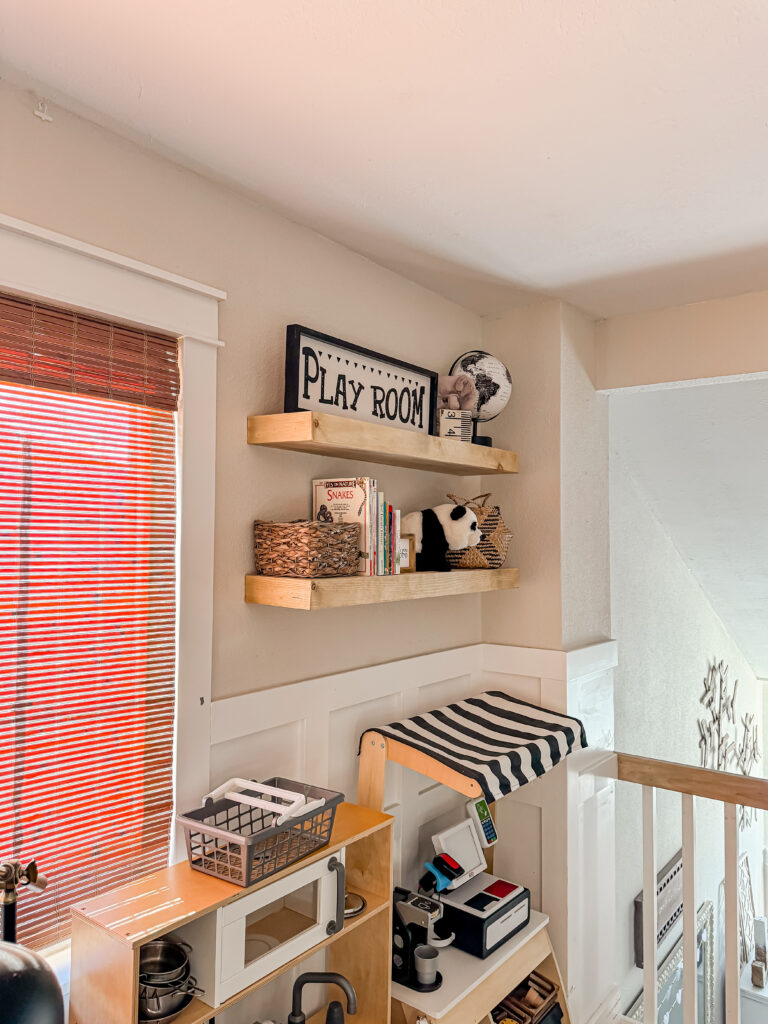
It’s been nice admiring these as I walk down the hall!
Have a happy rest of your week!
PIN FOR LATER!
Linking up to these awesome parties!
These look great! I have always wanted some floating shelves in my living room, but both I and my husband are rubbish at DIY and this looks far too complicated for me