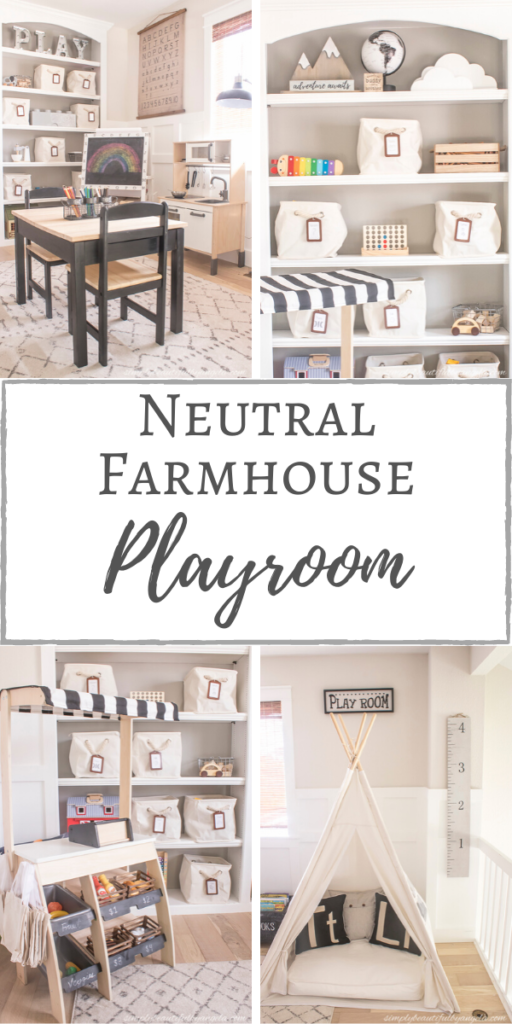
Hi guys! Today is one exciting day—I am finally sharing the playroom with you guys!
As you may recall I started on this room makeover waaaay back in March and I actually finished it up the first week of May. I have been procrastinating taking the reveal photos but this week I set up the tripod so I could should you all how it turned out! In case you missed any of the progress posts, you can catch them all here:
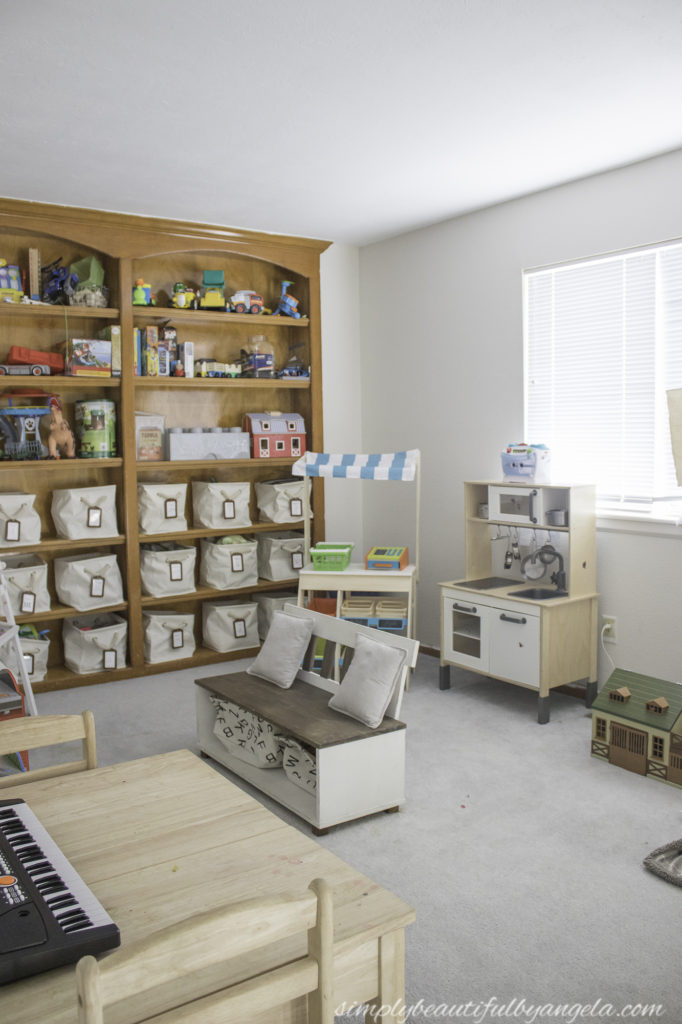
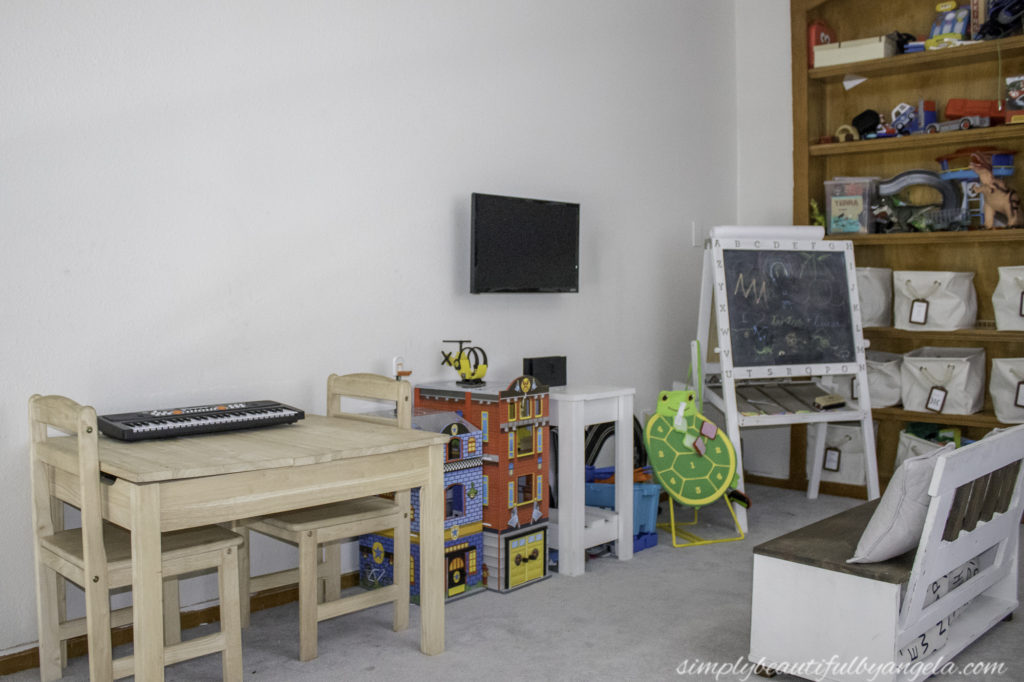
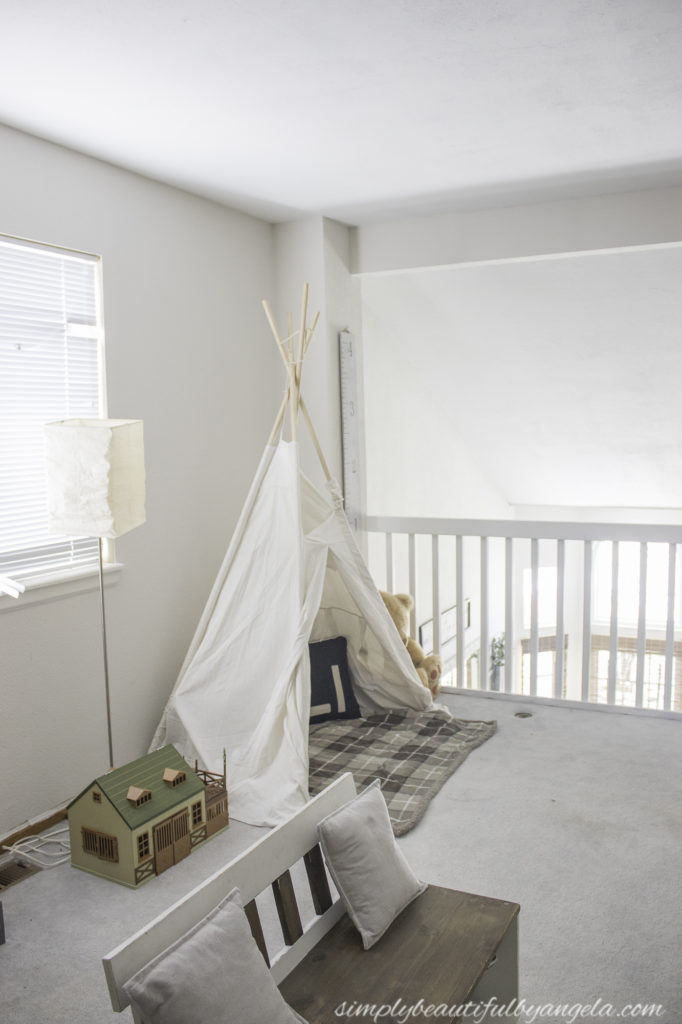
Before I get to the pretty pictures, let take a quick peek back at this room’s journey. The playroom is a lofted area above the front room and as soon as we toured this house we knew that this space would be the perfect space for the kids to play in. It’s open to the lower level so that we can keep and eye and ear on them, and the built-ins provide nice toy storage. This is what it looked like when we first purchased the house.
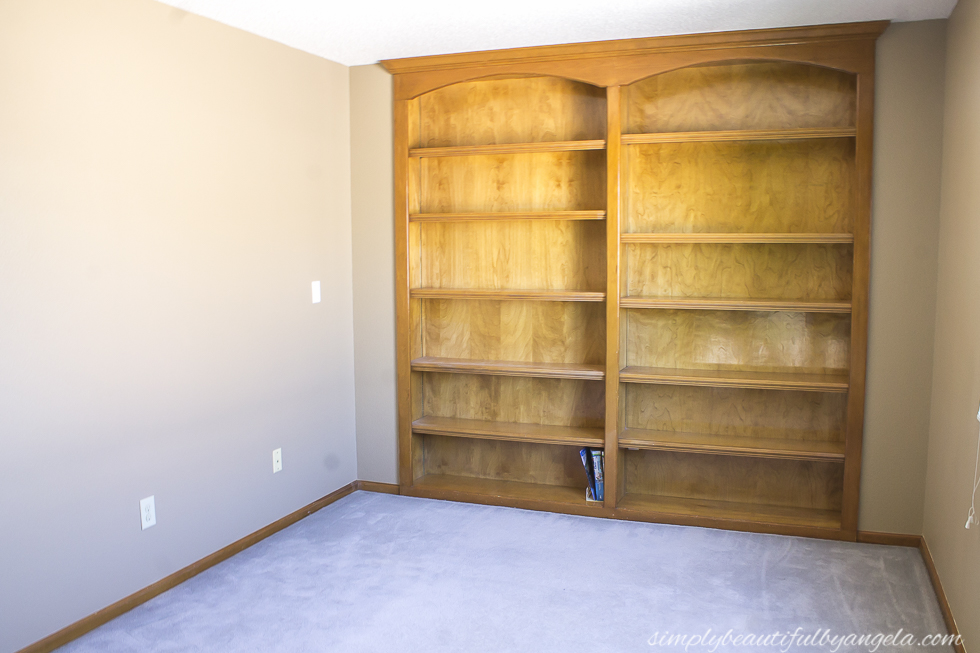
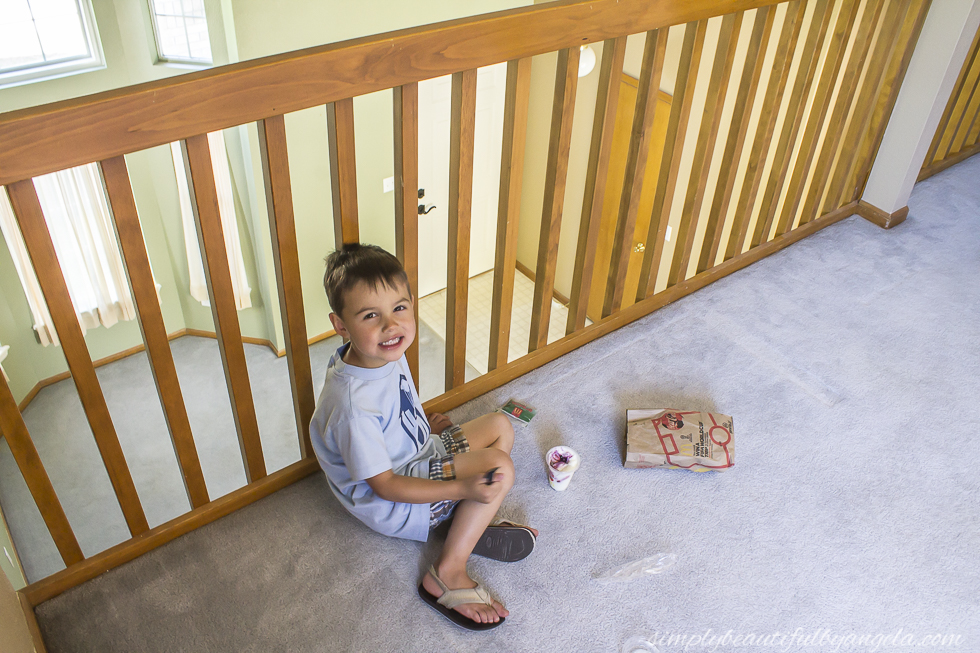
This room wasn’t high on the priority list so after almost two years of living here it still pretty much looked just as it did when we moved in–just not so empty!
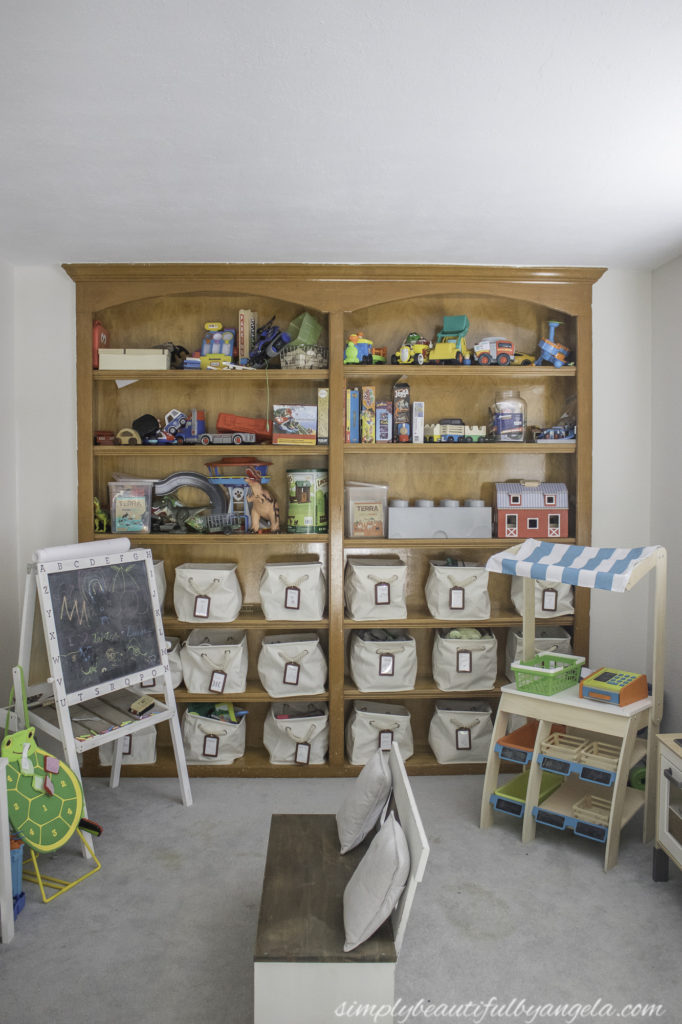
Of course the boys didn’t mind how it looked, but every time I sat in here to play with them I would start to brainstorm. During the start of the quarantine I decided that I needed something to keep me busy so I came up with these plans and got to work!

The first order of business was replacing the carpet with the same engineered hardwood floors (French Seacliff by Malibu) that we’ve installed in the rest of the house. I then painted the built-ins which instantly modernized the entire room.
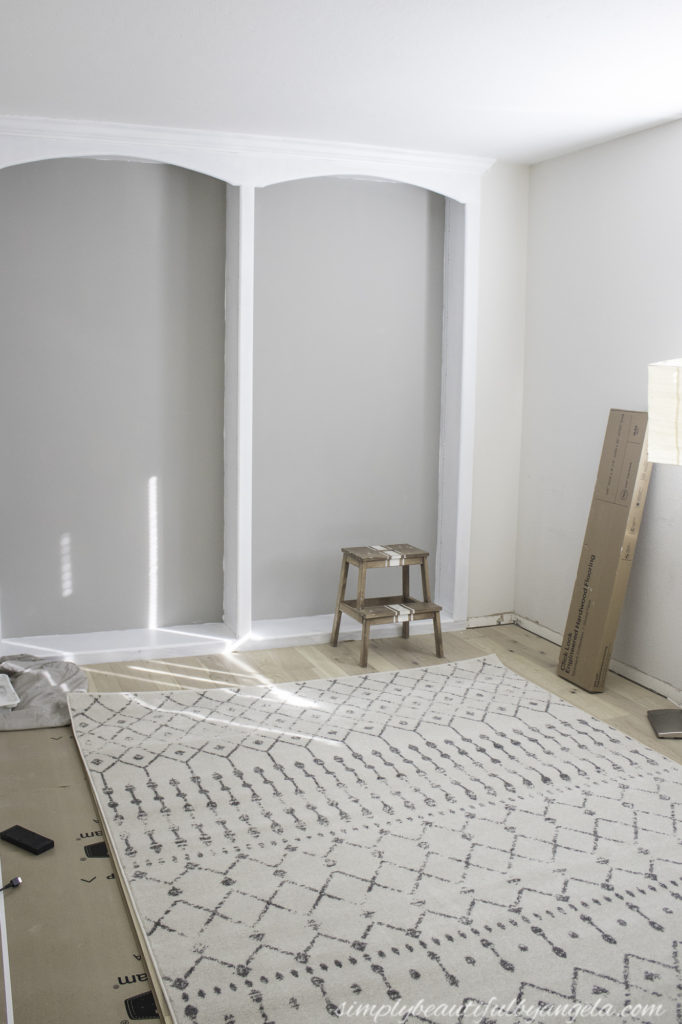
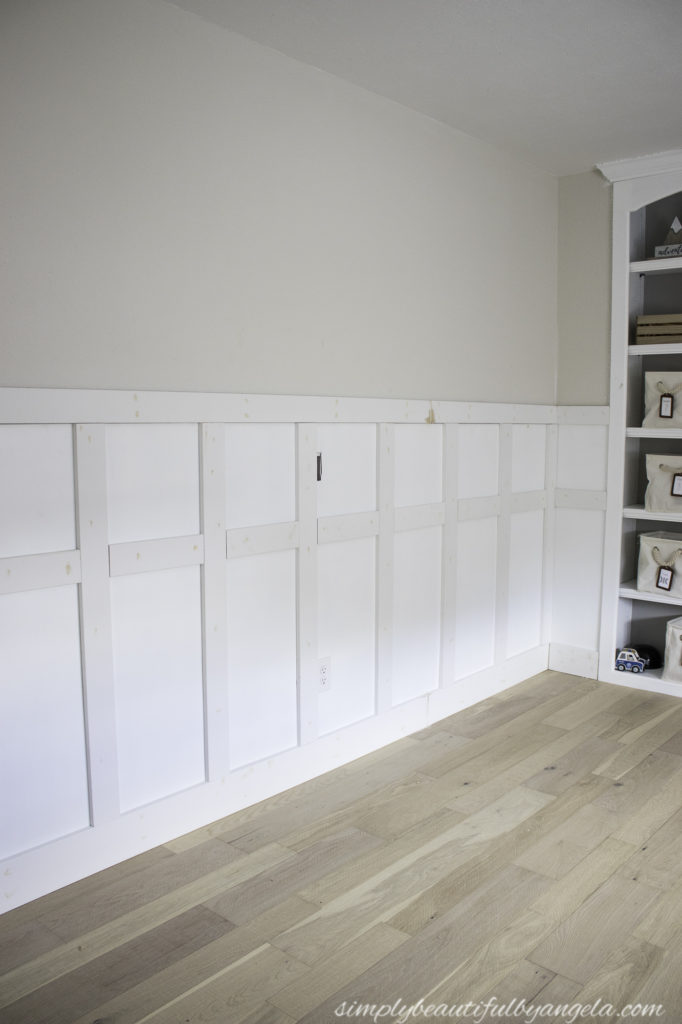
I added board and batten all around the room and finished up by decorating it with a whimsical farmhouse style.
Welcome to the new playroom!
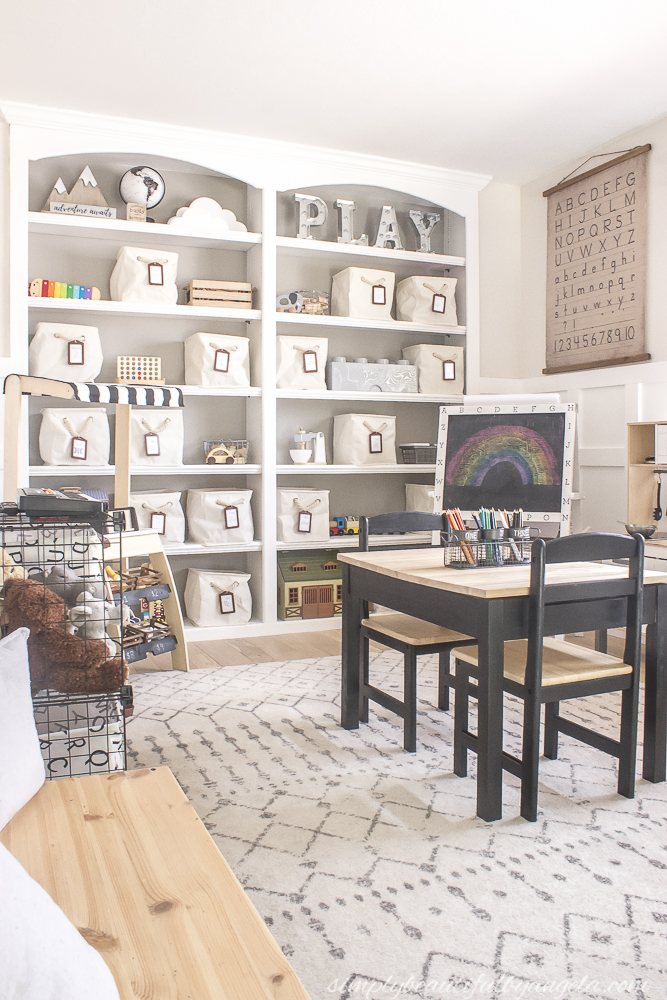
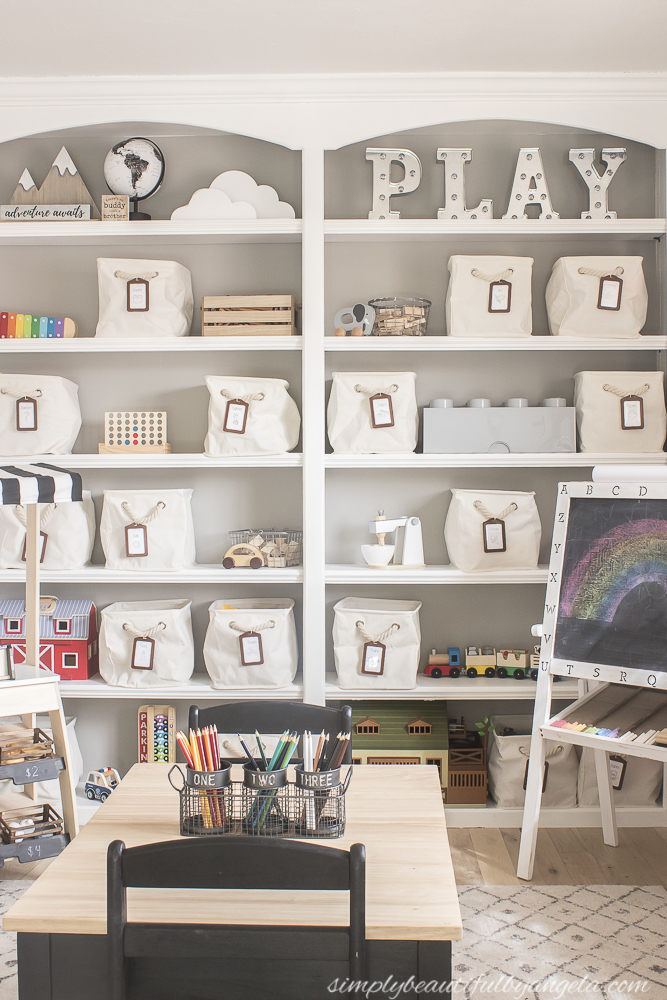
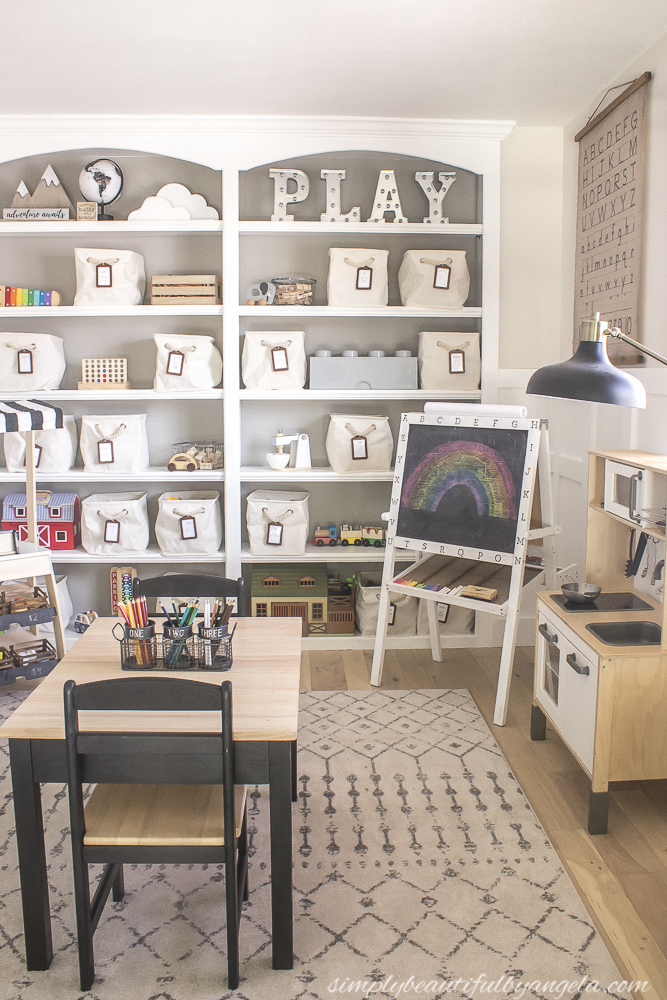
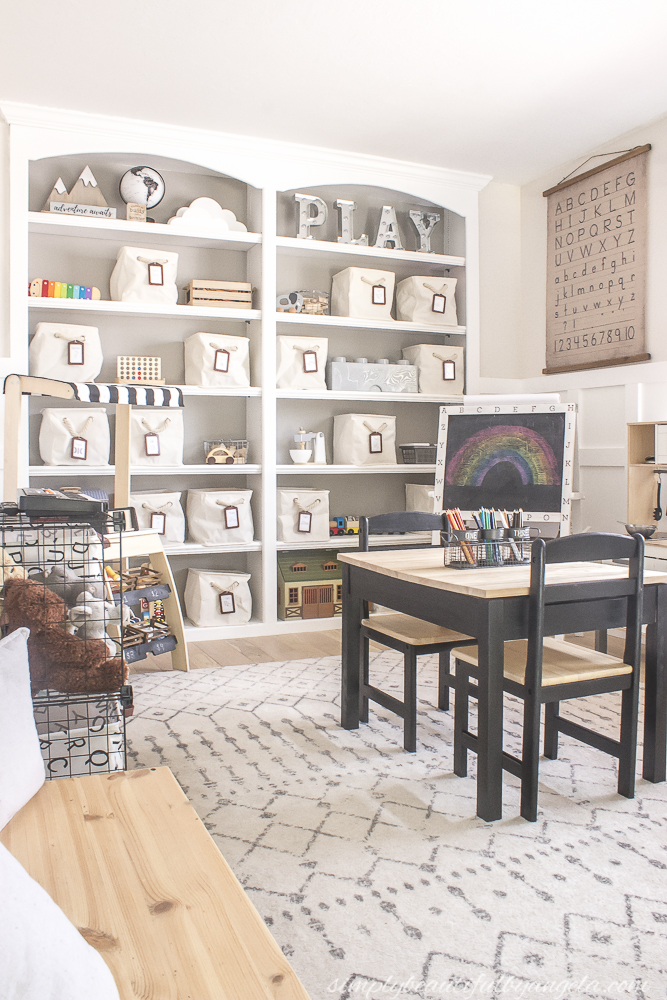
The built-ins are one of my favorite features in this room.
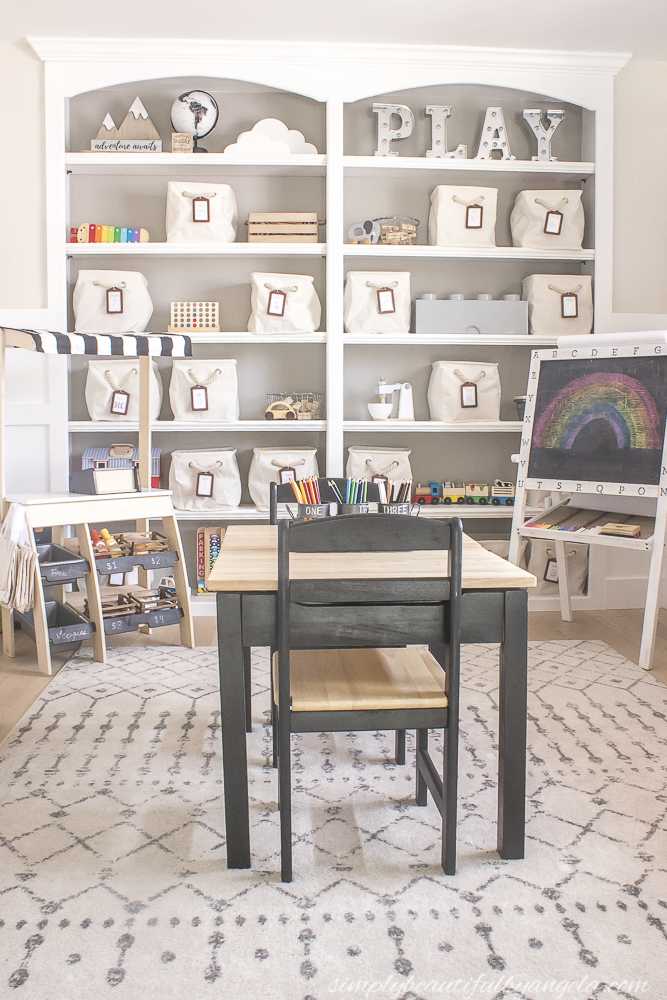
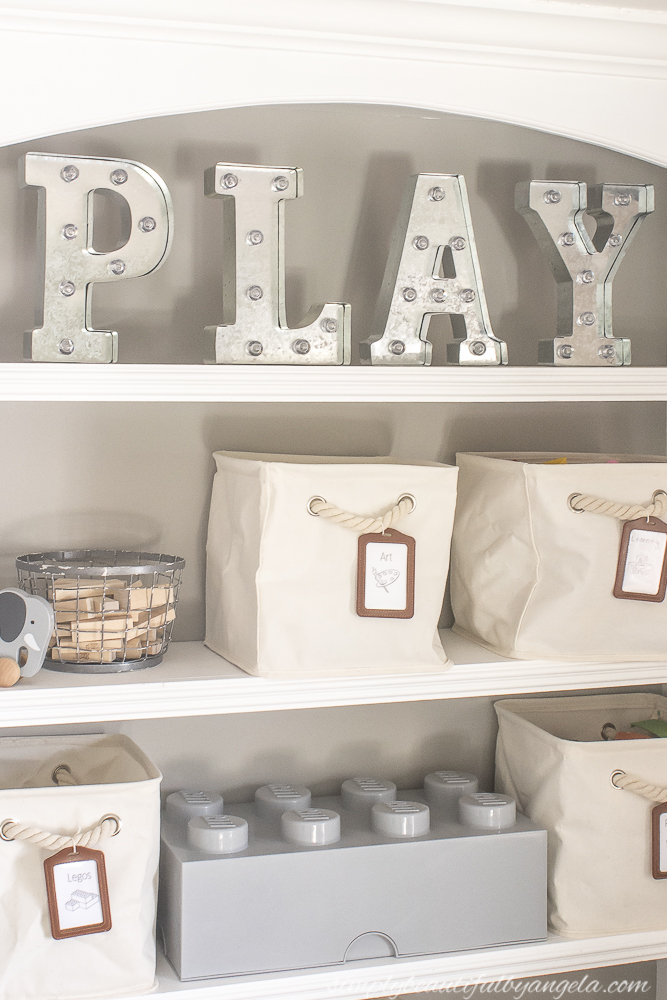
I decided to make the top two shelves for decor only since they can’t reach them. On one side I added these fun galvanized marquee letters. I originally was going to do smaller ones, however when I spotted these I fell in love how large they are and I like that they have the option to light up.
On the other side I put a couple of cute shelves that I found at Hobby Lobby and then added this awesome black and white globe in the middle. The cute brother sign is out of stock but this one is very similar.
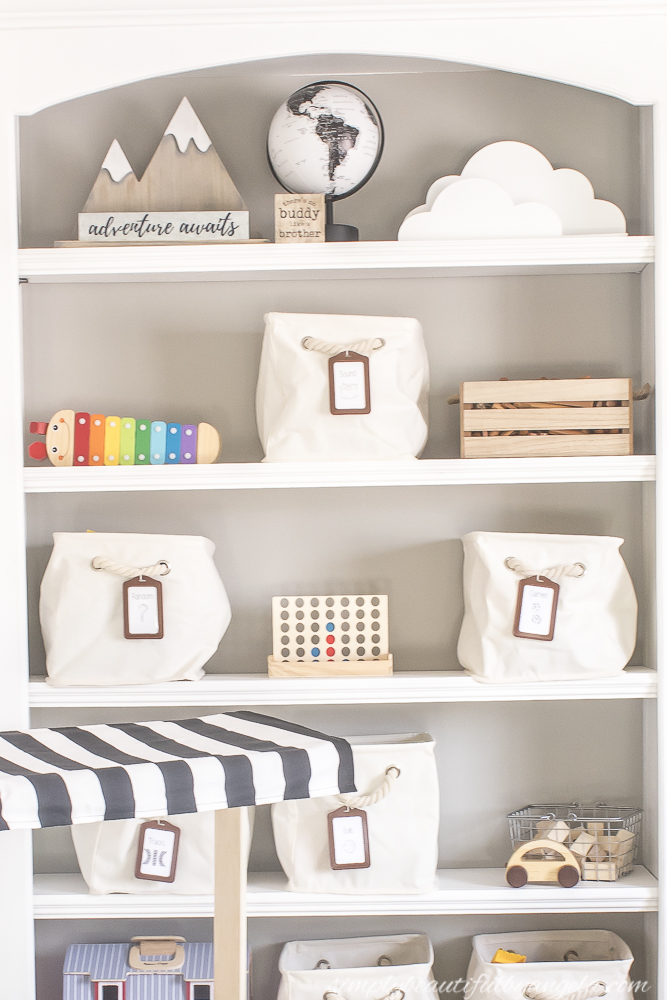
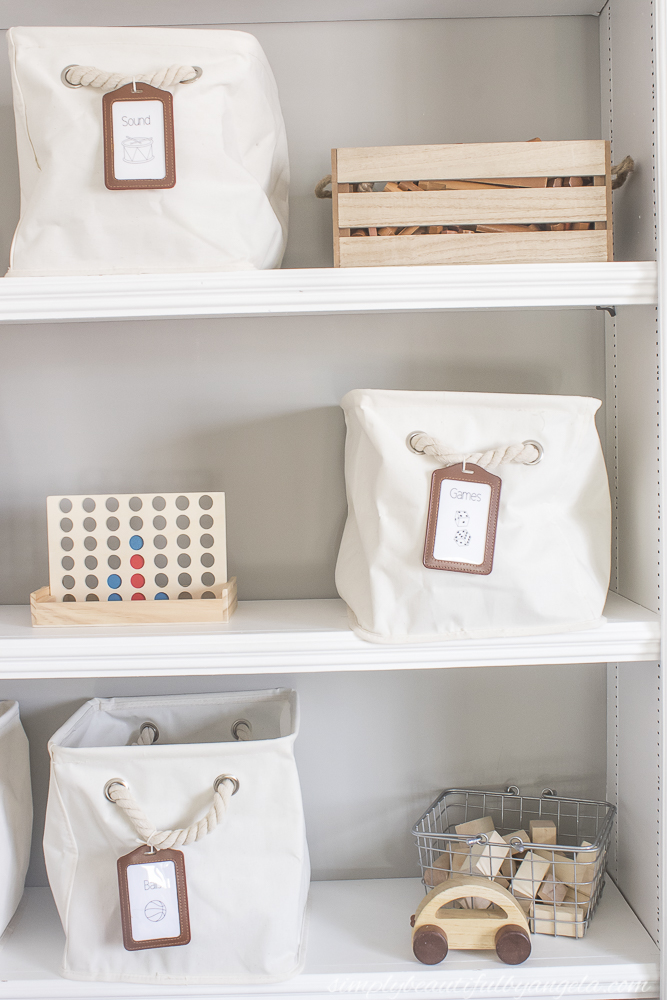
All of their toys are nicely organized in canvas bins that I added faux leather badge holders to. I decided to put pictures along with the word so that Lucas has no excuses when it comes to knowing where things belong. It has actually worked surprisingly well!
I added in a few bigger items to break the space up a little bit and I am happy to report that so far it has stayed very organized.
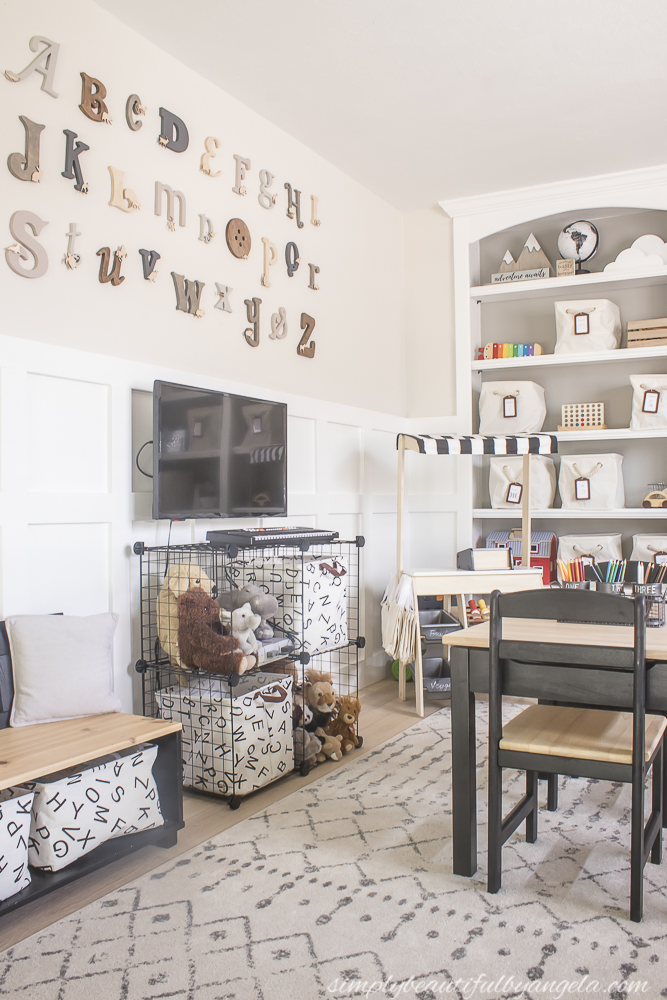
Okay let’s chat about my second favorite feature in here–the alphabet wall!
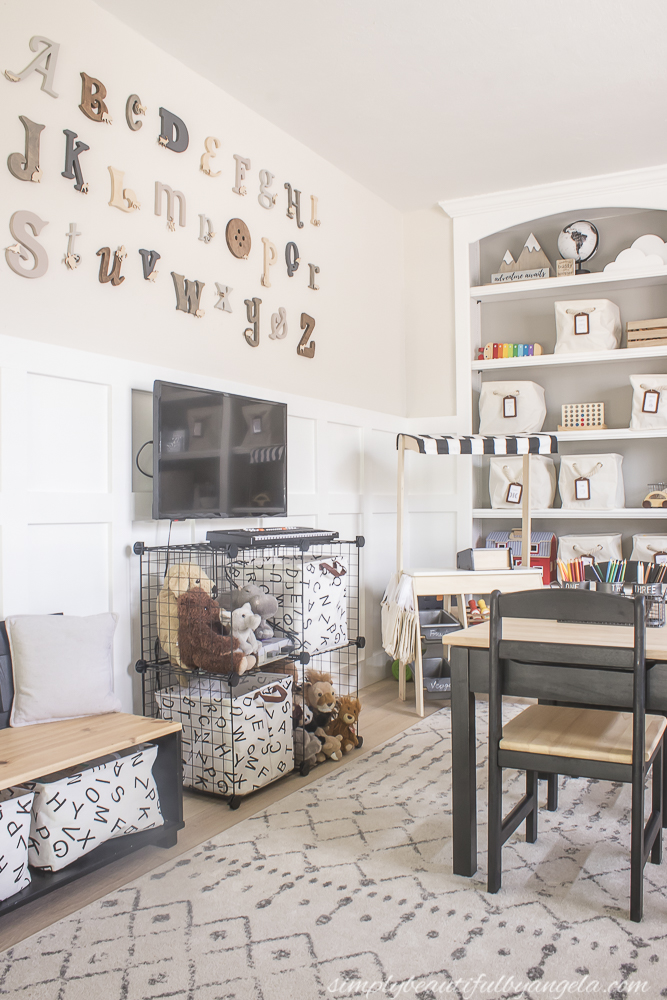
I’ve envisioned doing this wall for a long time, although I had always planned on shopping around and getting a bunch of random letters from various places. Since everything was shut down due to the lockdown, I decided to check Etsy and was so excited when I found this wooden alphabet set for only $40!
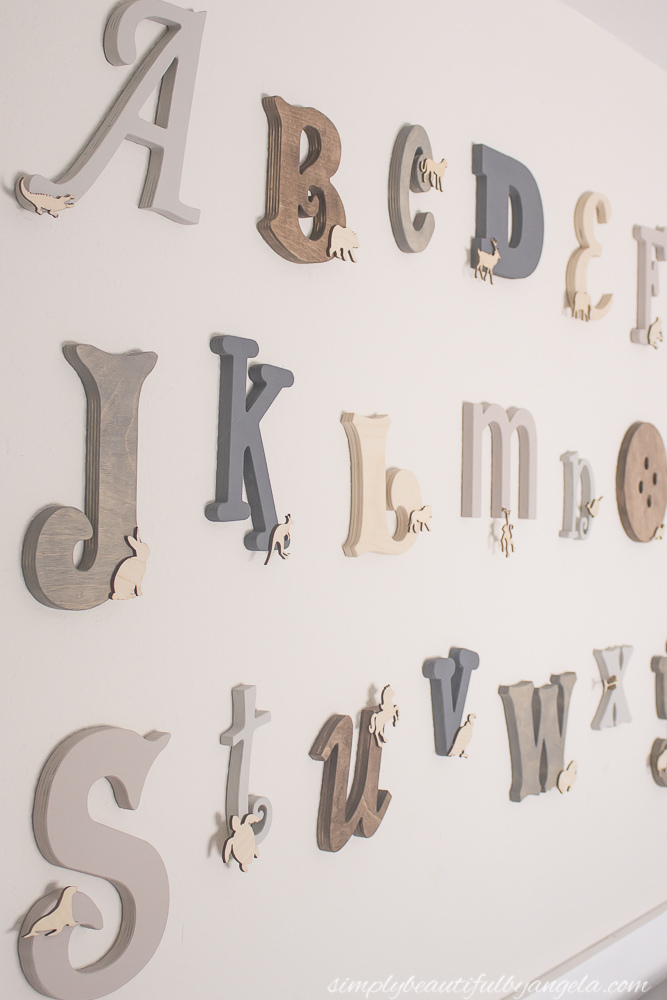
They come unfinished sand I decided to do a mixture of paint and stain on most of them and left a couple unfinished. I also added some little wooden animals (also from Etsy) to dress them up. Even though my original idea would have been cool too, I like the cohesive feeling that this set provides.
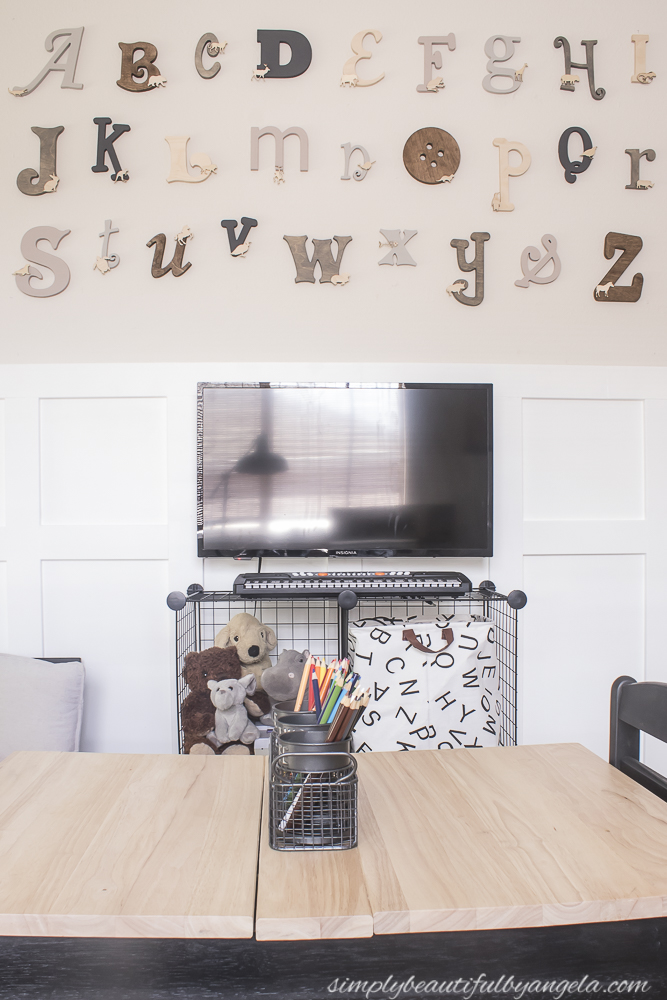
This wall is also where we installed the new television that we got them. You may recall me originally saying that we weren’t going to be getting a new one since they broke the last one, but apparently we are total softies haha. We told them that there is to be absolutely NO touching this one, but as you can see from the horror movie style handprints in the picture below, they haven’t been listening too well so far…
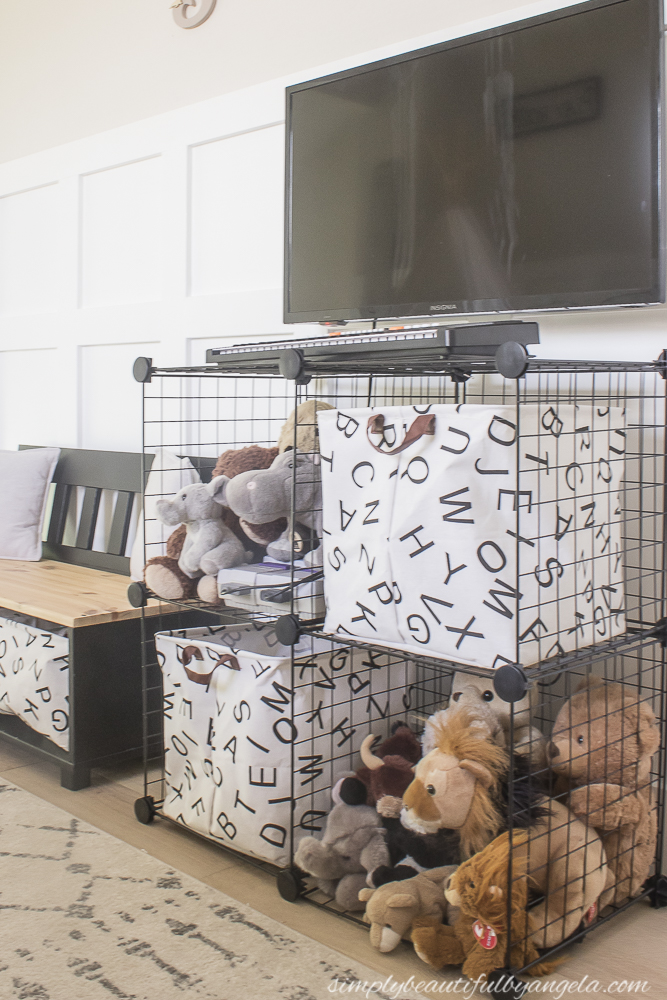
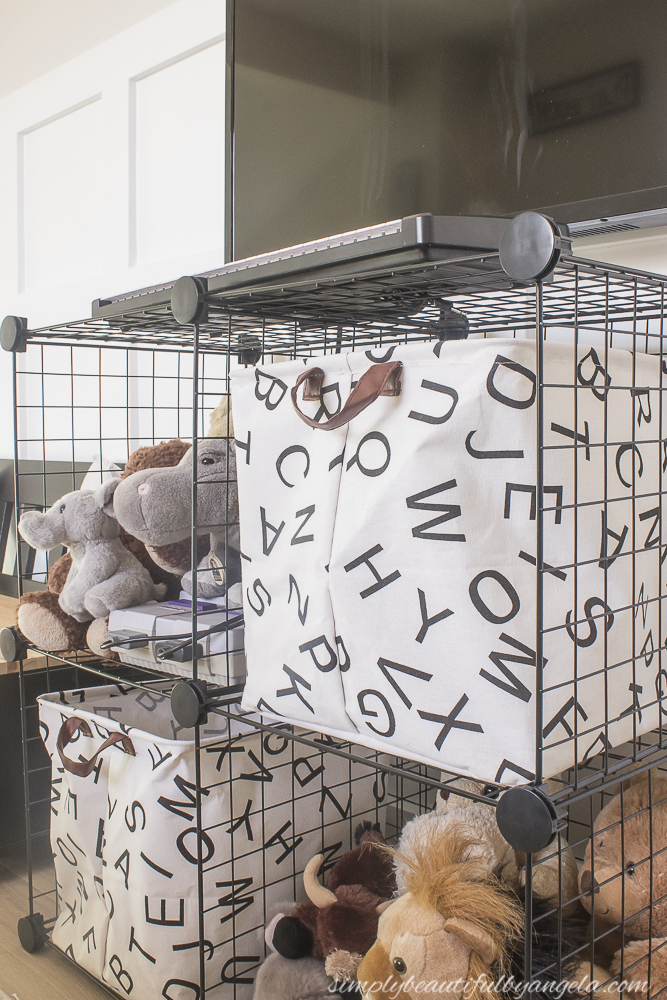
The wire cube storage was a cheap storage solution to hold their gaming consoles. Since I despise seeing cords it’s been nice being able to run them right through the metal from one cube to the next. The canvas alphabet bins fit perfectly inside and hold all of their various chargers, controllers and games.
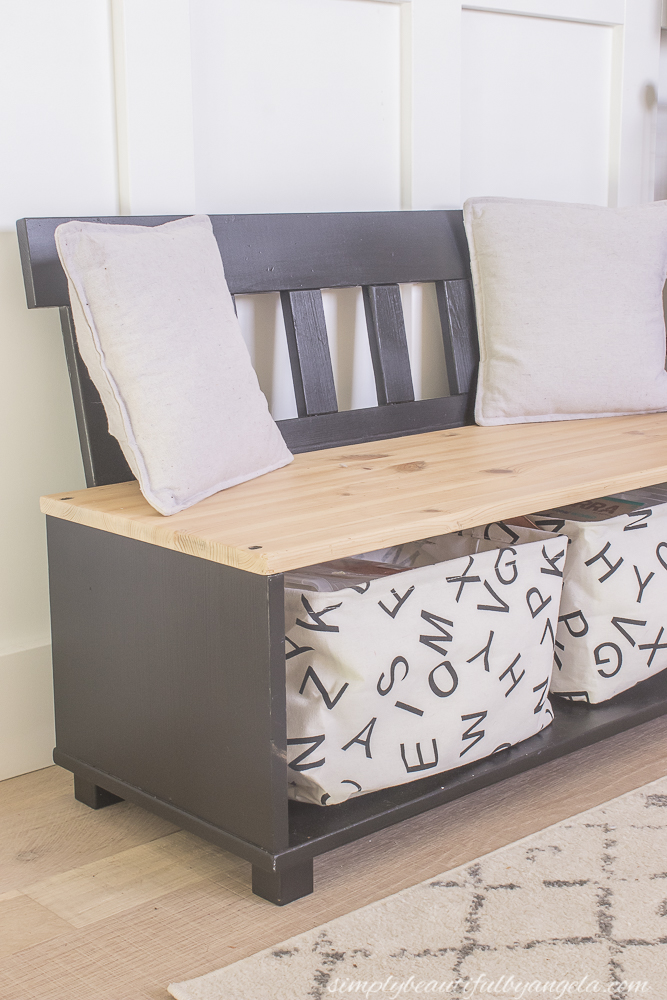
I put the larger versions of the alphabet bins inside the bench that sits on this wall. You may have caught what this small bench used to look like in the before picture. I had painted it white and stained the seat dark brown shortly after we got it, but for this makeover I decided to paint it black and sand the seat down to natural pine to match the art table that I’ll get to in a second.
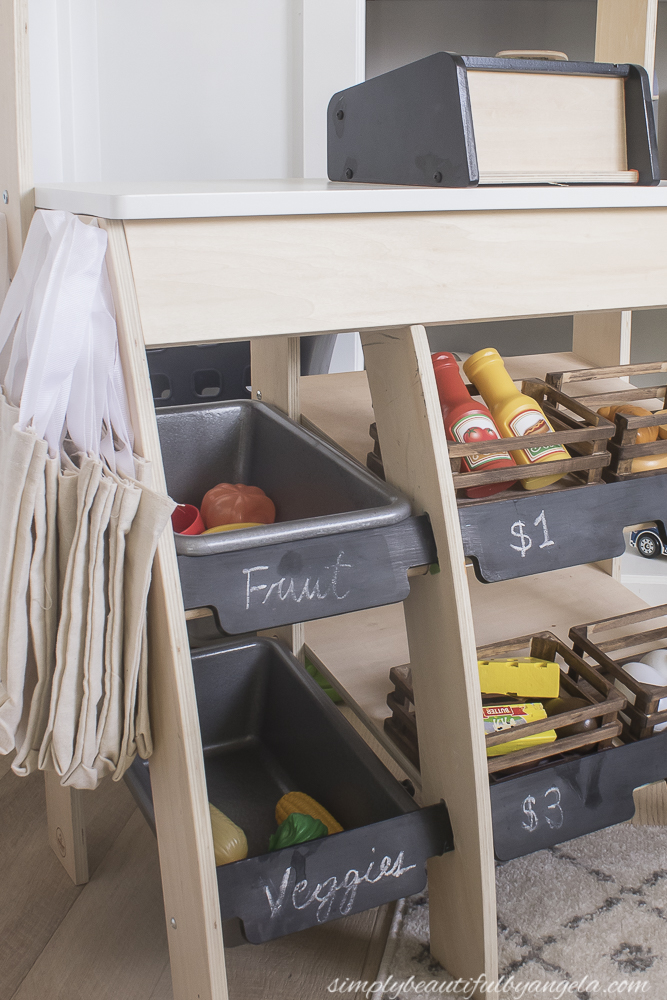
Isn’t this little market too cute for words?
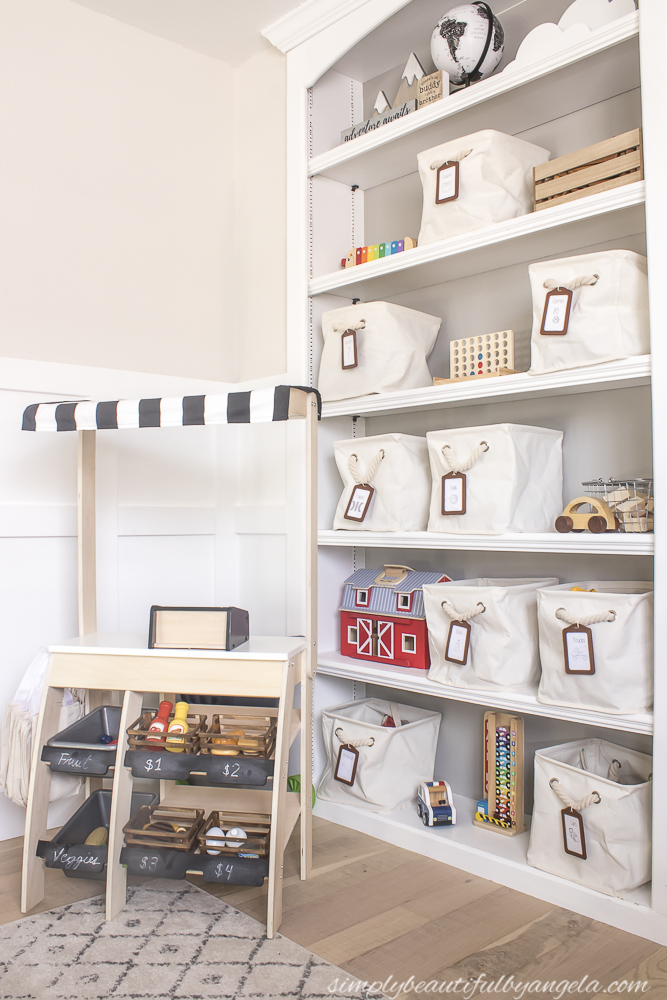
It was a Santa gift from a few years ago although you may have noticed that it looked a little different before. I gave it a more neutral look by replacing the fabric with black and white stripes, painting the labels with chalkboard paint and spraying the bins with metallic spray paint.
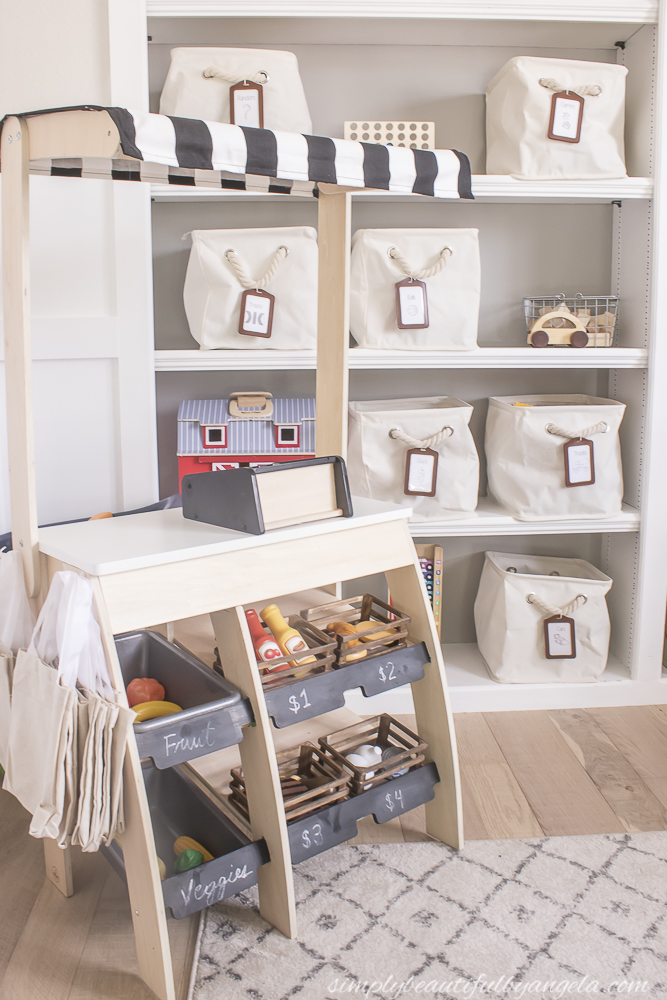
The little canvas tote bags that I hung up on cup hooks on the side are the perfect size for them to collect their groceries in.
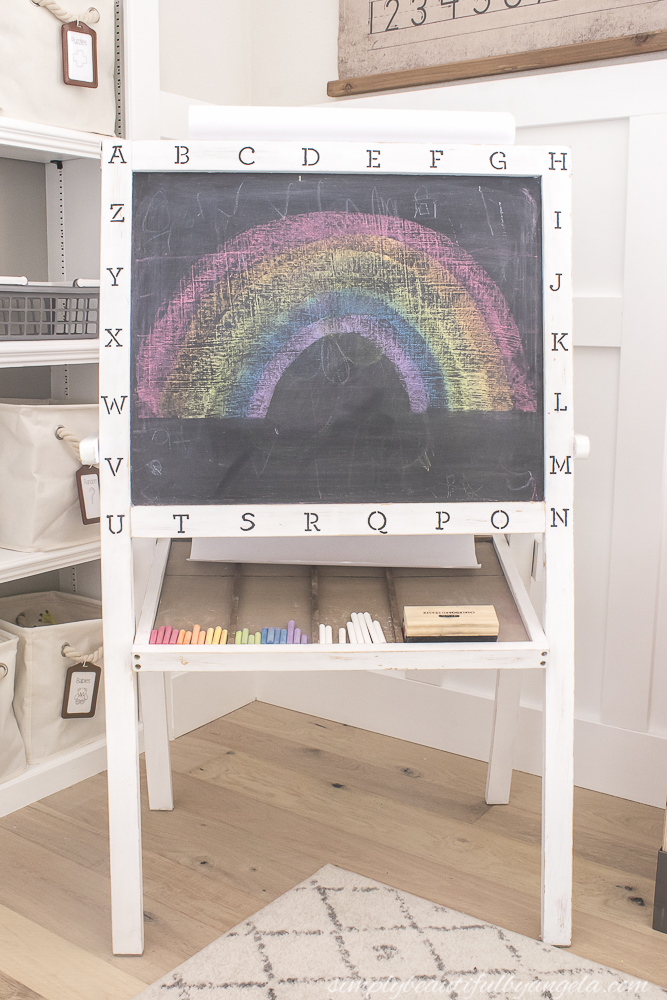
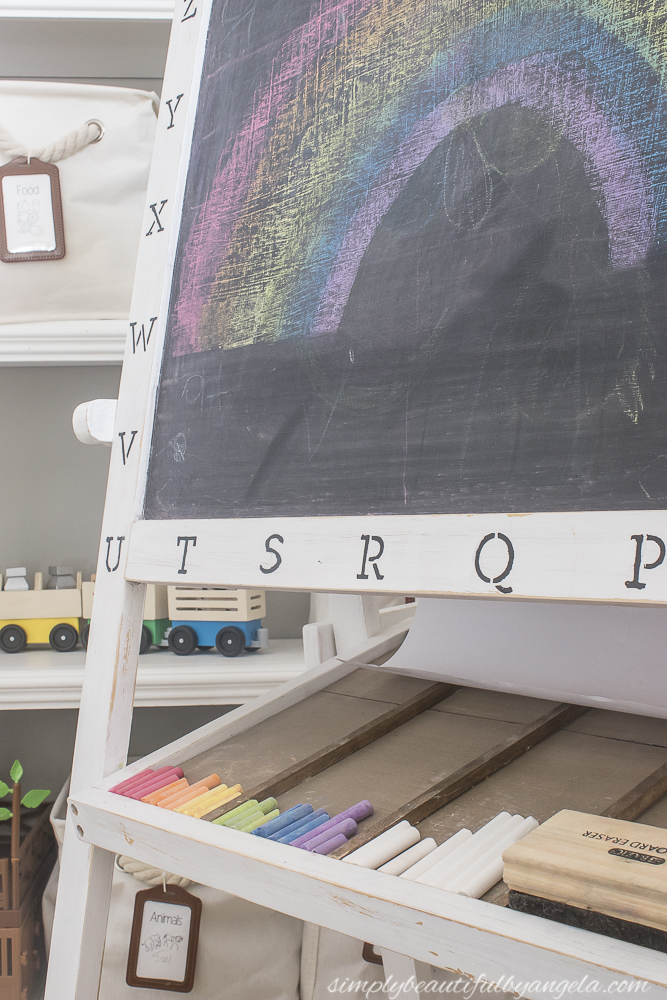
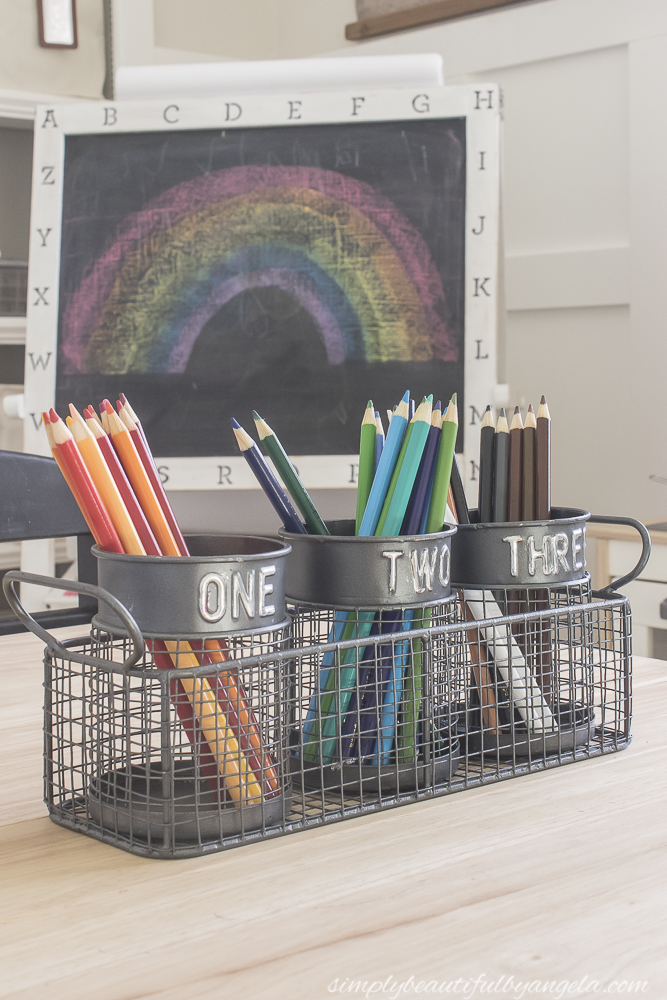
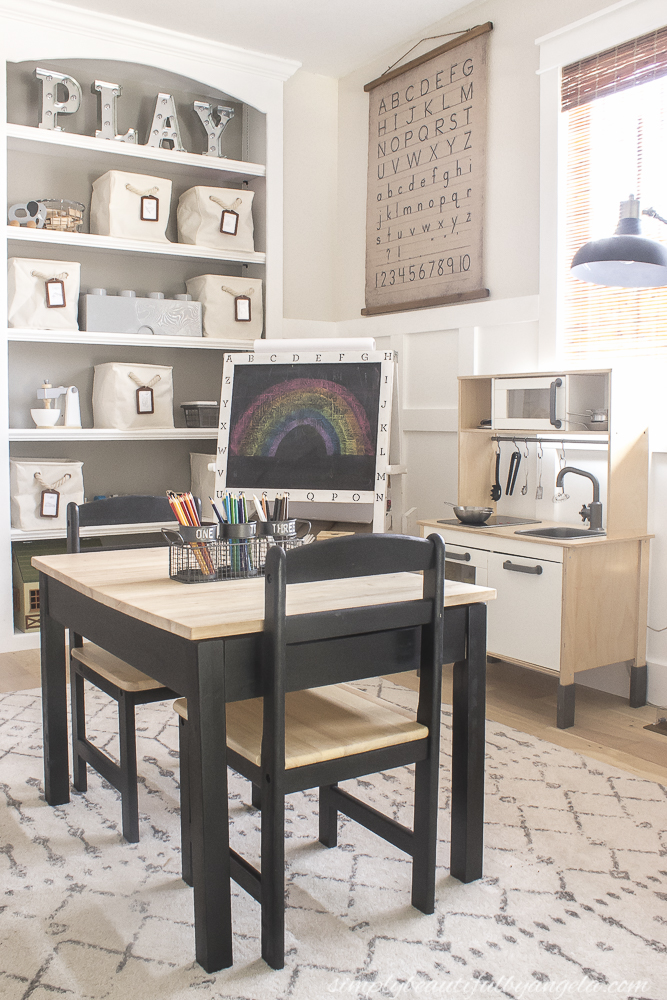
The chalkboard was a garage sale find from a few years ago and it’s amazing how much use we’ve gotten out of it. Yes, me included! I had quite a bit of fun making this rainbow haha.
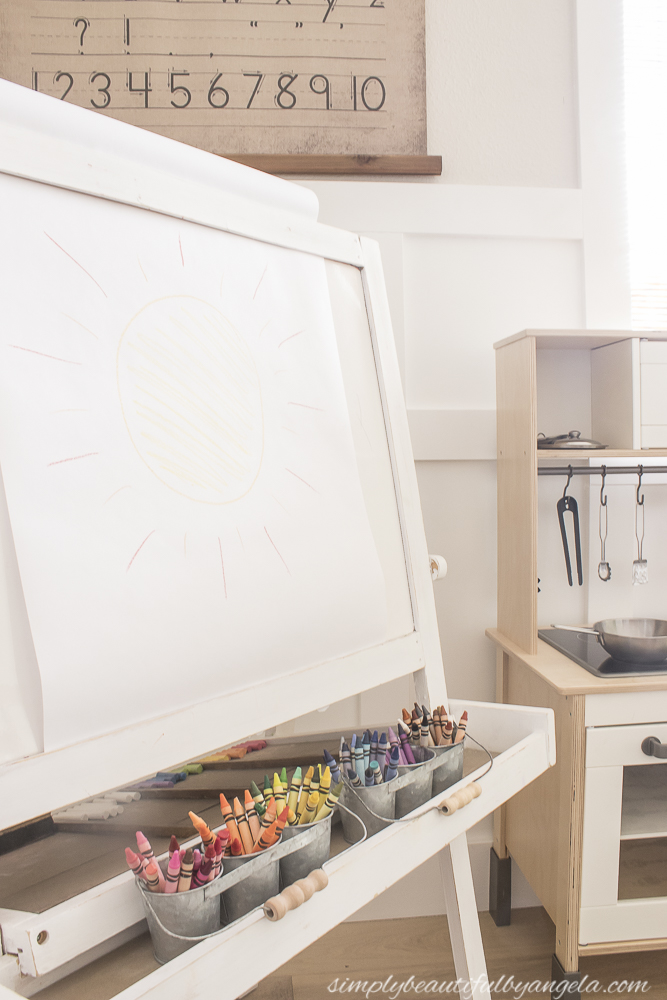
The other side is a whiteboard, but we use it to keep a roll of paper and some crayons in.
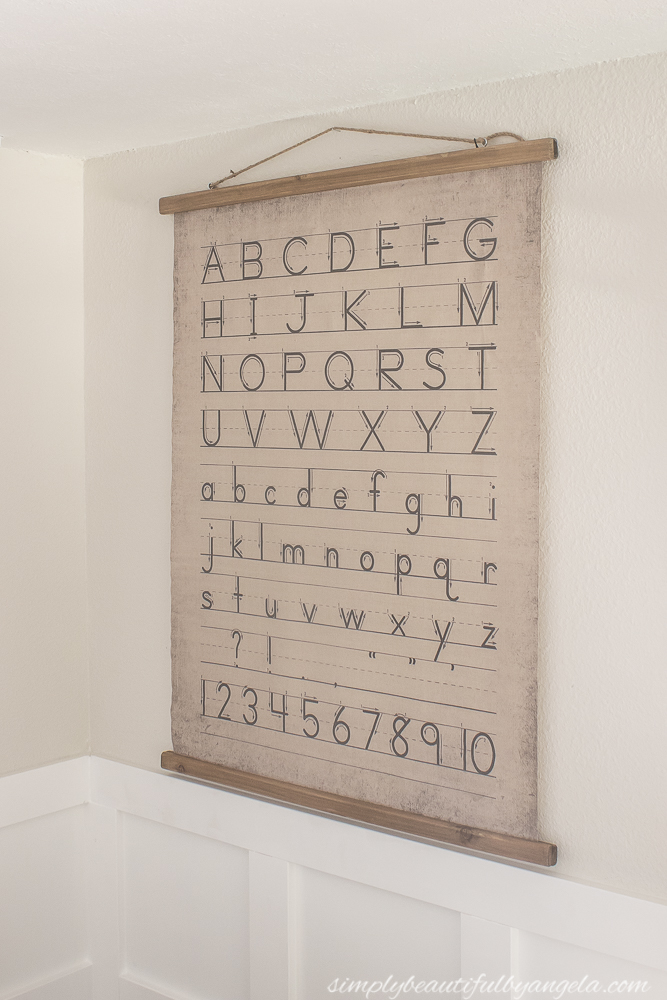
I was so surprised to see how huge the alphabet wall canvas turned out to be when it arrived!
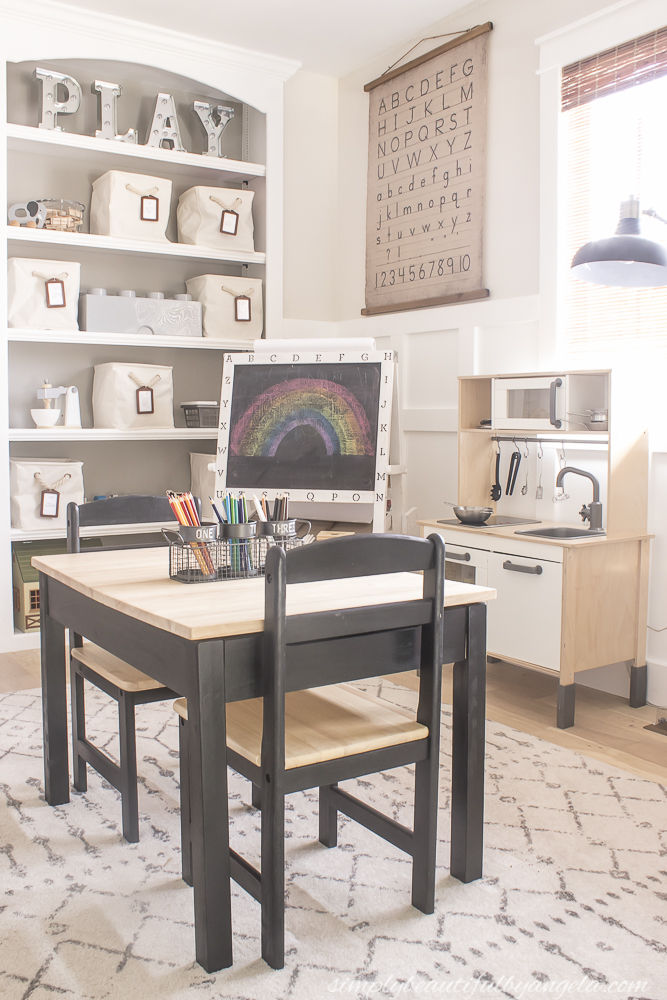
We love playing school in here so it’s been a fun addition. I like how each letter has arrows to show them how to draw the letter–that was a small detail that I hadn’t noticed when I ordered it!
In the middle of the room is the art table and chairs. I can’t say enough good things about this set (here’s the table and chairs). It comes unfinished so it can easily be customized and it’s made out of a really nice quality of wood.
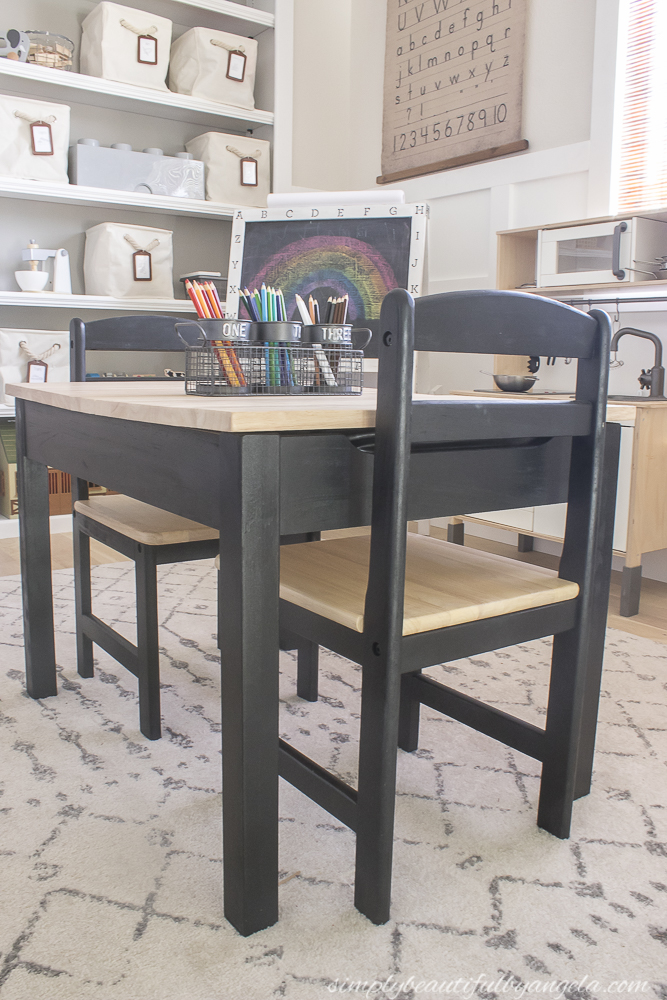
Each of the sides lift up to reveal a storage space where we like to keep all of our coloring books.
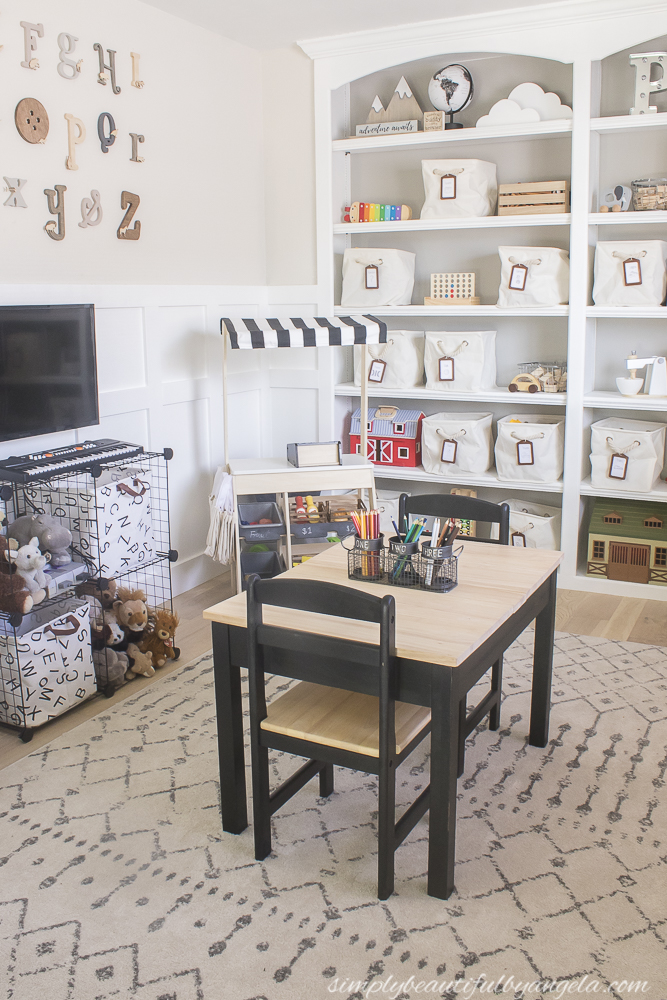
The pencil caddy is unfortunately out of stock but I found this cute similar option here.
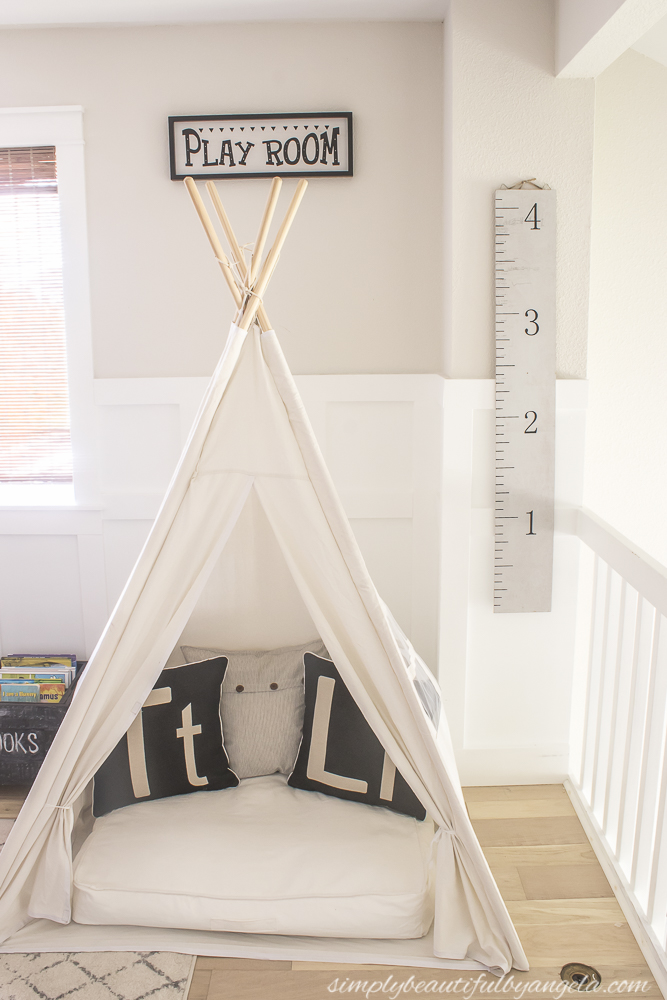
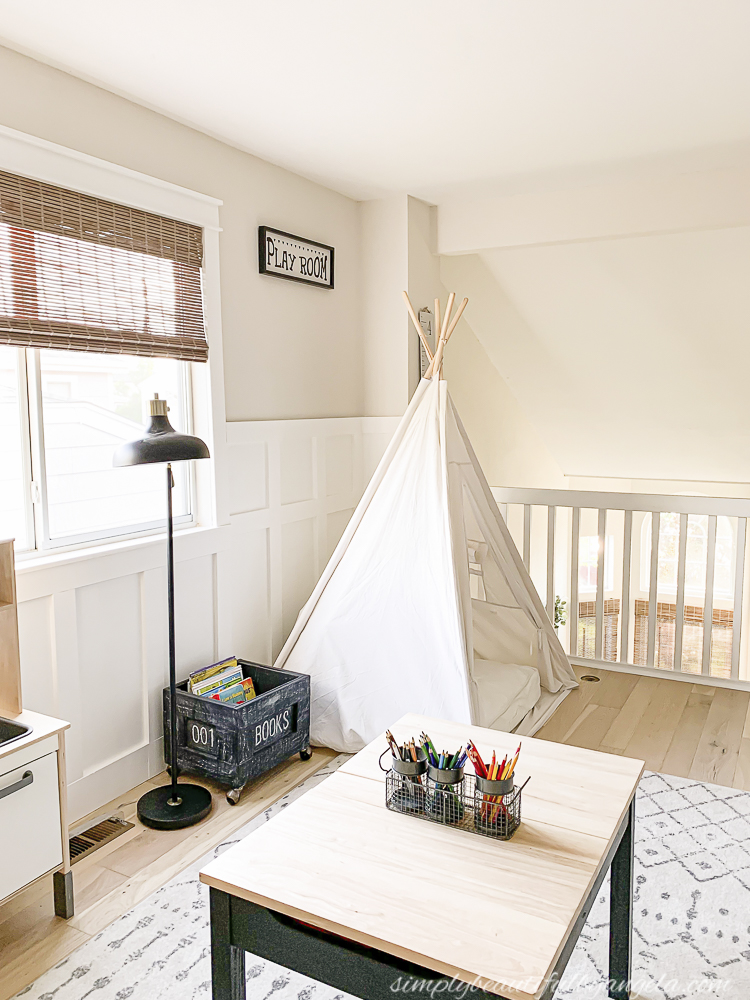
The teepee still sits in the front corner, I was able to stitch it up with my rookie sewing skills!
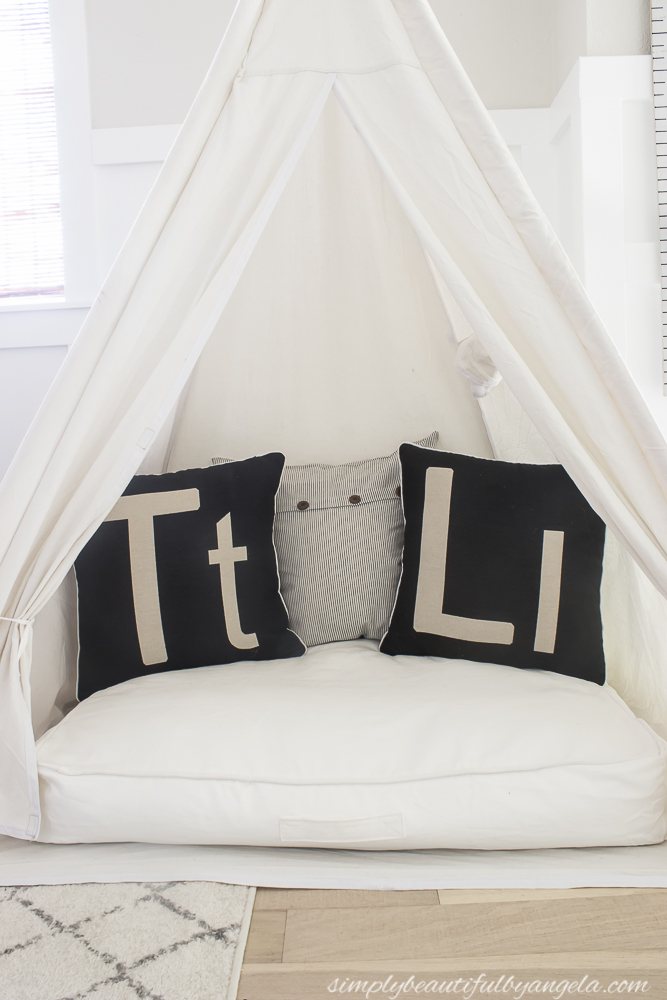
I purchased this teepee cushion for the floor and it’s a lot more comfortable than the blanket that we had inside before.
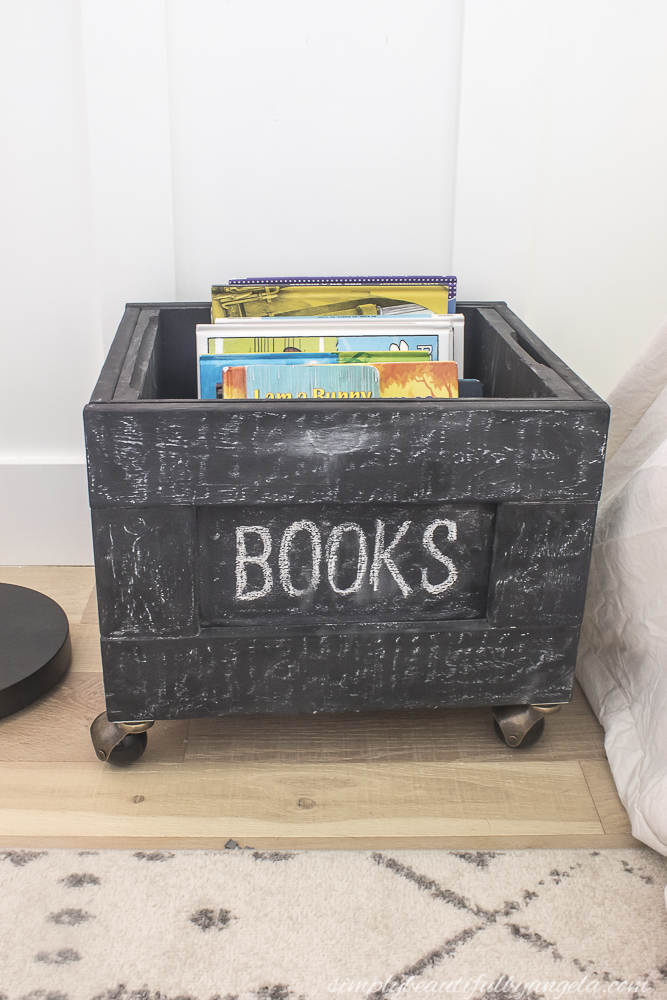
The rolling book box (tutorial here) sits next to the teepee so that they can grab books and cuddle up in here.
The schoolhouse lamp the room’s theme perfectly and the rug is playful and looks so good on top of the new wood floors. I did add a nice rug pad underneath to make it more comfy on little knees and feet!
Before I go let’s look at a few more before and afters!
I am so thrilled with how this space came together and I can’t wait to watch them making memories in here over the next few years.
I am participating in the spring 2020 One Room Challenge! You can catch all of the other fun room makeovers here!

(Affiliate links may be provided for convenience. For more info, see my full disclosure here.)
Linking up to these awesome parties!
Holy cow this is gorgeous! Best playroom ever! Pinned
Wow wow wow. What a wonderful space! Looks like tons of fun for the kids, but it’s a pretty place that mom can be proud of! Well done.
Thanks so much for joining the Grace at Home party at Imparting Grace. I’m featuring you this week!
Thank you Richellea, I’m truly honored!!