Simply Beautiful By Angela

creating simple beauty on a budget

  • Home Tours
  • Projects
  • Legal
  • Link Parties
  • Let’s Chat!
  • About Me

Shiplap in the Bathroom

April 13, 2016

 
Happy Wednesday everyone! Thank you all for the sweet comments on the Bathroom Makeover post that I shared last week, they truly warmed my heart! 
 
Today I am going to share my favorite part of the bathroom–the shiplap!
 
I actually came up with this idea by total accident.  I saw a picture of a bathroom similar to this one, and at first glance I thought it was shiplap.  After looking closer though, I realized that it was actually tile.
 
(source)
 
That’s when my wheels starting turning and I thought, “wow a half wall of shiplap would actually look great!” My crazy imagination has some good ideas every now and then!
 
Supplies Used: (Affiliate links may be provided for convenience.  For more info, see my full disclosure here.) 
  • V-groove planks (If you don’t have a Lowes near you they can also be purchased on Amazon here)
  • Measuring Tape
  • Level
  • Pencil
  • Stud Finder
  • Finishing nails
  • Hammer
  • Jig Saw
  • Minwax Wood Filler
  • Paint roller
  • Paint brush
  • Satin paint
  • White Caulk
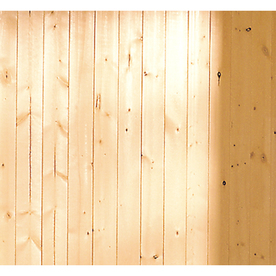
I liked that it would be a super affordable way to add some character to the room.  I only needed three packs of V-groove planks which are a little over $9 at Lowes.
 
(source)
 
 They recommend taking the planks out of the packaging and letting them acclimate in the room for at least 48 hours.  I’ll be totally honest with you, I only waited 24 hours because I was too impatient.
 
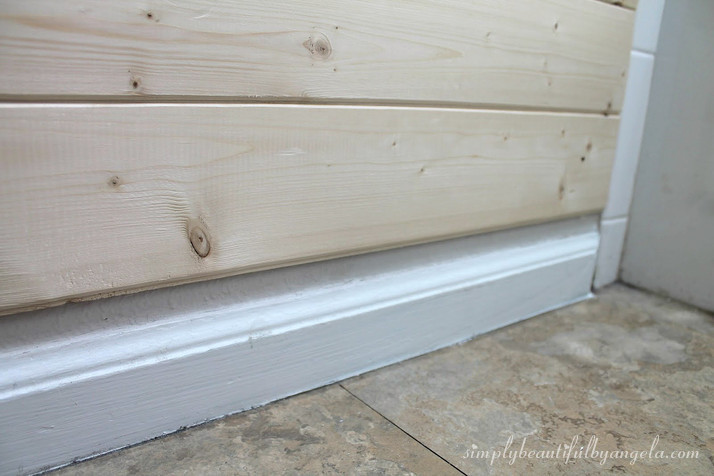
I started with the bottom plank and worked my way up. At this point I had planned on installing wood laminate plank flooring, so I left a gap about the same thickness of the new flooring. More on that in a minute though, things don’t always go as planned!
 

I used a level to make sure that the first plank was straight. I don’t have a nail gun so I just used finishing nails and a hammer to attach the planks to the studs.  I then used a large screw to tap the nail heads in so that I could cover them up with wood putty.
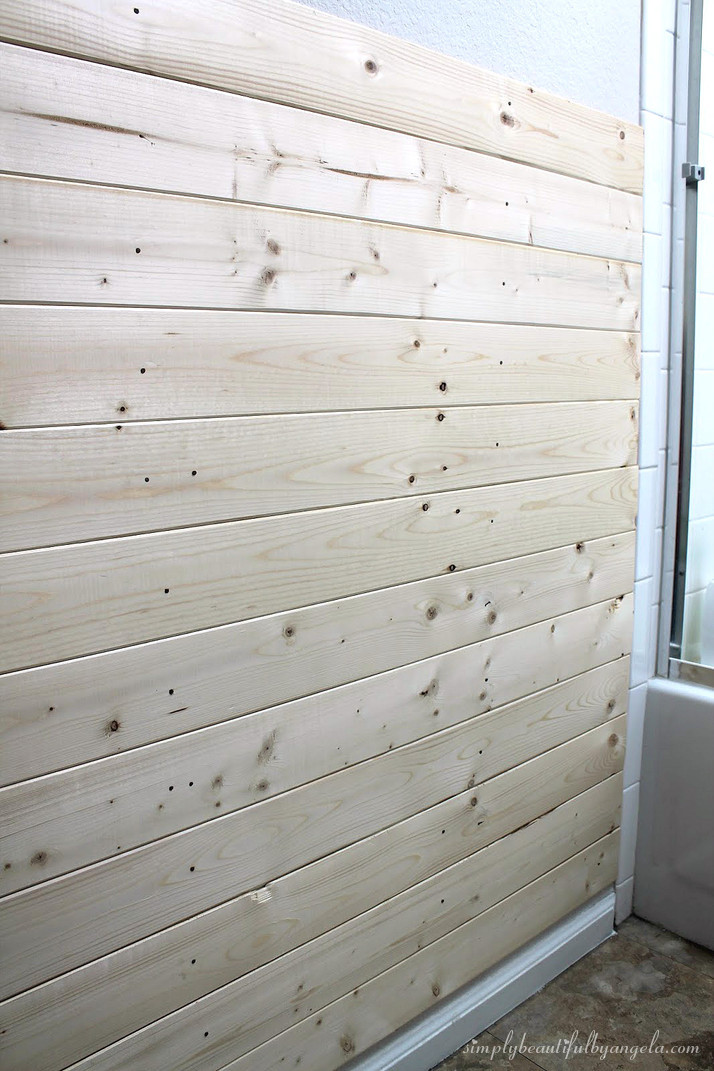
Working behind the toilet actually wasn’t as tricky as I had anticipated.  I just slid them down from the top and when I got to the wall connection I just cut two smaller pieces so that there was one on either side of it.  I could have done circular cuts with a jigsaw but who really looks back there anyways, right?
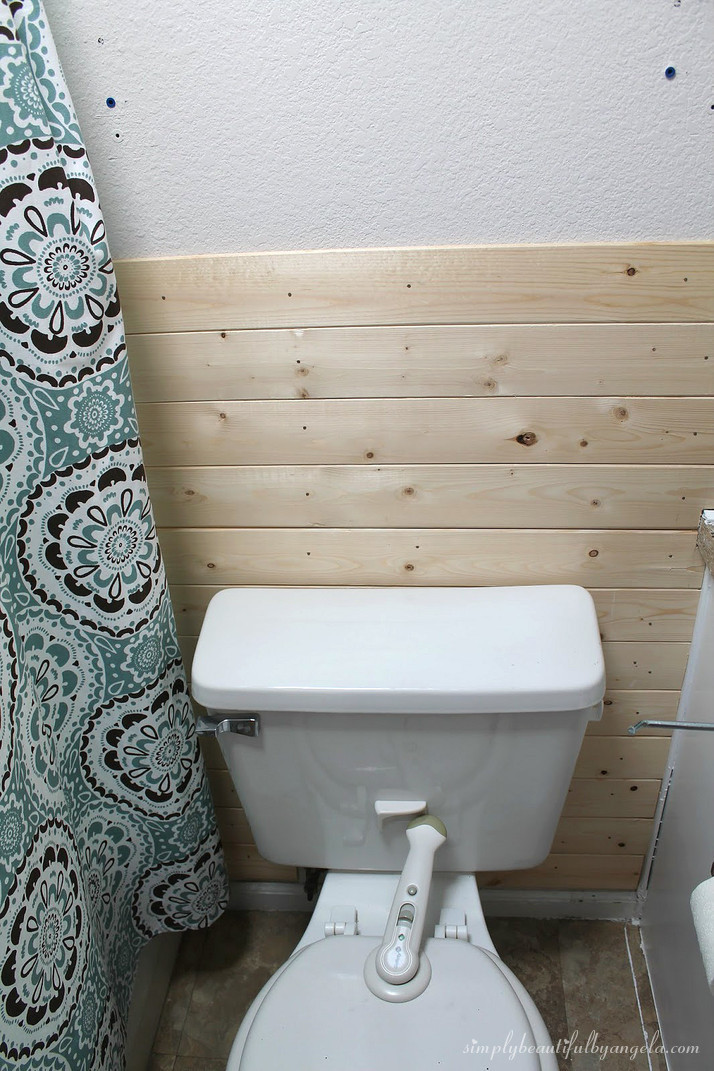
 
The only areas I actually used a jigsaw for were the spot around the vanity and the light switches. 
 
It’s pretty easy, you can either use a measuring tape and draw it out or you can just hold the plank up and make marks where the cuts need to be made.
 
Notice that we pulled the outlets out a little bit so that they could sit on top of the plank.  That way, when the outlet covers go back on it sits nicely on top.

Once all of my nail holes were filled and sanded it was priming time!  I started by using a brush over each seam, then used a small foam roller over the entire thing.
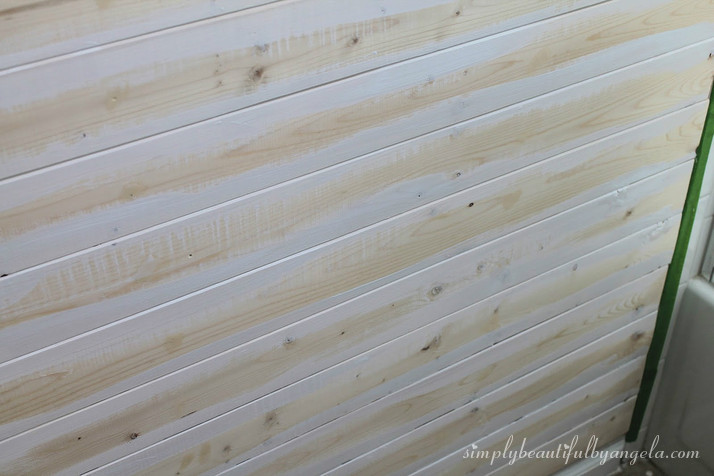
 
After the primer I applied two coats of paint.  I decided that I hated how the flat paint looked so I ended up going over it one more time with a satin finish and I love how it turned out!
 
 
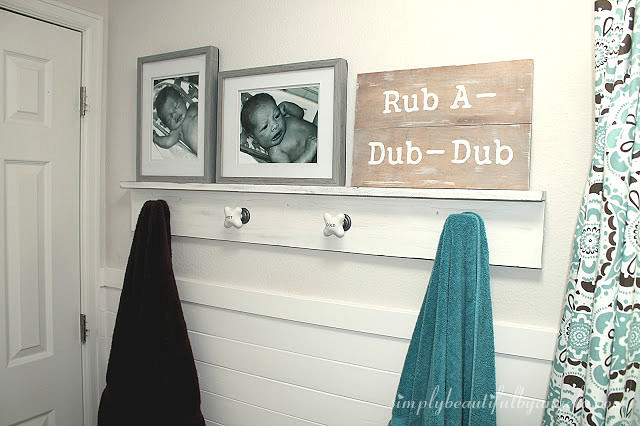
I added a piece of 1×3 MDF to the top to finish it off. 
 
 
It was kind of a pain to paint behind the toilet so I only got as far back as I could reach with the brush, but since that’s all that’s visible it didn’t matter.
 
 
Okay I have to seriously laugh at myself here for a minute.  When I did the shiplap wall in the dining room, anytime I saw a small gap between the planks my “amazing” solution was to smush a ton of paint in there.  Yep. That really happened.  Then weeks later the paint all cracked and I was back where I started.
 
 
If you happen to stumble across that post try not to laugh!  I was such a newbie haha…
 
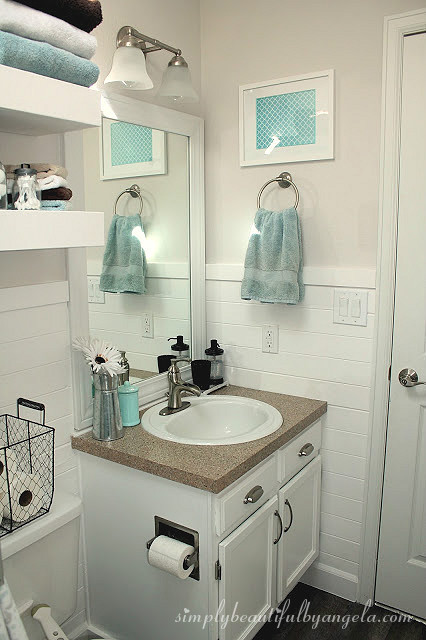
This time I went over each seam with a line of caulk.  I smoothed it out with my finger then ran over it with a damp rag to wipe any excess off.  It would be tedious on a large space but for this small bathroom it actually didn’t take much time at all.
 
What a difference!
 
 
So my original plan of wood laminate plank flooring was nixed when I started reading about people having trouble with them warping in bathrooms due to the moisture.  I ended up going with a vinyl peel and stick which actually turned out even more awesome than I thought it would (tutorial here).  However, because it didn’t cover up that gap that I had left for the plank flooring I had to purchase some thick baseboards to cover the gap up.
 
It kind of bothers me that the bottom plank is skinner than the rest, but hopefully it’s not too noticeable to someone who isn’t looking for it. 

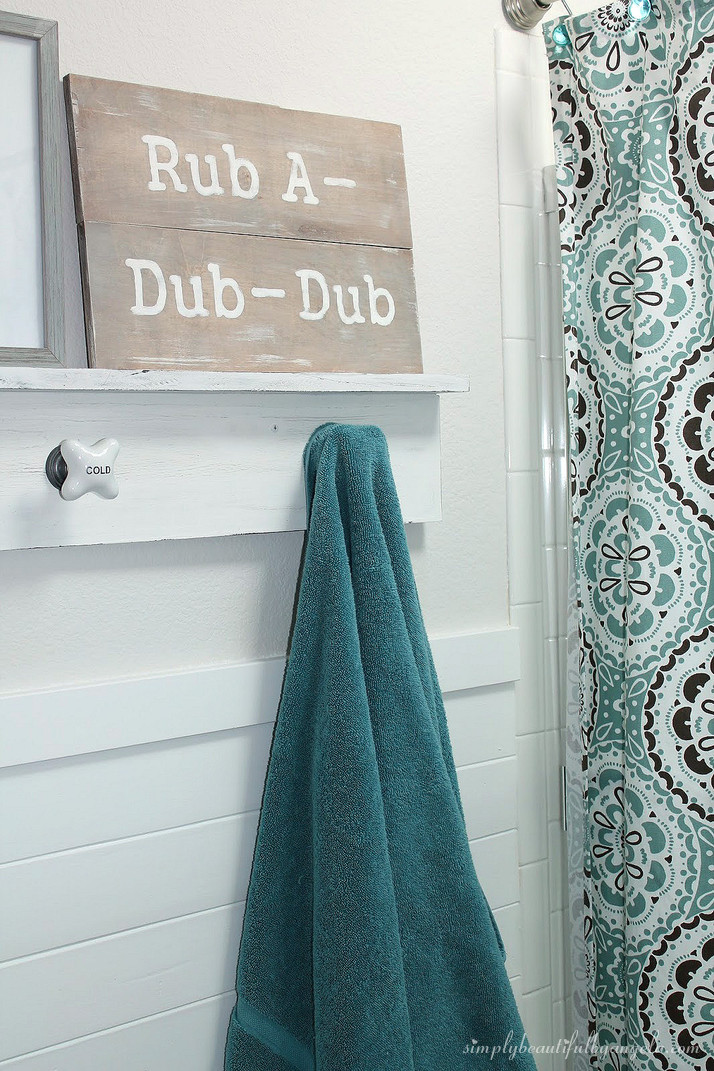
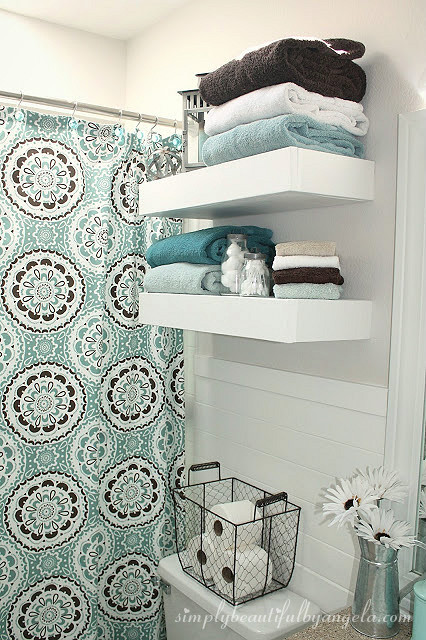
I’m definitely loving the farmhouse feel that it adds to the bathroom and it’s amazing how much brighter it is now! 

Linking up to these awesome parties!

· Labels: Uncategorized

Newer Entries
Previous Entries

Theme by 17th Avenue · Powered by WordPress & Genesis