Simply Beautiful By Angela

creating simple beauty on a budget

  • Home Tours
  • Projects
  • Legal
  • Link Parties
  • Let’s Chat!
  • About Me

Bathroom Makeover on a Budget

April 7, 2016


Well hello everyone!  I am so excited to share our new hall bathroom with you all today! 

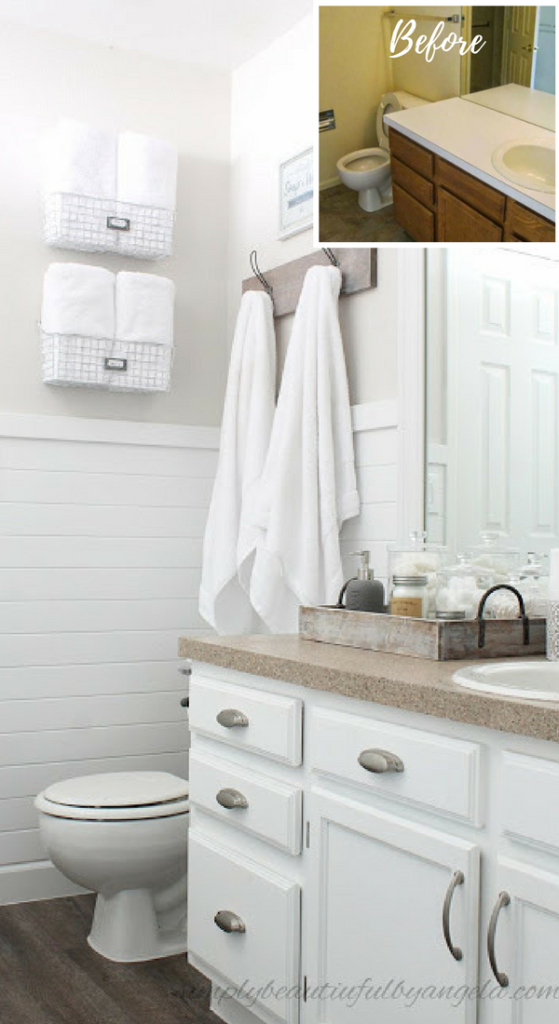
A couple of weeks ago I got an itch to give our hall bathroom a mini makeover.  Even though it’s really small, I love this space because it gets a ton of natural light from the skylight that’s in here. When we first moved in it looked like this…
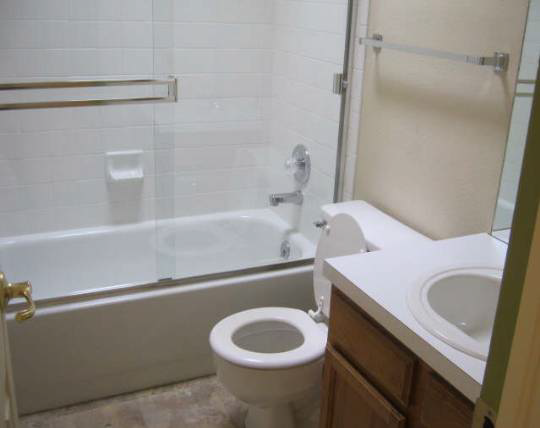
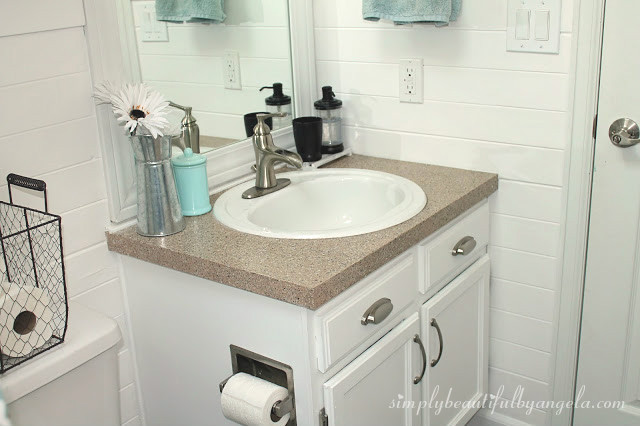
Wow that feels like ages ago!  I painted the vanity, used Rust-Oleum Counter Top Transformations on the counter, framed the builder grade mirror, threw in some accessories and called it done.
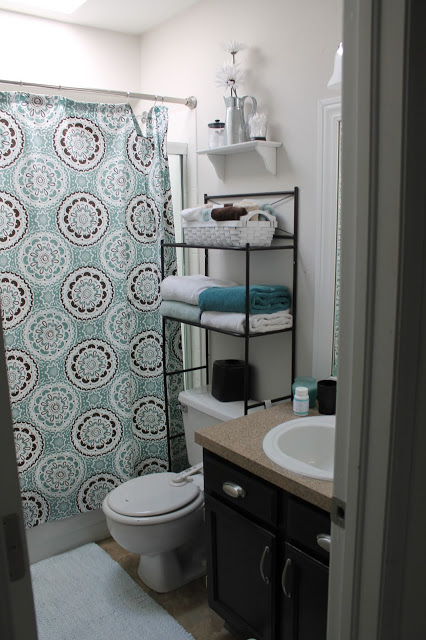
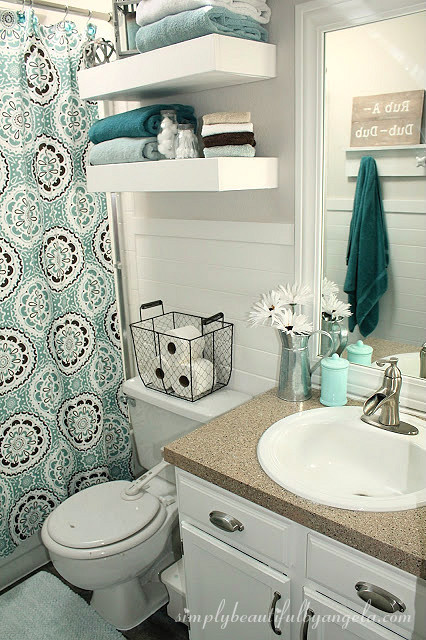
(this photo was featured on Shutterfly!)
Not too bad, and definitely a step up from how it was right?  But after countless nights spent sitting on the floor while my son took his bath, I started having visions!  Always a dangerous thing in my hubby’s eyes haha.  But I promised that all of my ideas were budget friendly, and that they were 🙂
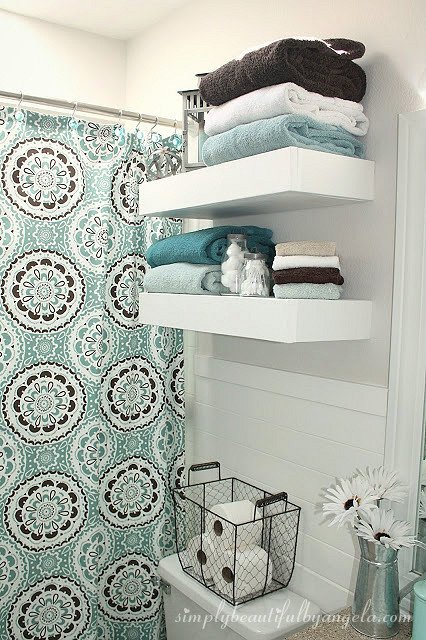
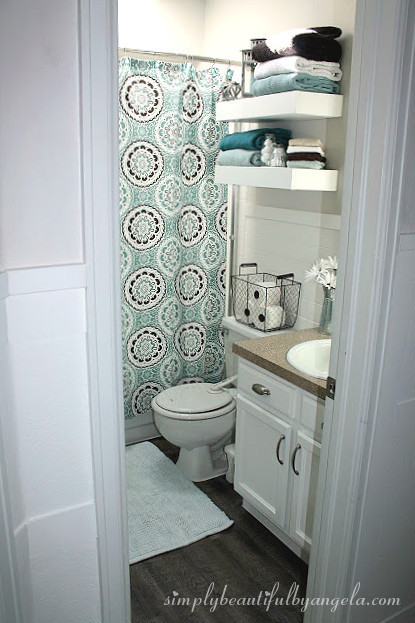
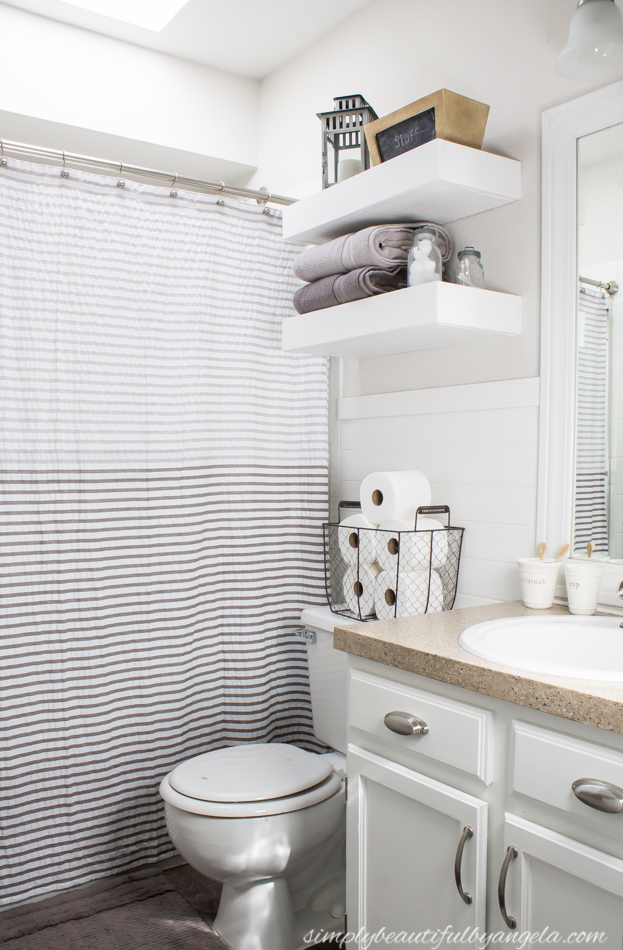
Welcome to the newer, brighter bathroom!
The first thing I did was add planks to half of the wall.  The break between the white and the warm gray wall color makes the whole room feel larger and I love the farmhouse feel that it adds.  I’ll be sharing a tutorial on the planks soon.
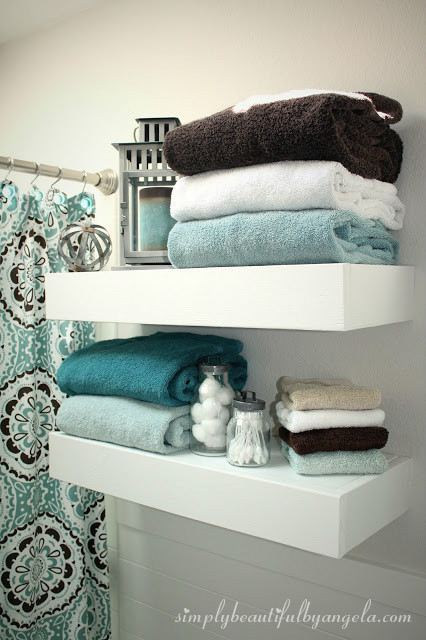
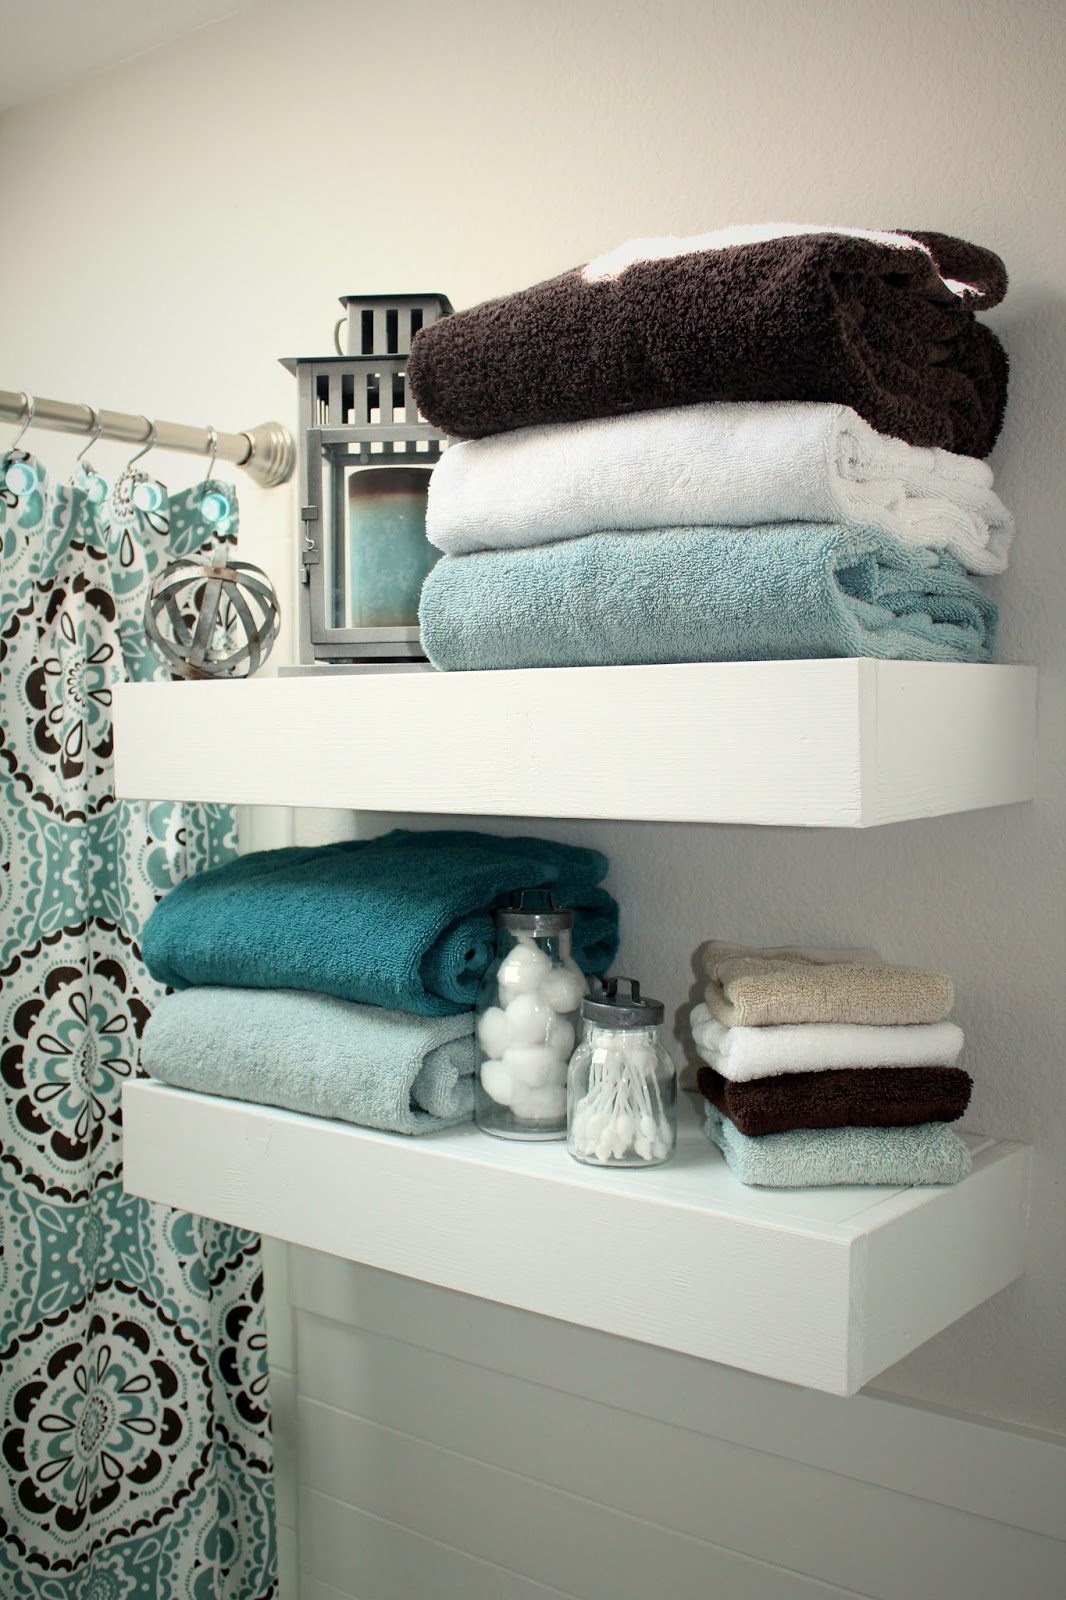
The next thing I did was build some floating shelves above the toilet to replace the flimsy metal stand that I had there previously.  I followed the same steps that I did when I built our floating shelves in the dining room that you can read about here.  
I went back and forth between staining them or painting them white.  I ended up choosing white for two reasons.  First, I really wanted a clean and bright look in here. I knew that it would pair nicely with the planks.  Second, I wanted to use some scrap particle board for the shelf top to save me from having to buy a 1×10 board and once painted you can’t tell the difference.

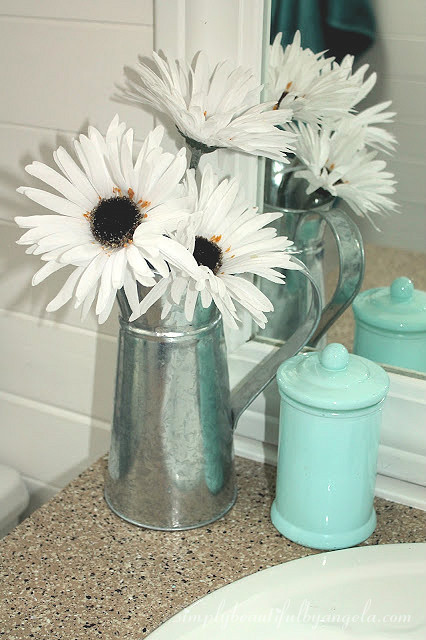
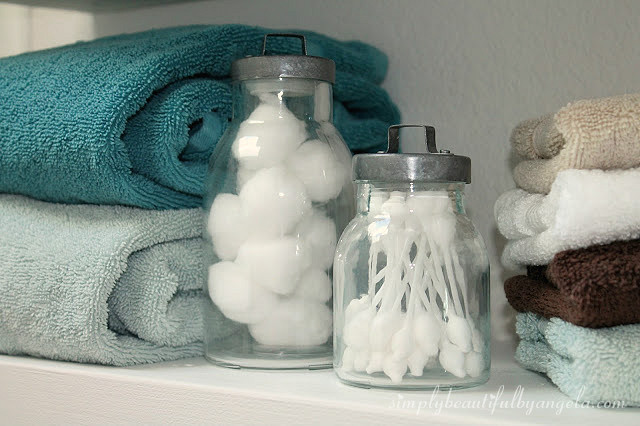
These cute little jars are from the glass aisle at Hobby Lobby.  The lids were originally a strange light metal but I spray painted them with Rust-Oleum Antique Pewter and it took them from cheap to fancy. 
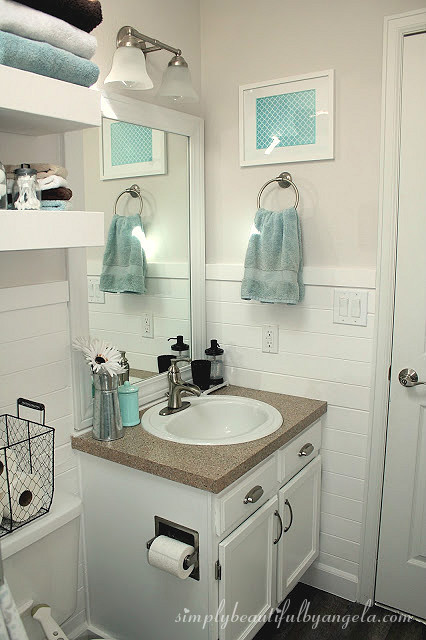
I painted the vanity cabinets white and adore how bright and fresh they look now.
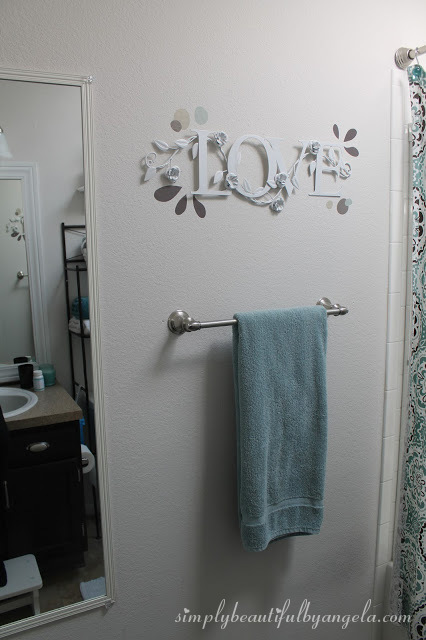
This is what the other side used to look like. I added the full length mirror because I was in my mirrors-make-everything-feel-bigger-and-brighter phase.  Looking at it now it looked really silly and kind of cheap.
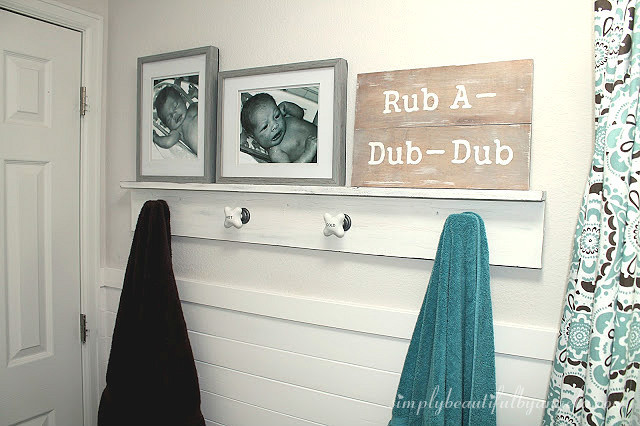
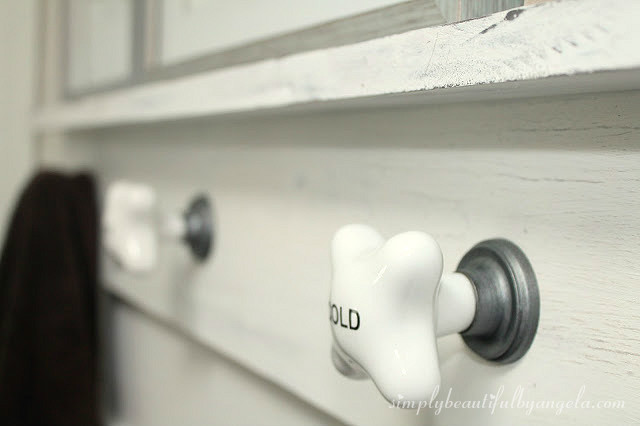
Putting up a towel hanger with some décor on top looks so much better, don’t you think?  Not to mention it will be easier for the boys to hang up their towels as they get older.
The towel hanger was a simple DIY.  I should have made a tutorial for it, but by this point I was in full speed with my sight set on being done so I didn’t stop to pick up the camera!
I just attached a 1×2 on top of a 1×6. I had the hubby drill holes for the knobs, and since the bolts on the back of the knobs would have made it stick out from the wall a little, he screwed some larger holes into the wall for them to sink into.  Does that make sense?  I love him and his great ideas! The whole piece was then secured to studs with screws.
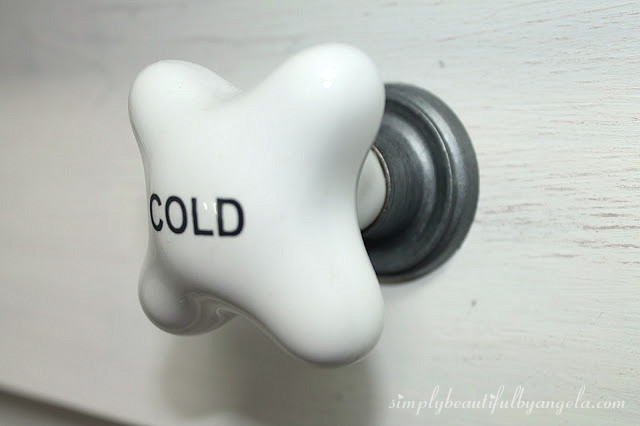
I went to Hobby Lobby not really knowing what kind of knobs I wanted, but when I saw these ones I was sold.  The metal was a bronze color so I used some of the Antique Pewter spray paint to make them match everything else.  Aren’t they just too cute? 

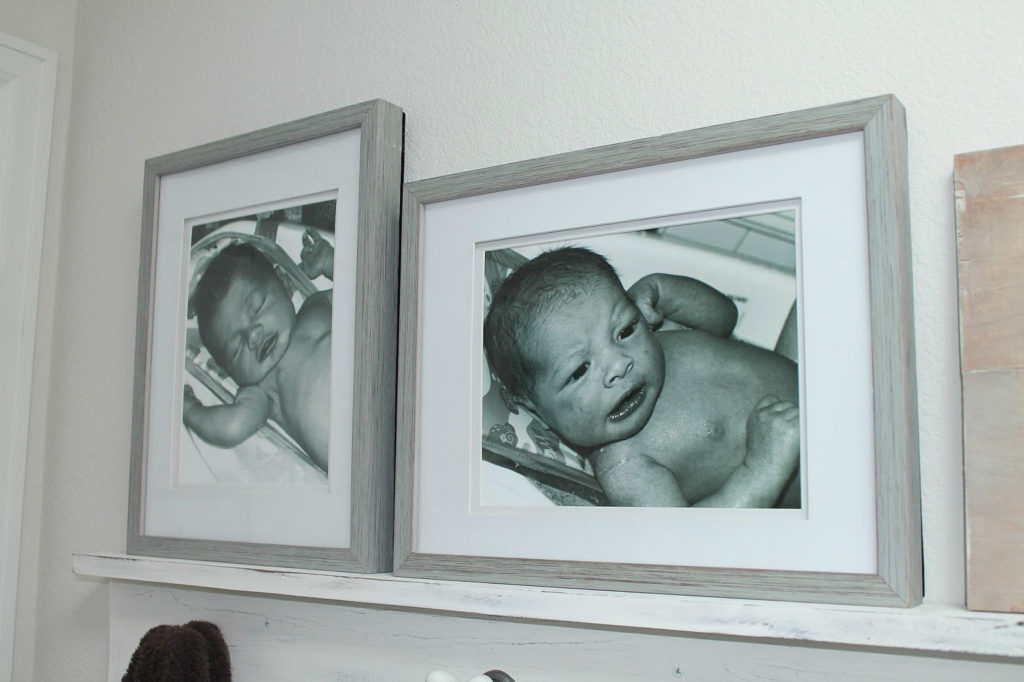
This is the hall bathroom so it’s the one that our guests normally use, but I also consider it the boys’ bathroom since it’s right outside of their rooms. I wanted to make it meaningful for them, so I put pictures of each of them getting their first bath. 
Then I whipped up this cute little sign with some scrap wood. 
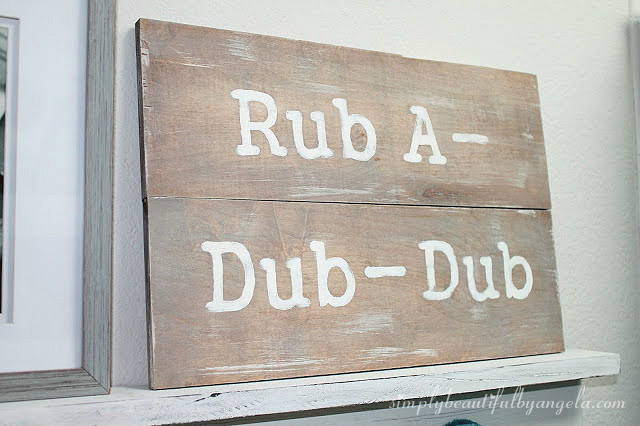
When Tristan was little I would always sing “Rub-a-dub-dub, Tristan in the tub!”  and he would get the biggest kick out of it.  I do it for Lucas now too, so this sign is a cute little reminder of their baby days.

I should mention that the 1×2 does hold these items nicely, but I have them attached to the wall with picture hangers and twine to make sure that they don’t fall down.

Oh and check out our new wood floors! 
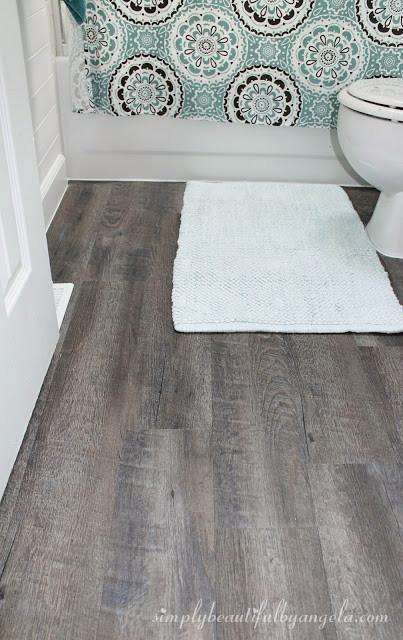
Just kidding, they’re vinyl haha. But they totally look like wood and even have a wood grain texture.  I’m really happy with how these turned out and even happier that it only cost $20.  Tutorial soon to come! 
I love walking by this space now! This is the view from the hall. 
It’s an extremely difficult area to photograph because of the lack of space.  I had to climb in the tub to get some of the shots!
The dark contrast of the floors with the fresh white of the planks and the shelves turned out even better than I had pictured in my head, which is always a nice surprise.
Here is the breakdown of what I spent: (Affiliate links may be provided for convenience.  I only share products that I use and love.  For more info, see my full disclosure here.) 
  • Vanity–$0 (already owned the paint which was Behr in Polar Bear semi-gloss)
  • Shiplap–$33 (tutorial here) 3 packs of Evertrue V-groove wall planks from Lowes plus 1×3 MDF for the top)
  • New baseboards–$17
  • Wood-look vinyl plank flooring–$20 (tutorial here)
  • Floating shelves–$5 (cost of a 1×4 since we already had the 2x3s and particle board laying around)
  • Towel hanger–$27 (cost of wood and these knobs from Hobby Lobby.  I waited until knobs were 50% off so each one was only $4).  (These ones would also work nicely!)
  • Picture frames–$26 (a total Homegoods splurge but they were too perfect to pass up! Similar ones found here.)
  • Rub-a-dub-dub sign–$0 (scrap wood)
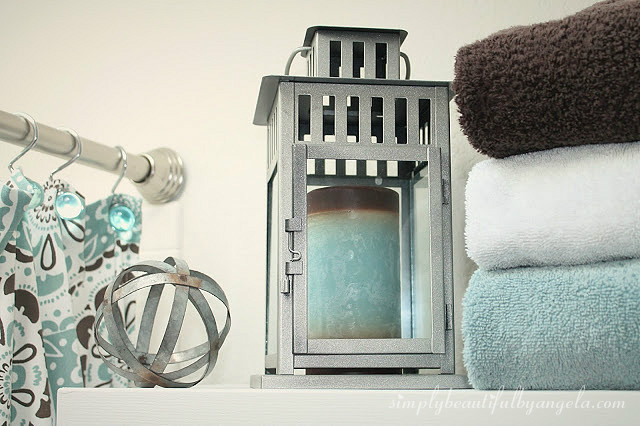
  • Metal sphere–$4 (from Hobby Lobby in store, similar one online found here
  • Chicken wire basket–$5 (from Ross, similar one online found here)
  • Glass jars–$6 (from hobby Lobby in store, similar ones online found here)
  • Shower curtain–$0 (already owned)
TOTAL:  $143
I sold a few of the old items (the metal stand, the “Love” sign, the towel bar and the mirror) on a Facebook garage sale group so that helped a little too!)

Immediately after finishing this bathroom I wanted to move on to our master bathroom.  Buuuut I decided to start working on the yard instead!  Haha story of my life, I have a hard time deciding what I want to work on and when. There truly aren’t enough hours in the day!

I’ll be back to share tutorials on the planks and the vinyl floors soon–I promise I’ll try to not drop off for a month this time 😉
***UPDATE*** Check out the latest makeover on this bathroom HERE

Also check out how I updated our builder grade master bathroom for around $500 HERE!
Linking up to these awesome parties!

· Labels: Uncategorized

Newer Entries
Previous Entries

Theme by 17th Avenue · Powered by WordPress & Genesis