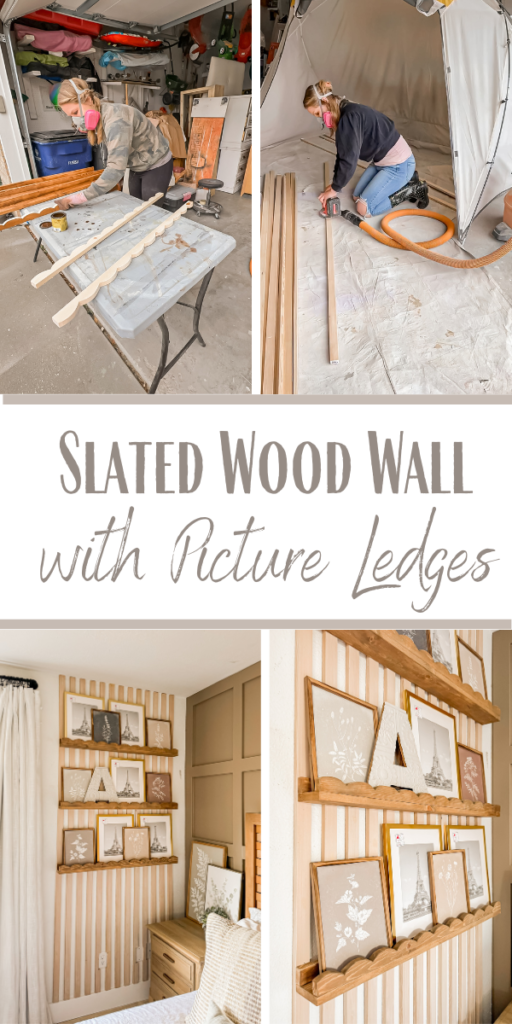
Wow, it’s hard to believe that it’s already week 4 of the One Room Challenge! That means that we are half way through the season, but I feel pretty confident at where we are at.
If you need to catch up you can find the previous weekly updates here:
- One Room Challenge (Week 1): Moody Boho Style Master Bedroom
- One Room Challenge (Week 2): Painted Accent Wall
- One Room Chalkenge (Week 3): A New Bed and Nightstands
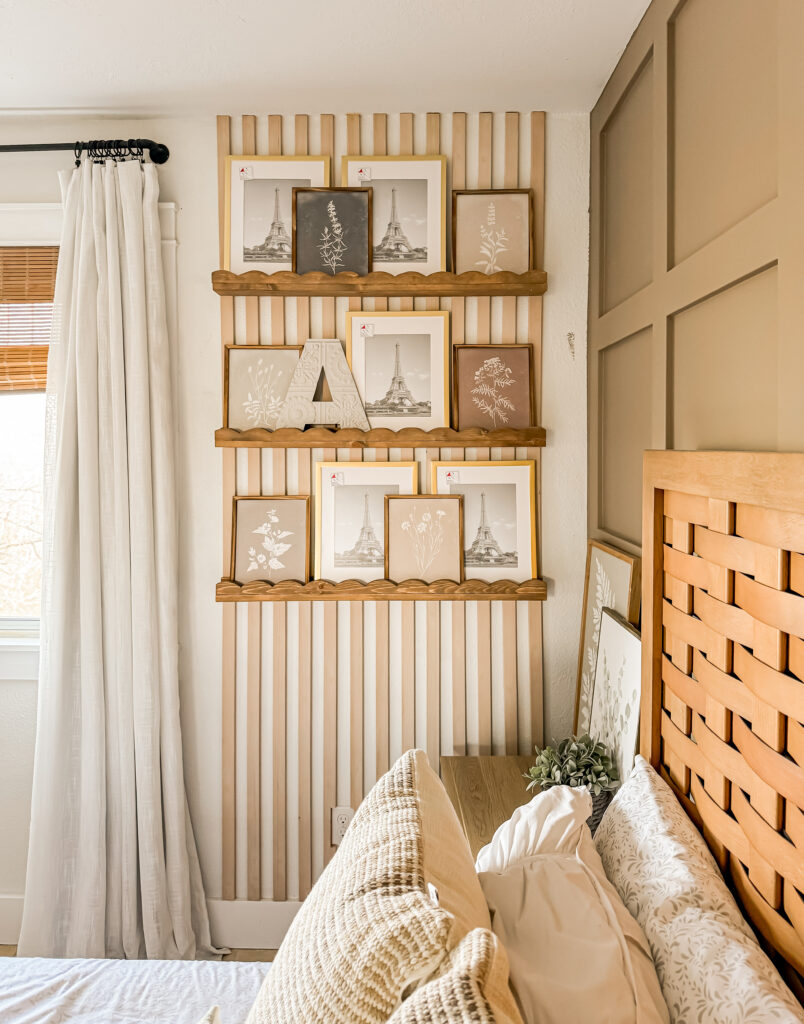
The focus for this week was getting the slated accent wall installed.
Supplies Used:(Affiliate links may be provided for convenience. For more info, see my full disclosure here.)
- Hemlock 1x2s
- Pine 1x2s
- Pine 1x4s
- Sander
- Stud Finder
- Level
- Measuring Tape
- Nail Gun
- Wood Filler
- Jigsaw
- Wood Glue
- Miniwax Special Walnut
- Polyacrylic
I went back and forth between using pine or hemlock for the slats on the wall. The price difference was about $5 a board, but the hemlock had a much smoother grain and I ultimately felt like it would look more polished.
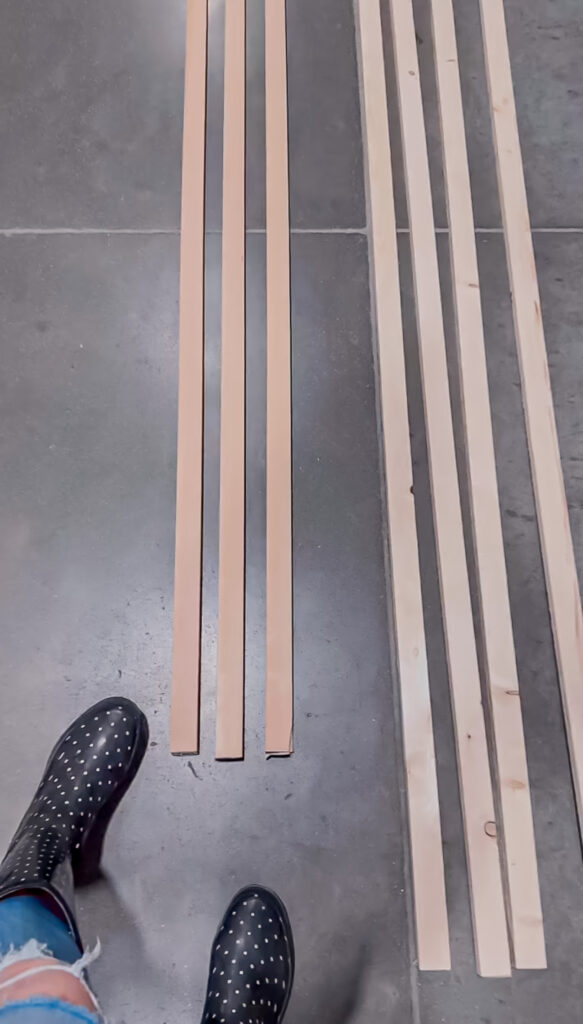
I did choose to use pine for the picture ledges though since I wanted them to stand out and look different.
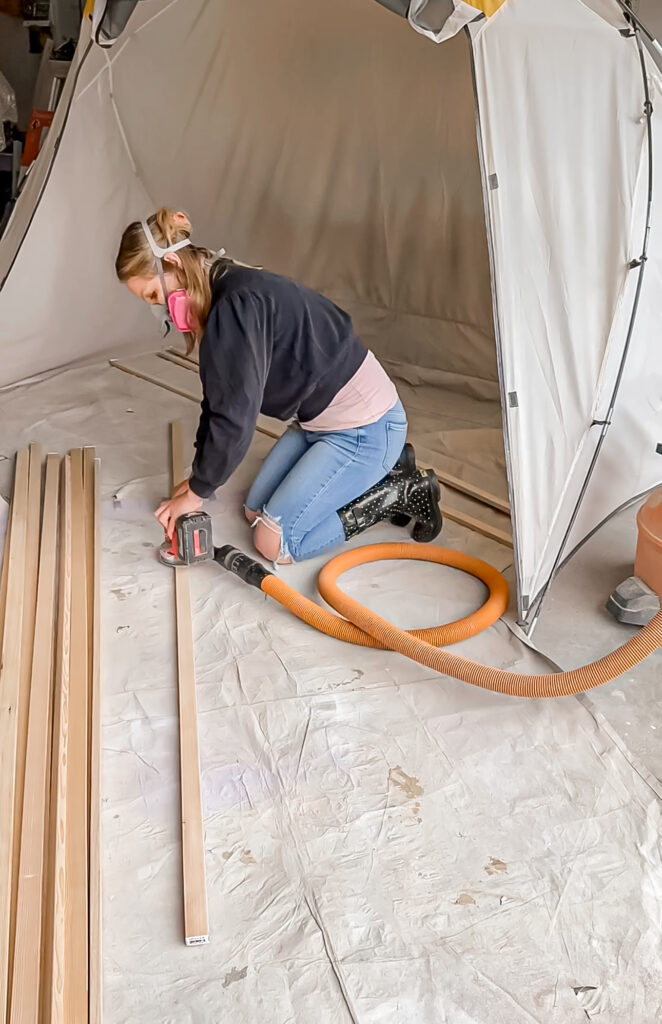
Once I got my boards home I laid them out and used the orbital sander to smooth the sides and the fronts.
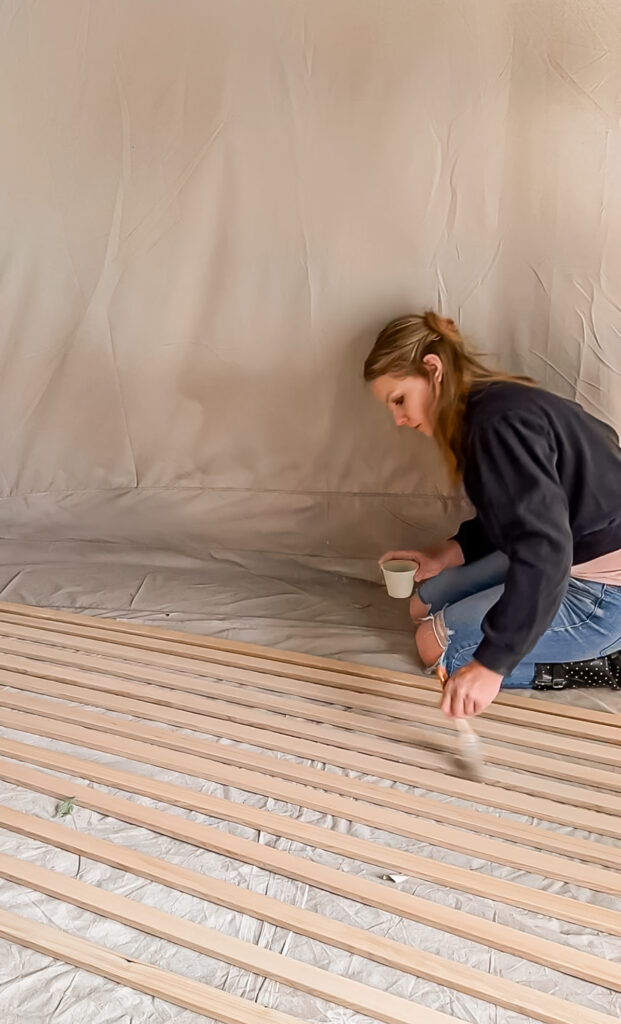
I decided that I wanted a light and natural look, so I applied a coat of paint wash to each board.
Once they were dry I sealed them up with a coat of polyacylic and brought them inside. Before I began I marked the studs which would be important when I got to installing the picture ledges. I then marked the center of the wall, lined up the first board using a level to make sure that it was straight and secured it with the nail gun.
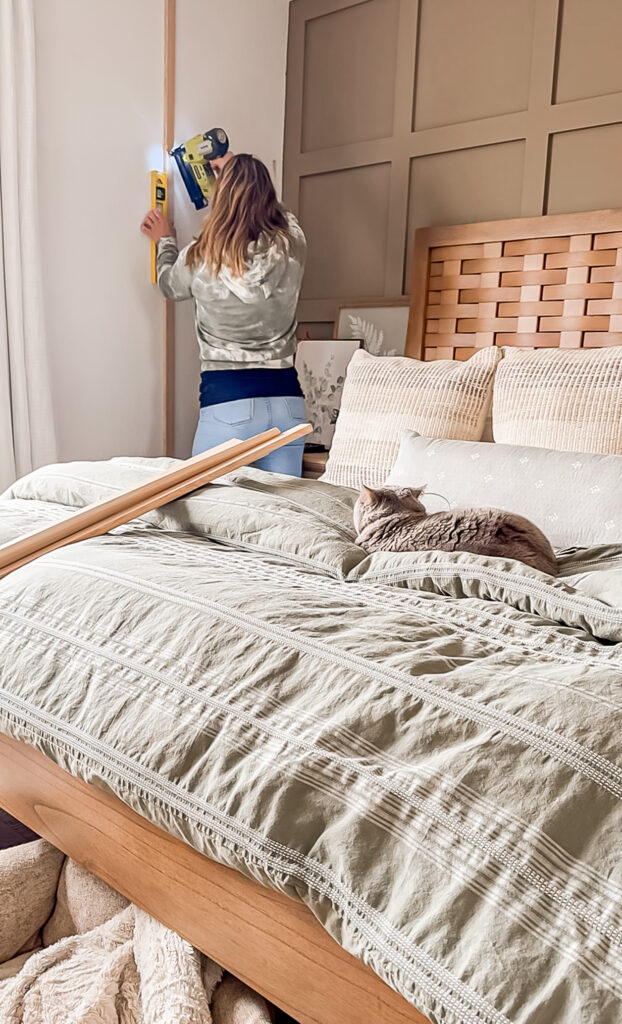
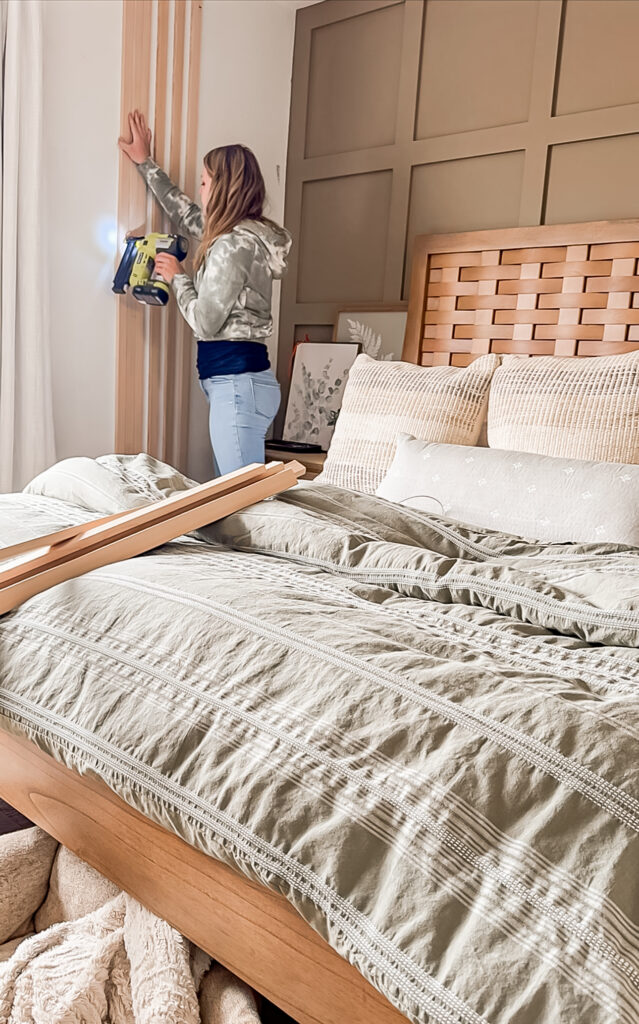
I used another board as a spacer, and began adding the other boards. As I nailed them in, I angled the nails in opposite diagonals to create an “x” pattern which holds them in to the drywall nicely.
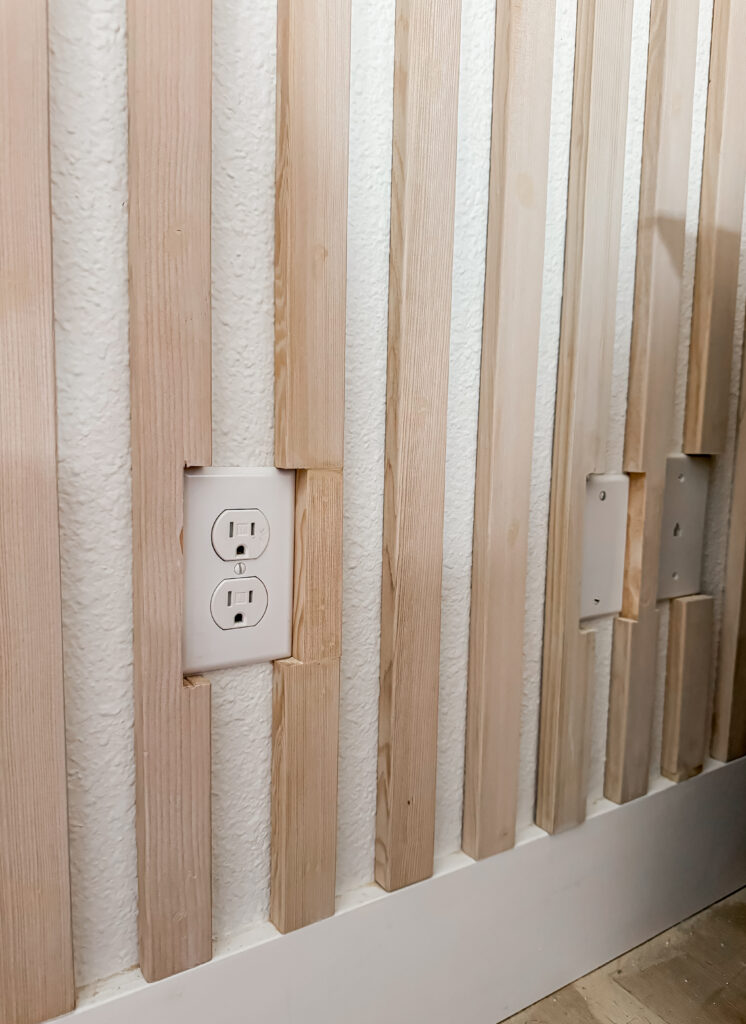
Cutting around the outlets required patience and a jigsaw!
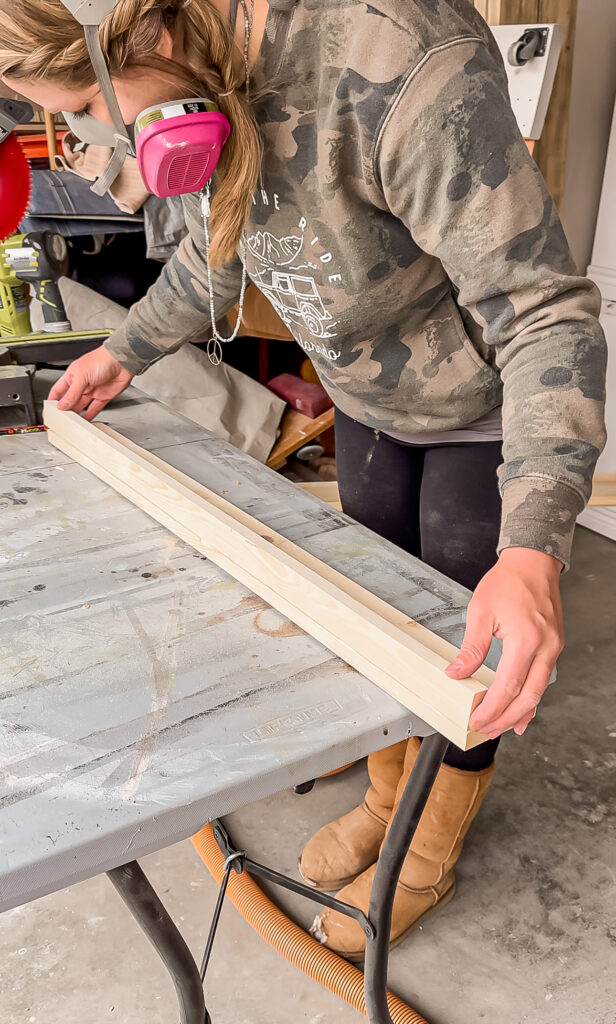
I filled all of the nail holes with wood filler and while that dried I moved on to the picture ledges. I began by cutting down the 1x4s (the bottoms) and the 1x2s (the backs and front’s) to the correct length. I sanded them smooth then began assembling.
First up was connecting a 1×2 to the 1×4 using wood glue and nails.
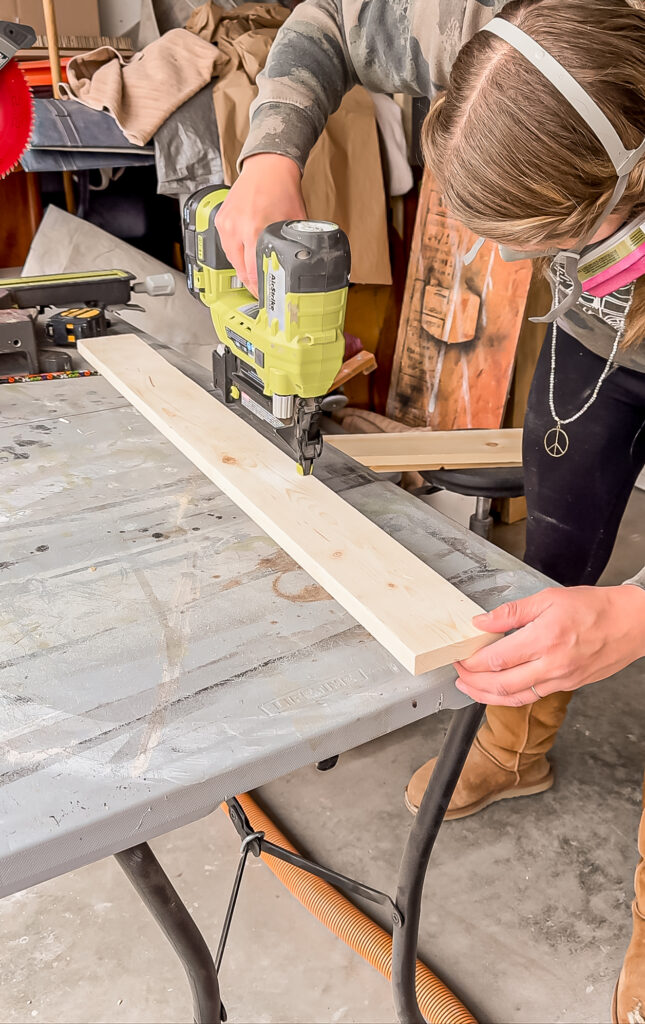
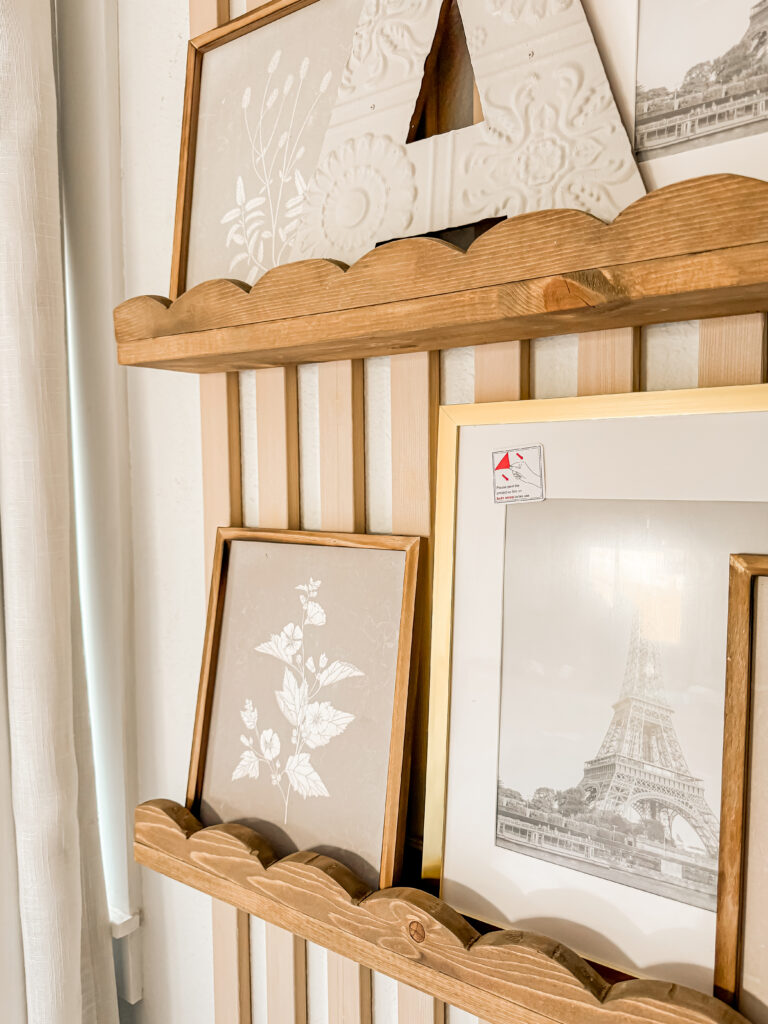
Once I had all 3 ledges done, it was time to cut out the fronts. Rather than having a plain 1×2 like I normally do, I decided that I wanted scallops. I used a spackle lid to draw half circles.
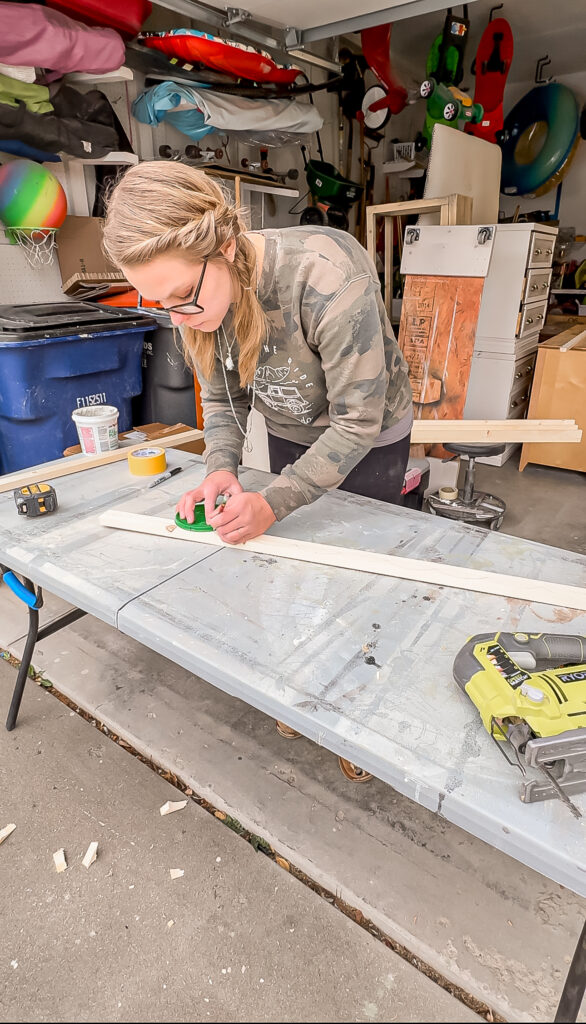
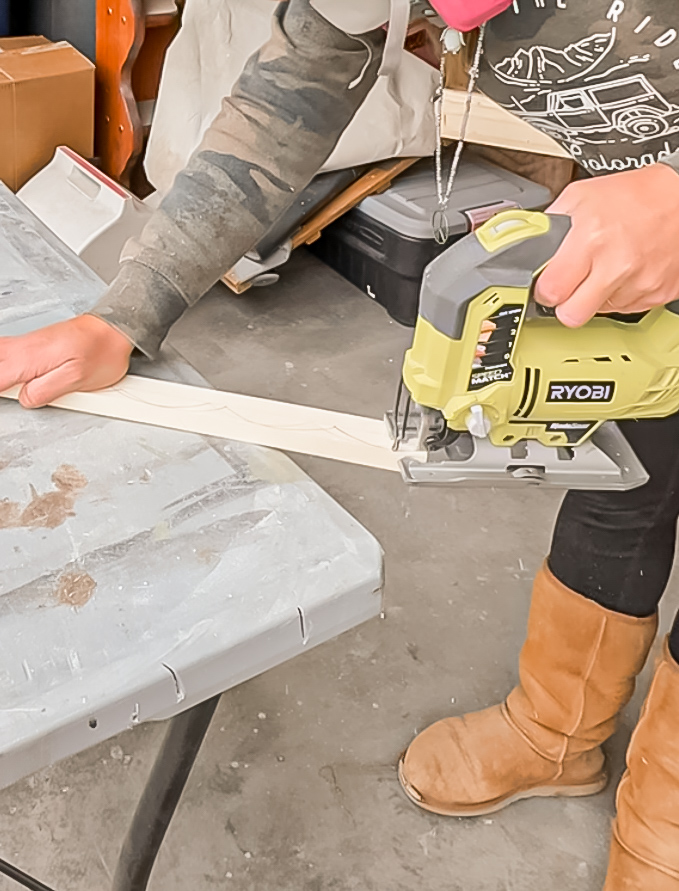
Then used the jigsaw to cut them out.
Before attaching them I stained everything with Special Walnut followed by a tan/green wash to neutralize the red tones.
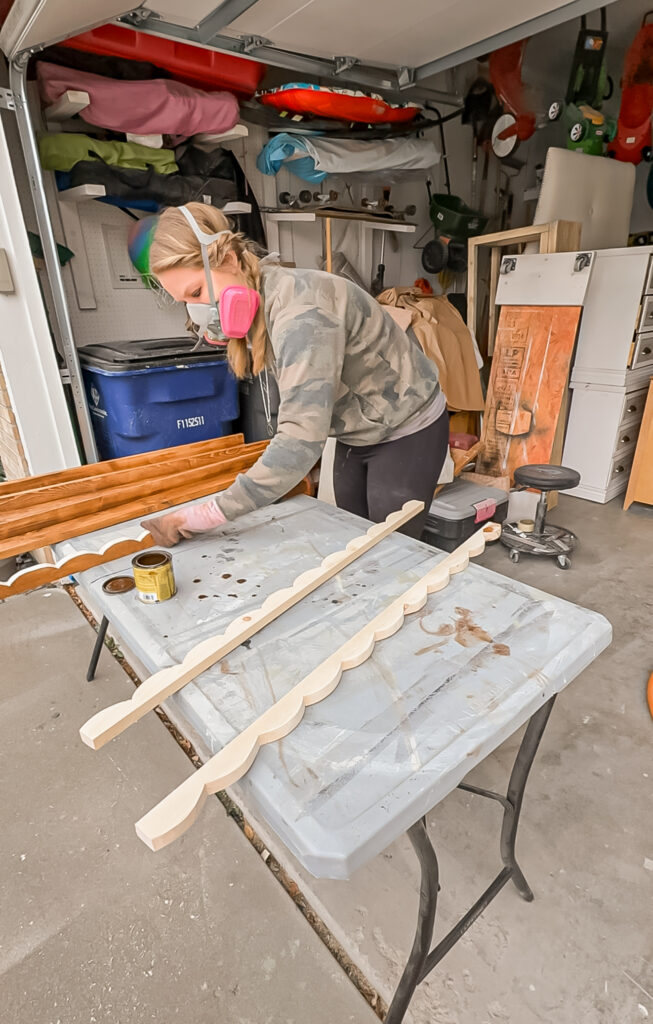
I secured the fronts using the nails gun, then sealed them up with polycrylic. The next day I brought them upstairs and got them secured to the wall with my helper.
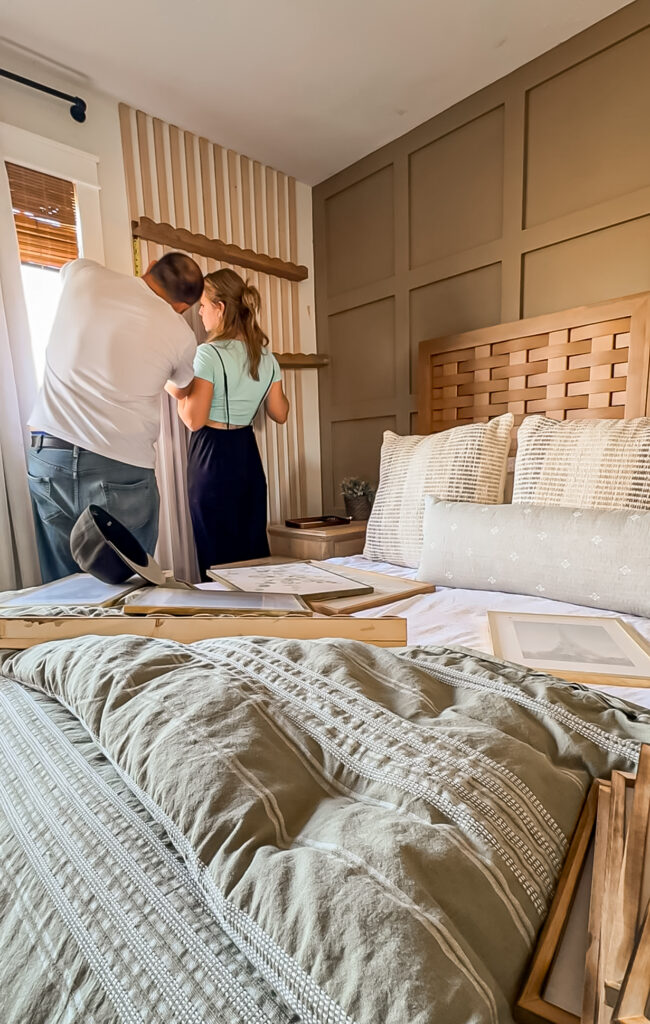
It was 100 percent easier to do as a team! We had marked which slats had studs behind them so that we could secure through them. Once they were up I started playing around with frame placement.
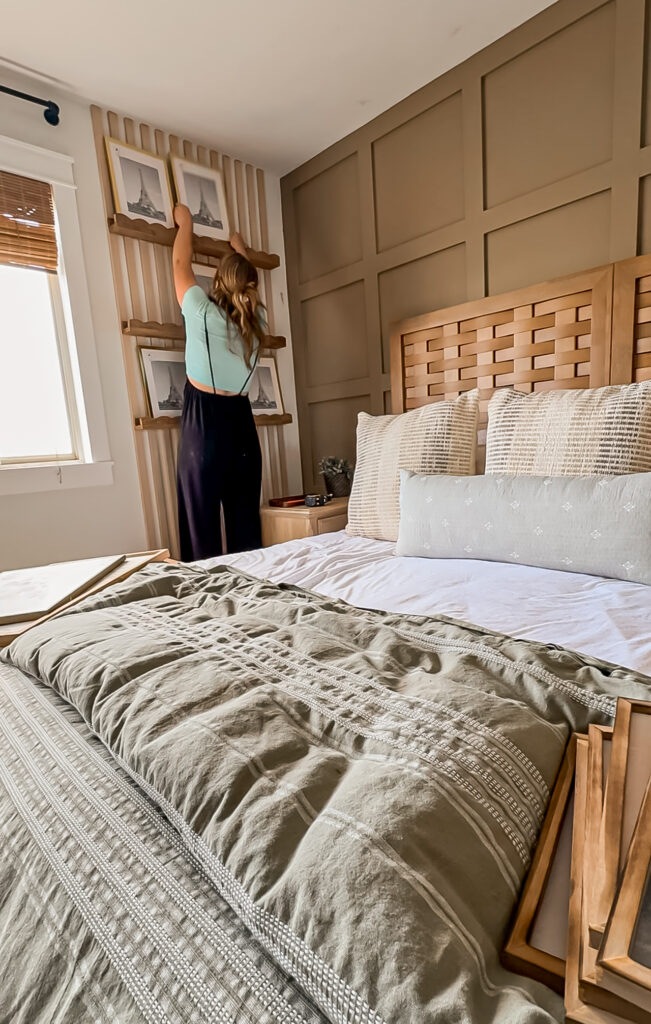
And here is how they turned out!
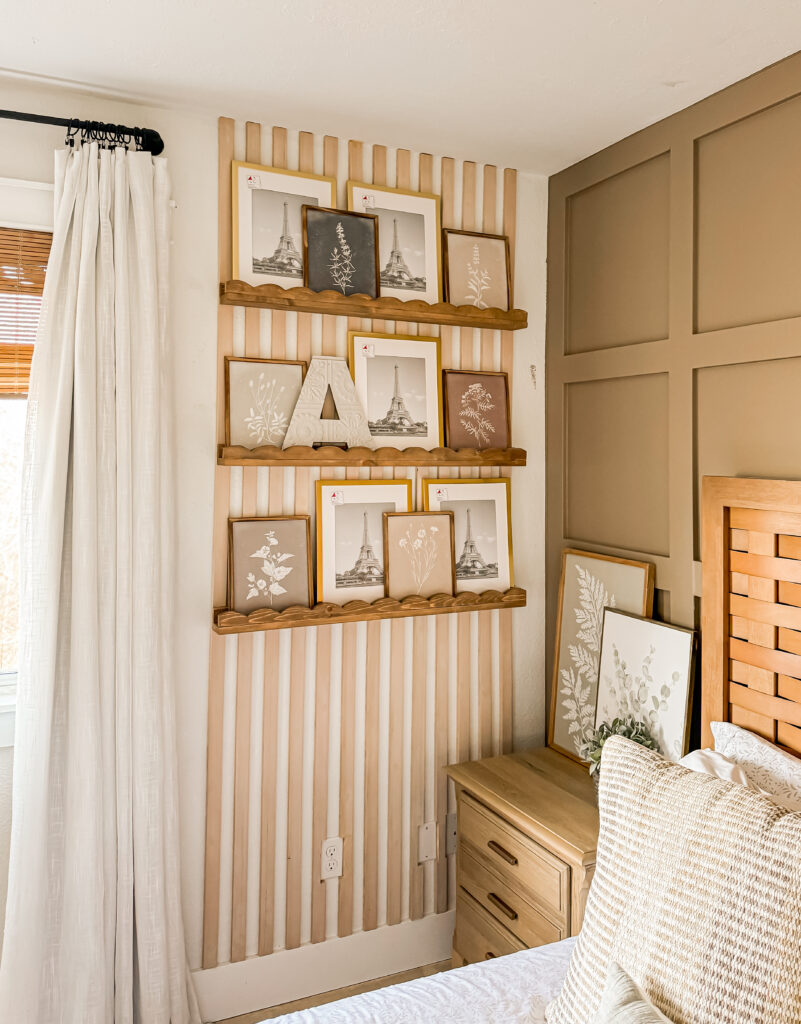
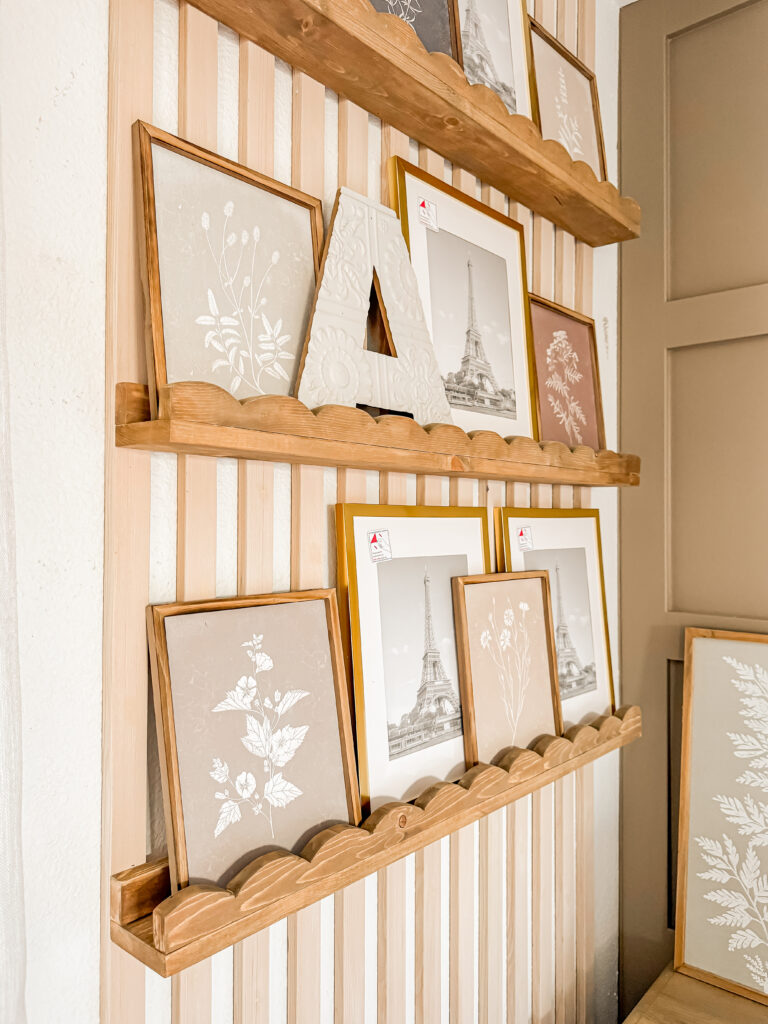
I still need to get some photos put in the frames and I may add a thing or two, but I am loving them so far. The botanicals are so pretty and add some fun interest.
The next focus will be replacing the sliding barn door to the bathroom, and depending on if we have the space installing one on the closet as well!
You can see the progress that the other participants have made here. See you next week!
Affiliated links may be provided for convenience. For more info, see my full disclosure here.)
PIN FOR LATER!
