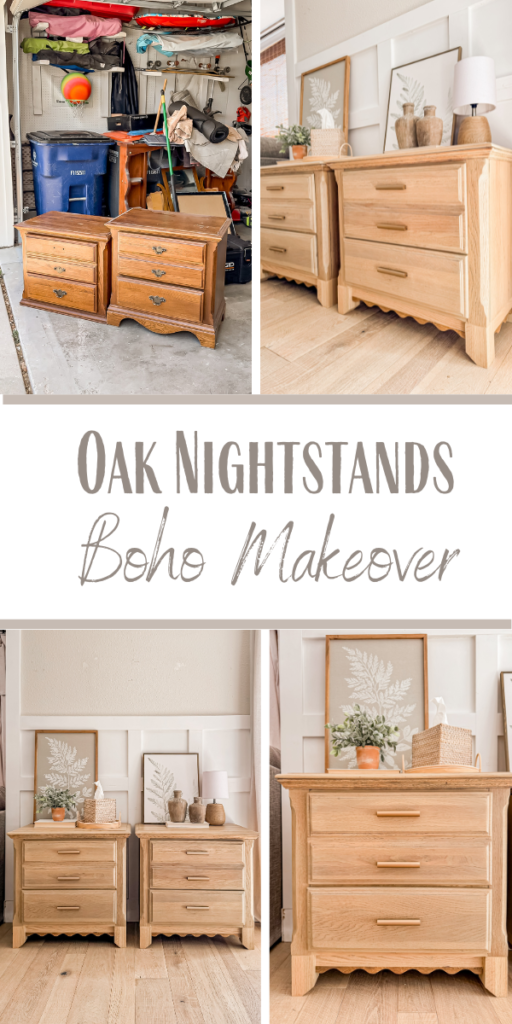
Hello, welcome to week 3 of the One Room Challenge! We put in a lot of work this week and made some exciting progress.
In case you’ve missed the previous posts on this journey you can catch them here:
- One Room Challenge (Week 1): Moody Boho Style Master Bedroom
- One Room Challenge (Week 2): Painted Accent Wall
The focus for week 3 was to get our new bed assembled and to flip some nightstands that I’ve been saving in my furniture stash for us.
Supplies Used:(Affiliate links may be provided for convenience. For more info, see my full disclosure here.)
- Jigsaw
- Sander
- Oak 3×3
- Oak 1×2
- Kreg Jig Pocket Hole
- Scallop Trim
- Miniwax Special Walnut
- Nail Gun
- Polyacrylic
- Pulls
- Contact Paper
I got these nightstands as part of a set that we picked up a few weeks ago, and I immediately knew that I wanted to keep these for us when Anthony got them home!
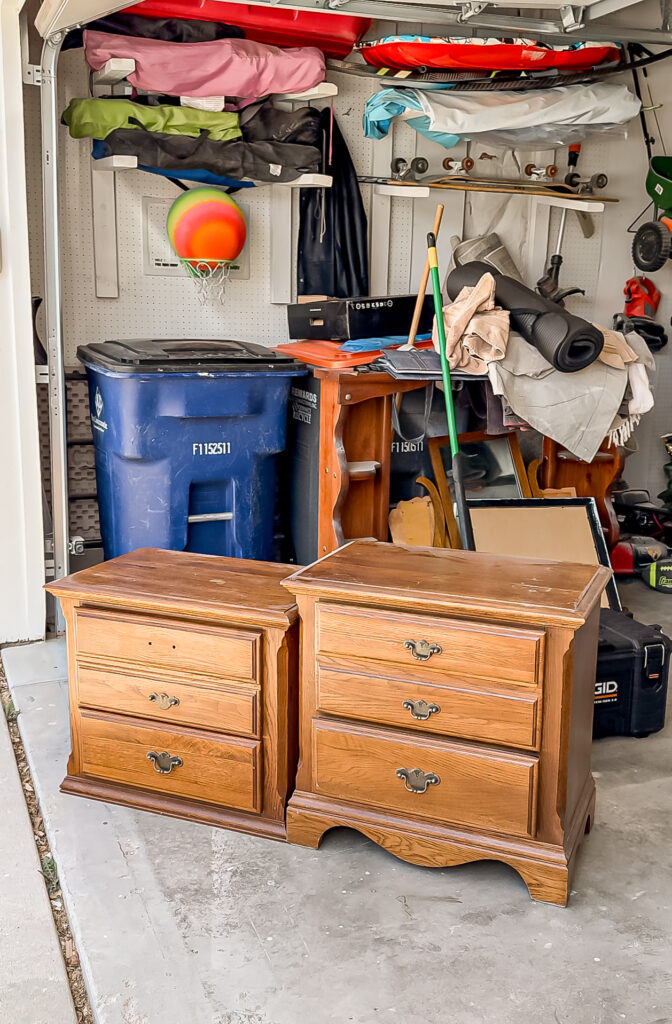
The base of one had been chopped off since the previous owner had them stacked, but that wasn’t an issue since I wanted to build custom bases anyways.
I began by removing the trim pieces on bottoms of both.
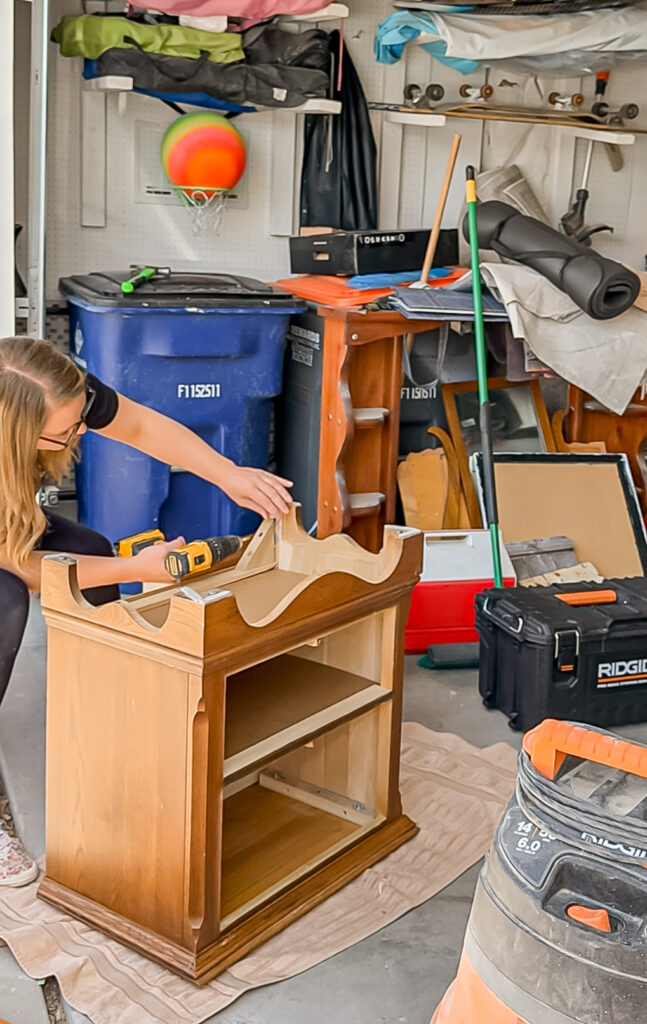
I then drew a straight line along the bottom and used the jigsaw to cut them both flat.
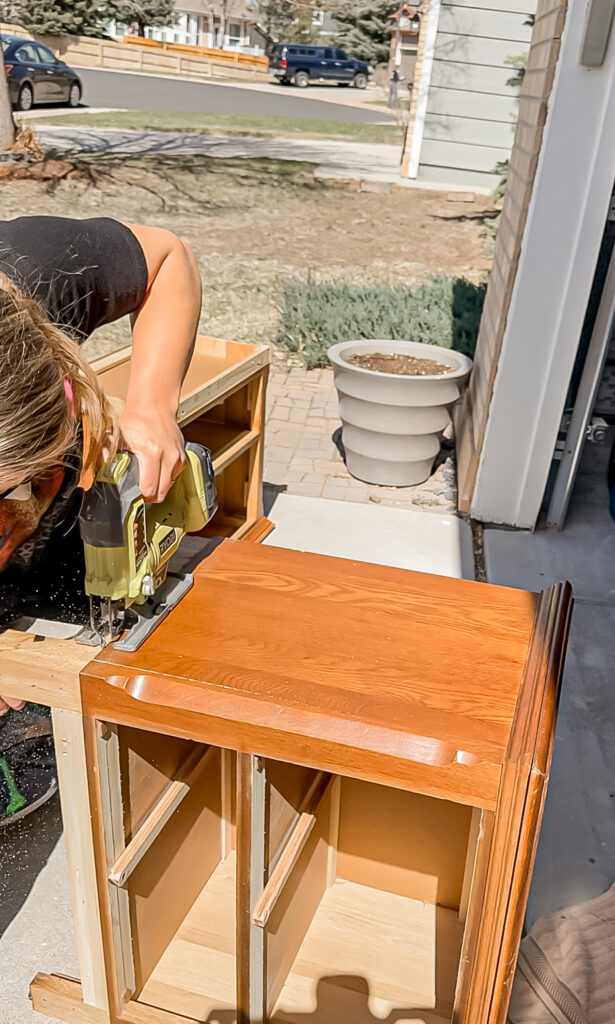
Next I sanded, sanded and sanded some more to get everything down to the bare wood.
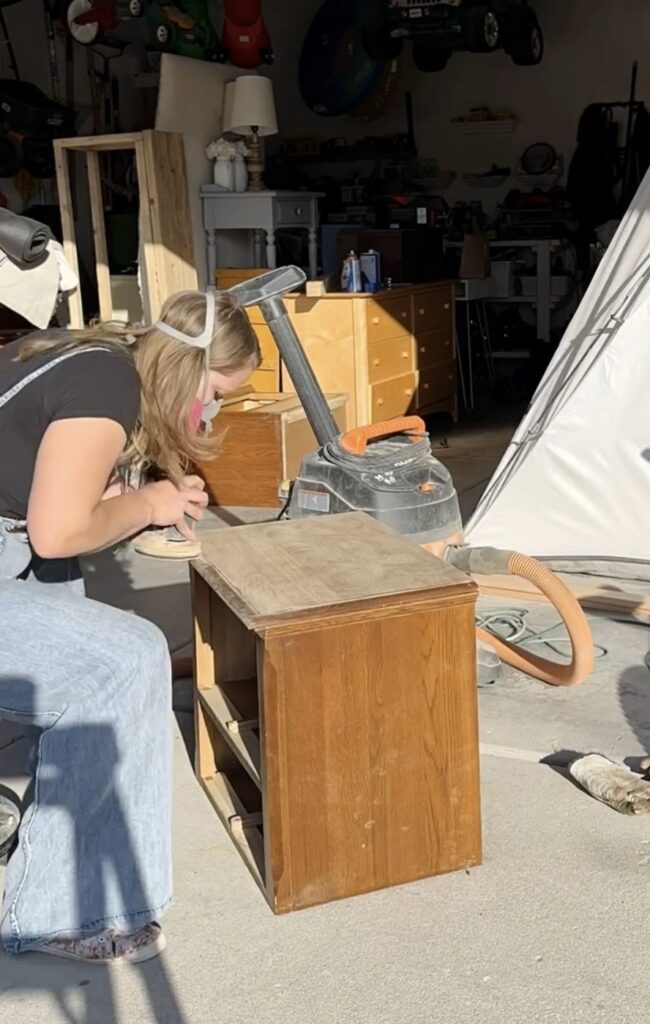
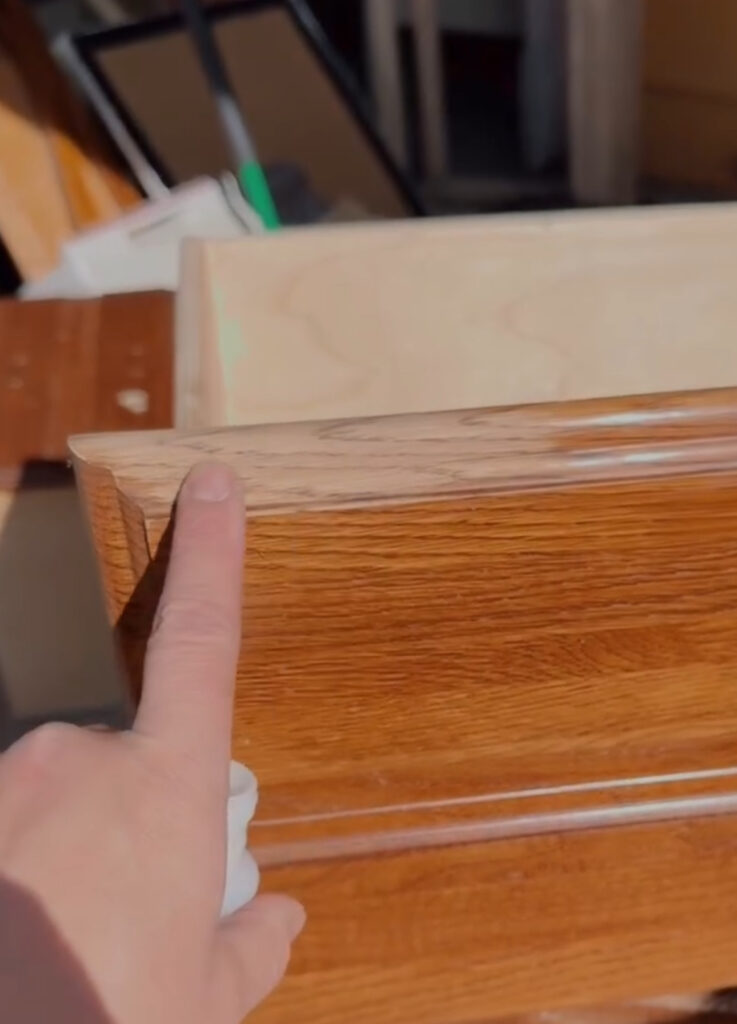
It took quite a bit of time, but I did learn that if you take acetone and rub it on hard to sand areas like the edges of the drawers, the finish runs right off!
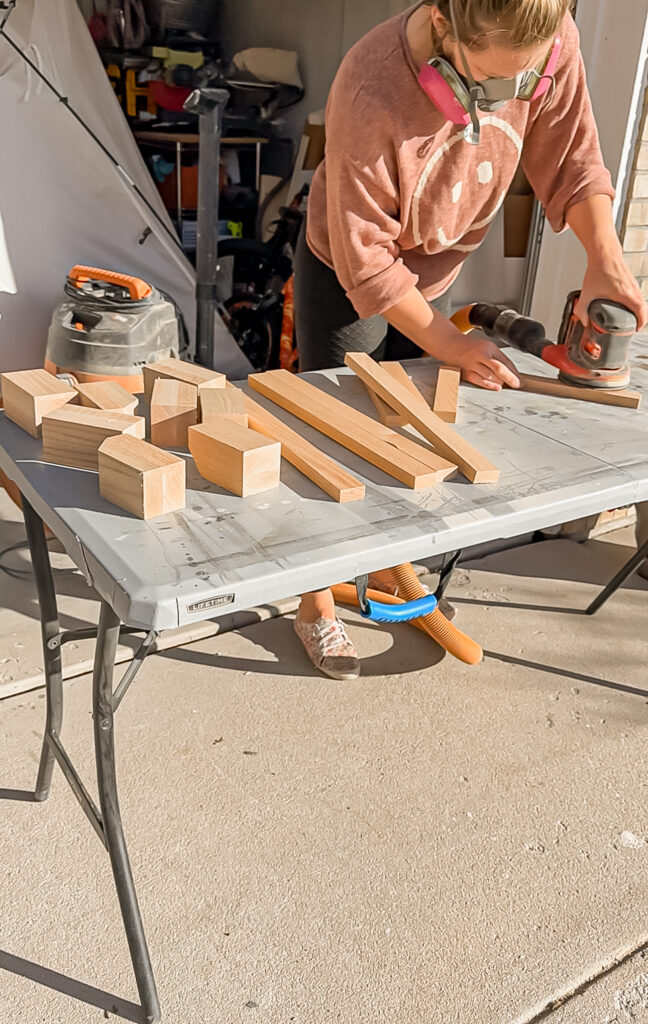
After sanding for three nights after work, I was finally ready to build the bases. I cut down oak 3x3s for the legs and oak 1x2s for the sides, and then sanded them all smooth with my orbital.
I drilled pocket holes in the 1x2s, but when I went to secure them to the legs I started running in to issues.
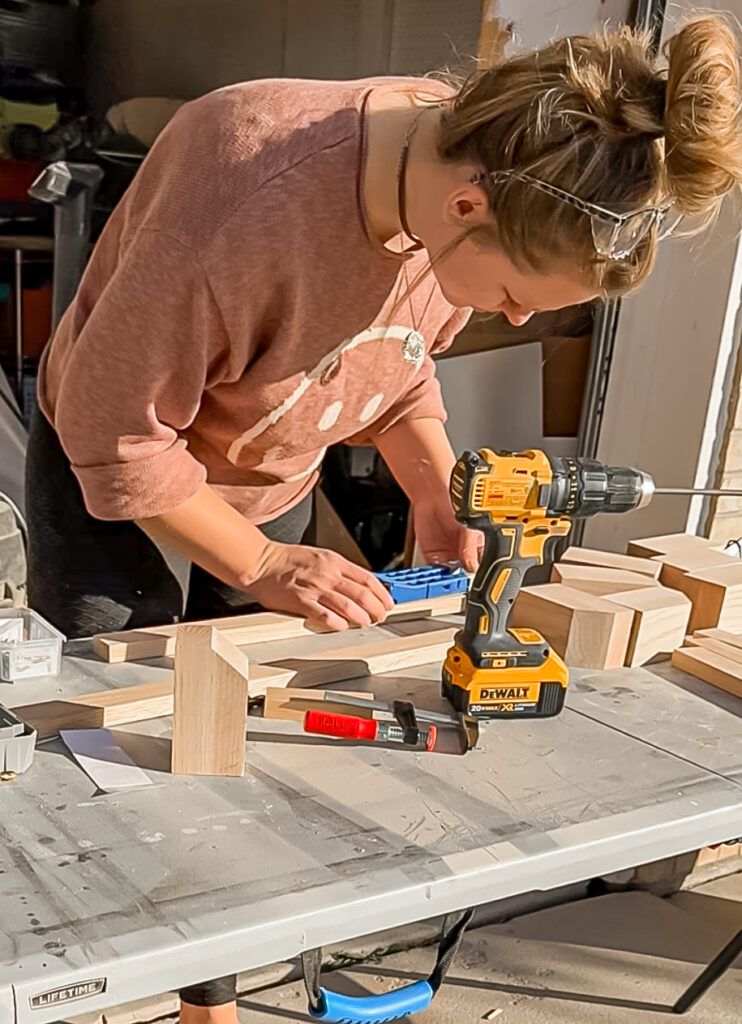
The wood was splitting anytime I tried to secure pieces together. Also, since red oak is a harder wood than the pine that I usually use, I had a difficult time driving the screws in. I walked away in frustration and then brought in help later on!
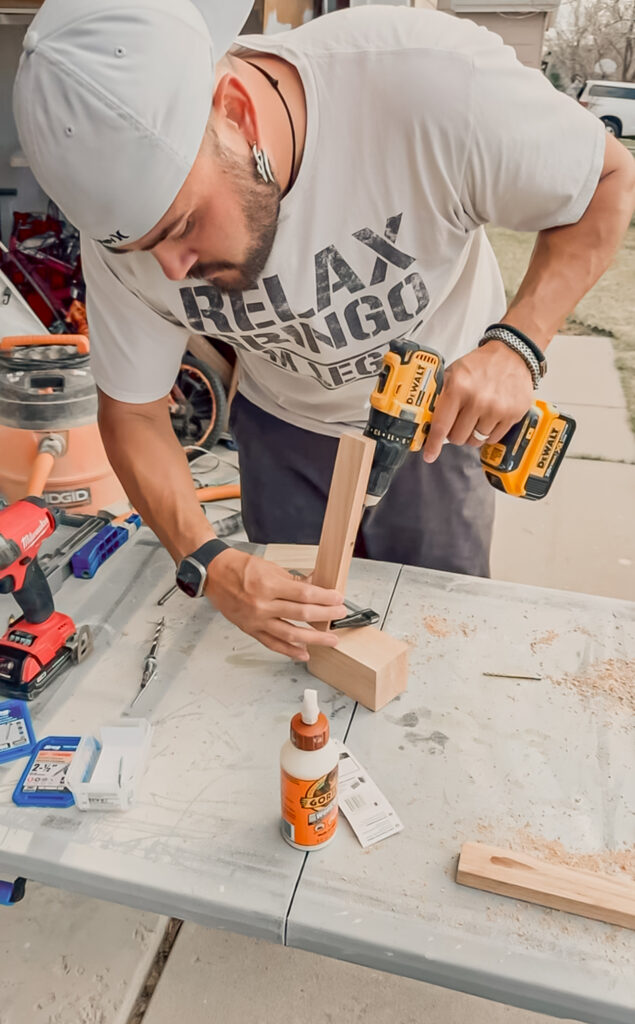
We found that pilot holes were key to prevent the splitting, and then having one person hold the pieces in place while the other used the drill made driving them in a lot easier.
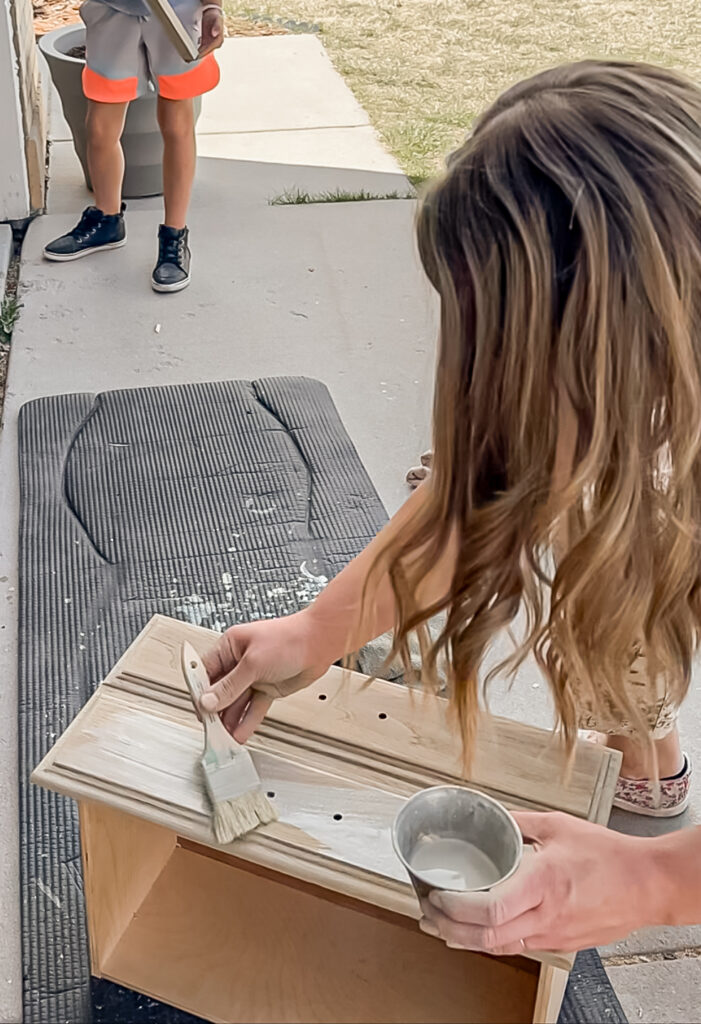
Once the bases were assembled, I moved on to the paint washing. I started with tan and green mixed together to neutralize the red tones, then finished it off with a straight tan.
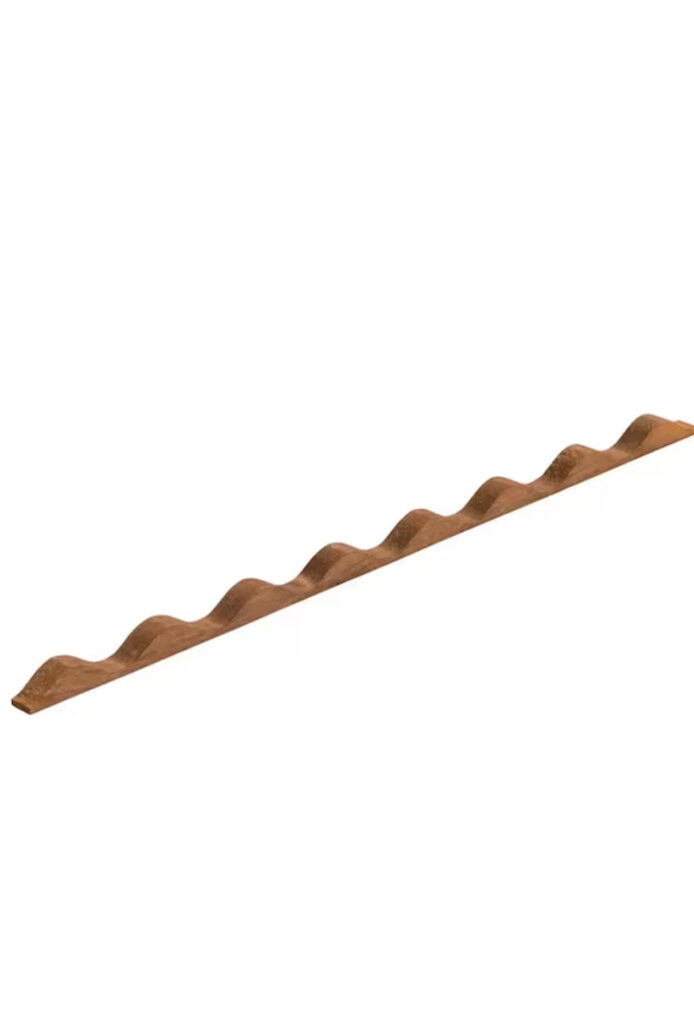
I wanted to add some cute scallop trim to the bottoms, and I found this which is actually roofing material!
Anthony measured it out and made the cuts,
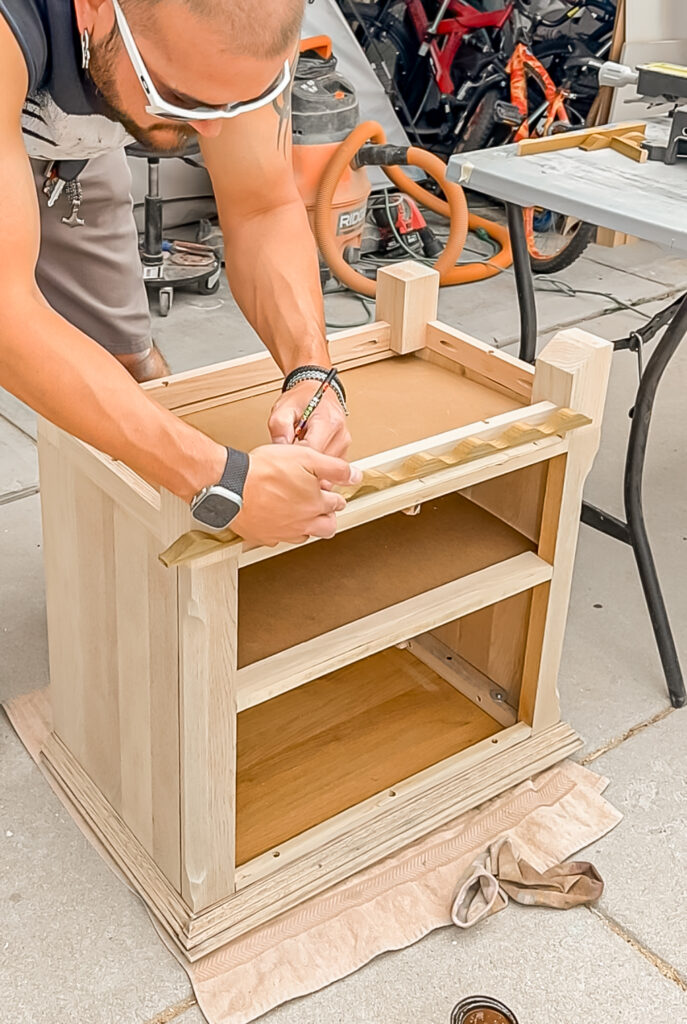
while I stained and attached with the nail gun.
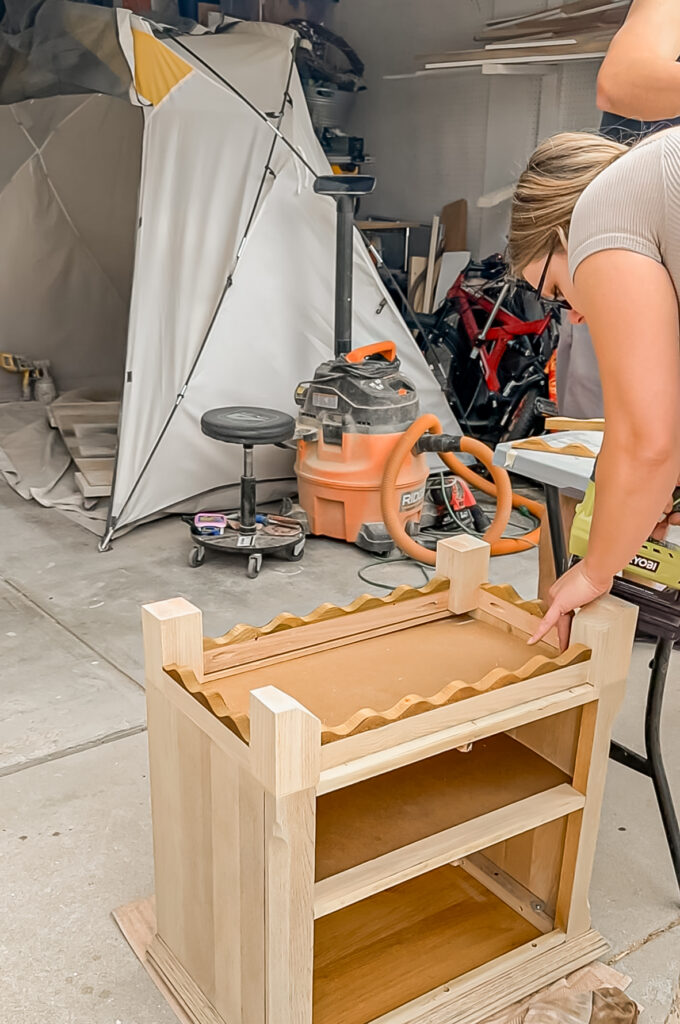
I decided to use the tan paint wash on the trim and then sealed them up with polyacrylic.
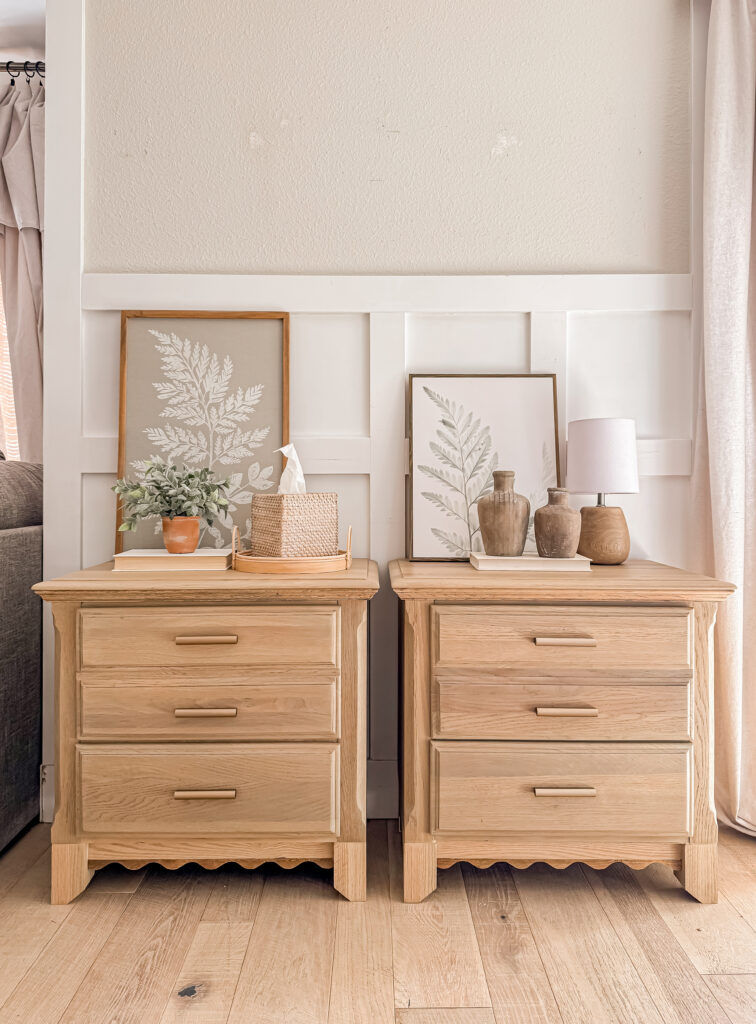
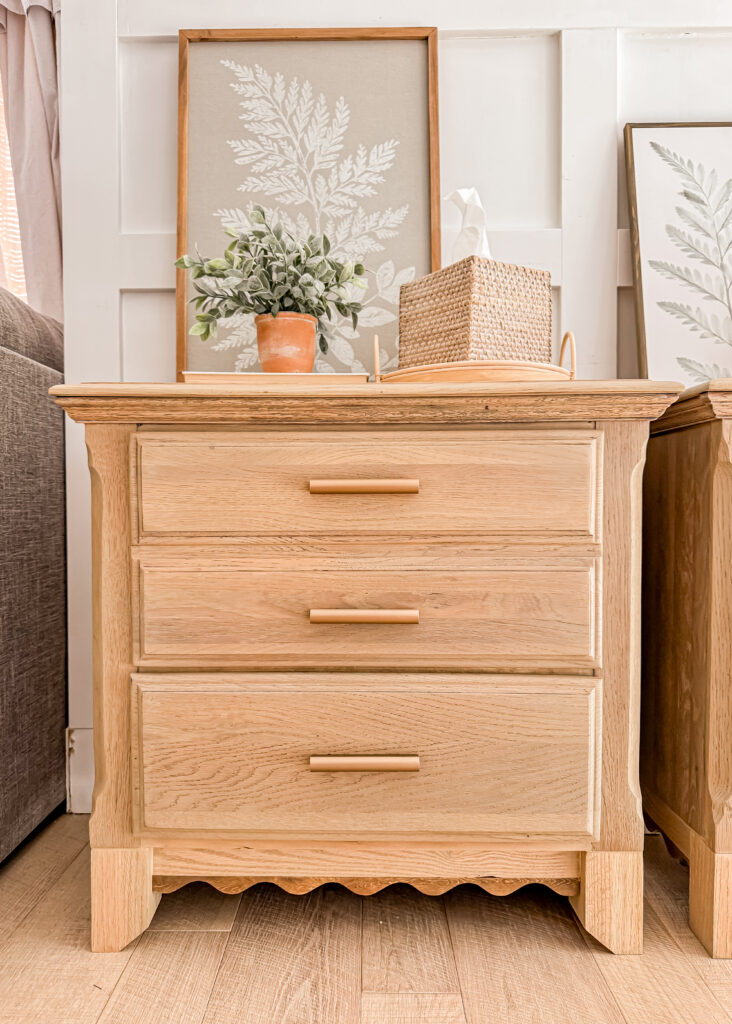
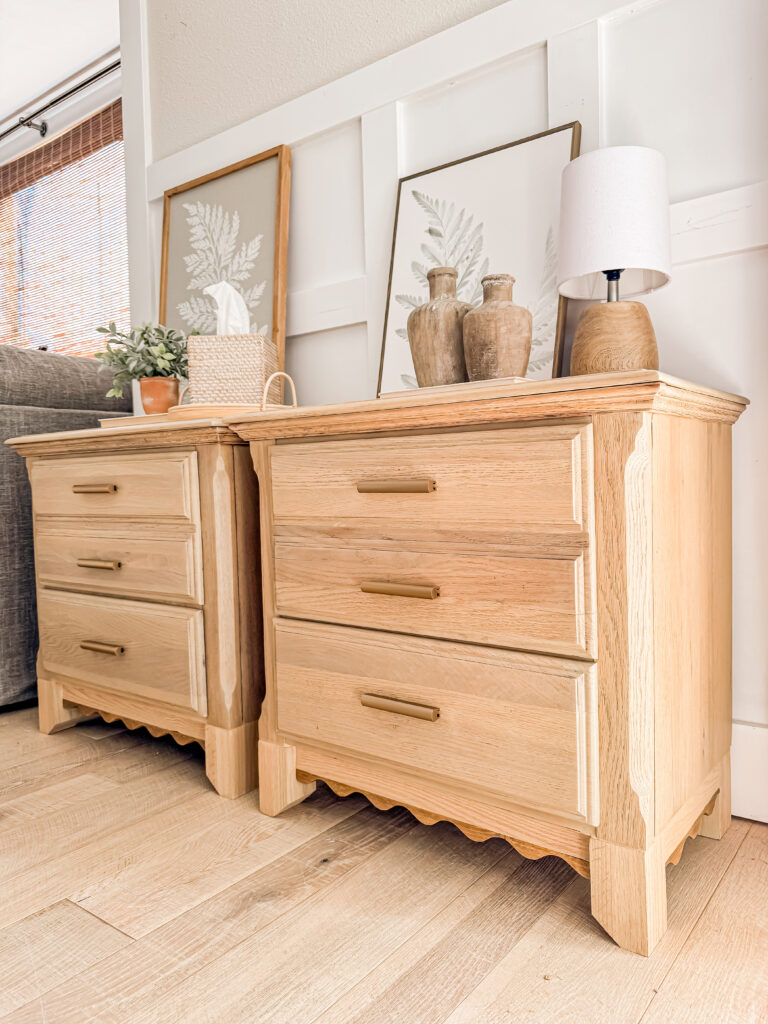
I added adjustable hardware since the previous hardware hole spacing was funky, and I lined the drawers with pretty paper.
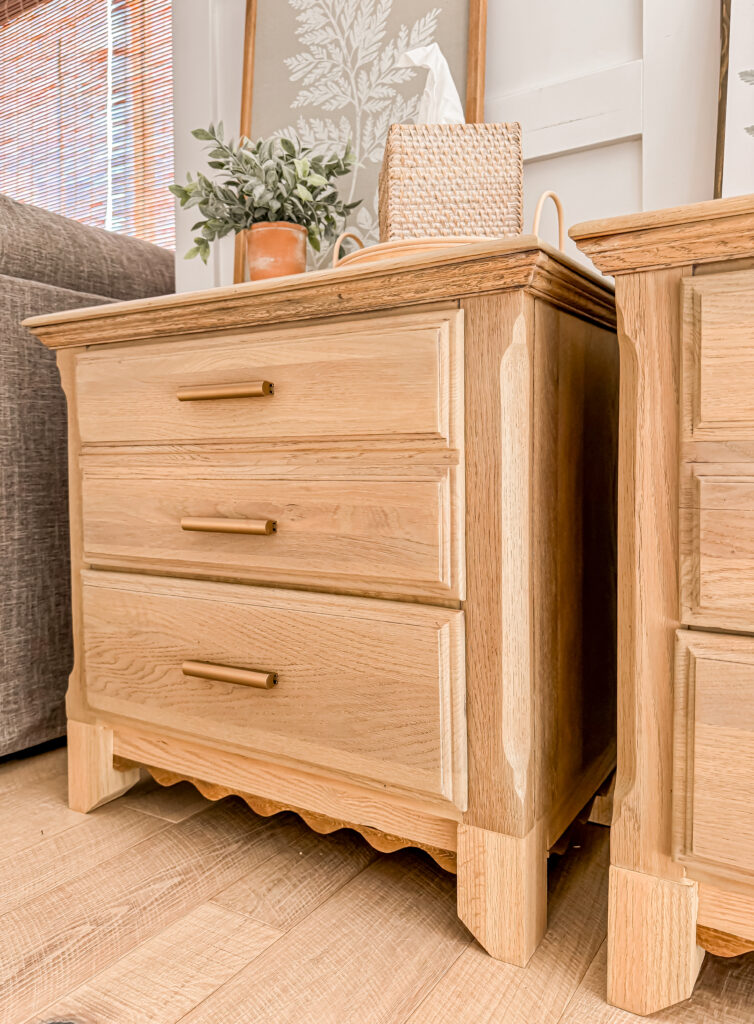
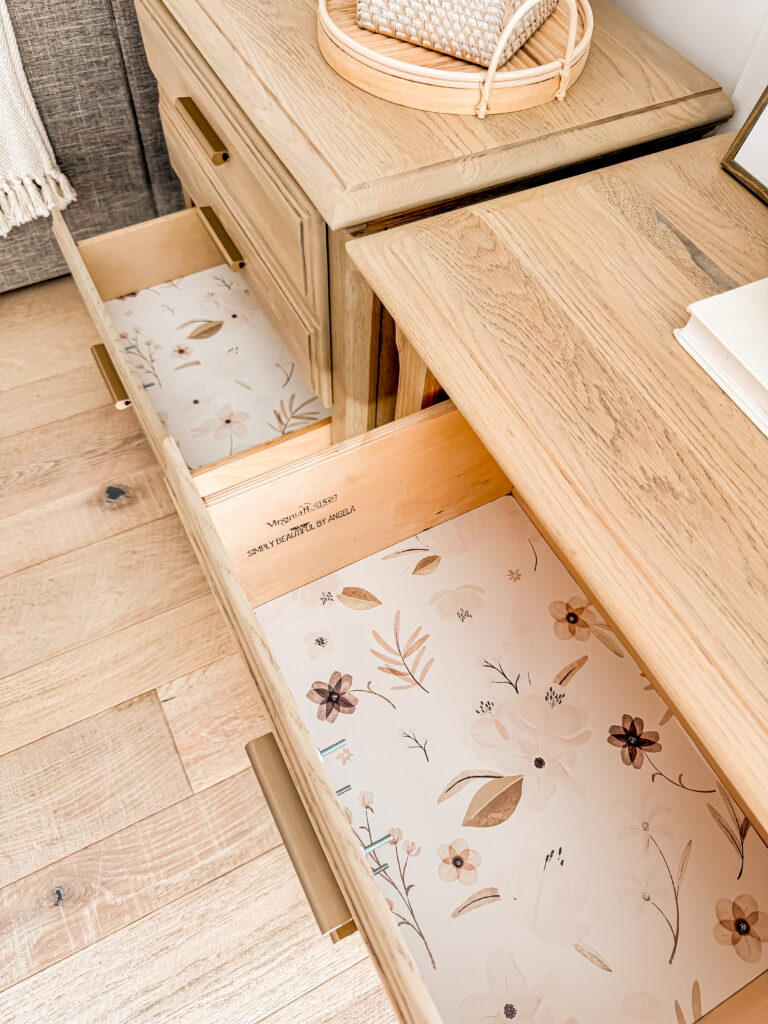
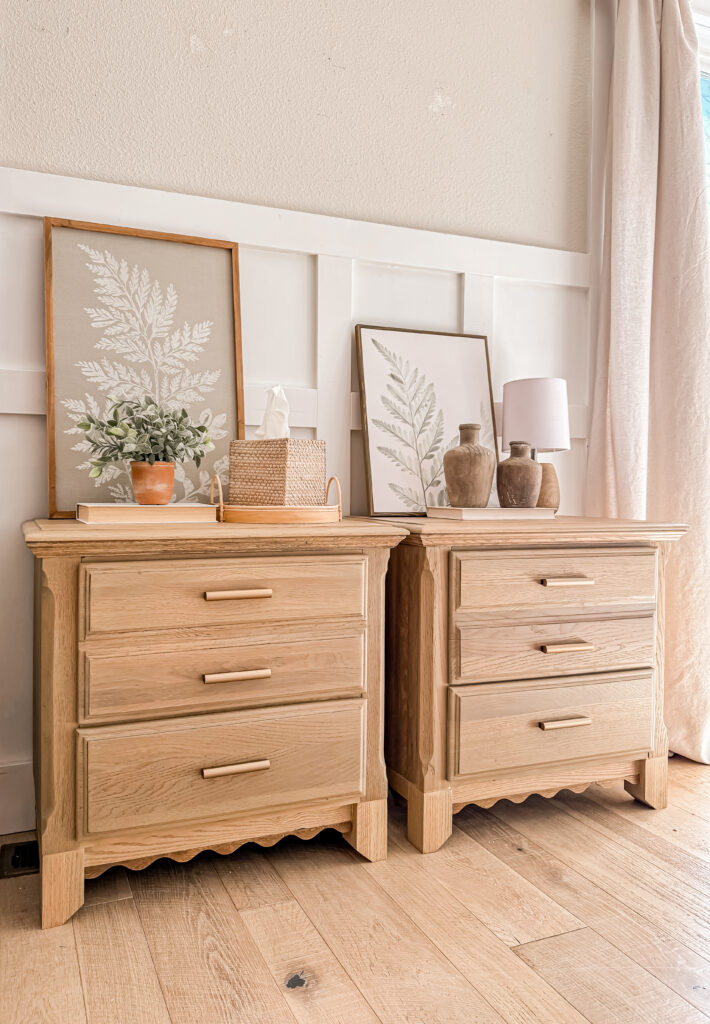
We ended up saving so much money by using these rather than buying new, and the quality of these old solid beauties is amazing. I was so excited to get them up to our room!
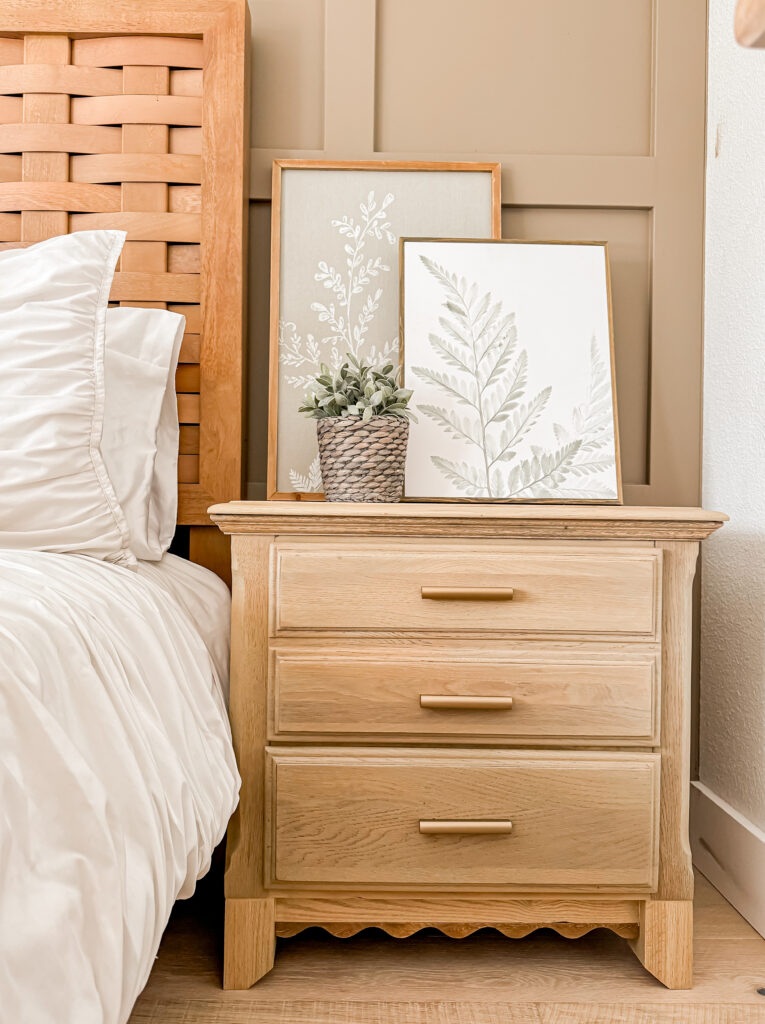
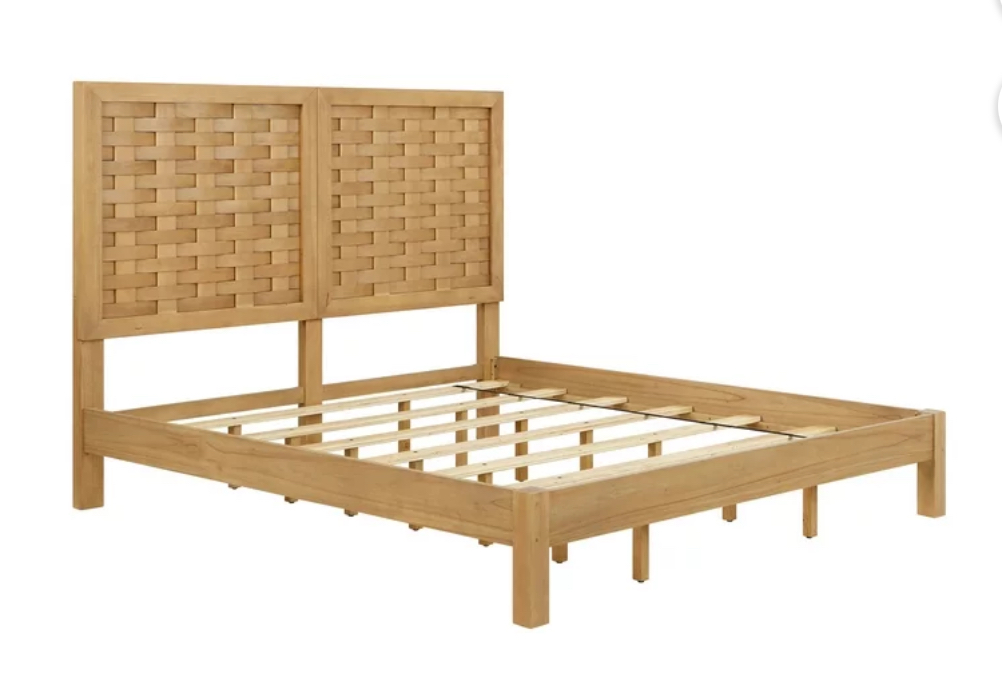
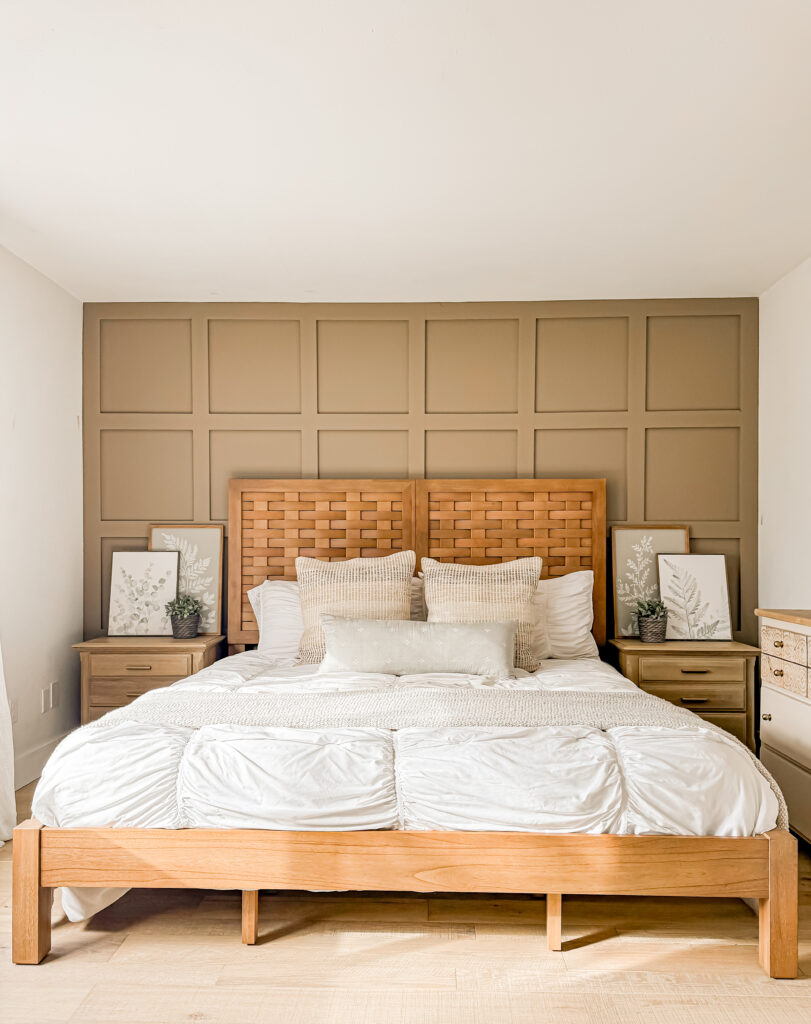
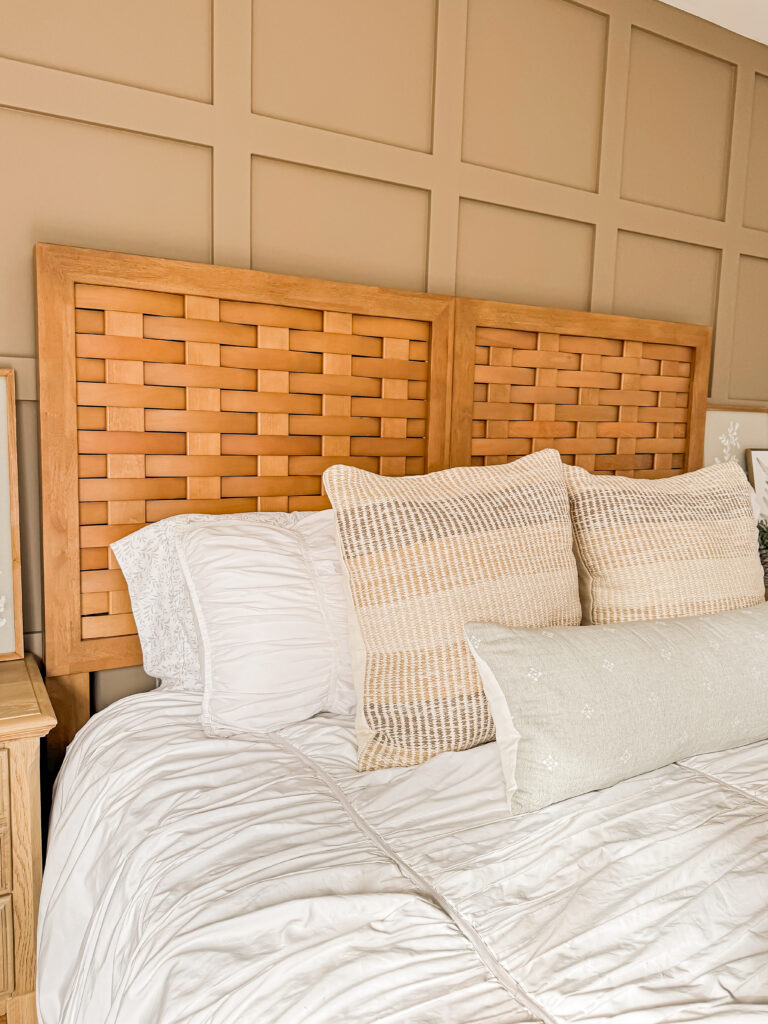
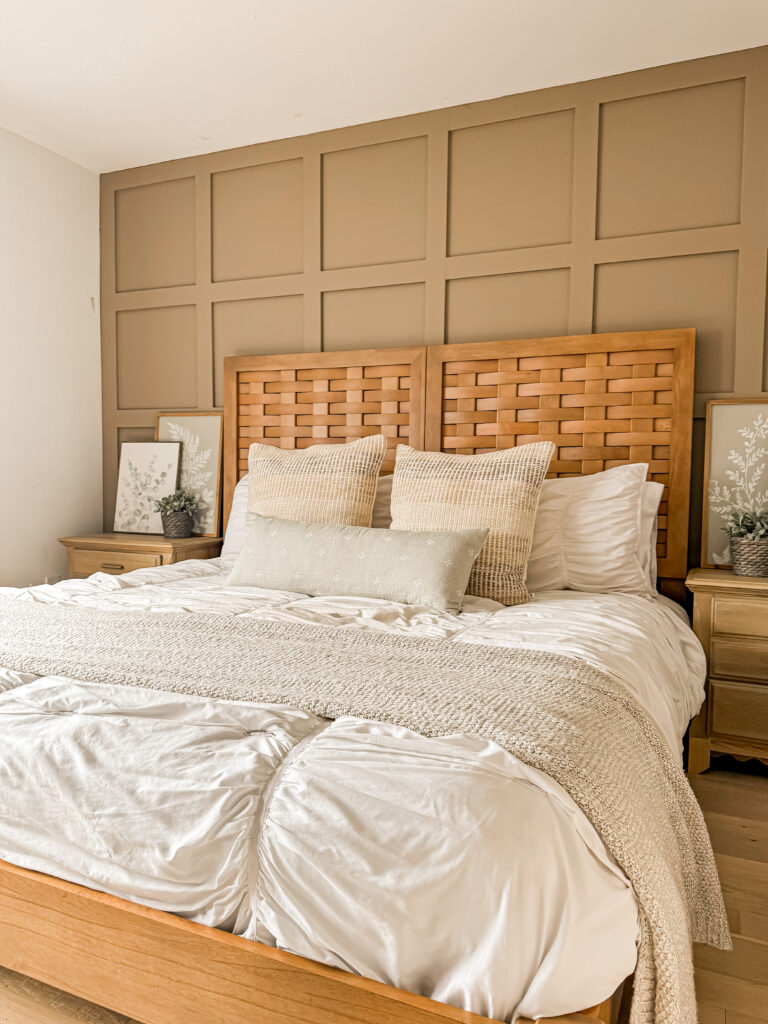
And as you can see in the picture above, we successfully got the bed assembled! But not without a big challenge haha. I ordered this beautiful lattice bed from the Dave & Jenny Marrs line.
On Sunday we eagerly began unboxing it…but there were no instructions to be found!
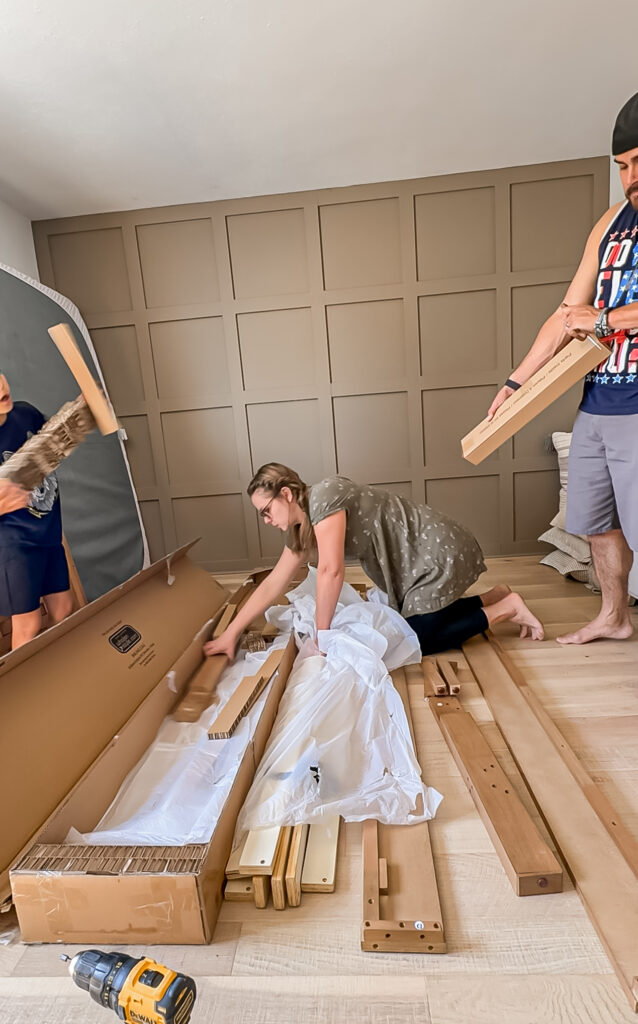
It was strange, but I didn’t panic since usually you can pull them up online. However we quickly realized that they didn’t exist on the Walmart website or anywhere else.
My customer service calls were comical and I couldn’t make these up if I tried!
My first call lasted 30 minutes and I was ultimately given a number to Better Homes and Gardens since they are the manufacturer. When I called the number it ended up being an invalid number with a “user busy” message. Hmmm….
The second call lasted 20 min and I was told that they had a new number for me and the representative called themselves and spoke to someone and confirmed that they could email me the instructions. When I called the number it ended being an answering machine to a BH&G Real Estate Wine Country—so bizarre!
The third call was about the same length and the poor representative couldn’t find anything either.
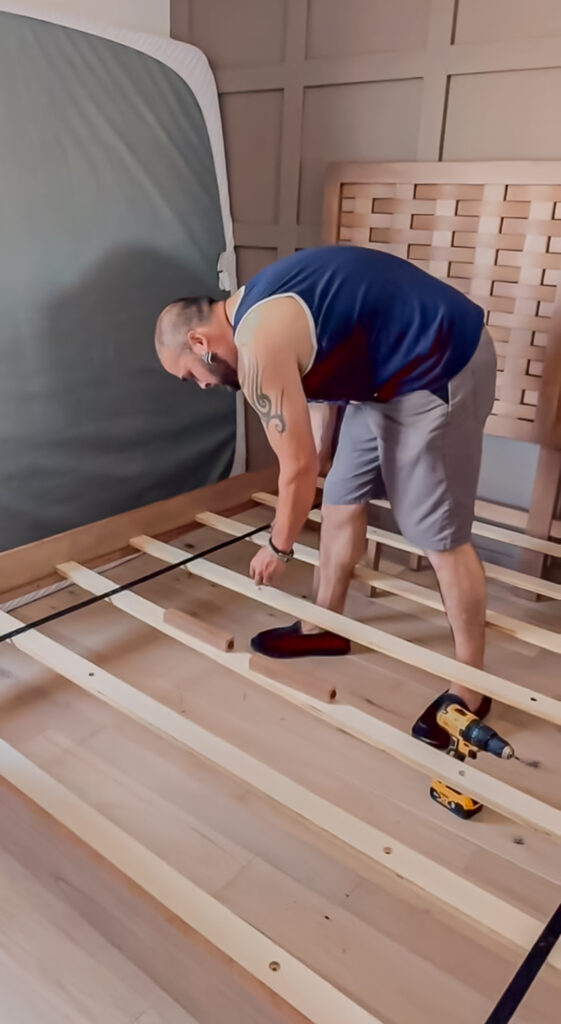
By the time all of these calls were over Anthony had actually almost finished building it all on his own. Lucky he’s got such a smart engineering brain!
Despite the stress of building it, I absolutely love it!
Next up will be installing the accent wall next to the window!
You can see the progress that the other participants have made here. See you next week!
Affiliated links may be provided for convenience. For more info, see my full disclosure here.)
PIN FOR LATER!
