Hello friends and happy Wednesday! I hope you all had a nice weekend and start to your week. We had SO MUCH fun on our camping trip and I am already missing that nice mountain weather!


As promised, I’m back this week to share how I updated our dated bathroom countertop during the recent master bathroom refresh.
Supplies Used:(Affiliate links may be provided for convenience. For more info, see my full disclosure here.)
- Nail Gun
- Bondo
- Sander
- Marble Contact Paper
- Utility Knife
- Hair Dryer
- Craft Paints
- Epoxy Resin
- Foam Roller
- Plastic Drop Cloth
- Frog Tape
- Plastic Measuring Containers
- Stir Stick
- Respirator Mask
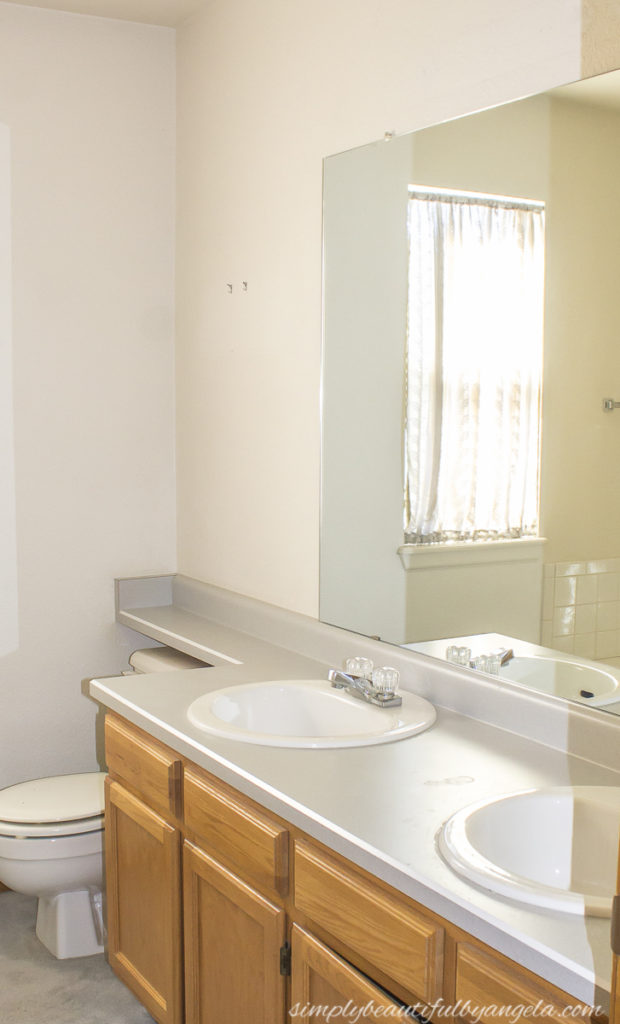
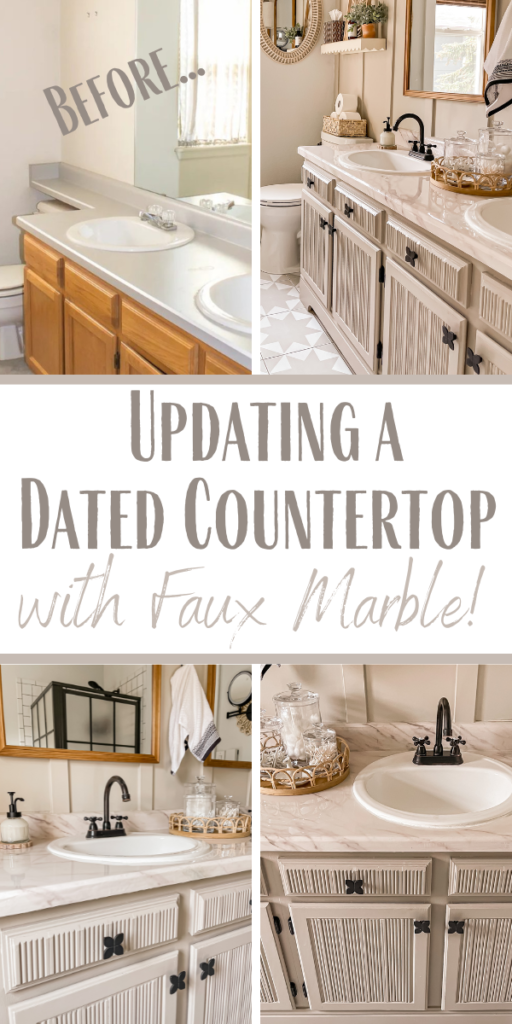
As a reminder, this is what our original vanity countertop looked like when we first moved in.
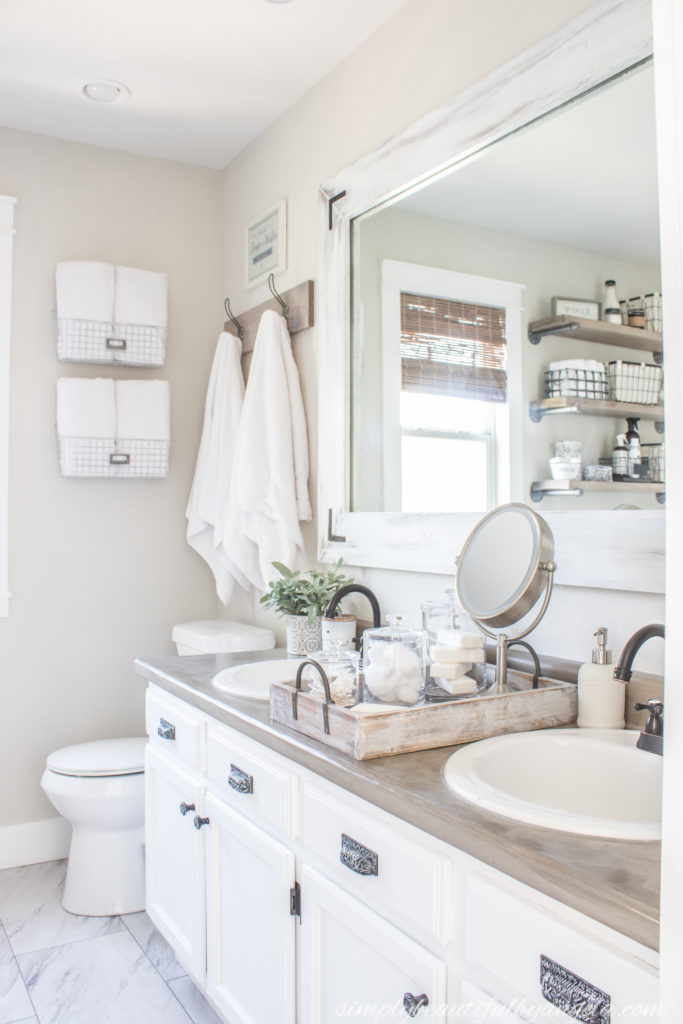
I decided to modernize it by sawing off the overhang above the toilet and gave it a concrete finish (tutorial here) which brought us to here.
It was a major improvement and we enjoyed the new look for almost 4 years! Recently I noticed that there were a few spots where the concrete sealer had started to wear away and water stains were appearing. If you do concrete for more long term, I would recommend applying the sealer once a year!
I could have just scuffed the counter up with sandpaper before reapplying a new concrete coat, however I wanted something different which led me to trying white tile paint to see if I could get a smooth white stone look.
Before I could start painting, I had to first tackle the side backsplash since I wanted this vanity to feel less builder and more freestanding.
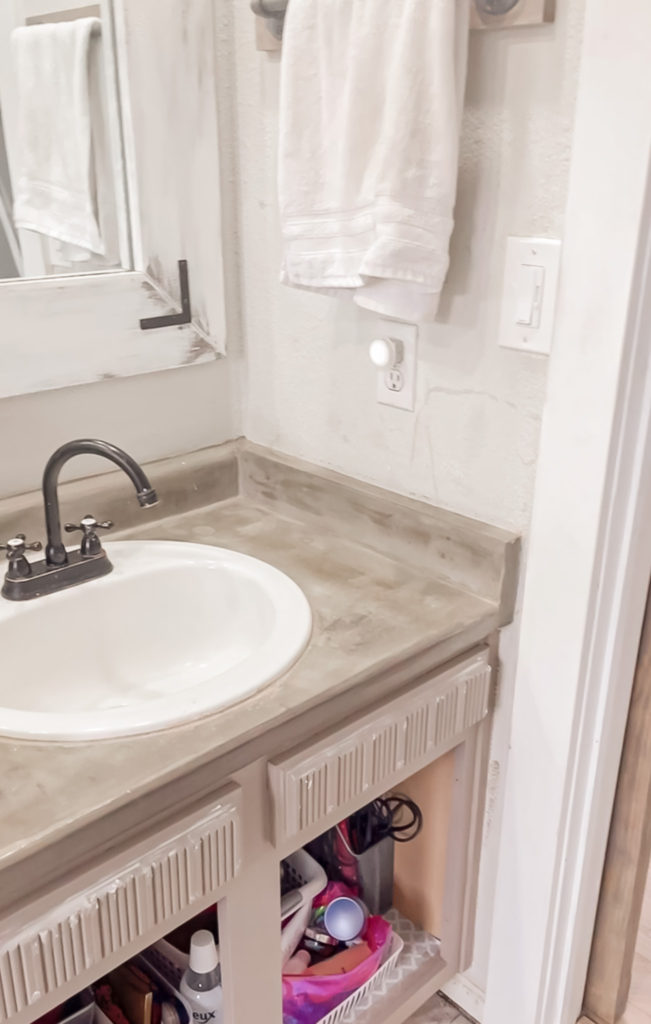
Unfortunately it wasn’t quite as easy as I thought it would be! I thought that I would just need to score it and and hammer out, but it turns out that it was actually nailed in from the side before installation. After fighting with it for a bit, the hubby had the idea to shimmy a hand saw down to cut the nails. Once that was done it would popped out.
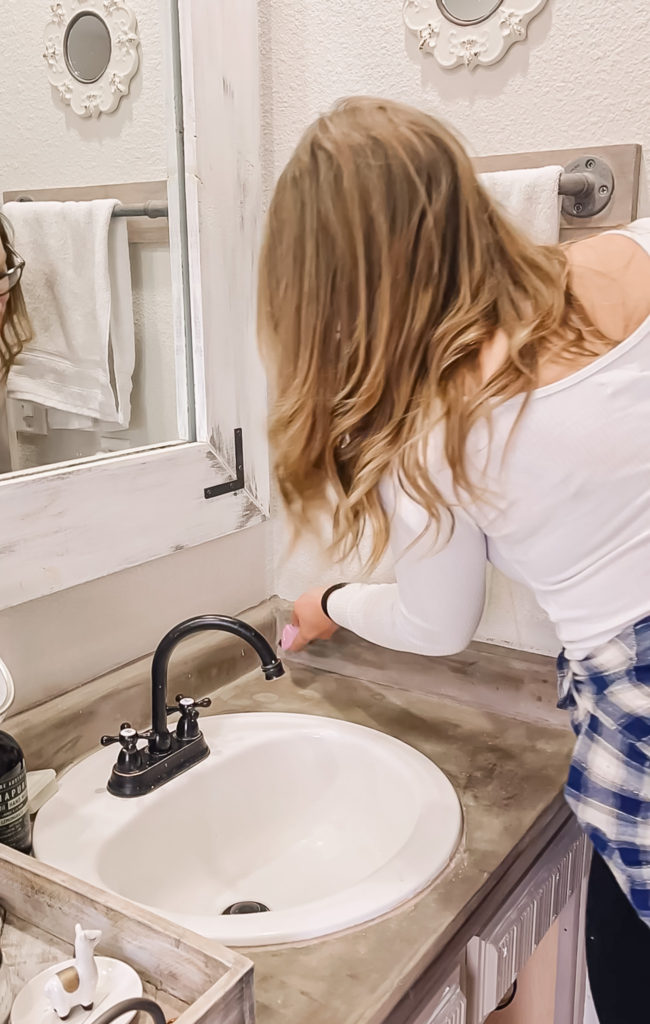
Once it was finally out, I used the jigsaw to cut out the section that was no longer needed before nailing it back down.
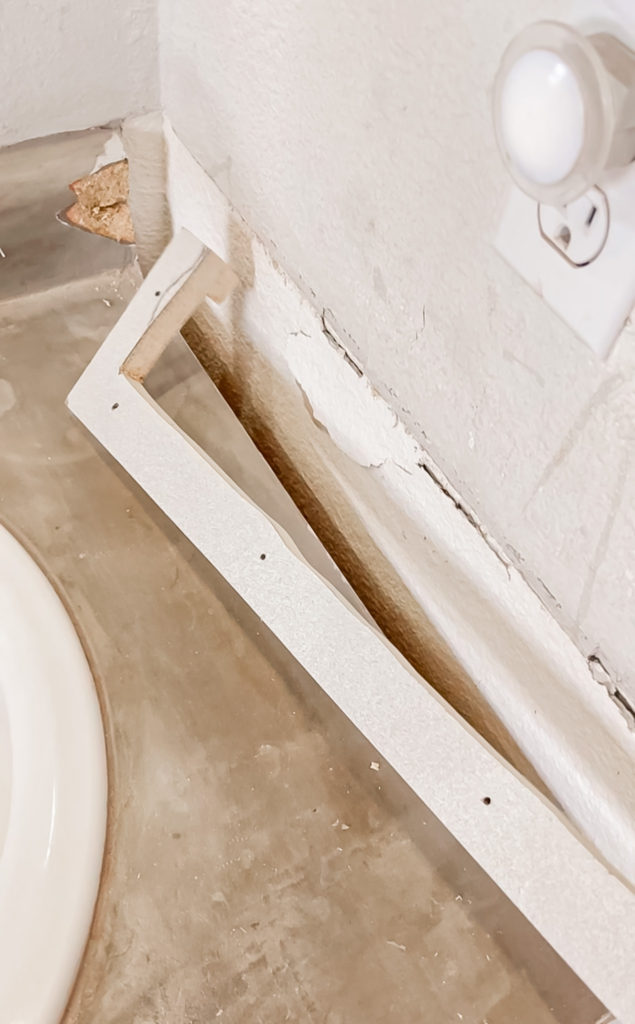
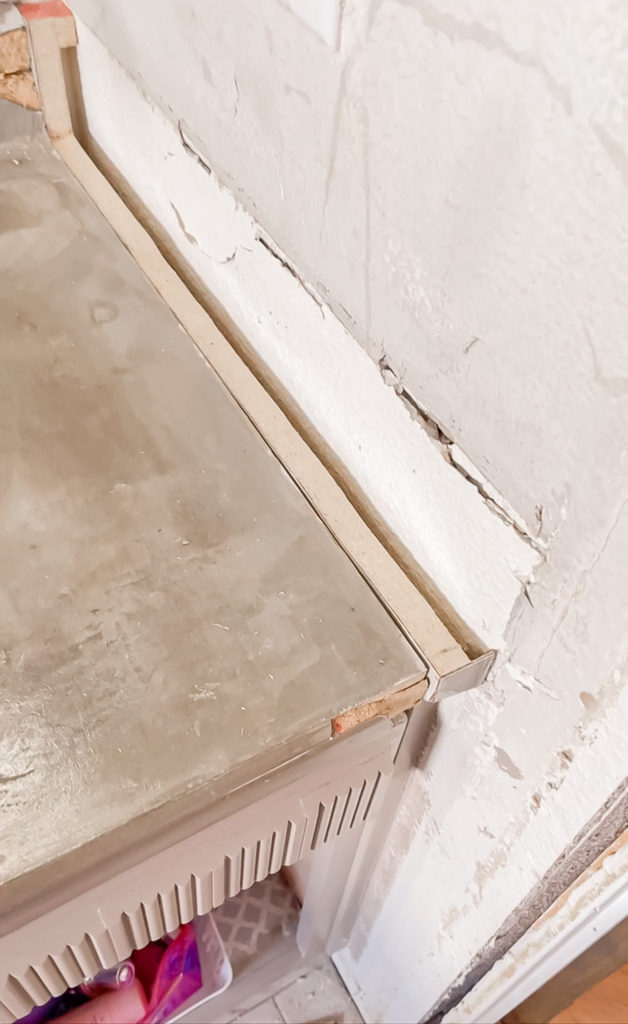
I know, it’s looking pretty tough right here! Scrap wood and Bondo came to the rescue, and once I was done it looked like one big continuous piece of counter.
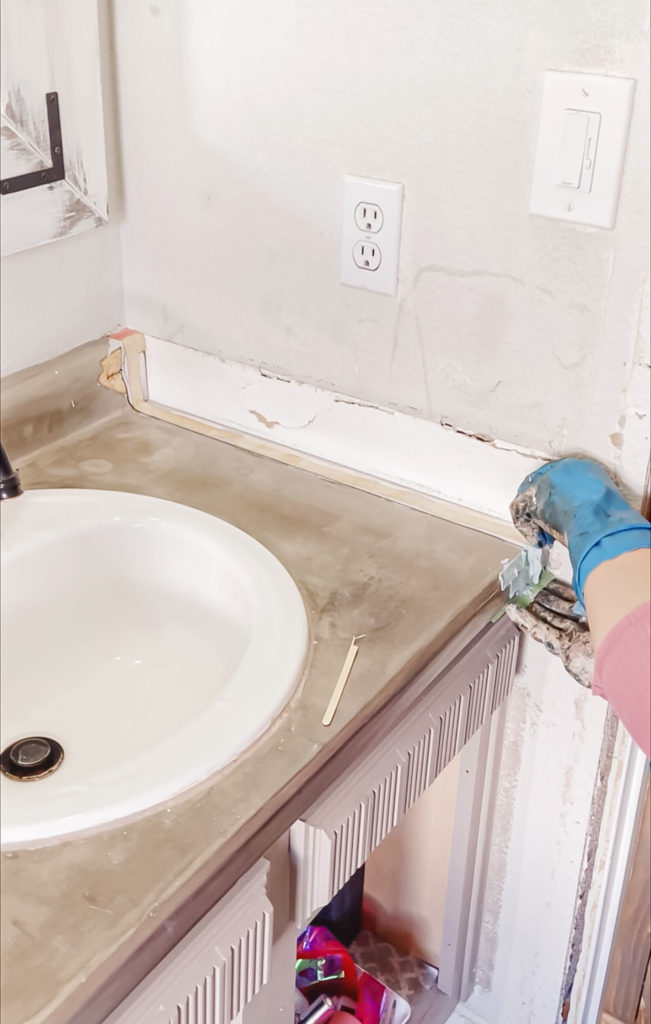
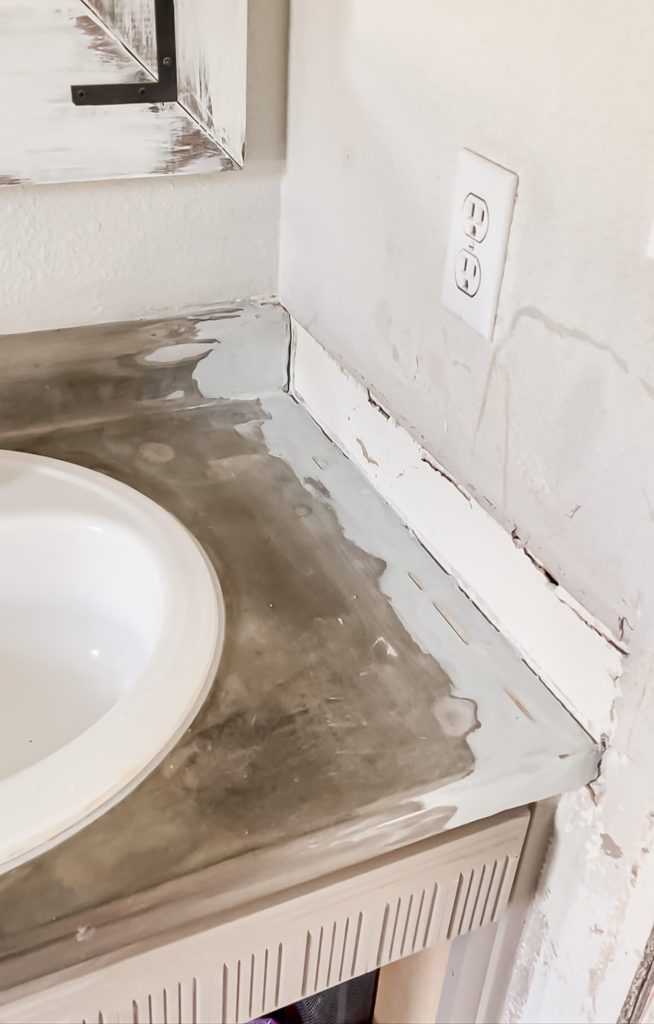
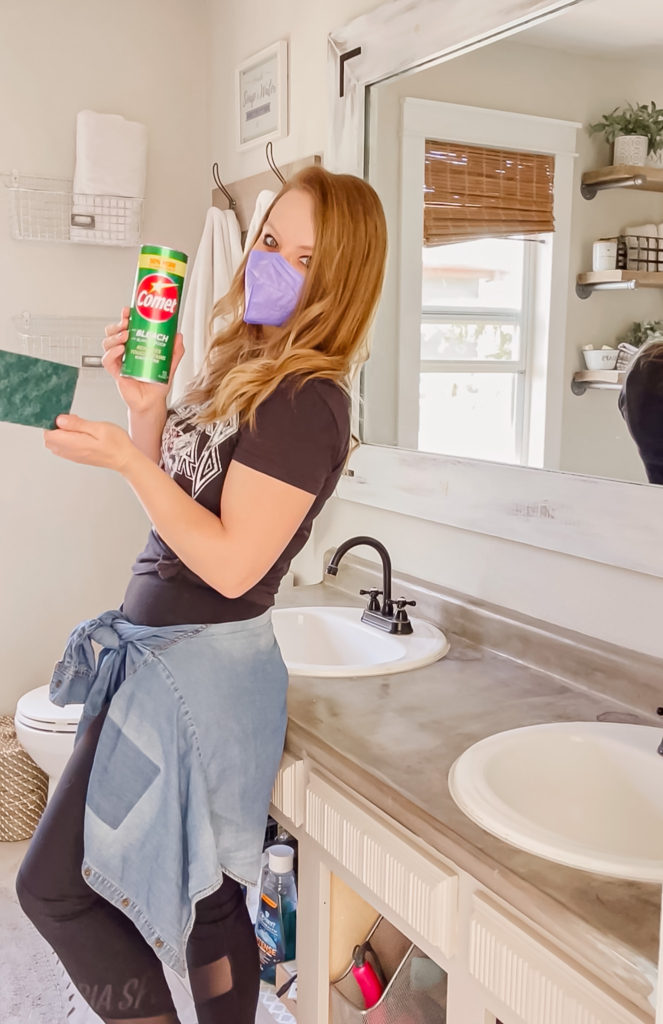
Now I could finally move on to making everything look pretty. I began by scrubbing the countertop as clean as I could possibly get it using Comet and a scouring pad.
I then rolled on several coats of Gloss White Tub and Tile Paint.
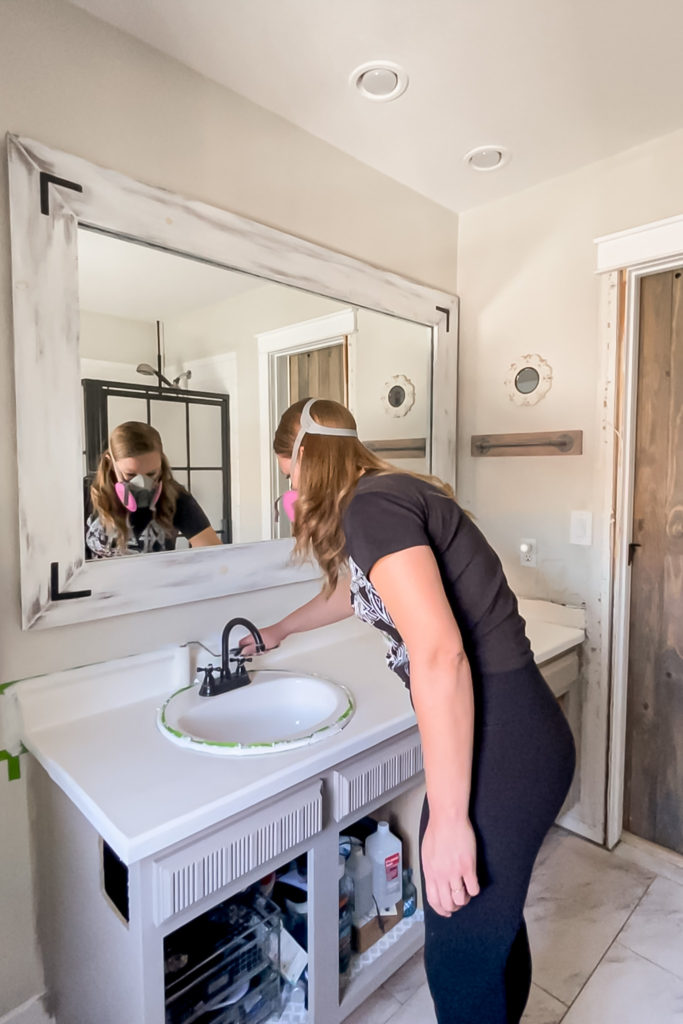
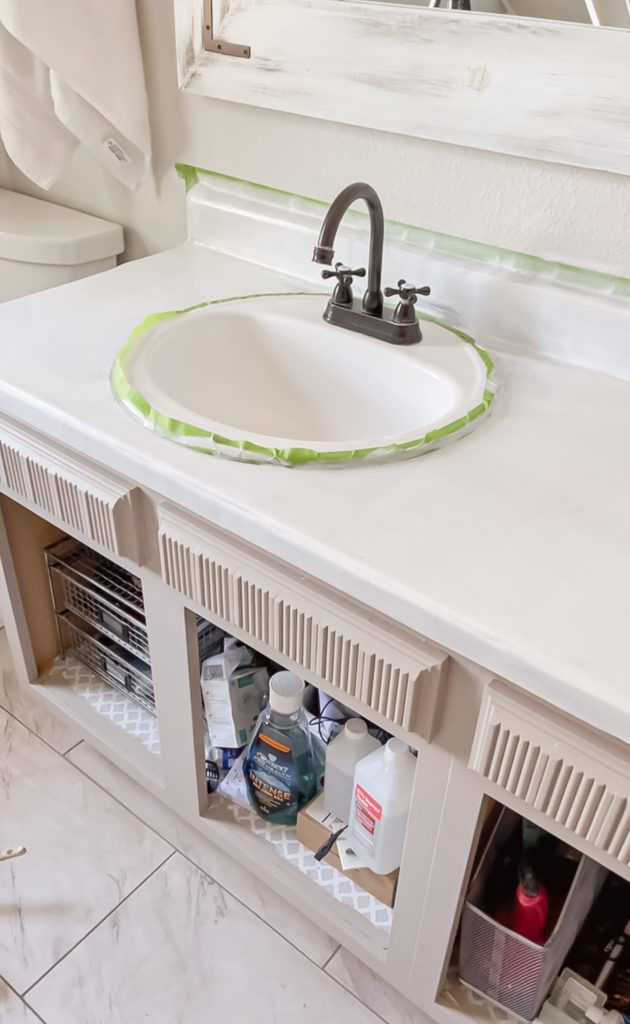
This stuff smelled sooooo strong but it seemed to be very durable and I honestly would trust it to last a very long time. If I was just going over the smooth original laminate this may have turned out the way that I wanted, but since the concrete was not completely even and somewhat porous, it created a rough texture which was not what I had wanted.
I went a few days trying to love it before deciding to move on to plan B which was marble. I purchased several options before finally deciding on this Marble Contact Paper. It had the colors and veining that I was looking for and the texture was really nice. It would be pretty just put down by itself (especially if you’re a renter!)
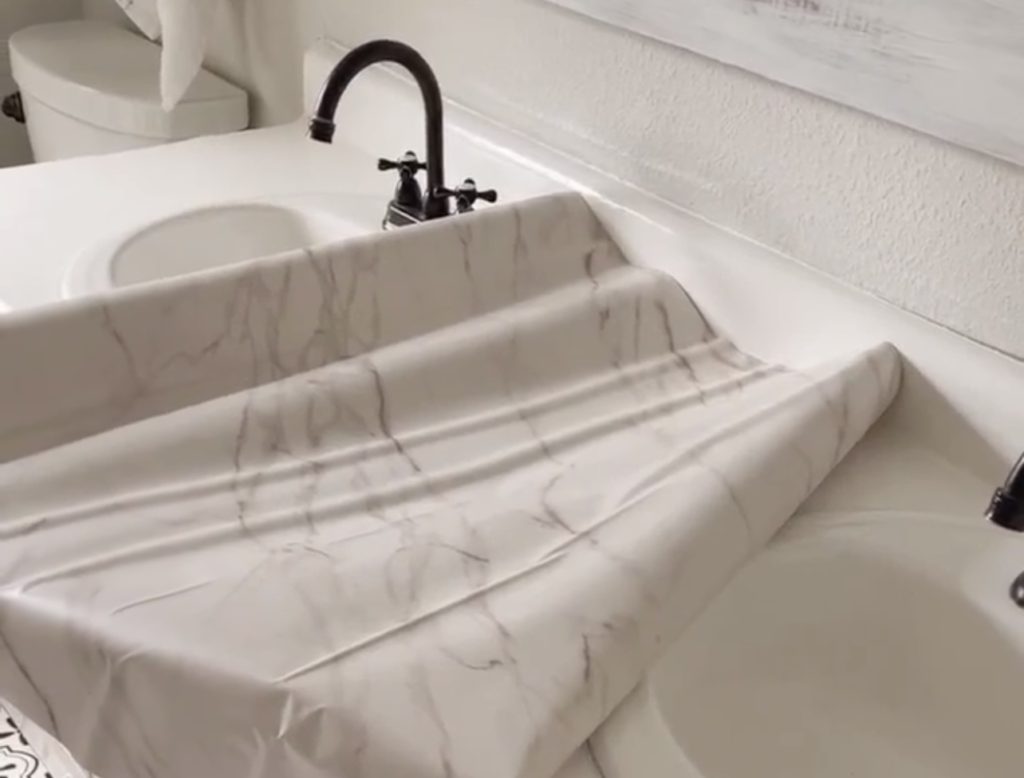
I am not going to sugar coat it—laying it down took PATIENCE! It was very thick and forgiving so I was able to pull it back up when needed, but there were a few spots that turned out less than perfect—more on that in a minute!
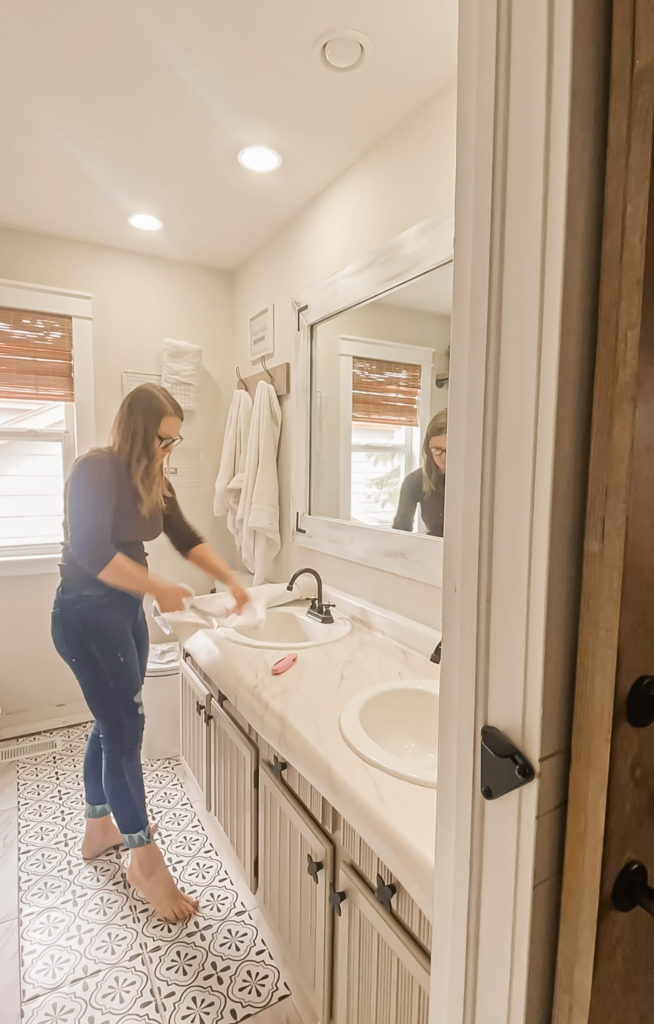
I used a utility knife to cut around the sinks, although looking back it probably would have been easier and would have saved me a huge hassle to just take them out! After a lot of hard work I finally got the whole counter covered.
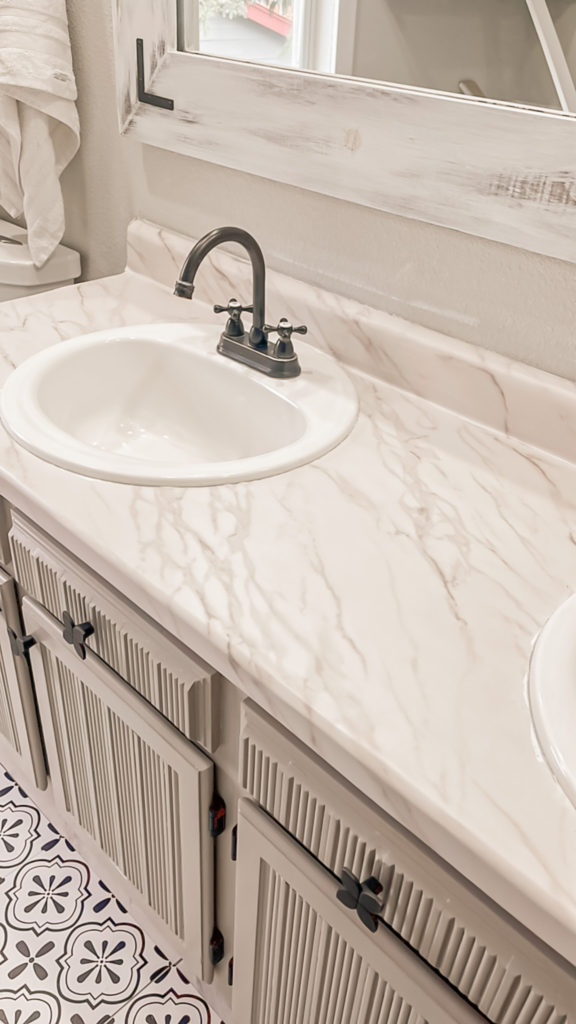
The next day I came back and found that the edges that I pressed to the bottom of the counter were starting to peel up. To fix this I went over it with a hair dryer and it melted the glue which sort of shrink wrapped into place.
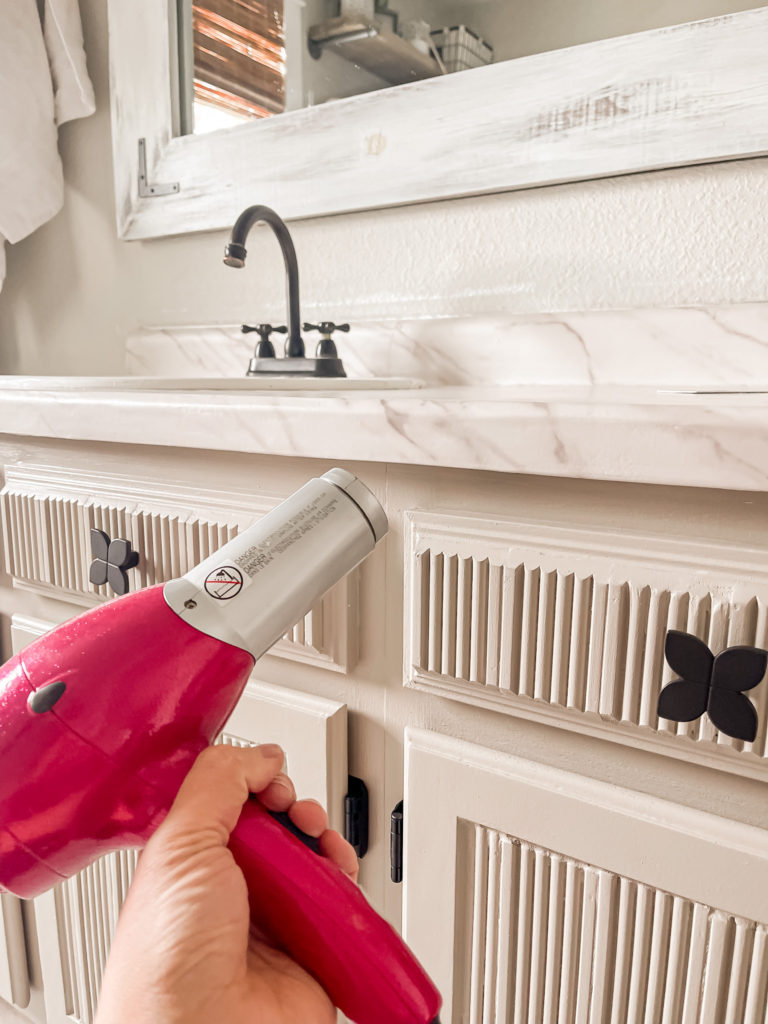
I went ahead and did this to the entire counter to make sure that it was nice and adhered. Remember the flaws I mentioned during installation of the paper? I grabbed some craft paints in similar colors to the marble so that I could blend over those spots and make them less noticeable.
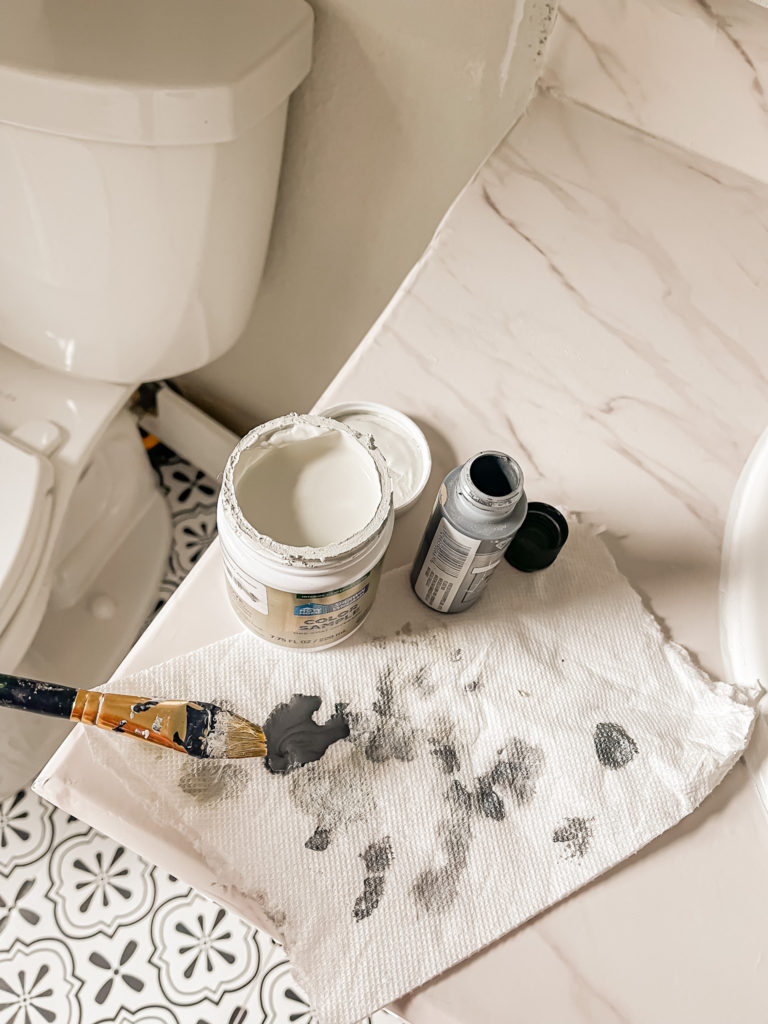
I failed to grab pictures, but I essentially took my brush and featherbed it in the same direction as the veining in those spots. I also used a sewing needed to pop any bubbles.
Once it was as close to perfect as I could get, it was time to seal it up with epoxy resin! This would not only make it more durable, but give it a more realistic marble appearance. This was my first time using epoxy resin, but it actually wasn’t as difficult as I thought it would be.
I first gathered the Epoxy Resin plus everything else they I would need.
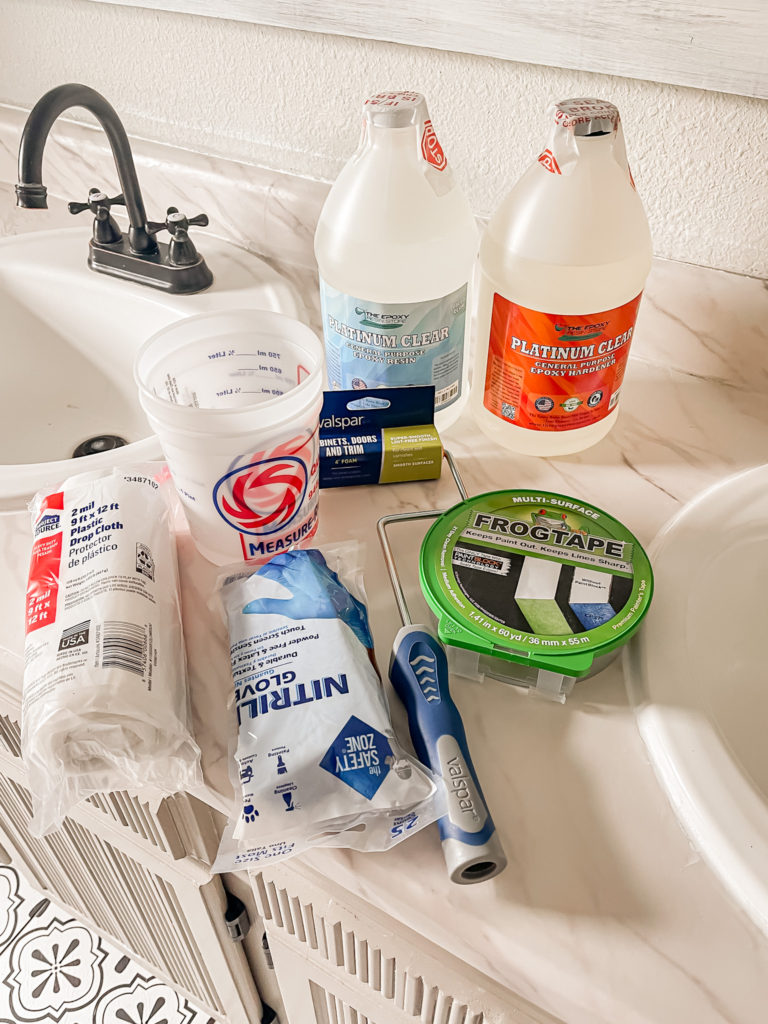
I mixed it up according to the instructions using plastic measuring quarts so that I could get an exact measurement.
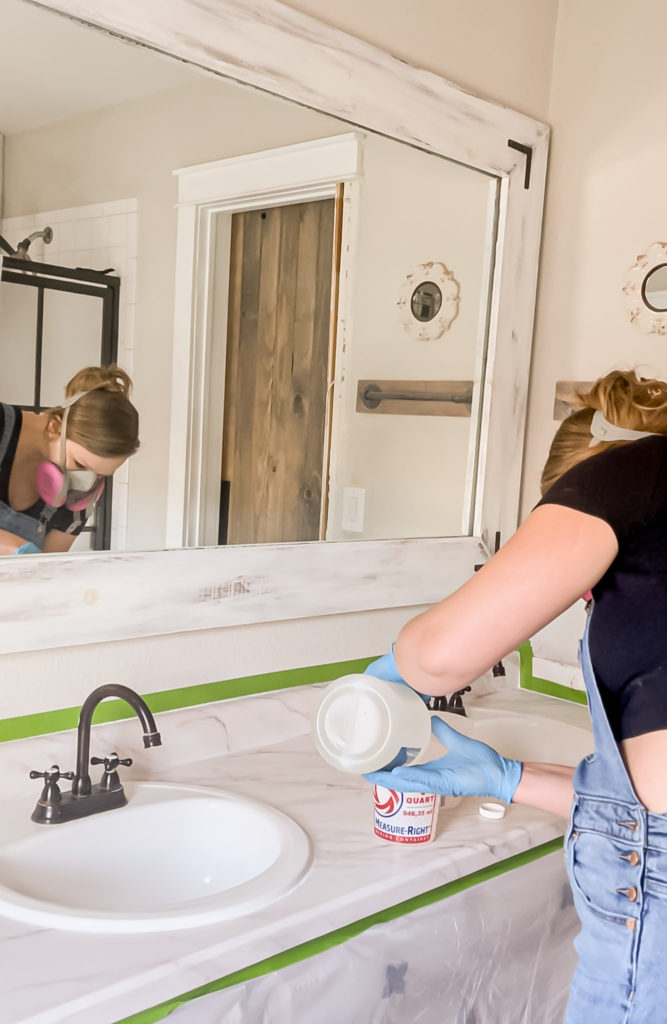
I then poured it on in sections and used a foam roller to push it all out. It is self leveling so you will want to make sure that you have the cabinet and floor taped off since it will drip off the edges. Also a respirator is a must, and an open window if you have one. Even though it’s pretty odorless, I’ve read that it can be quite an irritant if you aren’t protected.
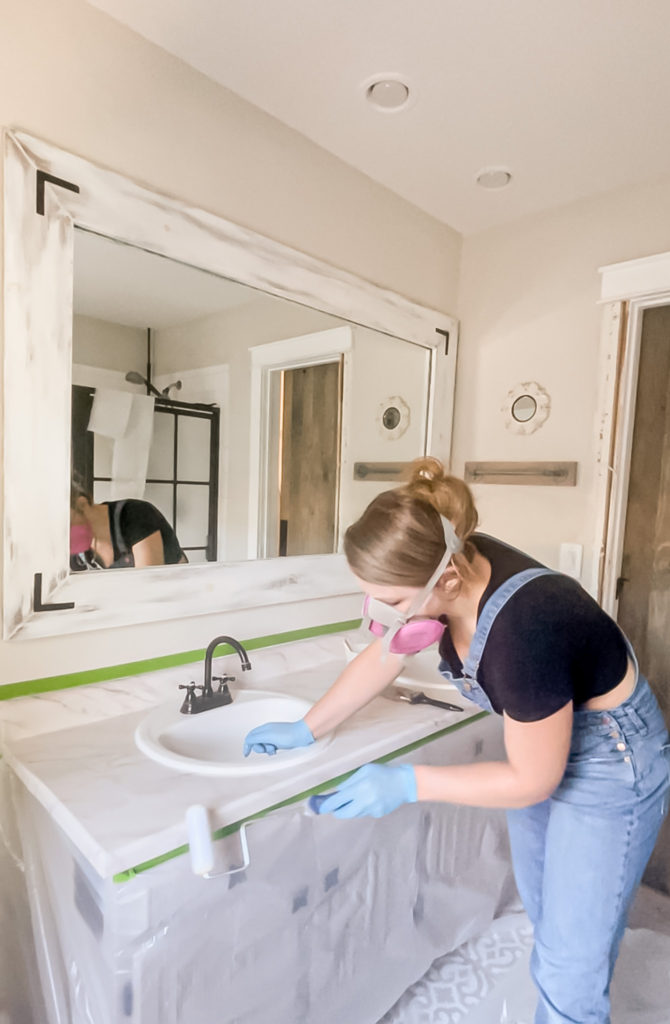
This brand gave me a good amount of working time before it started to set and I was able to use the next 30 minutes or so to pull out any stray pieces of hair or lint that I found along the way using tweezers. The tape should be removed around the 2-3 hour mark otherwise the resin dries to it and will need to be scored (ask me how I know haha…)
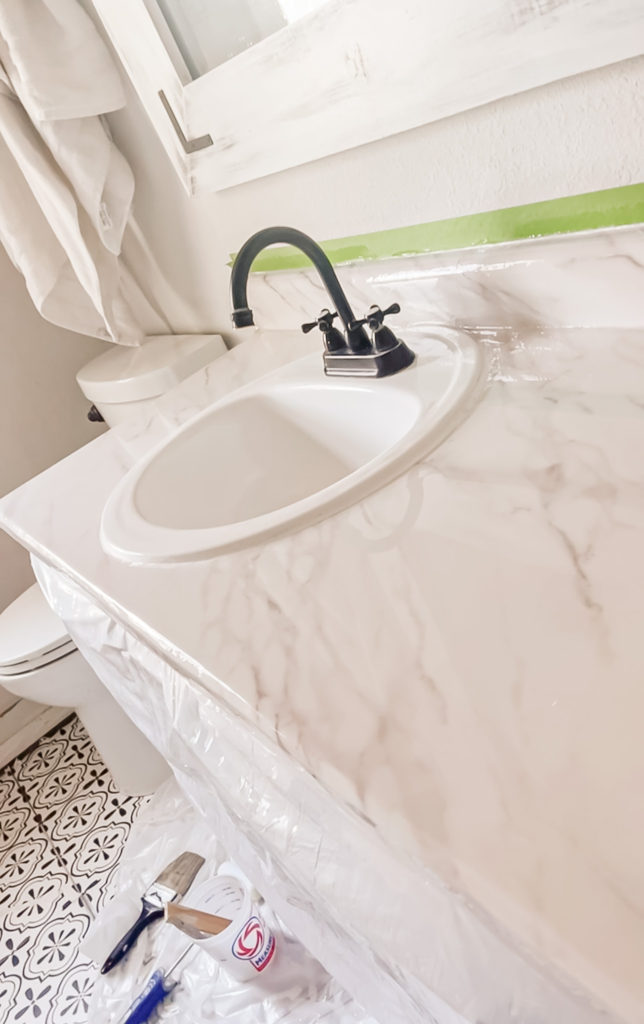
It fully cured after 24 hours, however I ended up missing a lot of lint and hair pieces so had to back and do not only a second coat but a third! Before each re-coat, I would buff out the pieces with some fine grit sandpaper and wipe off the dust. After the second coat I started to wonder if the pieces were being introduced from my clothing, so for the third coat I worked in a swimsuit and I really think that helped eliminate a lot even though I felt pretty silly doing it!
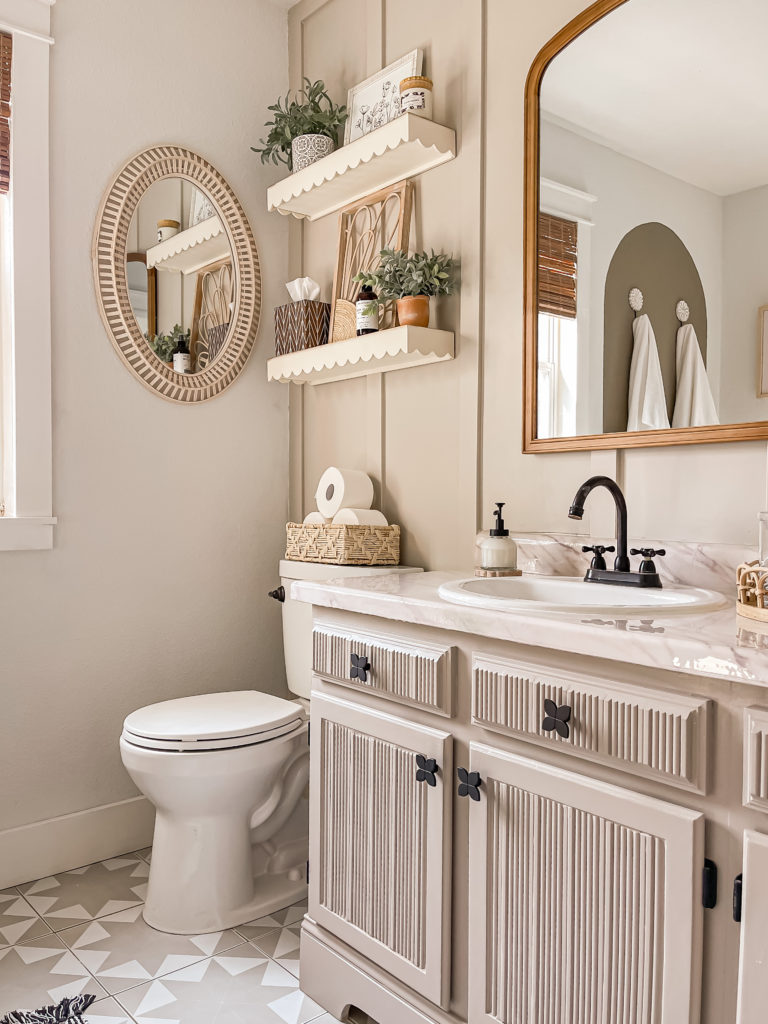
Here are the beautiful results!
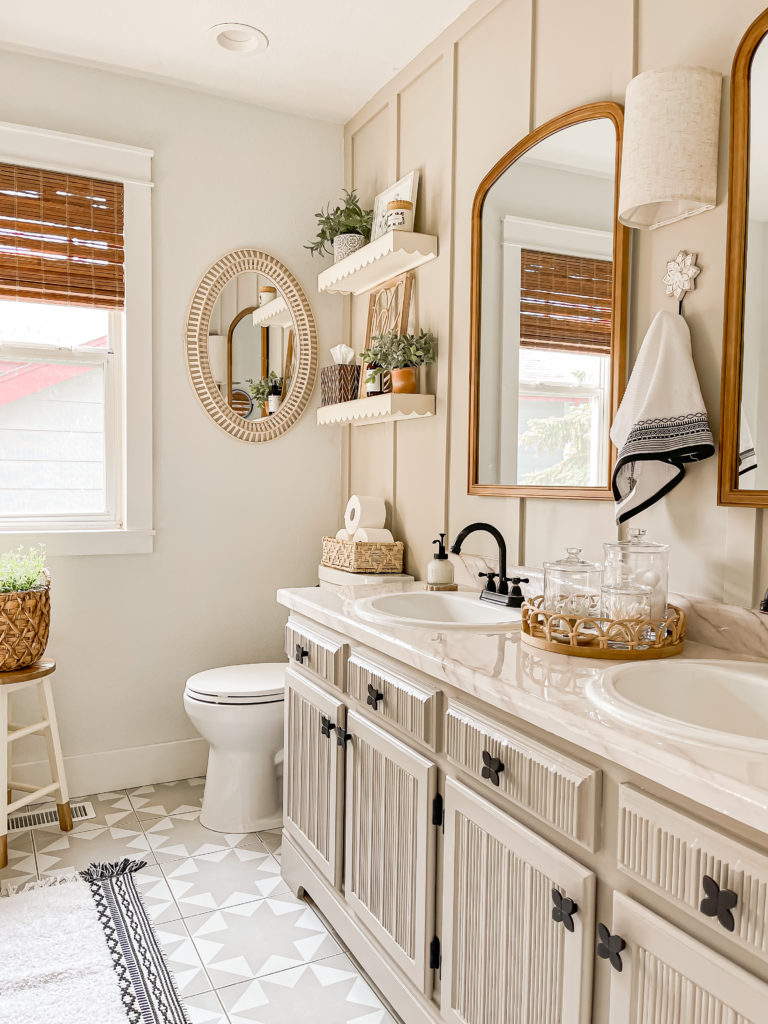
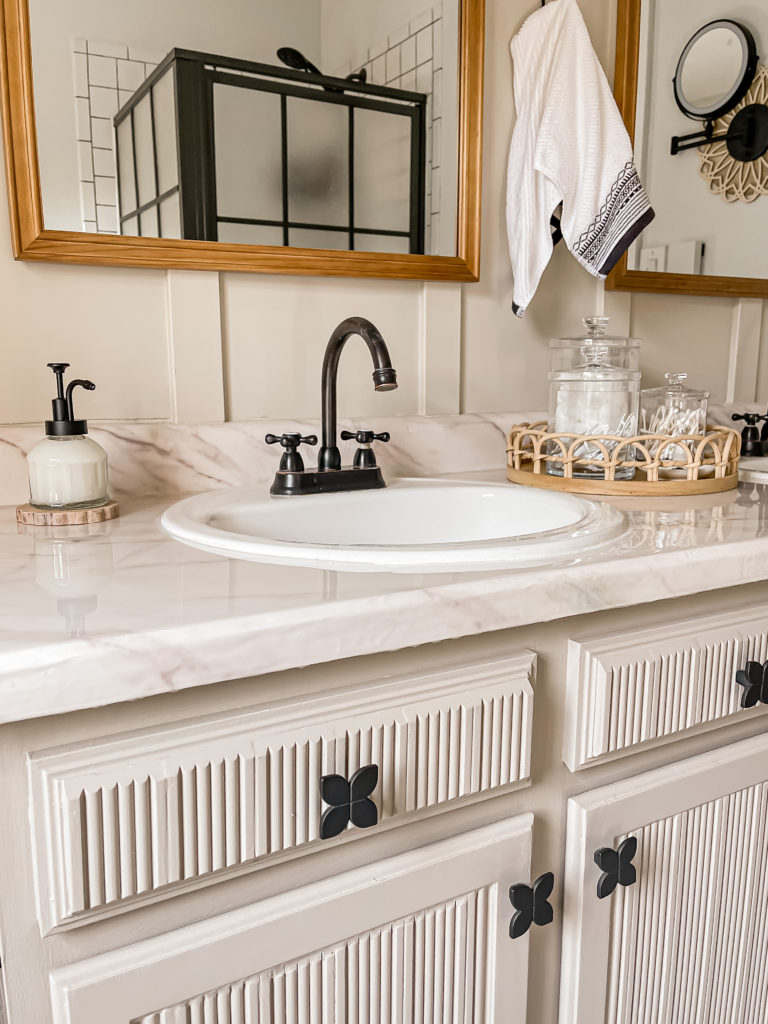
The epoxy makes it shine and makes it look so much like real marble!
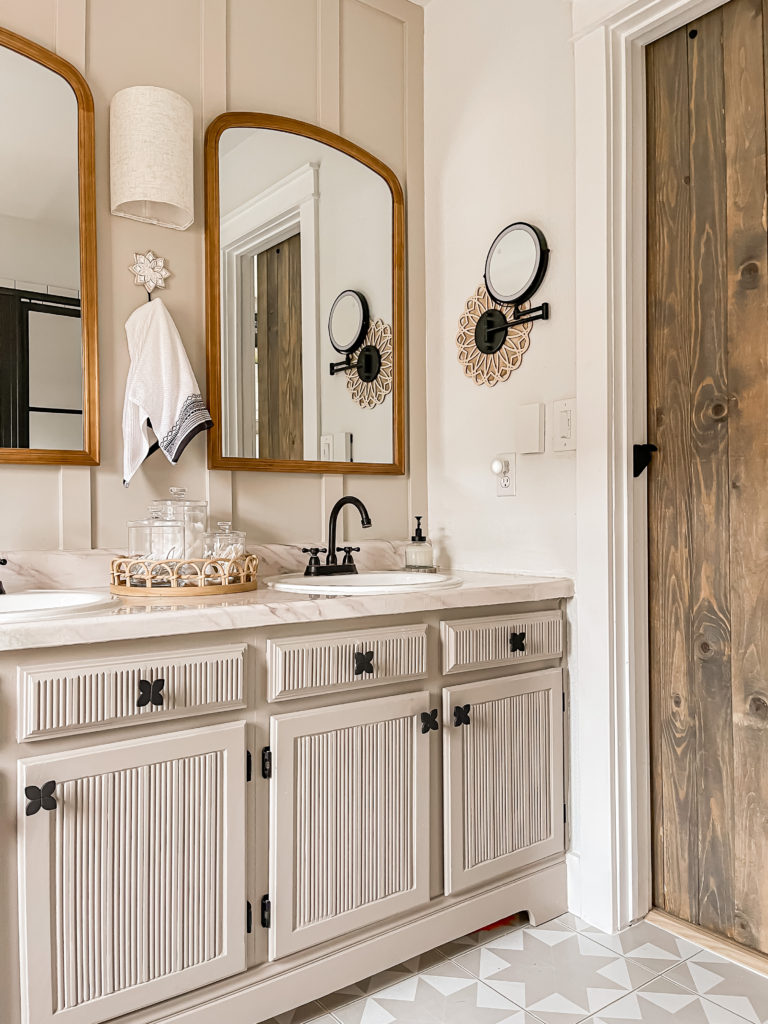
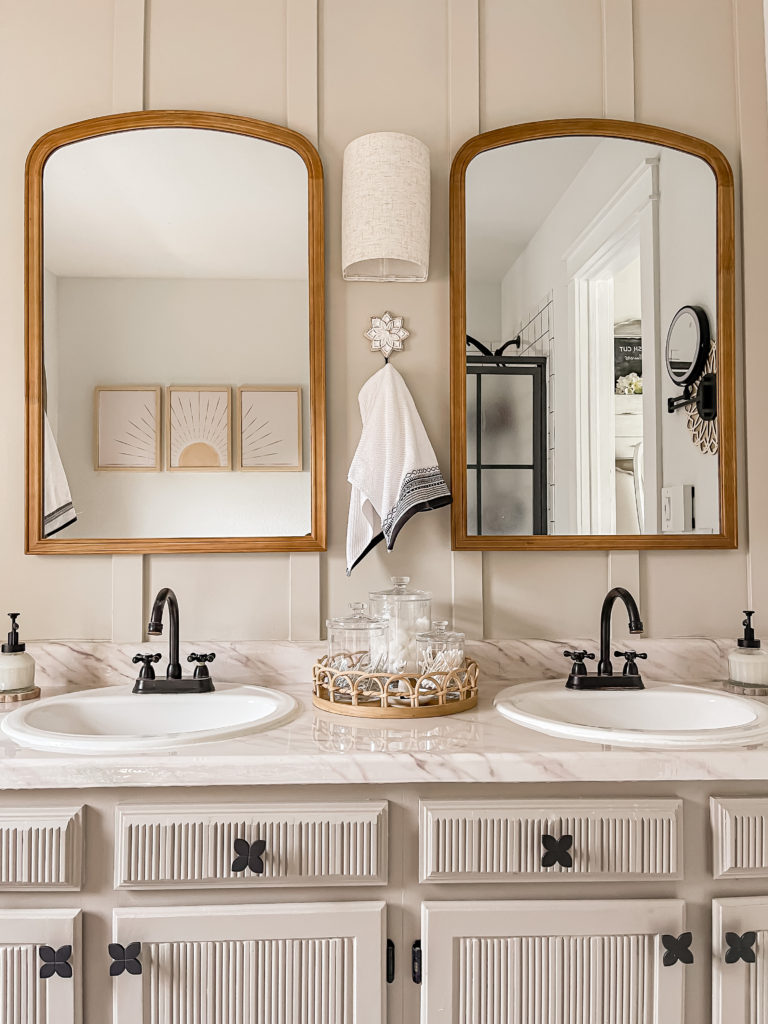
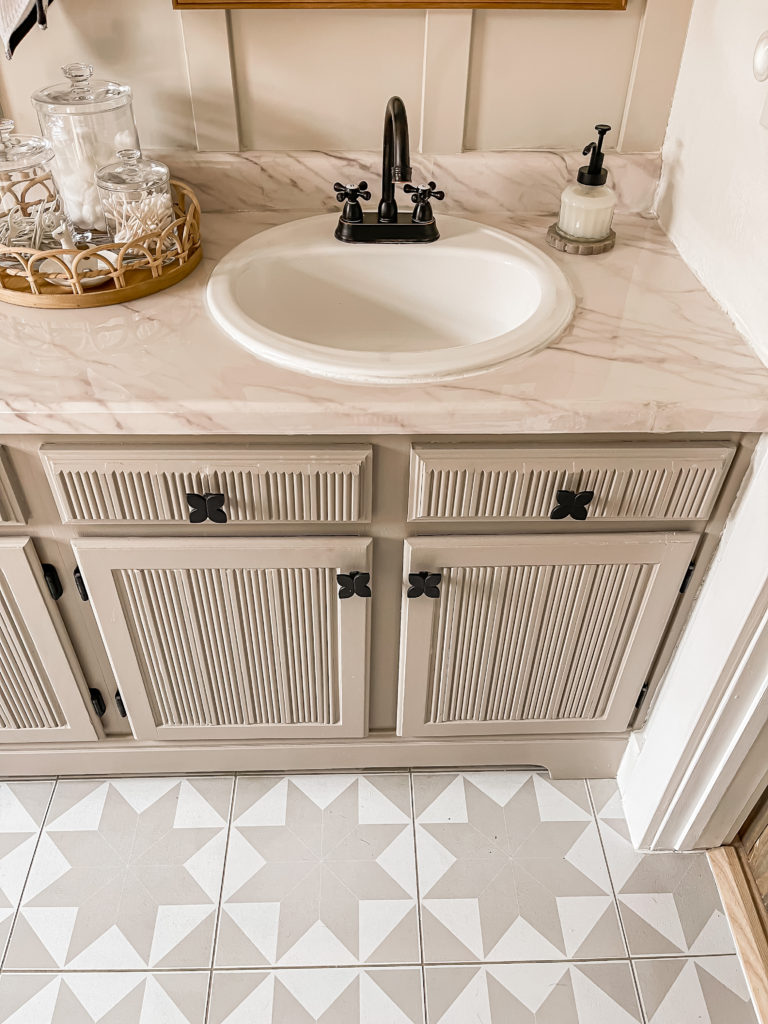
I was honestly really worried about all of the imperfections that I created when laying the paper, but I am happy to report that I don’t really notice them at all now!
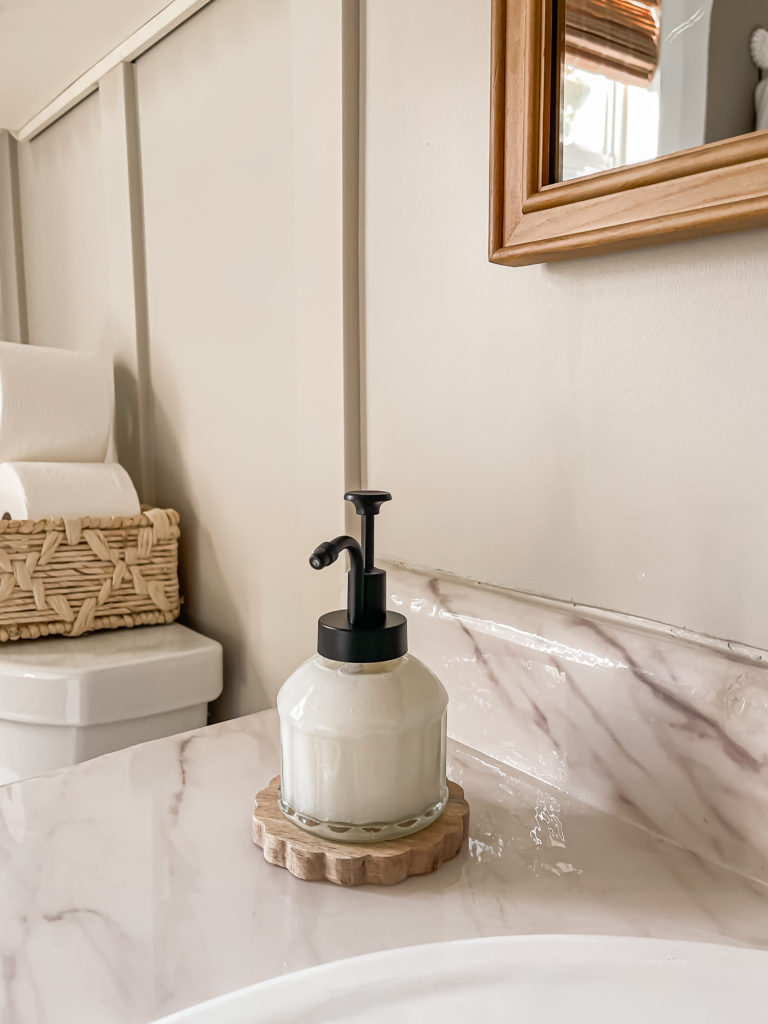
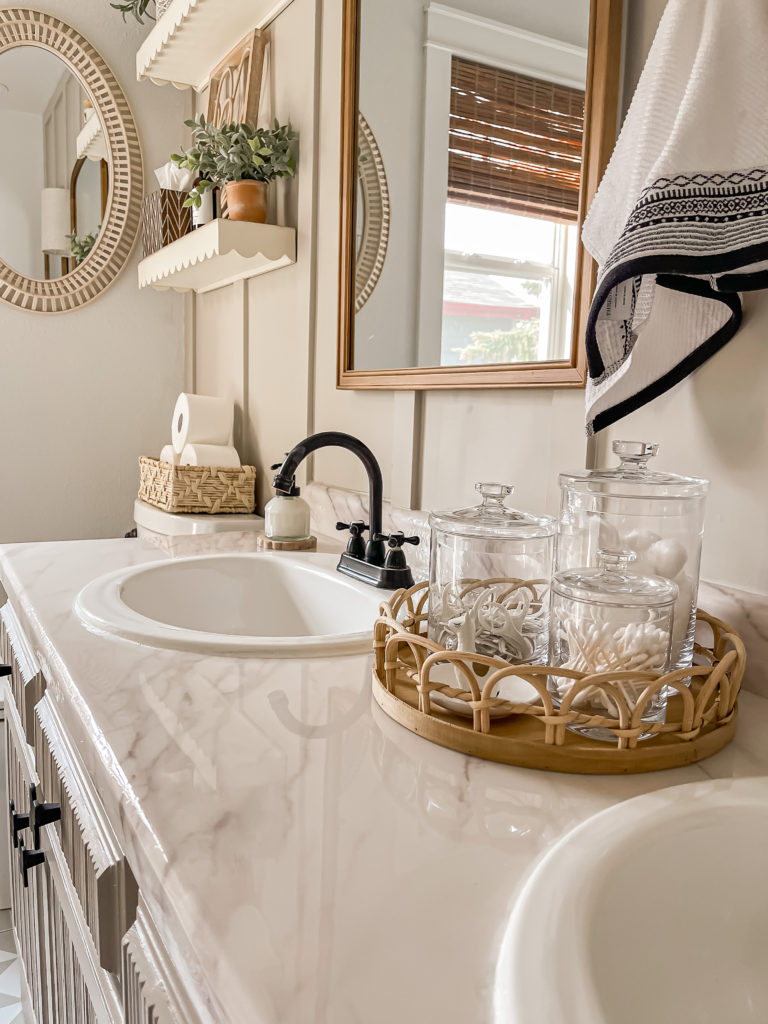
I am so glad that I decided to go this route and I love how they enhance the overall feeling of this space!
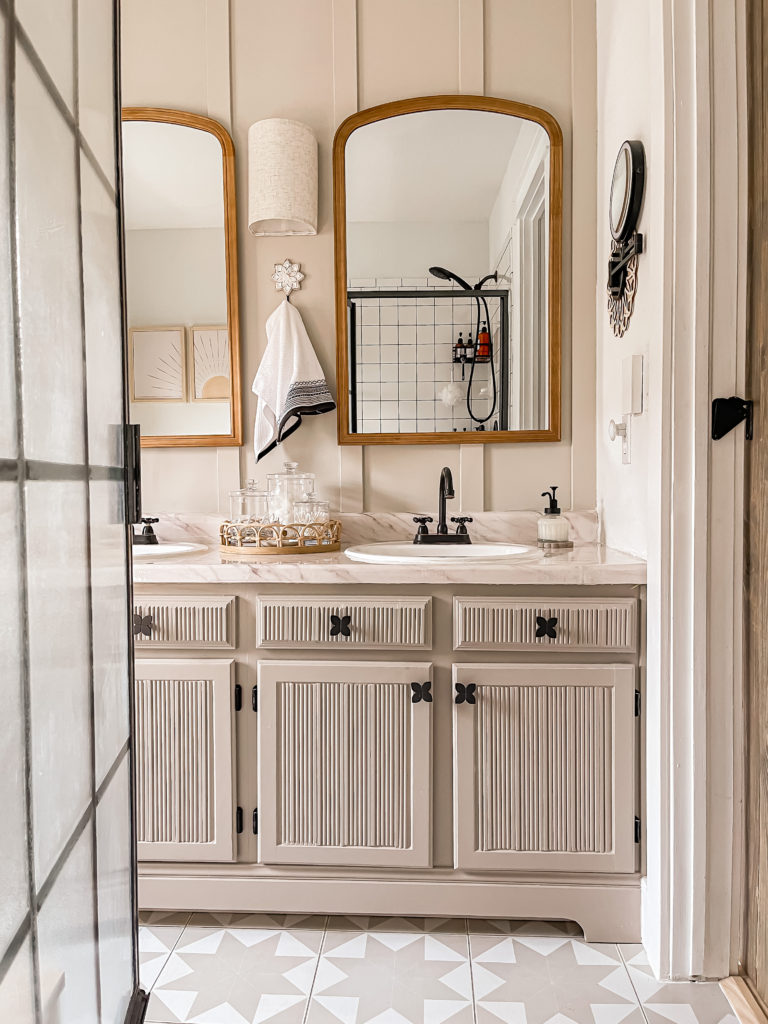
Have a great rest of the week my friends! I’ll be back next week to share another fun DIY that I did in this space 🙂
PIN FOR LATER!
Linking up to these awesome parties!