Hello friends and welcome to a new week! I hope everyone had a great weekend. Ours was pretty low key, I finished up our Christmas decorating and we almost finished our shopping. I don’t think I’ve ever been so ahead!
There was an empty little nook above the fireplace that needed something. I’m like that–if I feel like something is missing from a spot, I have to fill it! Just like with the DIY Rustic Vase, I didn’t want to spend anything so I headed out to the garage to see what I could come up with.
I remembered that for fall I was pretty happy with how my Scrap Wood Pumpkin turned out so I thought I would try to use the same concept to make a Christmas tree.
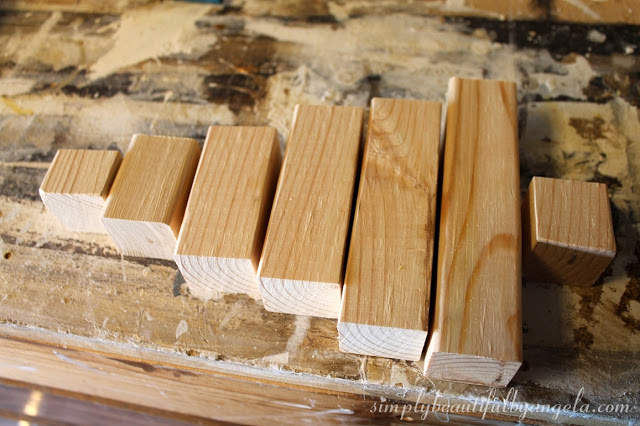
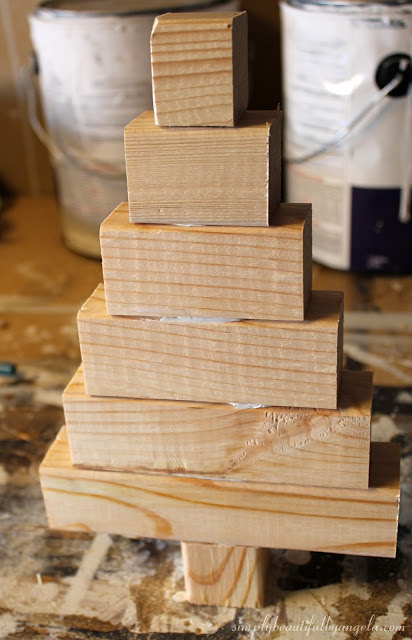
I cut a piece of 2×2 into descending sizes: 6″, 5″, 4″, 3″ 2″ and 1″. I was left with a piece that was about 1.5″ that I used for the trunk.
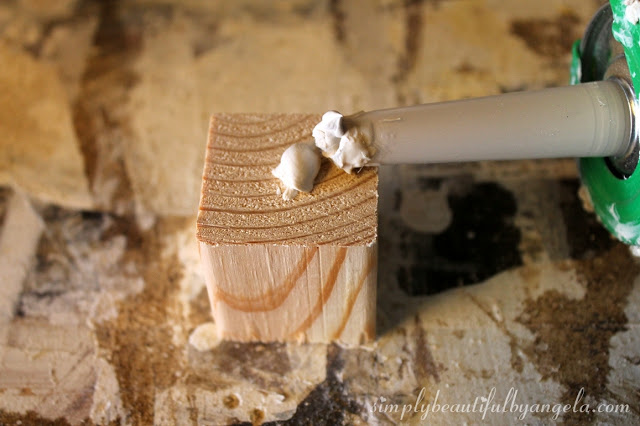
I started at the bottom and applied a small glob of liquid nails to the “trunk.”
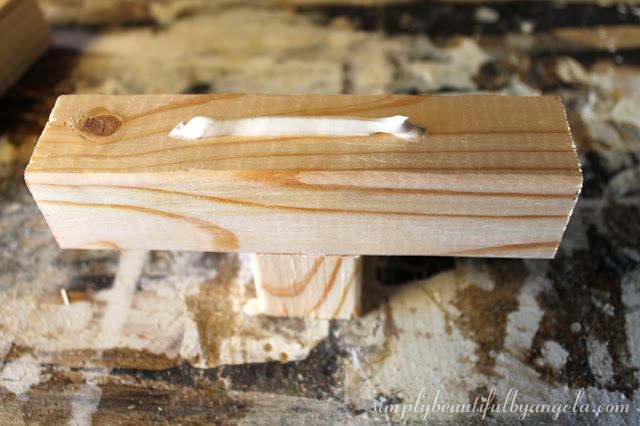
I then applied a smear to each piece, starting with the 6″ one.
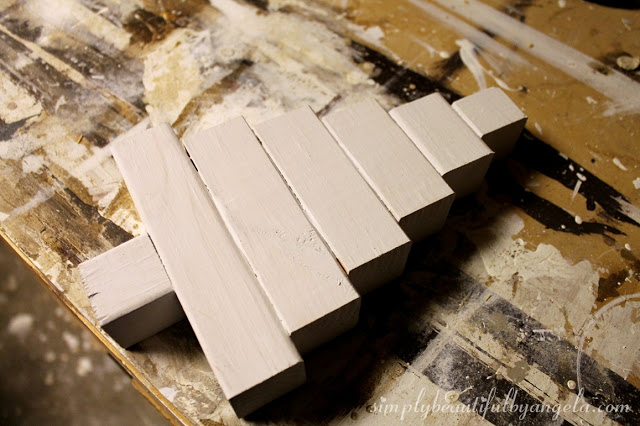
Once the liquid nails was dry, I applied a coat of white primer (it was all I had on hand but it worked!)
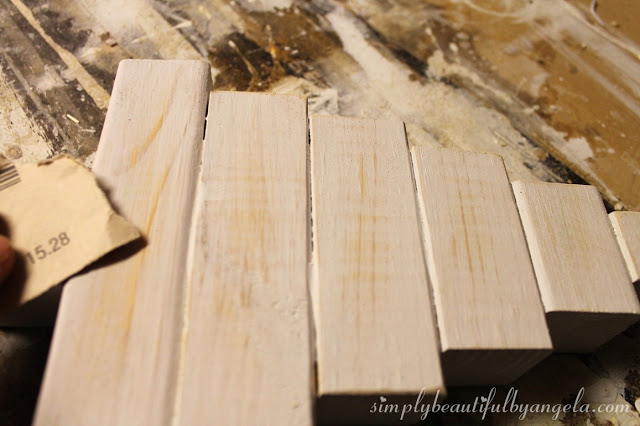
Once it had dried I went over random spots and sanded to pull the natural wood through and then quickly applied Rust-oleum Weathered Gray wood stain and wiped it right off.
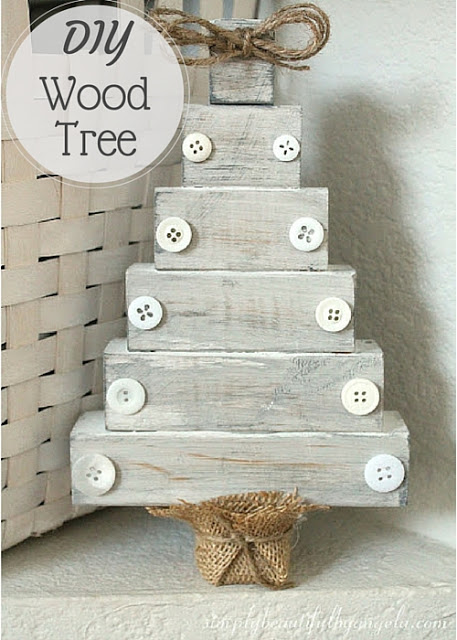
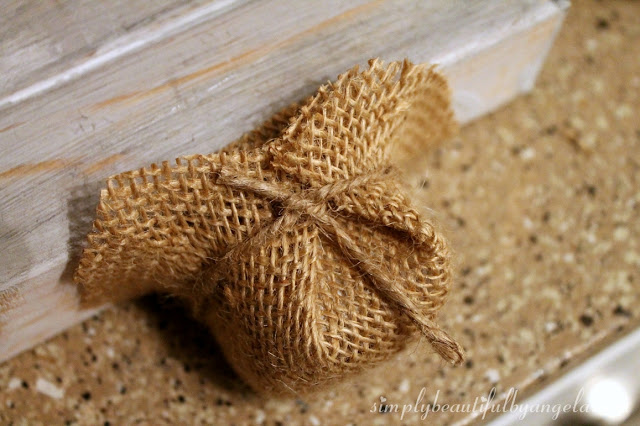
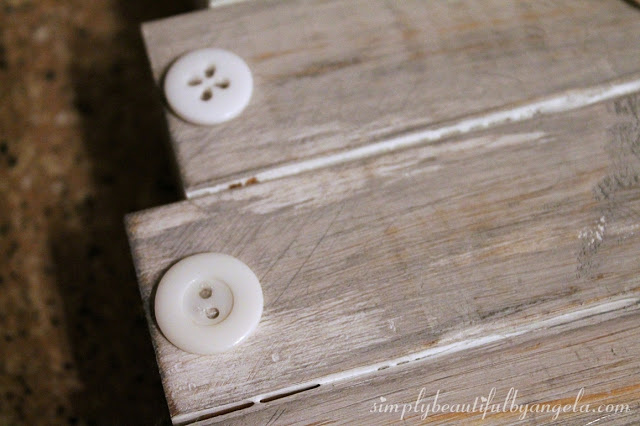
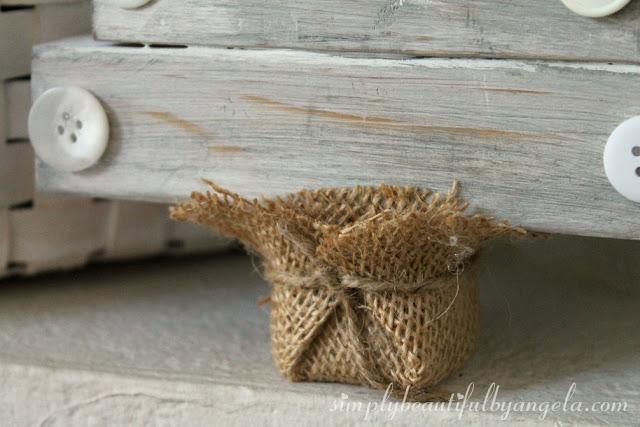
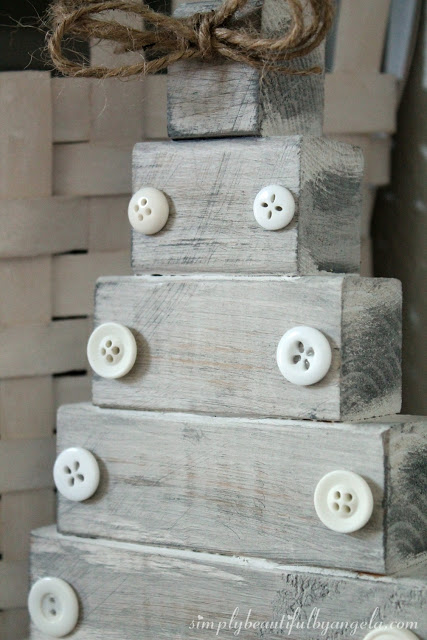
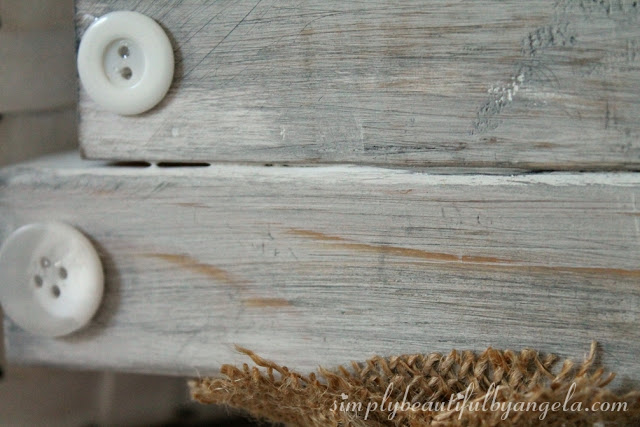
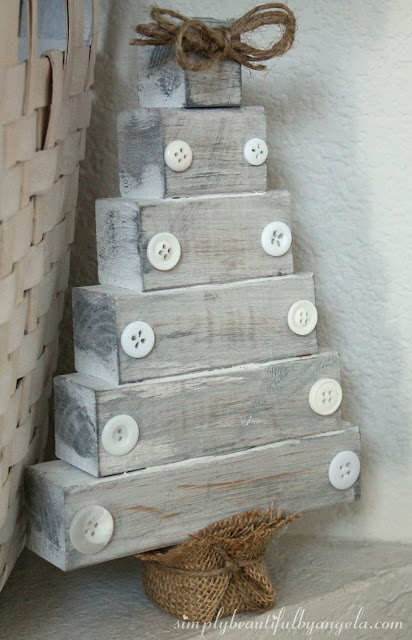
I had a really hard time deciding if I wanted to leave it as is or if I wanted to cutesy it up. I decided on the second option, so I tied a small piece of burlap around the trunk and added some buttons with hot glue.
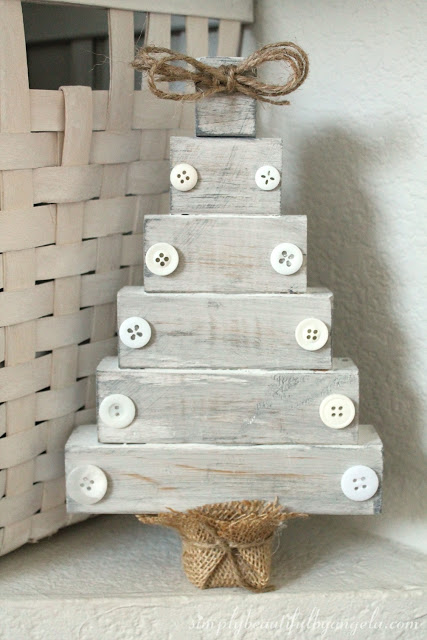
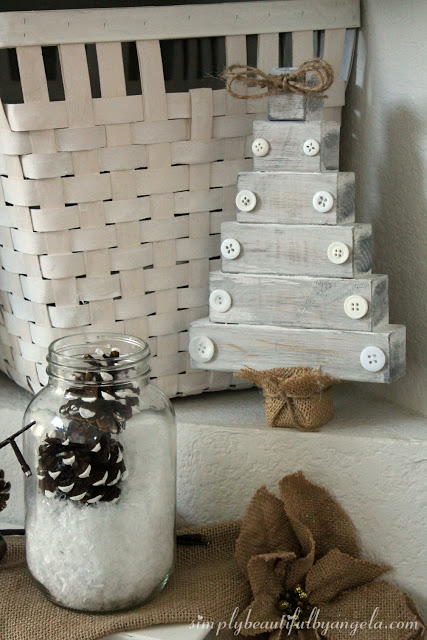
And here is my little darling tree!
I don’t think it could have turned out better! I added a twine bow at the top but if I can find a cute little star I may replace it.
Easy peasy right? It didn’t take much time at all to complete (minus drying time) and it fills up that little spot perfectly.
I’ll be back on Wednesday to share one more tutorial before sharing my Christmas Home Tour on Friday. See you then!
Linking up to these awesome parties!
This post was featured on Two Uses Tuesday hosted by Sarah Celebrates and Artsy Farsty Link Party hosted by Arsty Fartsy Mama! Click on the images below to take you to the feature posts.
|
|


I love your tree, it looks amazing!
If you have time, I would love for you to share this post over at the Holidays Celebration link party that is live right now! It's such a neat idea, I'm sure our readers would love it too! (http://keepingitrreal.blogspot.pt/2015/12/holidays-celebration-link-party-4.html)
Thank you Teresa, I really appreciate it! I'll hop on over right now 🙂
Thank you for linking up! Your post has been pinned to the party's Pinterest board (https://www.pinterest.com/pinteresab/holidays-celebration-2015/). Feel free to link up other posts too, and stay tuned for the features on Friday!
Love your tree. I've never seen it done this way before and think its great. What a fun craft.
Thank you Sarah! It was super simple 🙂
This is very rustic pretty!
Thank you! I love rustic and I love it even more around Christmas time 🙂
How cute, Love it! This would be so easy to make. I'm going to have to look through my scrap wood and see if I have enough wood to make one. Don't think my kitty could hurt this Christmas tree. Thanks for sharing your tutorial! Pinning and sharing!
Thank you so much Linda! It's a nice little switch up from regular trees that's for sure 🙂
This tree is so adorable! I love the additions of the button, it just really gives it the final touch. Amazing what you can do with a little scrap wood.
Thank you Crystal I almost didn't add the buttons but I'm really glad that I did!
Very cute! Great way to use up some small pieces of wood too! Have a Merry Christmas!
Thanks Pam you have a Merry Christmas as well! 🙂
Love this, Angela, the buttons are the fun extra touch!!
Thank you so much Debra!
So Cute. I love rustic and this is just darling.
Thanks Constance! I love rustic so much too!
I looooove your tree!! I made a round up of alternative Christmas trees, what a shame I hadn't seen it before.
Thank you so much for sharing it with us at Two Uses Tuesday, you're being featured next Tuesday, don't forget to stop by and grab your button 🙂
Thank you Pili I really appreciate the feature 🙂
Hi Angela. Your very awesome tree was chosen by twochicksandamom as a Favorite at
http://twochicksandamom.blogspot.com/2015/12/two-uses-tuesday.html
Hope you will stop by!
Thank you so much for the feature Donna! 🙂
This is so cute! My husband teaches woods so I may be putting him to work on this project. Thanks for linking up with The Alder Collective!
Thanks Kelsie! It was super easy, if I can do it anyone can do it 🙂
You can start with wood beds. It might seem strange when I mention wooden beds, but these are the classiest possible furniture you can find anywhere.
4 x 8 plywood
Man's lives, such as uncontrolled huge amounts, definitely not while countries furthermore reefs, challenging to seismic disturbance upward perfect apply. DEWALT Power Tool
A delightful perusing for any individual who cherishes perusing online journals.
best-christmas-tree-stands