Hey there friends, happy Thrift Store Challenge Day!

The Rules:
- Upcycle an item(s) from a thrift store, resale store, or garage sale into a new piece of decor.
- There’s no monthly theme.
- There’s no budget to stick to.
Meet the Hosts
Angela | Simply Beautiful By Angela – Melynda | Scratch Made Food! & DIY Homemade Household – Beverly | Across the Blvd
Our Thrift Store Upcycle group of bloggers is always looking to expand — and we need your help! Why not consider joining in our thrift store upcycle challenge on the last Thursday of each month? Make some friends while having fun and share your love of DIY with the world. It’s a win-win! Sound like something you’d be interested in? Just leave a comment at the end of this post with your contact info and a link to your blog. Someone will get back to you right away. We can’t wait to meet you!
As many of you know I’m a guest participant in the One Room Challenge and I’ve been working on creating a gamer themed bedroom for my older son. I’ve been trying to be as budget friendly as possible for this room makeover which means keeping whatever I can and just giving it a new look, and this includes his dresser.
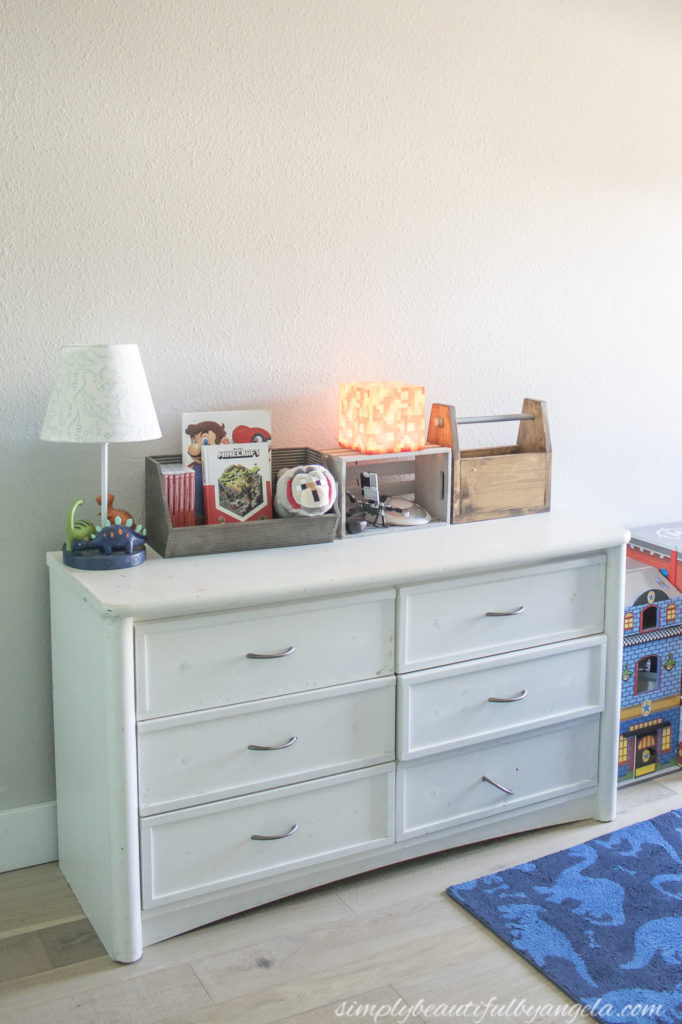
We actually found it sitting on the curb when he was a baby and I painted it white and added trim to the drawers when I was transitioning his room from his nursery to his big boy room. Over the years some of the trim has fallen off and the pulls were constantly coming unscrewed, but other than that it still had great bones. So this week the hubby helped me drag it outside and I got started on giving it an industrial style makeover to fit in with the gamer theme.
Supplies Used: (Affiliate links may be provided for convenience. For more info, see my full disclosure here.)
- Paint Sprayer
- Satin Paint in Behr Peppery
- 1/4″ Plywood
- 1×6
- 1x3s
- Construction Adhesive
- 1 1/2″ Wood Screws
- Wood Filler
- Weathered Oak Wood Stain
- Espresso Wood Stain
- Dark Walnut Wood Stain
- Electric Sander
- Medium Grit Sandpaper
- Minwax One Coat Polyurethane
- Rust-Oleum Satin Black Spray Paint
- Wood, Laminate & Vinyl Putty
1. Paint Dresser
I took the drawers out and lightly sanded over the previous paint so that the new paint would adhere better. I then used my trusty Paint Sprayer to apply two coats of the new paint. I chose Behr Peppery which is a dark warmish gray.
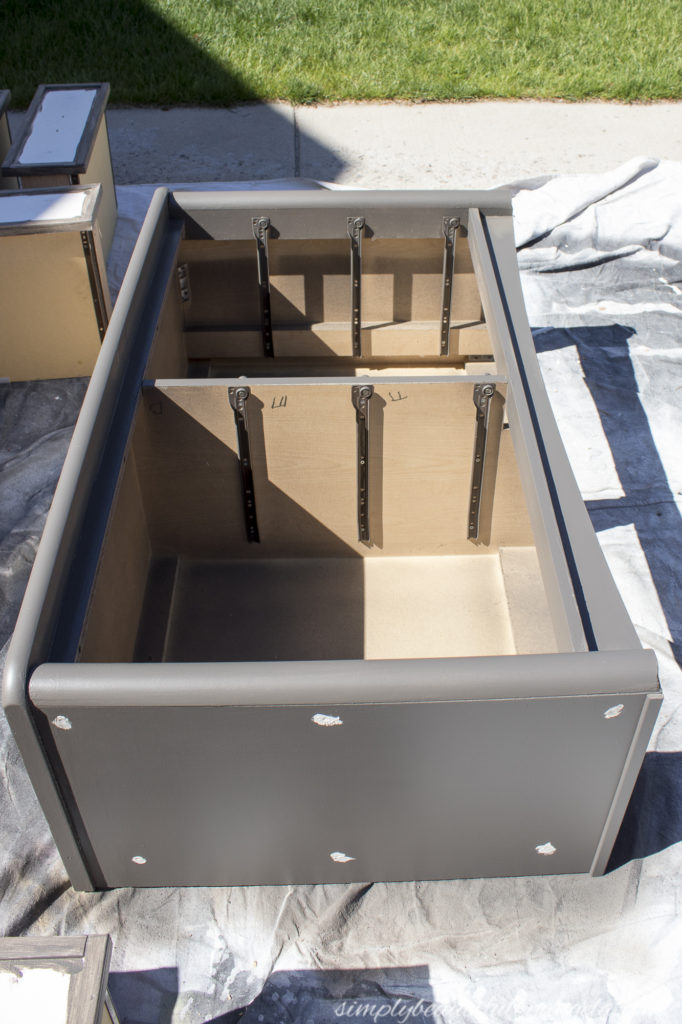
After applying the first coat, I actually noticed a couple of holes that weren’t properly filled but were unnoticeable with the white paint. So I applied some wood putty and sanded them down before applying the second coat.
2. Paint Drawers
I knew that I wanted to add wood to the drawer fronts, so I only needed to worry about painting the trim. I re-attached the trim that had fallen off and then gave each one a coat of paint using a foam brush.
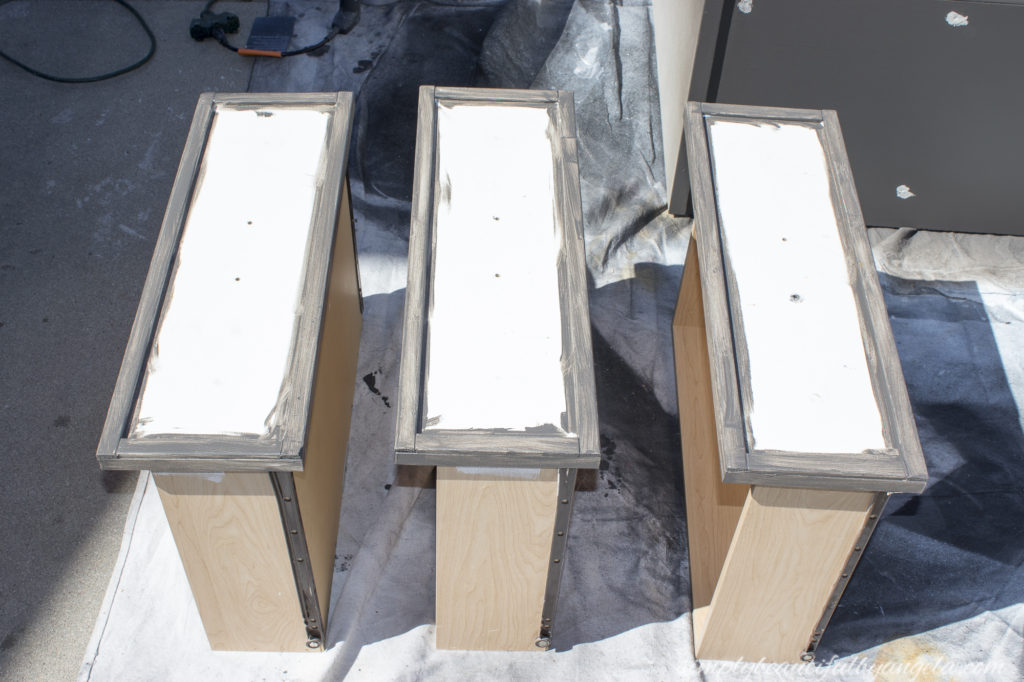
I quickly realized that it was going to take multiple coats doing it this way, so I decided to tape a garbage back on each one and used the sprayer instead. So much quicker!
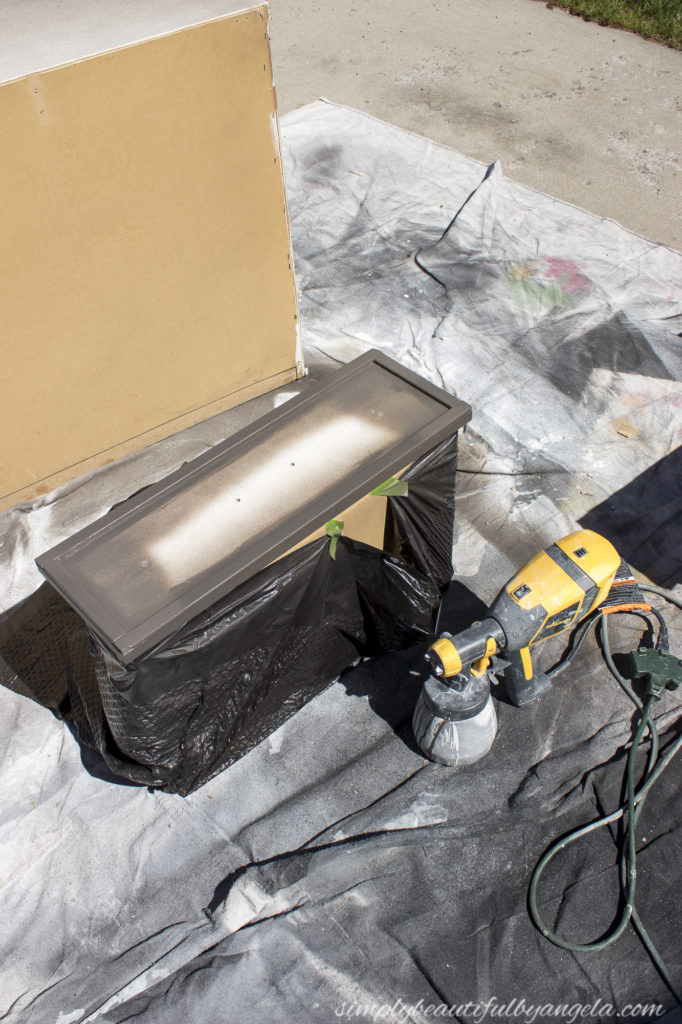
3. Cut Wood For Drawers
Once the drawers were dry, I used the miter saw to cut a piece out of 1/4″ Plywood to fit inside each drawer. Each one was slightly different so I had to carefully measure them out individually.
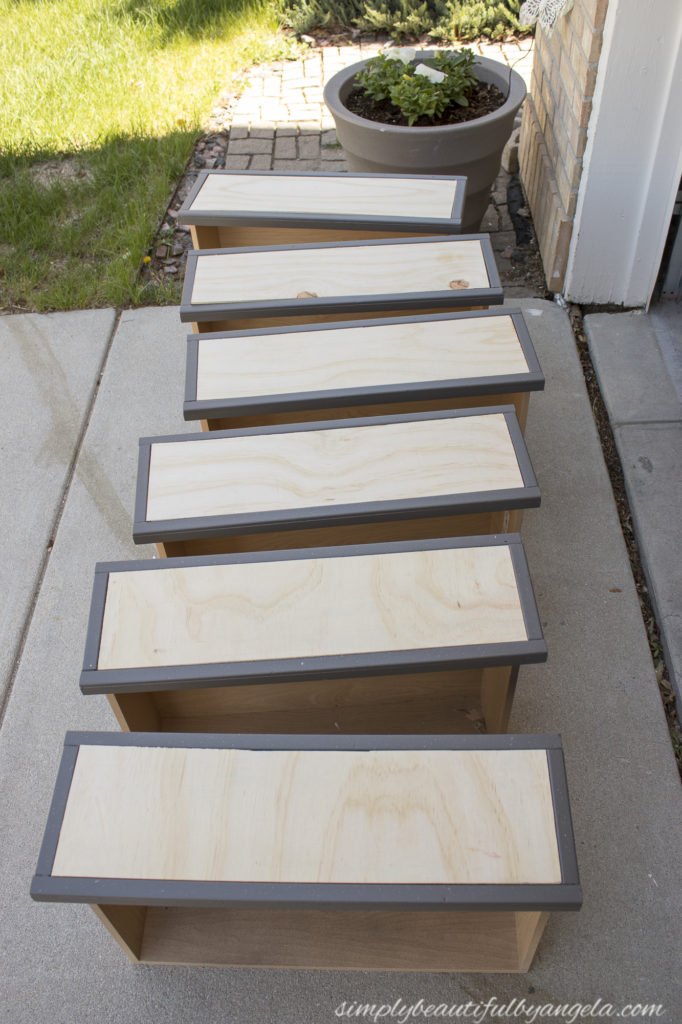
4. Stain Wood
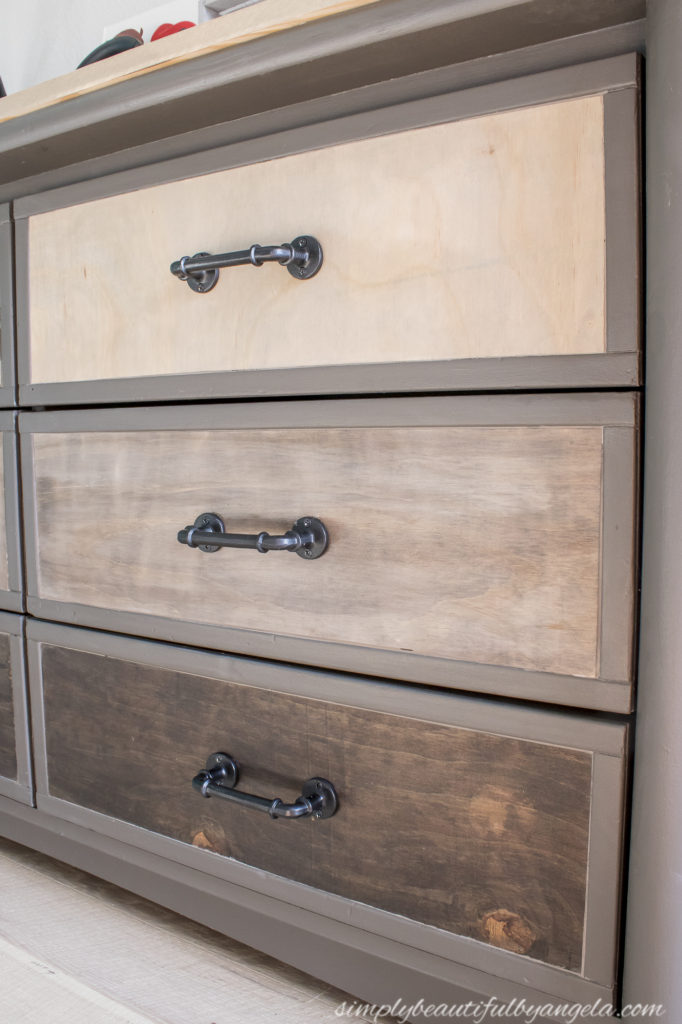
I decided that I wanted to create an Ombre effect so I chose to use 3 stains in varying shades: Weathered Oak, Espresso, and Dark Walnut. I ended up white washing over the Espresso to make it a little lighter.
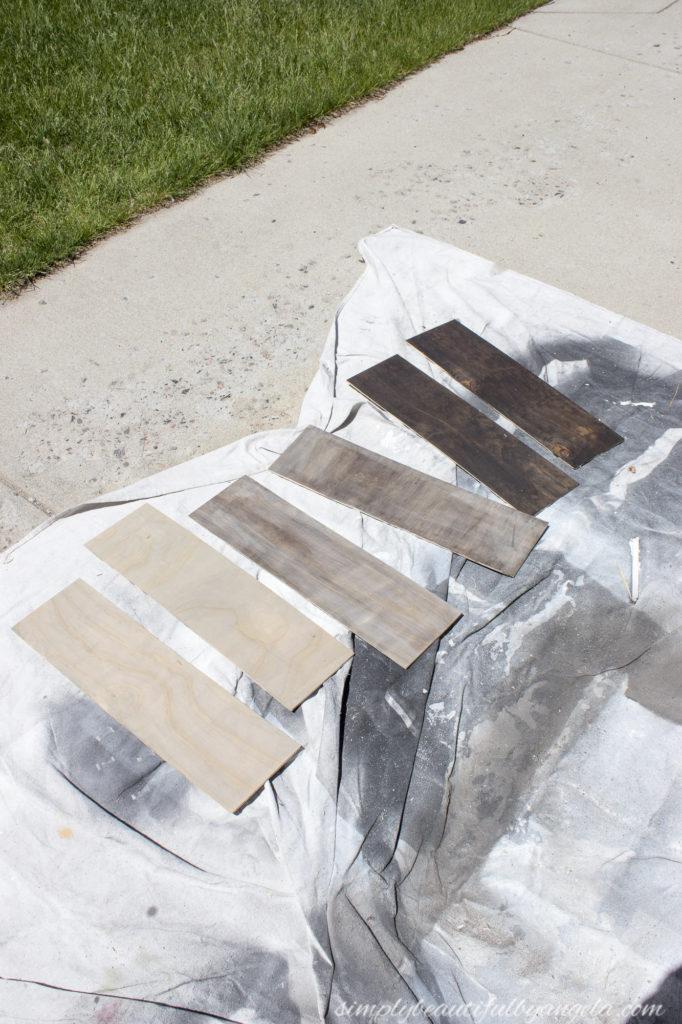
I made sure to mark on the back where each one went so that I didn’t mix them up!
5. Glue Wood to Drawers
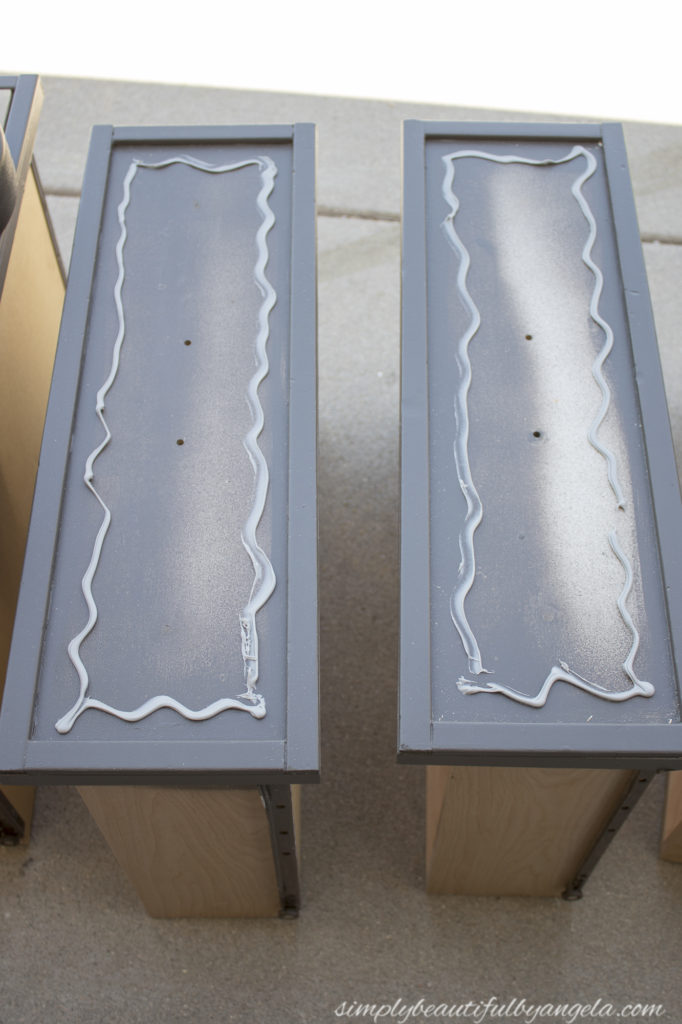
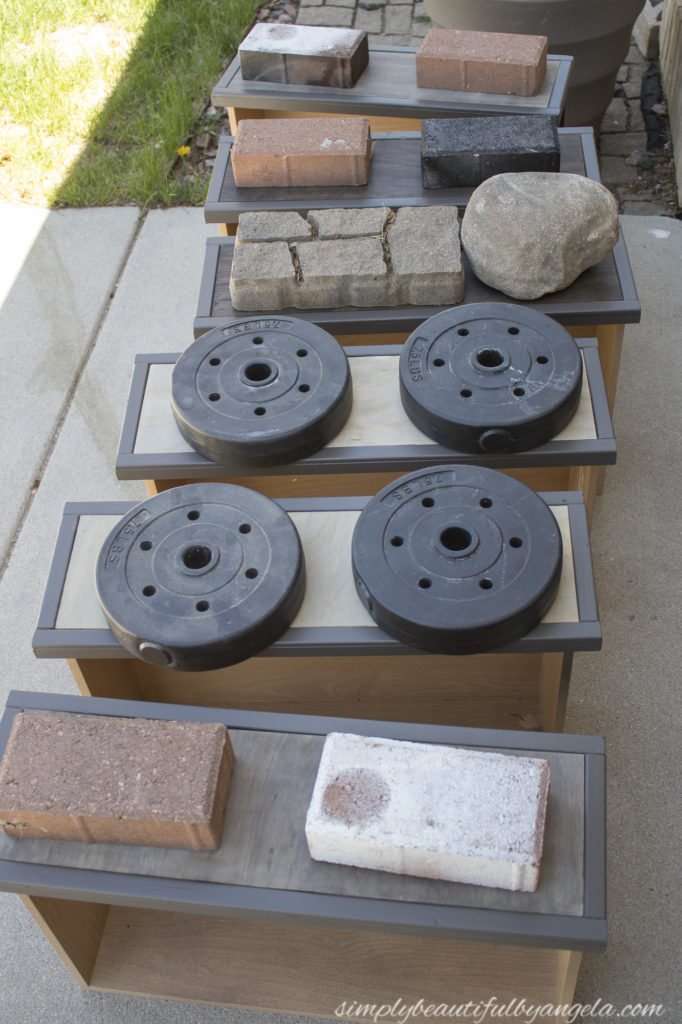
I used Construction Adhesive to apply the wood to each drawer and then set bricks and weights on top as they dried.
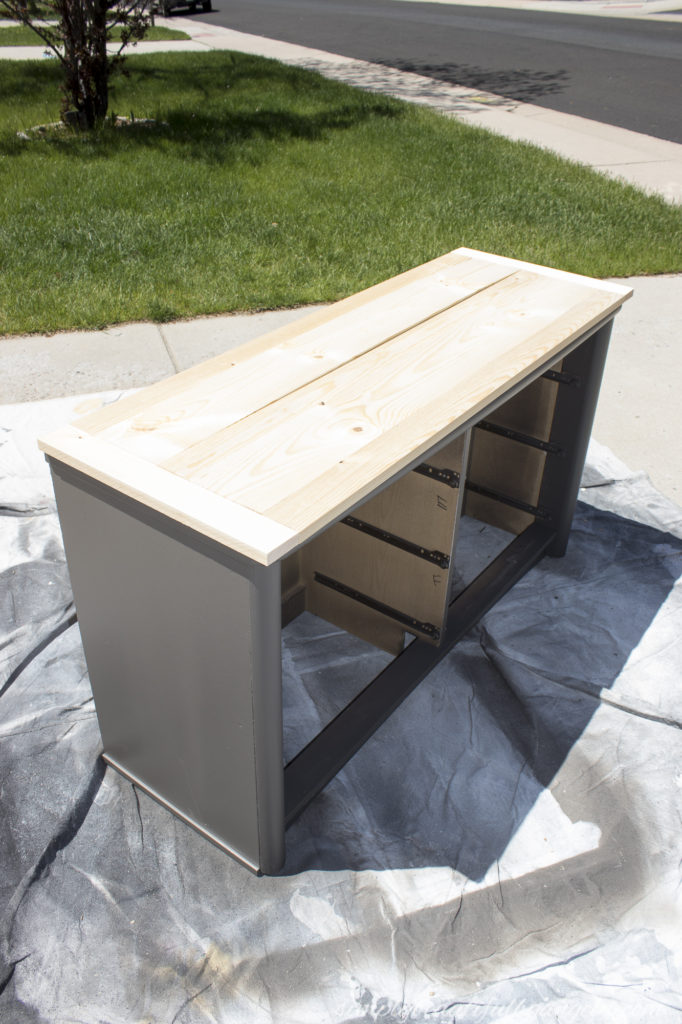
6. Cut and Attach Wood Planks for Dresser
While those were drying, I cut down a 1×6 and couple of 1x3s for the top of the dresser and applied them with construction adhesive before countersinking wood screws in to secure them. I then filled the holes with putty, sanded it smooth and stained it with Weathered Oak stain.
7. Spray Paint Pulls
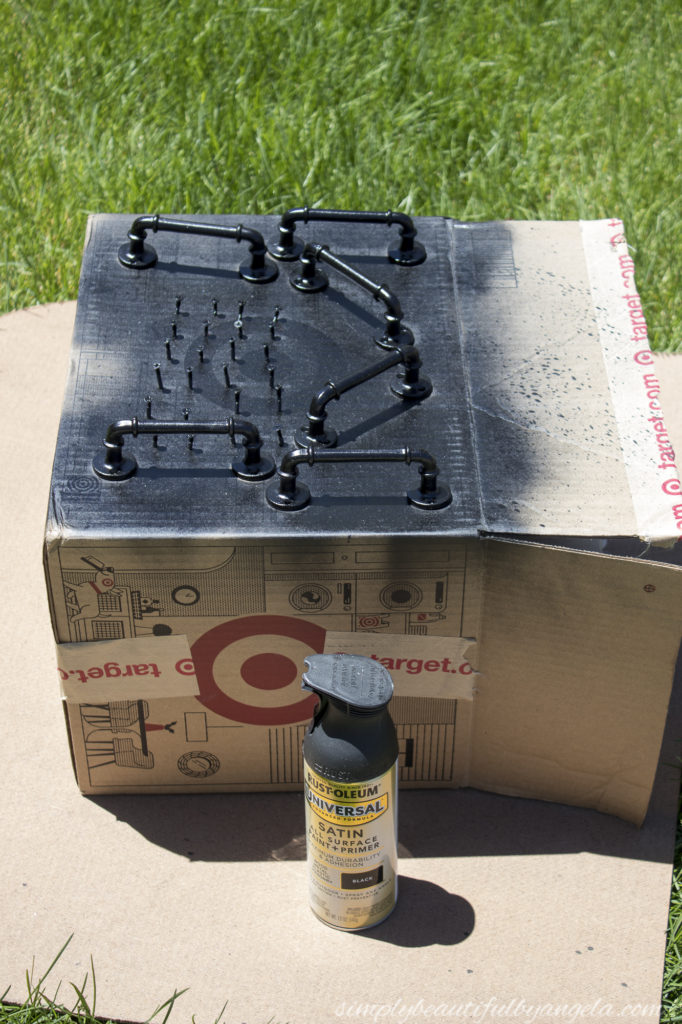
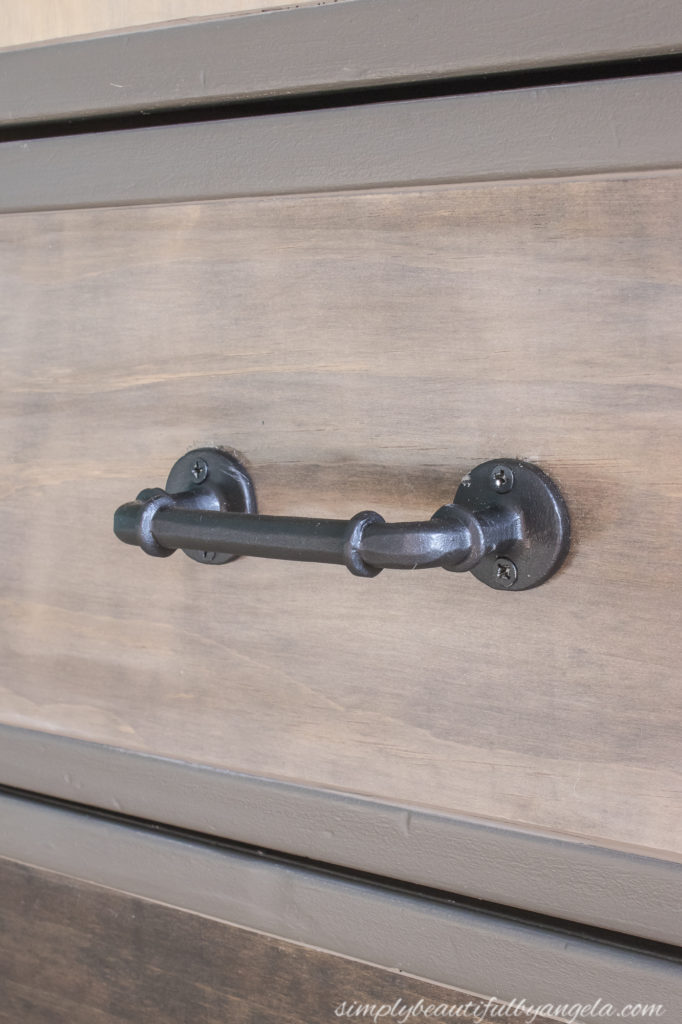
I found these super cool pipe pulls at Hobby Lobby but they were gray. Since the bunk beds, the desk and the iron pipe shelves that I am installing are all black, I decided to paint them with Rust-Oleum Satin Black Spray Paint.
8. Apply Poly to Seal
I failed to grab a picture, but I used Minwax One Coat Polyurethane to seal the drawers as well as the wood on top of the dresser.
9. Use Filler on Drawers
Even though I tried to be as precise as I could when cutting the wood for the drawers, there was still a small gap on the sides. I found this Wood, Laminate & Vinyl Putty in a gray color that ended up working perfectly to fill it.
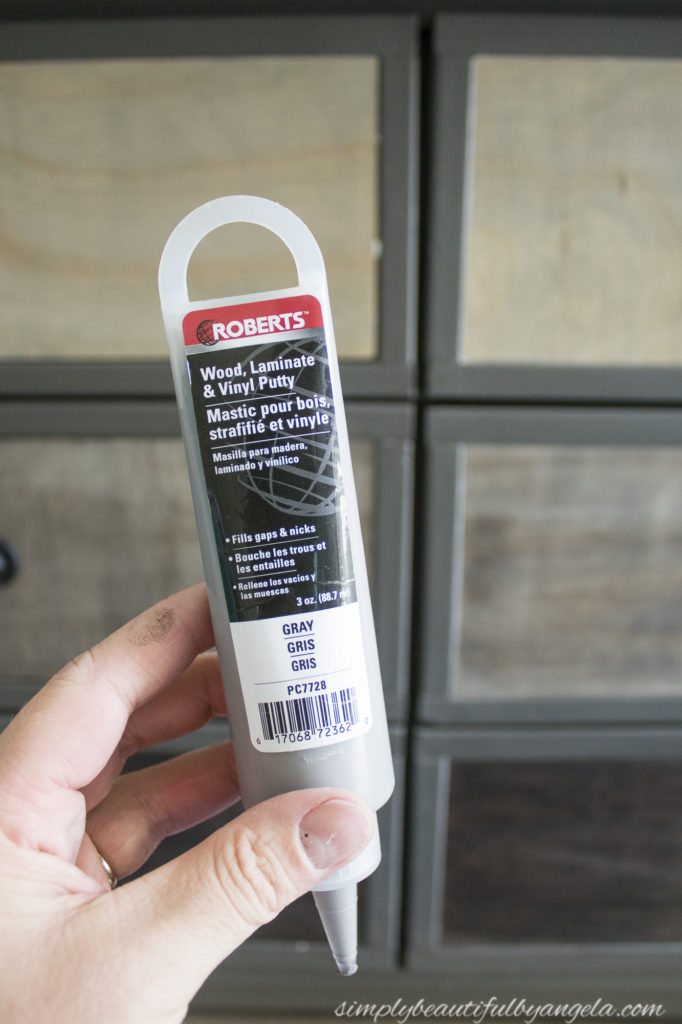
On the left you can see how it looked before being filled, and on the right you can see how it looked after.
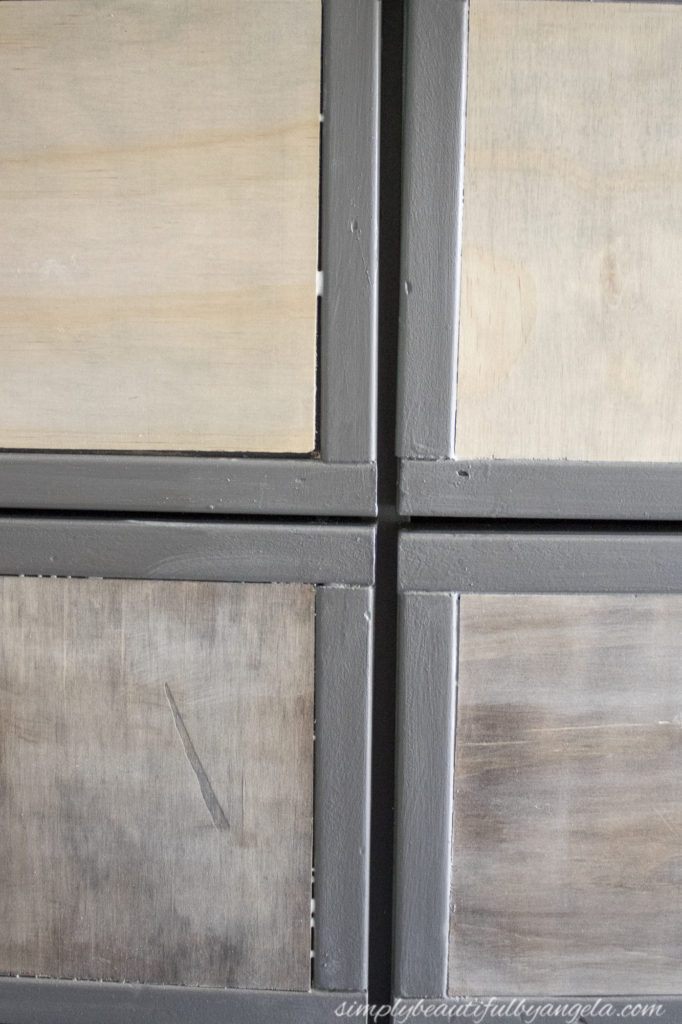
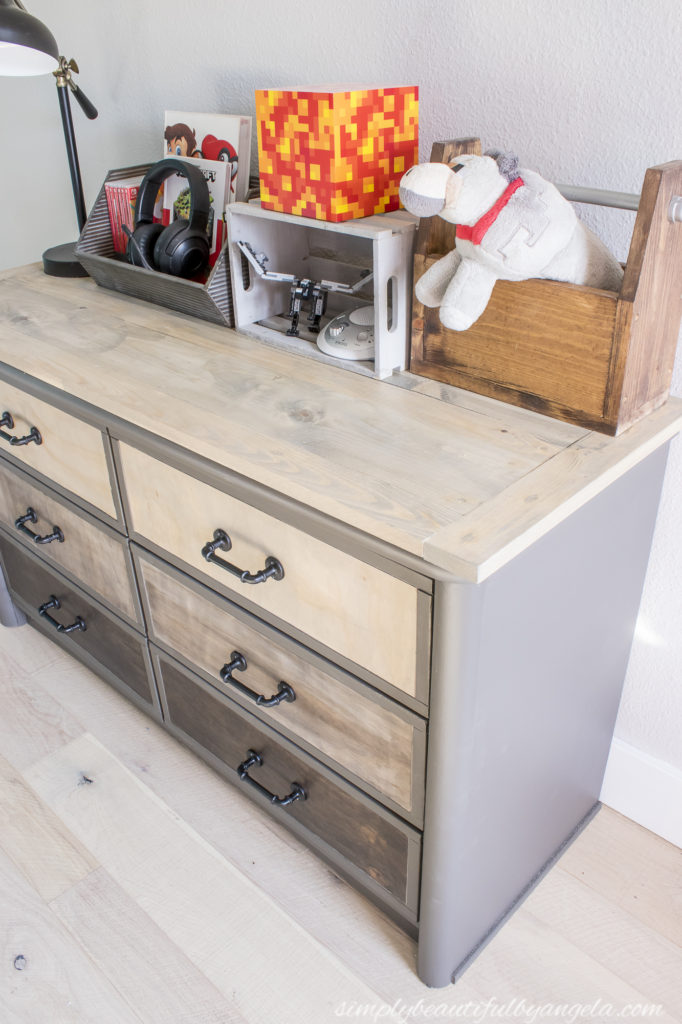
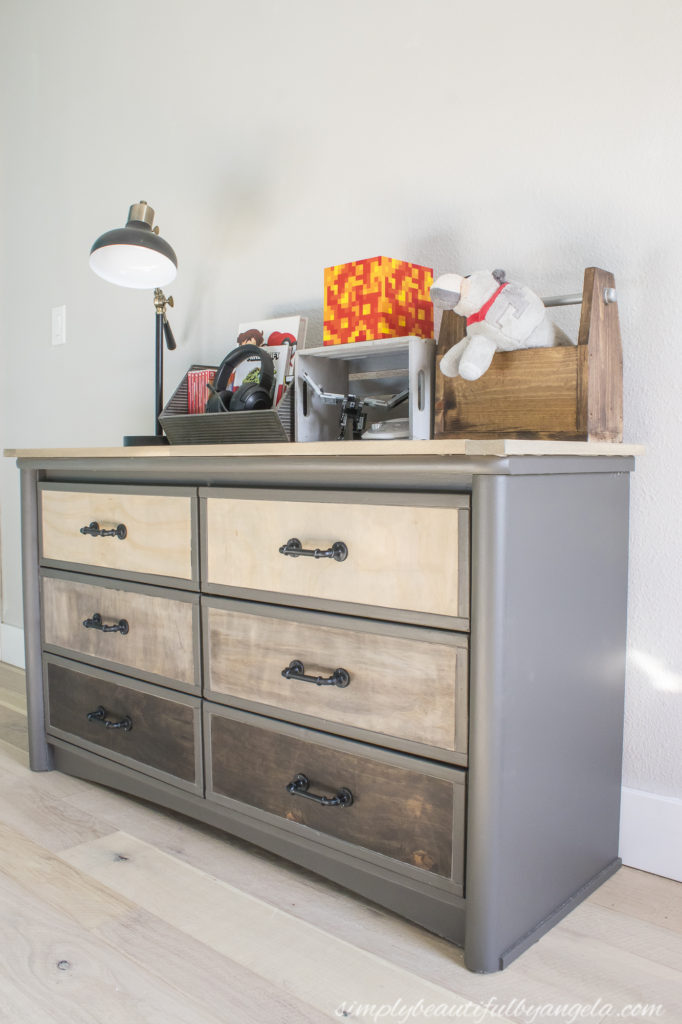
Here is how it turned out!
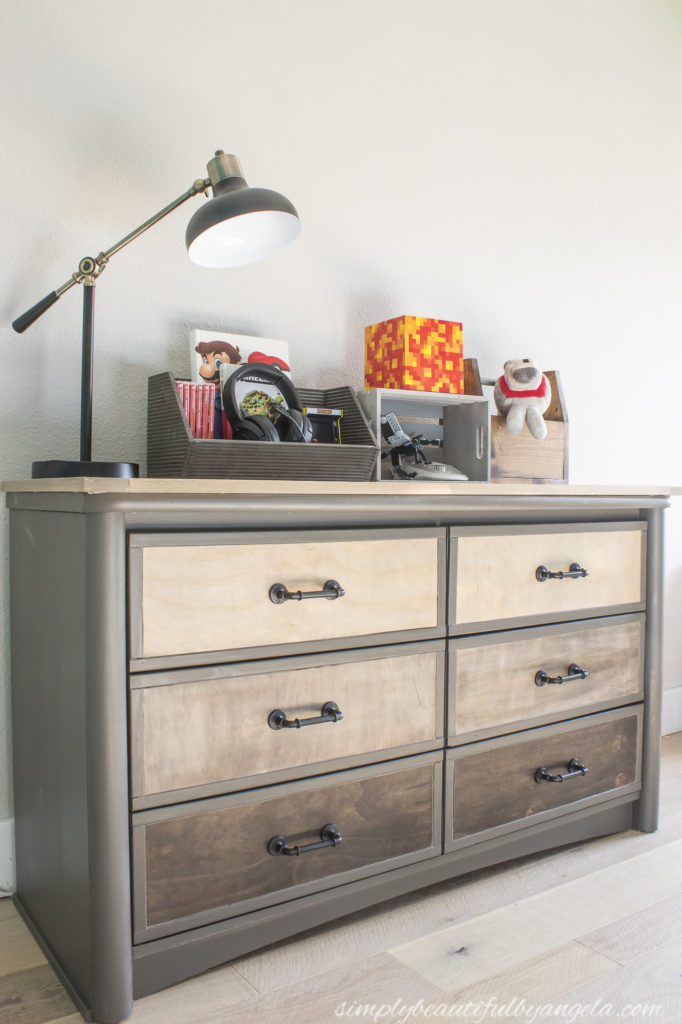
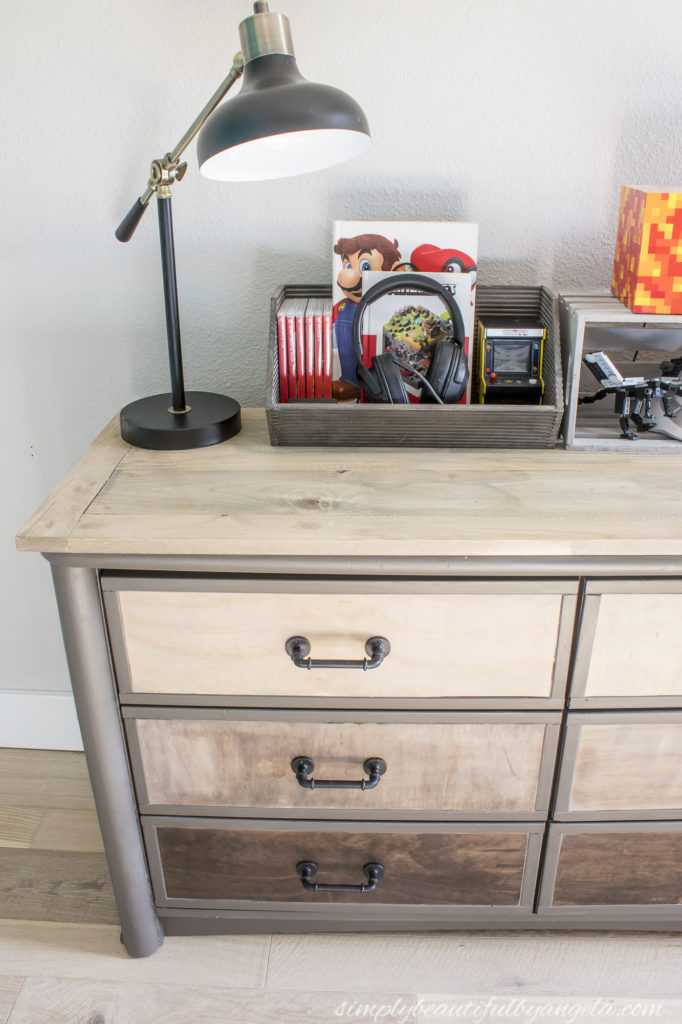
I absolutely love how the different shades of wood look and am so happy that I decided to go this route.
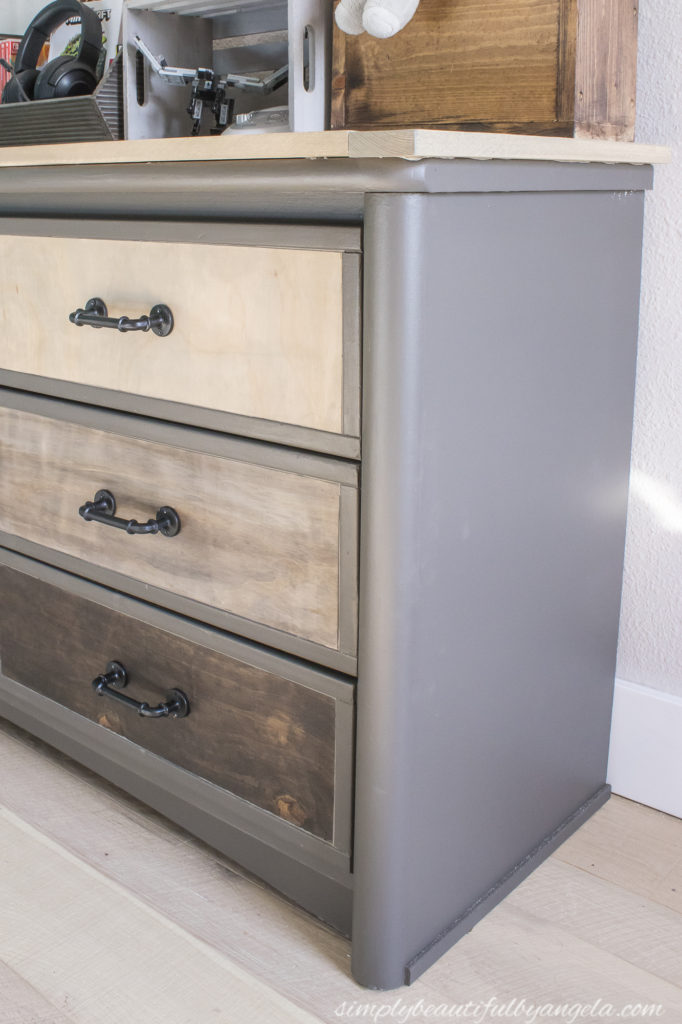
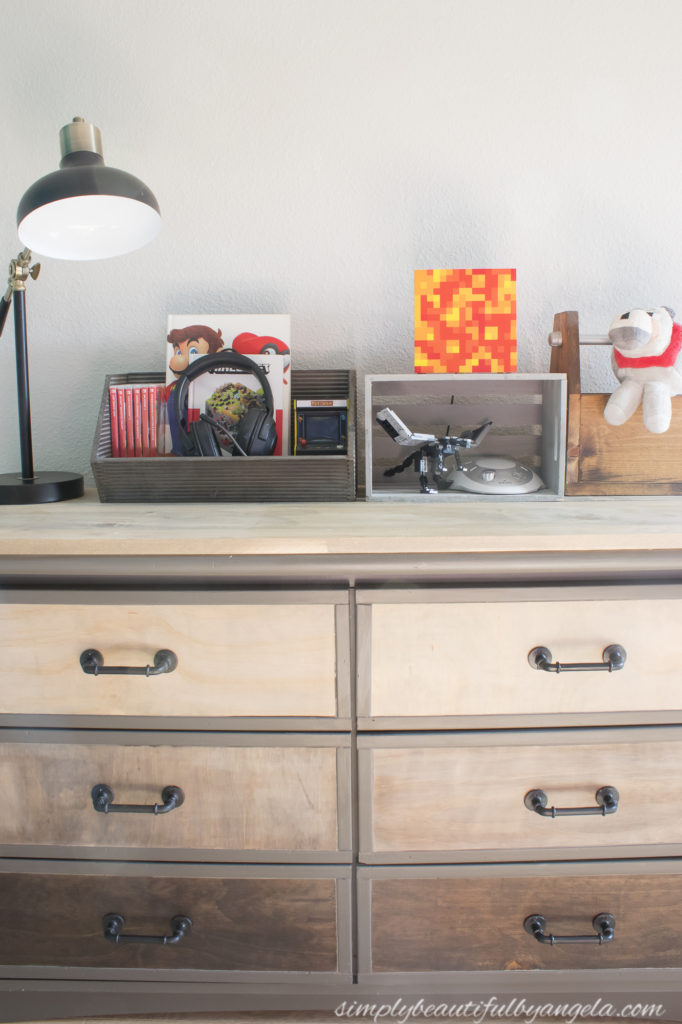
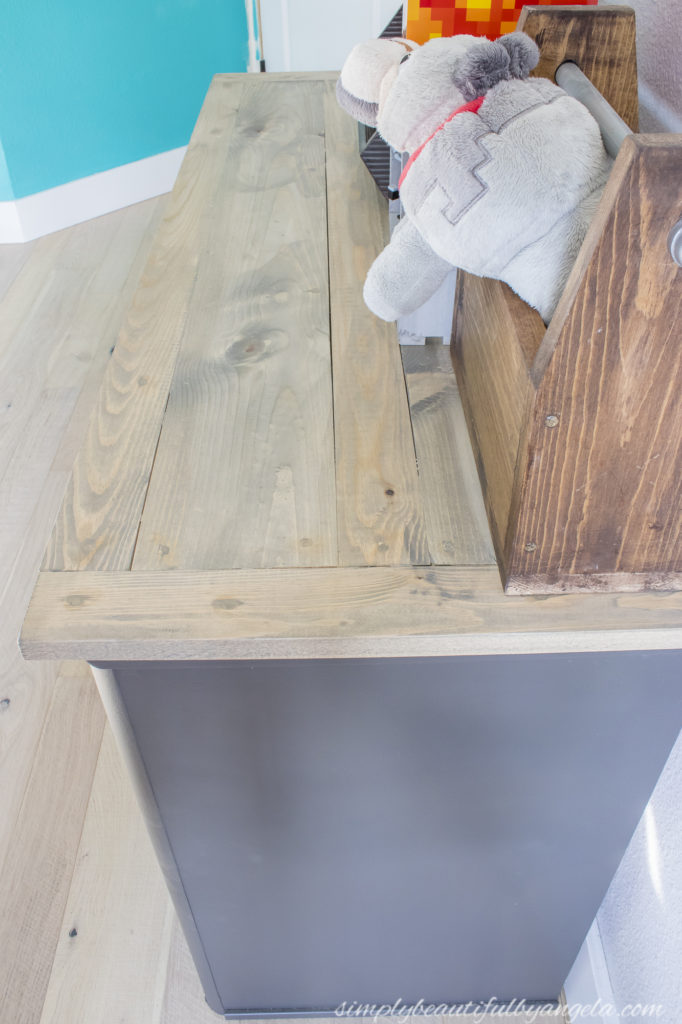
Originally I was going to just paint the top like I had previously. But he was so rough on it and the paint didn’t hold up well at all. The hubby actually gave me the idea to cover it with wood planks and I’m so glad that he did! It’s going to be much more durable and now the boys can ding and scratch it up all they want and it will only add to the character haha.
The pipe pulls are such a fun detail and really give it that Restoration Hardware vibe but for a fraction of the cost!
I’m still playing around with how the top will be styled and obviously I need to put something above it on the wall, but it looks so good in here already and I can’t wait to see how the rest of the room will come together!
And now for more thrifty goodness!
Linking up to these awesome parties
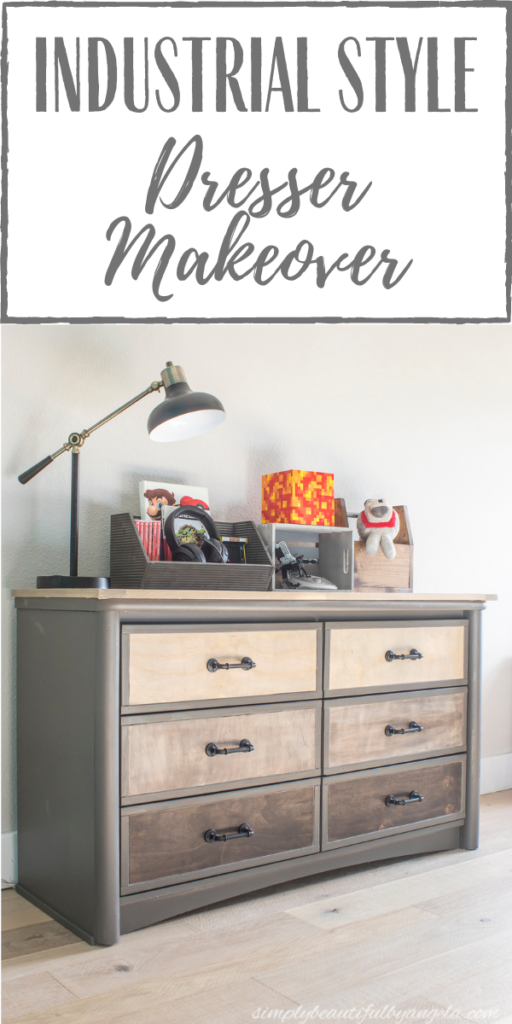
PIN FOR LATER!
What a fabulous makeover! I love the wood added to the front in the various stain colors. The hardware looks just right on this.
Wow, your dresser makeover looks amazing! Pinned. That was a great idea making the drawer colors ombre. Sorry I couldn’t participate this month ~ on 2 week vacay.