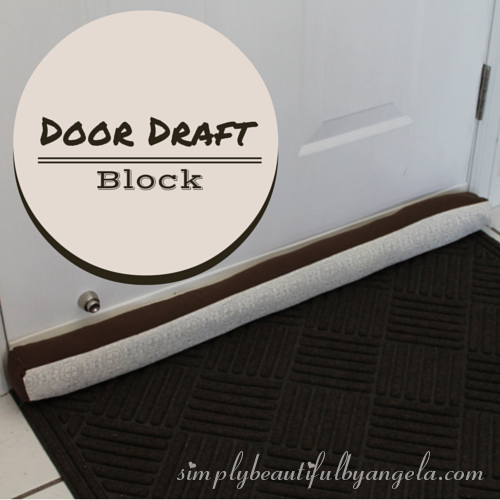
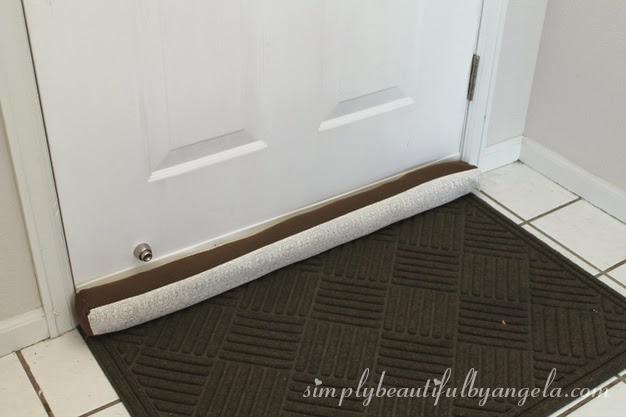
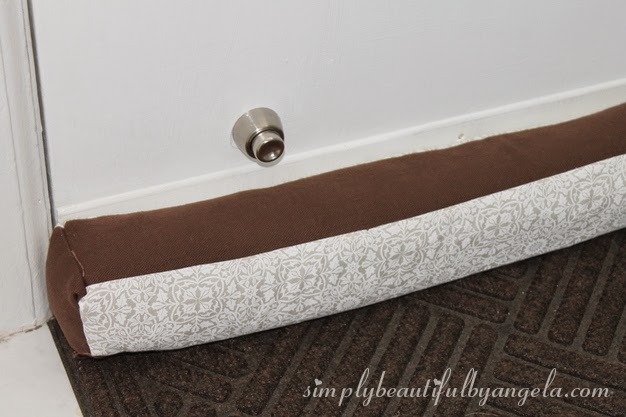
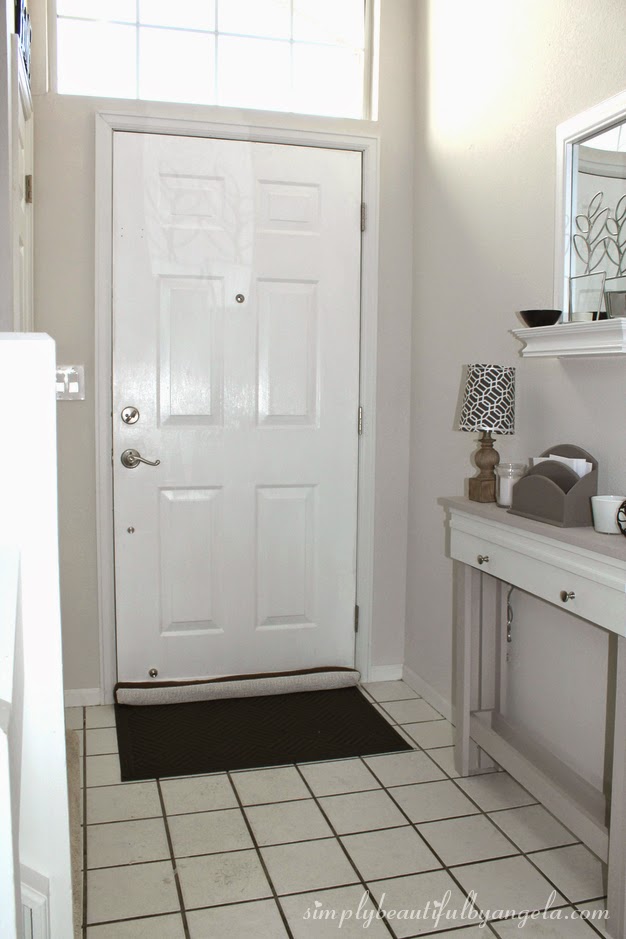
We’ve had some frigid temperatures the last few days and I began to notice how much cold air was getting through under the door. I remember seeing a tutorial by So Much Better with Age and thought this would be the perfect solution!
I followed the tutorial pretty closely but did have to make some alterations at the end which I’ll explain.
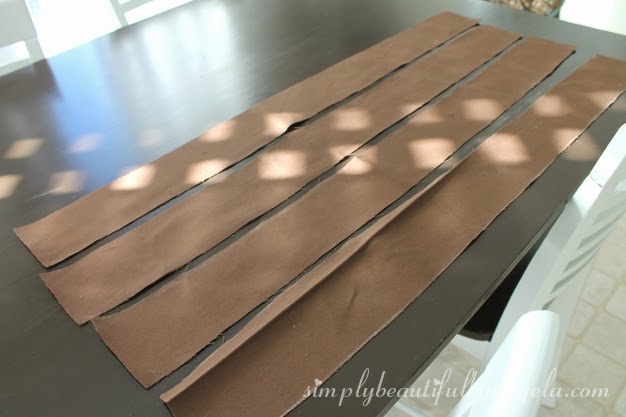
I began by cutting four strips of fabric the length of my door plus 1″ at 3″ wide.
I also cut and two 3″ x 3″ squares for the ends.
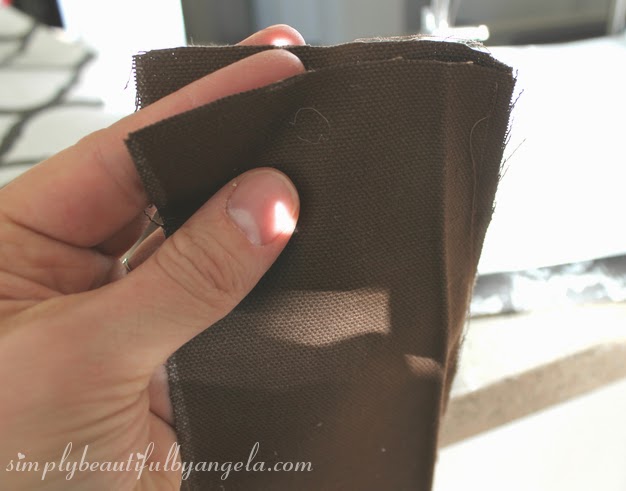
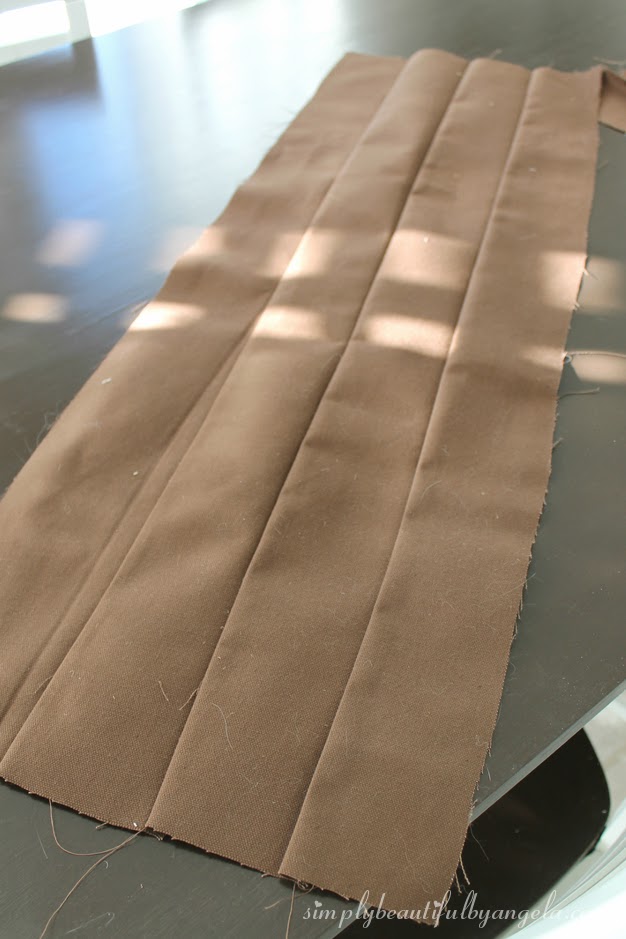
Next, I sewed all four pieces together. This fabric was the same on both sides but if you are using a print you will want to make sure that your seam is on the backside.
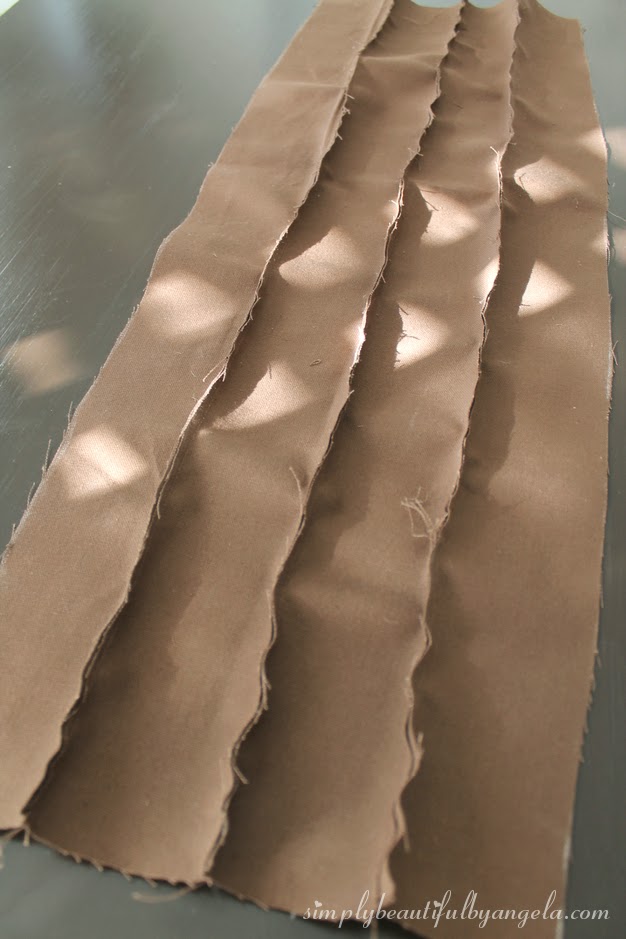
When you’re done it will look like this:
I then pressed the seams with a hot iron and when I flipped it over it looked like this:
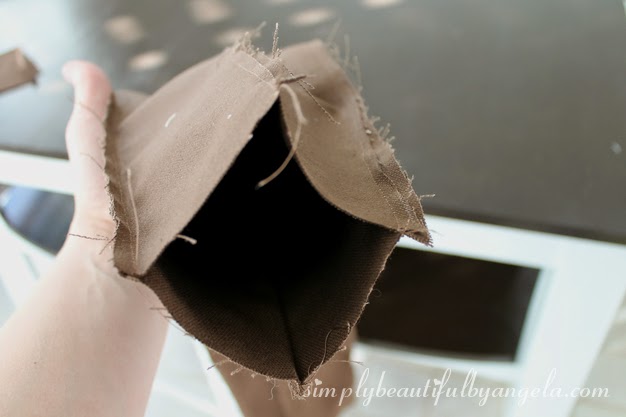
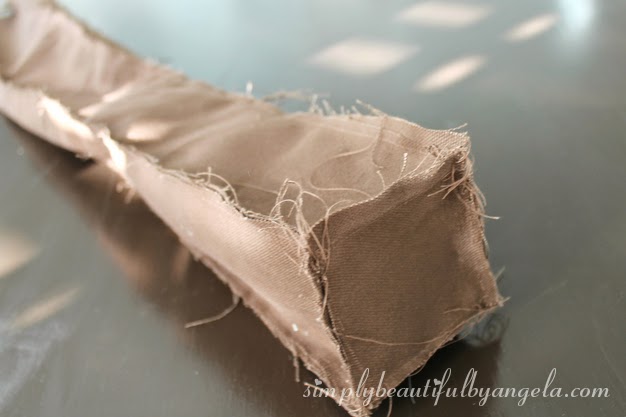
Next, I sewed the two ends together, everything still being inside-out.
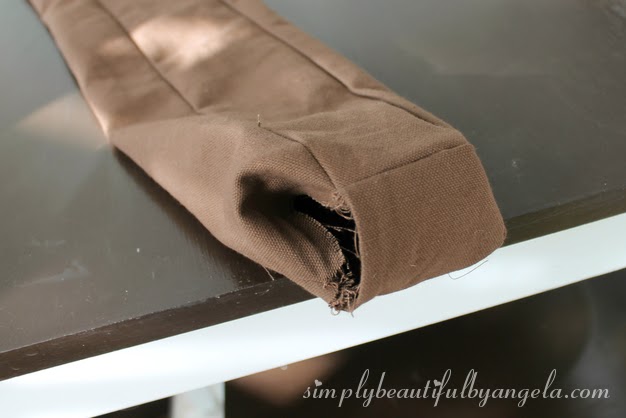
And finally, I sewed on the squares to the ends. One end will be sewn on all four sides:
And the other end will have one side open so that you can insert the batting and beans. Here is the open end after it has all been turned right-side-out.
At this point I decided that I was bored with the solid fabric so I went and picked out a pretty print and decied to alternate the print and solid. Got to love being an indecisive perfectionist haha…
Once I repeated all of the steps with my new material I was ready to fill it. This is where I ran into extreme frustration difficulty haha. I filled about 1/4 of the way up with beans, spread them out and then tried to insert the batting.
What ended up happening is the beans would all get pushed down to the end so that one end had all beans and the other had tightly packed batting. So I threw it in a drawer and left it there for a week.
I decided to tackle it again this weekend and after a few other failed methods here is the one that finally worked.
First I cut out some batting a little longer than the length of the material.
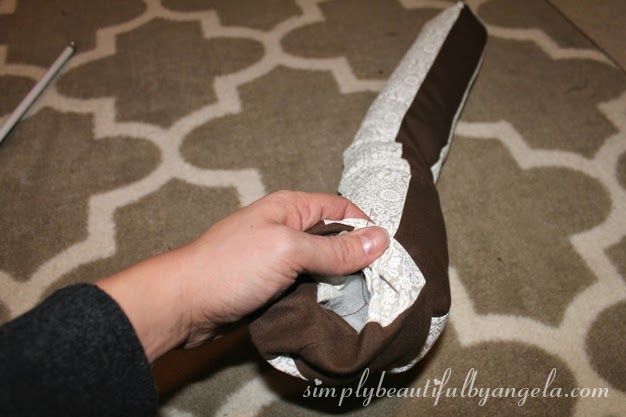
Then I began feeding the batting through using the stick from the blinds to poke it through when it got stuck (resourseful right!?). It ended up bunching towards the bottom so I pushed the material back so that I could reach down and grab it to pull it back up and evenly distribute it.
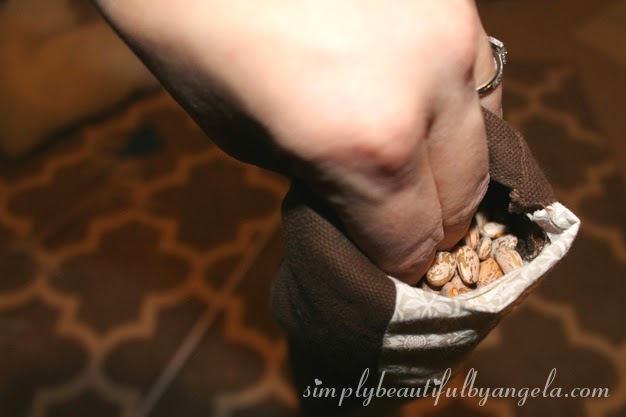
Now it was finally time to add the beans! It was a little messy and time consuming since I had such a small opening.
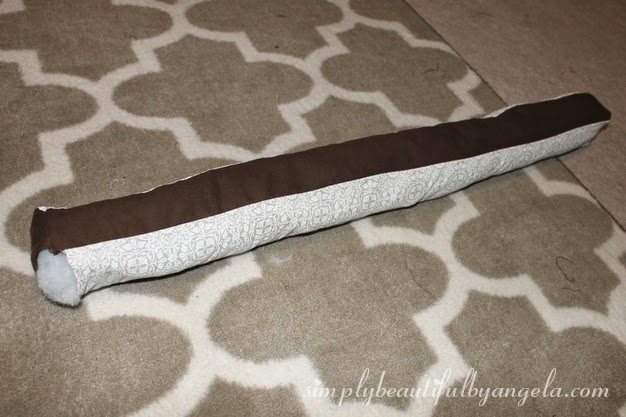
Once it was filled I hand sewed the opening and made my final “fluffs” to get it all even.
Linking up to these awesome parties!



paypal free money is not a big deal now, thanks to the mentioned website which has made it possible for all paypal users.