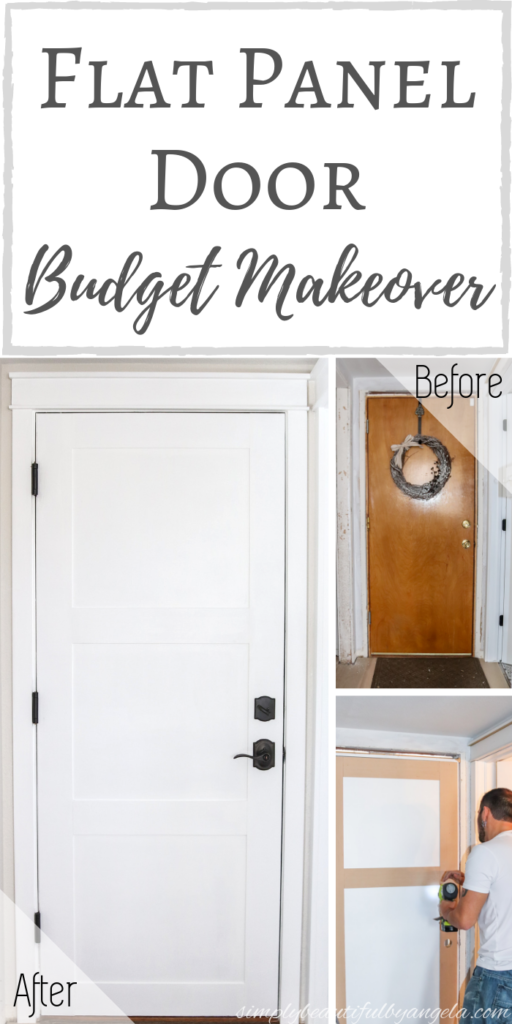
Hello friends, I hope you all had a nice weekend! Ours was a good mixture of relaxing and being productive which is always nice. Oh and we finally finished up the final touches on our most recent project! I think it came out even better than we had expected it to. In fact–it made it to my list of favorite budget transformations to date!
As you may recall, when we purchased our new fixer upper all of the doors were the classic flat paneled ones straight out of the 90’s. Well except for the front door, luckily that one is a 6 panel.
A couple of weeks ago I shared how we installed a new slab door on the closet.
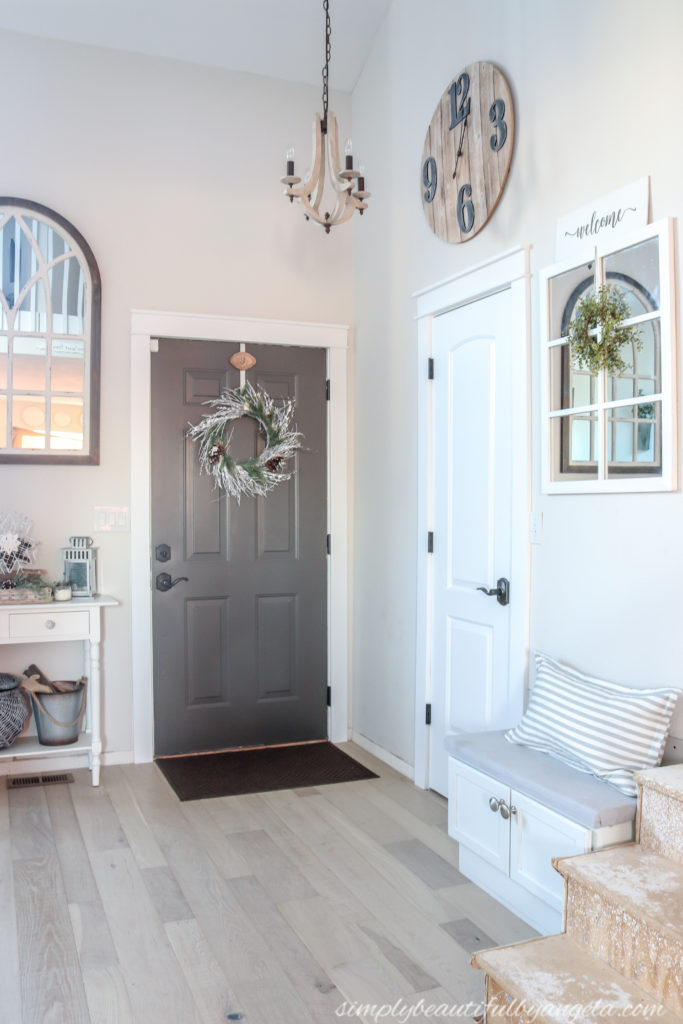
I also painted the front door Urban Bronze by Sherwin Williams and those two changes completely updated this little corner. In case you missed the post, you can catch it here.
Since we were on a roll, we decided to also replace the powder room door. But when we started pricing out a new garage entry door, we were totally shocked to find out that they are about 500 bucks since they have special safety qualifications. Since THAT wasn’t going to happen, I started racking my brain on what I could do with what we had.
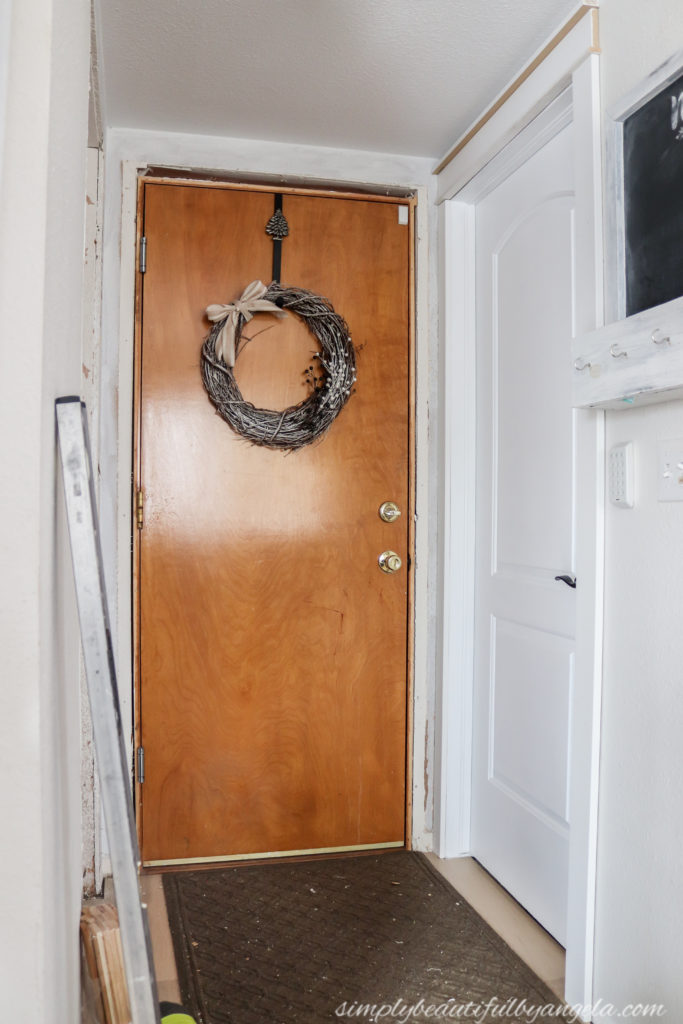
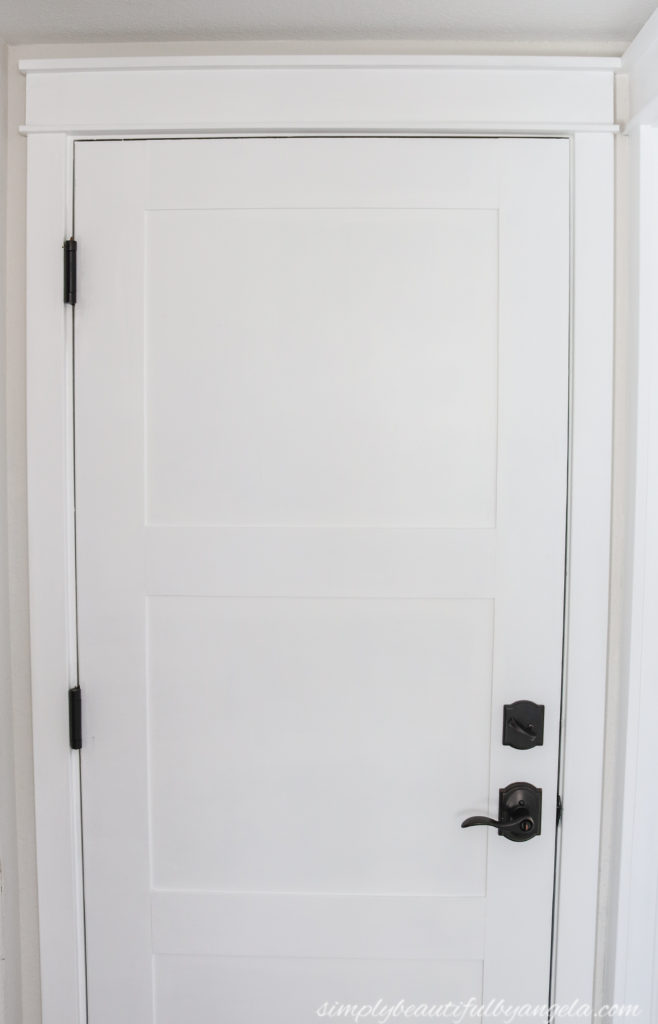
I thought about just painting it dark gray to match the front door, but I worried that it would look too boring. It needed some character! So I decided that we could try adding some plywood trim to mimic a 3 panel door.
Supplies Used:(Affiliate links may be provided for convenience. For more info, see my full disclosure here.)
- Zinsser Primer & Sealer
- White Latex Paint
- Foam Roller
- 1/4″ Plywood
- Table Saw
- 2-1/8″ Hole Saw
- Level
- Ryobi Cordless Brad Nailer
- Measuring Tape
- Miter Saw (to cut the strips to length)
- Speed Square (to mark straight lines on the plywood before cutting on the miter saw)
- Spackle
- Medium-Grit Sandpaper
- White Caulk
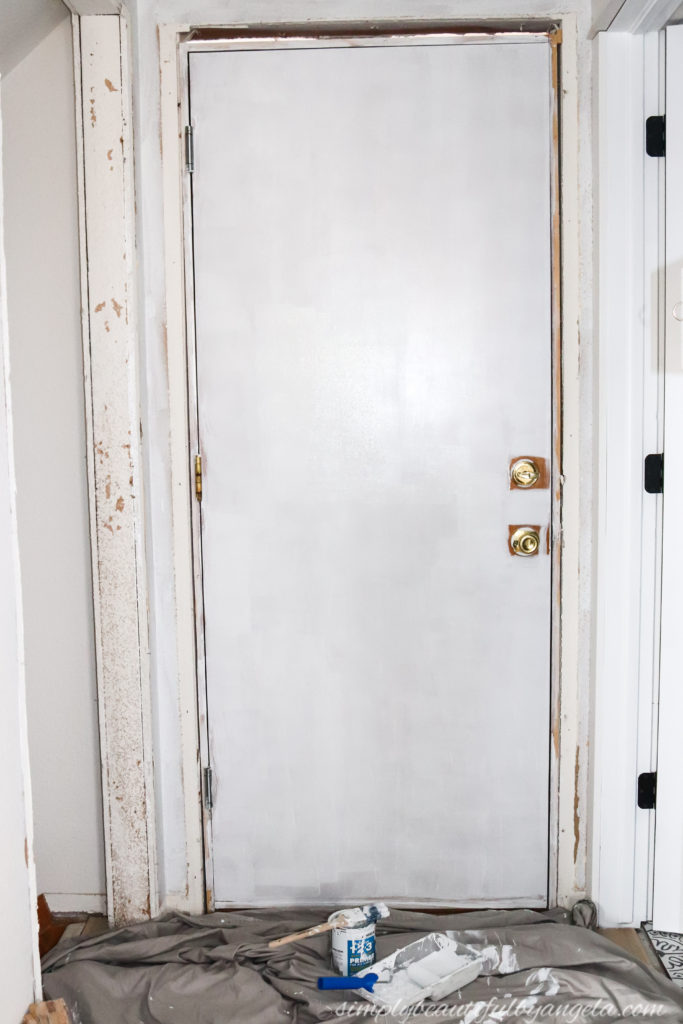
Next, I rolled on two coats of white latex paint. You could also do this part after the trim has been attached, but I found it easier to roll it all on in one big piece rather than cut in to several smaller sections later on.
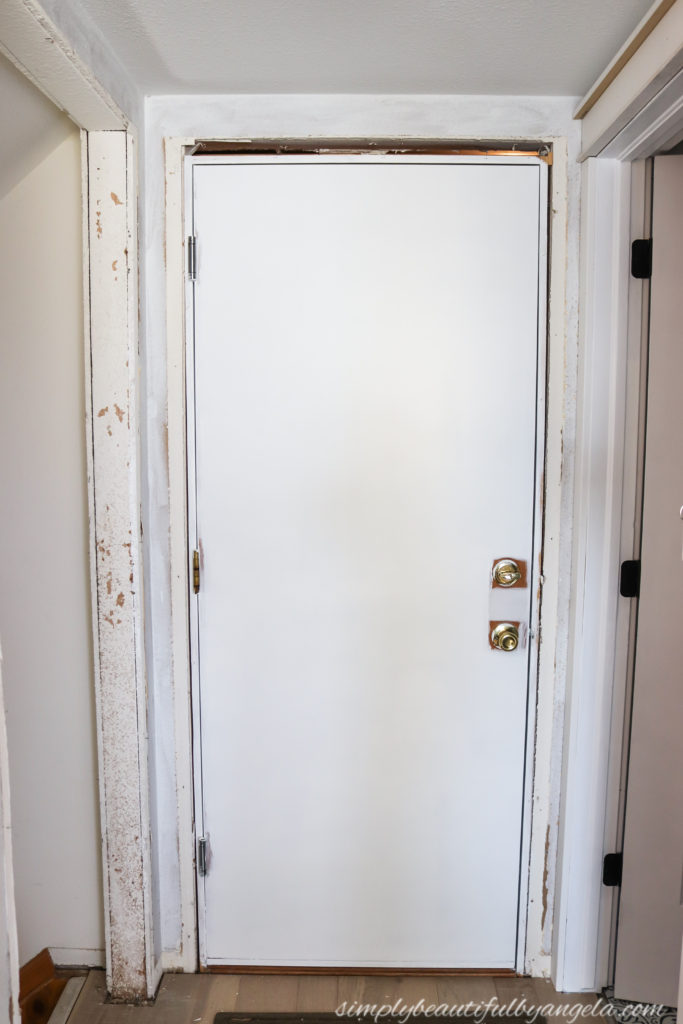
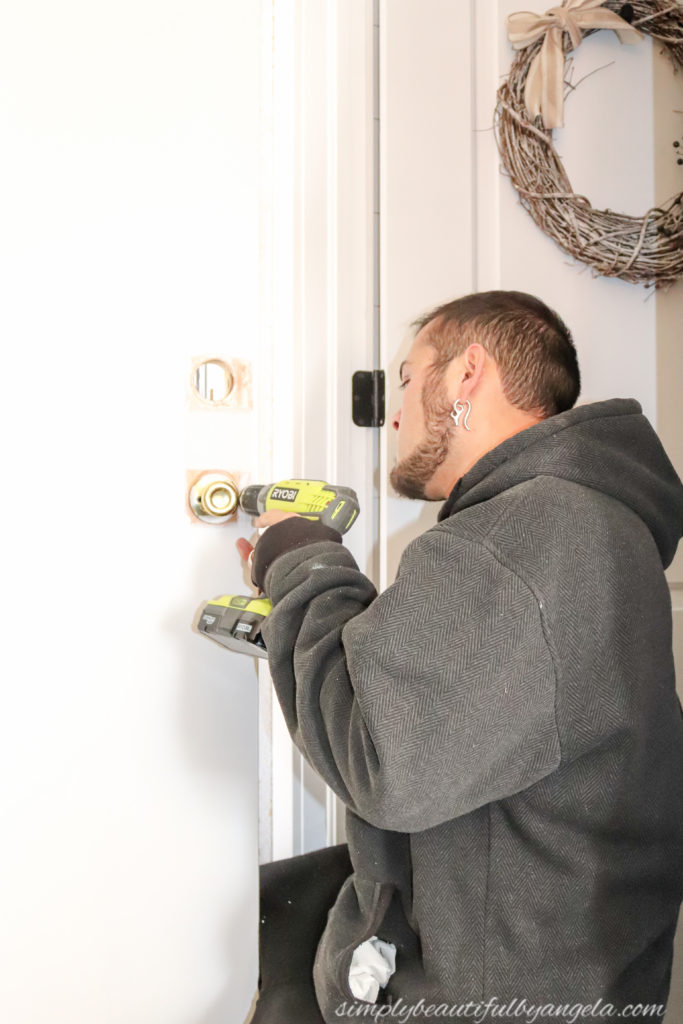
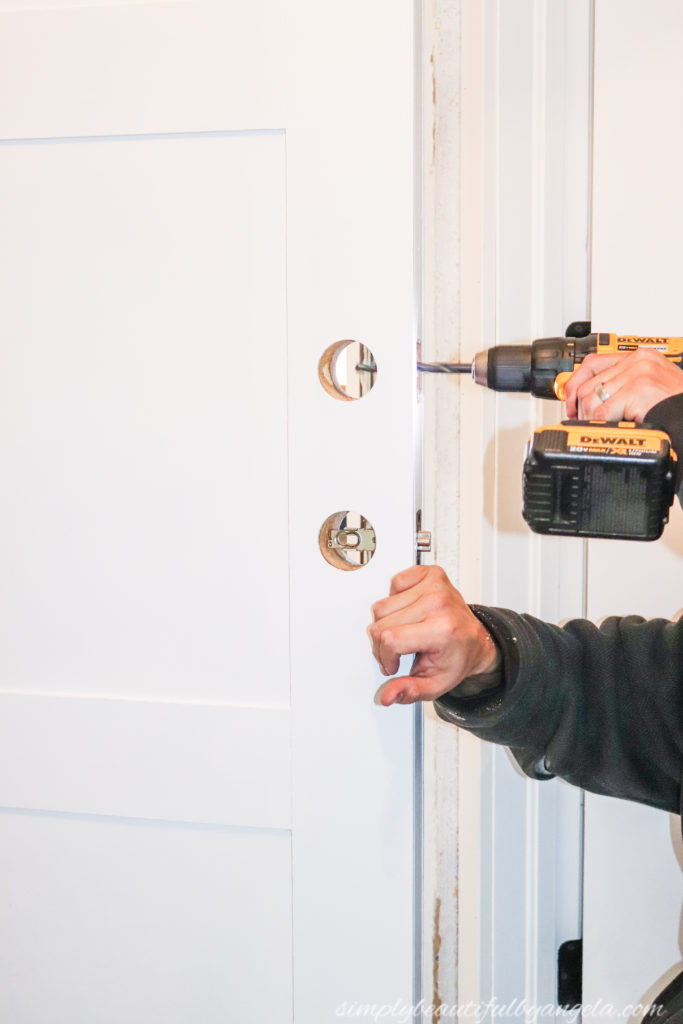
Next, the hubby removed the old door knob and deadbolt so that we could trace out where to cut the holes on the plywood.
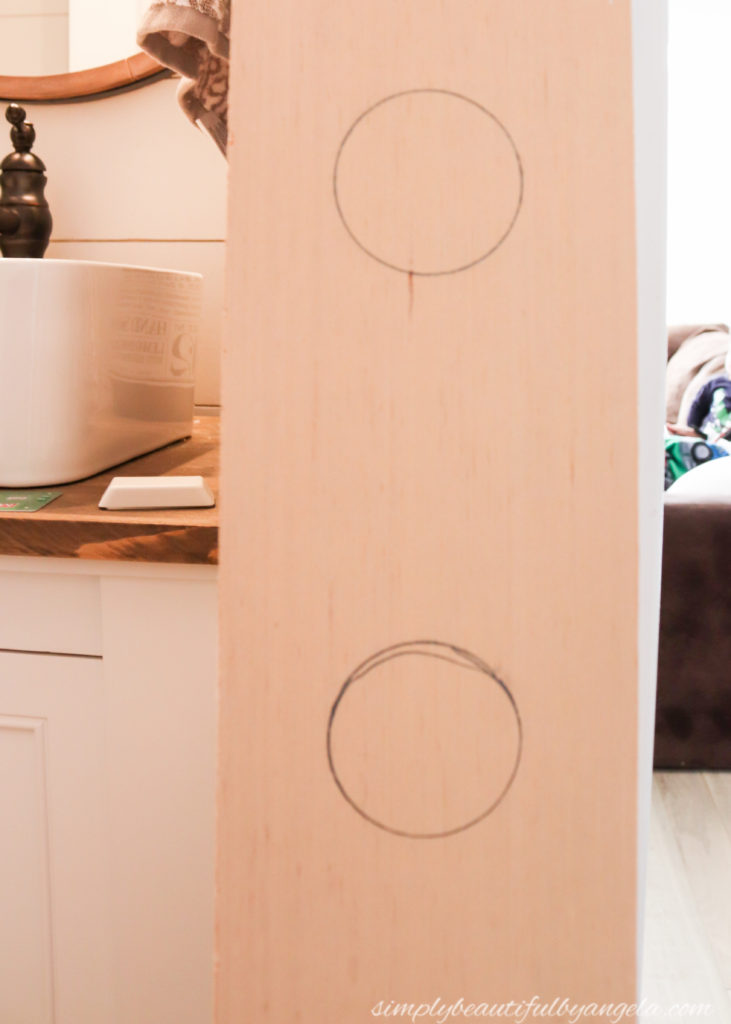
We had several pieces of 1/4″ plywood from our last shiplap project so we cut them down to 4.5″ strips on the table saw. We were originally going to use a jigsaw to cut the holes out, but decided that a 2-1/8″ hole saw would be much simpler. And it was!
We used the brad nailer to secure the strips to the door. I thought about using Liquid Nails since we didn’t have short nails on hand, but the thought of them sliding around while they dried gave me major anxiety so we paused the project to go get short nails. Work smarter not harder!
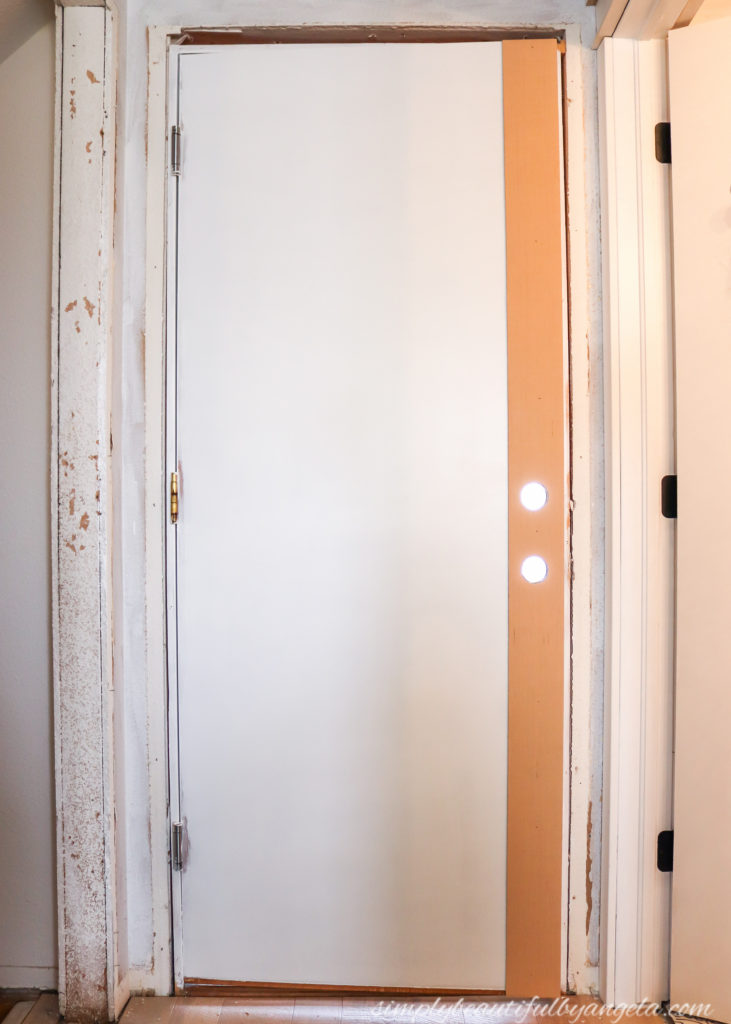
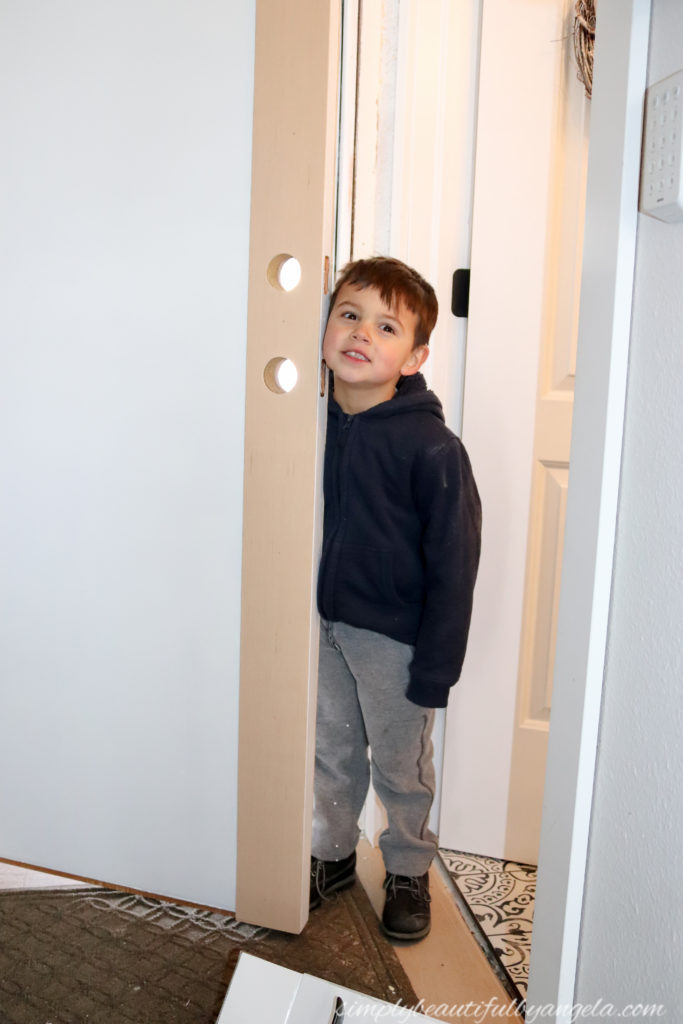
We noticed that even though we held the plywood perfectly flush with the edge of the door while we traced the holes, they didn’t line up perfectly once we cut them. We ended up nailing the board flush with the door and found that the door knob still fit through just fine even with the holes a little misaligned.
Quick photo bomb from our cute little helper!
After both sides were attached, we measured the width needed for the top and bottom pieces.
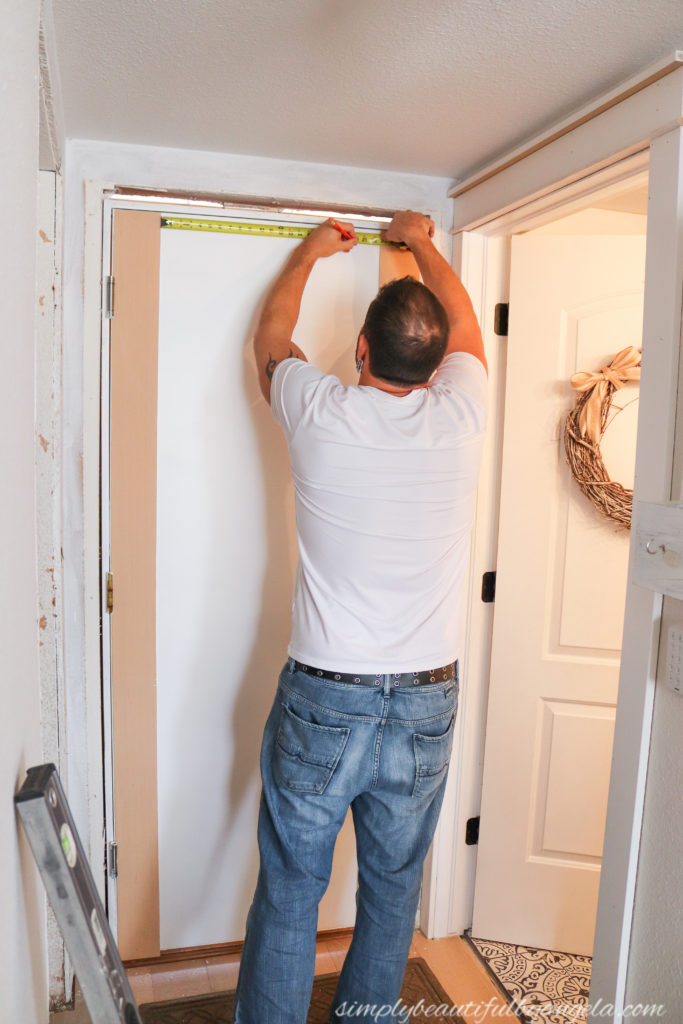
To get the distance needed for my middle pieces, I first measured the distance between the top and bottom pieces. I then took this number and subtracted 9″ to account for the width of the two pieces going in and divided by 3 to give me 3 equal spaces.
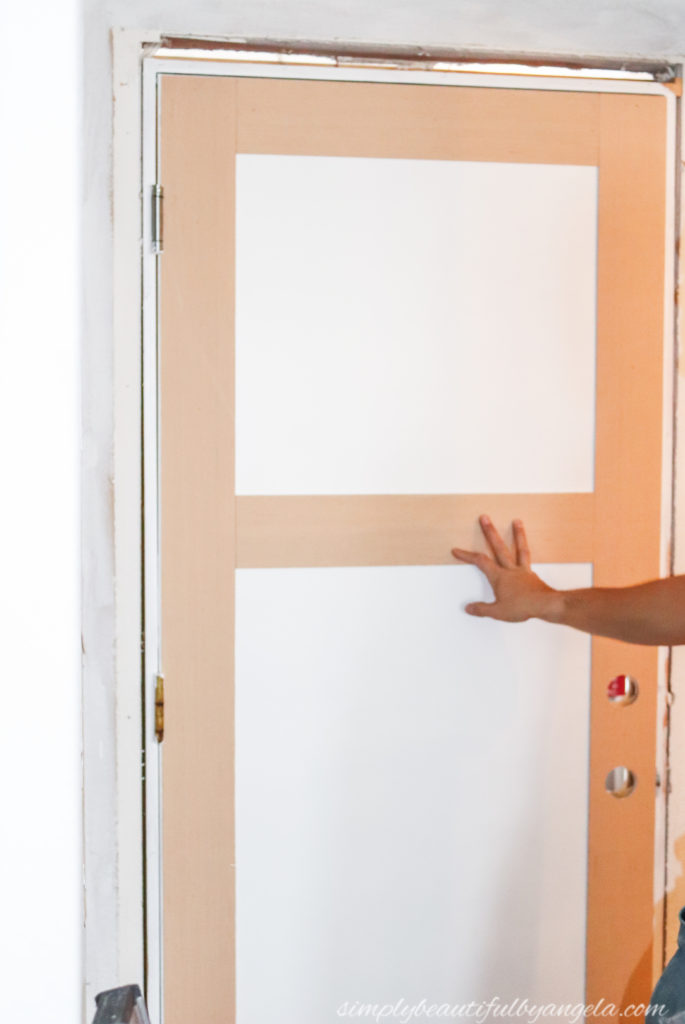
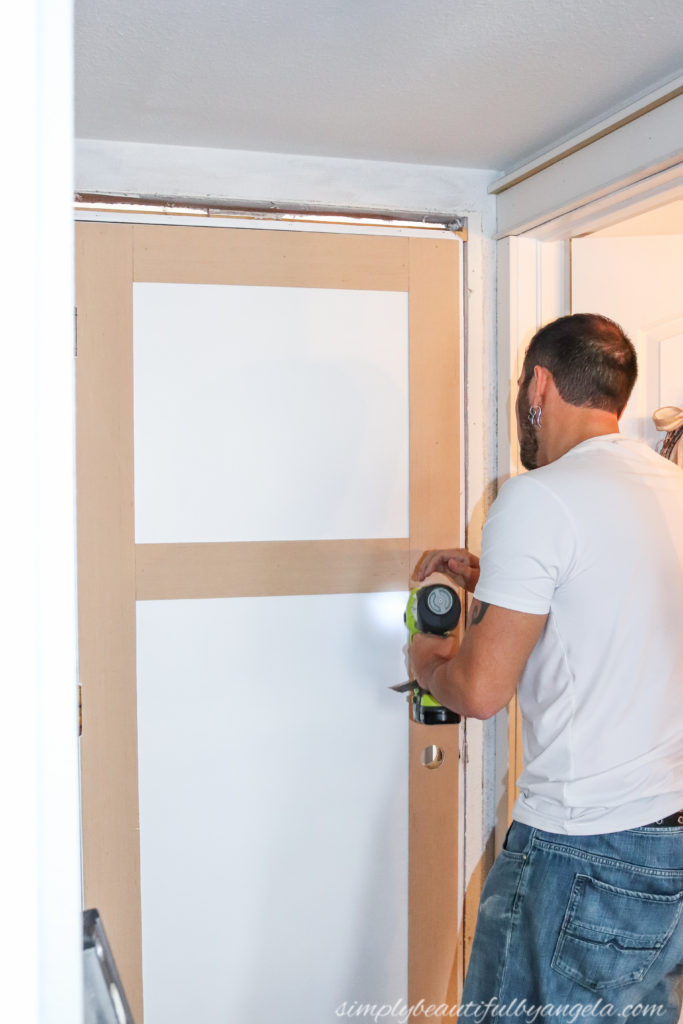
Once all of the pieces were attached I filled the nail holes with spackle, sanded them down and applied a coat of primer.
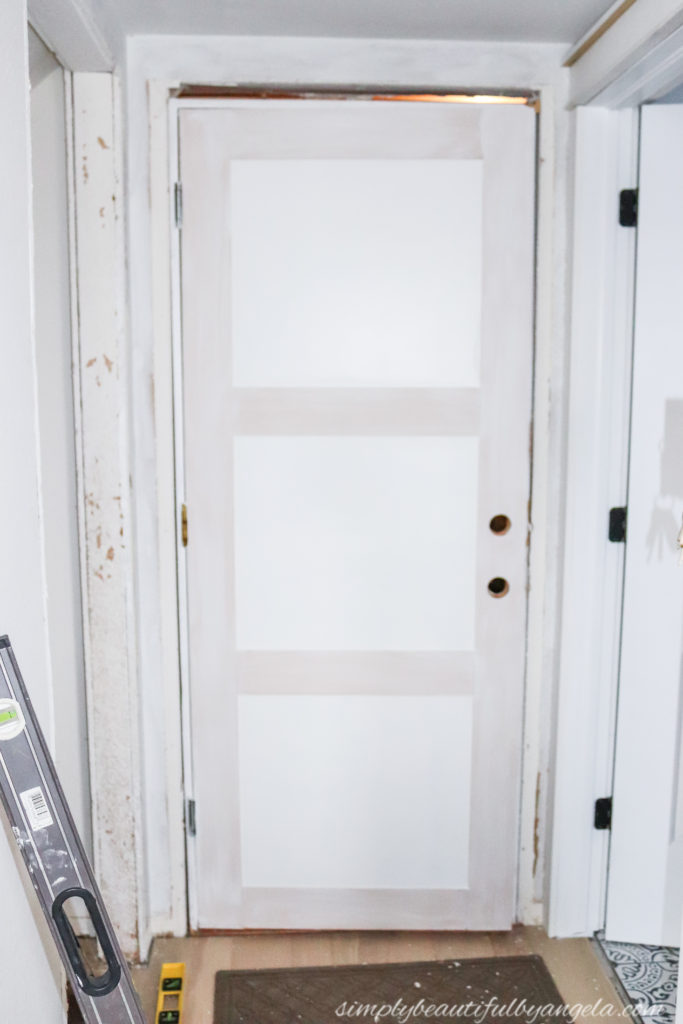
Next, I caulked all of the seams and edges where the plywood met the door before giving it two coats of white paint.
I picked out the matching Schlage Lever and Deadbolt to match the other doorknobs that we have installed. Anthony had a teensy bit of trouble getting them to fit initially, and had to do a little bit of magic with the drill to make the space bigger. We also had to purchase longer screws to account for the thicker door.
Once we replaced the hinges with oil rubbed bronze ones it looked like a we had installed a completely new door!
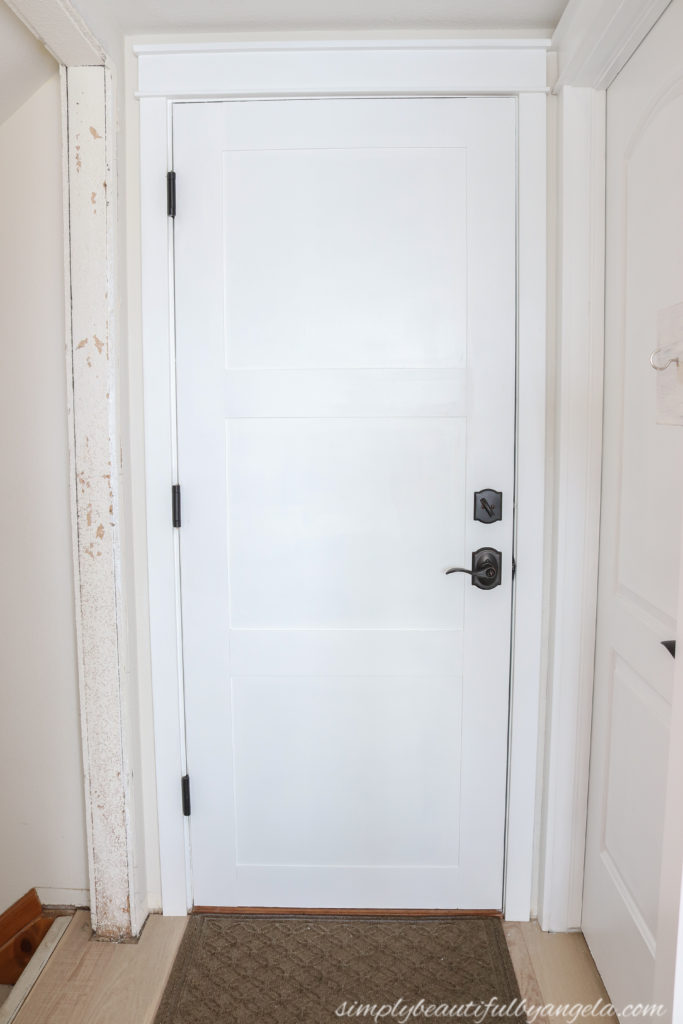
Ignore the left side where we have completely torn out the door frame to the basement. That’s a story for another day haha!
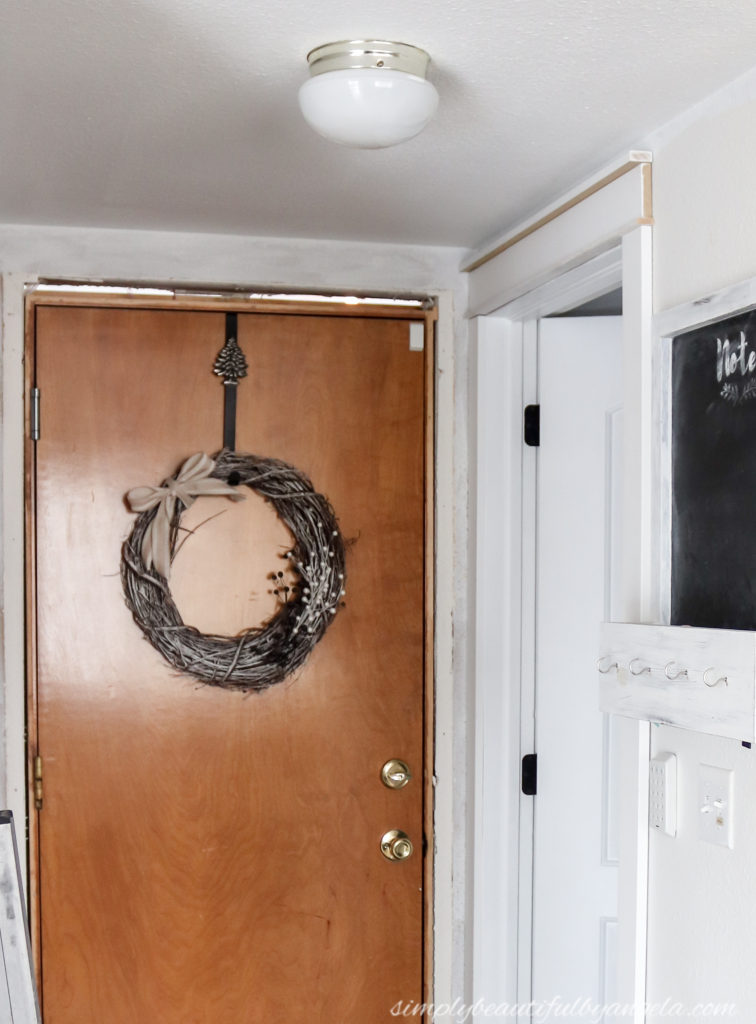
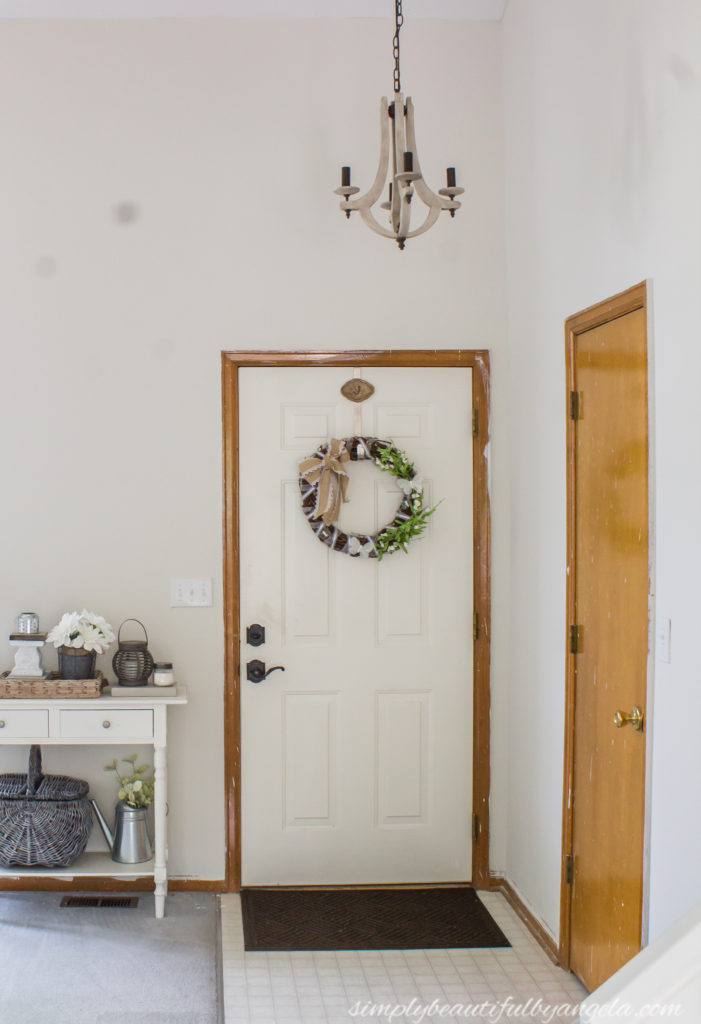
Here’s a before and after:
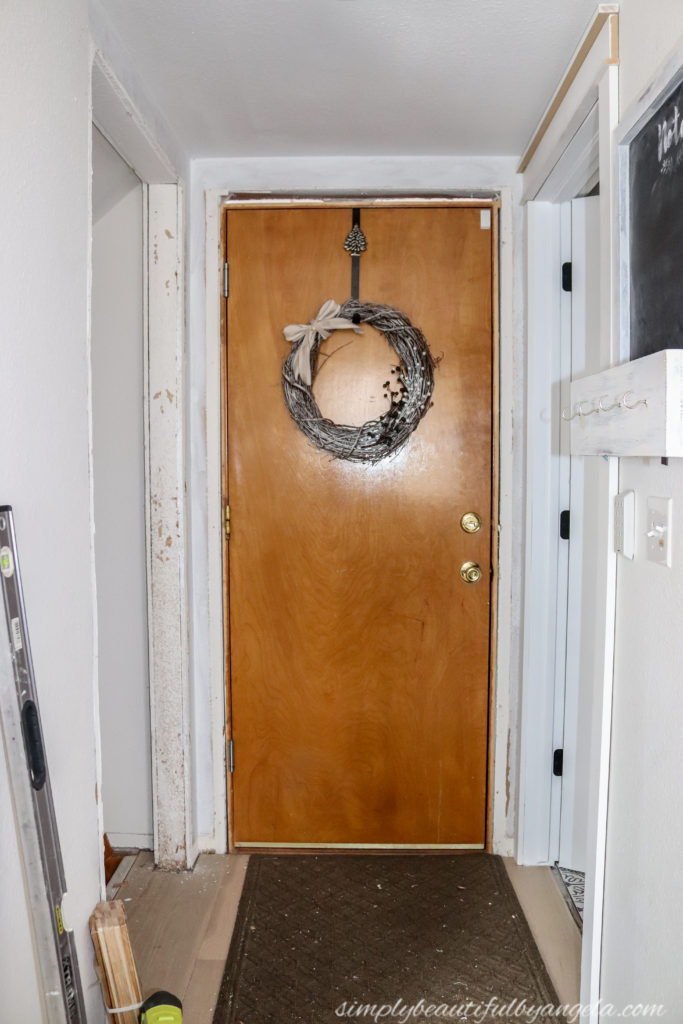
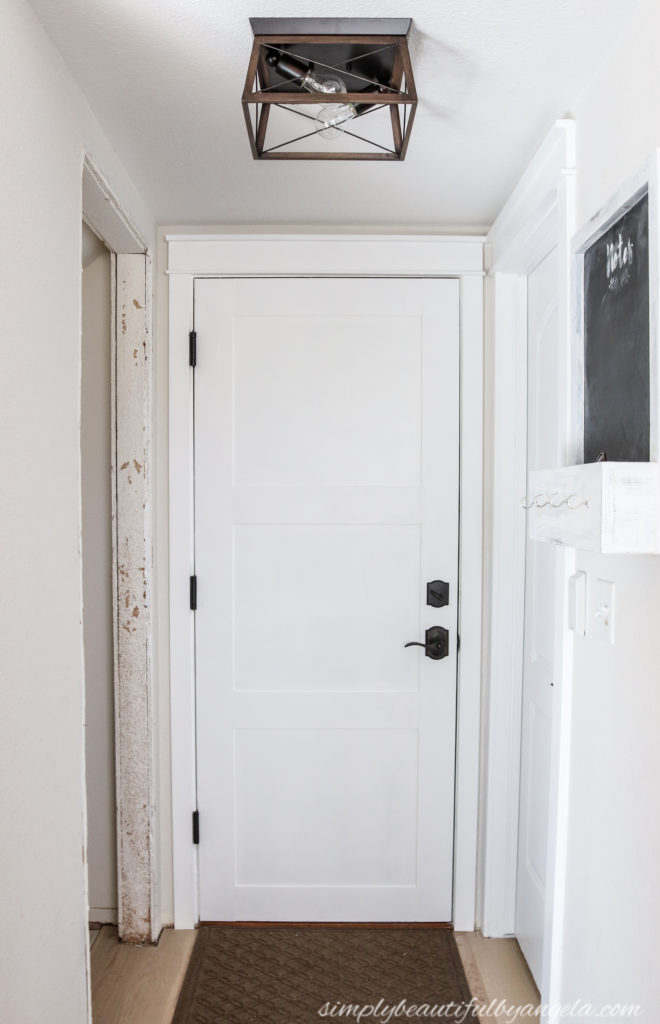
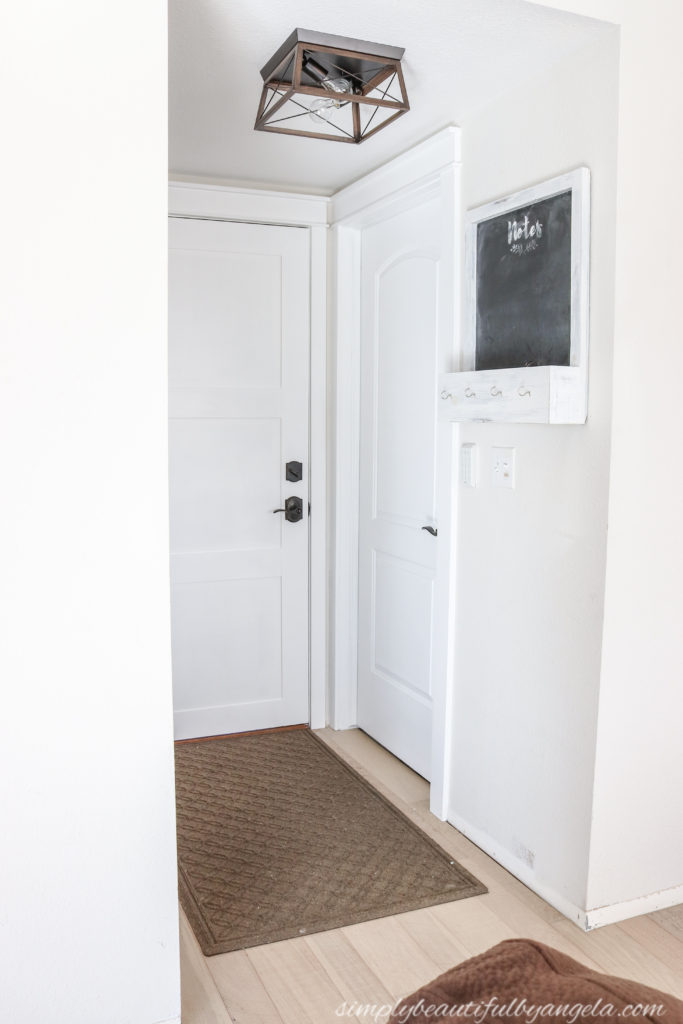
This area is soooo much brighter now. I considered painting it dark gray, but when I thought about how small this space is I decided that white was the way to go and I’m so glad that I did.
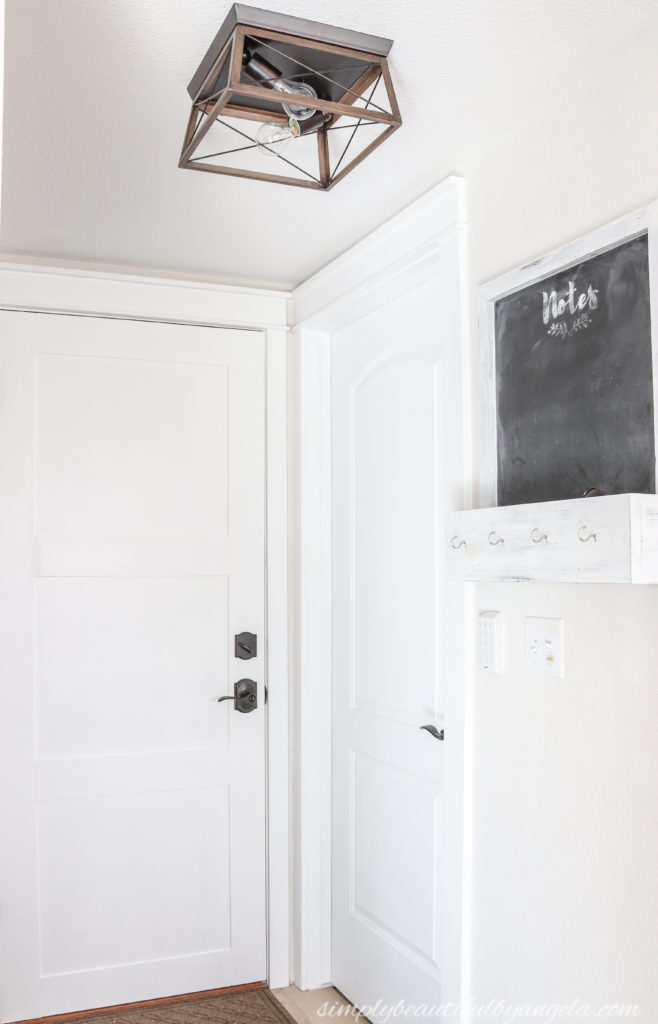
The old light on the ceiling is something that I’ve been wanting to replace for awhile and since I knew that it would pull my eye away from my pretty new masterpiece I ordered a new one.
When I spotted this pretty flushmount light on Amazon I knew that it would be perfect in this space. Installation was a little rough and still a sore subject for Anthony, but I’m absolutely in love with it.
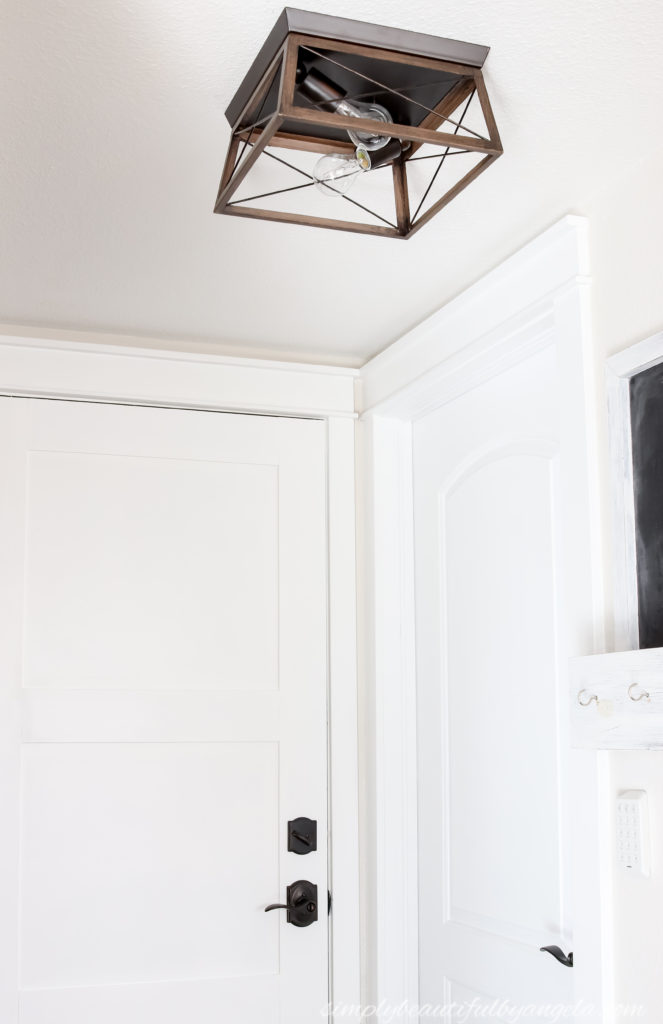
I installed my DIY craftsman style trim around both doors and I love the instant character that it added.
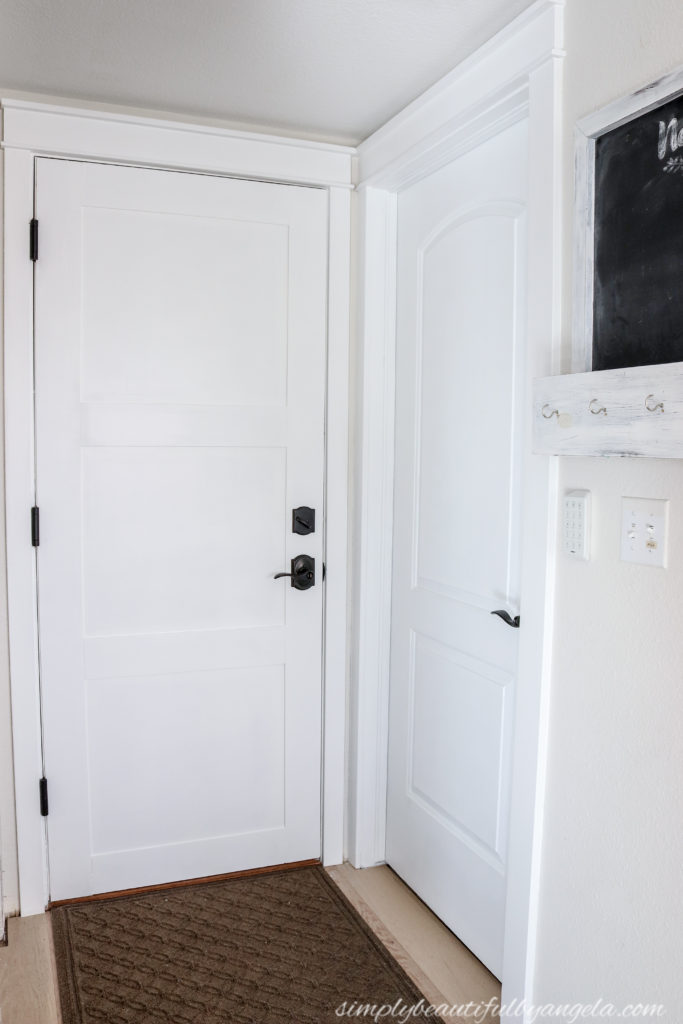
And the best part of this makeover? It cost waaaaay less than the $500 we would have spent on a new door! I already had all of the plywood and paint on hand so all that we needed to purchase was the new hardware and the trim.
Once we get the basement door area figured out this space will be close to done.
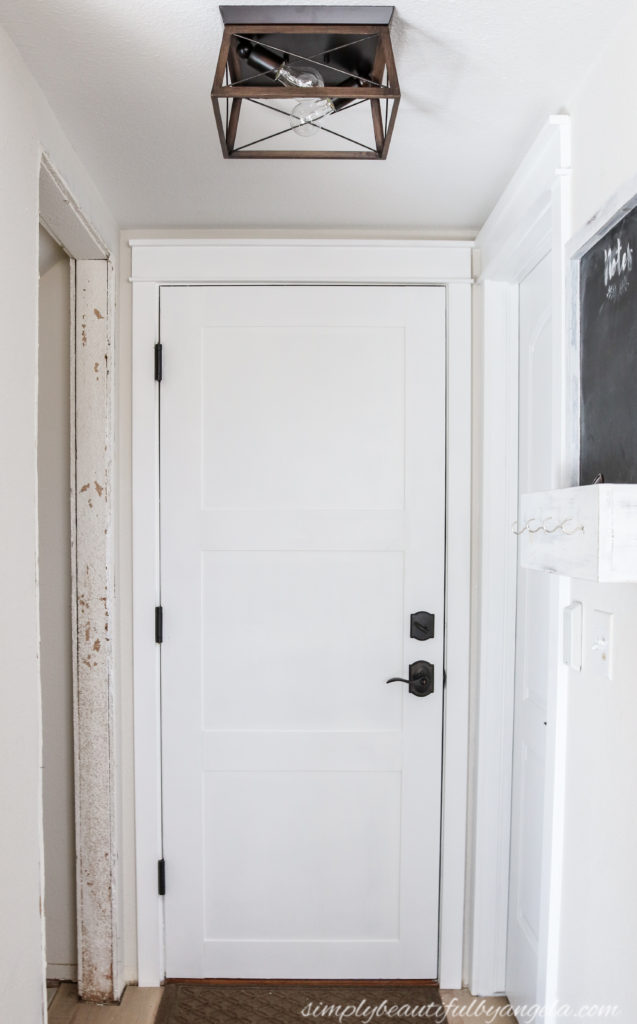
I am debating whether or not to add craftsman style trim to the wall around the opening to this little hallway. Hmmm decisions, decisions…
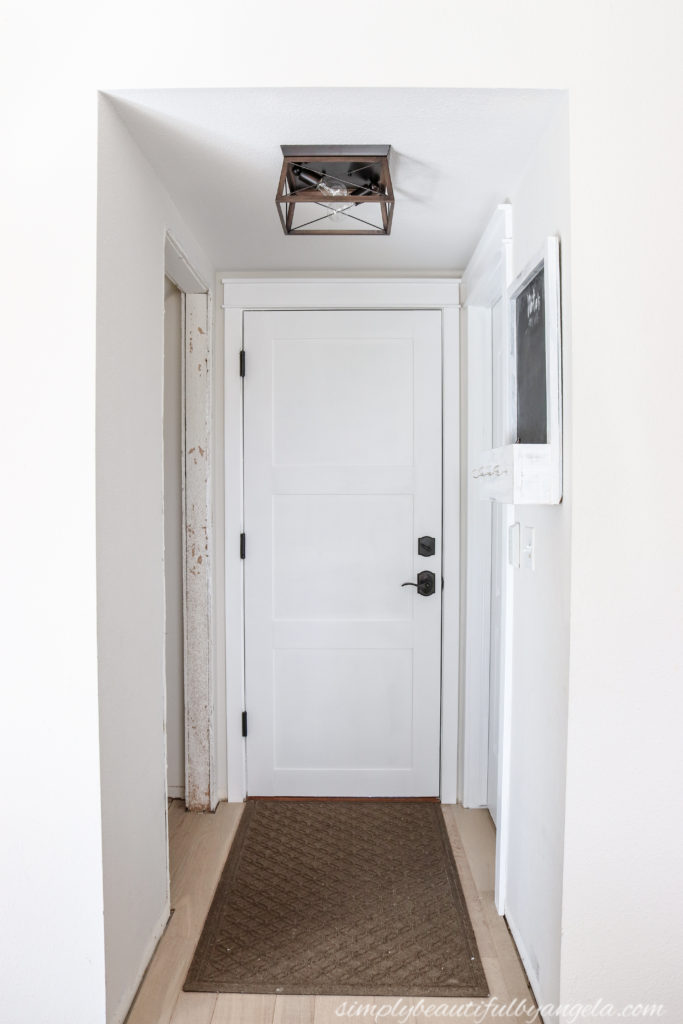
I got some paint on the rug so try to look too close at it!
I am still amazed that with just a little bit of plywood and some paint we were able to take this view from this…
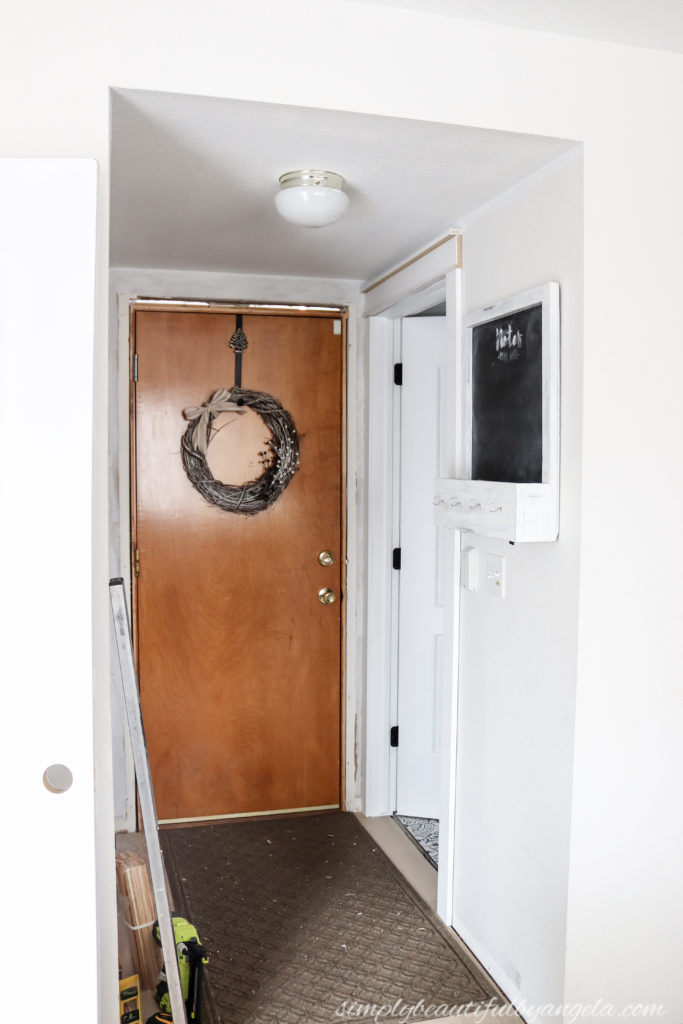
to this!
In case you are wondering we did the same thing to the other side but our garage is too much of a horror story right now to photograph!
Thanks for stopping by today, I hope you all have a nice rest of the week!
Linking up to these awesome parties!
Wow what a huge improvement. I will be featuring this tonight at my Winter Blues Wednesday party that opens at 8pm EST. Please stop by and pick up an I’ve Been Featured button. Thanks. http://diybydesign.blogspot.com
Thank you so much Judy, that means soo much to me 🙂
Love it! Great job:)
Thank you Susanna!!
You did a great job! When we bought our (current) fixer-upper, we had 4 styles of doors and as many different knobs! I replaced everything with craftsman style doors and built matching headers. We had a few original flat panel doors (from the 70s!) but they were in really bad shape. Maybe in my next house, if it has flat doors in good shape, I’ll do this (but there is no current plan for a next house, lol). Stop by and see how I did my craftsman style doors. Thanks for sharing at #HomeMattersParty
Oh, and I love the light!!!!!!!
Thank you Emily! It was definitely a nice cheap fix! I am also doing craftsman trim on all of the doors and windows and am loving how they are turning out. I will swing by to check yours out for sure 🙂
This is amazing! All of the interior doors in our house are flat panel, as well. We have painted them all white, but this would take them to the next level. Thanks so much for sharing at Sweet Inspiration!
Thanks Amy! You should! It’s amazing how such a simple update can make them appear totally different 🙂