Hello and welcome to week four of the One Room Challenge! Only two more weeks left until the big reveal and I’m getting more and more anxious by the day.
If you missed any of the previous posts in this challenge you can catch them all here:
One Room Challenge (Week 1): The Plans
One Room Challenge (Week 2): New Plans + Shower Stall Makeover
One Room Challenge (Week 3): Grout Paint + Concrete Countertops
Our budget master bathroom refresh is slowly coming along and for the first time in this challenge I feel like I am finally starting to see my vision start to come to life.
I’ve gotten quite a bit accomplished this past week and I’m excited to update you guys with what I’ve crossed off of the list!
I must preface by apologizing for the super poor photos you are about to witness. I always get so focused on the project when I have daylight that I forget to snap pictures until the sun is nearly down. I promise to try to get some better ones for you guys next week!
1. Counters Sealed, Cabinets Painted
Last week I mentioned that I finished applying the concrete to the vanity counter and was beginning the sealing process. After hours of research I ended up choosing Tuff Duck Concrete Countertop Sealer but I was nervous about how it would turn out.
I poured some in a bowl, soaked a microfiber pad in it and then timidly put on the first coat.
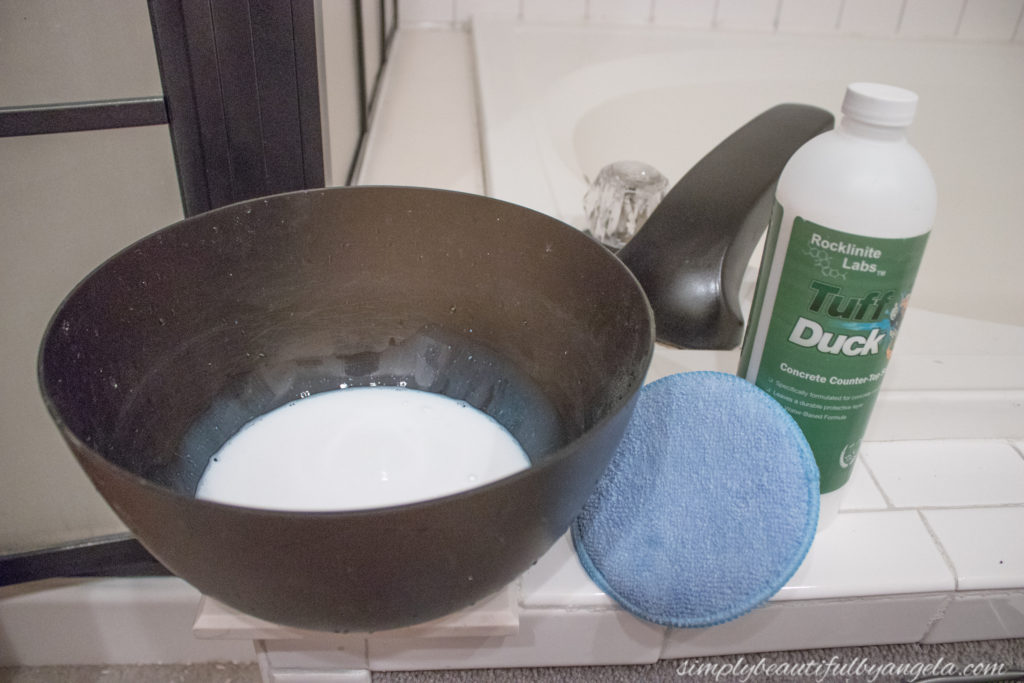
I was happy to see that it went on quickly and easily. I applied so many coats that I lost count..I want to say it was around six? I’m not taking any chances here haha!
I let it dry at least an hour between coats and alternated the direction each coat per the instructions on the bottle.
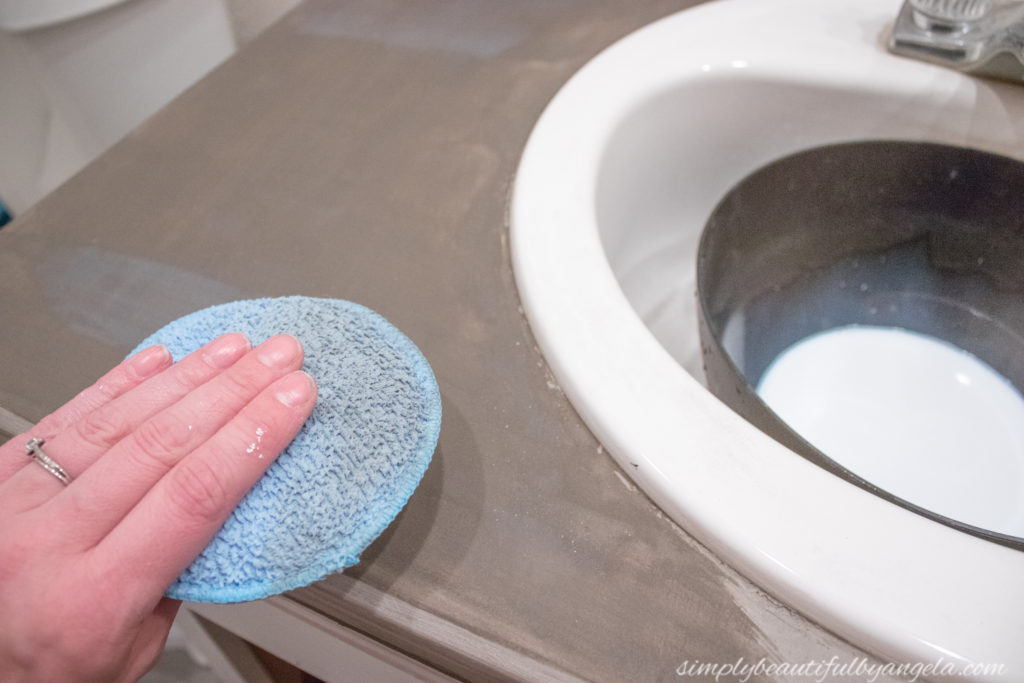
I’m so happy with how it turned out! The night time lighting truly doesn’t do it justice here. They add to the industrial style that I am aiming for and are such a step up from the blue laminate.
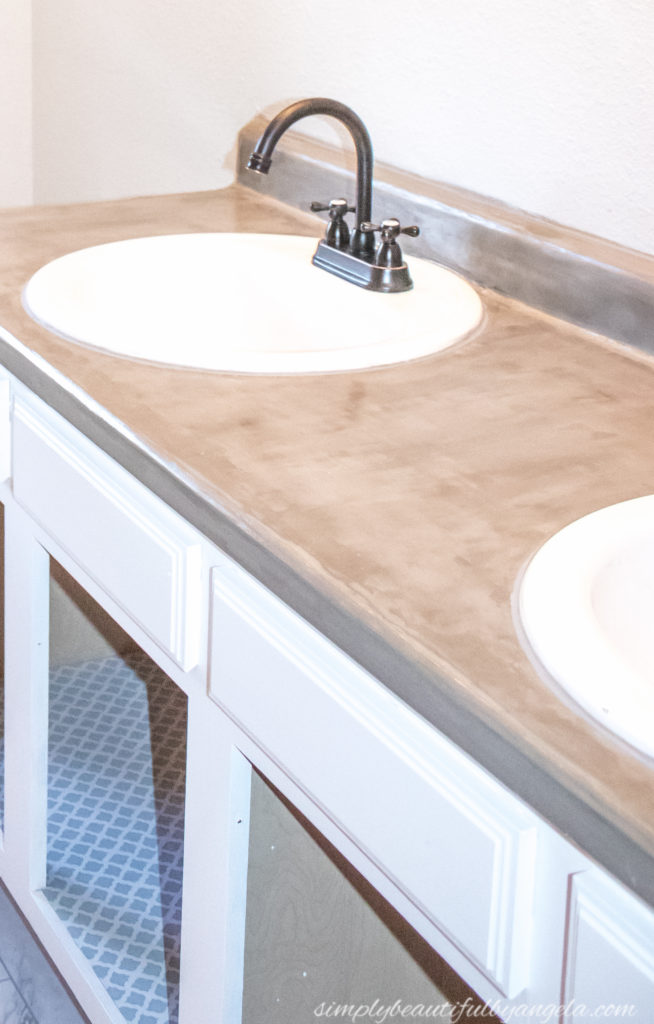
I finished painting the cabinets and even got extra ambitious by laying some pretty contact paper shelf liner inside.
2. Hardware
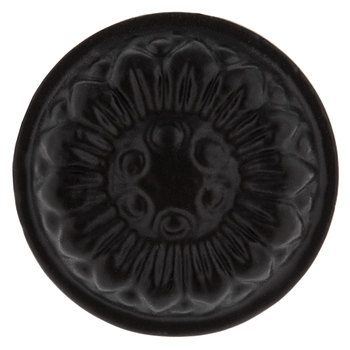
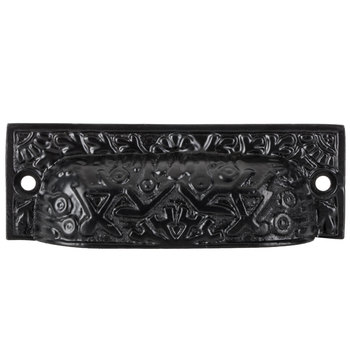
On Friday I took a trip to Hobby Lobby to pick out some hardware. I went in having zero ideas for what I wanted so I spent at least 30 minutes in that aisle going back and forth between the gazillion options that they have there before finally deciding on these two.
The knobs will go on the cabinets and the pulls on the faux drawers. I can’t wait to see them installed!
3. Faucets
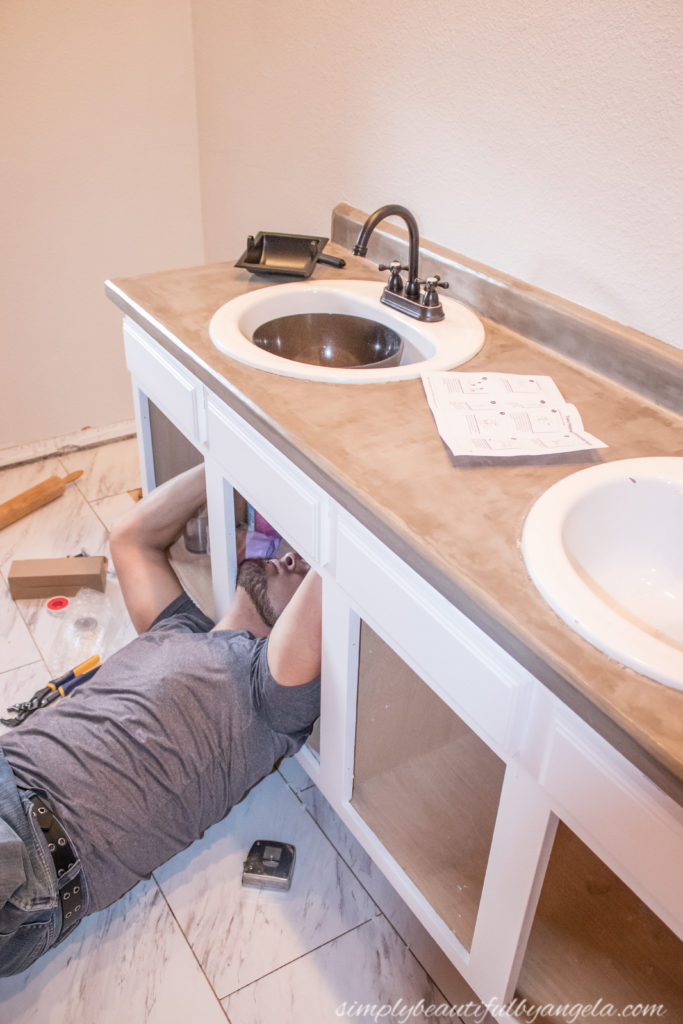
Once the sealant on the counter was fully cured, we were able to put in our beautiful new faucets. When I say “we” I of course mean my amazingly talented plumber AKA my hubby haha 🙂
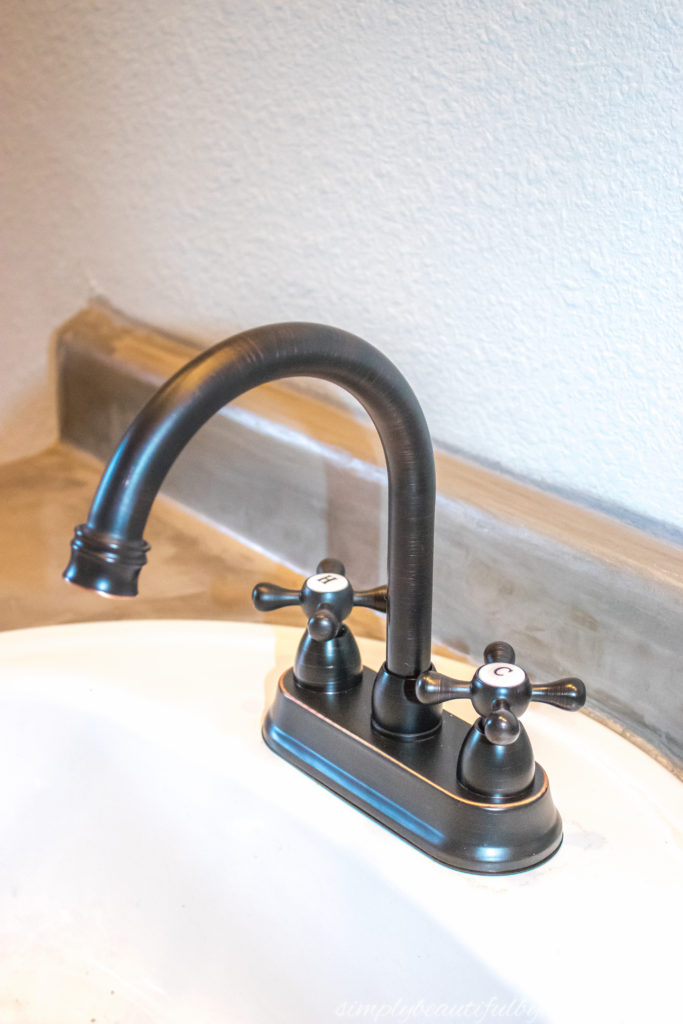
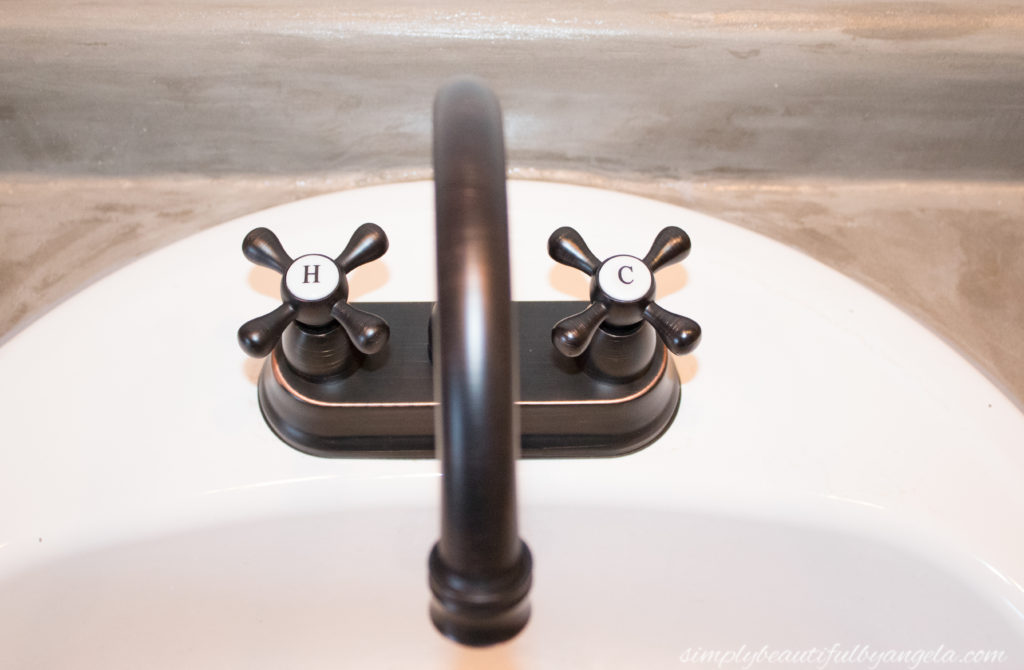
I purchased these oil rubbed bronze faucets for a bargain price on Amazon so I was a little worried about the quality. However I was so surprised when they arrived! They feel a lot more expensive than they actually were and the little hot and cold knobs are SUCH a cute detail.
4. Floors!
On Friday I accomplished something that I have wanted to do since the first time I laid eyes on this bathroom. I ripped the old nasty carpet out. FINALLY! Words cannot truly described what a glorious moment for me that was. It was sooooo satisfying you guys.
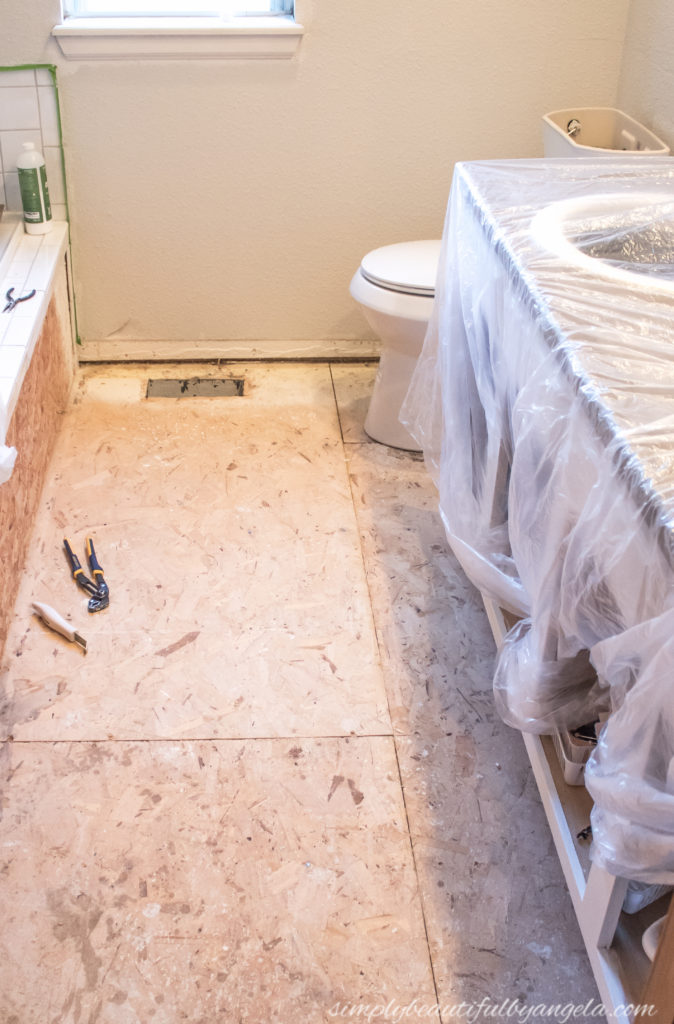
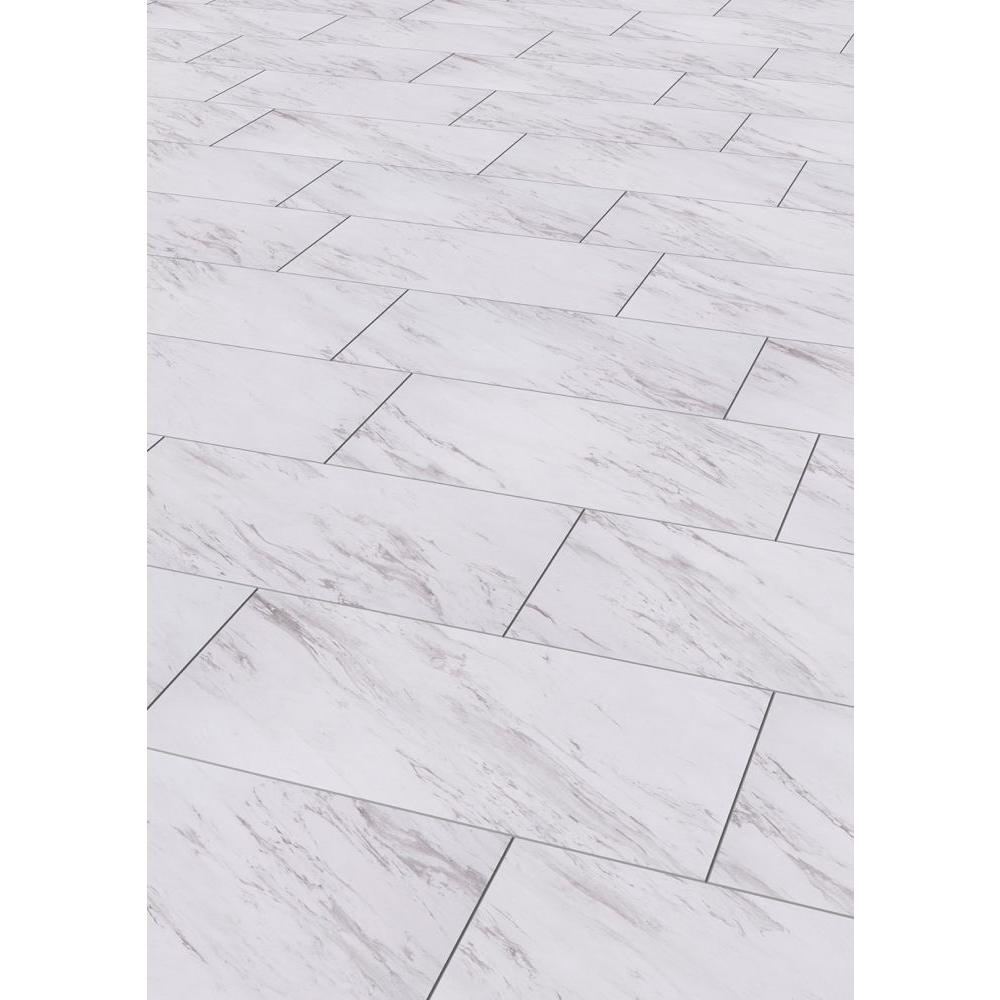
As you may recall we eventually want to install tile when we do our full gut renovation, so we just needed something temporary that was better than the gross carpet. Since the original plan of doing sheet vinyl got nixed when I found out the shipping cost, I chose these faux marble vinyl tiles.
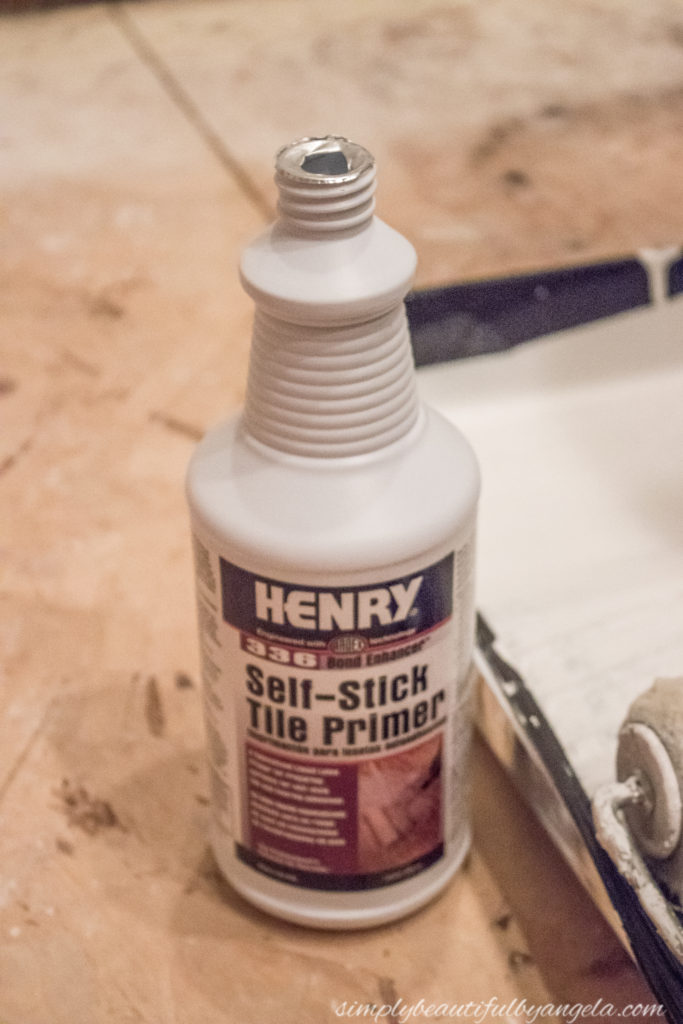
I applied a coat of Henry Bond Enhancer to the plywood to help them stick better and let it dry overnight.
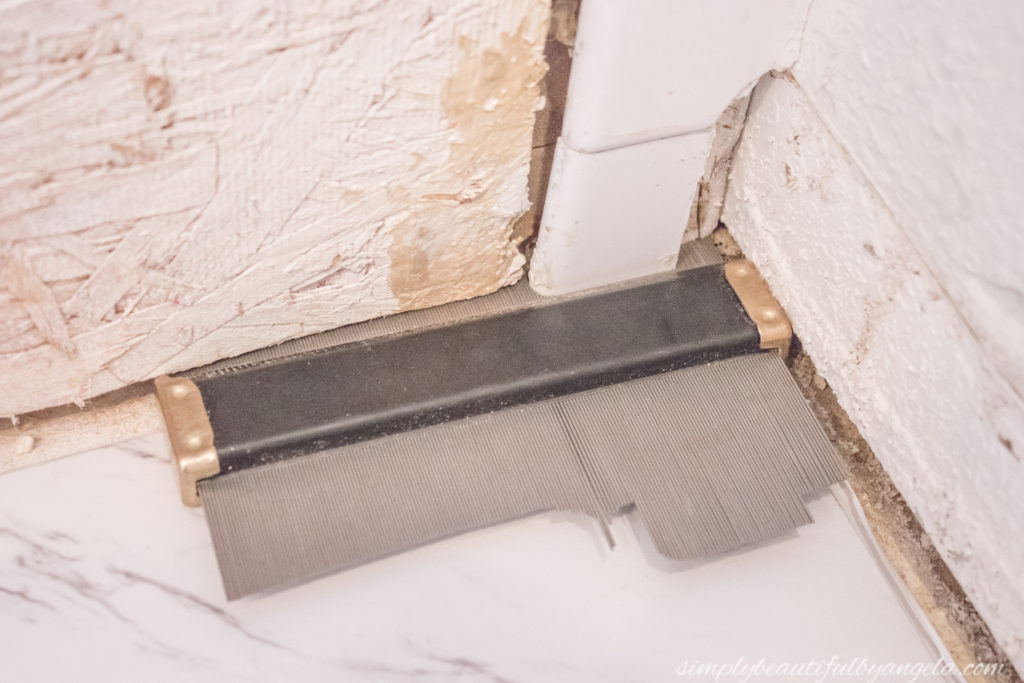
The next day I was super excited to start laying the tiles but of course my first one had an obstacle.
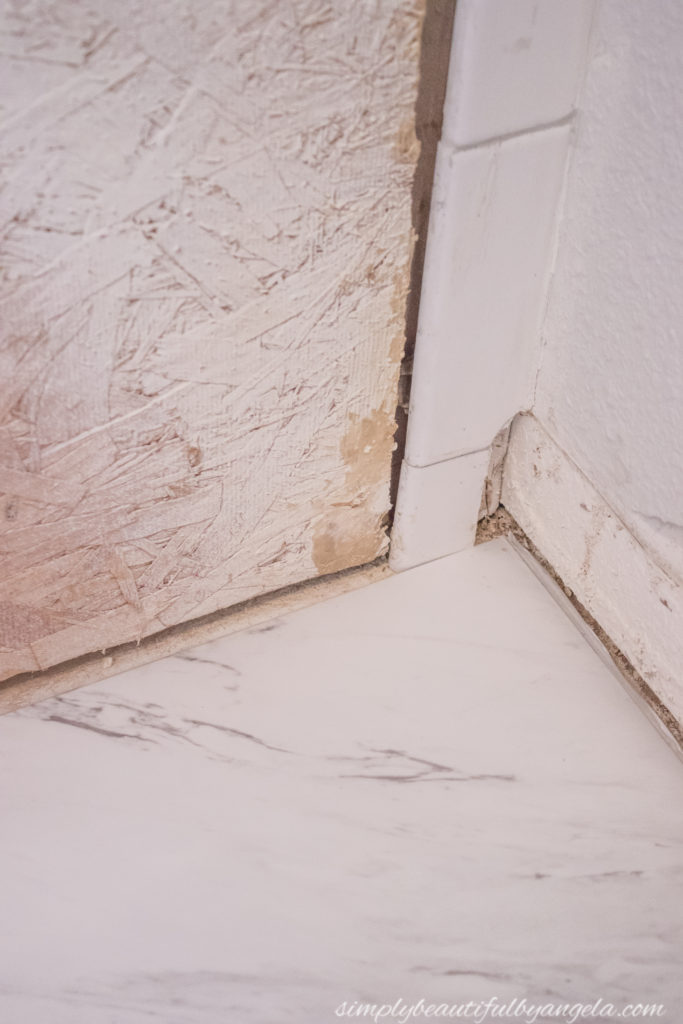
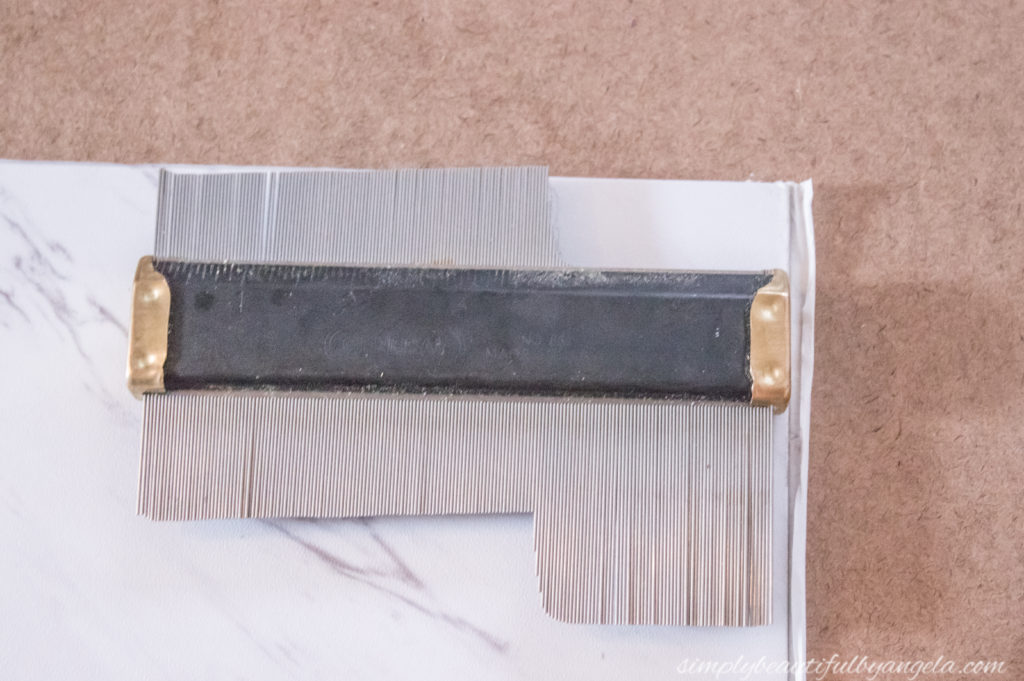
I was thankful that I still have my contour gauge that I got for our last bathroom flooring install. It seriously makes normally difficult cuts a total breeze!
Since the tiles are so large we had the whole floor laid out in about an hour. I grouted them to make them look more realistic and to keep water from seeping through to the plywood.
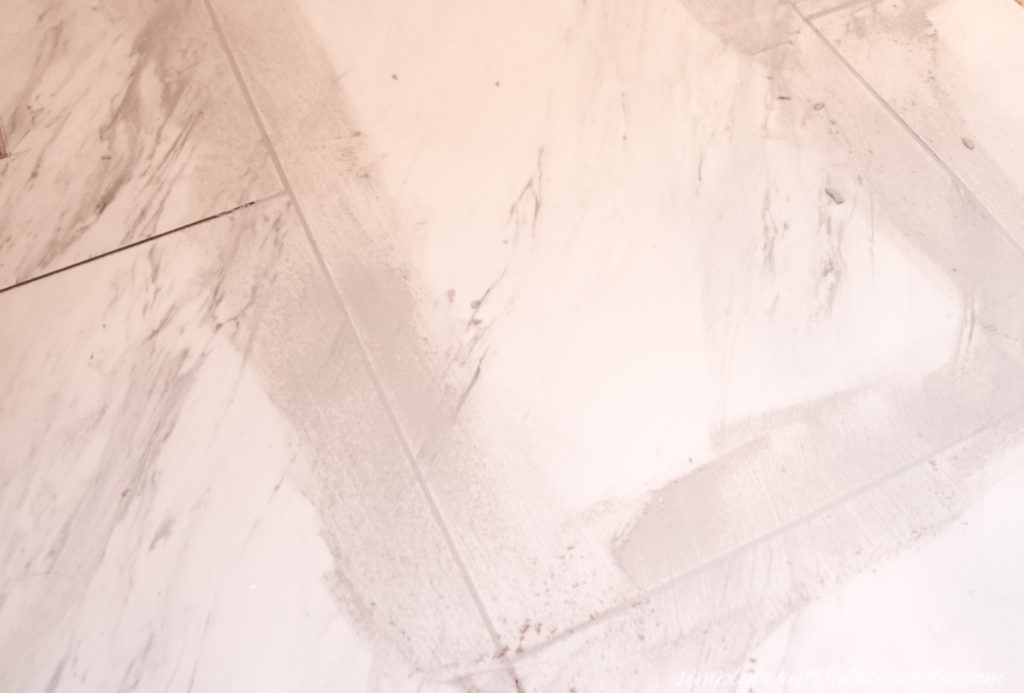
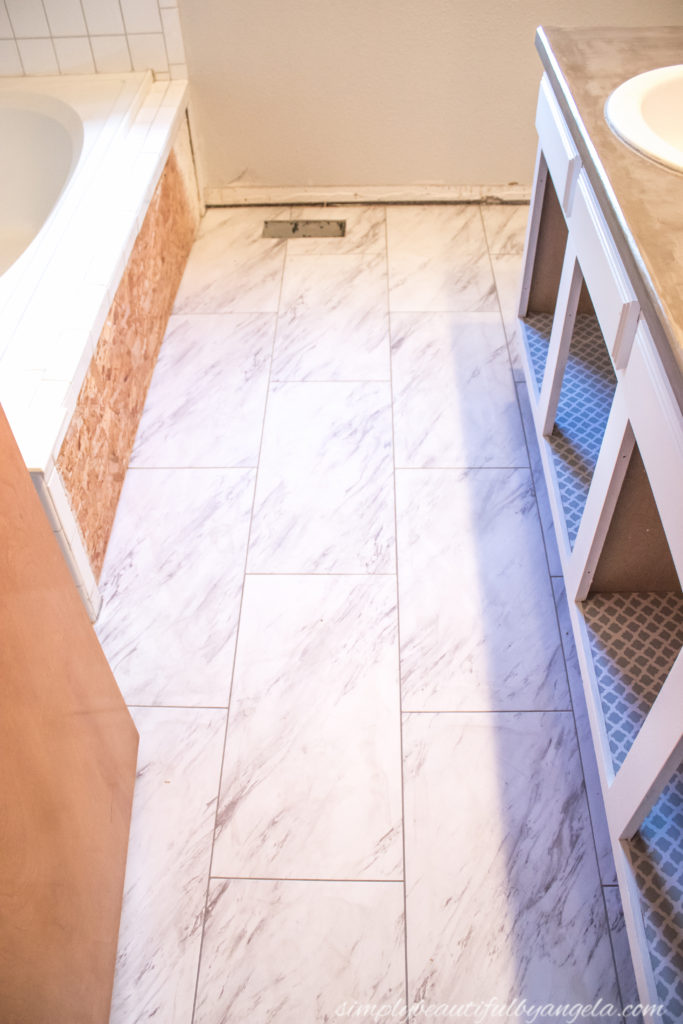
I’m pretty happy with how they turned out and even happier to be rid of the carpet!
5. Paint and Blinds
I finally got the walls painted which seems like a small thing but makes a huge difference in here. I chose to stick with my trusty Sherwin Williams Basalt Powder. It’s cazy how much darker it looks in this space since there is less natural lighting than the other spots that we have it. I really like it though.
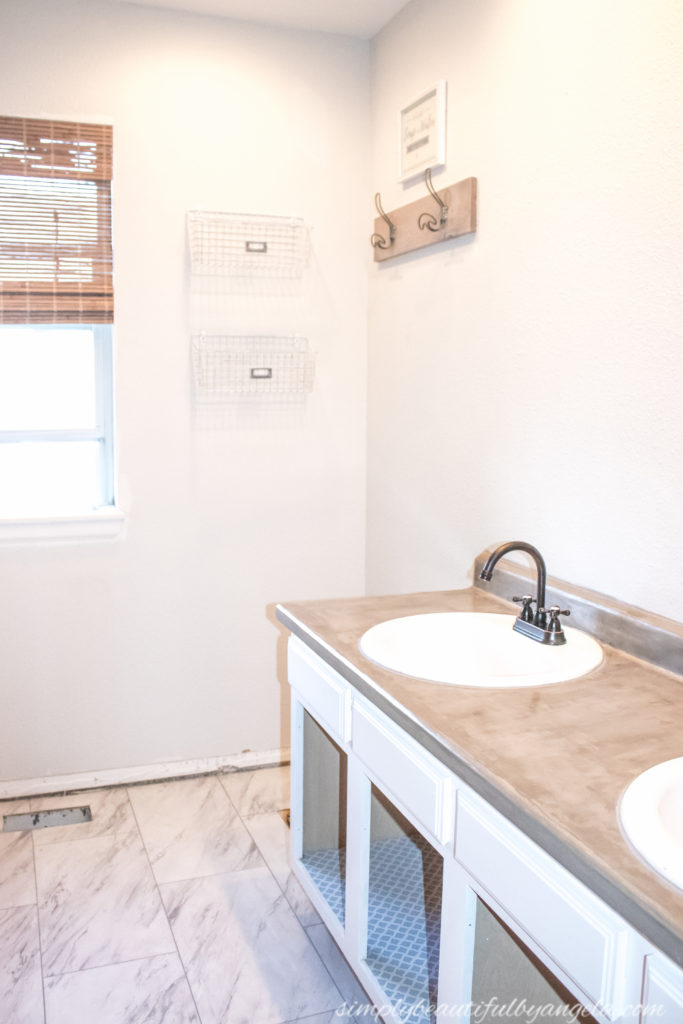
You can also get a glimpse of the new bamboo shades in the window in this picture.
Alright, let’s take a look at what’s left:
Week 5 (April 26 – May 2)
- install vanity hardware
- install baseboards
- install shiplap on tub surround
- frame mirror
- build pipe shelving
- install craftsman style window trim
- build and install barn door
- hang prints on wall
Week 6 (May 3 – May 9)
- wrap up anything I’m behind on
- photograph and write reveal post!
I still am a little behind schedule but I feel like the remaining items are totally doable to get done by the reveal date. I just may have a few extra late nights and a few extra cups of coffee over the next two weeks!!
All of the other guest participant’s progress can be found here.
Affiliate links may be provided for convenience. For more info, see my full disclosure here.
Linking up to these awesome parties!
It’s looking AMAZING, Angela. Question, where did you get the vinyl tiles from? I’m thinking they may me a perfect solution for my little rental home. Also, the contour tool… AMAAAAZING! 😉
They are from Home Depot! Yes the contour gauge comes in soooo handy!
It is looking great! We have a couple projects we need to tackle this year but it has been really busy. Trying to be patient!
http://www.chezmireillefashiontravelmom.com
Thank you Mirellie! Yes patience is difficult, I can totally relate haha