Hello everyone and happy hump day! I hope you’re all having a great week. The kids started school so it’s really starting to feel like summer is coming to a close–which of course I’m pretty bummed about. However we still have a few more fun things planned later this month and next, so it’ not quite over yet!
Of course since we’ve been soaking in as much summer fun as possible, not much has been accomplished on our fixer upper. So for the blog, I decided to use the next couple of weeks to catch up on the remaining DIYS that went in to our budget master bathroom makeover.
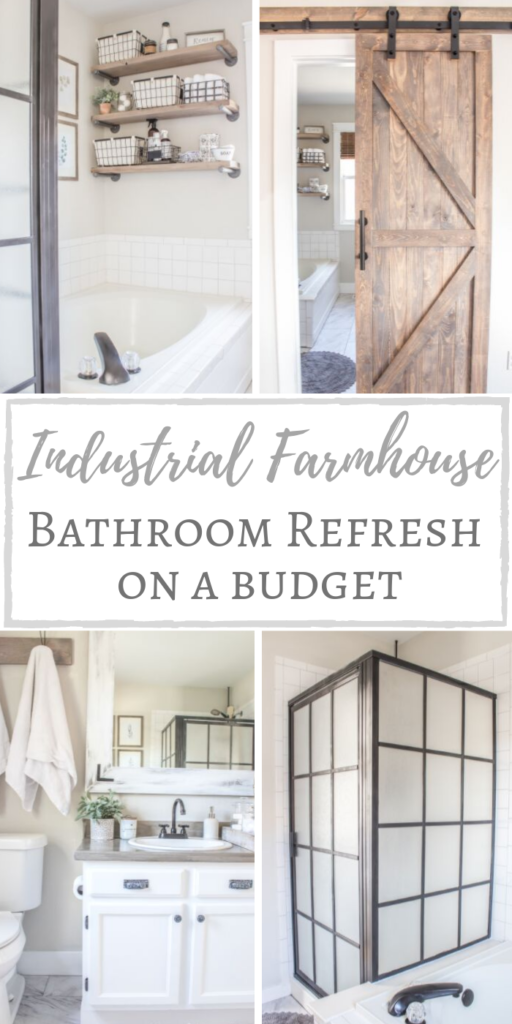
So far I’ve shared these ones with you guys–
But I still have two left on the list! Today I’ll be sharing how I framed our builder grade mirror and next week will be the pipe shelves. Let’s get to it!
Here’s the old mirror situation…
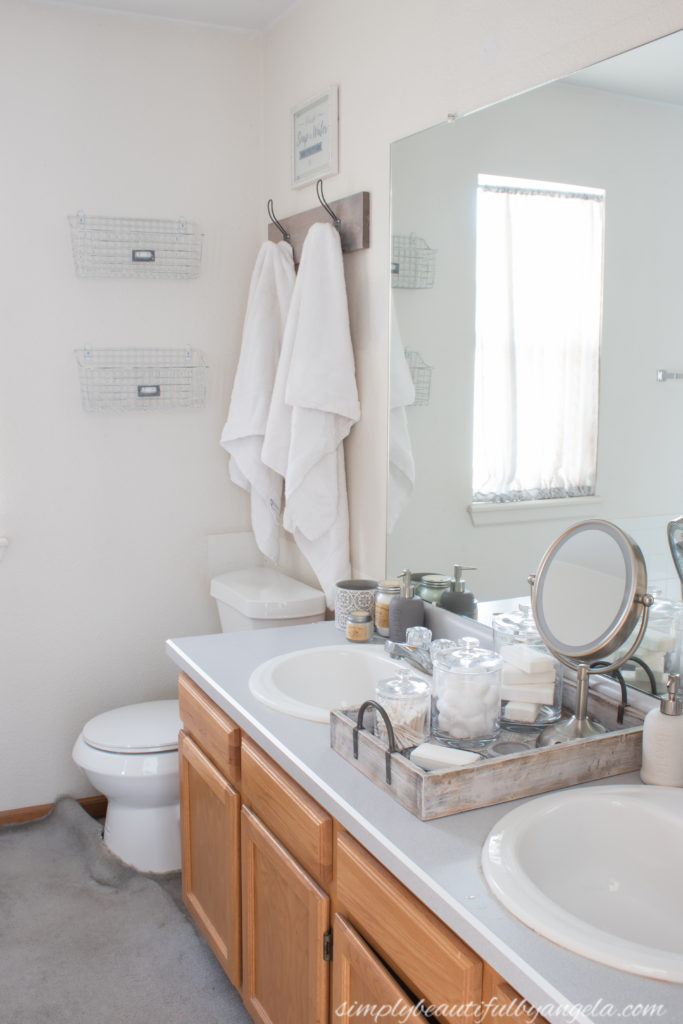
It was a classic builders edition held to the wall with plastic clips. I thought about replacing it with two individual mirrors, but I realized that the nice thing about the large mirror is that it makes the space feel much larger than it really is. I also decided that I wanted to do this makeover for as cheap as possible, so keeping the larger mirror would definitely cut costs. I just needed to make it a little less builder grade-ish!
Supplies Used:(Affiliate links may be provided for convenience. For more info, see my full disclosure here.)
- 1 x 6 boards
- Sliding Miter Saw
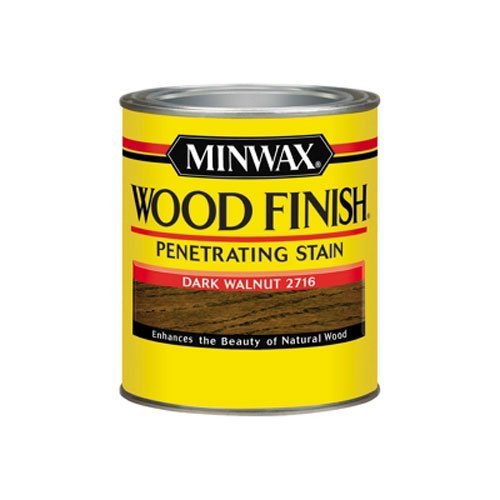
- Minwax Dark Walnut
- DIY Chalk Paint (1 cup latex paint + 1 teaspoon Plaster of Paris)
- Angled Brush
- 220 Grit Sandpaper
- Minwax One Coat Polyurethane
- Wood Glue
- Flat L Brackets
- Rust-Oleum Oil Rubbed Bronze Spray Paint
- Flat Metal Mirror Clips
- Large Command Strips
Unfortunately I was moving in such a hurry that I didn’t take ANY progress photos. So I hope that you can bear with me and my little drawings as I explain how I created our budget friendly farmhouse style mirror!
1. Measure
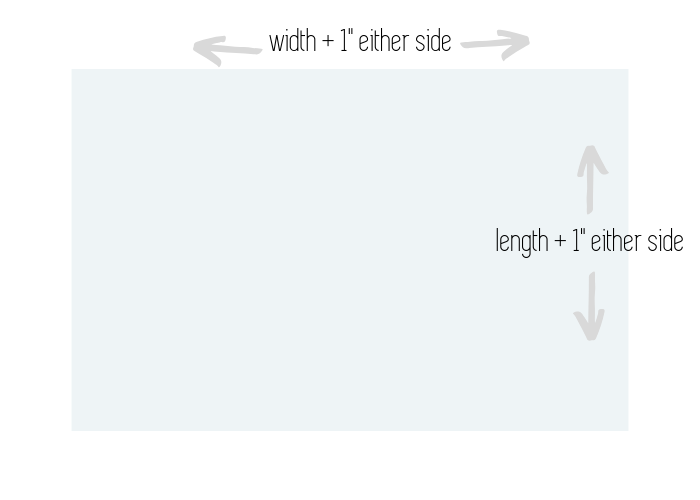
I decided that I didn’t want to see the side of the actual mirror, so I measured the width and length of the mirror and added 1″ to either side so that there would be a good overhang to hide the mirror.
2. Cut
When I framed the mirrors at our old house I used some decorative molding which turned out beautifully, but for this bathroom I was looking for a more chunky and rustic vibe. So I purchased some 1×6 common boards, making sure to pick out the straightest ones possible.
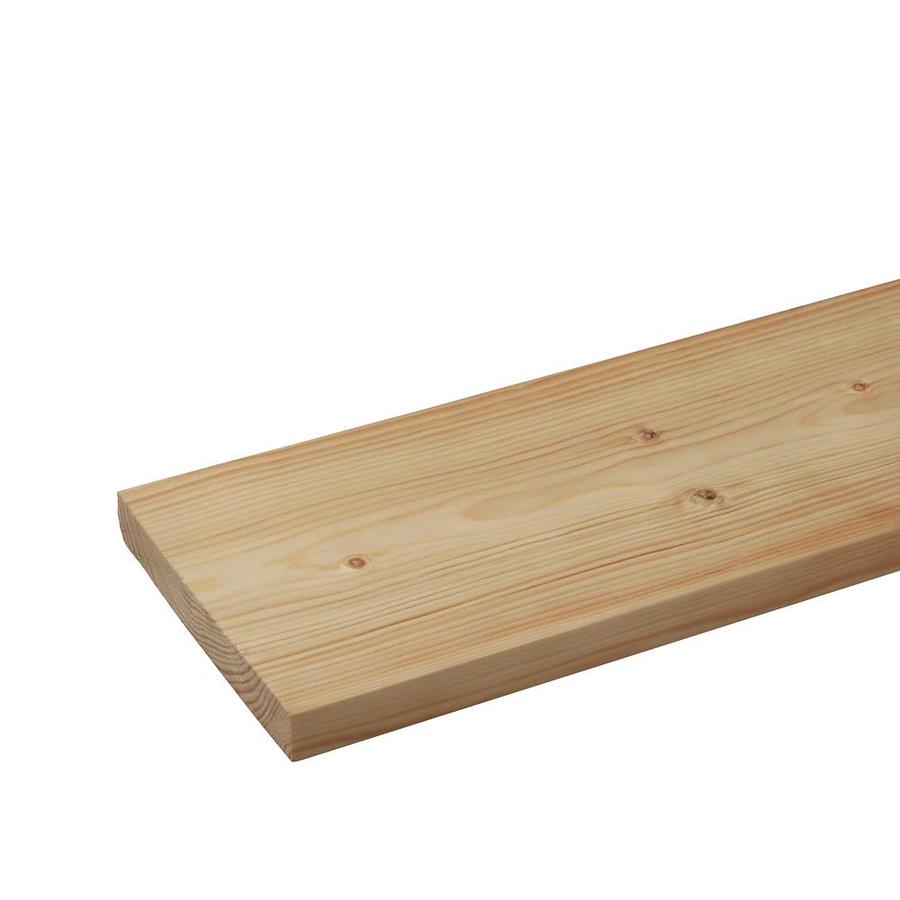
Using my measurements from corner to corner, I measured and cut out the 4 sides and mitered them on the miter saw.

3. Stain & Paint & Topcoat
I originally planned on just staining the boards with my trusty Dark Walnut and calling it done.
However, once I realized that the hand towel bar, towel hook board AND the shelves were going to be stained wood, I knew that I had to switch it up a bit. I brushed some white chalk paint on, and moved the brush from away from the corners so that it sort of feathered out. Once it was dry I went back over with some sandpaper to distress it.
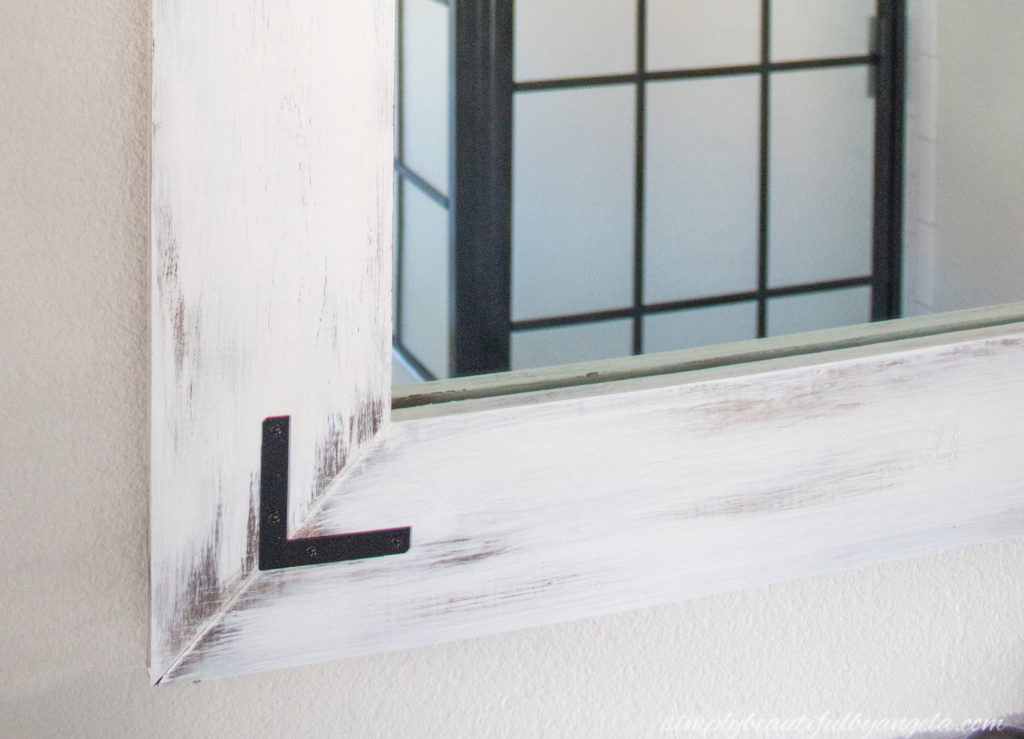
***DO NOT forget to stain/paint a little bit of the backside since it will be visible once you attach it to the mirror!!!***
To protect it from water splashes I coated it with Minwax One Coat Polyurethane.
4. Assemble Frame
I ran a line of wood glue along the edge of each mitered edge and then set heavy boxes of flooring on the sides to press it together. If you have big clamps that would probably work much better!

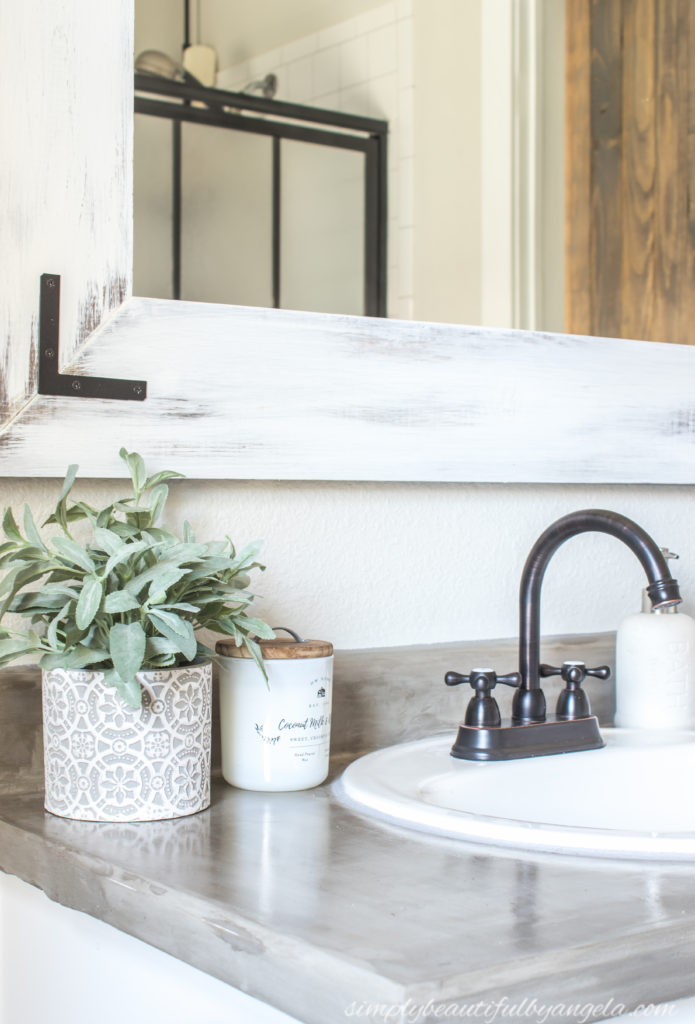
I tried to make my mitered cuts as precisely as possible, which helped with gluing them together. However they weren’t perfect and I don’t think I would trust the glue alone. Therefore I decided to add some L-brackets for both support and as a fun decorative accent.
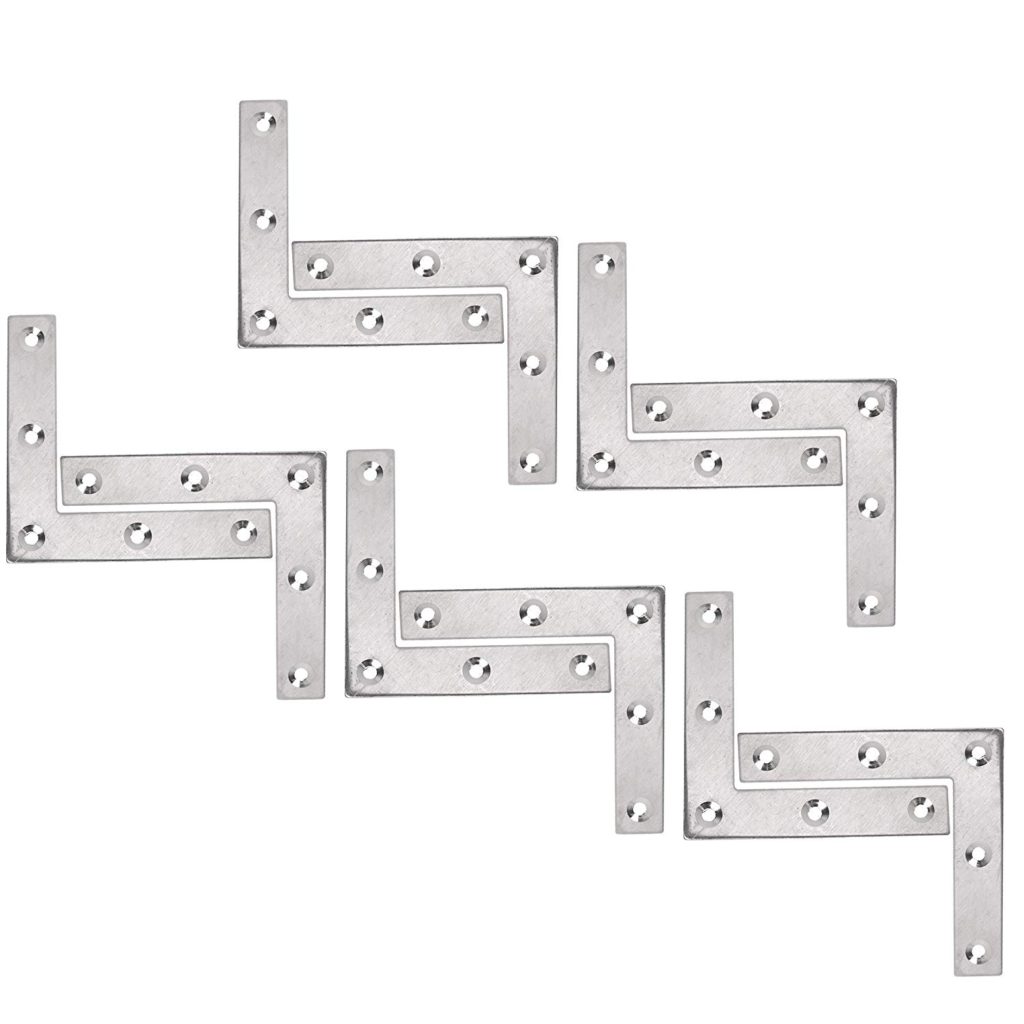
I spray painted them with Rust-Oleum Oil Rubbed Bronze Spray Paint before screwing them on so that they would pop against the white paint.
5. Hang Mirror with Flat Clips
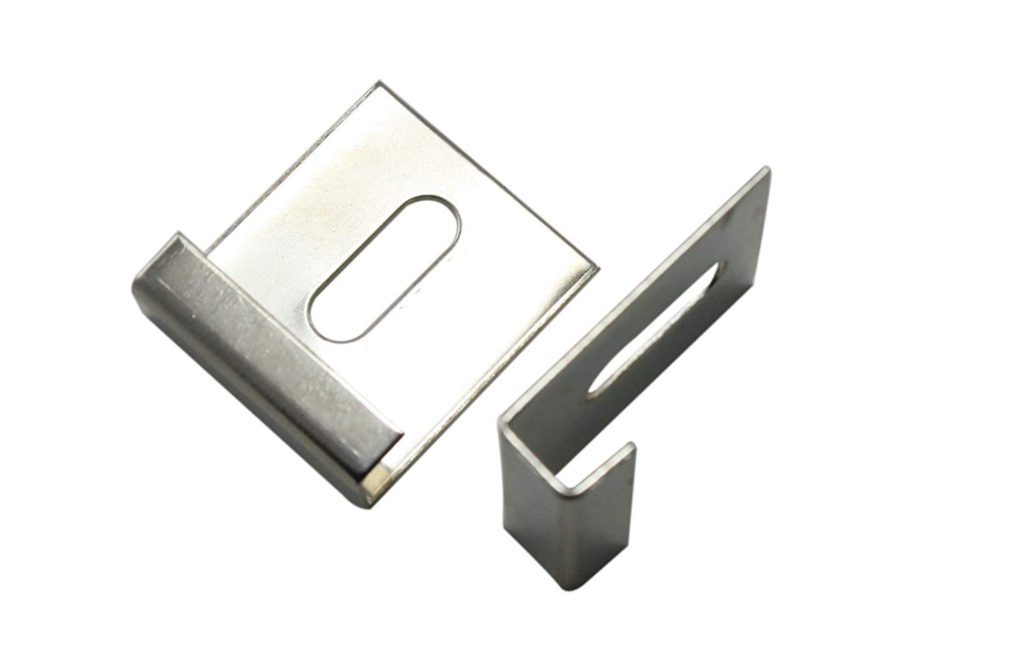
If you are lucky enough to already have flat mirror clips you can skip this step! However, our mirror was secured with bulky plastic clips that had to go before the frame could be hung.
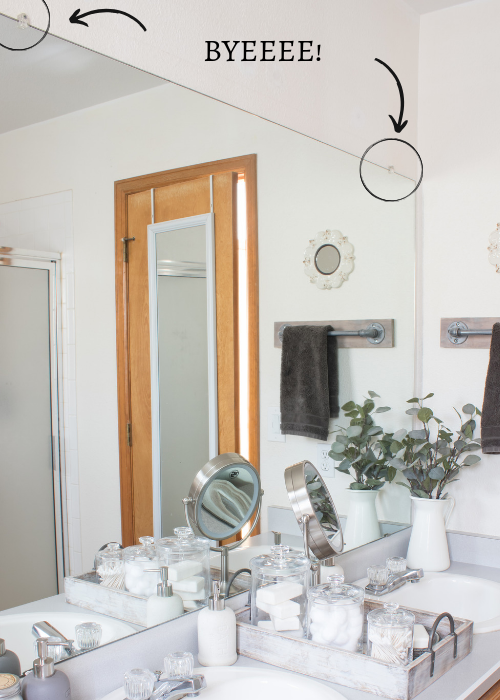
I got some flat metal mirror clips, however it took us awhile to figure out how to make them work. It turns out that the round headed screws that they come with stick too far out and don’t leave enough room for the mirror to sit. We actually had to go get flat headed ones which worked perfectly.
6. Attach Command Strips
Once the mirror is hung it’s time to attach the mirror! When I framed the mirrors at the old house I simply used mirror adhesive. However I wanted something a little less permanent and easier to remove since we plan on eventually gutting this bathroom and possibly doing something different.
Enter command strips!
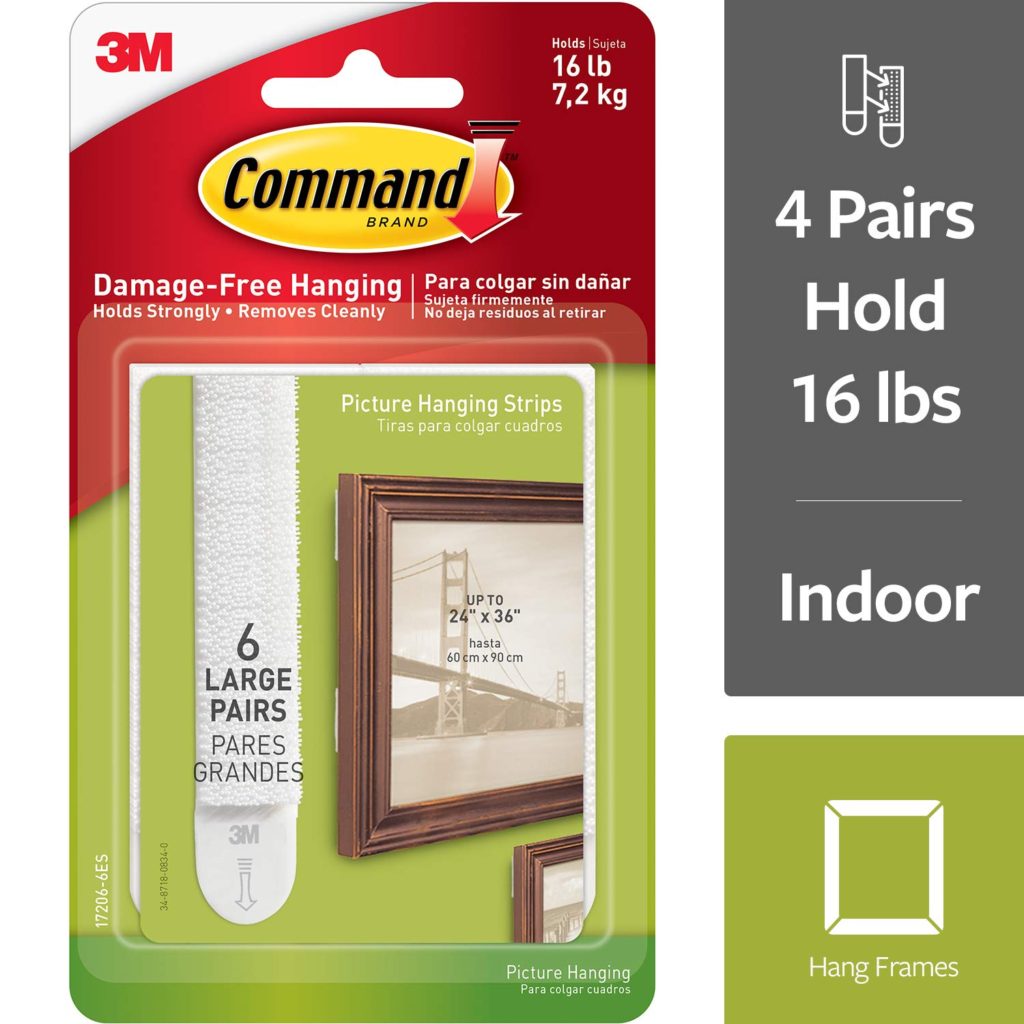
I saw this idea on a few other blogs and since it seemed to work well for them I decided to give it a shot. The package says that 4 pairs holds 16 lbs which was plenty, but for extra security I placed one in each corner, and then several along the sides for a total of 12 as pictured below.
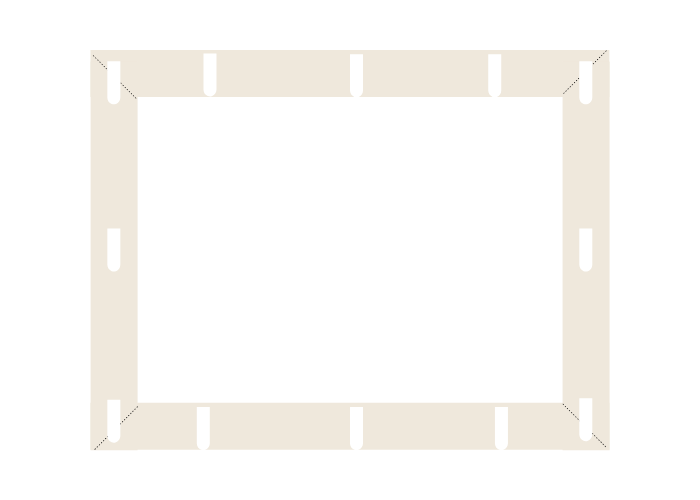
The package also states that the max frame size to be used is 24″ x 36″ which of course is much smaller than this, however it’s been holding up great for the last 5 months! I’m not sure if that’s because I used more than 4 pairs, but it doesn’t seem to be budging at alllllll.
7. Hang Frame
This is definitely a two person step! Once the command strips are attached to the back of the frame, you can remove the adhesive from the other side and slowly place it on the mirror. The hubby held one side while I held the other and we pressed it for a minute or two to make sure that it really stuck. Don’t press so hard that you end of breaking the mirror of course, because that would sure be sad!!
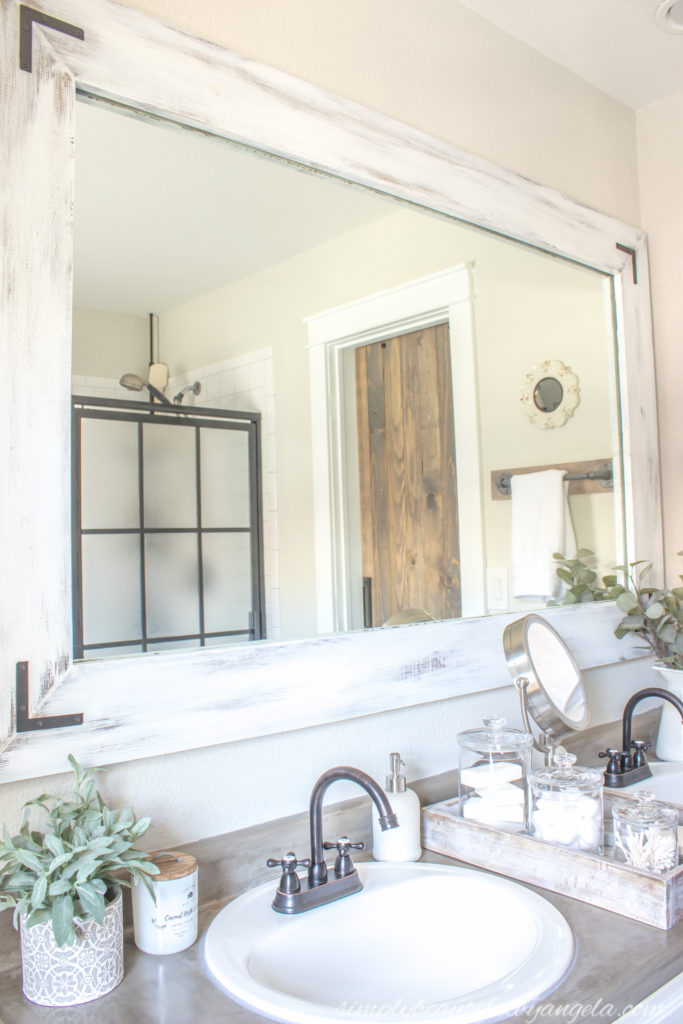
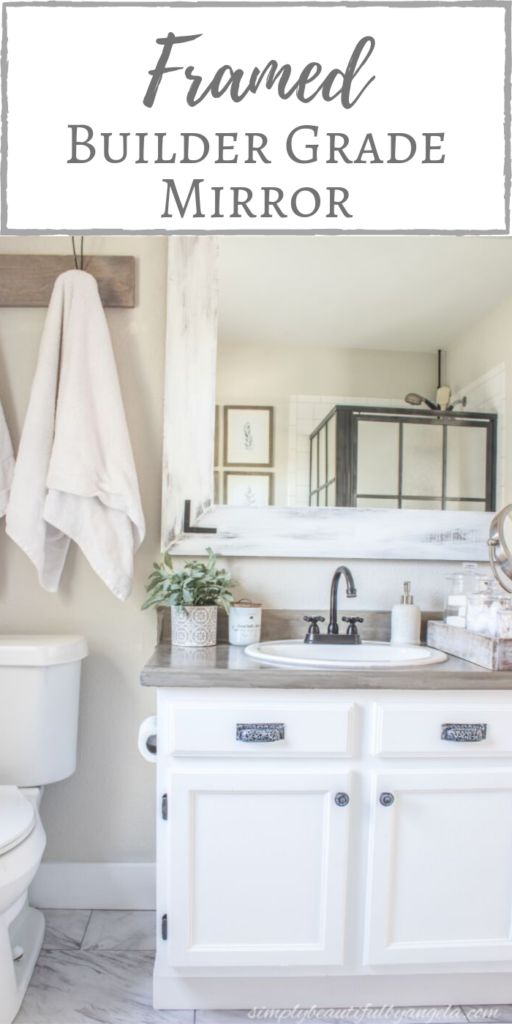
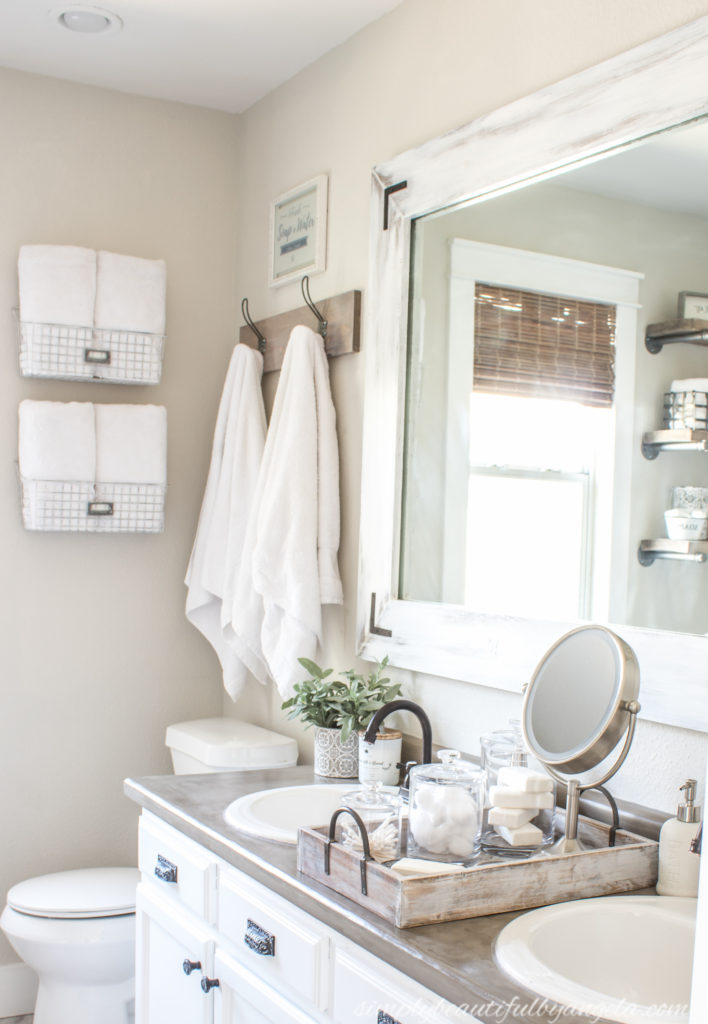
I am so happy with how much it helped transformed our bathroom from this…
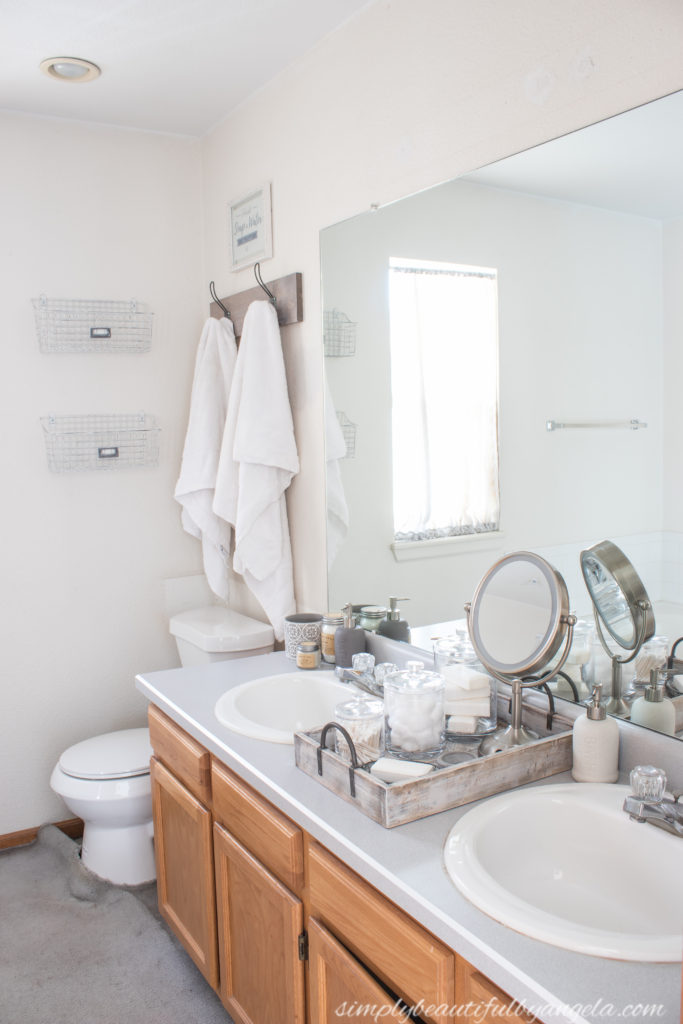
to this!
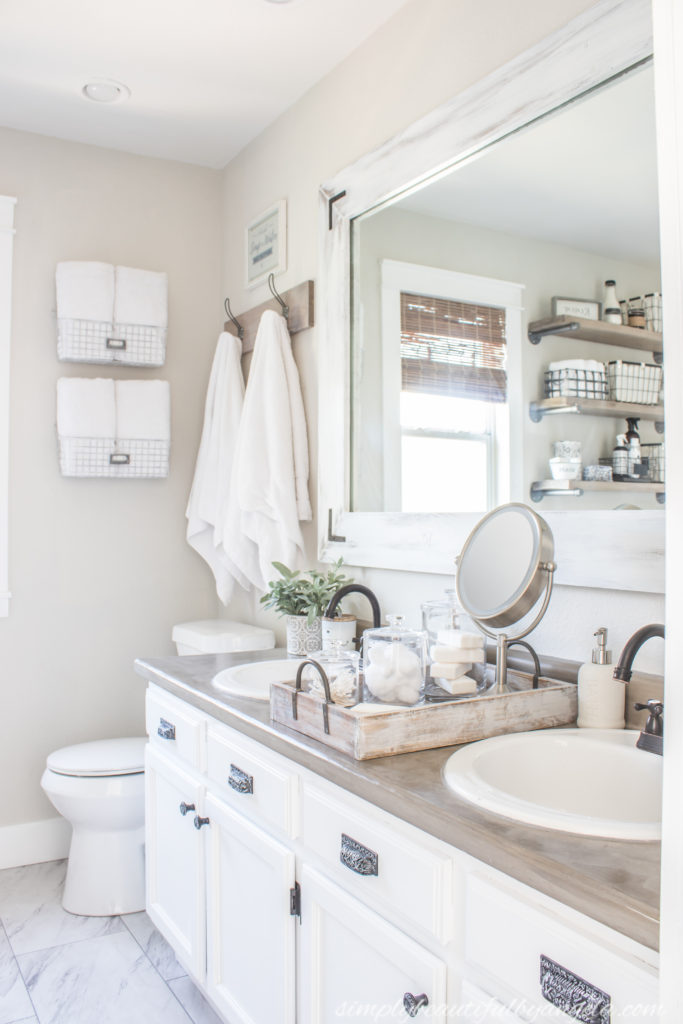
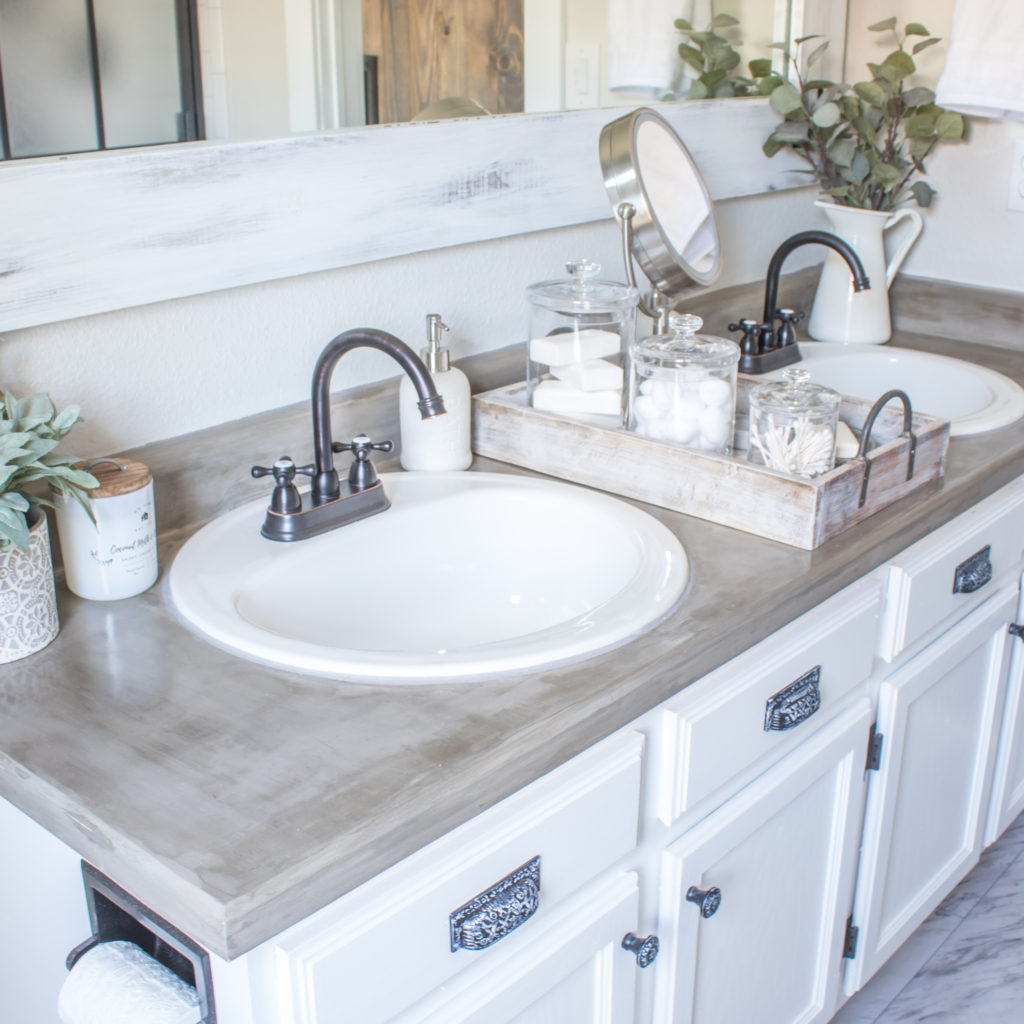
I’m glad that I went with the white paint since it ended up coordinating with the painted vanity nicely.
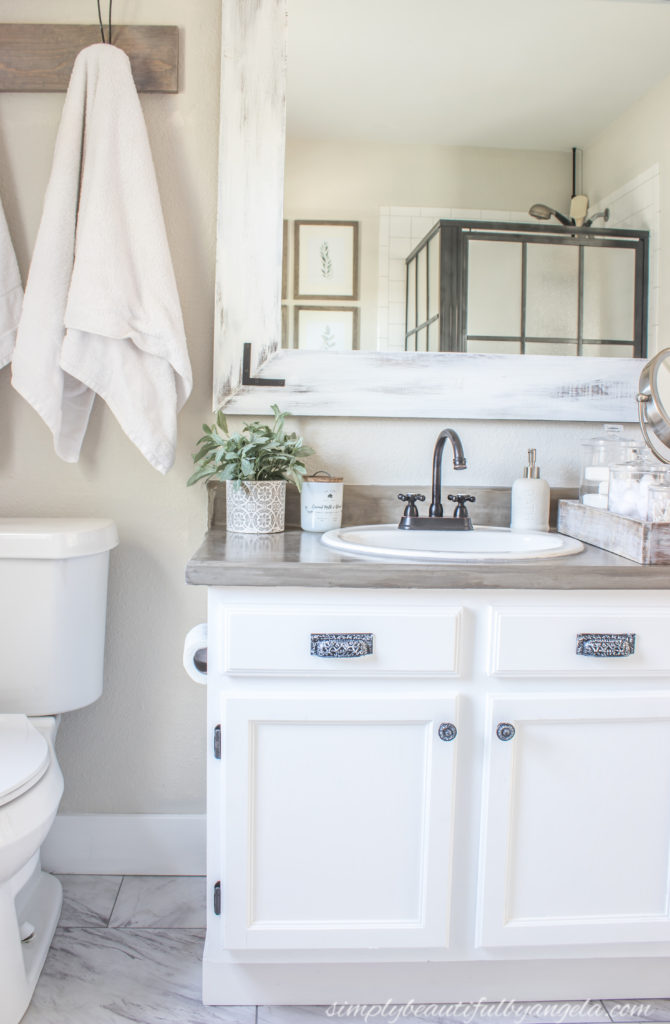
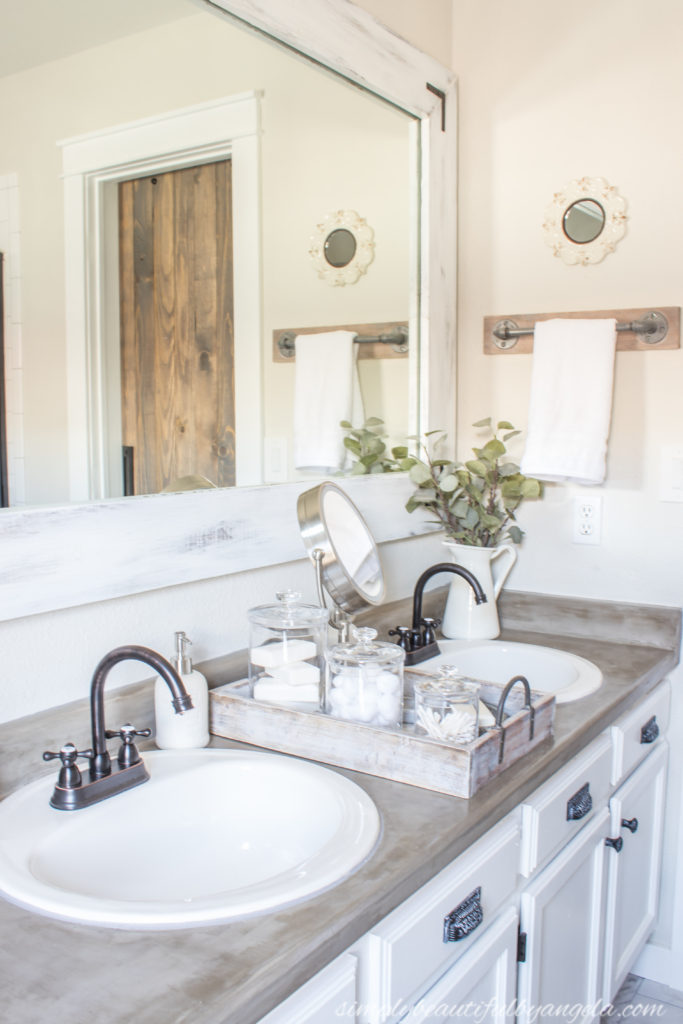
Total cost was a little over $30–you can’t get a mirror this size for even close to that!
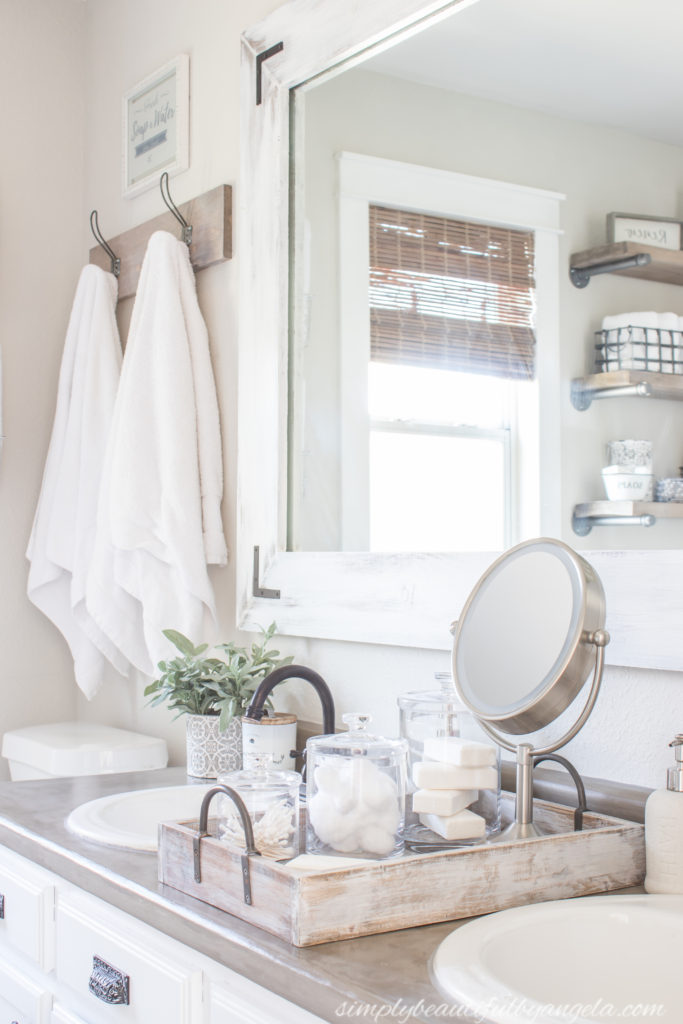
The L-Brackets give it awesome character and I feel like they totally make the whole mirror.
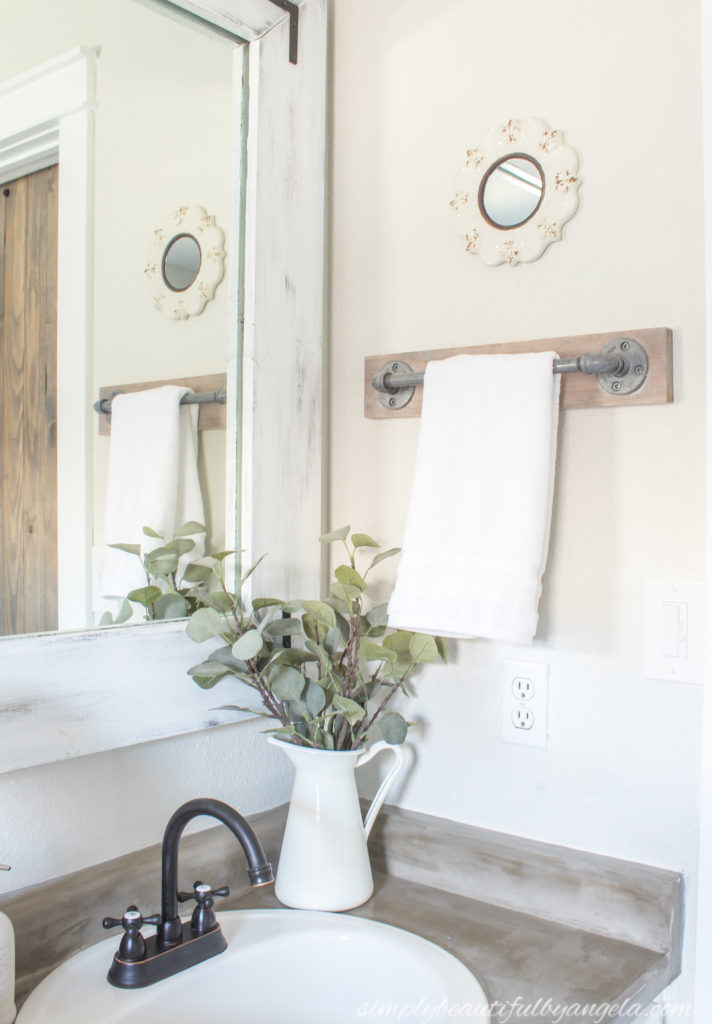
No it’s not an illusion, we did raise it from where it was originally! There was some patchwork that the previous owner left behind from when they covered up the vanity lighting and installed recessed lights and we wanted to cover it up with the mirror.
See you back here next week to share the pipe shelves!
Linking up to these fantastic link parties!
