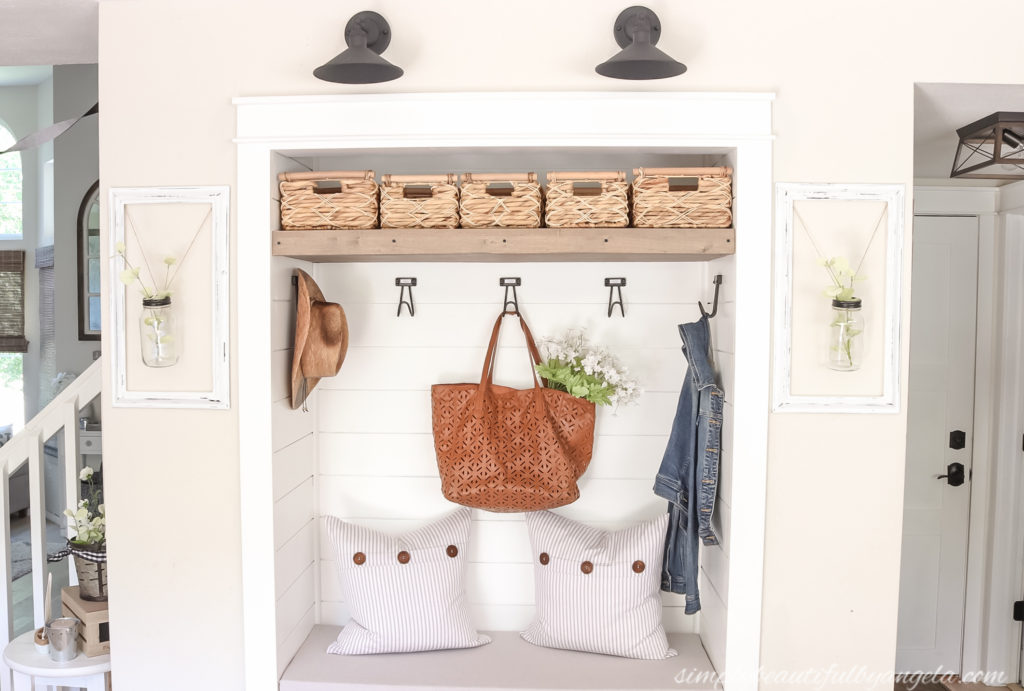
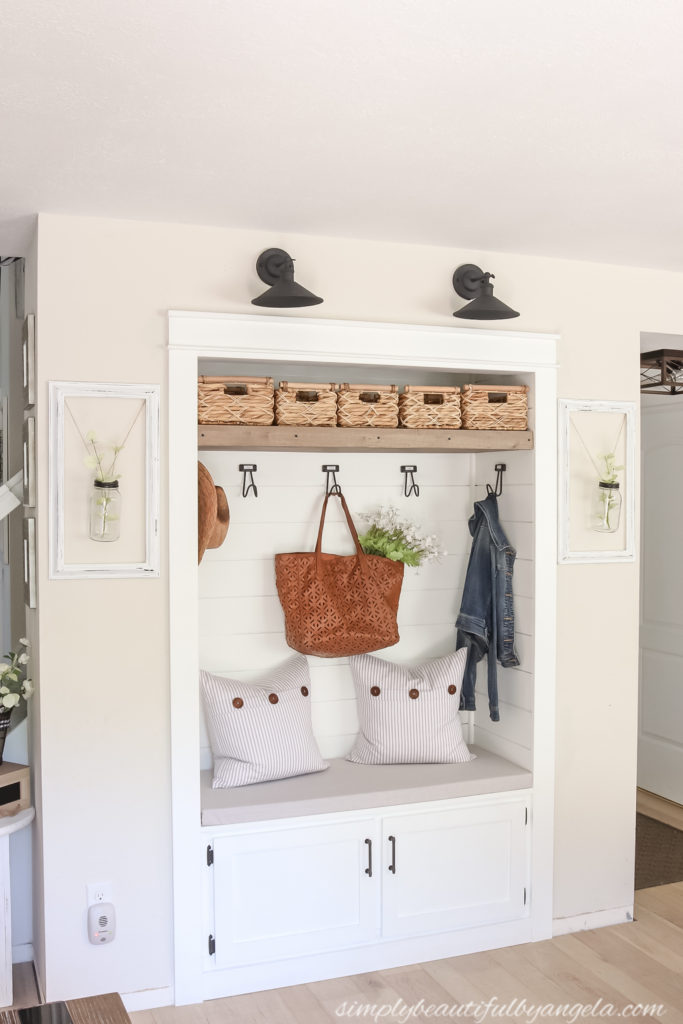
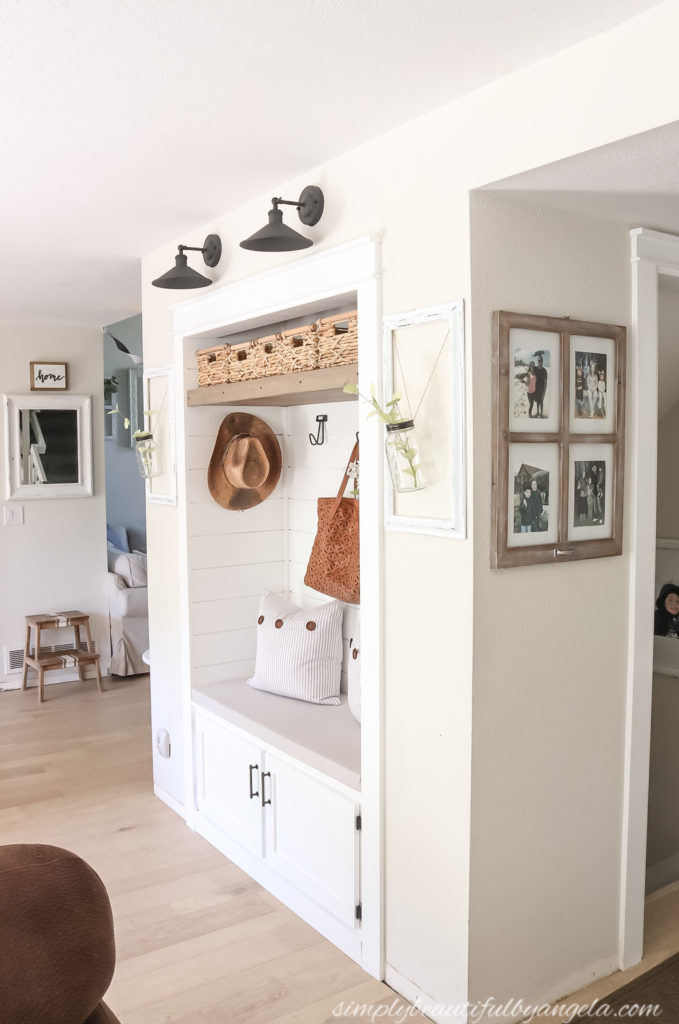
Have you ever been totally stuck on what to put on an empty wall even after thinking about it for what feels like eternity? Or even worse, how about a pair of walls? I’ve been wondering what to do with either side of our pantry converted to mudroom nook that we recently finished before we even started it.
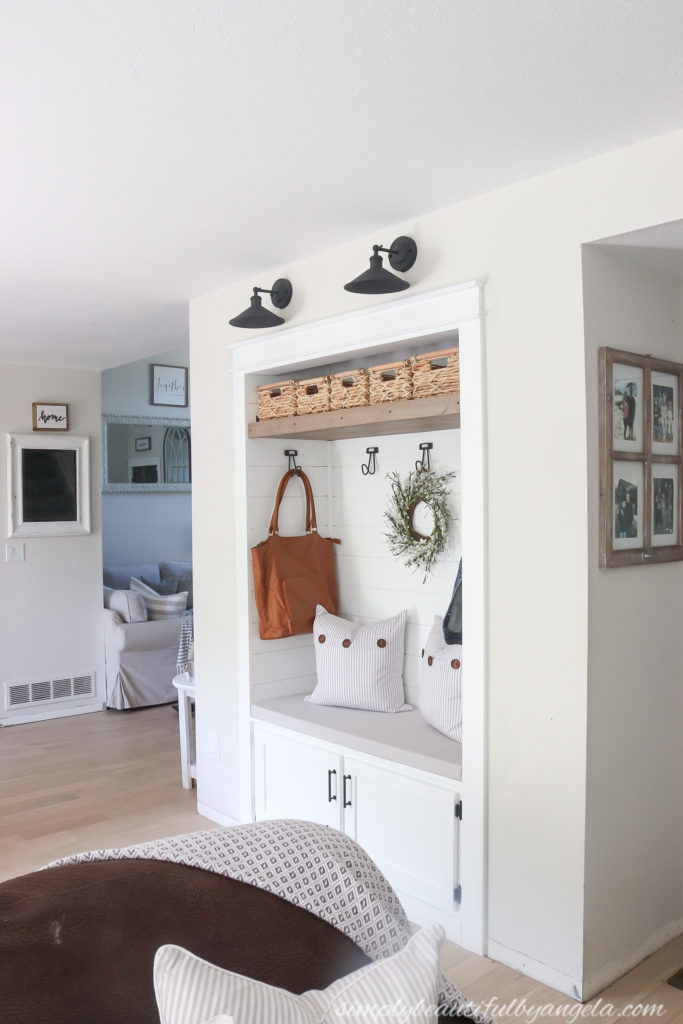
Sure, I could leave it blank–but as you may know I have a hard time leaving any walls blank, let alone ones that are in a high traffic areas like these.
Obviously it had to be something matching, and I didn’t want it to be anything too busy. So I searched my favorite stores high and low but couldn’t decide on anything! Then one day out of the blue I had a crazy idea of something that I could make myself that would work perfectly.
It was perfect timing for this month’s Thrift Store Challenge and I can’t wait to show you how it came together!

The Rules:
- Upcycle an item(s) from a thrift store, resale store, or garage sale into a new piece of decor.
- There’s no monthly theme.
- There’s no budget to stick to.
Meet the Hosts
Angela | Simply Beautiful By Angela – Gail | Purple Hues and Me – Pili | My Sweet Things – Beverly |Across the Blvd – Molly | Just a Little Creativity – Michelle | Michelle Jame Designs – Angie | Grandma Creates – Jenny | Cookies Coffee and Crafts – Amanda | Domestically Creative
Make sure you follow our board on Pinterest for more upcycled decor inspiration!
I found a pair of matching frames and two mason jars at the thrift store. Finding a pair of frames at the thrift store is actually not as hard as you may think! I actually see them quite a bit, usually in a set of artwork like these. And of course there’s always a nice supply of mason jars!

Supplies Used:(Affiliate links may be provided for convenience. For more info, see my full disclosure here.)
- Frame
- Jar/Vase
- DIY Chalk Paint (1 cup latex paint + 1 teaspoon Plaster of Paris)
- Angled Brush
- 220 Grit Sandpaper
- Rust-Oleum Oil Rubbed Bronze Spray Paint
- Jute Twine
- Stapler Gun
- Hammer
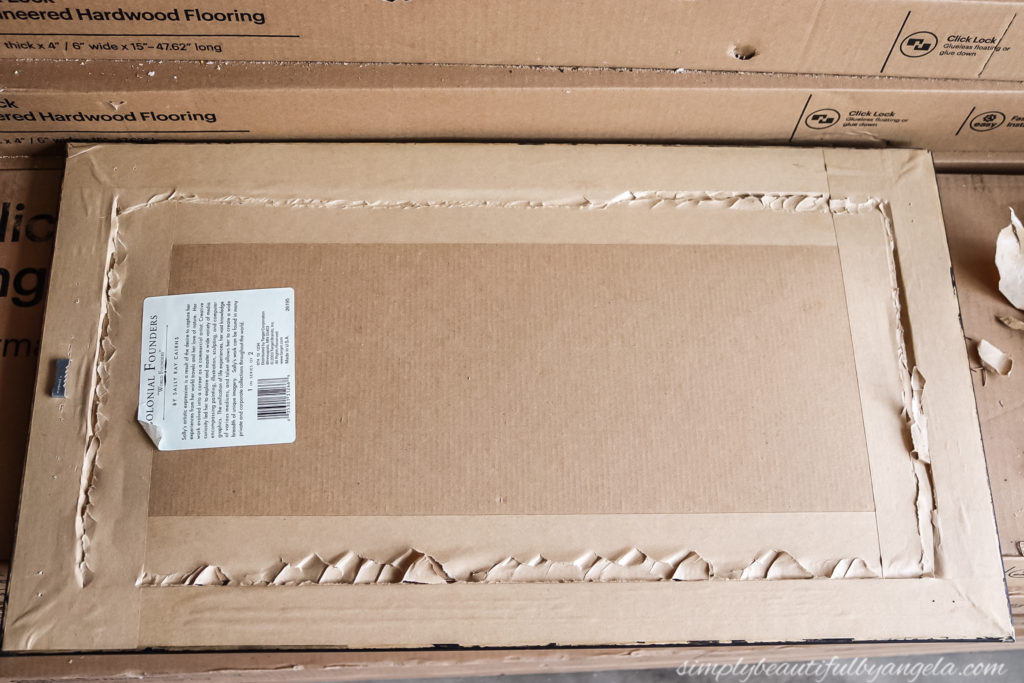
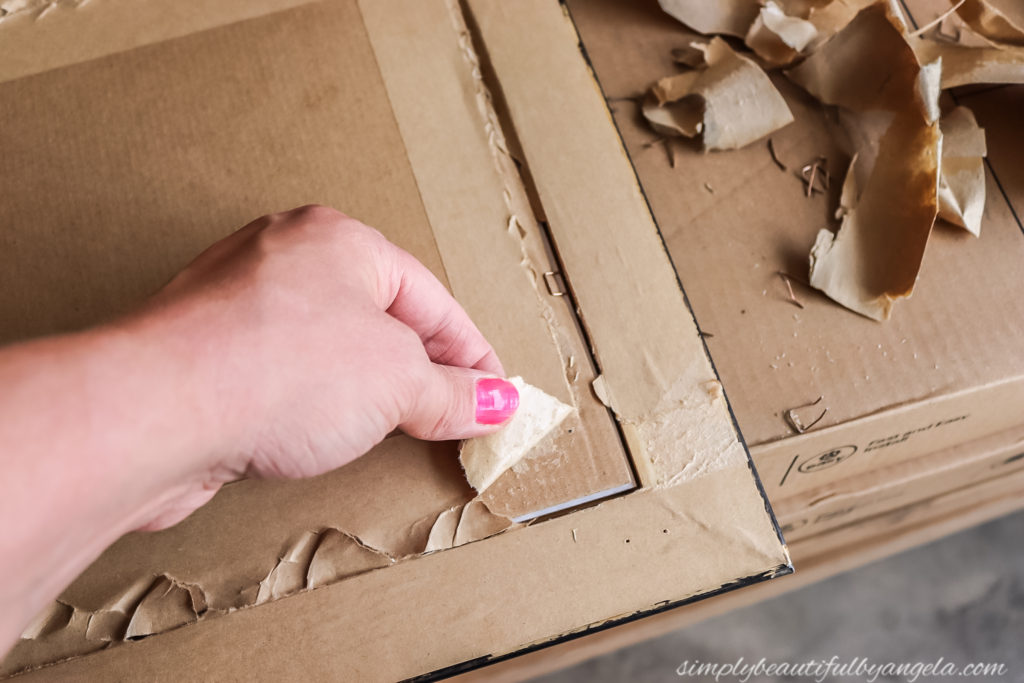
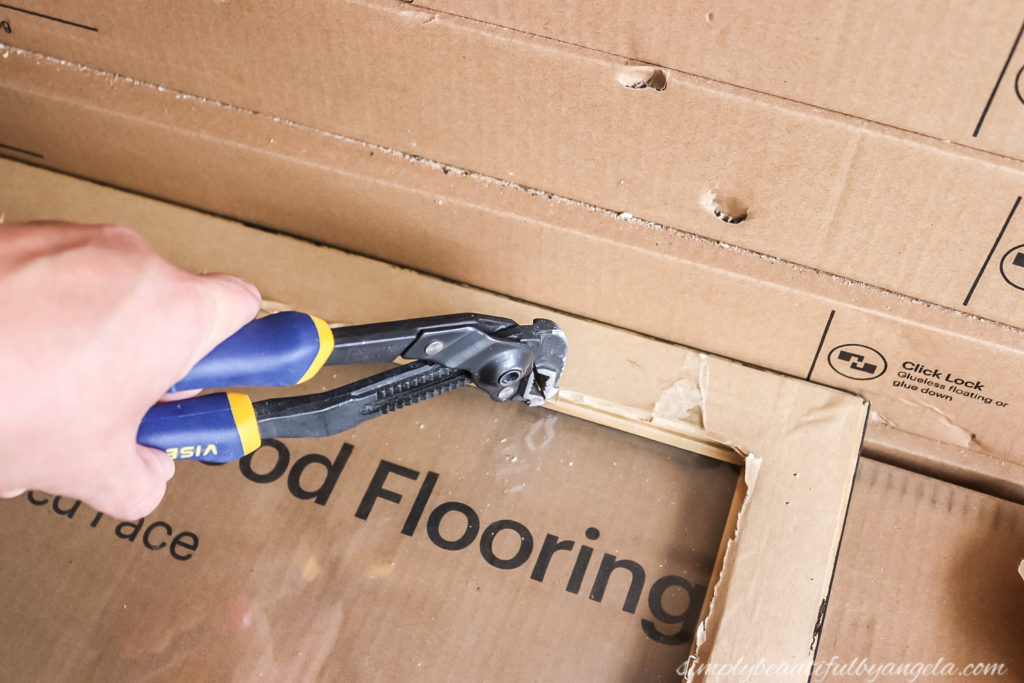
1. Remove Back of Frame
Most pieces of artwork have a backing that looks similar to this. I simply cut the brown tape, popped the cardboard out and removed the staples with some VISE-GRIP Pliers.
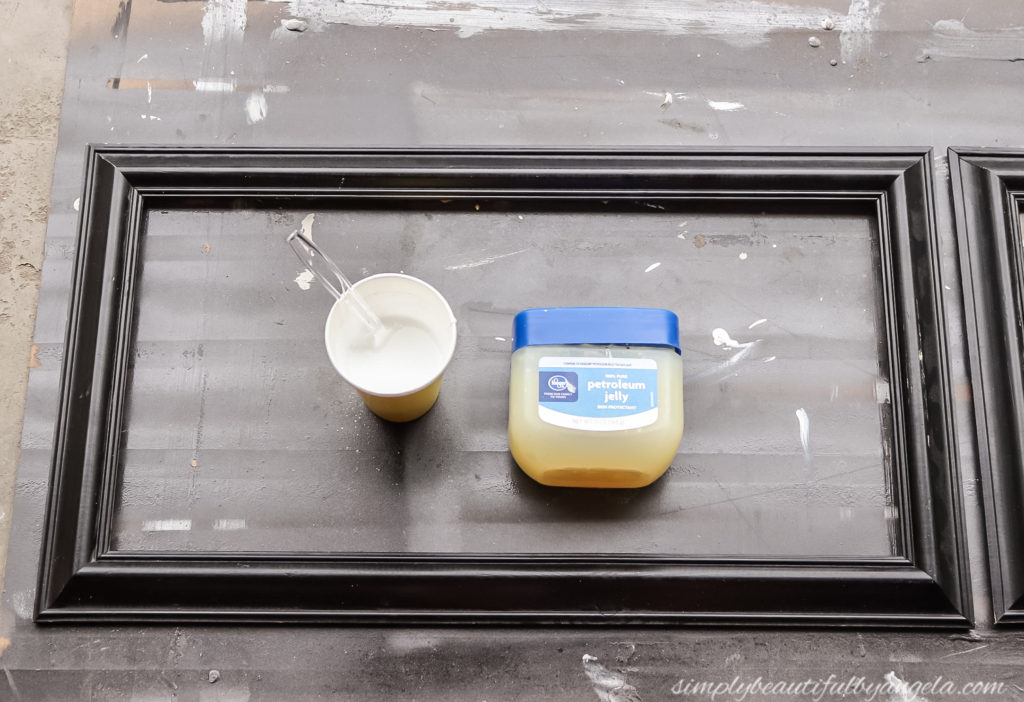
2. Paint Frame
I mixed up my DIY Chalk Paint (1 cup latex paint + 1 teaspoon Plaster of Paris). Before painting, I applied a little bit of petroleum jelly in various spots which keeps the paint from adhering in those areas and creates a super distressed look when you sand them later on.
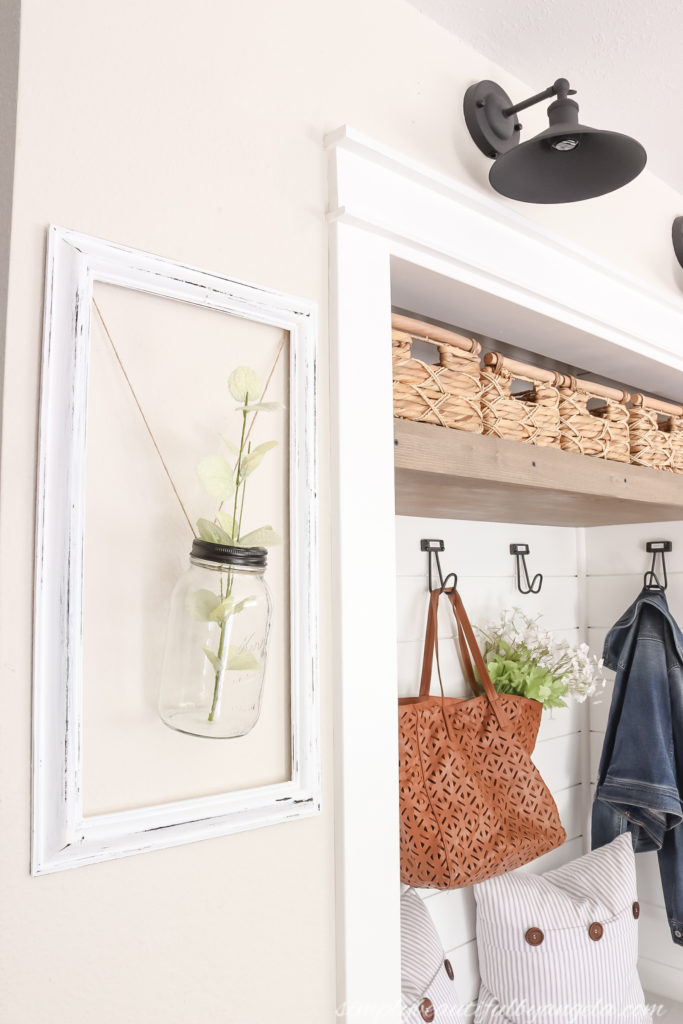
3. Tie Jars
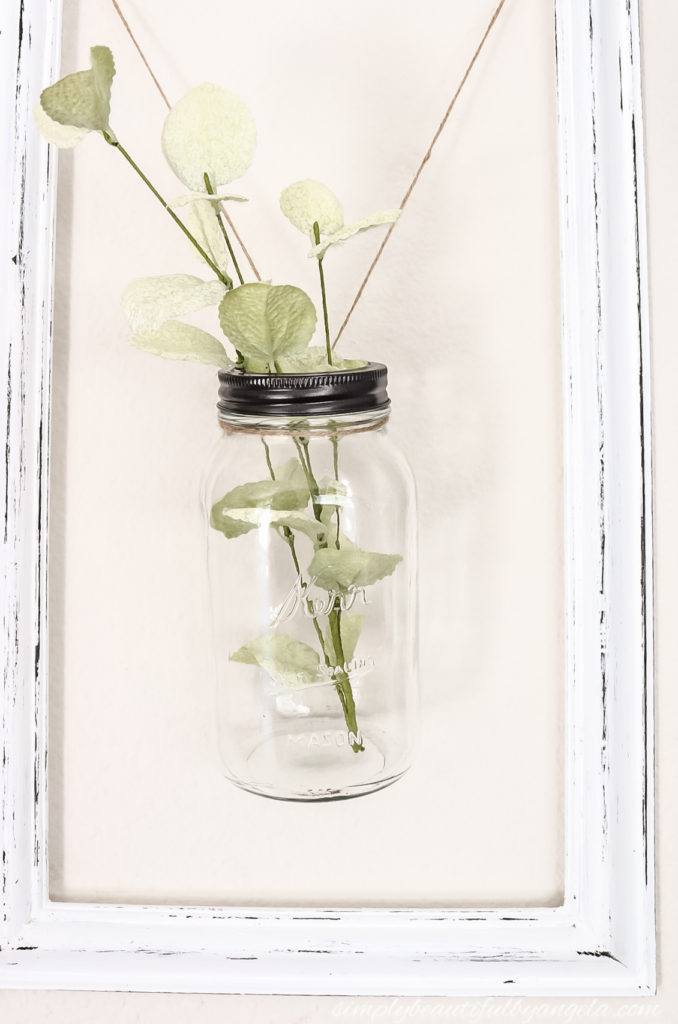
Once the frames were dry, I tied some twine around the mason jar (I painted the lids oil rubbed bronze to fit with my style better) and then set the ends of the twine in the corners of the frame at the height that I wanted my jar.
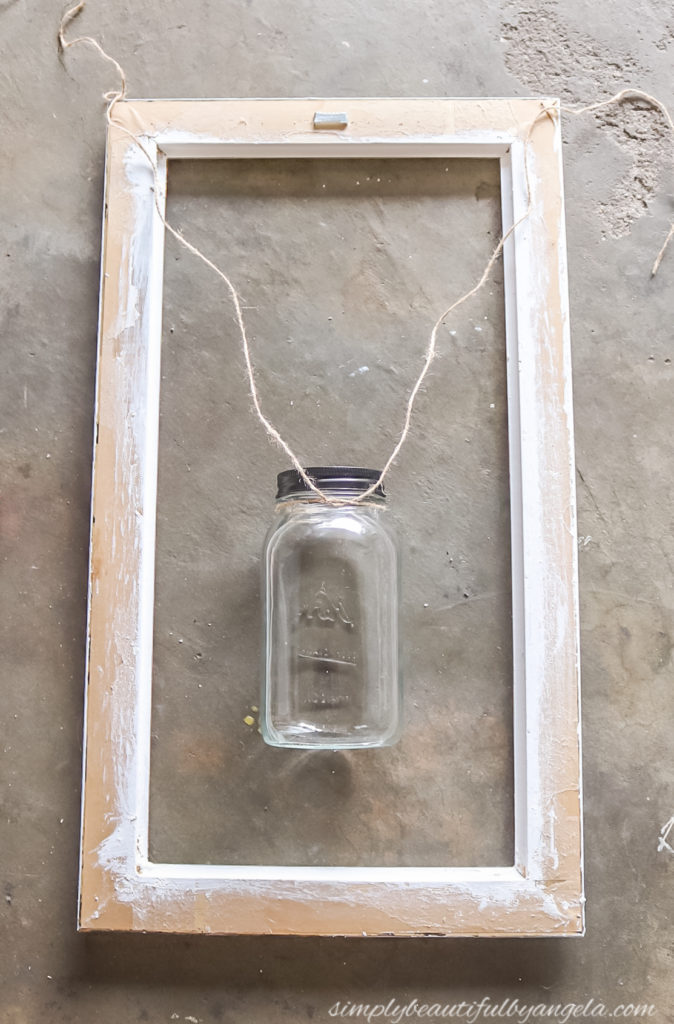
I stapled them down and then tied a knot on both sides before hammering the staples down to get them nice and secure. Then I took the two sides and tied them together through the picture hanger for extra security.
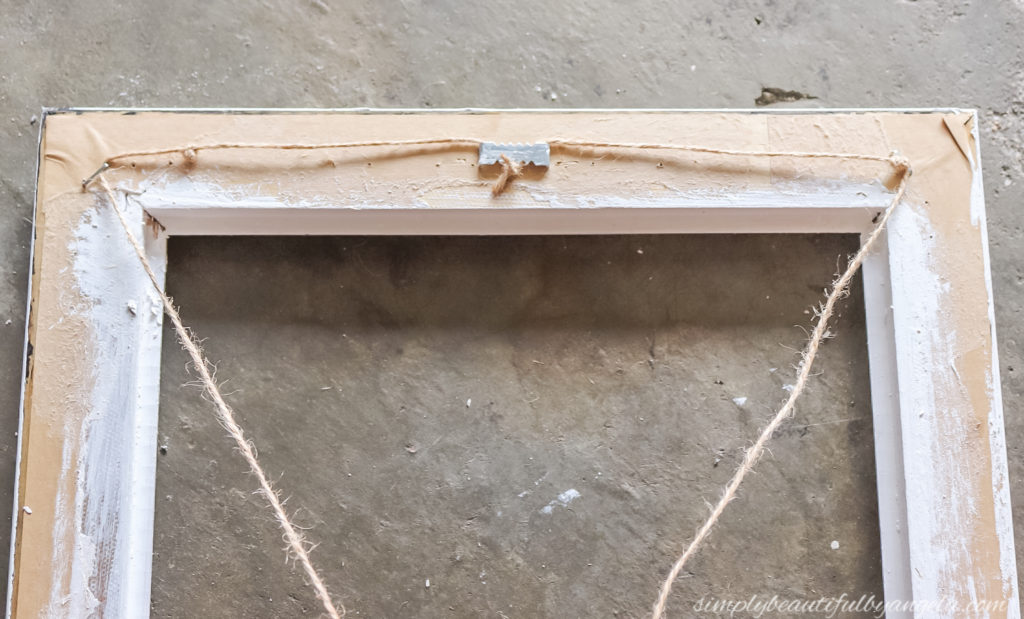
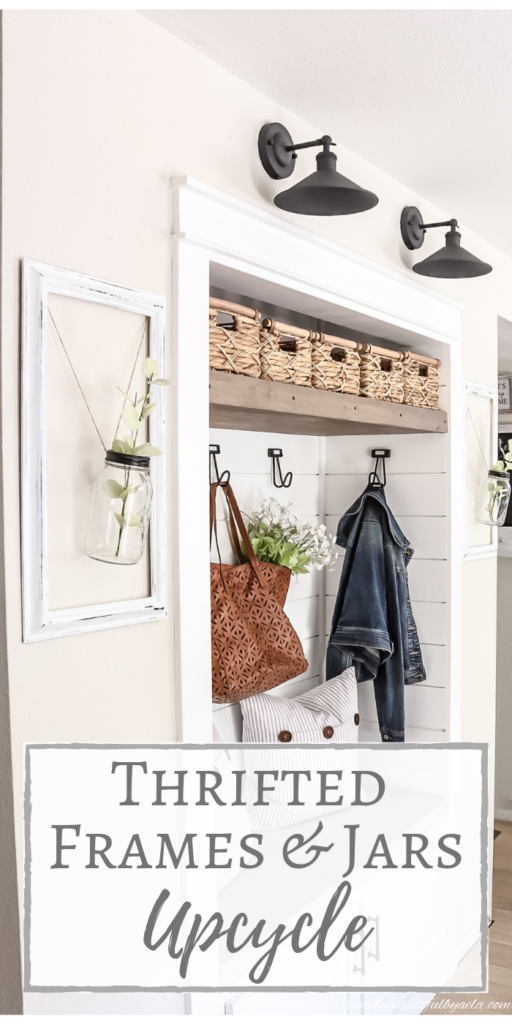
And finally I hung them up!
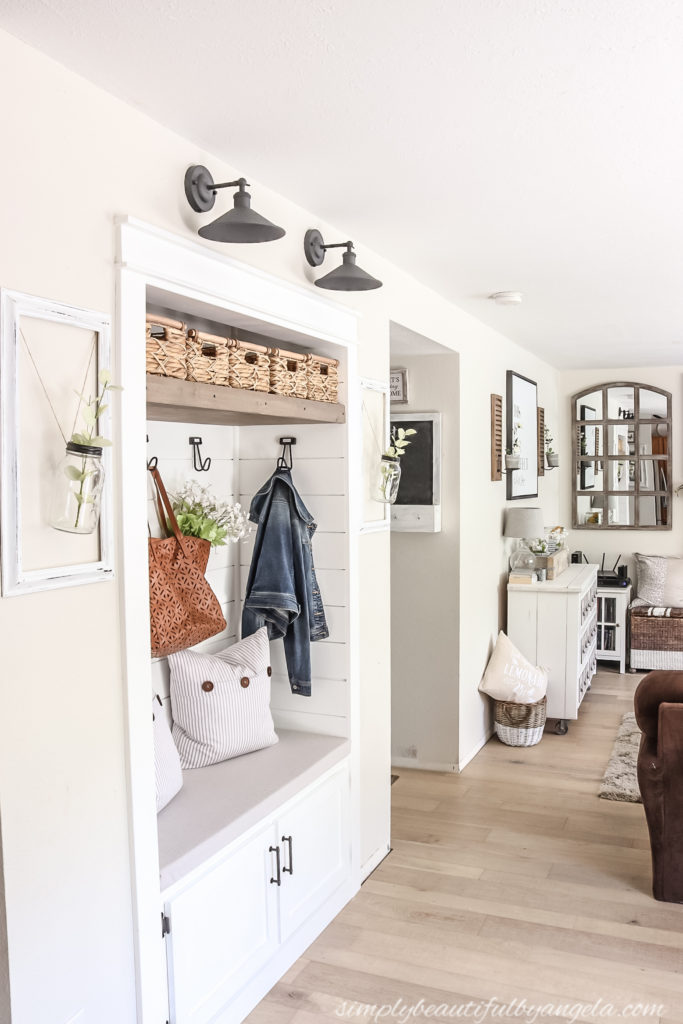
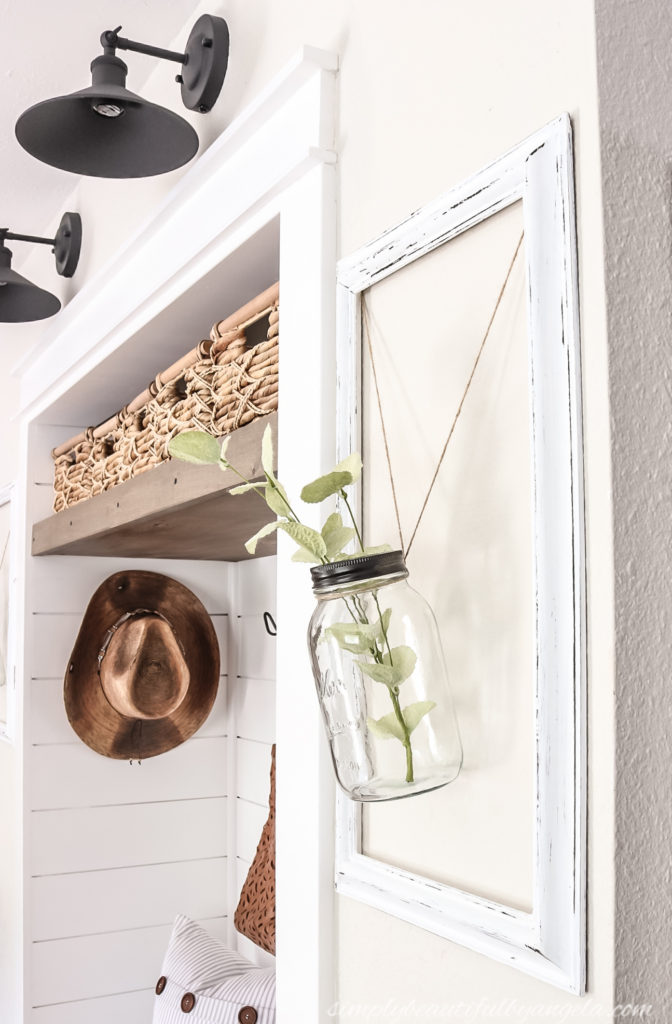
I simply threw some stems that I had on hand in the jars for now, but I plan to eventually get something a little darker and more full so that they pop a little more. I may even decide to paint the jars.
It’s definitely added some nice character to this space! Don’t worry–baseboards ARE on the to do list after the board and batten is installed.
Here’s a fun comparison shot to when we first bought the house to now!
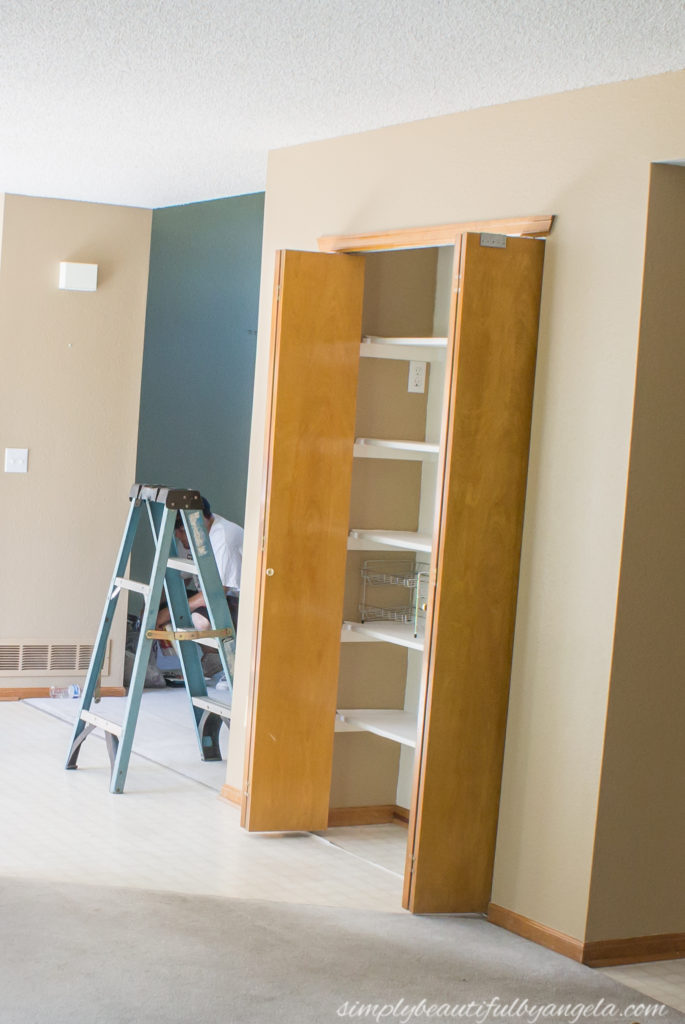
The full reveal to the mudroom nook can be found here in case you missed it!
(Affiliate links may be provided for convenience. For more info, see my full disclosure here.)
And now for more thrifty goodness!
Linking up to these fantastic link parties!