
Happy Tuesday my friends! I hope you all enjoyed your weekend to the fullest–I know we sure did!
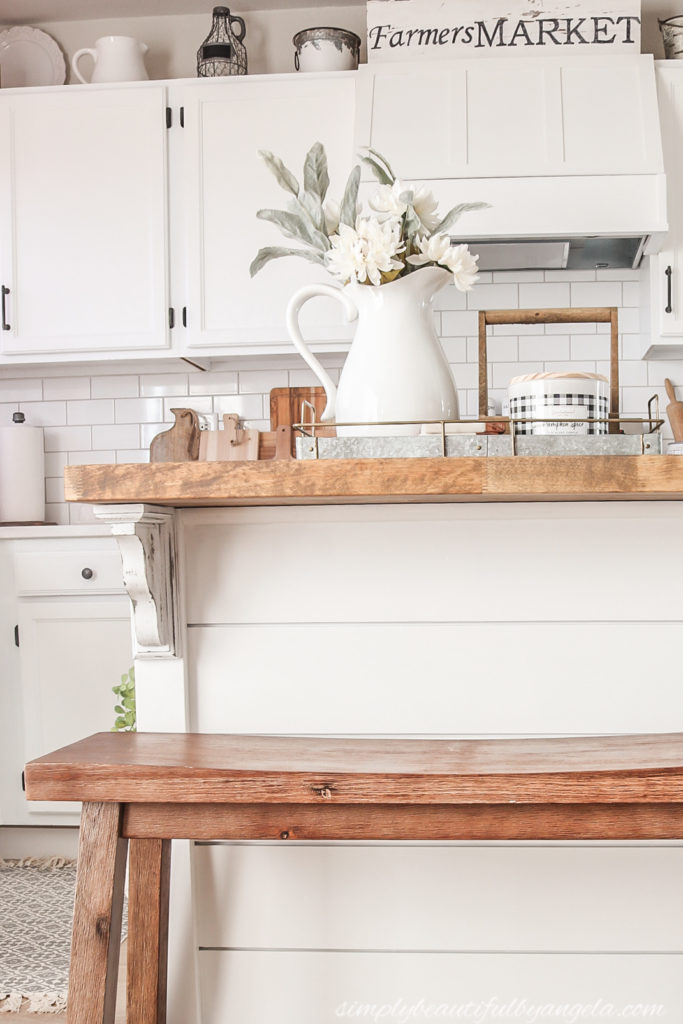
This week I’m back to share another fun kitchen DIY! One of the biggest parts of our recent kitchen makeover was the island makeover. I say that not because it was expensive, difficult or extremely labor intensive, but because it takes such a visible stand in the room!
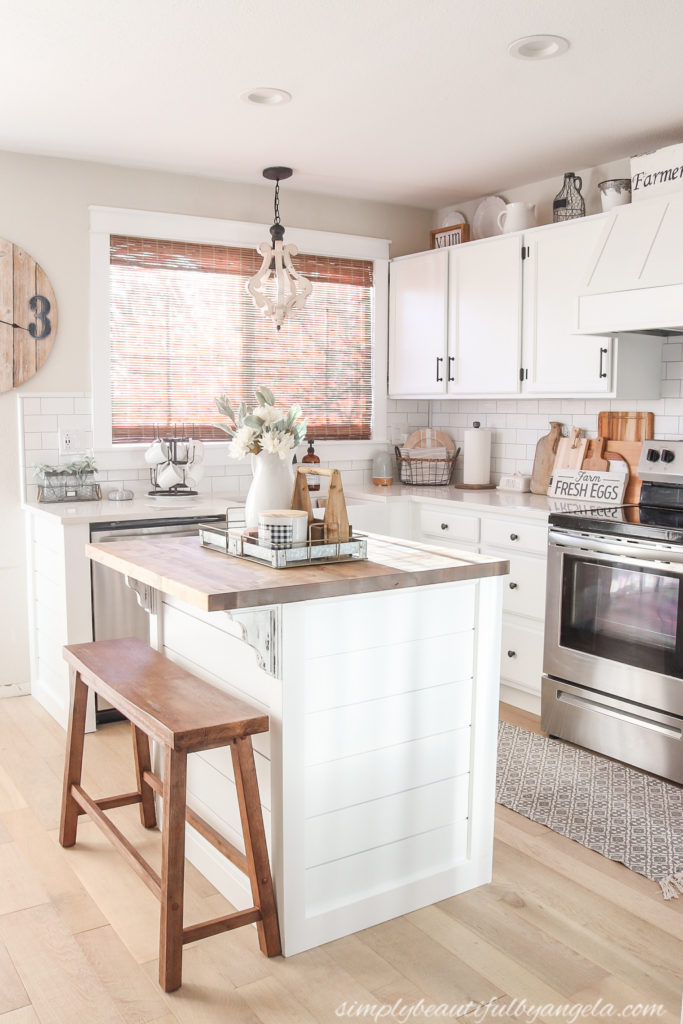
Prior to the makeover, the island was just like the rest of the cabinetry–90s oak topped with a bluish gray laminate countertop.
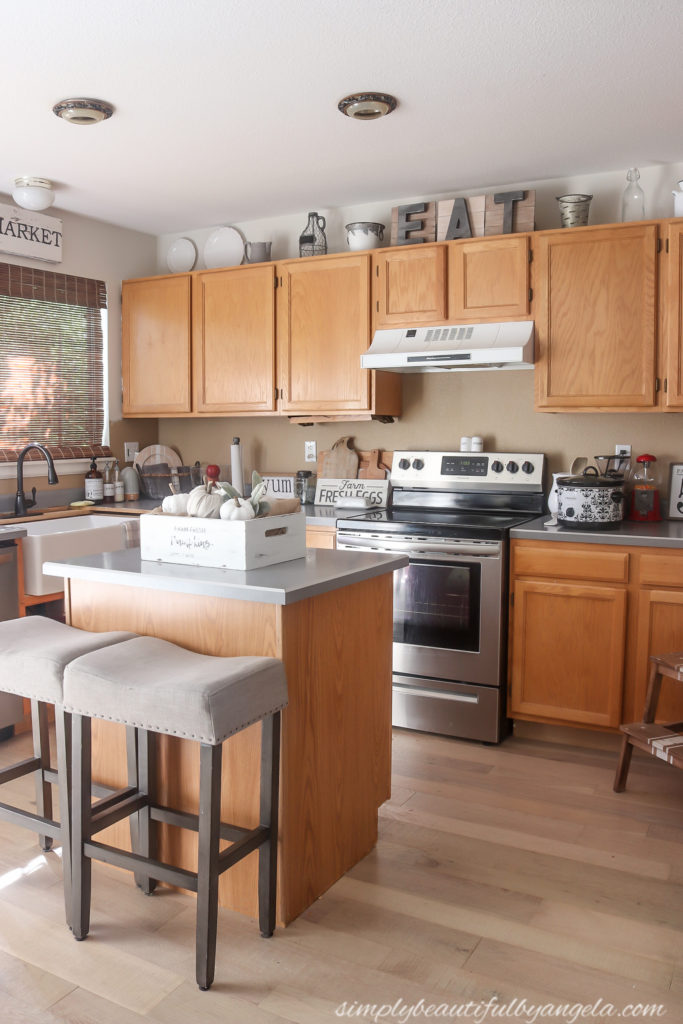
Sure, I could have just painted it white and installed the same LG Hausys Viatera Cortina quartz that we used in the rest of the kitchen. Buuuuut I decided to make it a little more fun!
Supplies Used:(Affiliate links may be provided for convenience. For more info, see my full disclosure here.)
- Shiplap Boards
- Ryobi Nail Gun
- 1×2, 1×3 and 1×4 MDF Boards
- Quarter Round
- Table Saw
- Compound Miter Saw
- 1/4″ Plywood
- Spackle
- Latex Caulk
- Butcher Block
- Pre-Stain Wood Conditioner
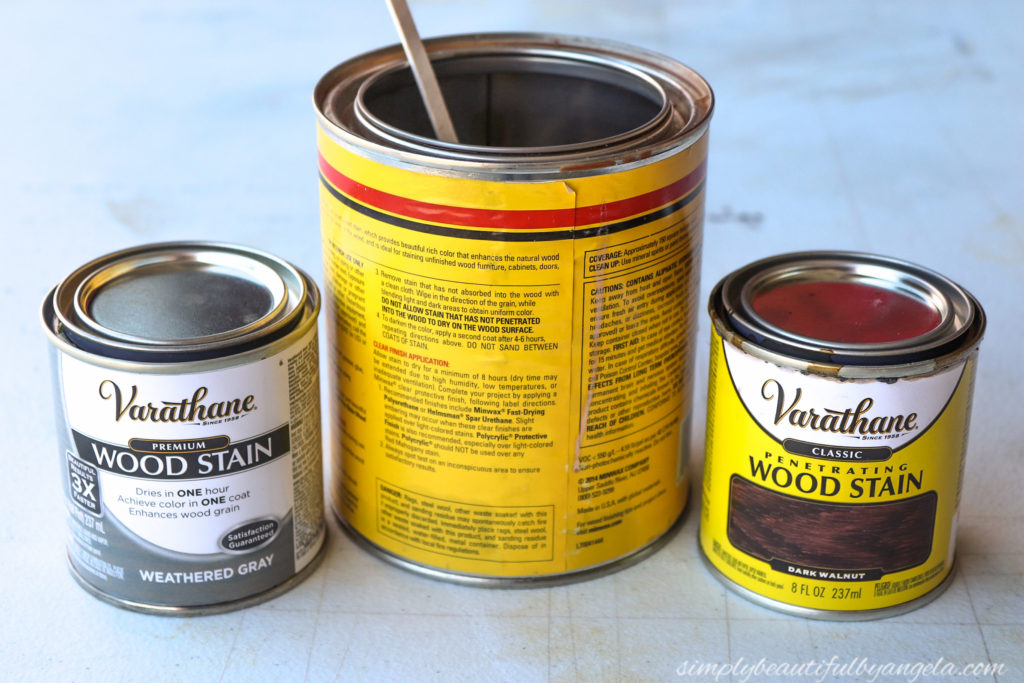
- Special Walnut Stain
- Classic Gray Stain
- Dark Walnut Stain
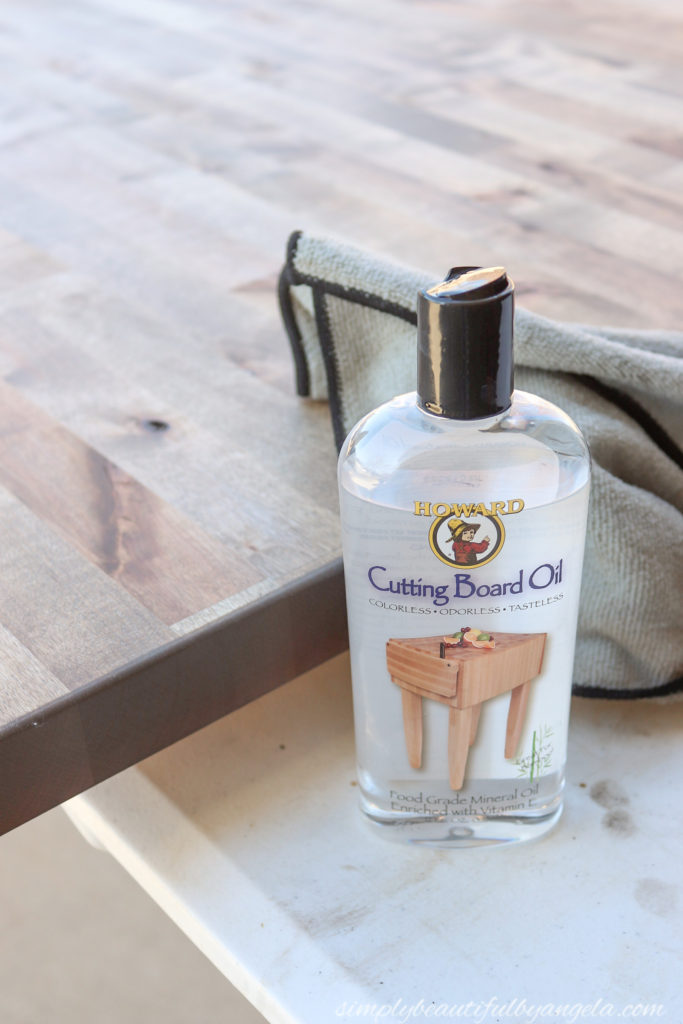
- Howard Cutting Board Oil
- Wood Corbels
1. Attach Shiplap Boards
I first discovered these awesome shiplap boards this past summer while I was working on the pantry to mudroom nook conversion.
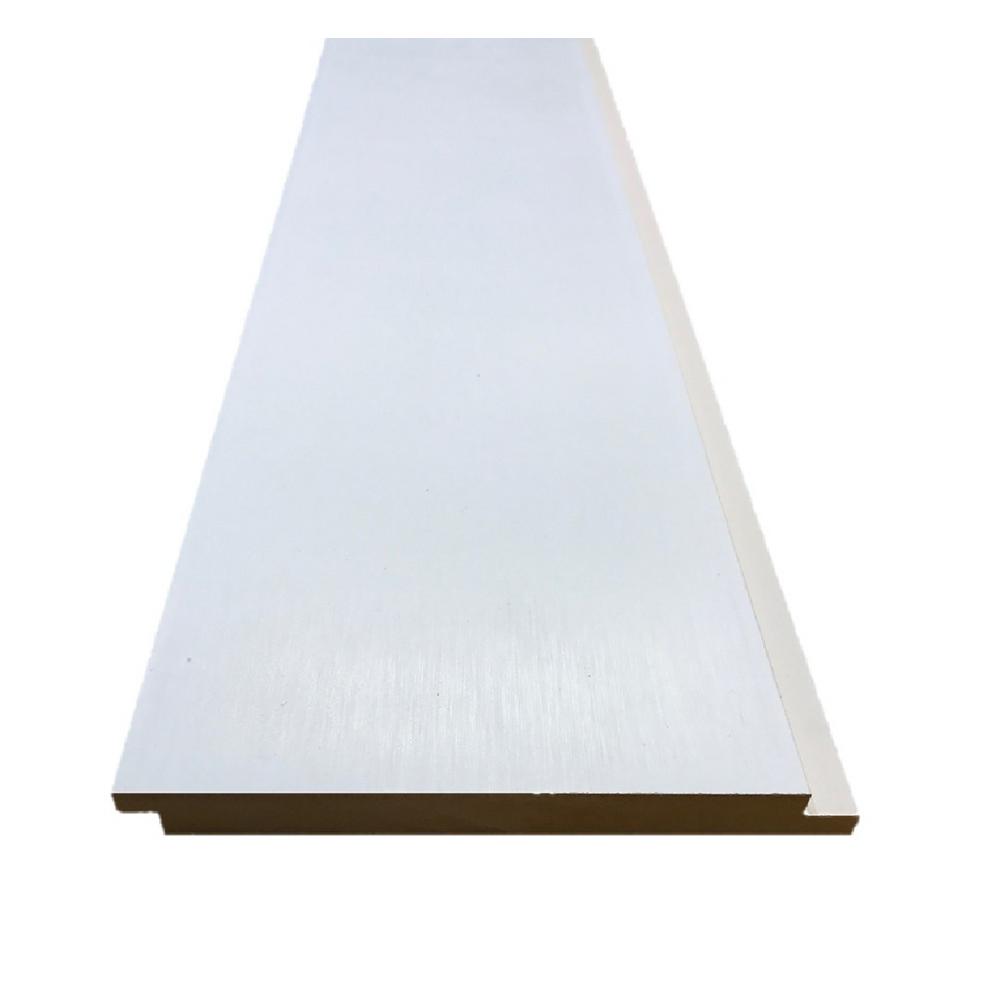
In the past when installing shiplap, I used to rip 1/4″ plywood down to 6″ strips because it’s super affordable. However I found that the quality of these is soooo much better so I think it’s worth the little bit of extra money. And already having them cut and ready to go is a major plus!
Using my Ryobi nail gun I attached the boards to the sides of the island. I wasn’t extremely precise on the length since I knew that the corners would be covered by trim later on.
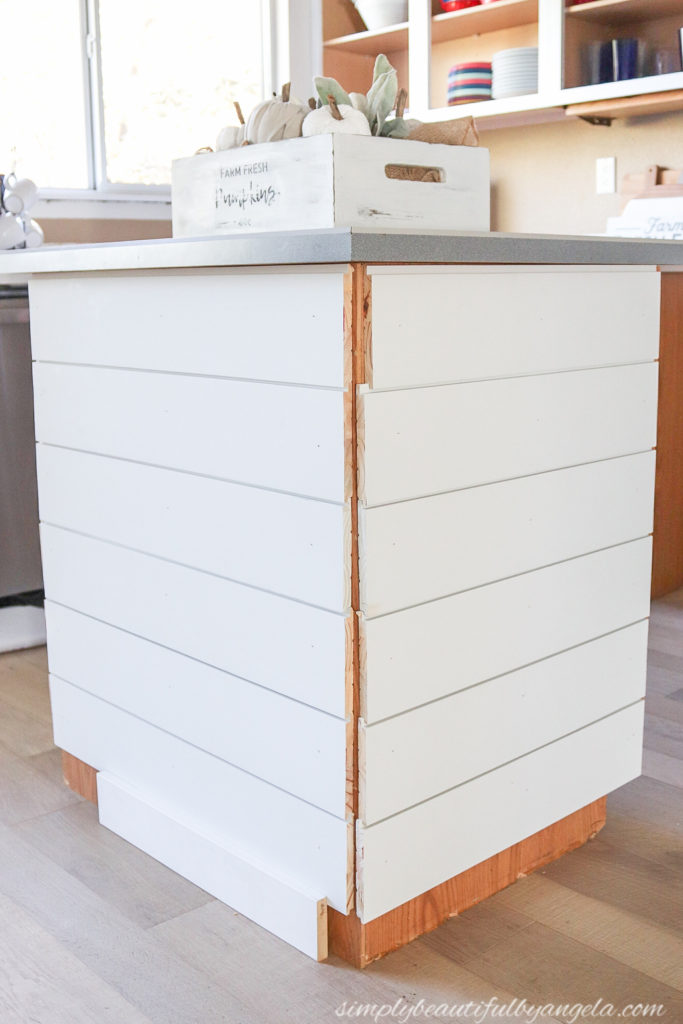
I didn’t go all the way to the bottom since I knew that it would be also be covered with trim.
2. Cut and Attach Trim
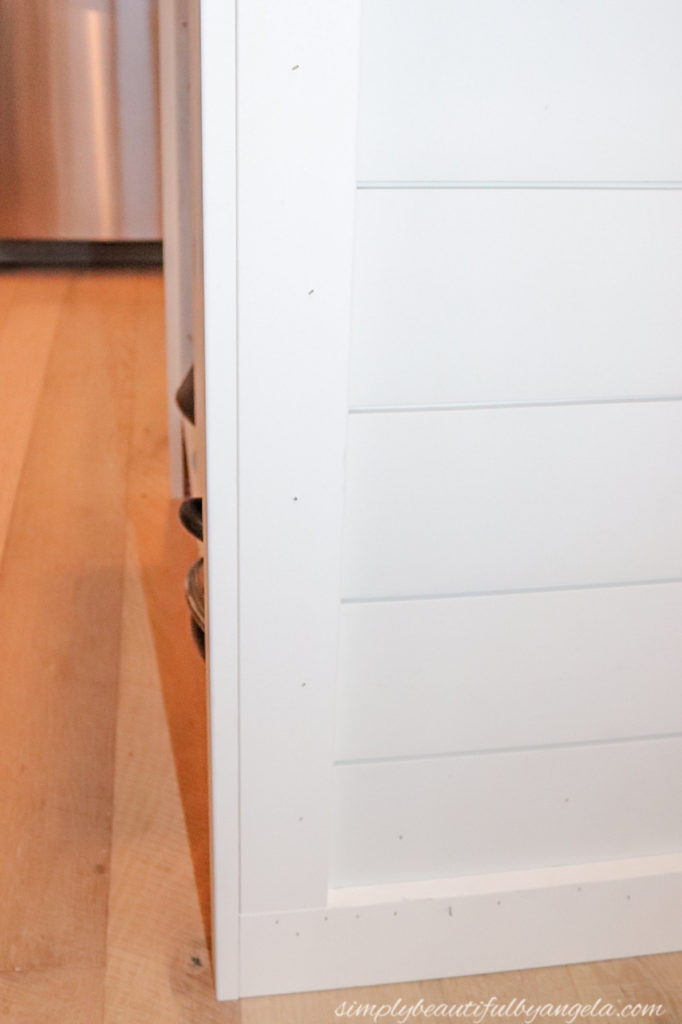
I decided to use a 1×4 MDF for the bottom trim. Using the compound miter saw I mitered the edges and nailed it to the bottom shiplap board.
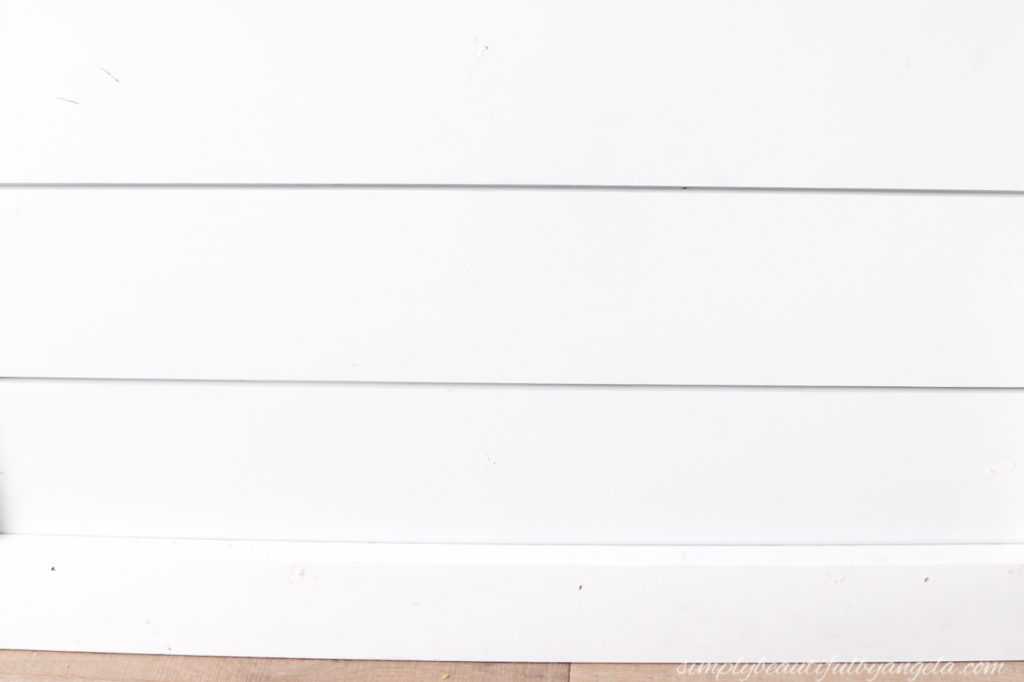
For the front corners, I chose to use 1×3 MDF boards. After I cut the length on the miter saw, Anthony ran them through the table saw at a 45 degree angle to create mitered corners which I think looks cleaner than just stacking them next to each other.
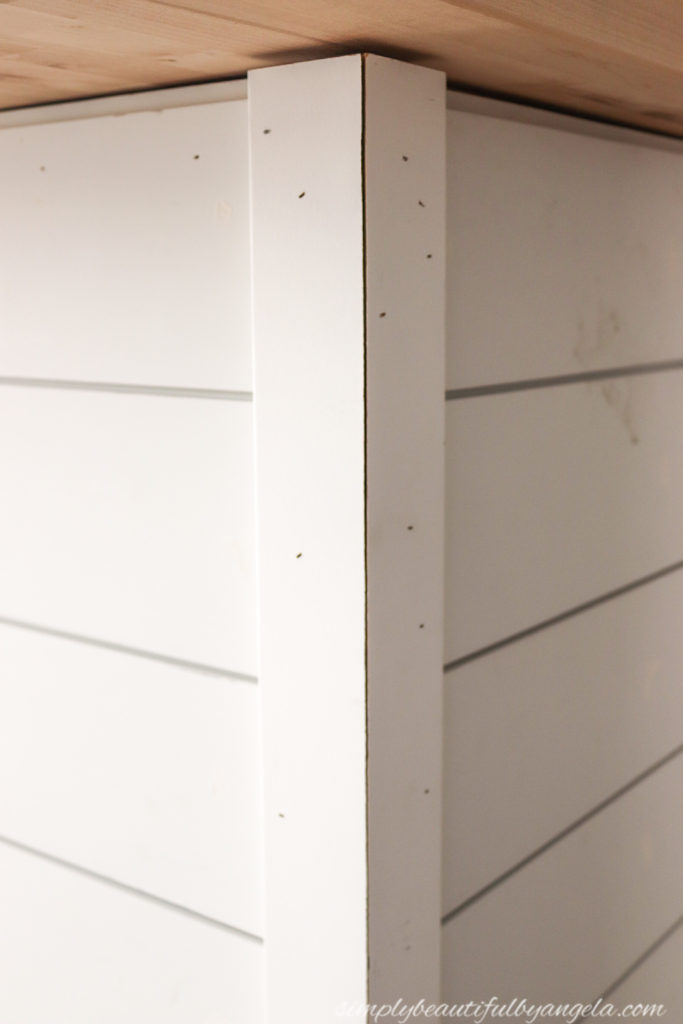
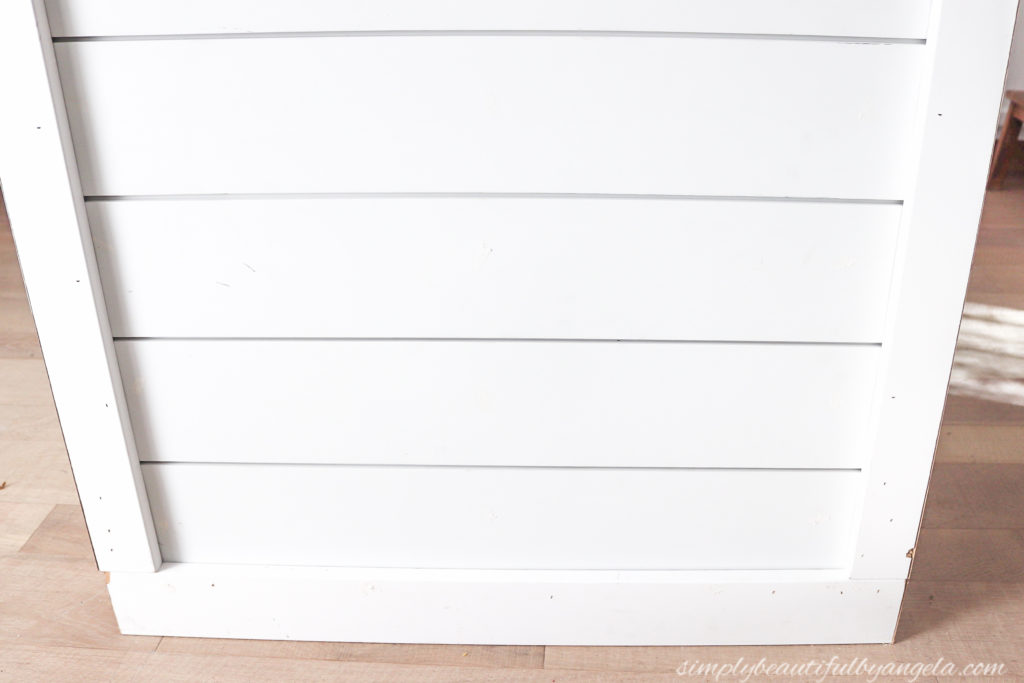
When I got to the back corners I was stuck. I started by adding a 1×3 to make it symmetrical with the front.
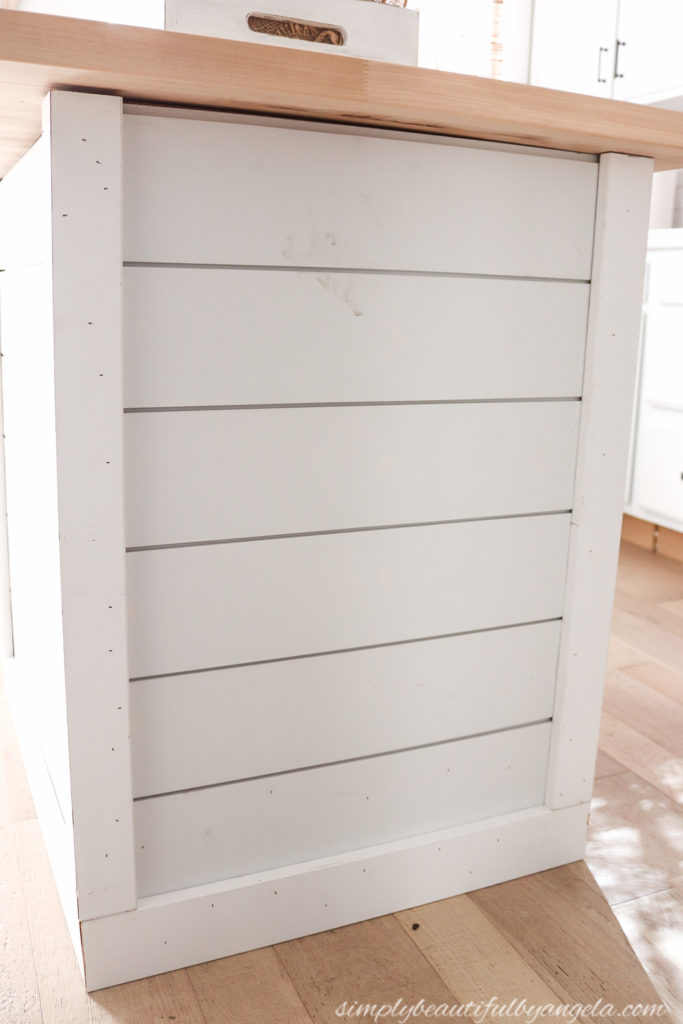
But then I ended up with a small gap and I wasn’t sure the best way to cover it.
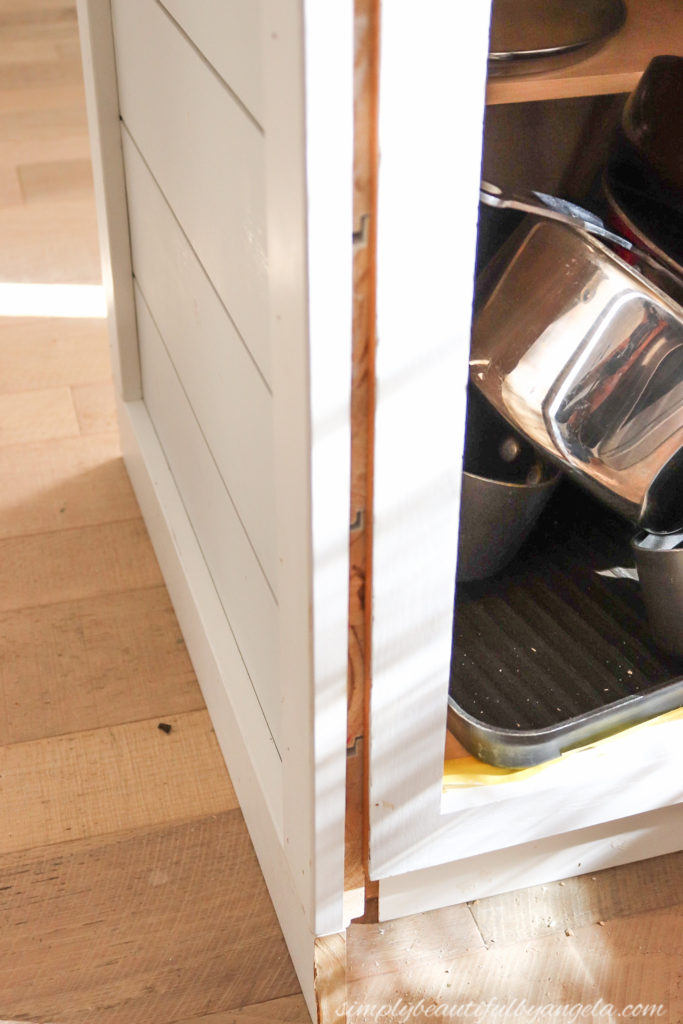
Finally I decided to use 1×2 MDF. I thought about mitering them like I did to the front corners, but I was lazy and decided to just go with it. Luckily in the end the spackle made it barely noticeable.
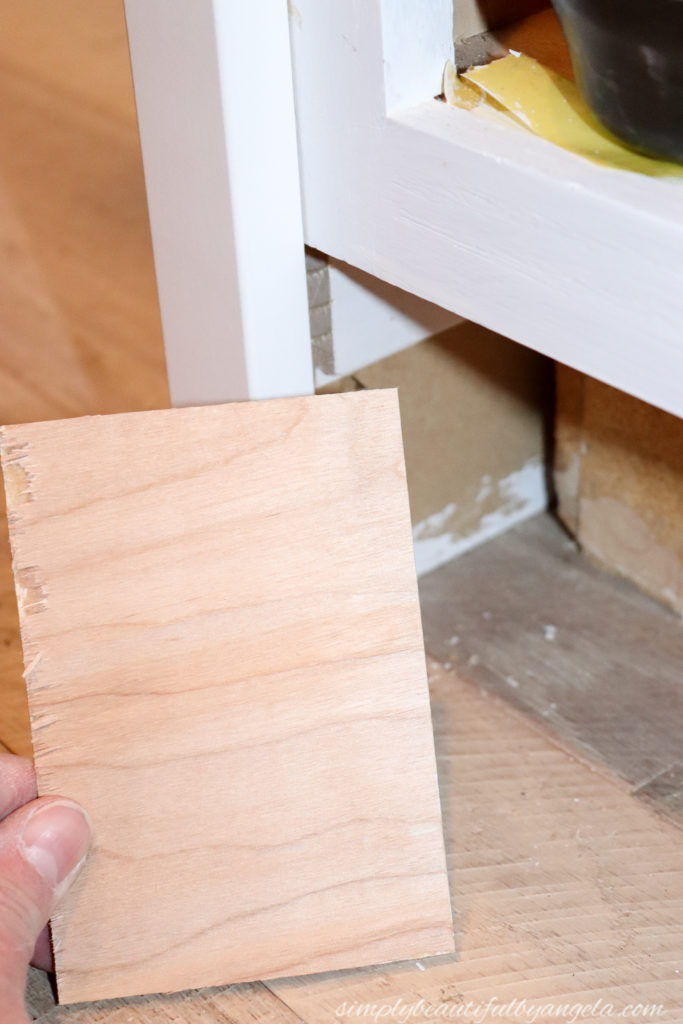
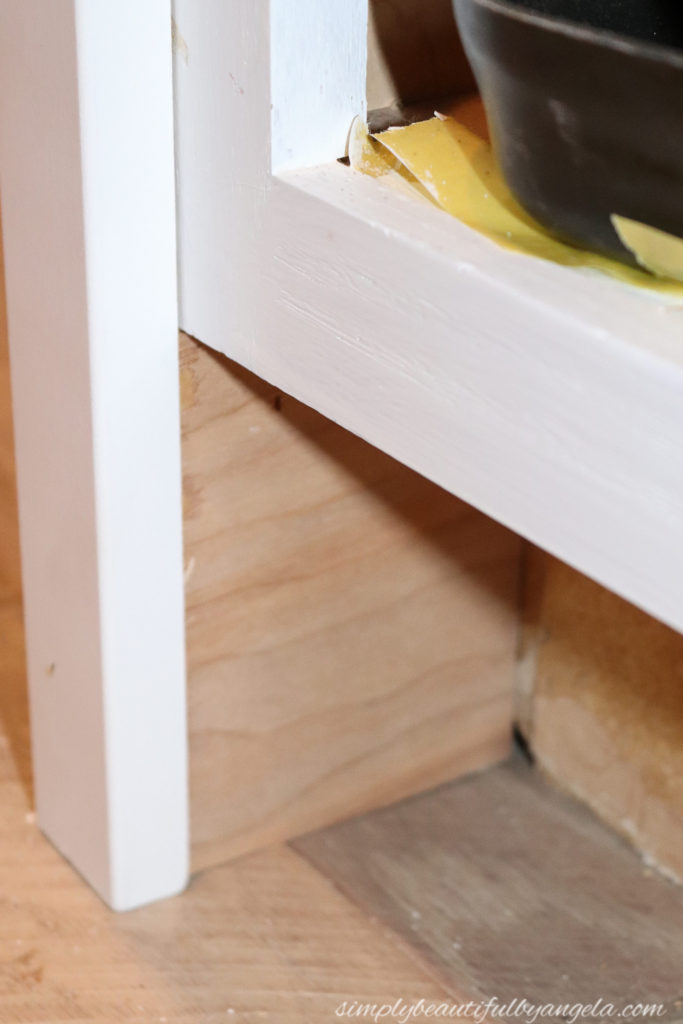
Because of the open area underneath for feet, I was left with an open space where you could see the MDF and shiplap from the other side. To fix this, I simply cut down a piece of scrap 1/4″ plywood that I had to fit inside.
3. Spackle & Caulk
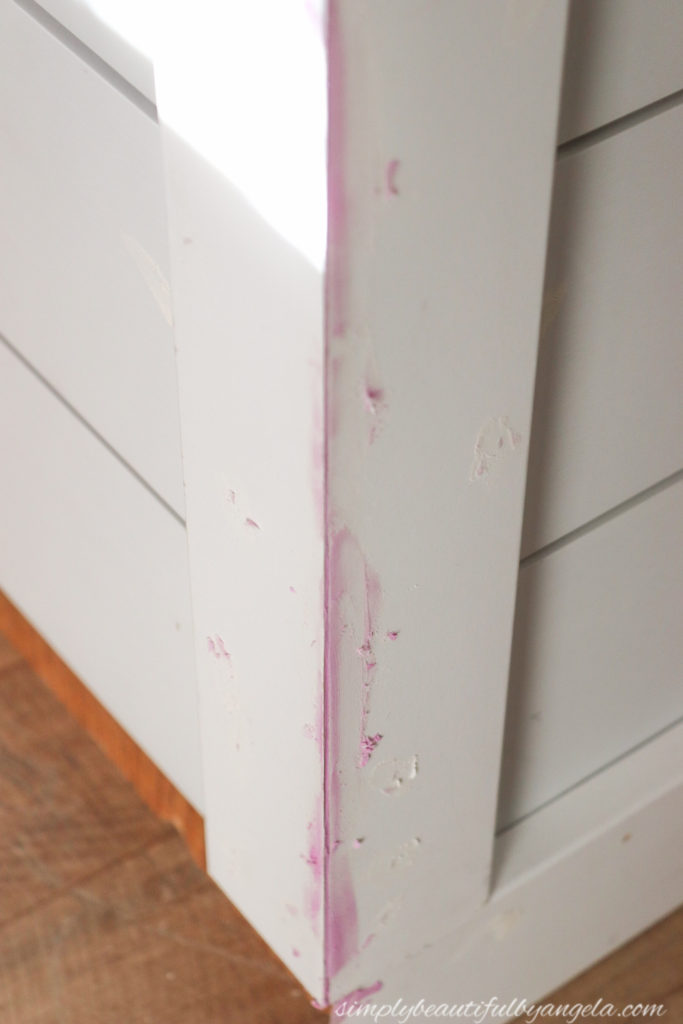
Once all of the trim was installed it was time to spackle! I like using this stuff because it goes on pink but dries white when it’s ready to sand. I applied it to all of the seams and nail holes. Some of the seams like the corners took two applications to really get it smooth.
4. Stain & Seal Butcher Block
I’ve always envisioned using butcher block for the countertop, but when I started my search I was disappointed to find that butcher block counters come in a 2′ depth. Since our island measures 33″ that wouldn’t work. I was starting to think that I would need to have a custom one made, but finally I found this 3′ butcher block from Home Depot!
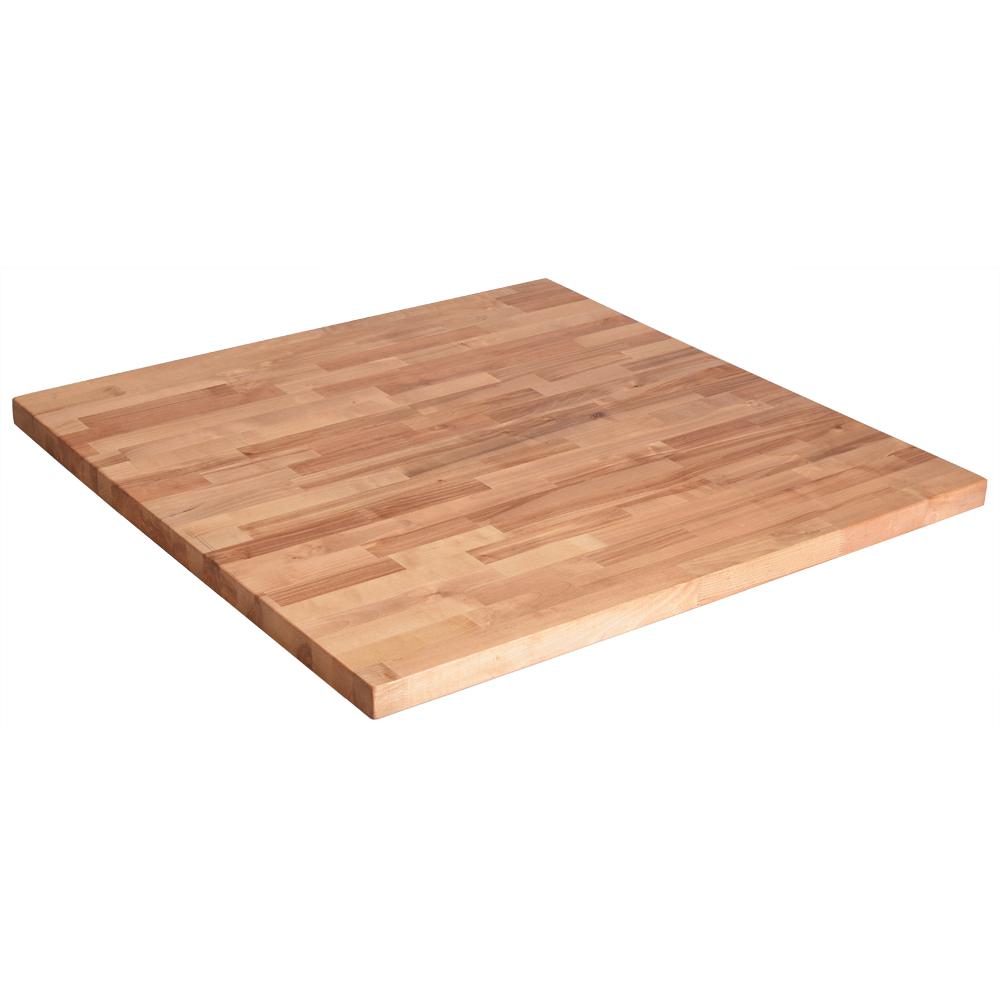
It just needed to be trimmed down on the table saw slightly. Once it was cut, I sanded it smooth to get it ready for stain.
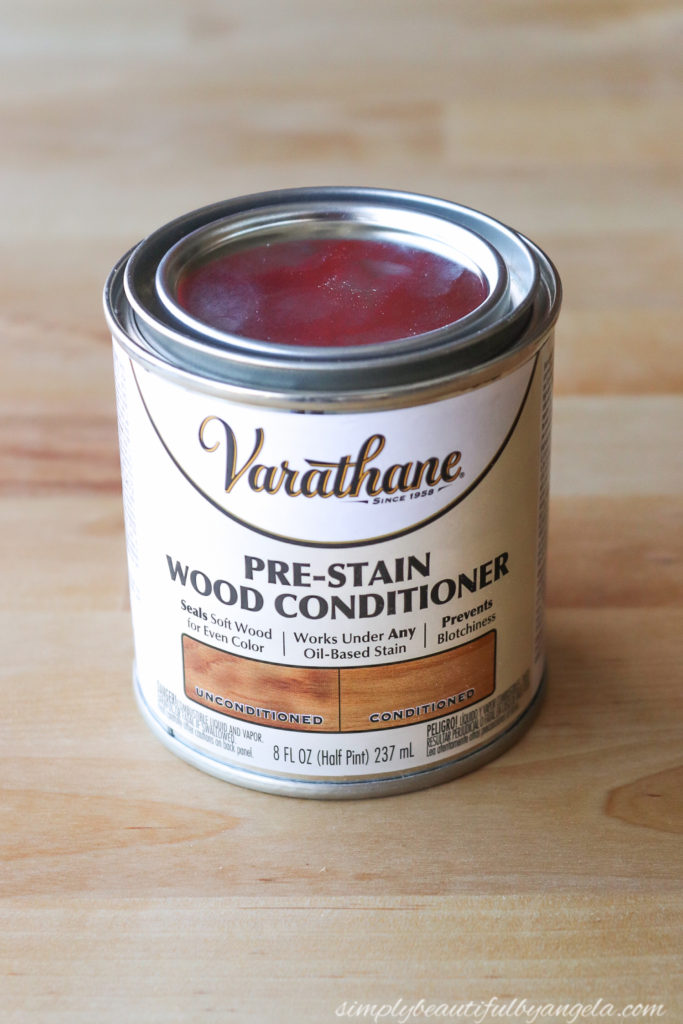
Before applying the stain, I applied a coat of pre-stain wood conditioner. I love this stuff and refuse to stain anything without it! It seals up the wood to help create a smoother, more even wood stain finish.
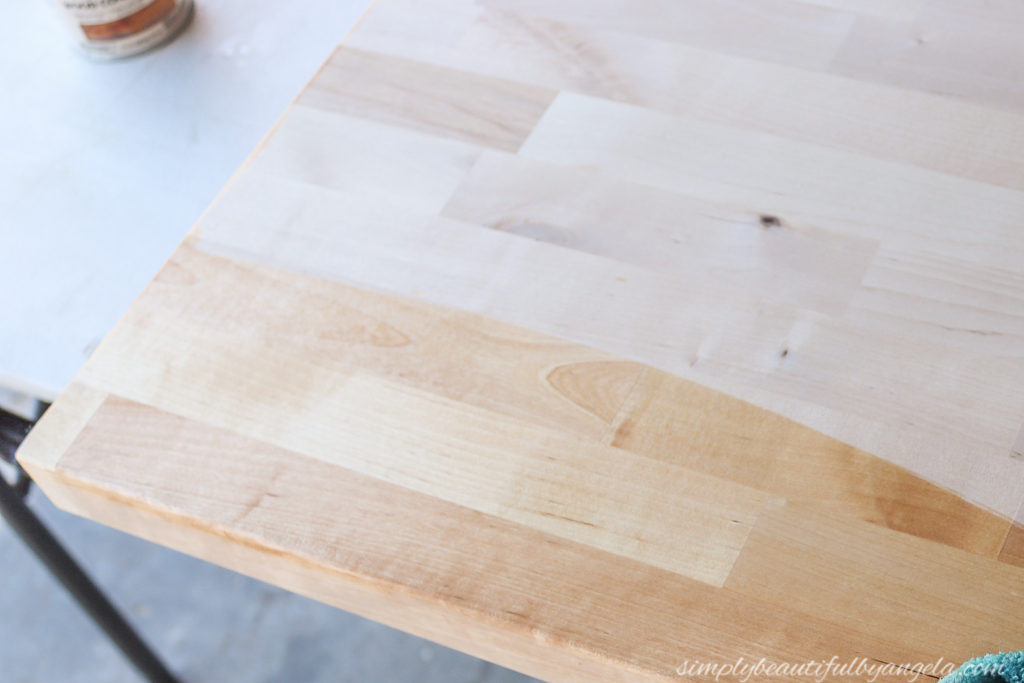
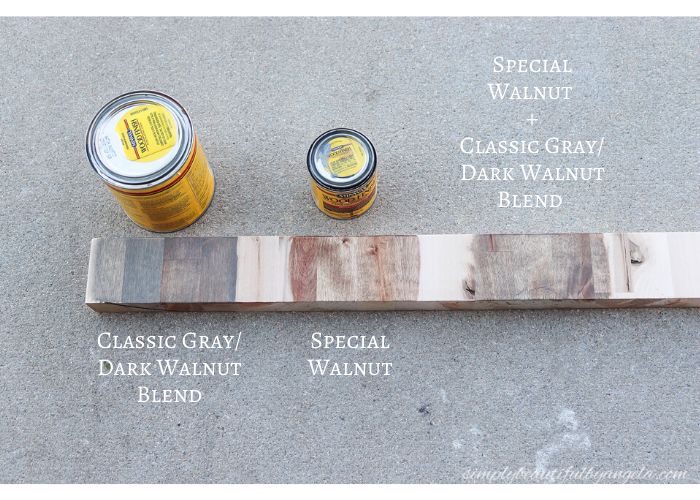
While that was drying I began to test out the stains. I began by mixing up a can of Dark Walnut and Classic Gray in an old can that I had washed out.
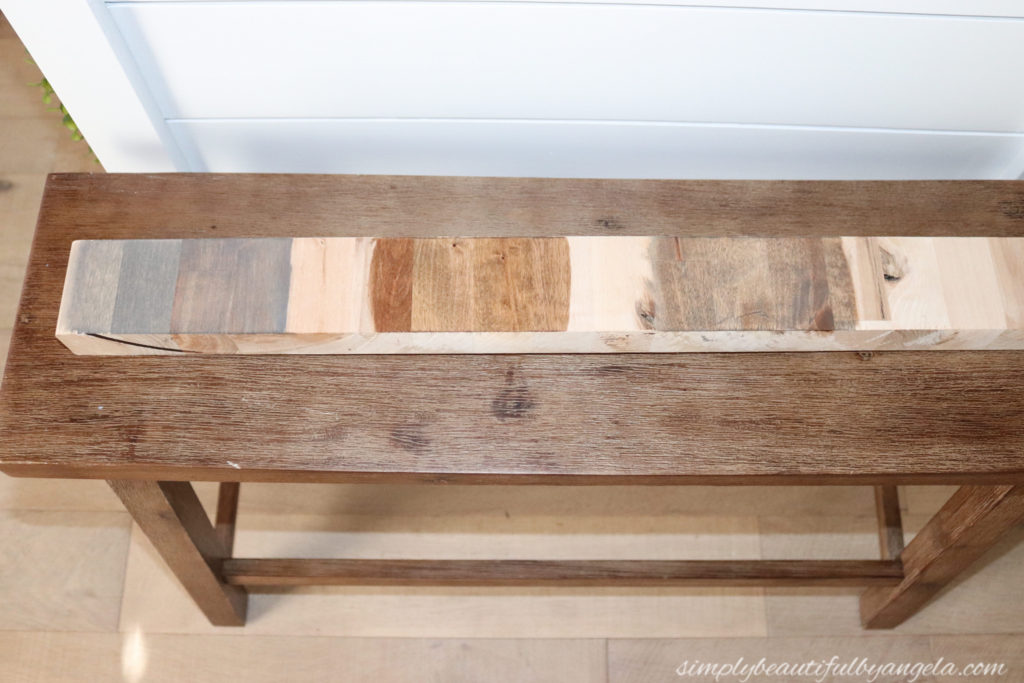
I used a piece that we had trimmed off of the butcher block to test it out. I quickly realized that the gray overpowered it way too much. Next I tried out a can of Special Walnut and it seemed too brown. Finally, I applied Special Walnut and went over it with the blend and loved the result–not too gray, not to brown…it was just right!
I brought it inside to see how it looked next to the bench and was happy to see that it coordinated very nicely.
After applying the stains, I applied the Howard cutting board oil to seal it. I ended up doing 4 coats total.
5. Add Corbels
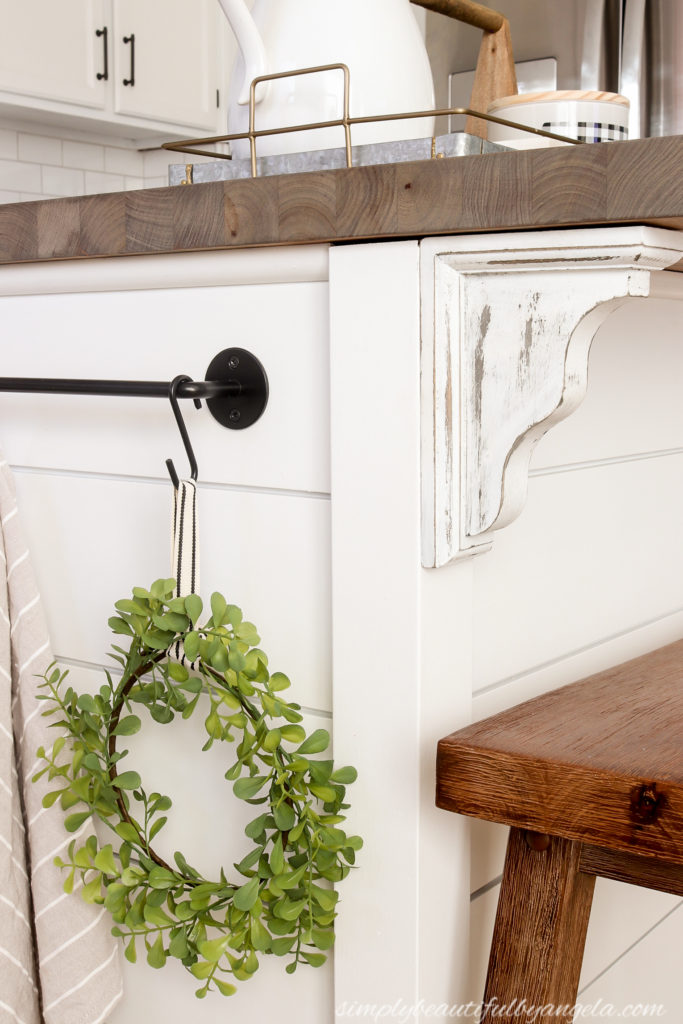
To finish it off I decided to add some corbels. I wanted some old vintage style ones, but when I started looking online and in stores I realized that they are crazy expensive! So instead, I picked up these guys at Home Depot for a little over $8 a piece and made my own!
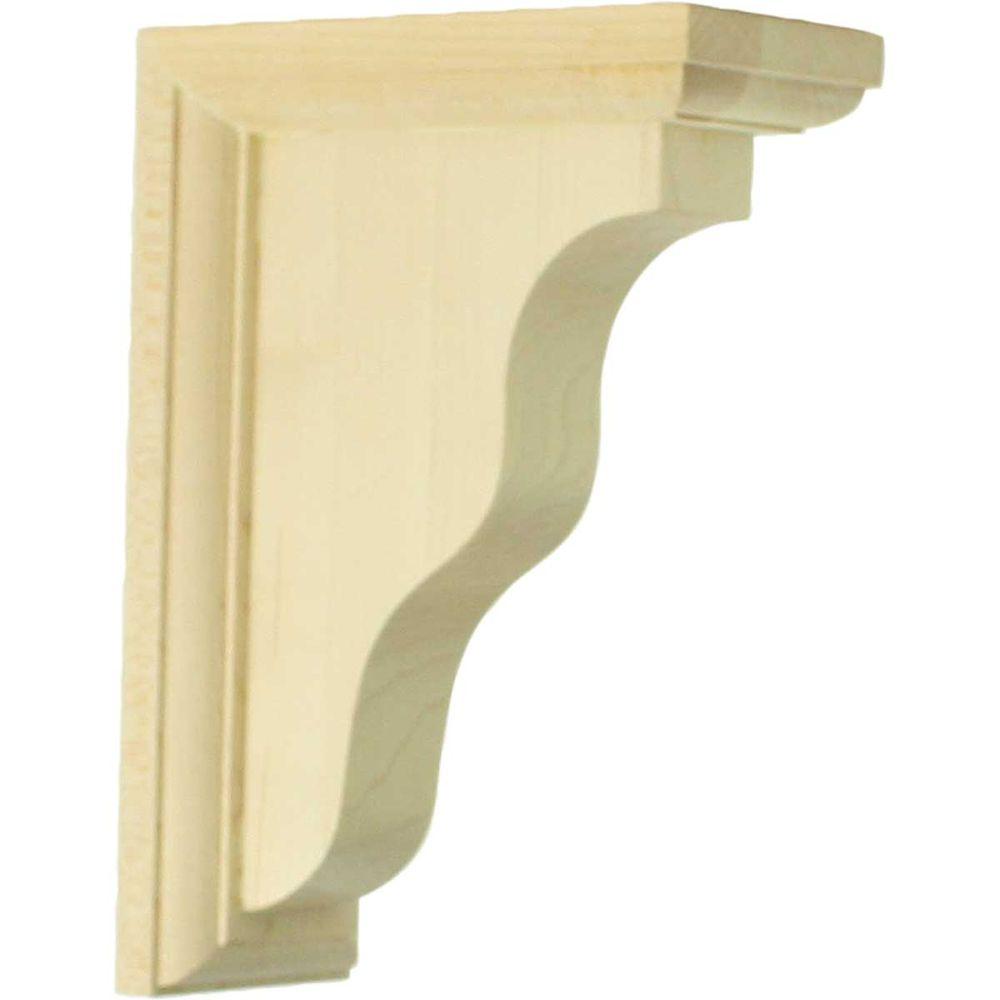
I simply stained them with Dark Walnut, added Vaseline in various spots to keep the paint from sticking, went over it with 2 coats of white paint and sanded them.
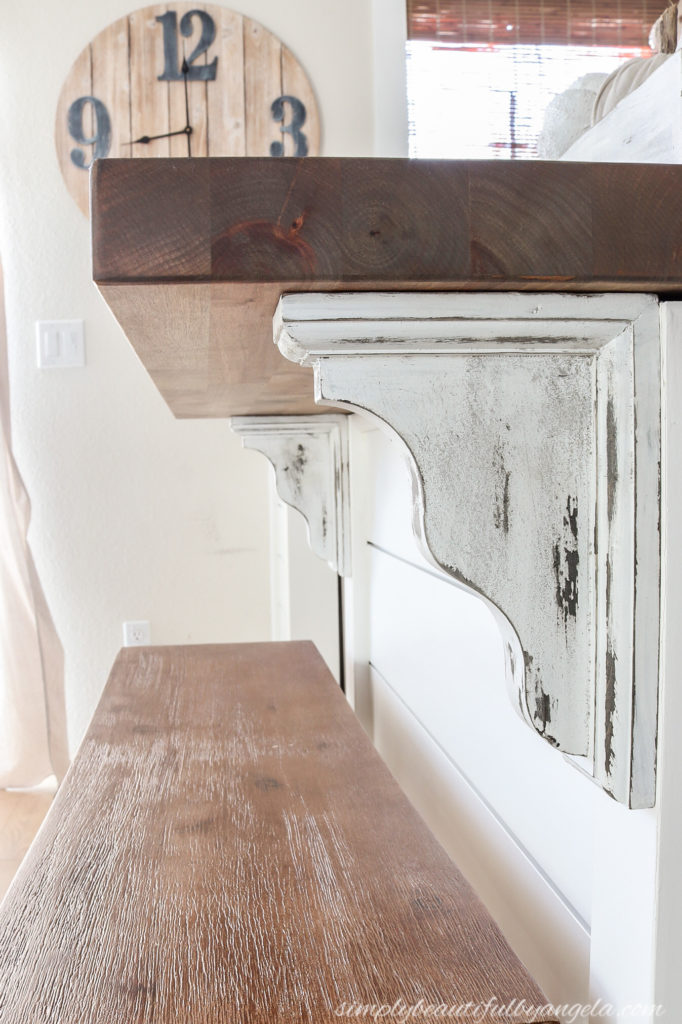
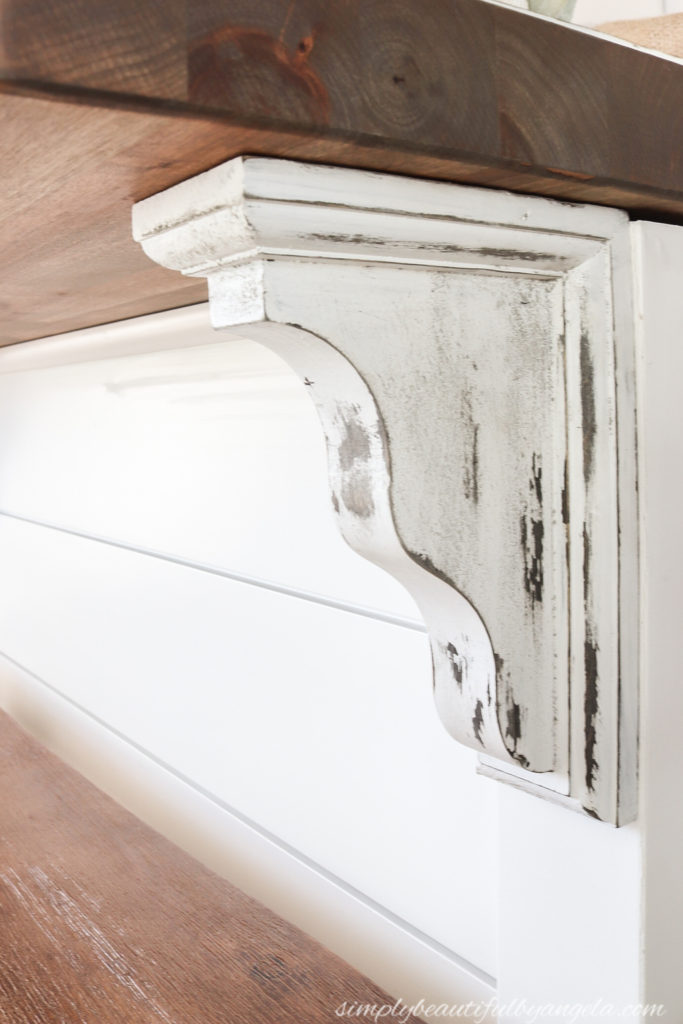
Then Anthony used the screws included with them and installed them to the 1×3.
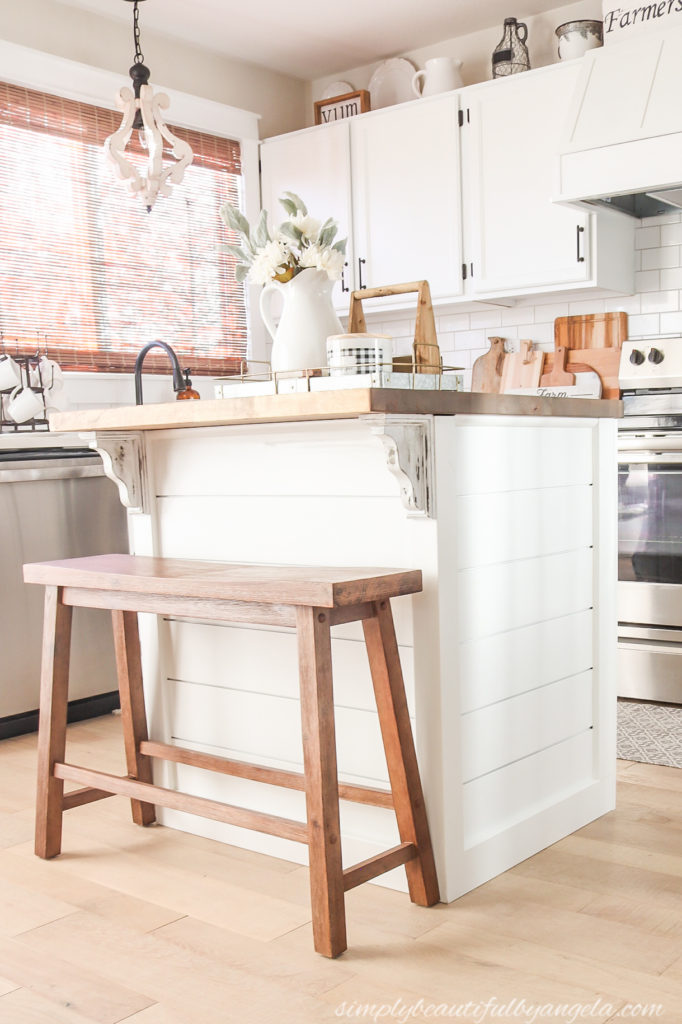
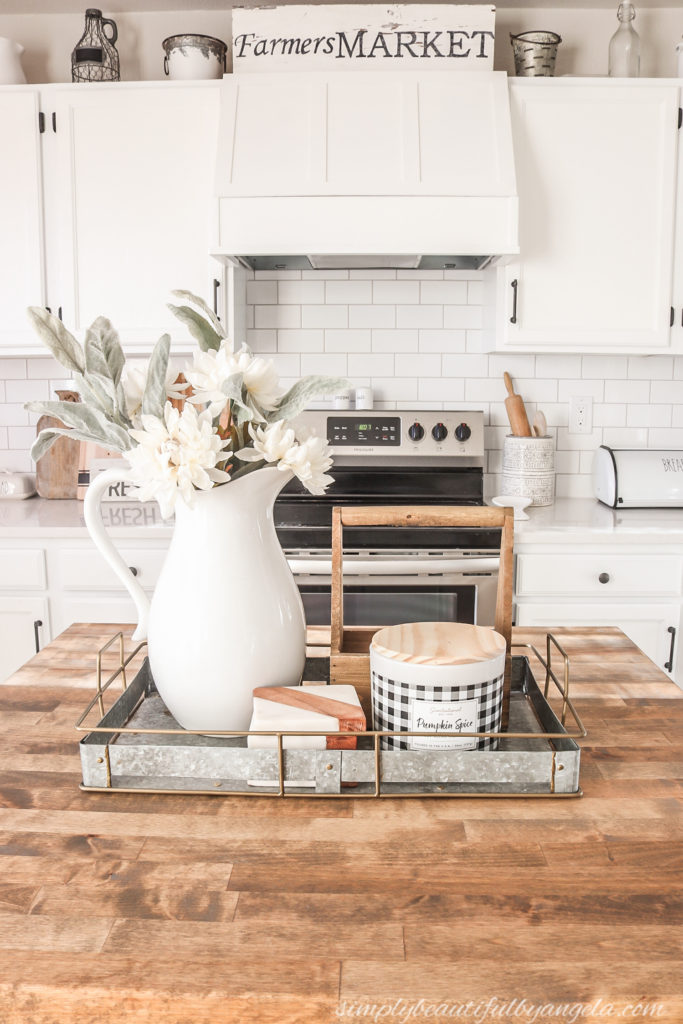
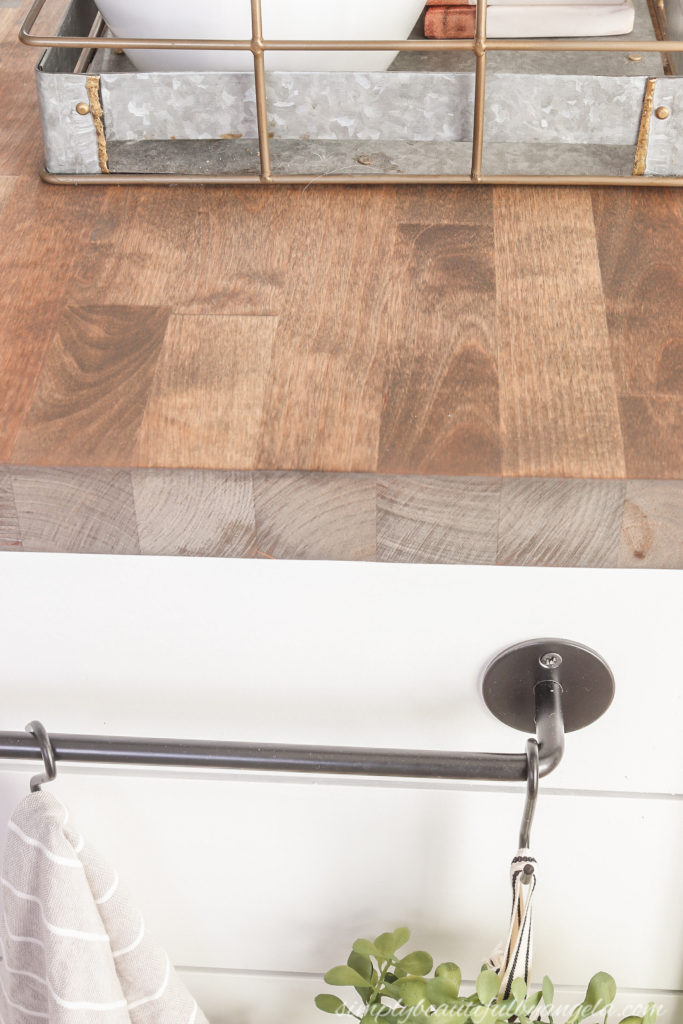
The color of the butcher block turned out beautifully–I absolutely love the warmth that it brings to the space!
I added this bar with hanging hooks to the side next to the sink to hang dish towels on. We used to drape them over the sink which always drove me absolutely crazy. This is much better!
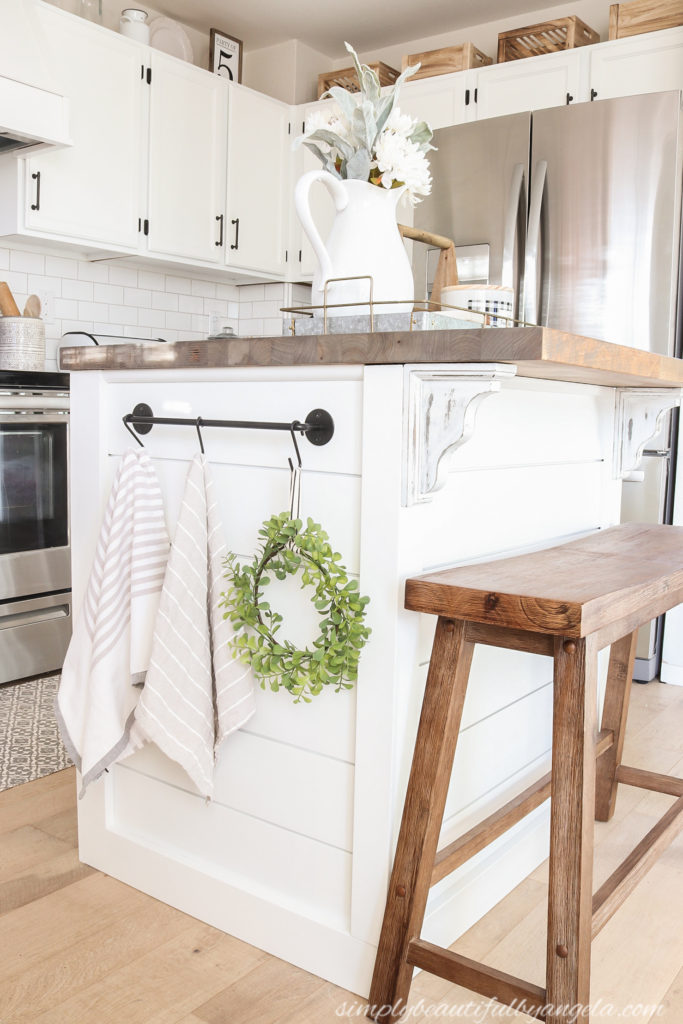
Sidenote–the new gray striped dish towels and hand towels that I recently purchased are probably my favorite towels ever, which I know is a weird thing to say about towels–but it’s true!
Can I let you in on a little secret? We still haven’t attached the butcher block to the base. Once we do I will to need to go back and caulk along the top to hide the small gaps.
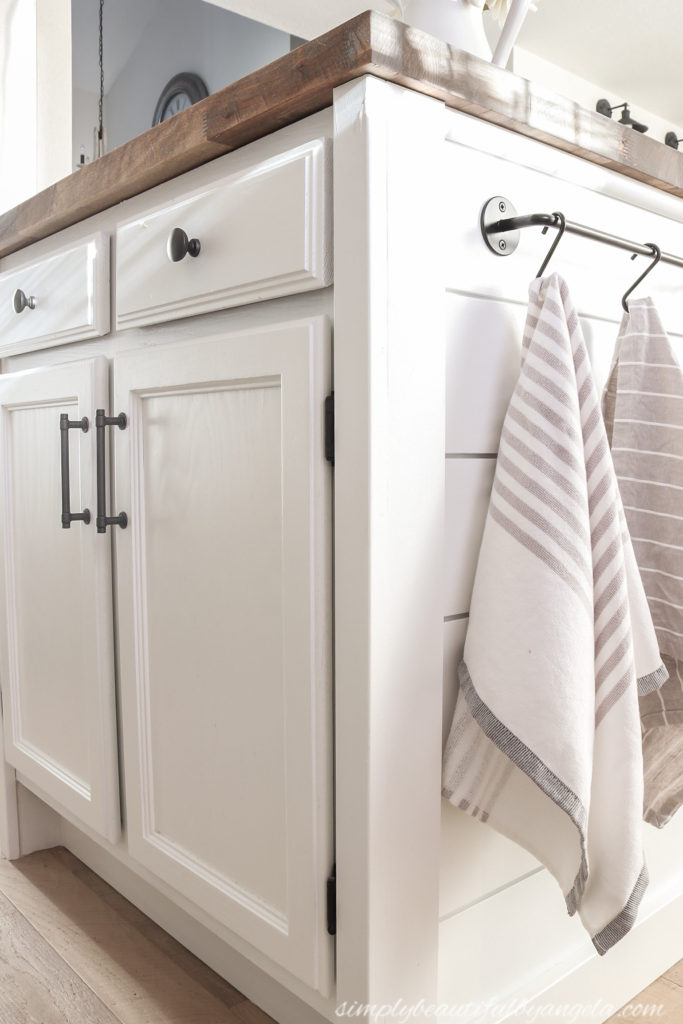
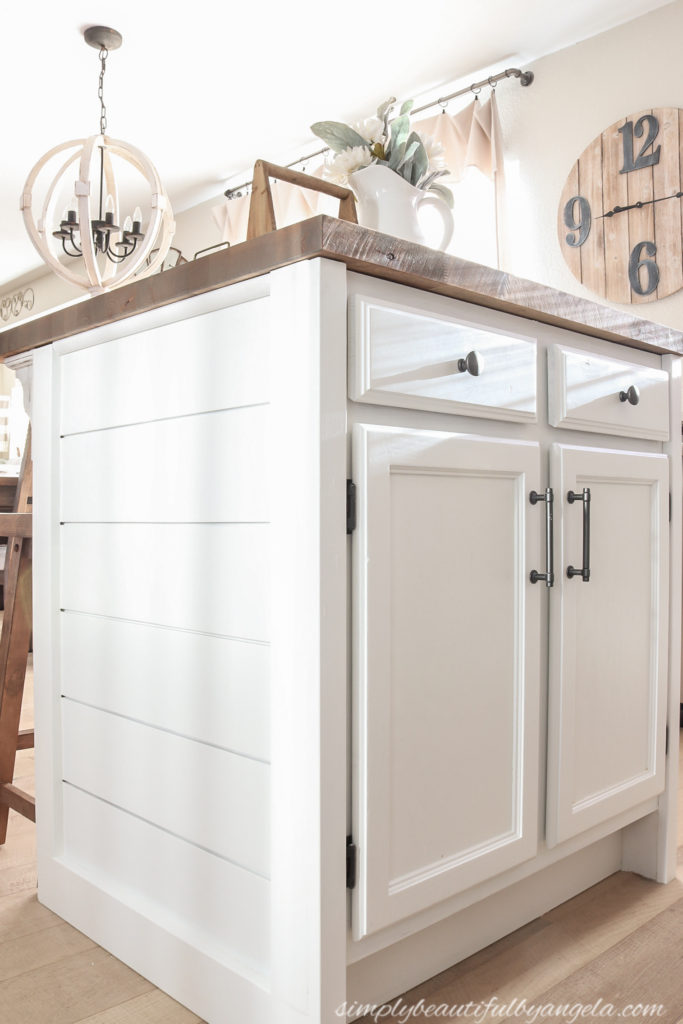
This is the view from the other side where the drawers and cabinet doors are.
The island is such a central part of our kitchen and I’m so happy with how it turned out!
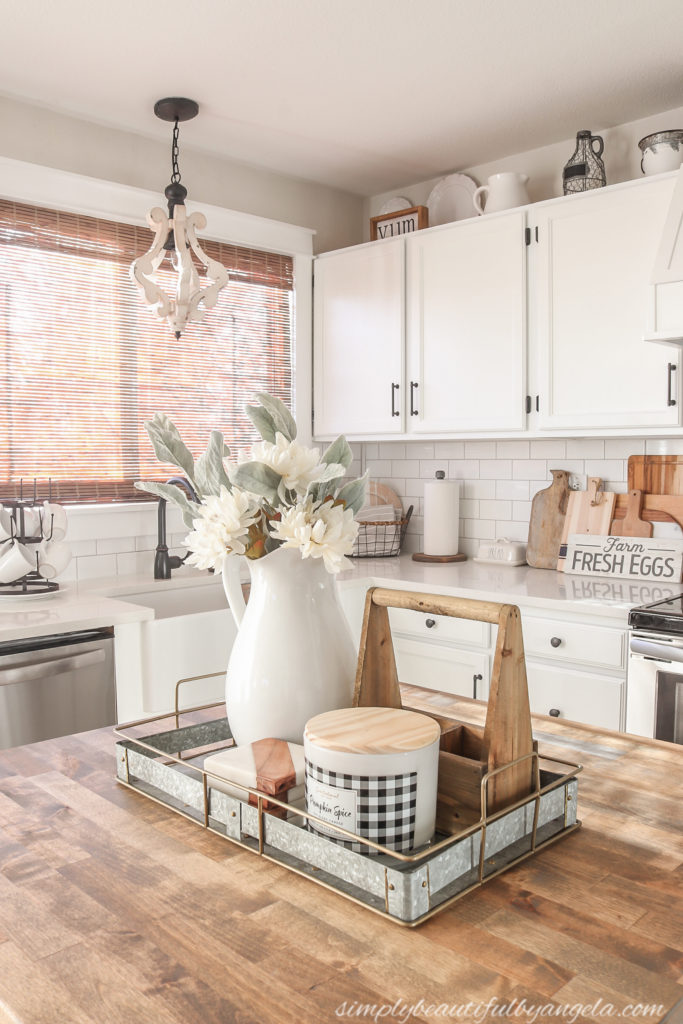
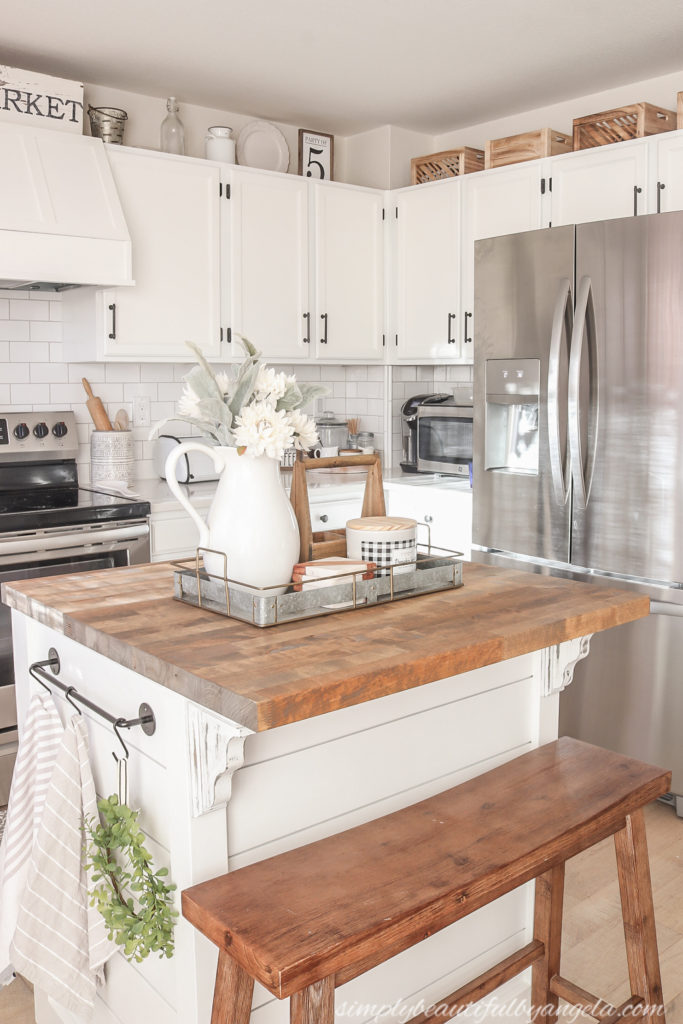
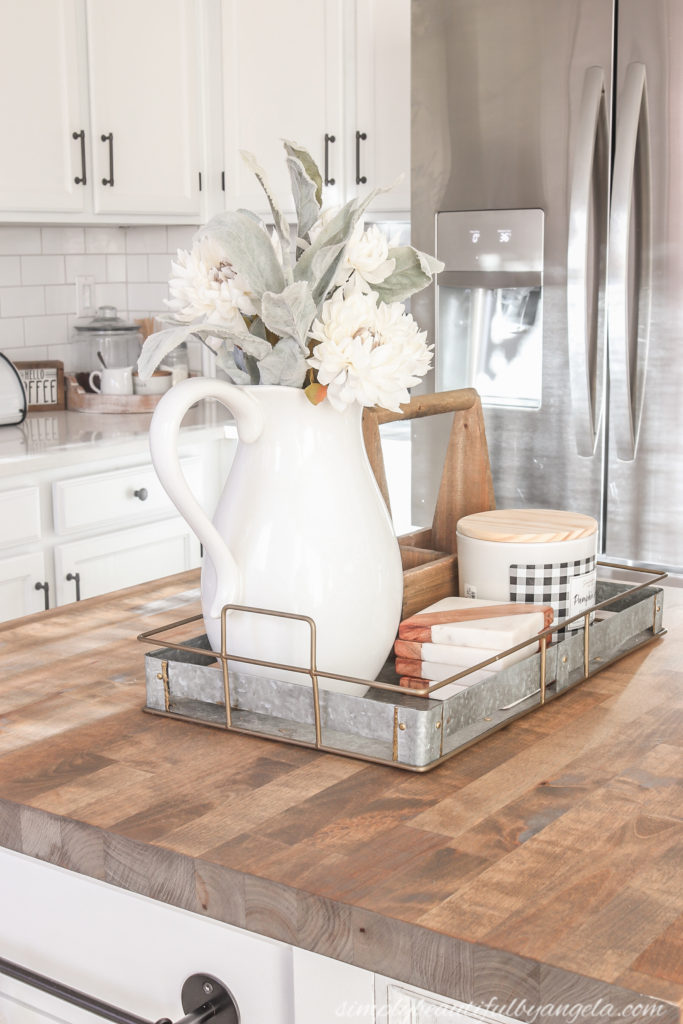
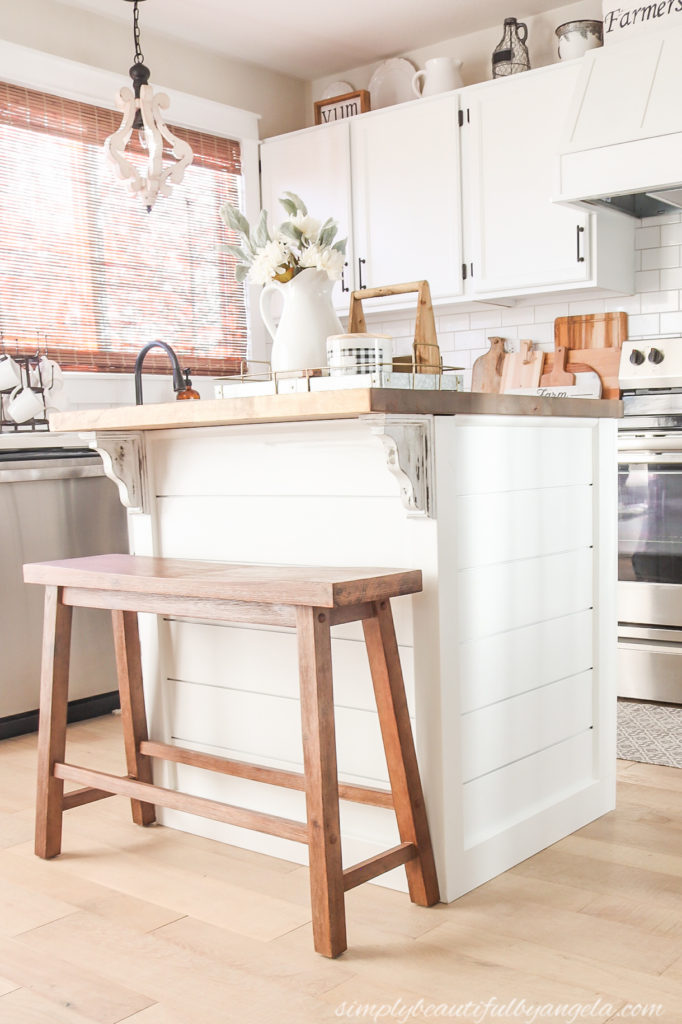
Here’s a couple more comparisons from the old view to today…
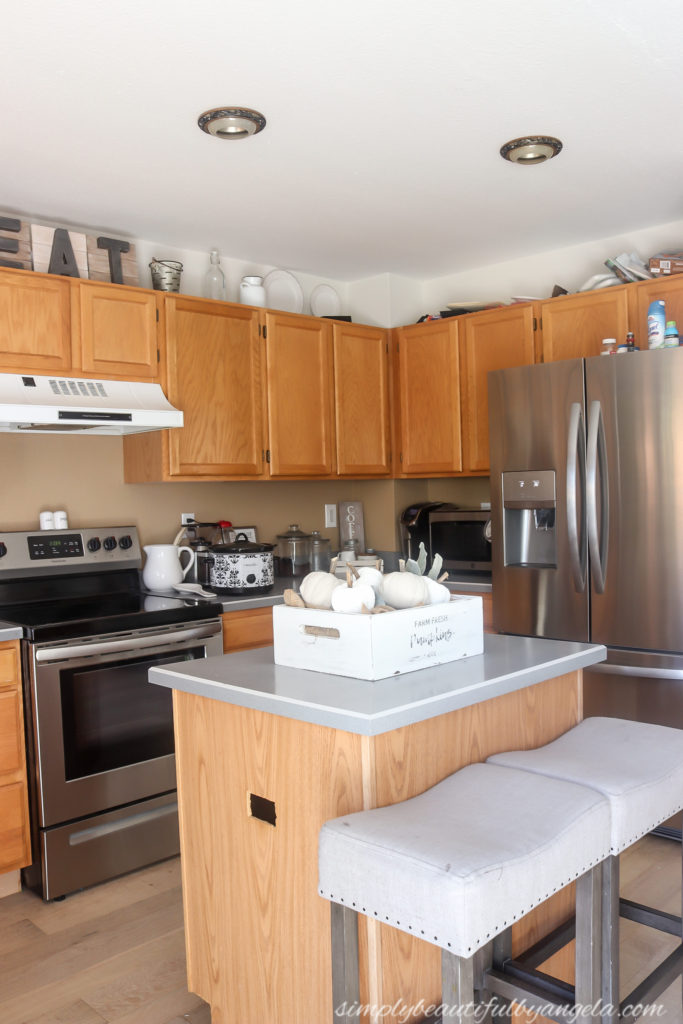
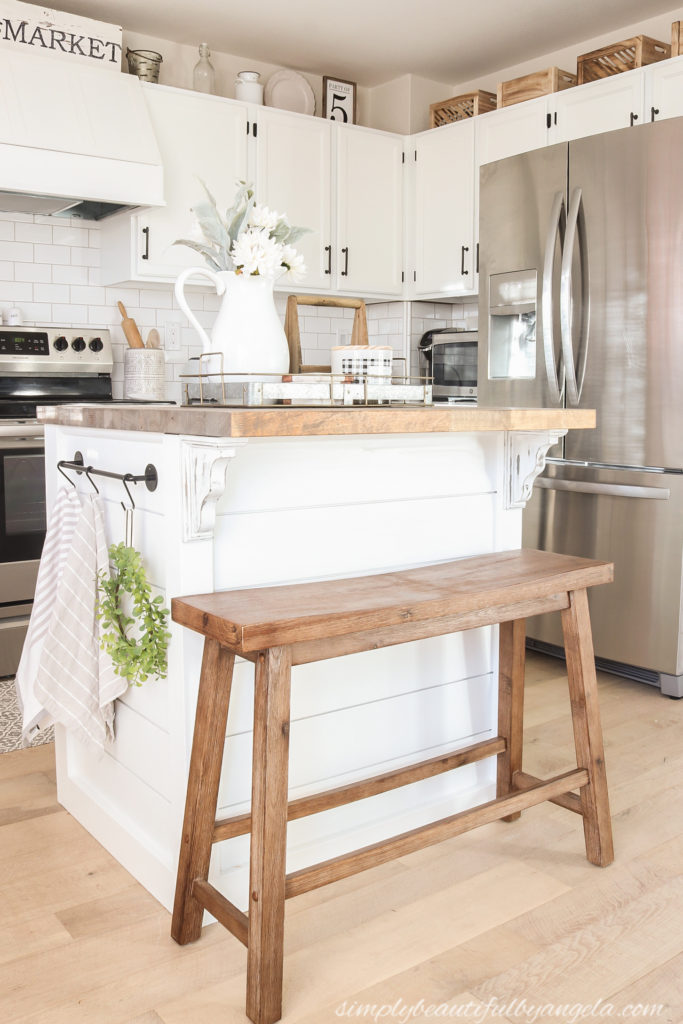
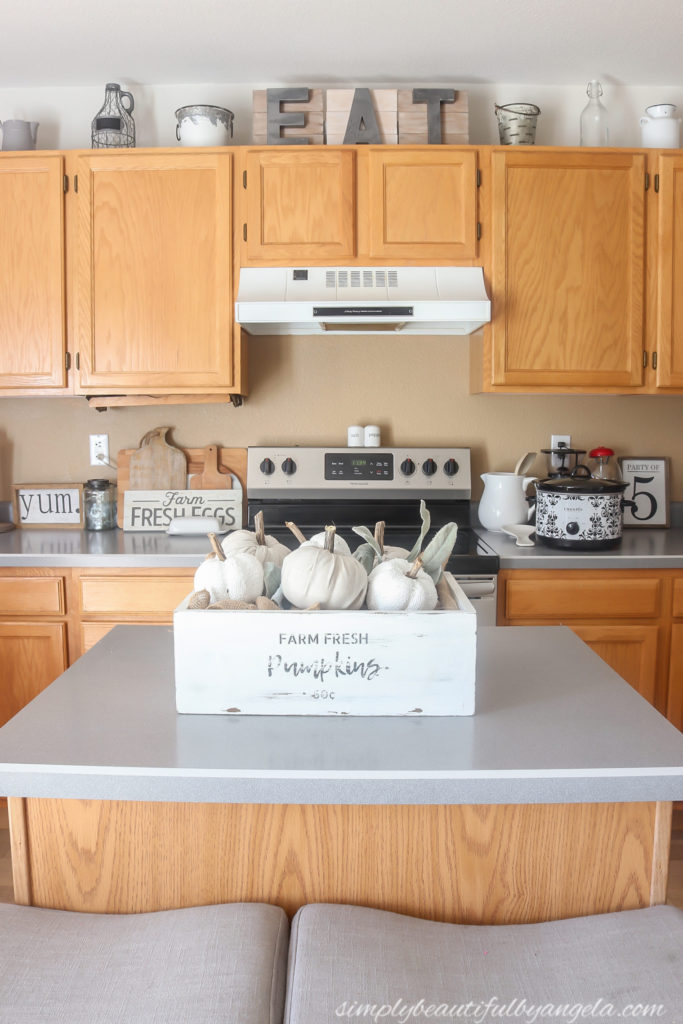
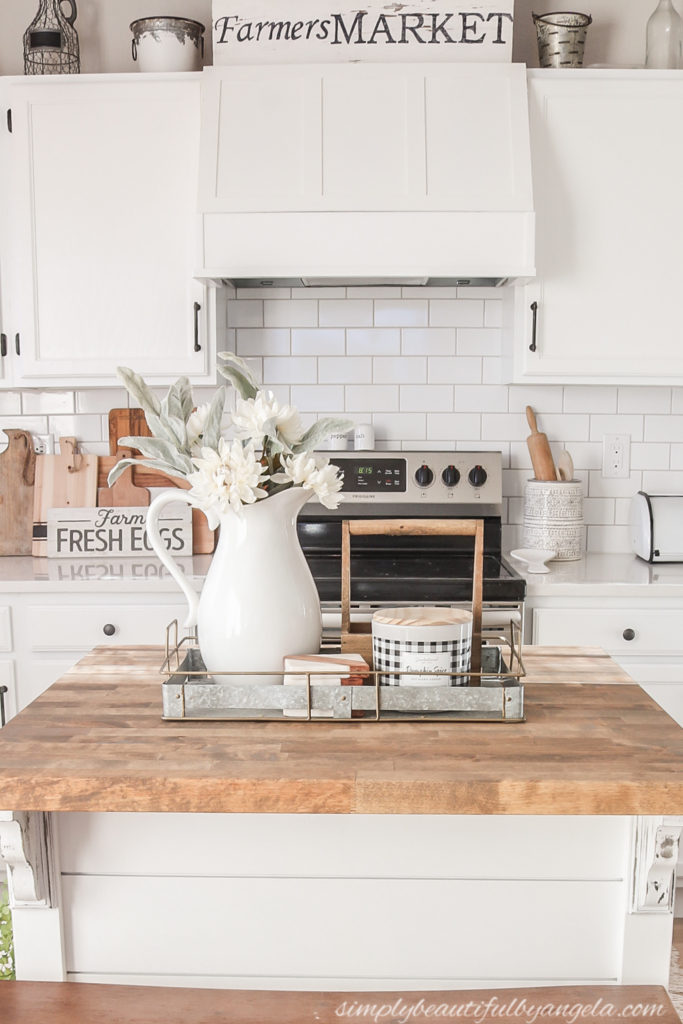
Quite the difference, right?!
I’m linking the bench here since I’ve received a few requests for it! It’s a great option if you have a smaller space 🙂
Thanks for stopping by today! I hope you all have a wonderful rest of the week. I’ll be back next week to share the next project 🙂
Linking up to these awesome parties
Your island is gorgeous! You did an amazing job!
Thank you so much Michelle!!
your island is really gorgeous, you did a fantastic job. love the shiplap and butcher block. It really looks custom made and totally professional! thanks so much for coming by and joining in on All About Home. I’ll be featuring you Monday evening!
Thank you so much Debra, you are so sweet!!